
Perhaps every master at least once wondered how best to organize space in his workshop or the garage.
As it often happens, drills do not have their permanent place and lie or stand in a single pile in which you can hardly find the very, only necessary drill.
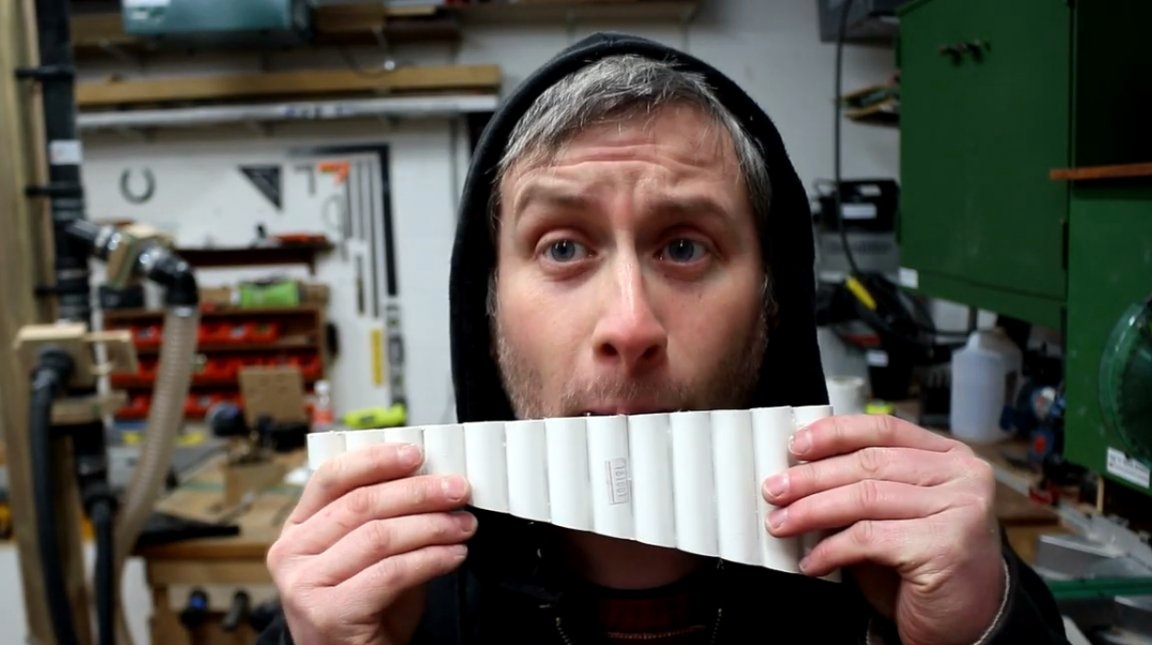
In this article, Kate Brown, author of YouTube channel “Rag 'n' Bone Brown” will tell you how he made a convenient and compact organizer for drills.
This project is very simple to manufacture, and can be repeated without the use of complex machines.
Materials
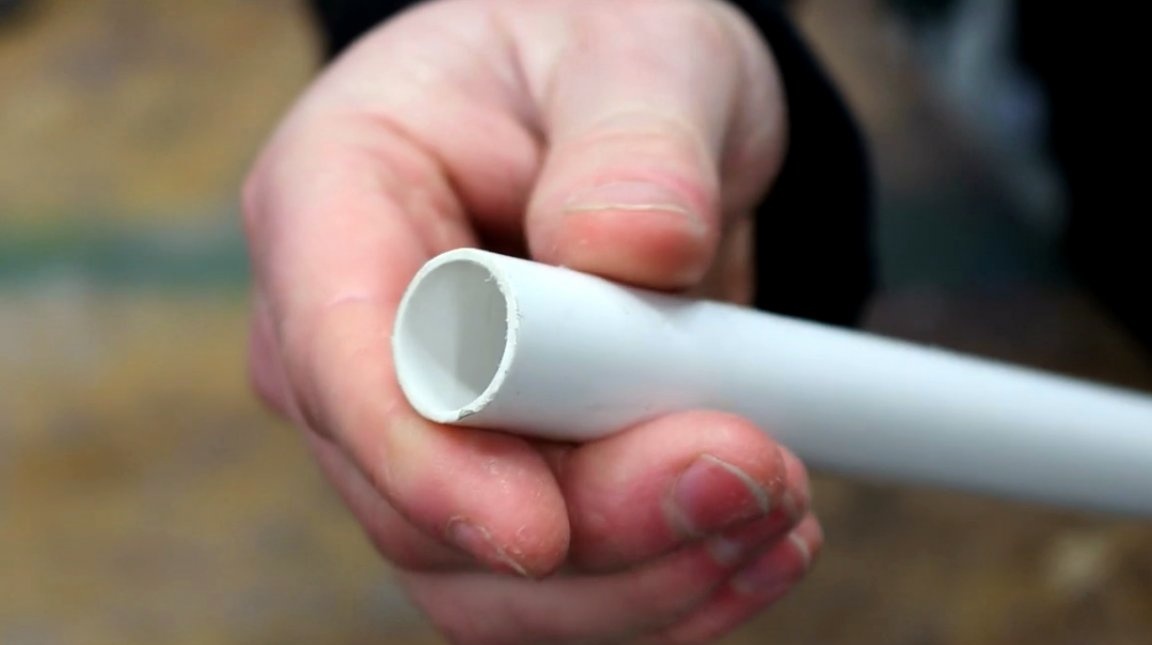
- PVC pipes for electrical wiring with diameters of 20 and 25 mm
- Rubber wood board
- Two-component epoxy adhesive
- Sandpaper, masking tape.
Instruments, used by the author.
— Glue gun
— Band-saw or hand jigsaw
- Belt sander
— Svenson Square
- Roulette, marker, pencil, knife.
Manufacturing process.
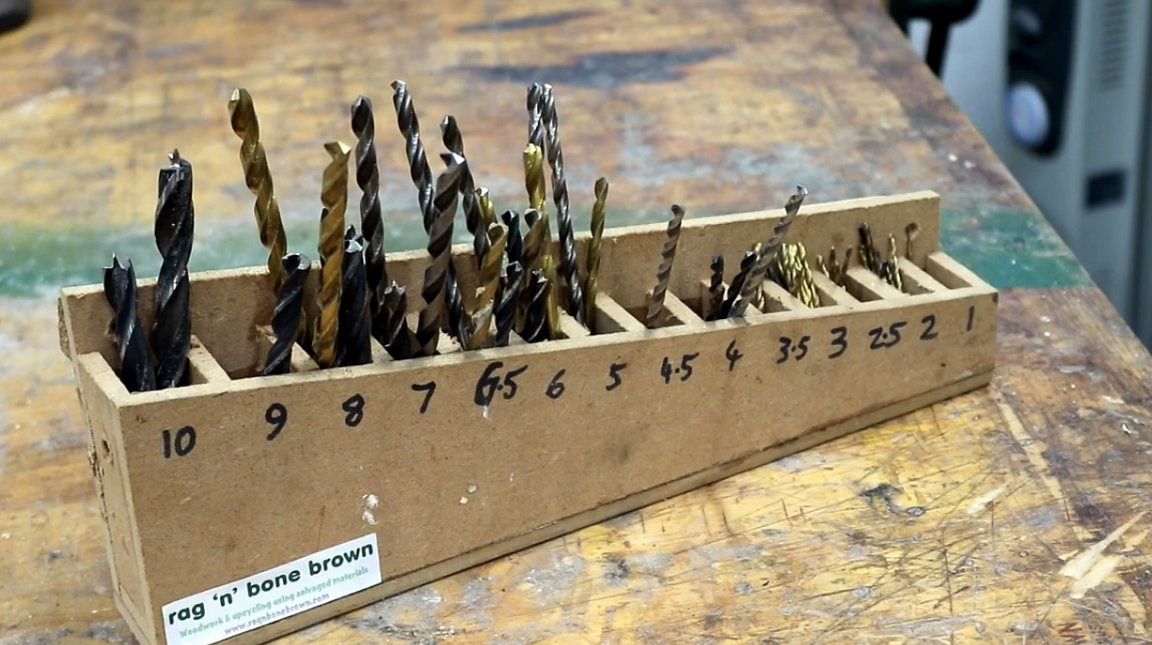
This box with sections is a good way out. But in the arsenal of the master, drills of 7.5, 8.5 and 9.5 mm appeared. We have to come up with something new. This time the organizer will be slightly larger and the compartments slightly wider to accommodate more drills.
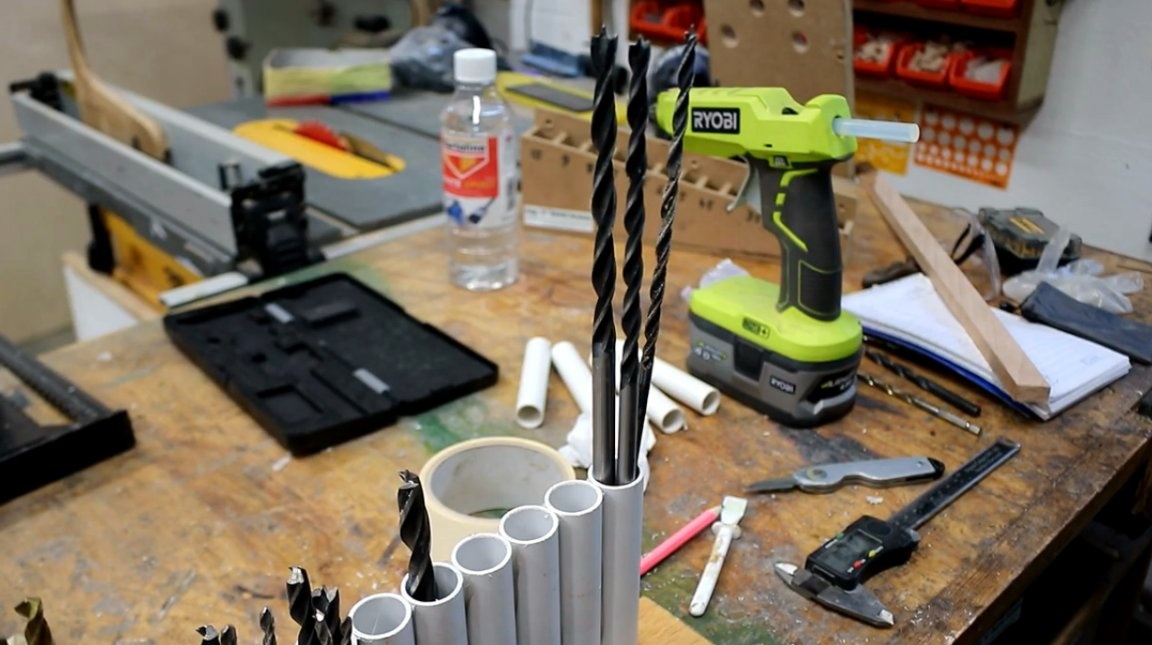
You will be surprised, but the author intends to make his new sectional box from PVC pipes for electrical wiring. For the thinnest drills, a thin tube with a diameter of 20 mm will be used.
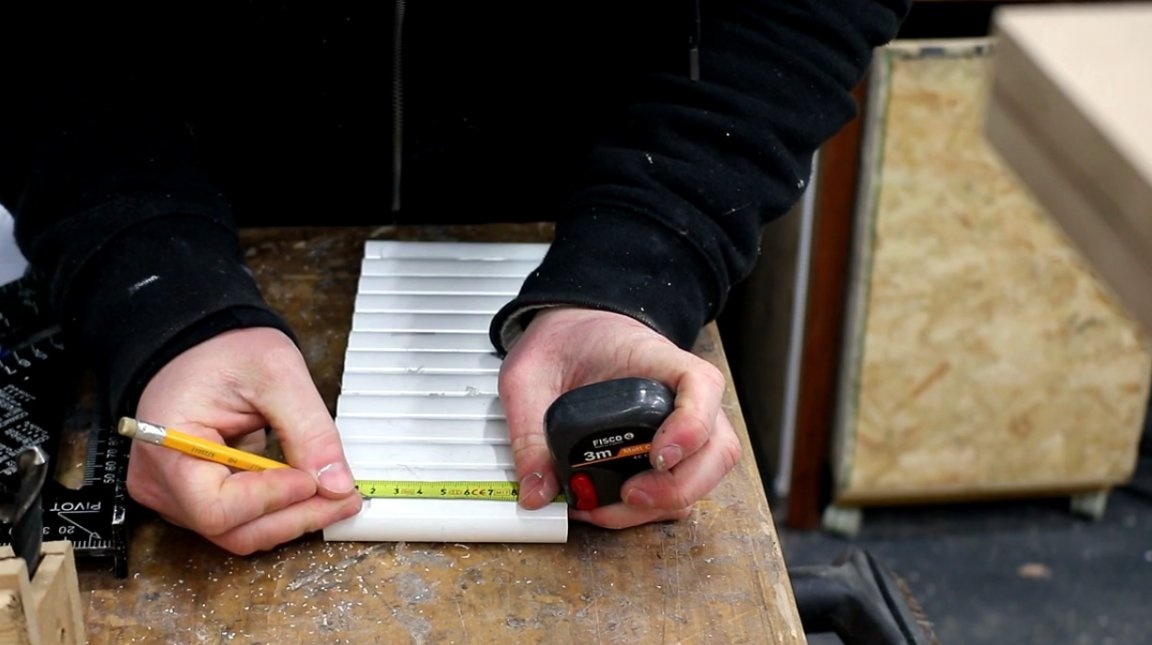
First, the author measures the length of the shortest, then the longest drill.
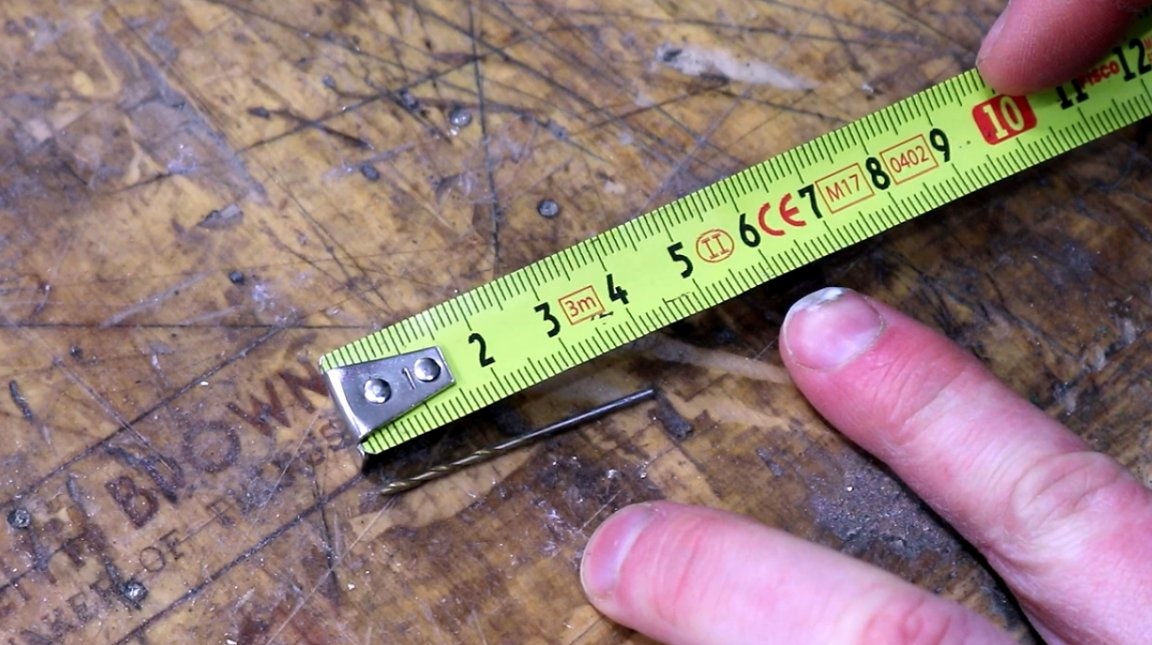

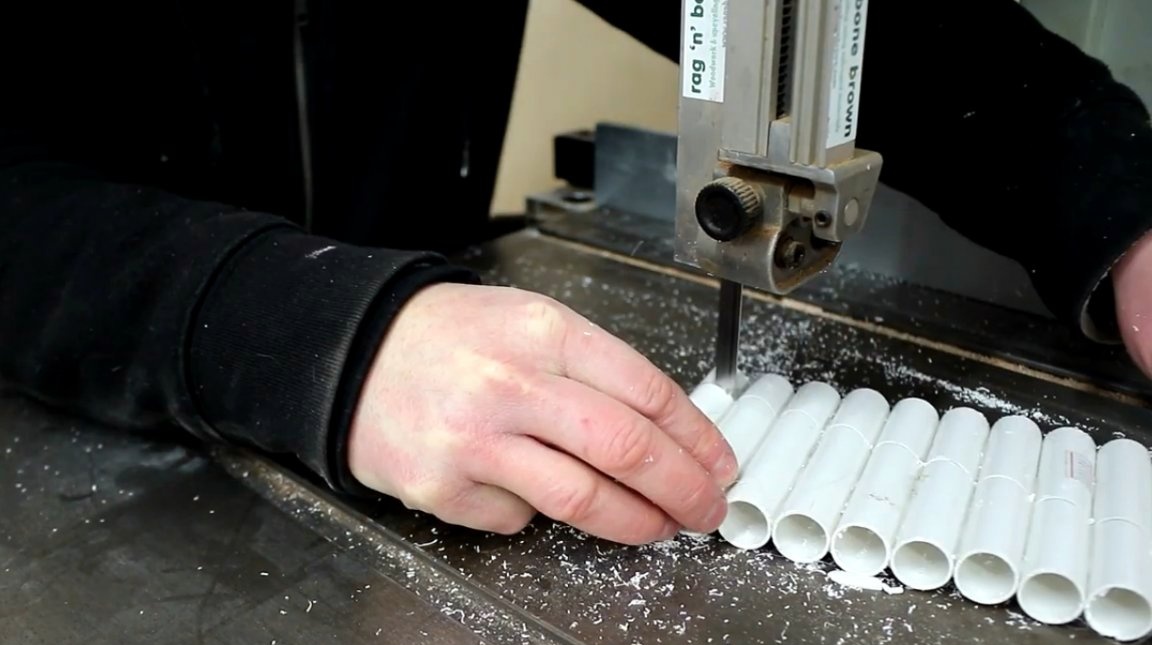
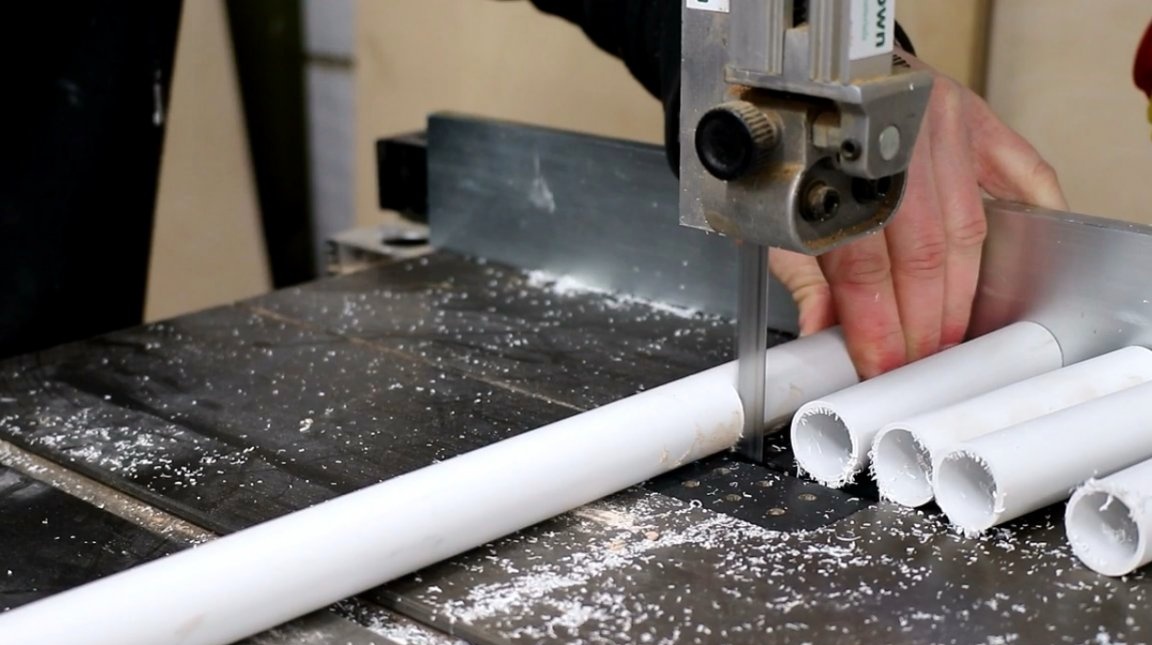
Focusing on these sizes, the master cuts the PVC pipe into equal lengths of 70 mm.
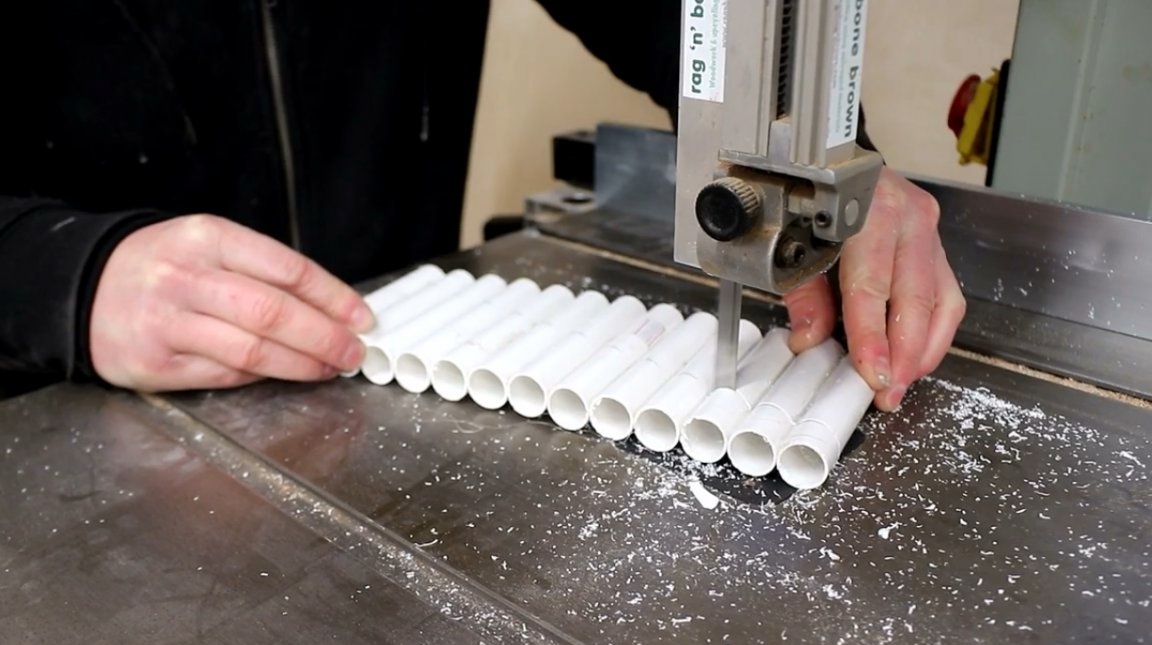
It is important to choose the right blades when working on a band saw: the more teeth there are on it, the better. Most metal blades are great for cutting plastic. You should also remember about safety when working with round objects.
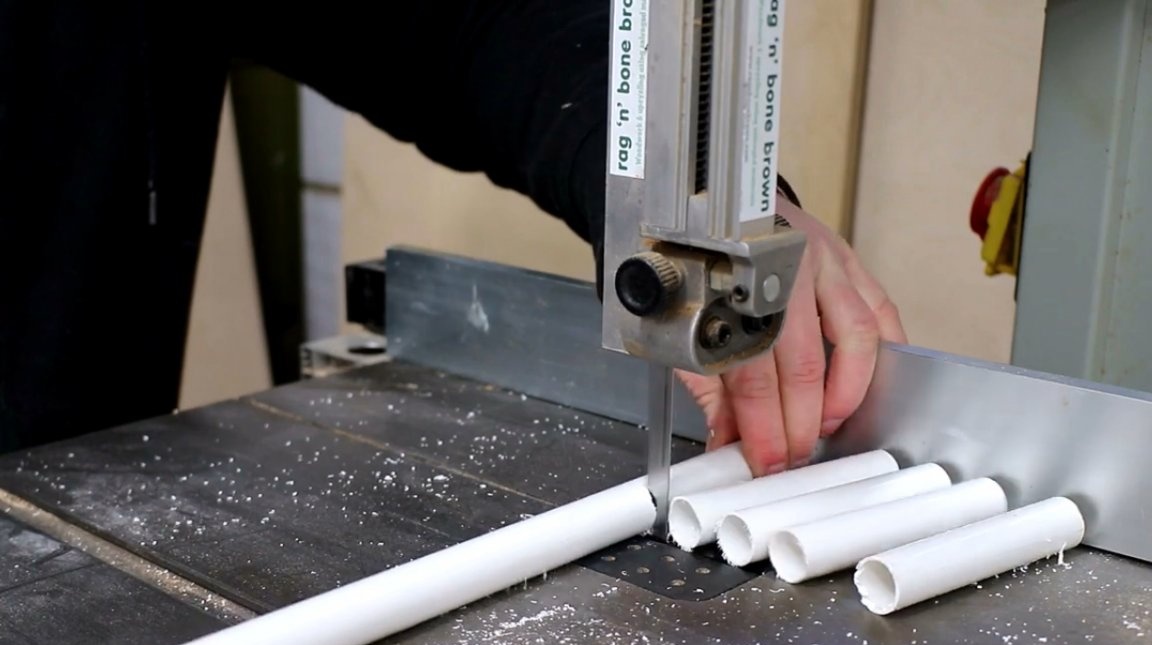
A safer option is a hand saw or a jigsaw, but it will take a little longer.
By the way, it is not necessary to cut tubes of the same length, especially if you have many short cuts. You can choose them in length, then it will be clear why.
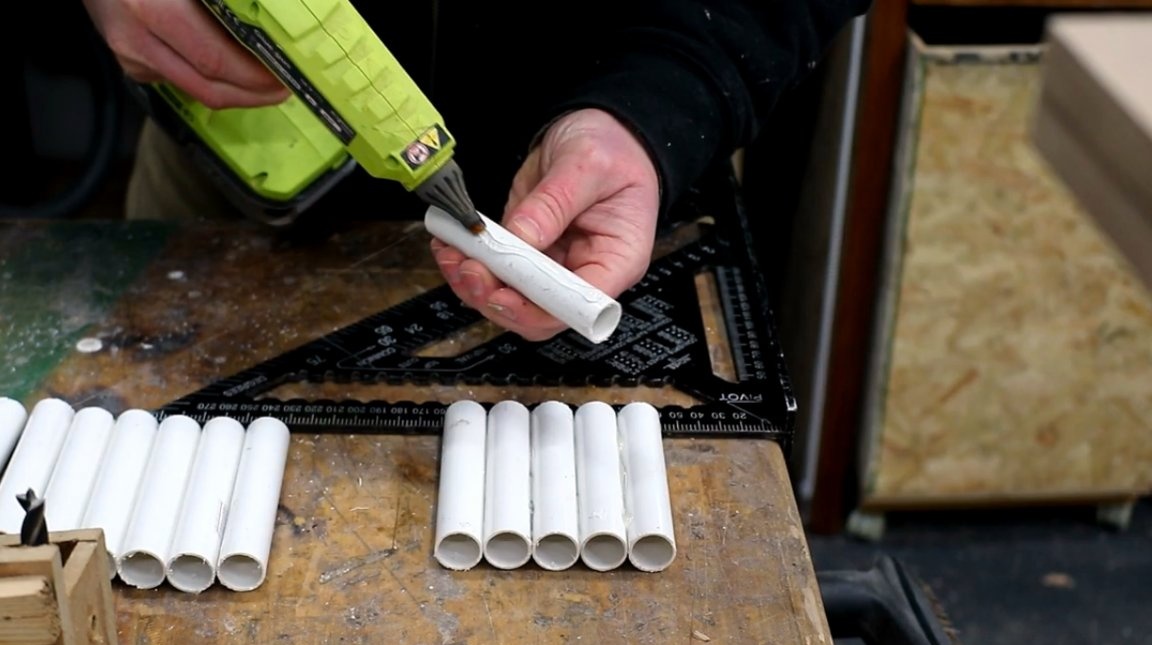
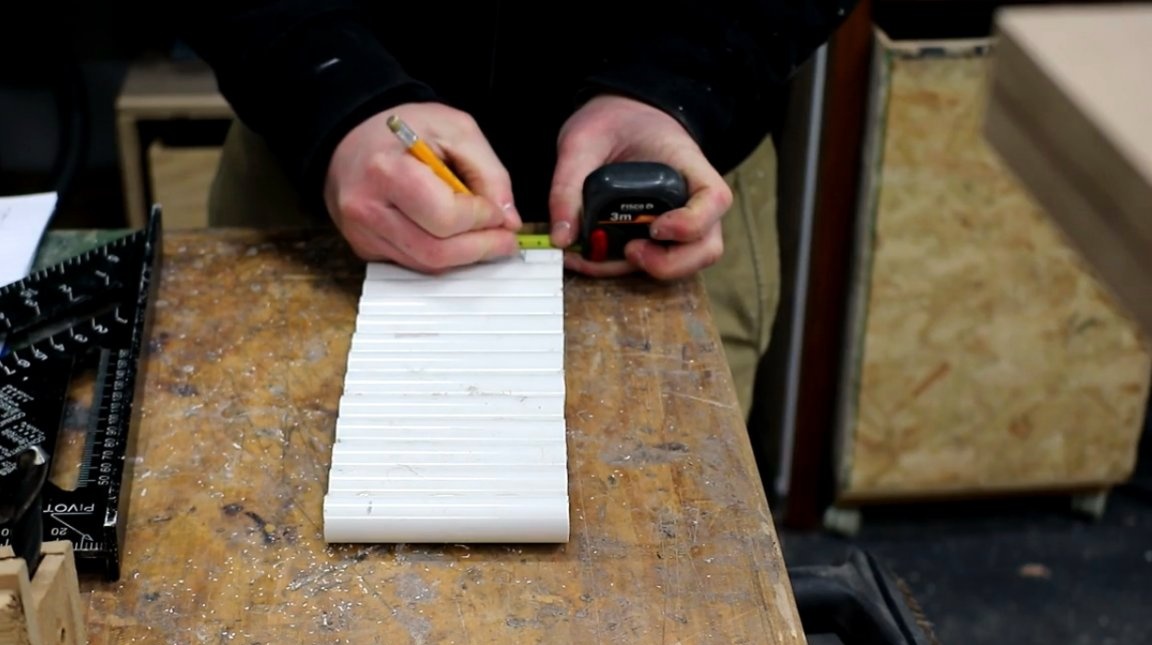
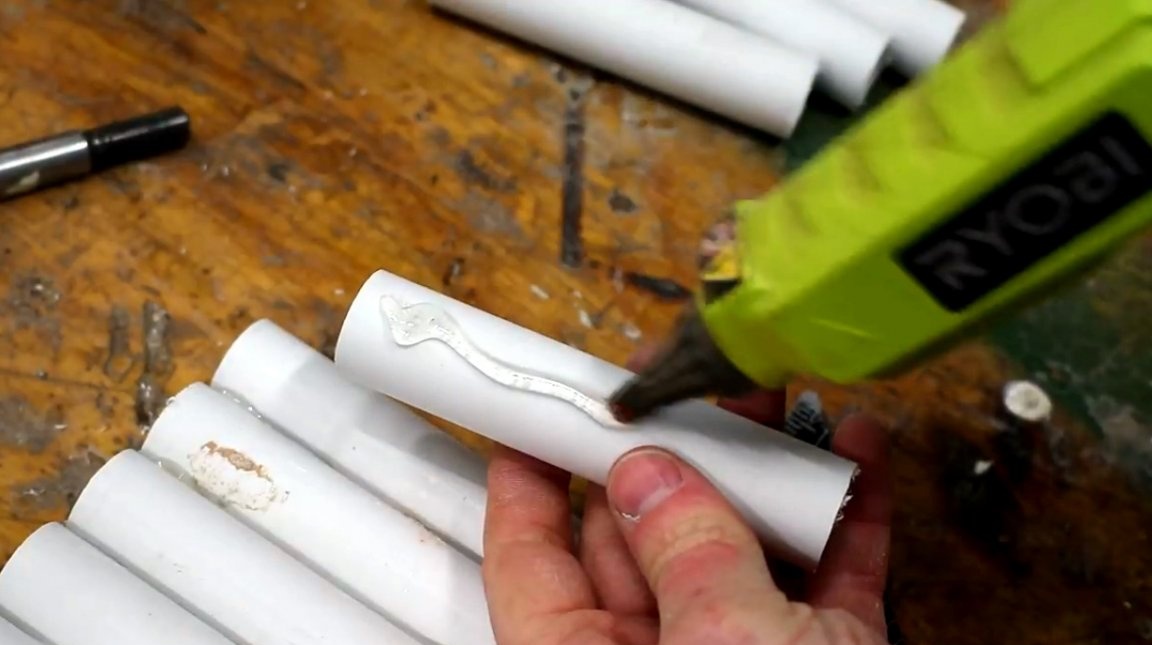
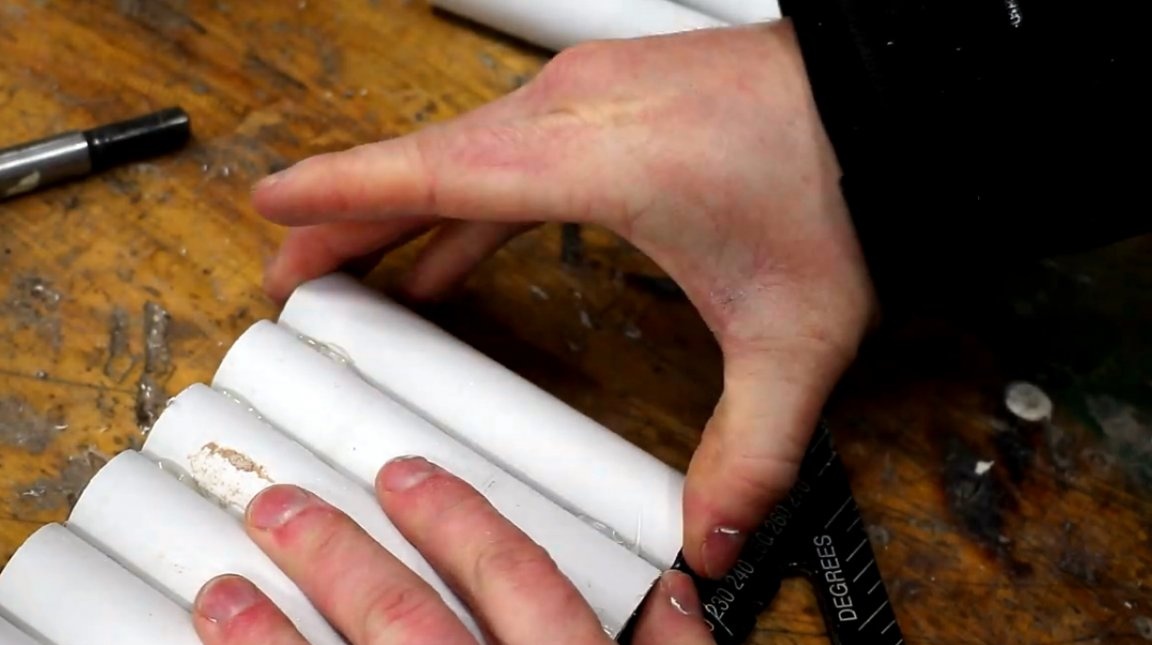
When all sections are cut, the master glues them from the sides with hot glue and joins them together, trying to perform the entire operation on a flat surface. Then all the tubes line up in one line.
To make everything smooth, the author constantly checks the line with the square.

Kate also provided a brief sketch for the first section in the picture.

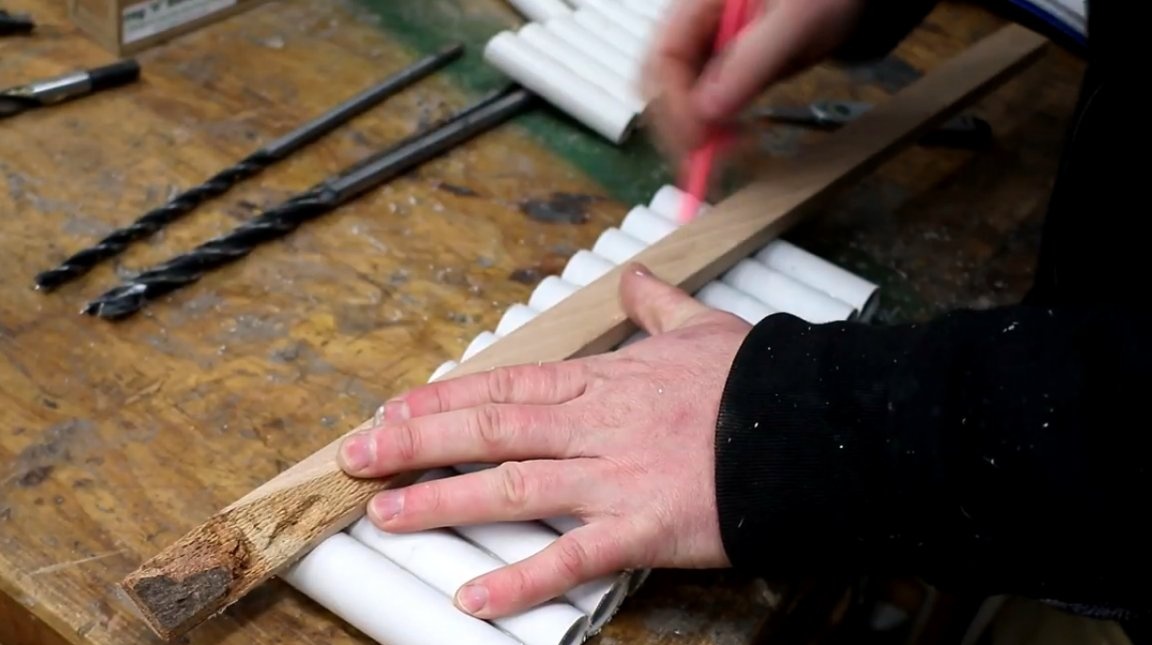
Now with a pencil, he marks on one side the length of the longest, and on the other side of the shortest drill and connects both points with a line.
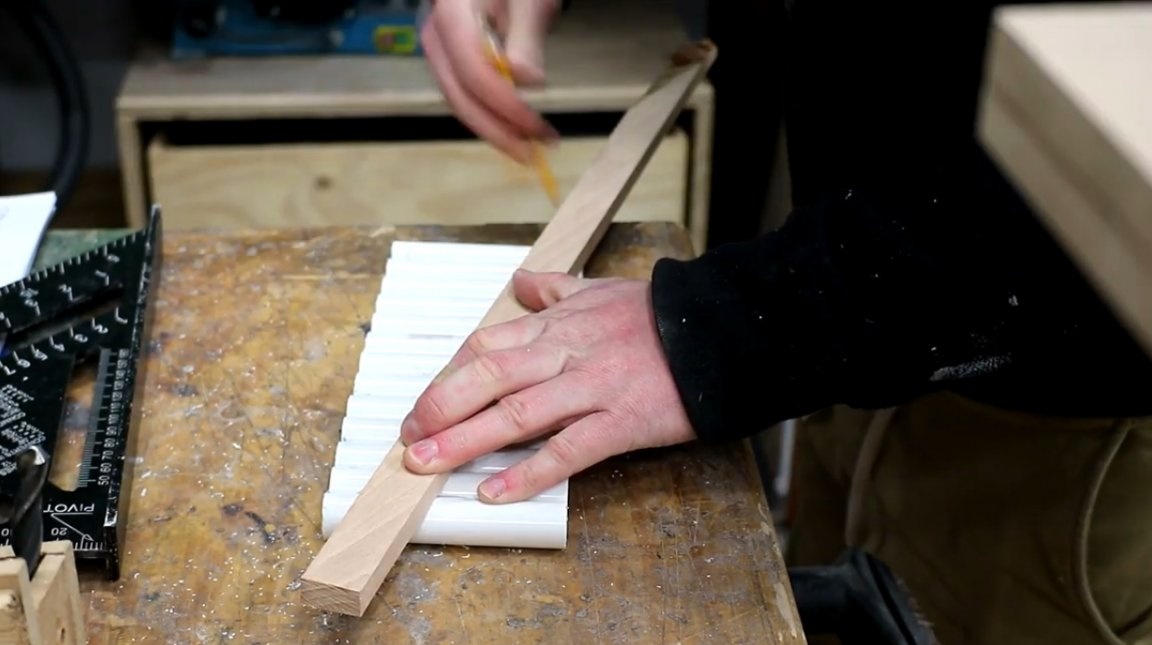
A diagonal cut is made along this line.
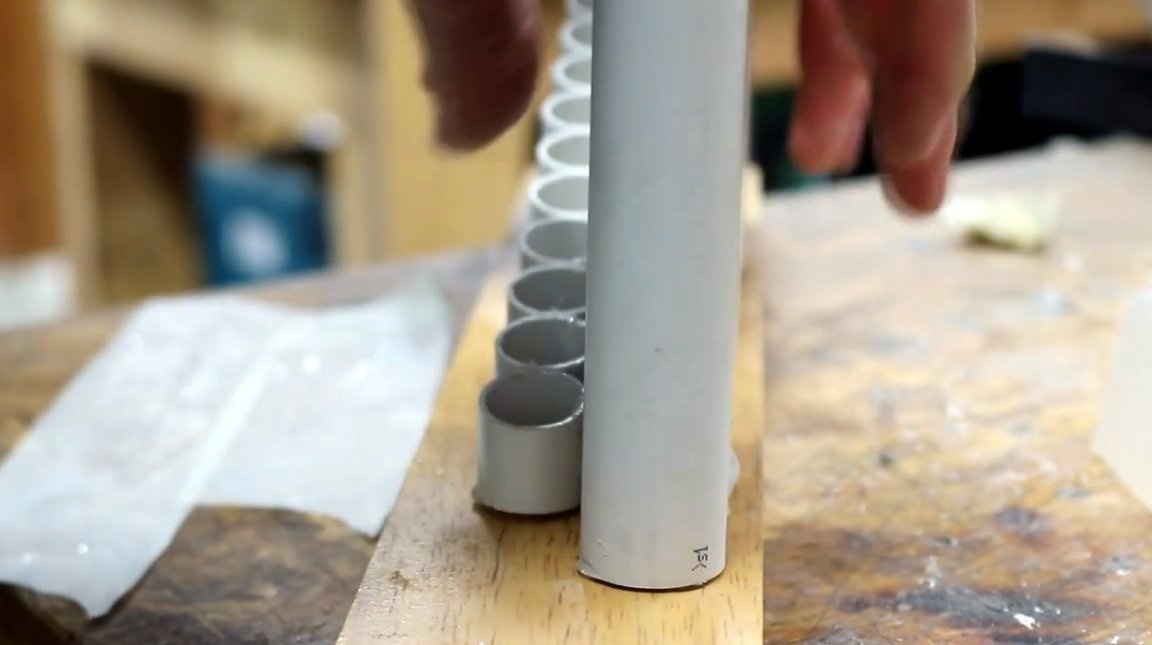
For thick drills, a slightly larger diameter tube, namely 25 mm, will be used.
Also for the second section, he made a drawing.
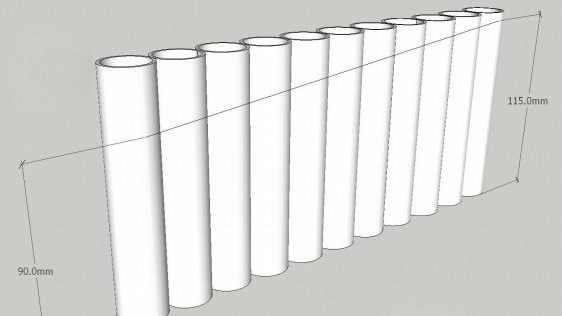
The author marks their length of 115 mm, and then the whole operation is repeated.
Both halves of the organizer are connected using hot glue.
The voids formed between the two halves are poured with hot glue to give the whole structure more strength, and also so that small drills do not accidentally fall between the tubes.
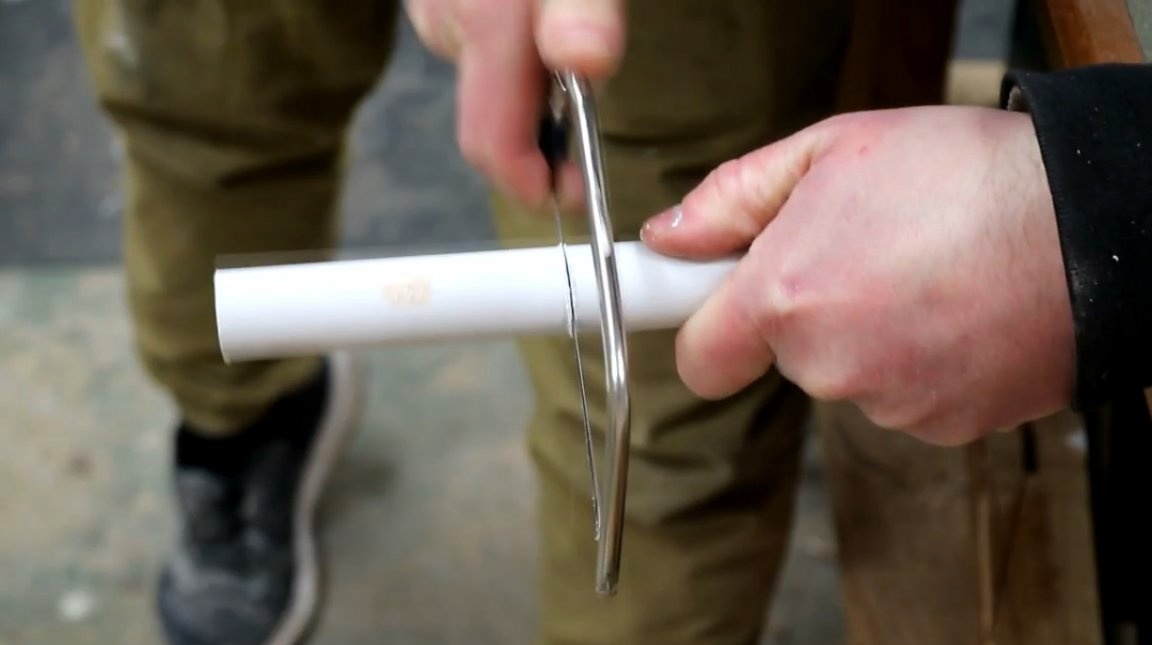
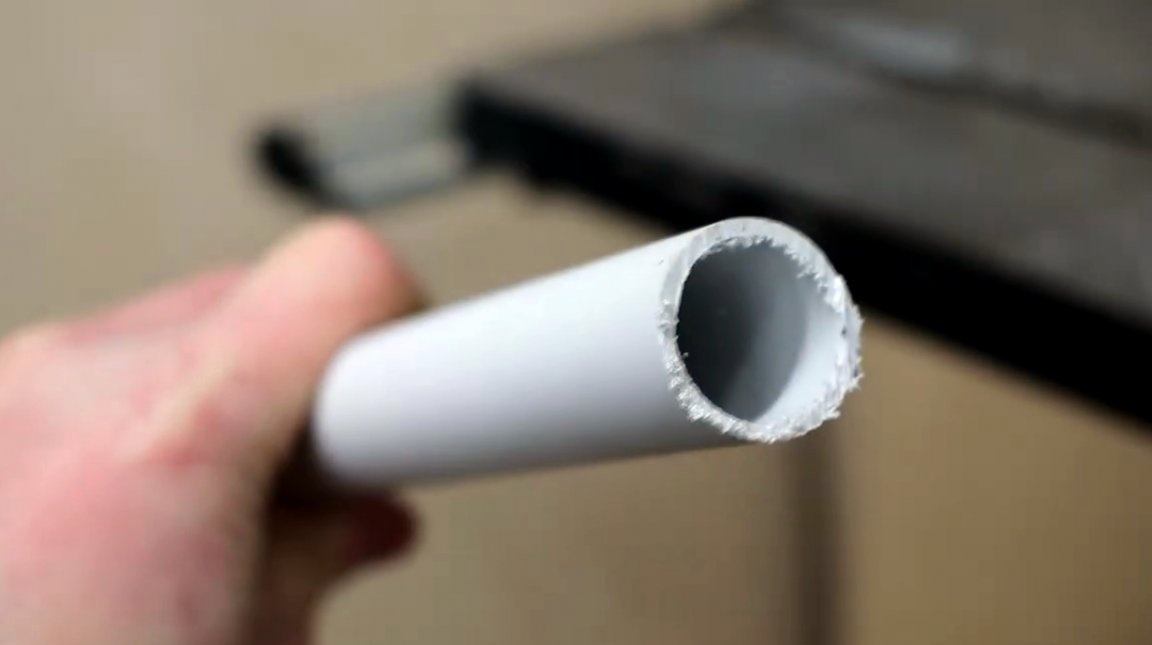
To be sure that the bases of both compartments are even, the master grinds them on a belt grinder.

The resulting barbs are cut with a sharp knife.

Then a wooden board is selected for the base of the organizer and cut to length. It was part of the table, and it is made of rubber wood.
The ends of the board are slightly rounded on an orbital sander.
In a separate dish or on a pair of strips of masking tape, a small amount of two-component epoxy adhesive is kneaded. It is applied to the bottom of the tubes.
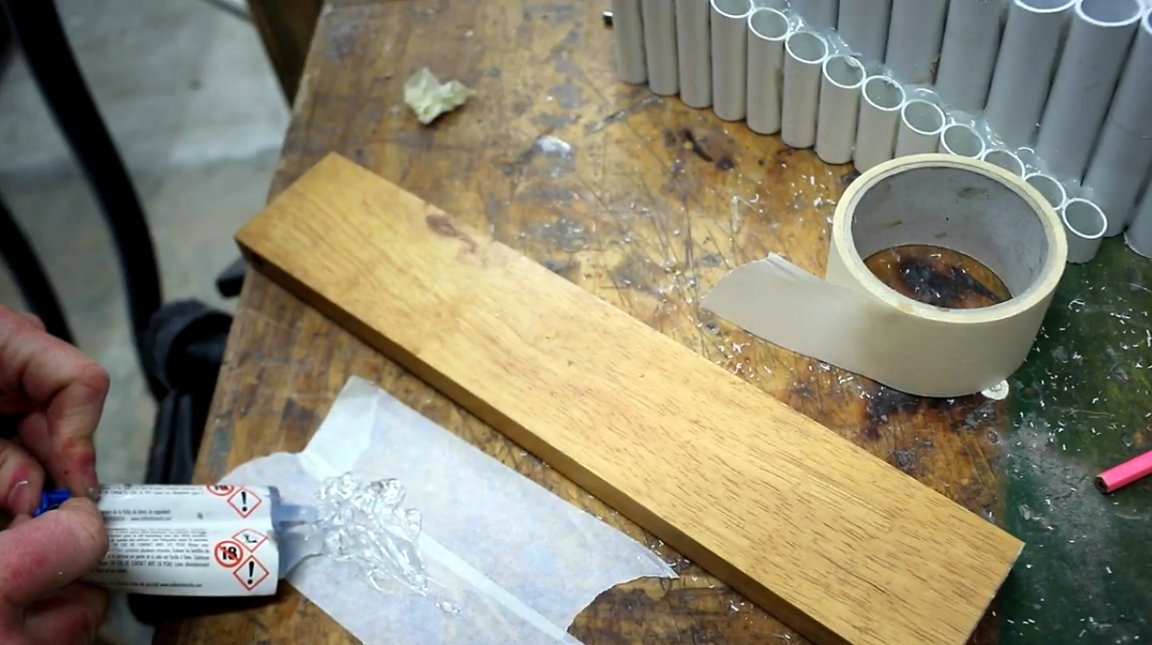

After that, both sections are pressed to the base and held motionless for a couple of minutes until the resin hardens.
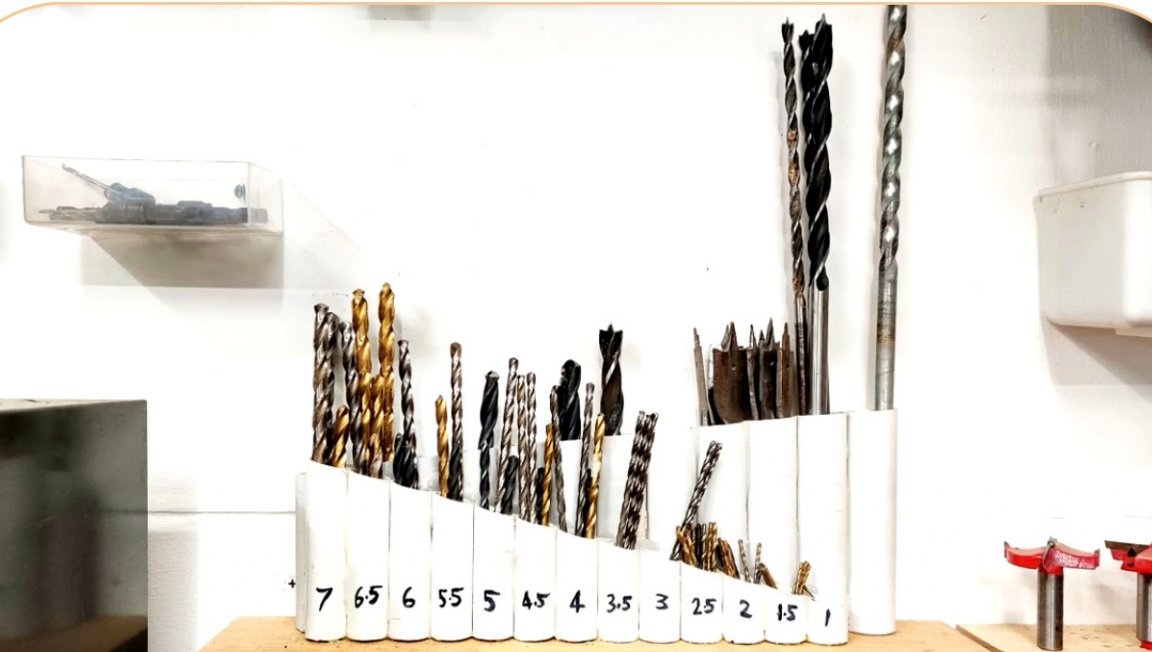
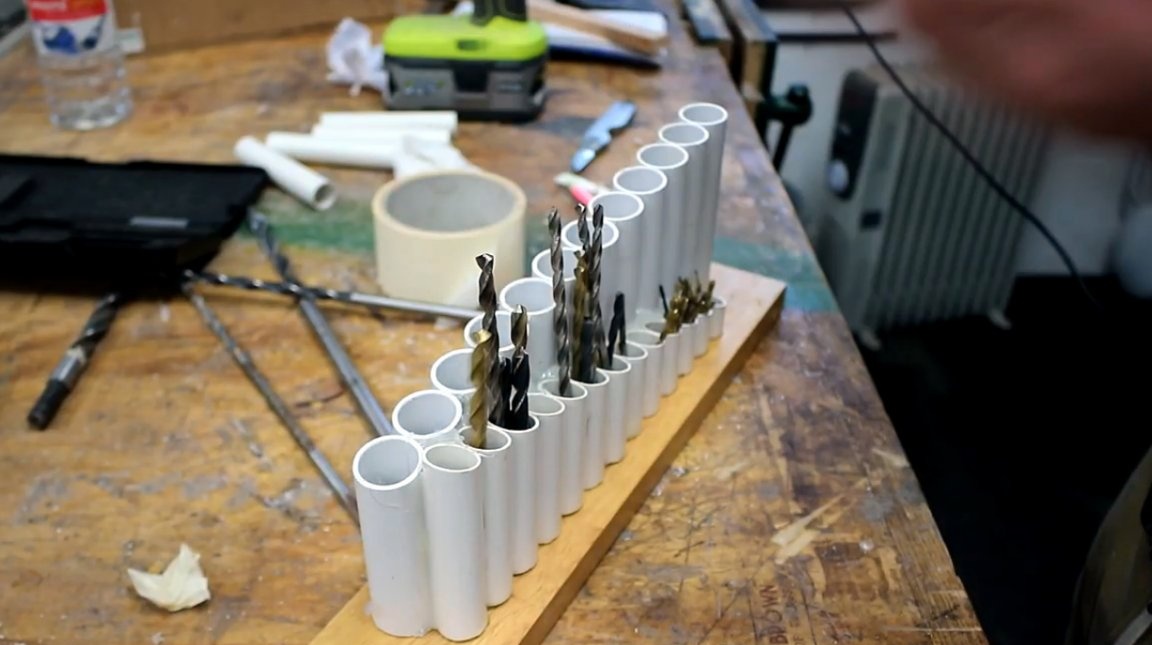
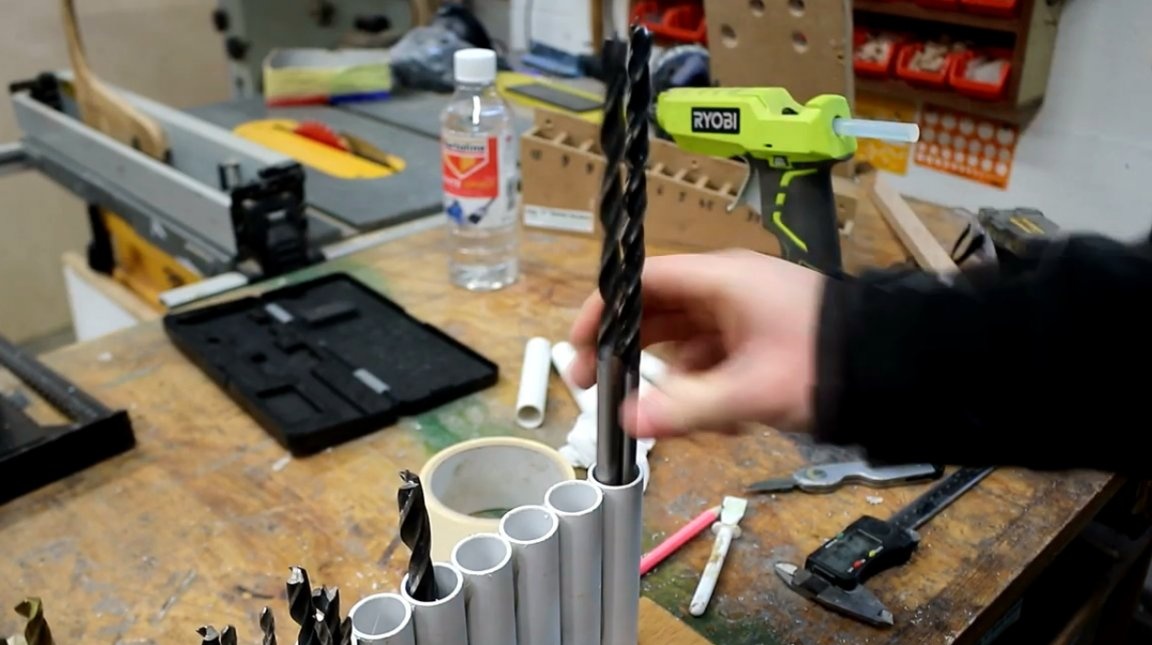
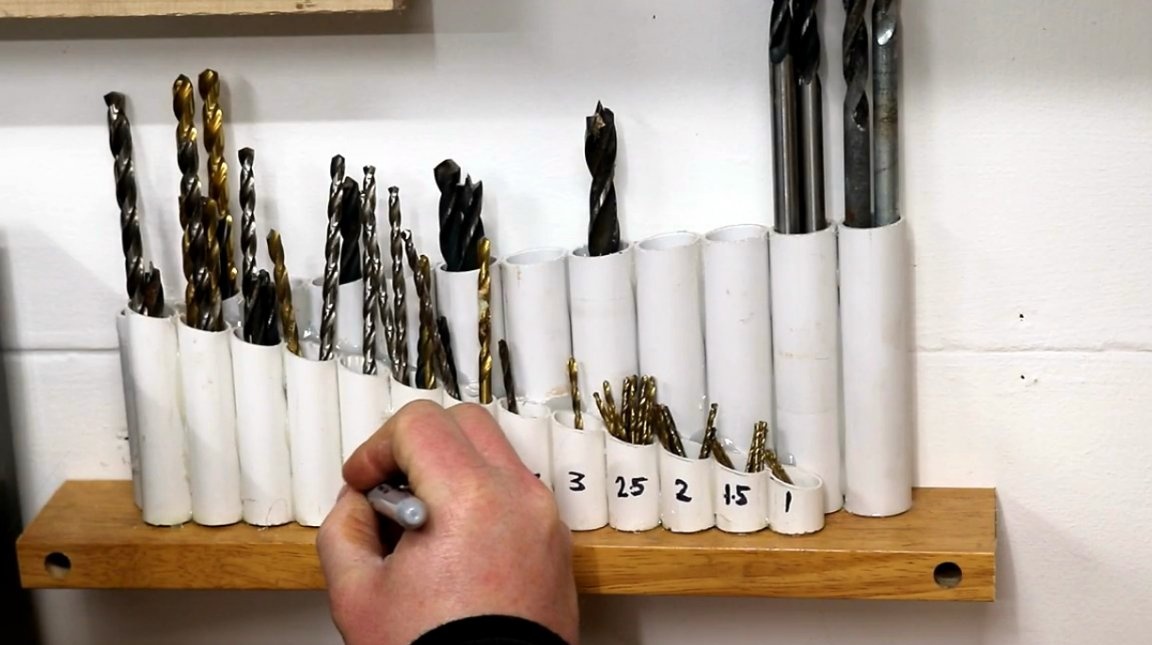
Now you can arrange the drill size.
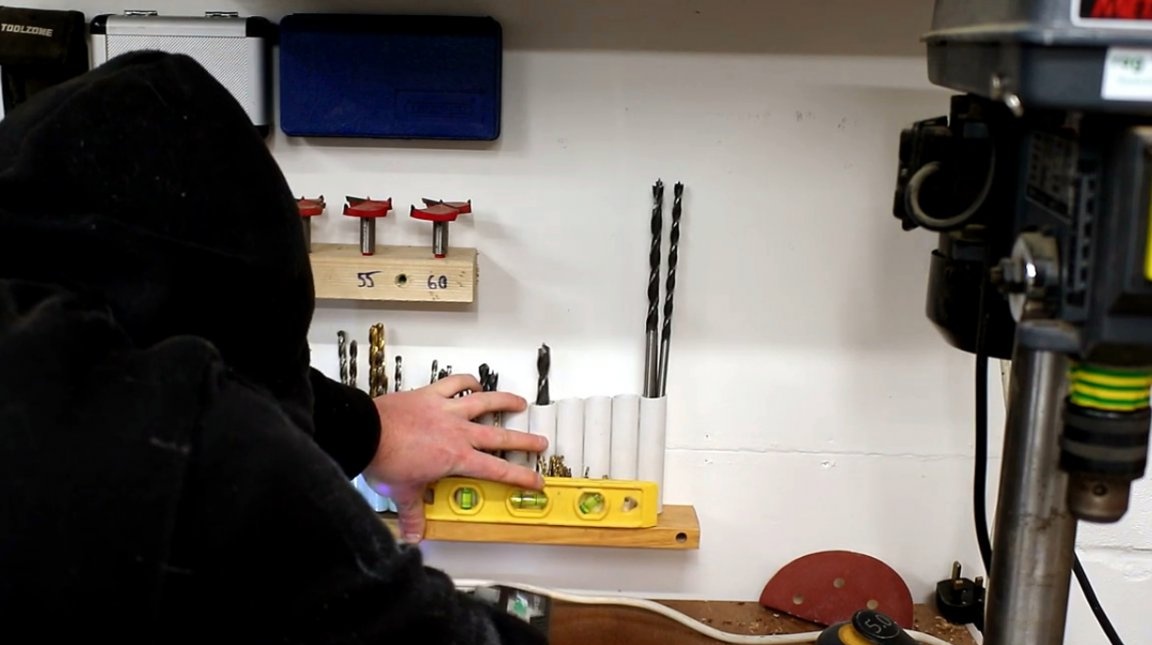
In a shelf, the author drilled a couple of holes, and through them screwed the organizer to the wall.
The final touch is to sign the size of the drill with a permanent marker on each compartment.
By the way, recently in one of the articles the process of manufacturing a similar organizer from scraps of PVC window sills. It is even easier and easier to do.
I thank the author for the simple but useful device to store drills in the workshop!
All good mood, good luck, and interesting ideas!
Author video can be found here.