Have you ever assumed, dear readers, that polyurethane foam can be used as ... material for the manufacture of objects of art. Although it may not be art, as such, in its literal meaning, but the decoration for the garden is a small sculpture, it can be done. In fact, polyurethane foam is unusually plastic, quickly hardens and is easy to process - what is not material for creativity?
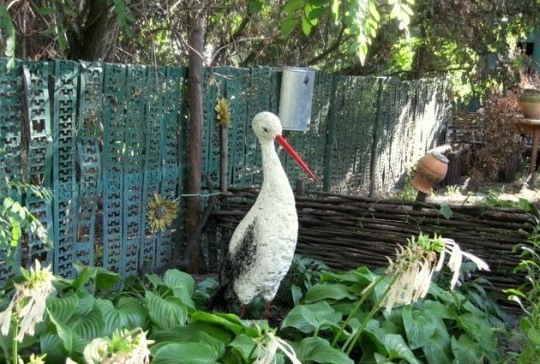
Today I will tell you how to make a sculpture of a stork from polyurethane foam to decorate your garden or summer cottage. Materials will need quite a bit, and they are very cheap. If you pay attention to how much garden sculptures cost in construction stores, then you will understand that the price of a pair of foam cylinders is incomparable with their cost. In addition, the stork will turn out much better. So let's get started.
Stork frame
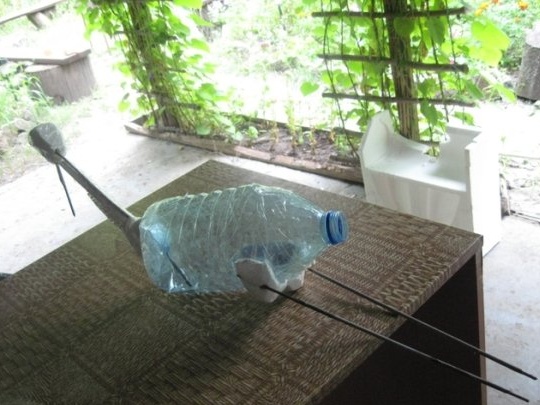
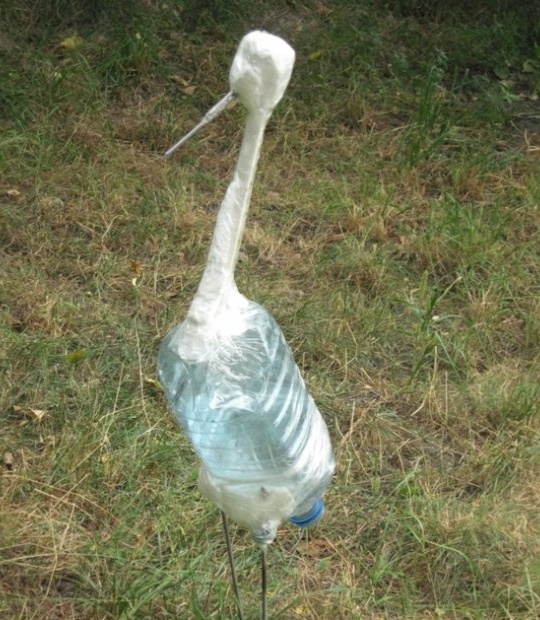
To begin with, we will select a suitable body for the stork - a frame on which foam will be sprayed. A plastic canister from under the water with a capacity of 5 liters fits perfectly. We make the neck of a stork from a wire, and to give volume, you can wind strips of polystyrene onto the wire. The stork’s legs can also be made of wire, and the nose and head can be cut out either from polystyrene foam or from wood - which is more convenient and preferable.
Sculpture making
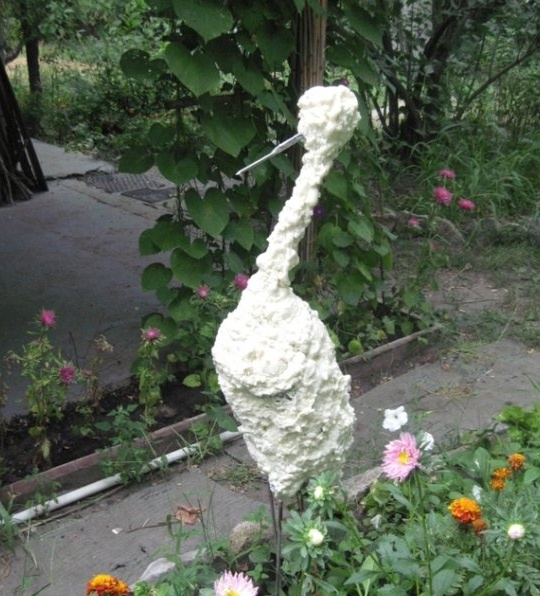
After making a simple frame, we start spraying foam onto our sculpture - we do it carefully, presenting the contours of the finished stork. To make it easier, print a large photo of the bird. If the foam doesn’t lie as you intended, it’s not a problem - after drying, the excess can be easily removed with a knife. By the way, if you wish, you can use real bird feathers for the tail - you know, maybe you can make a peacock instead of a stork. After the foam has dried and finalized with a knife, we paint the sculpture with ordinary acrylic paint, strengthen it in place in the garden, and call friends to evaluate your creative genius. Good luck
Video about how to make a whole nest with storks from the same mounting foam:


