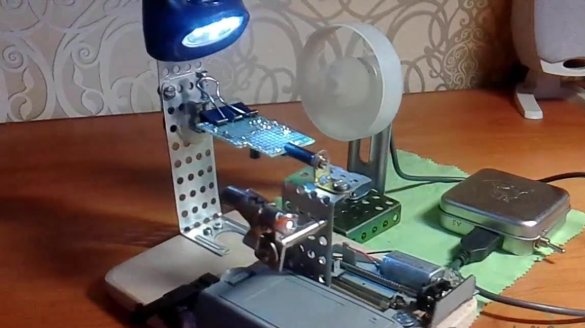
We present to your attention a review of a video on the construction of a very useful thing - a card holder. Such a holder can be of great help when soldering, because very often the second pair of hands is so lacking in this process.
Let's start by watching the author’s video on making the holder
So we need:
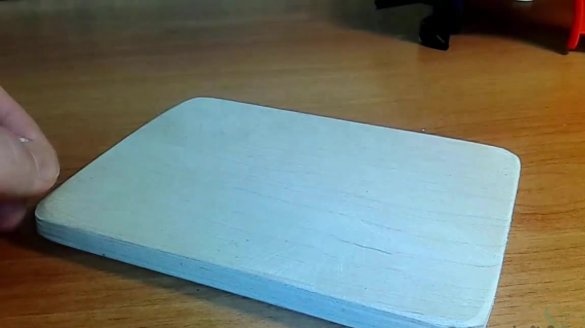
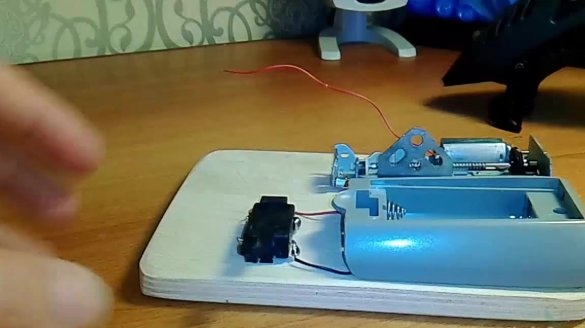
- a piece of plywood as a basis;
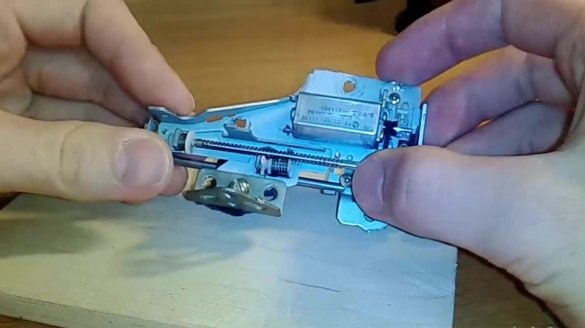
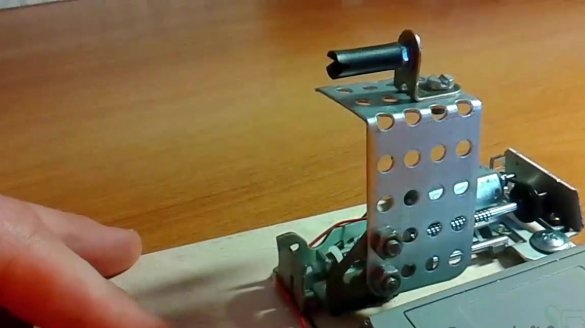
- a movable mechanism that is driven by an electric motor;
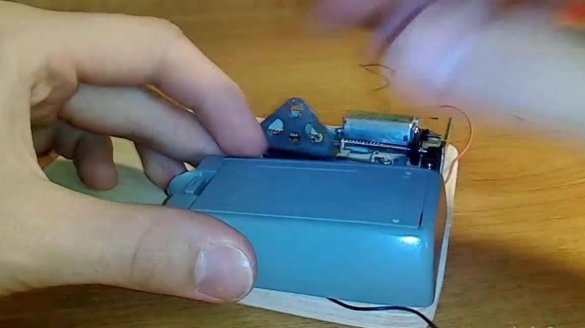
- compartment for batteries;
- switch for changing polarity;
- wires;
- soldering iron;
- glue gun.
The dimensions of the plywood that we will use for the base depend on the maximum width of the board that you plan to use when soldering. In the case of the author, boards with a width of not more than 10 cm will be used.
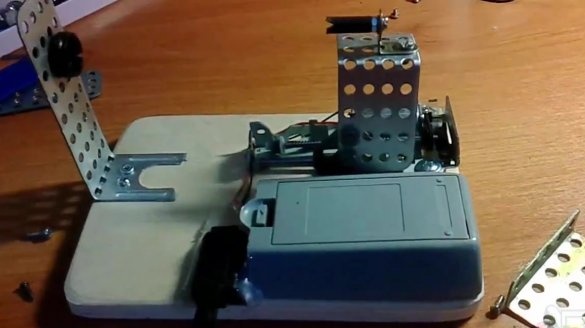
On the one hand, the board must be fixed in a stationary state, and on the other hand, on a movable mechanism, which must be screwed into the base from a piece of plywood with screws.
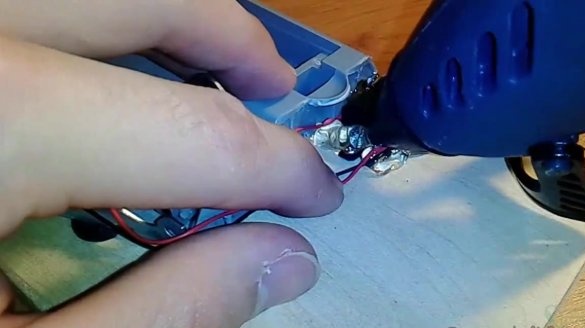
Let's start soldering the necessary wires, which will go from the mechanism to the switch, and from the last to the battery compartment.
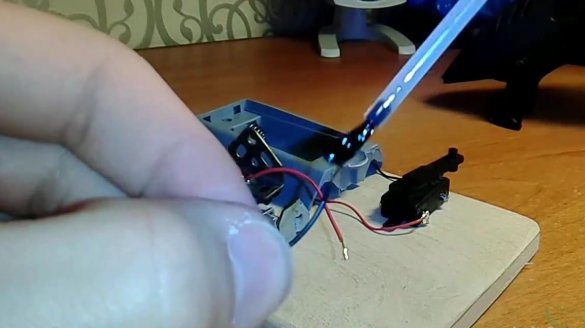
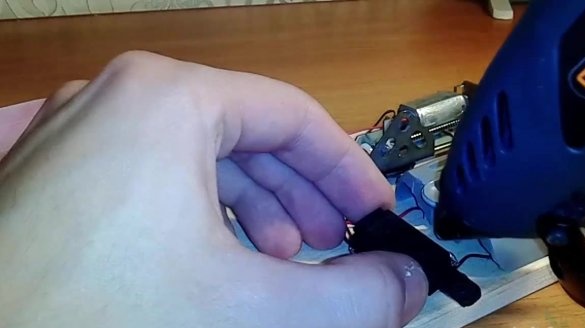
Plastic parts can be pre-glued to the base with a glue gun.
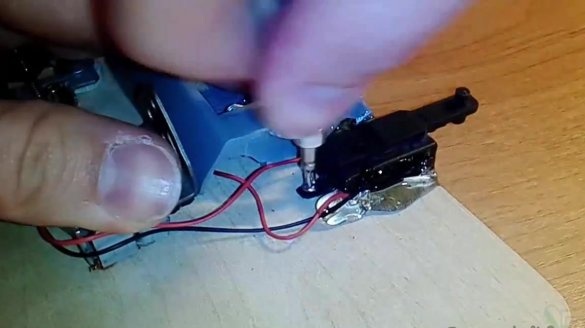
After that, you can additionally fix with screws.
Insulate all wires with hot melt adhesive.
After that, you can test the mechanism. The button that the author uses has 3 positions. In the middle position, the mechanism remains stationary, in the first position it begins to move in one direction, and in the second position - in the other.
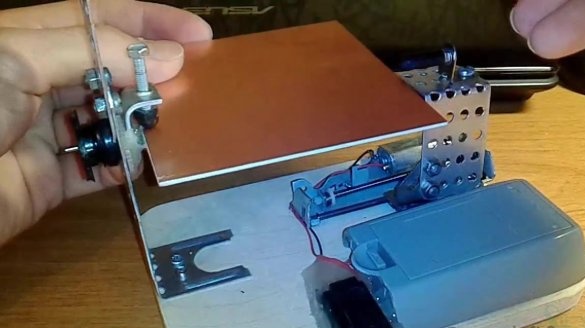
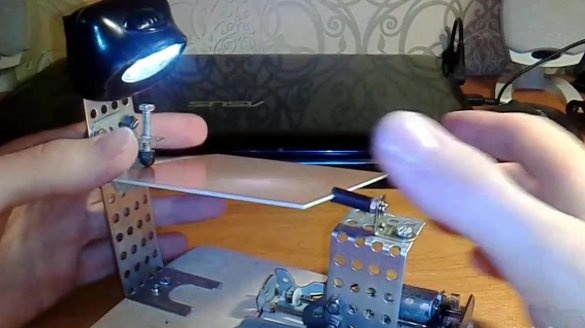
Let's continue the assembly. At this step, you need to take care of the board mounts. There is nothing complicated here, so we show the result in the figure below.
You can also attach a LED flashlight to the structure.
Thus, you can get a very comfortable workplace.
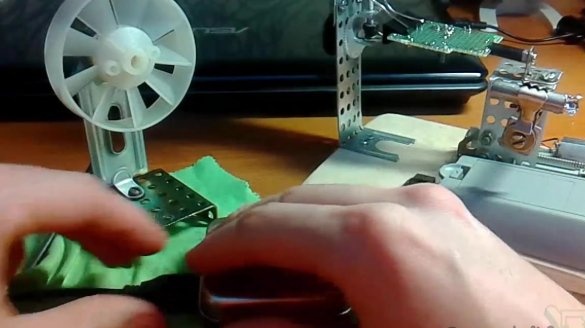
When soldering has to use flux or solder containing rosin, a lot of smoke is emitted. This problem, according to the author of the idea, can be solved by making a miniature fan from a computer cooler that will remove smoke from the structure.

