
In one of the past materials, we introduced a manufacturing method block onionwhich was later converted to crossbow. The author of the idea noted that he would share the method of manufacturing the trigger later. So, in this material we will consider this method.
Let's start with the author’s footage.
What do we need:
- paper;
- ruler;
- a pen;
- a steel corner 4 mm thick;
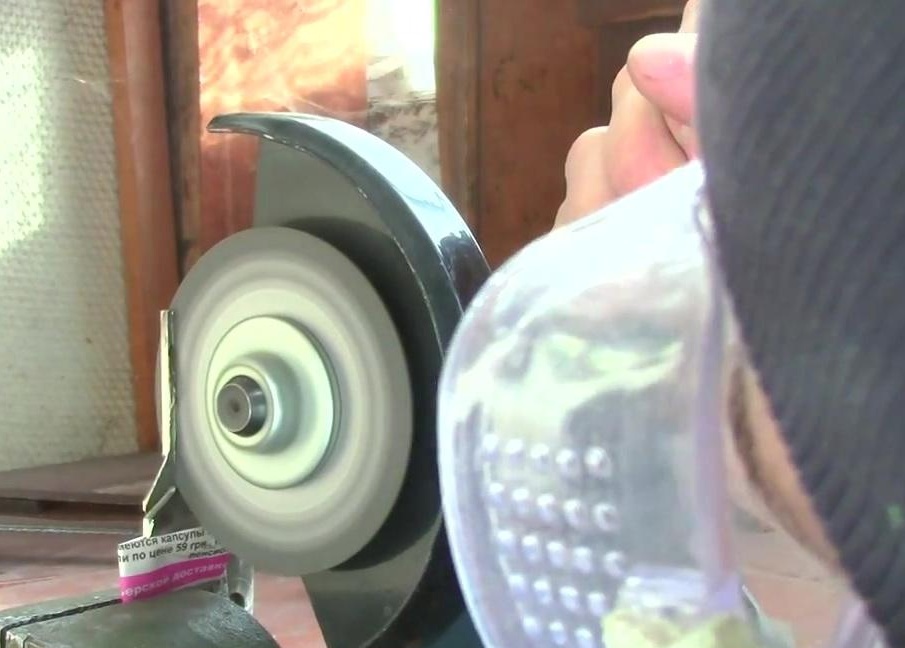
- grinder;
- a steel plate with a thickness of 2-3 mm;
- vise;
- file;
- drill;
- bolts and nuts;
- springs.
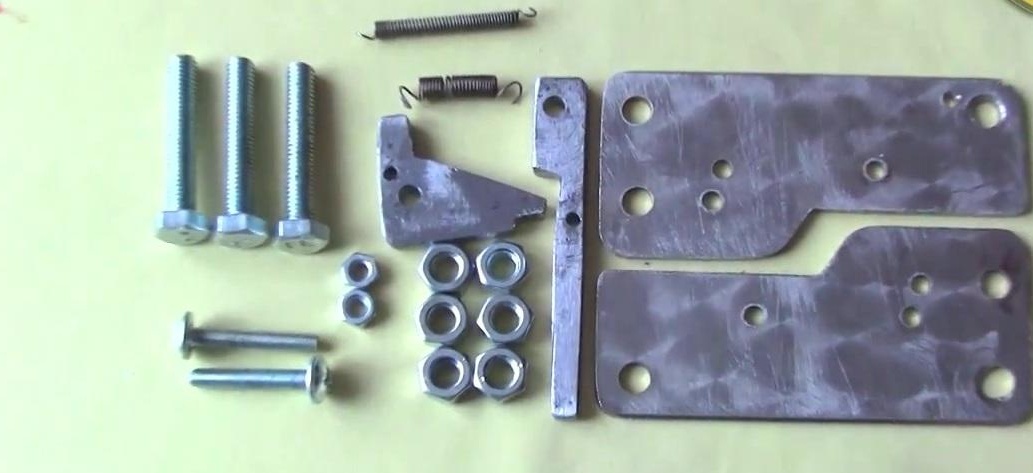
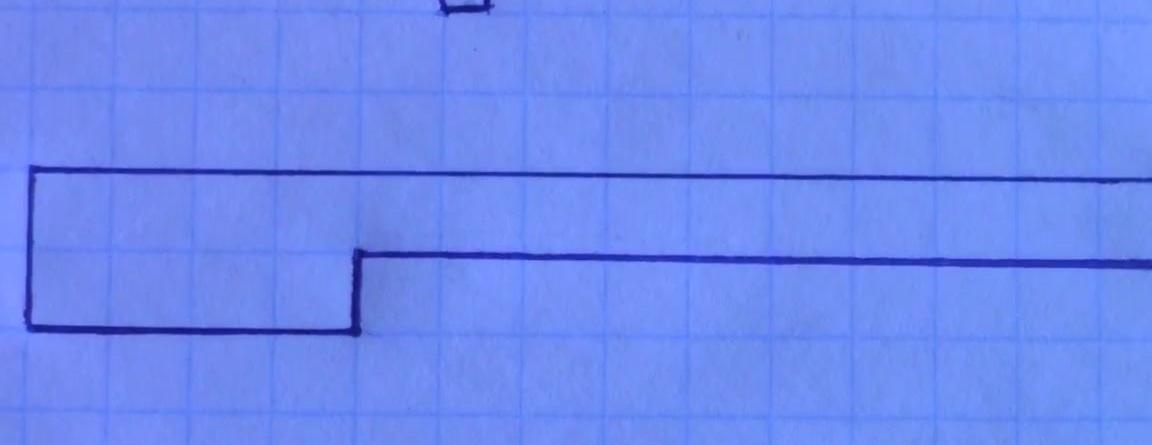
First of all, you need to draw on a piece of paper the details that later should be cut out of steel. For greater convenience, we bring drawings of all details that can be easily redrawn or simply printed on a printer. During manufacture, a steel plate will be used, which can be removed from the old door lock.

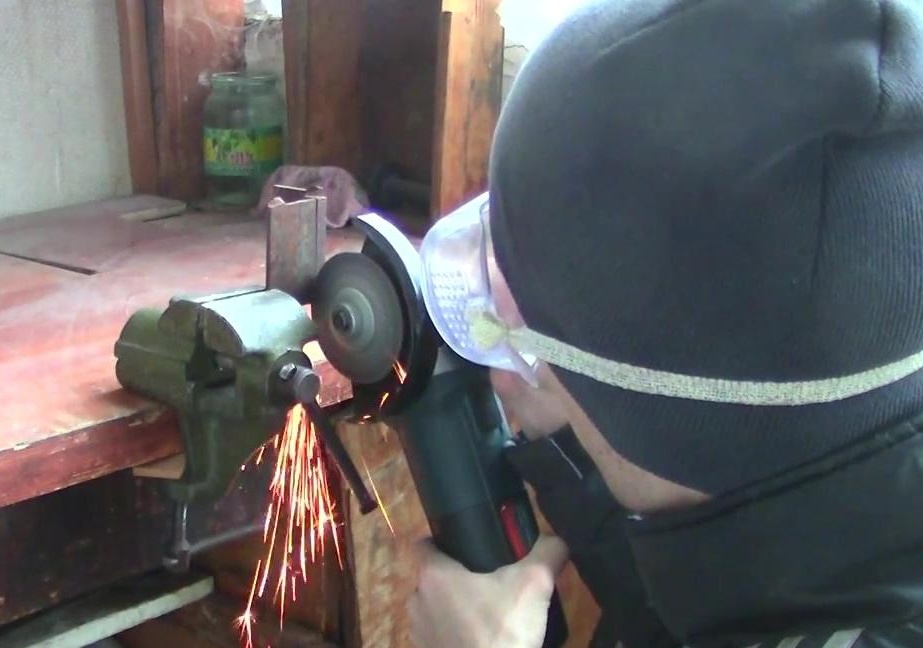
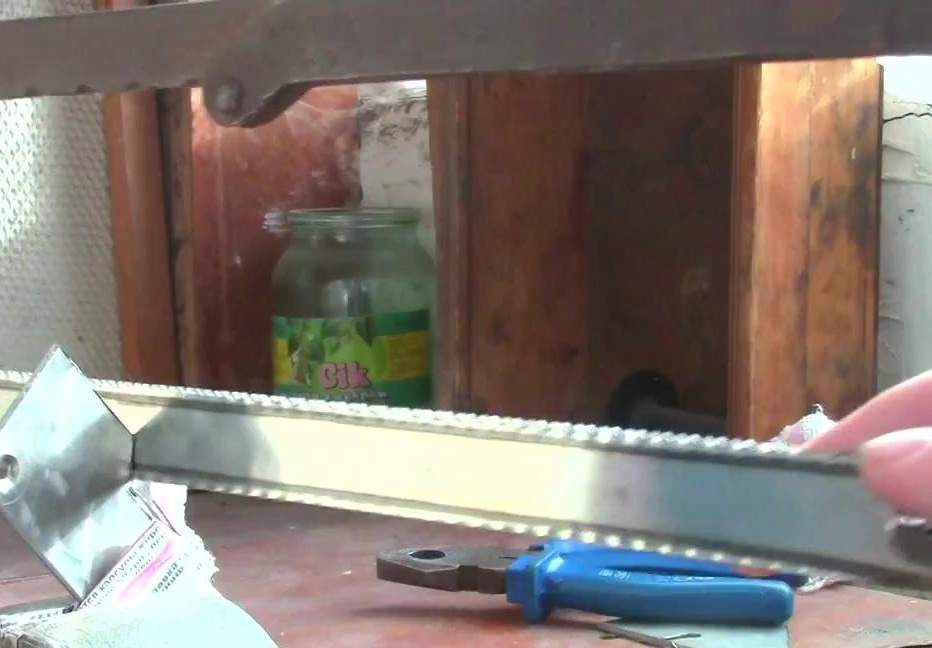
Next, take a piece of steel corner and cut it in half with a grinder.
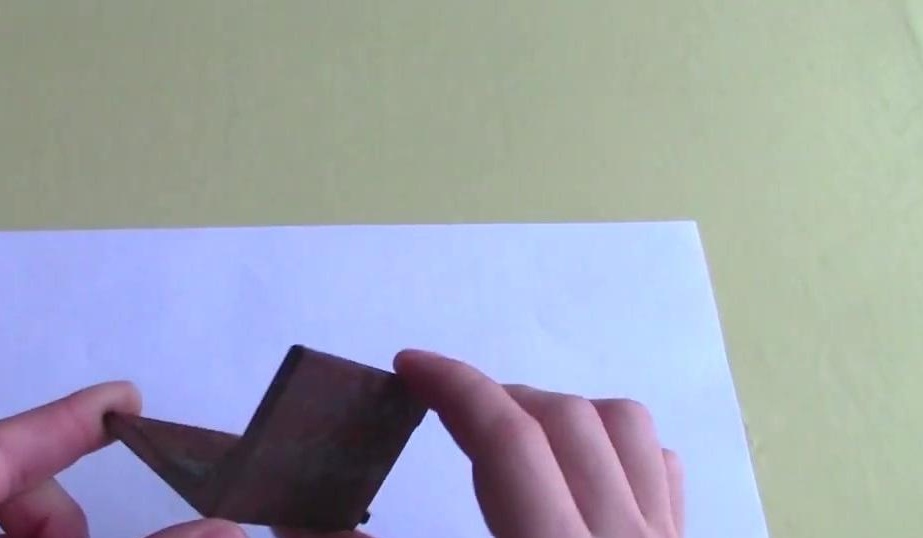
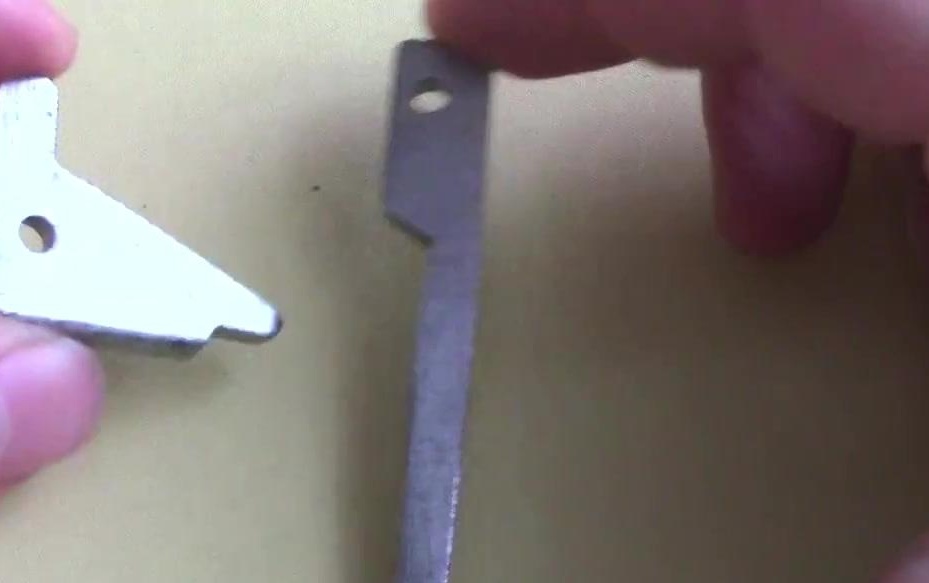
We transfer the drawings of our billets to the resulting pieces of steel.

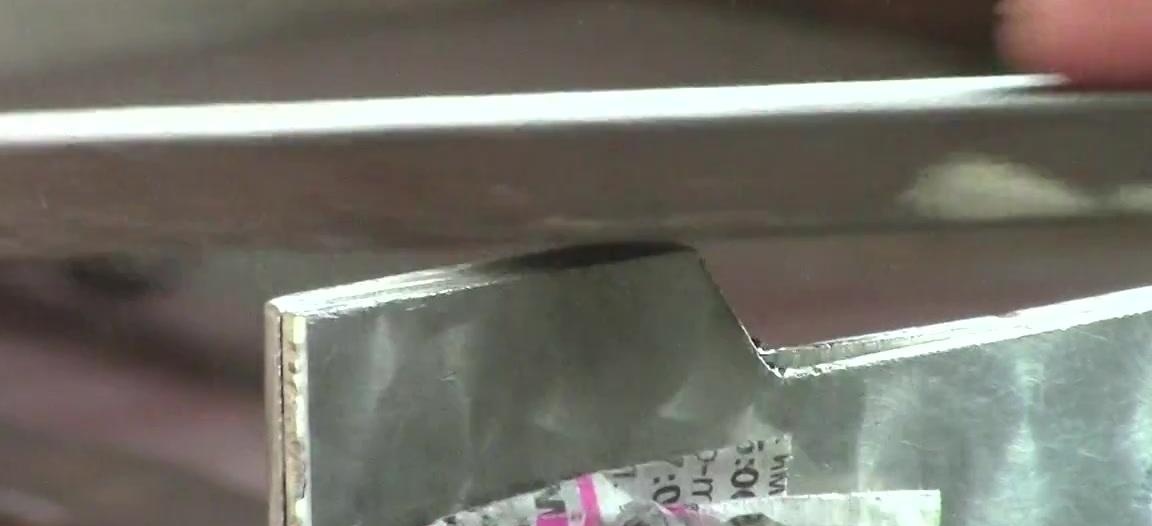
We cut the workpieces and drill holes in places that can also be seen in the figures below.
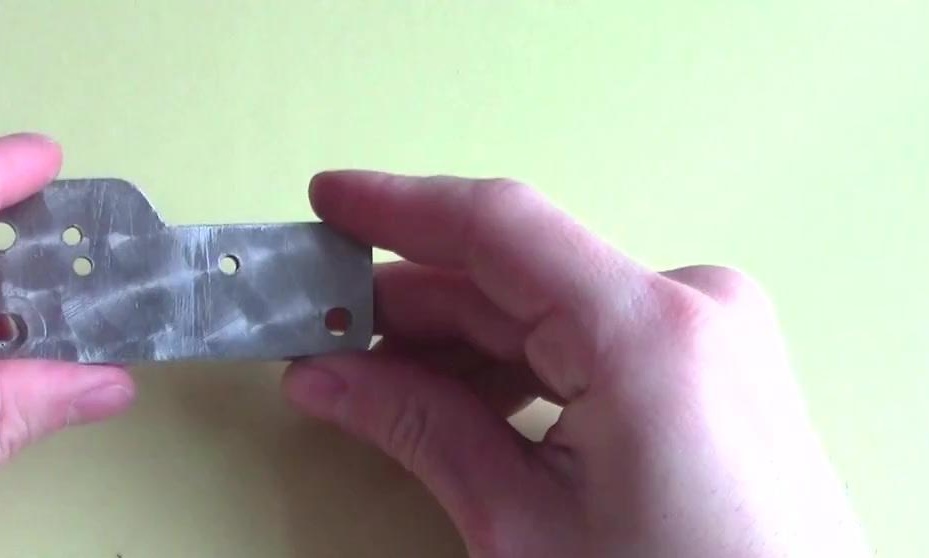
Next, take a steel plate from the door lock. Two blanks, the drawing of which is presented, need to be cut from this plate.
Now we clamp two workpieces from the plate into a vice and carefully process it with a file, twisting sharp corners to avoid injuries in the future.
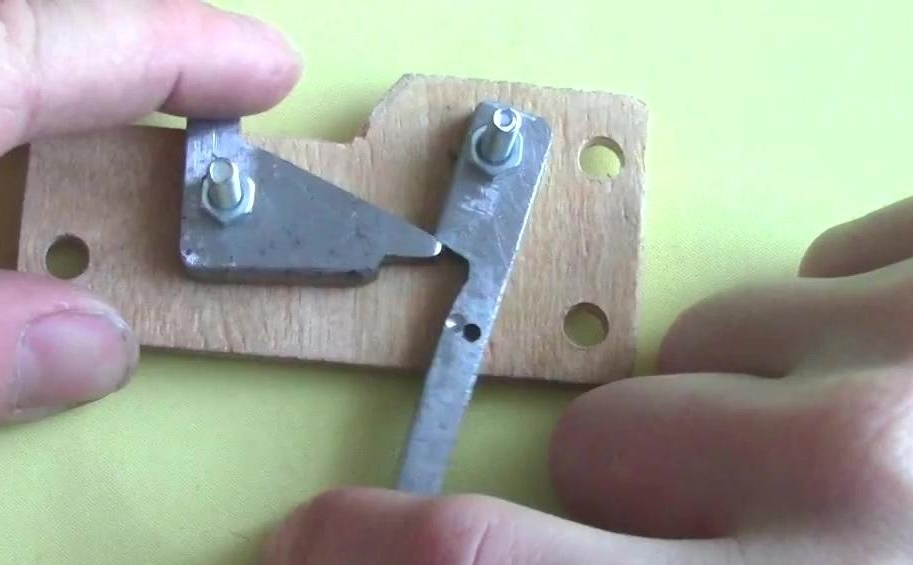
We put the blanks on the plates as shown in the figure.
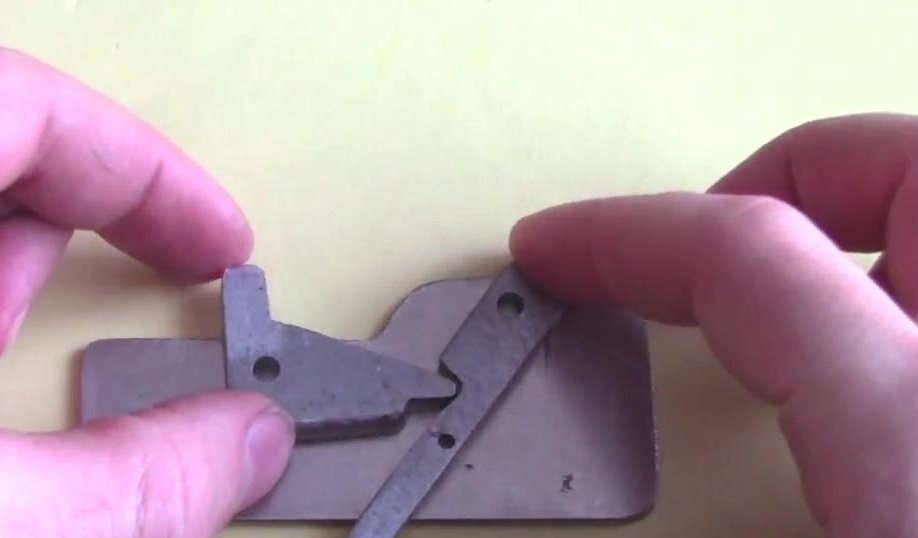
At this stage, you need to drill holes on the plates so that when you pull the trigger, the part on the left is released, on which the bowstring will be worn. The author advises immediately not to drill holes on the plate, but to experiment on similar plywood blanks. During the experiment of the mechanism on plywood plates, it will be possible to know exactly whether the structure works correctly. Note that not only your safety, but also the safety of others depends on the assembly of the trigger mechanism.
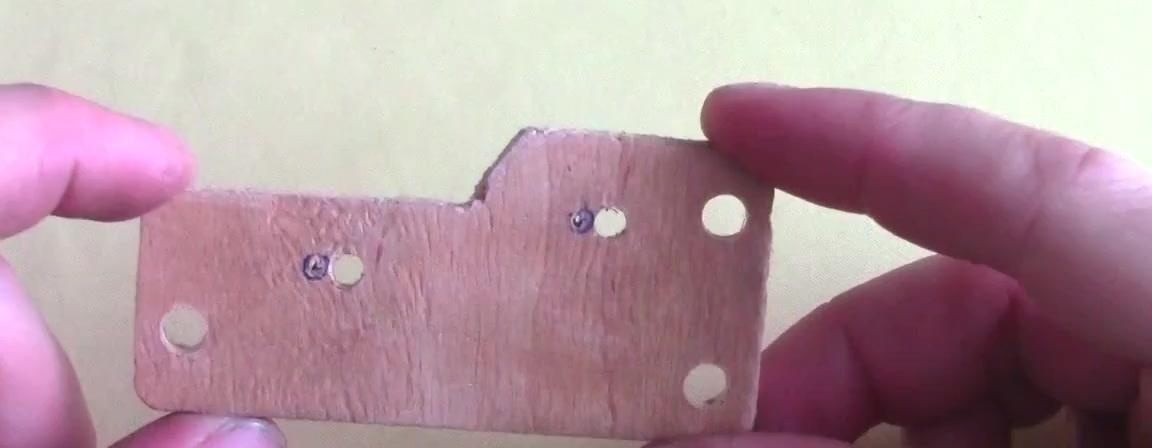
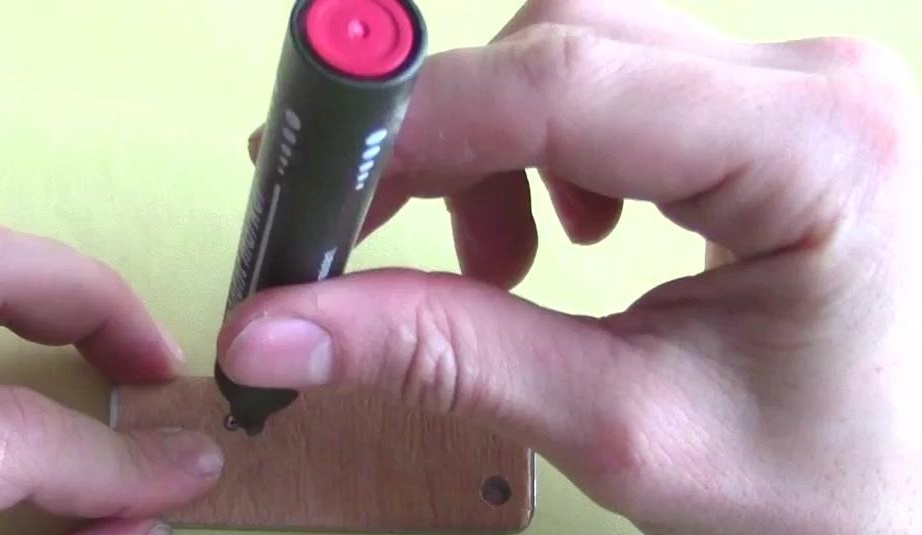
After the places of future holes are known, temporarily glue the steel plates with superglue and transfer the marks of the holes to them. Superglue can be removed by throwing plates in boiling water.
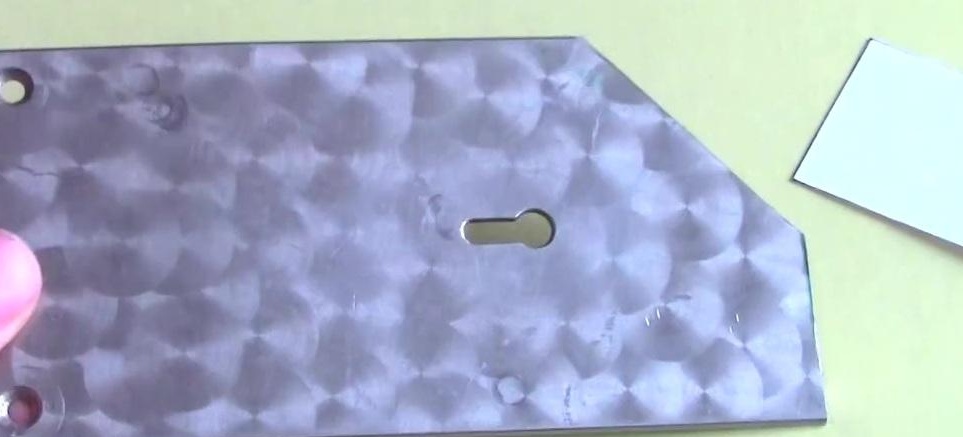
We make holes on the marks.
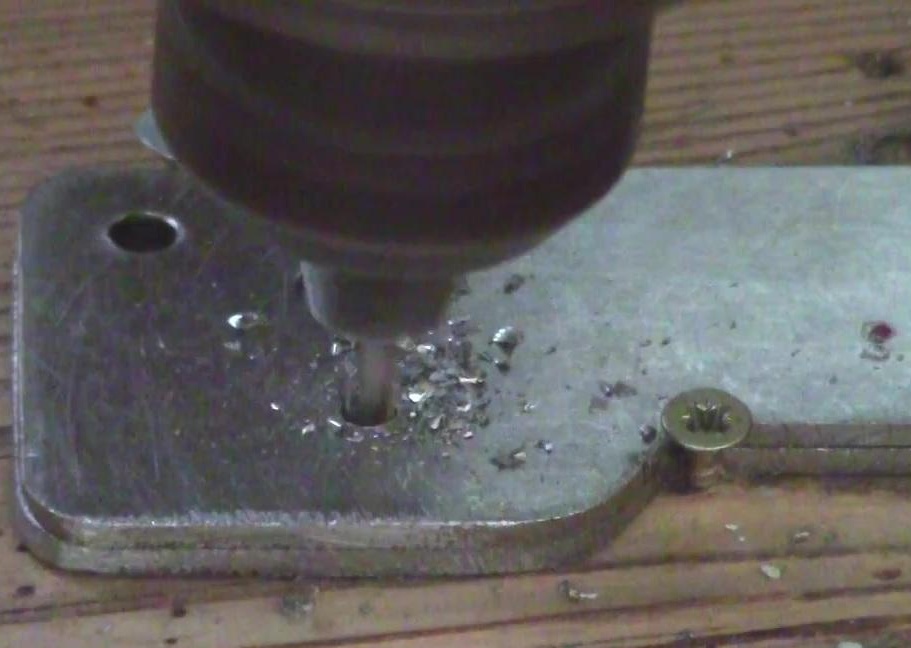
We also drill three holes on the sides of the plates.
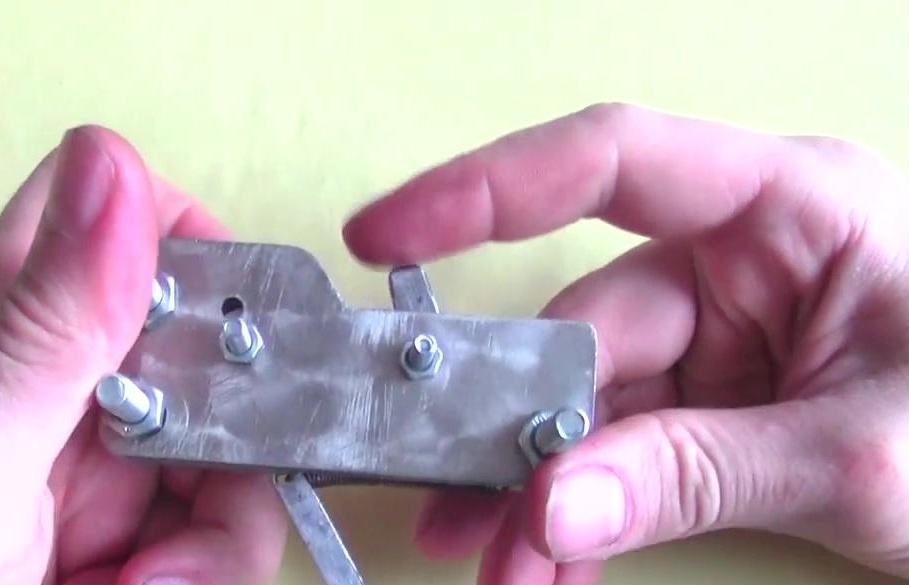
All blanks are ready, you can proceed to the assembly of the trigger. Let's start with the side bolts, as well as the bolts for the trigger, which we thread on one of the steel plates.
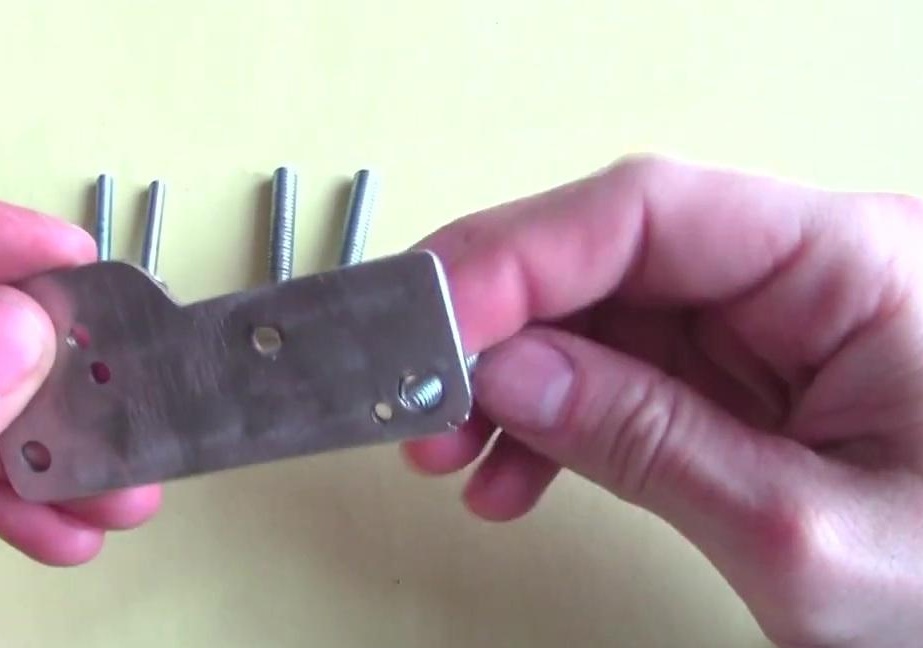
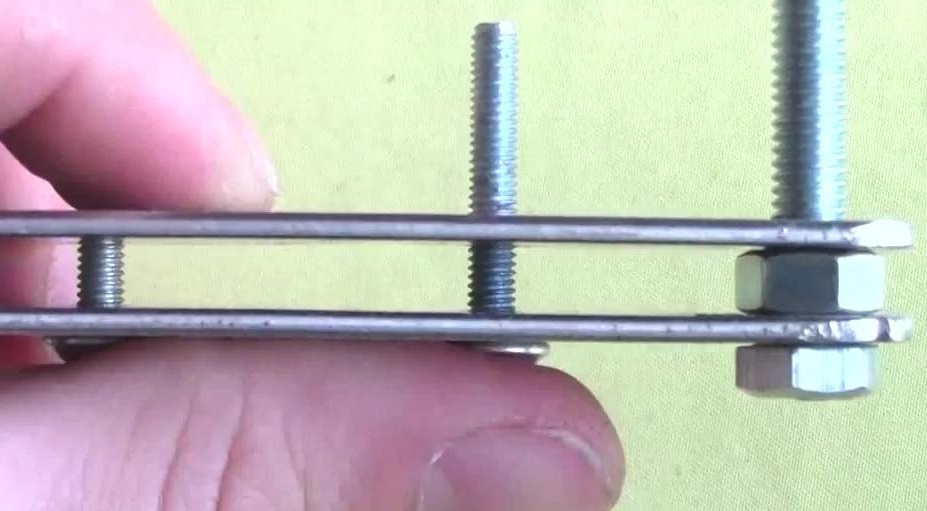
Screw the nuts on the side bolts. It is important to consider that the nuts must be of such a thickness that the main parts of the trigger mechanism freely move between them.
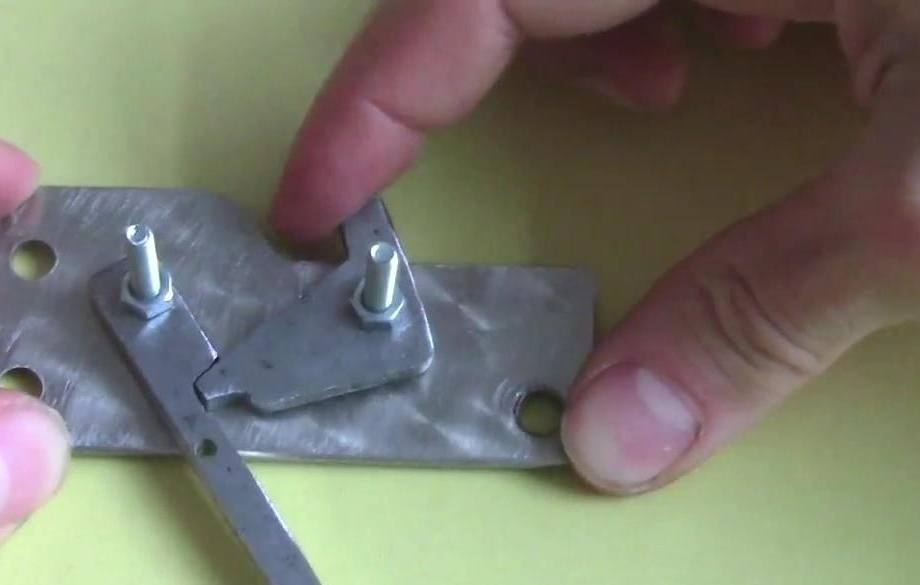
We put in place the details of the trigger mechanism. We fix one spring to a small part, and the second to the hook, as shown in the figure.


We dress the second plate on top and press it with the nuts. The trigger is ready. According to the author of the idea, such a mechanism can easily withstand a load of several hundred kilograms, and you can pull the trigger with one little finger.