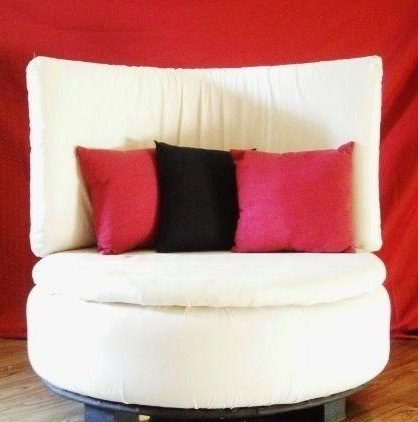
You may have already seen workshops that resulted in tires being transformed into ottomans, tables and stools. I suggest you turn the tire into a round sofa. If you try, it will turn out truly amazing.
Step # 1: Gathering Material
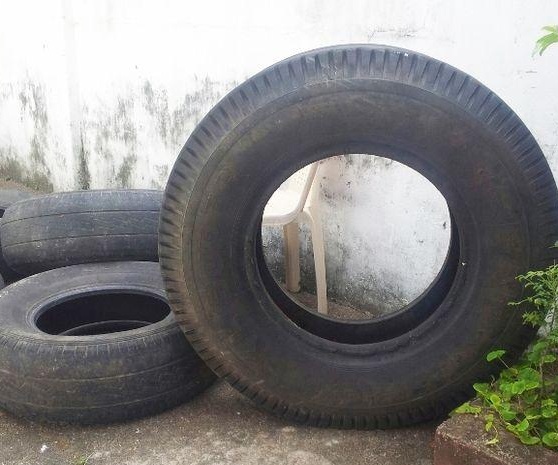
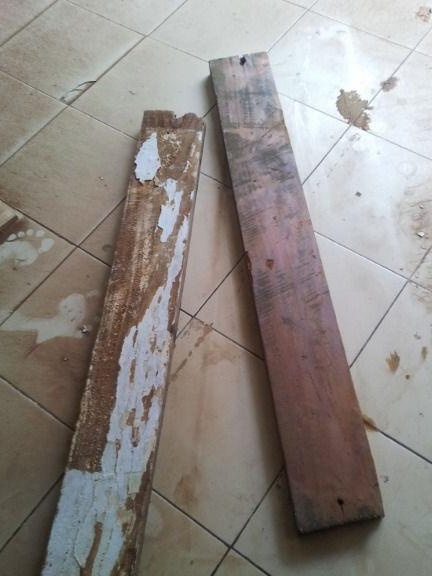
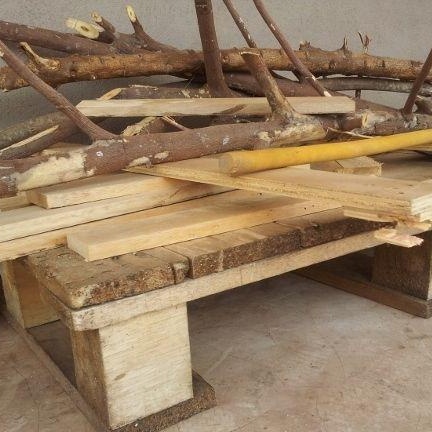
You will need:
• Truck tire
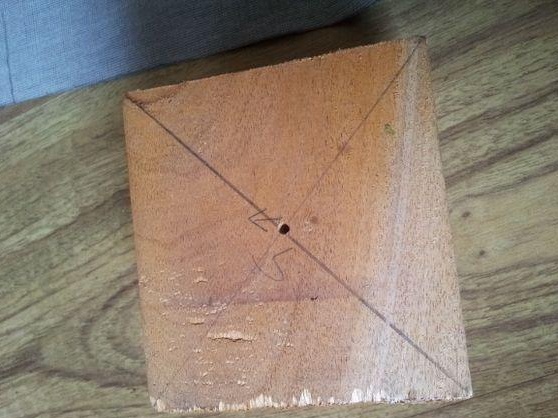
• Four legs - square blocks 8x8x5, pieces of wood from pallets
• Wooden blocks - 5 pieces, for the manufacture of "rays"
• Faux leather - not necessary, but not bad
• 1 sheet of plywood 9 mm thick
• 2 sheets of foam rubber 5 cm thick
• 1 sheet of foam rubber 1-1.2 cm thick
• 8 screws and 20 bolts with nuts
• A piece of cloth will be needed to tighten
Once everything you need is cooked, you can start.
Step number 2: make the cover
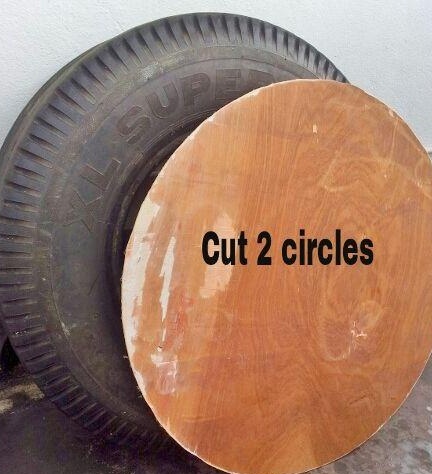
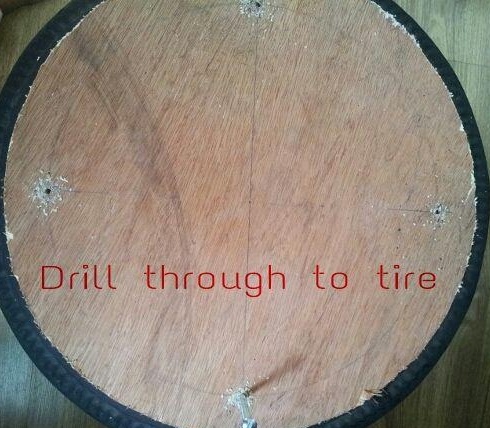
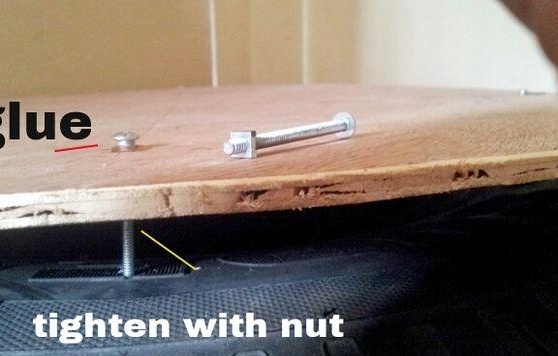
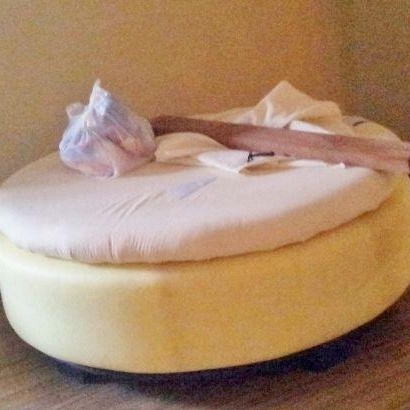
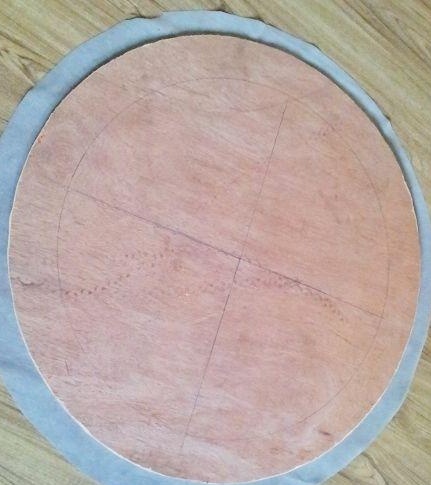
First you need to measure the diameter of the tire. Reduce the diameter by a couple of centimeters and draw 2 circles of the desired diameter on the plywood. Mark the middle and cut out the circles. Divide the circle into four sectors through the middle and drill four holes. Try the plywood circles on the tire and outline the places where you will need to make holes in the tire. After that, fasten the plywood circle to the tire with a bolt and nut.
The turn of foam rubber came. If the dimensions of the sheet do not allow you to cut the whole circle, then use two sheets and fold a circle of parts that are best sewn together. Please note that the diameter of the foam rubber circle should be slightly larger than plywood. Foam rubber needs to be fixed on plywood with glue.
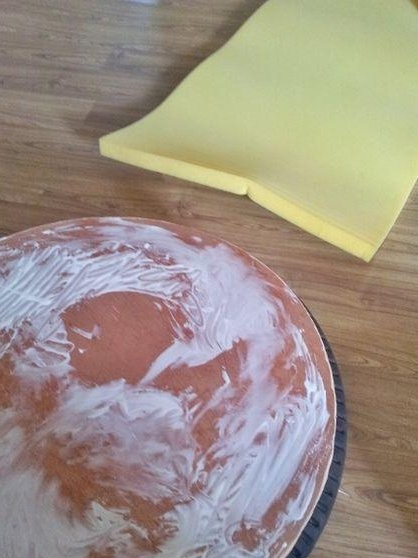
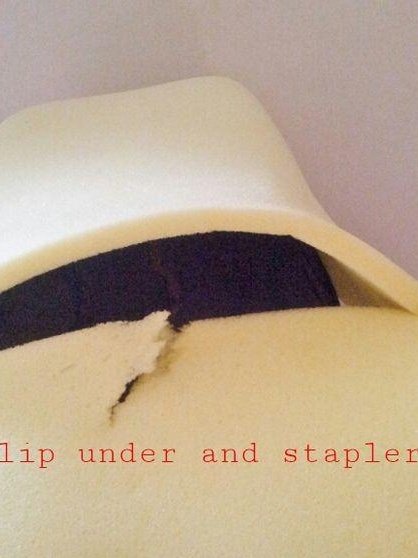
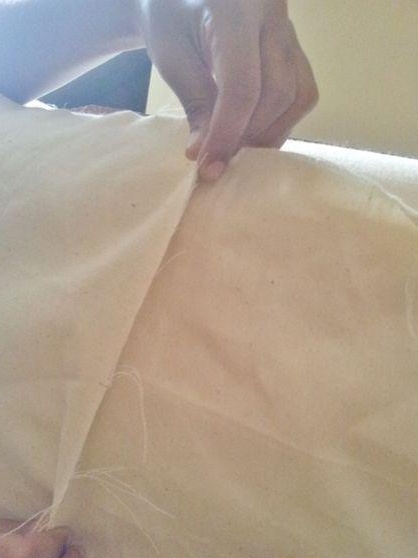
Now we need to cut the fabric: if the foam rubber circle is larger than plywood, then the fabric should be even larger in diameter. Cloth optimally fastened with a furniture stapler from below.
Step number 3: make the foundation
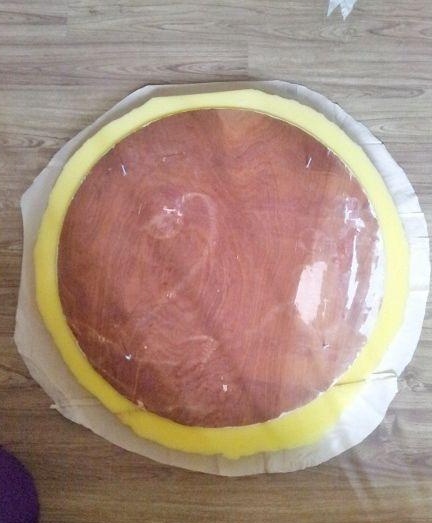
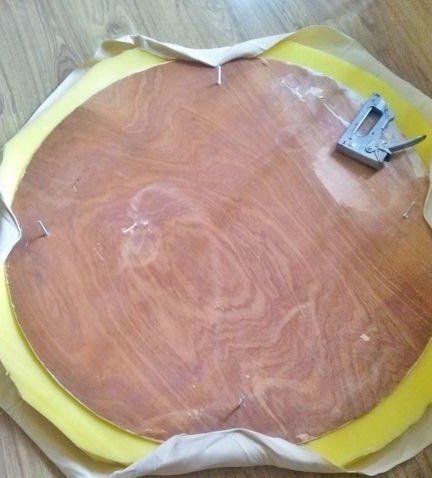
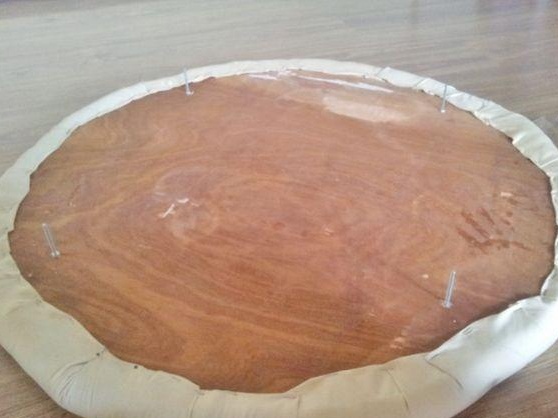
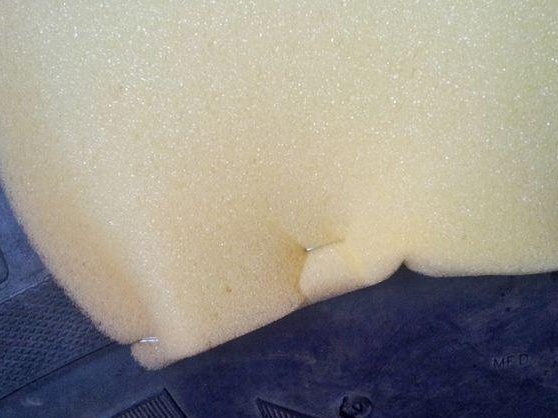
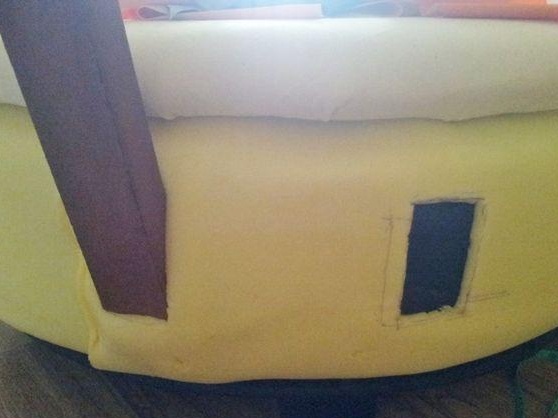
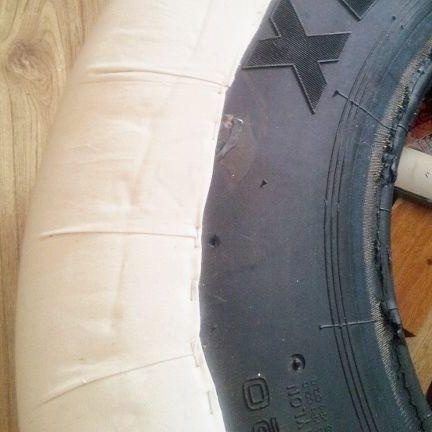
Measure the height of the tire. Add 10 cm. Now measure the perimeter of the tire. The obtained dimensions are needed for the manufacture of parts made of foam rubber. Attach the foam rubber to the tire with a stapler. Along the perimeter of the tire, outline the places in which wooden blocks - supports will be fastened. Divide the back of the tire into 5 sections and measure the width of the bar at each point.
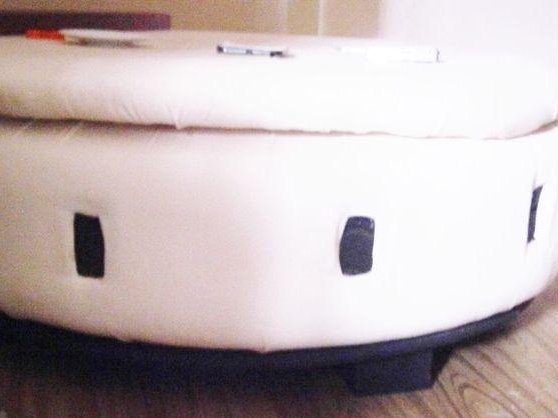
Cut the part from the fabric, wrap the tire around the perimeter and tighten it tightly.After that, gently attach the fabric to the tire from the top and bottom. Now you can cut holes in the fabric under the bars, and process their edges with hot glue.
Step number 4: the lower part of the chair
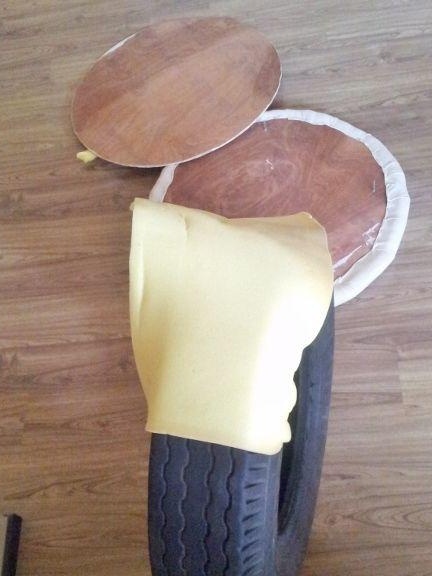
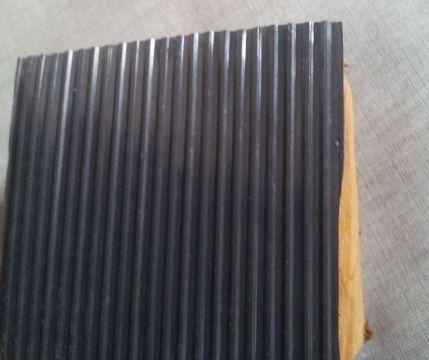
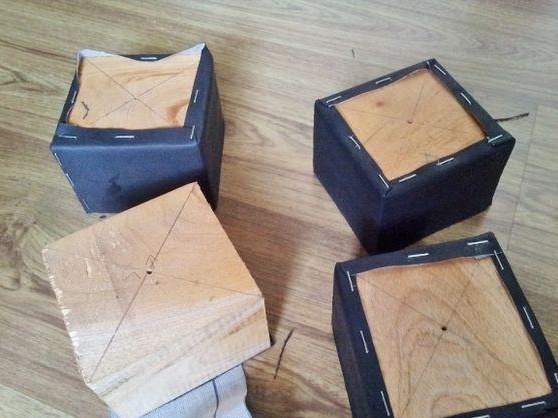
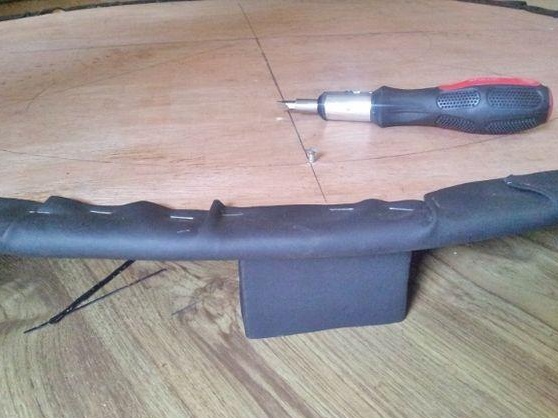
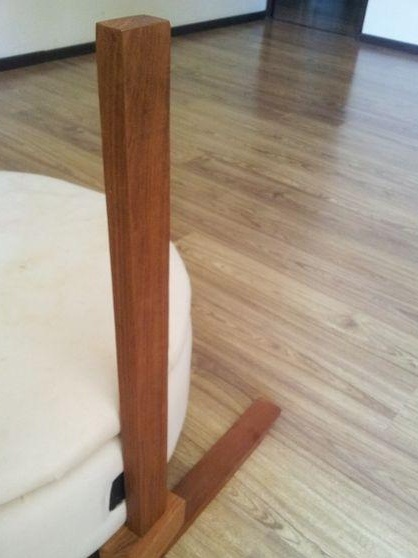
You can skip this step: if your sofa does not need legs. In order to decorate the lower part of the sofa, you can use pieces of artificial leather (wrap and fasten with a stapler on the lower part and paste over the legs). For legs, you can use bars from pallets. Stick pieces of rubber onto the bottom.
Drill four holes on the bottom and fasten the legs with screws.
Step # 5: Support Bars
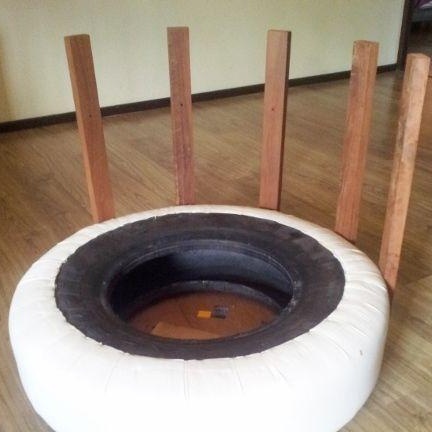
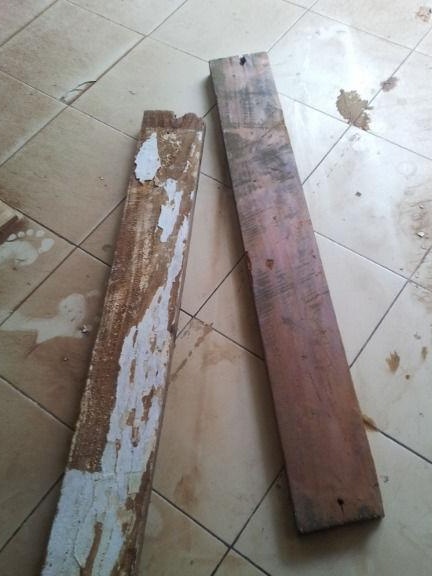
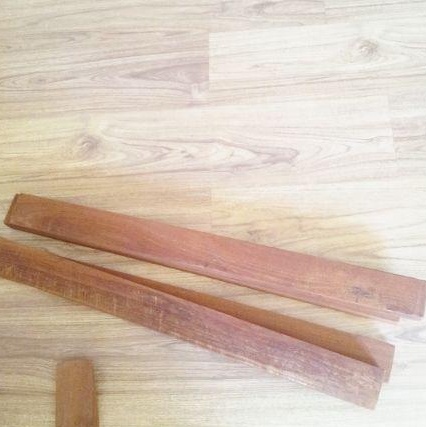
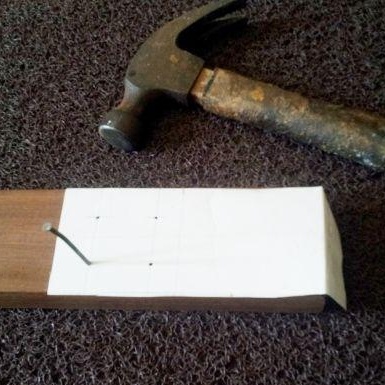
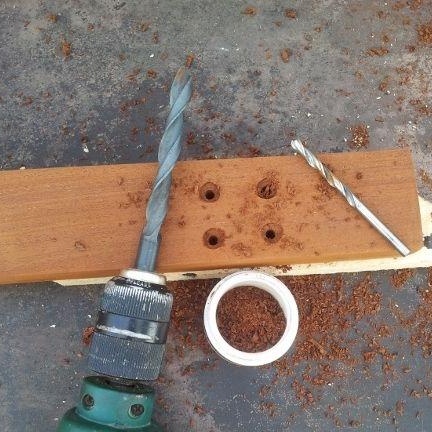
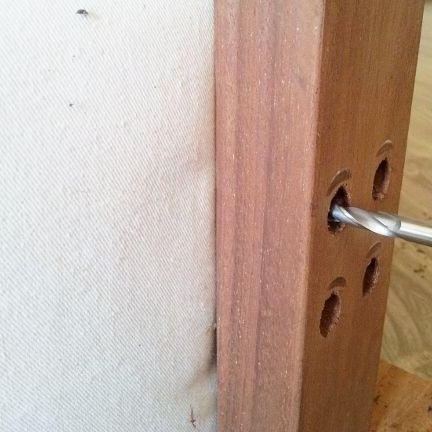
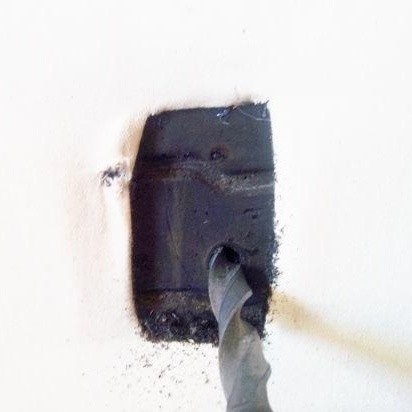
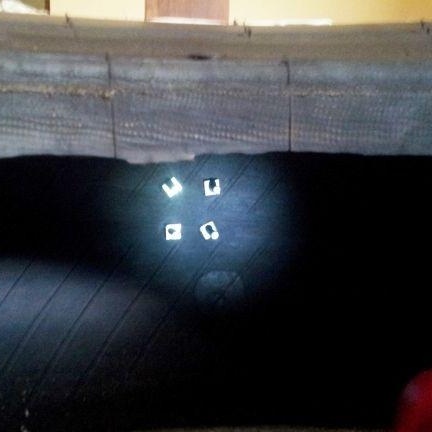
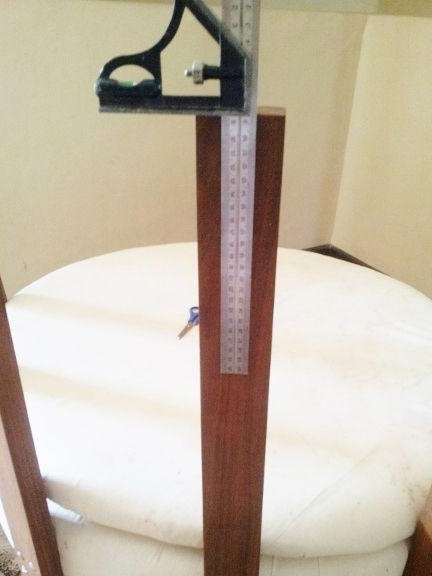
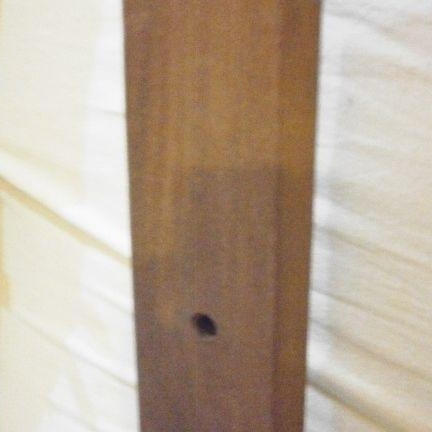
Turn the ottoman into a sofa - make the back. You will need polished wooden blocks. Place the bar in the designated areas. Mark the height at which the holes for fixing are to be made. Drill holes in the bars, and then make holes in the tire. Then fasten the bars with bolts. In the photo - 4 bolts on each beam. If the upper two are not tightened tightly, but a small gap is made, fixing it with two nuts, then the back will be slightly deflected. After all the bars fell into place, make holes on each of them, laying 30 cm on top.
Step 6: Soft Back
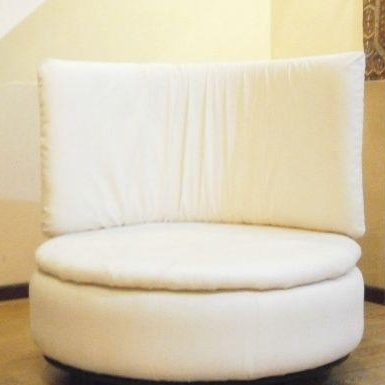
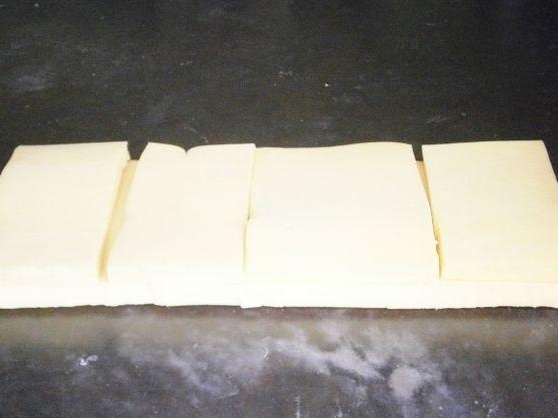
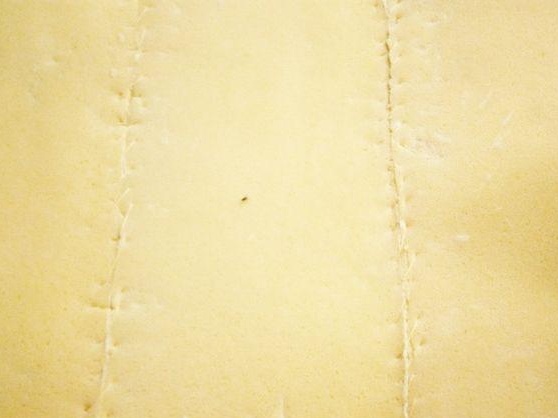
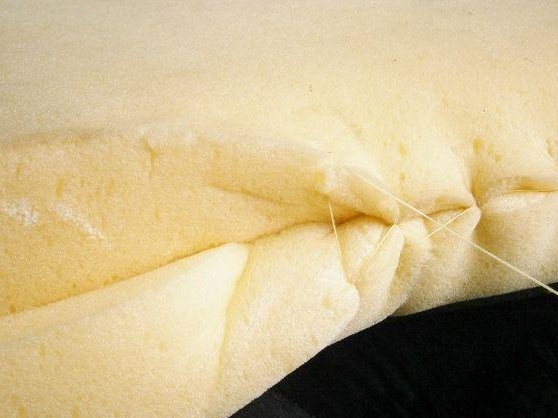
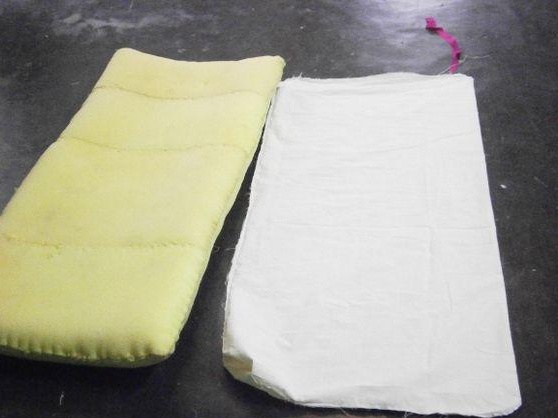
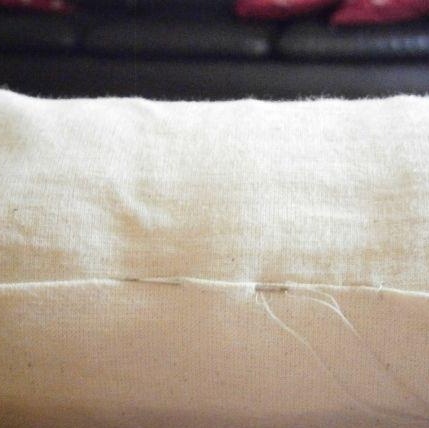
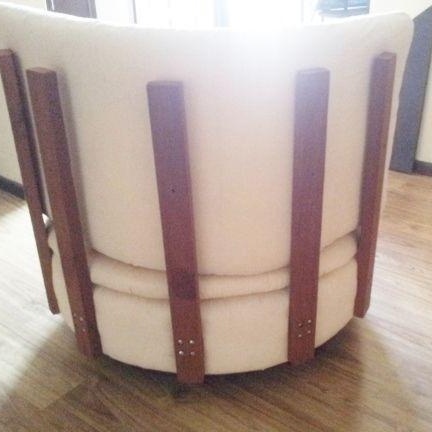
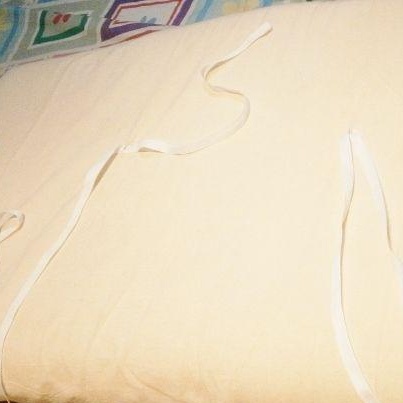
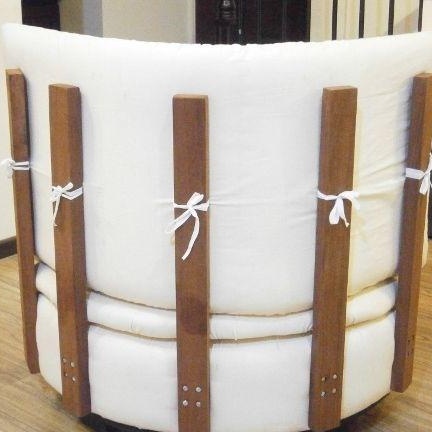
For backrest use foam rubber in two layers. Foam rubber is hidden in a fabric cover.
Now place the pillow on a wooden frame. Make sure the center of the pillow is aligned with the middle beam. Tie the ribbons with tight bows around each bar using the holes made earlier. Thus, the pillow will not slip and move out.
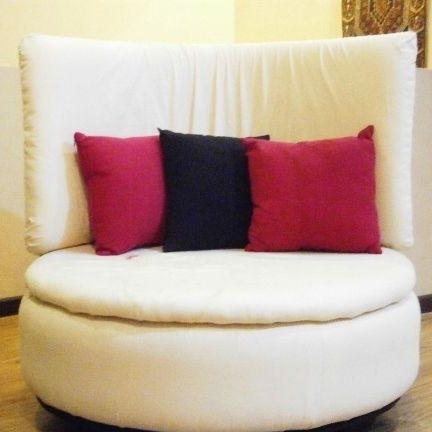
The height of the backrest can always be adjusted using wooden blocks and a pillow. The sofa is ready! Your guests will be surprised by the unusual design and comfortable rest, and yet it took very little time and materials.
