
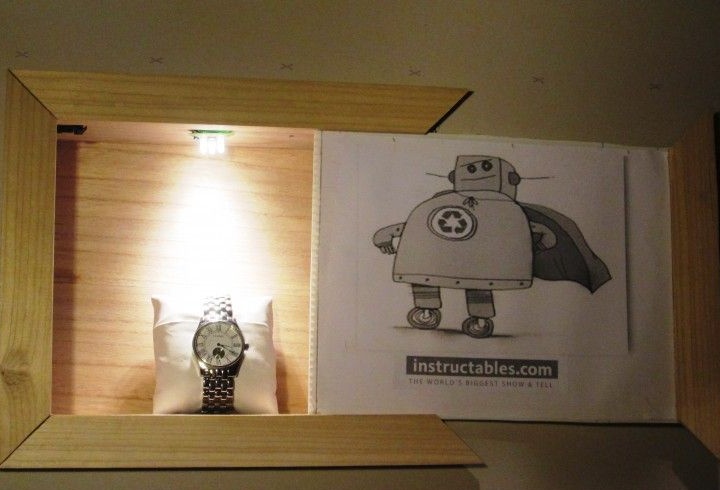
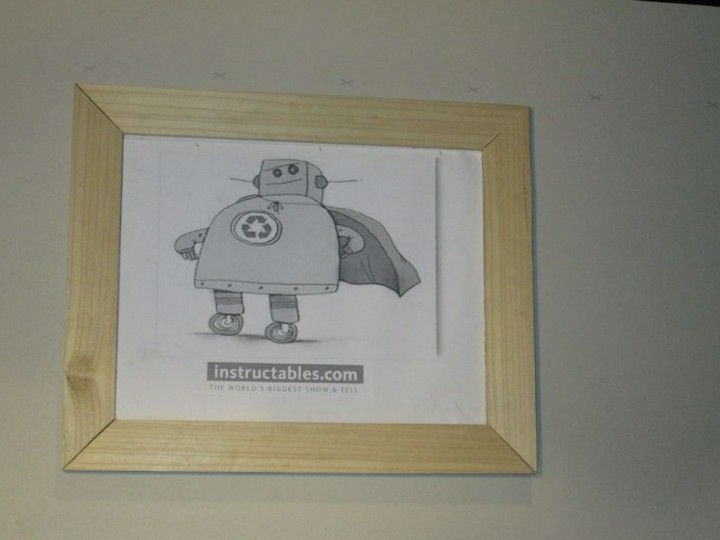
Welcome dear reader on our page! The following describes how you can make a cache that will open with a movable door. On the sliding door we attach a picture where the button will be drawn to open it, you just need to click on this button.
The door is opened by the action of a servomotor. The movement of the servomotor is due to two hidden buttons. In the inside of the box there are five LEDs and a small contact switch.
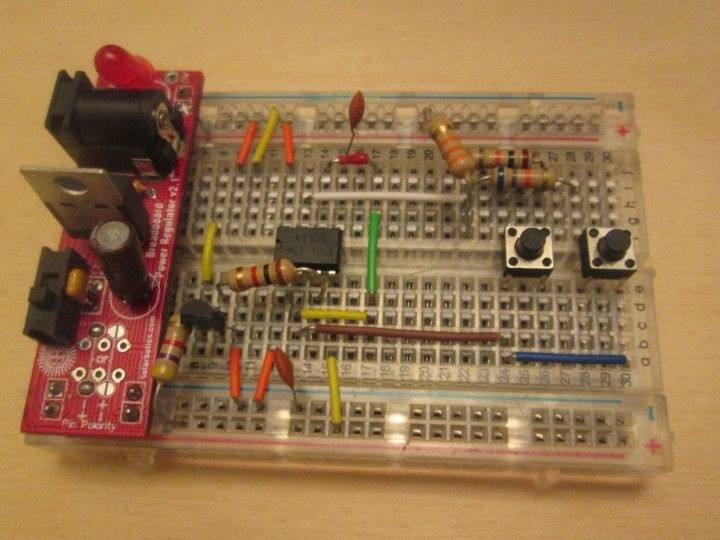
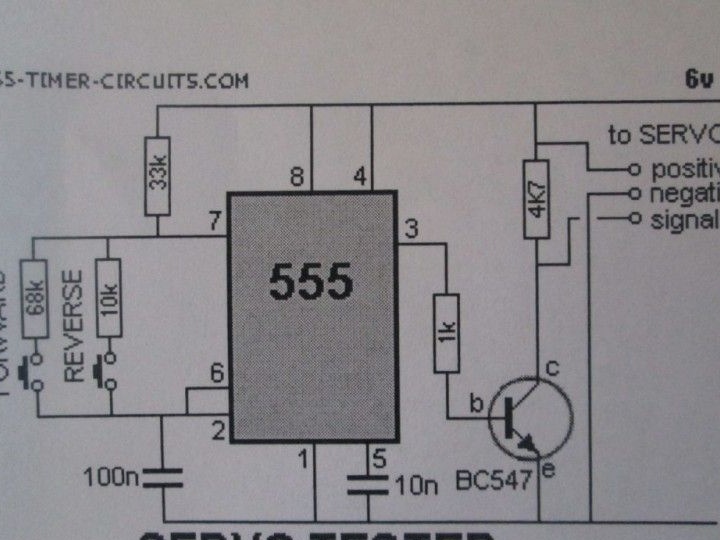
On the 555 chip we see the usual layout, which works due to the servo unit.
Stage 1: Required Tools for the job
- jumpers;
- a set of plastic rollers;
- large servomotor;

Further we need more details for work:
- button switch in the amount of two pieces;
- AA batteries in the amount of 4 pieces;
- holder for batteries in the amount of 1 piece;
- breadboard small size;

- several contact plugs;
- LEDs;
- mini contact switch;
The materials are presented in the photo below:
- chip 555;
- some resistors: 33 K, 1 K, 10K, 68K and 47K;
- screws 1.3 cm long;
- transistor BC547;
- carpentry glue;
• a small box measuring 30 × 23 × 8 cm;
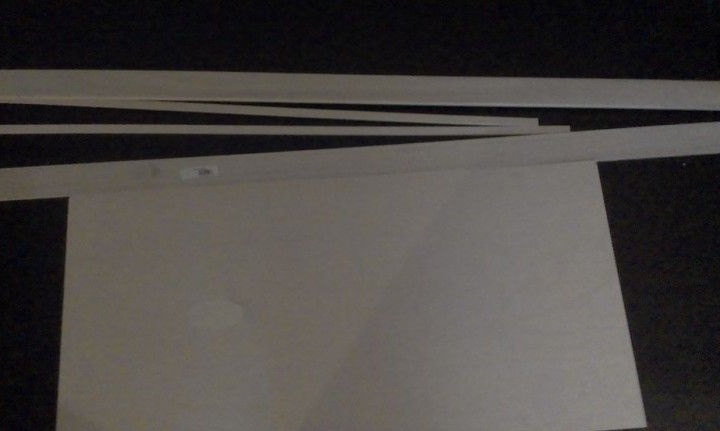
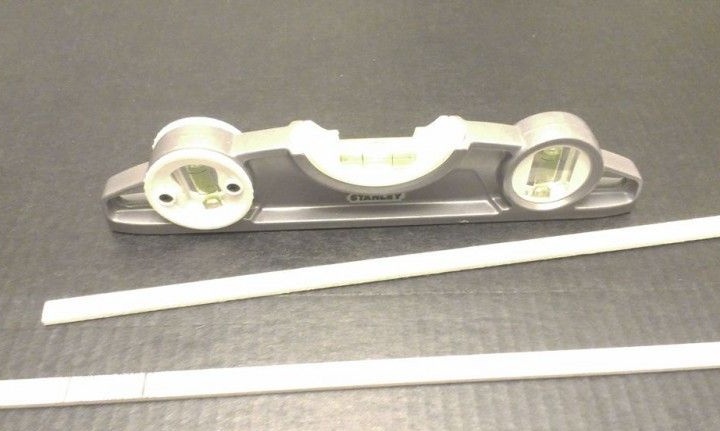
• sticks measuring 0.3 × 20 × 7.5 cm
• a board with such dimensions of 0.6 × 5 × 10 cm;
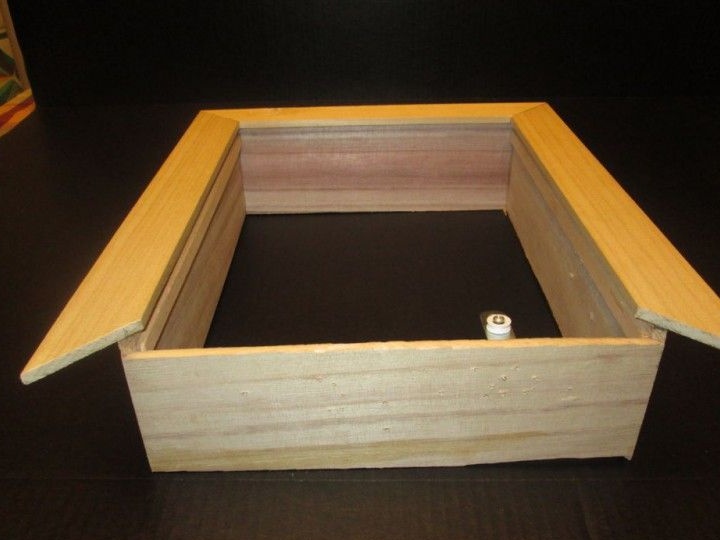
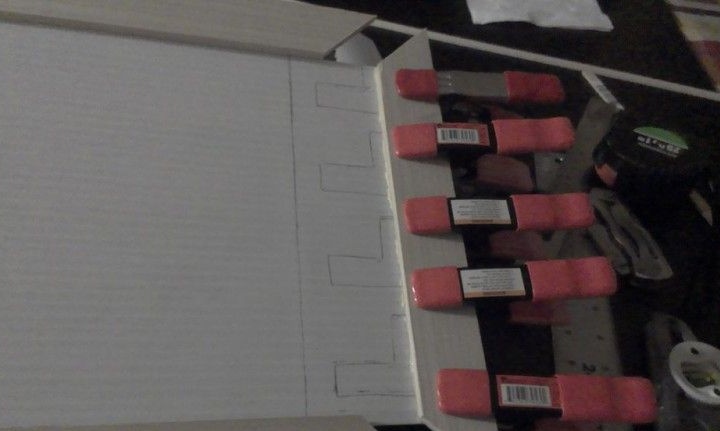
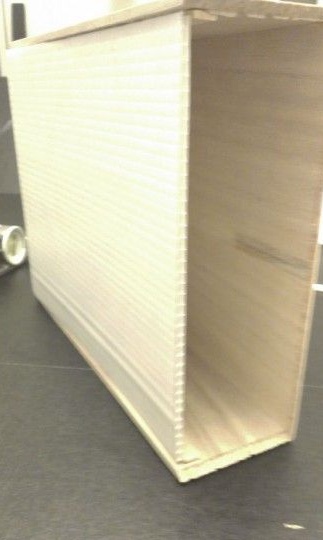
Stage 2: Getting Started Making the Case
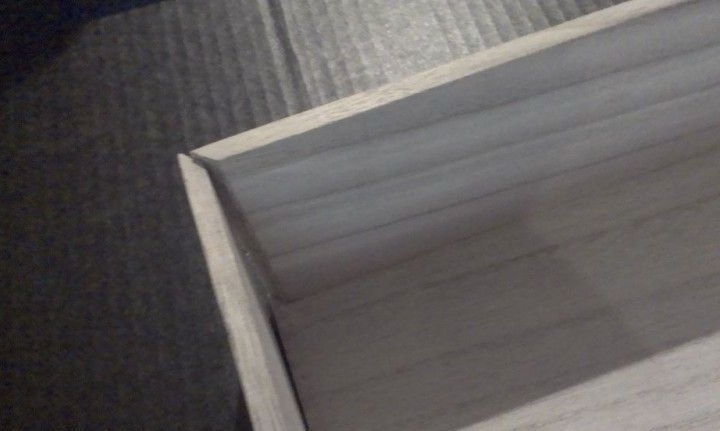
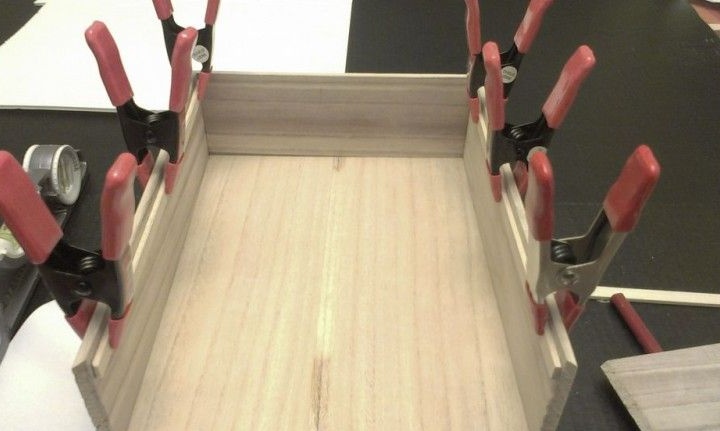
Now carefully remove the back of the box so as not to break the frame or board. We’ll postpone the back wall, we will use it too. The bar must be made shorter to match the internal size of the case. Retreating, from the upper edge we glue in the floor of a centimeter. We make a small limiter so that the picture does not fall into the inside of the box.
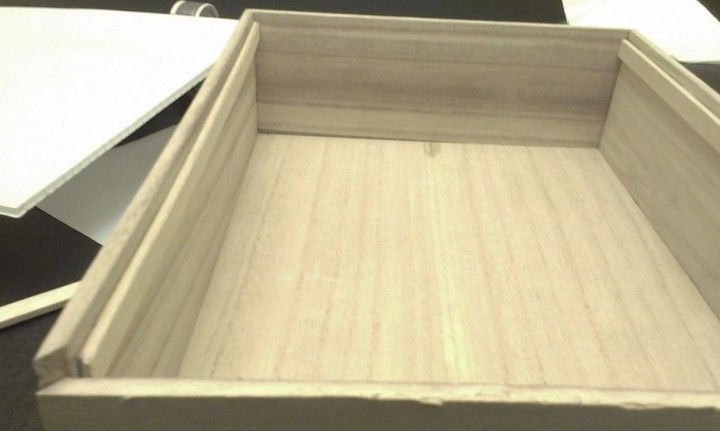
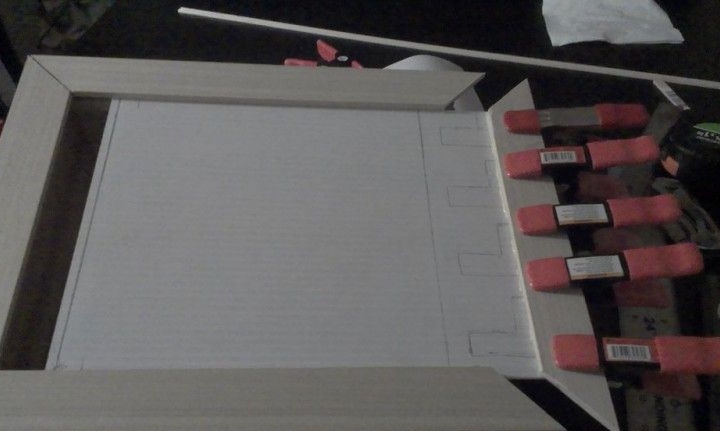
On one side of the frame, remove unnecessary 0.6 cm from the side so that the cover can slide freely over the surface.
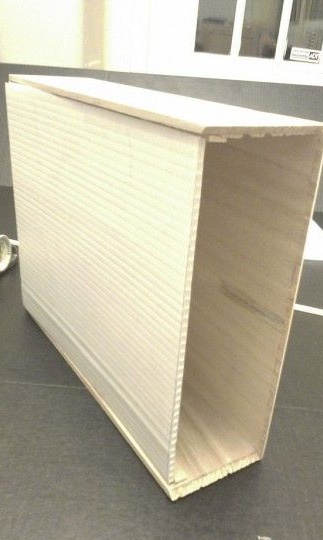
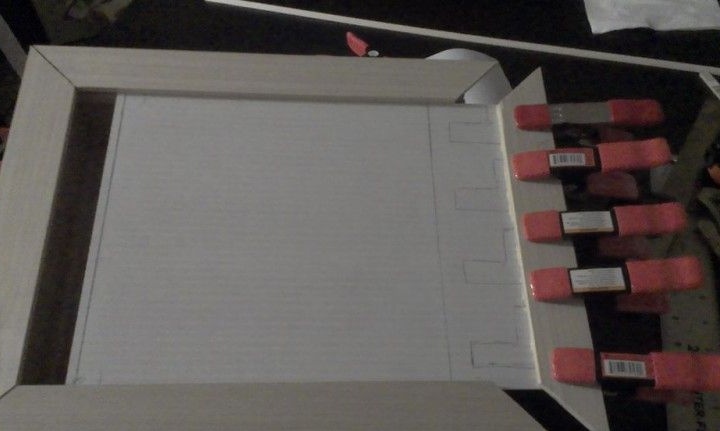
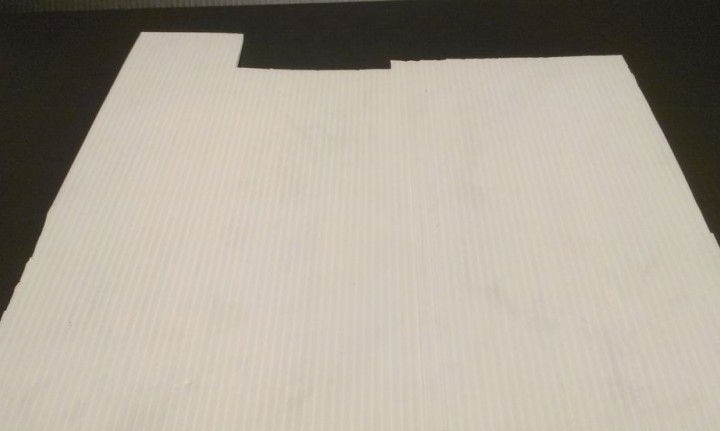
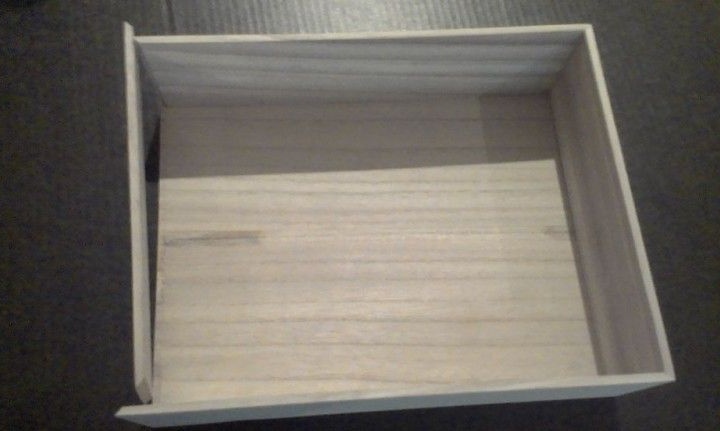
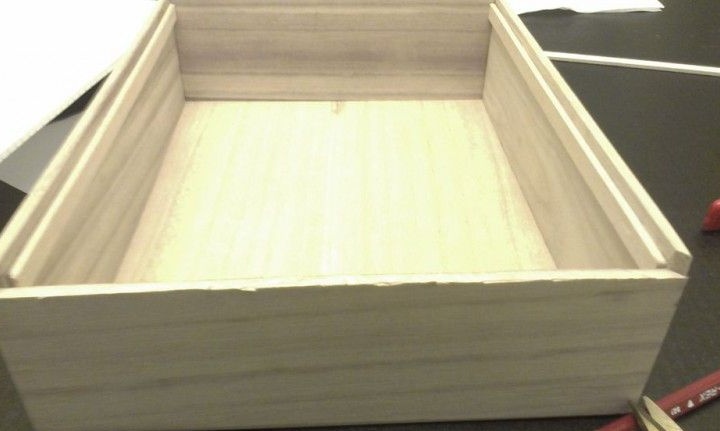
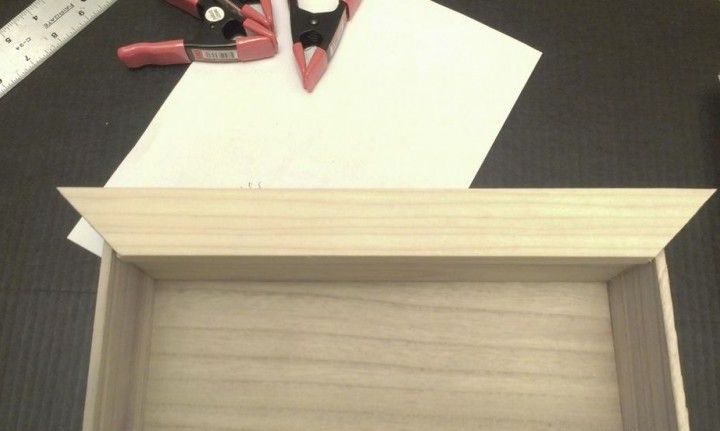
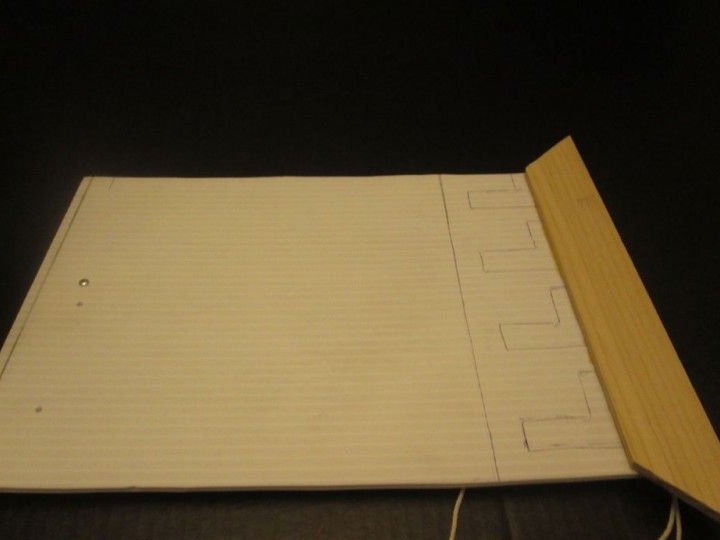
We will make an external picture frame from a board. Its sides should be shortened by 0.6 cm, so that the picture could enter the body. Due to this gap in length, the picture will stay in place and together with the sticks move from side to side on the surface. Glue the other sides, except the right side, to the front of the case, put it aside for now. We cut the plastic board so that it coincides with the internal size of the box. It is necessary to check the incision so that it is less by 0.3 cm vertically and more by two and a half centimeters in length. We fix it inside the case. Now glue the right side to the board. Remember to check the system in motion.
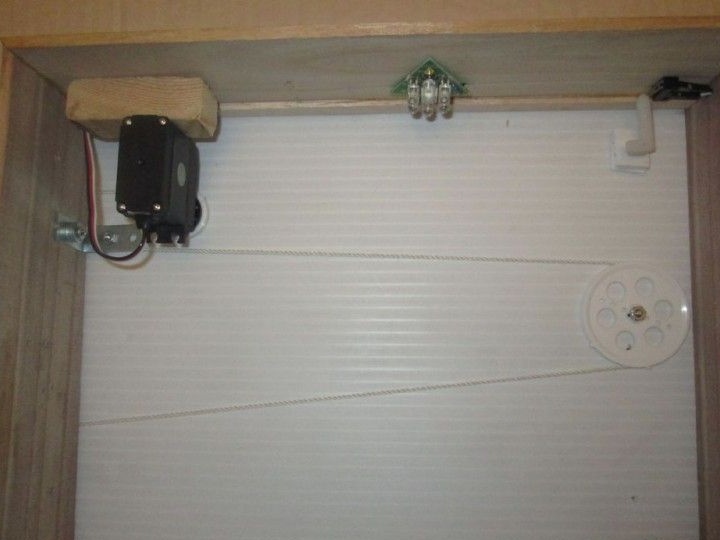
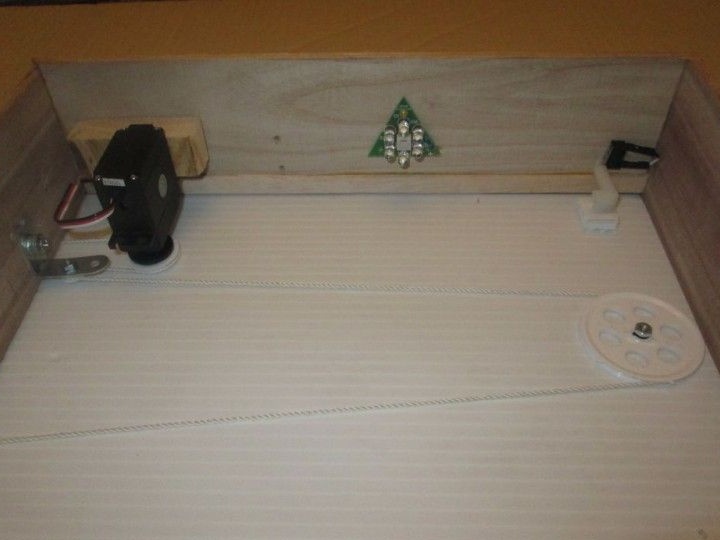
Step 3: Build the system that is sliding apart.
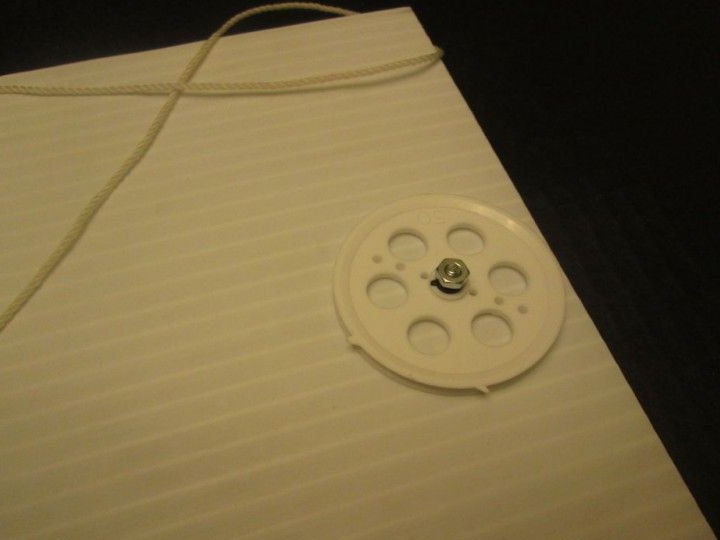
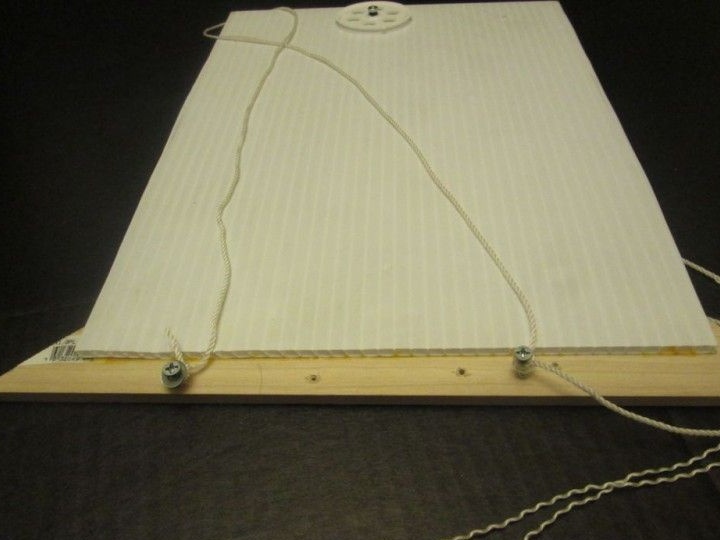
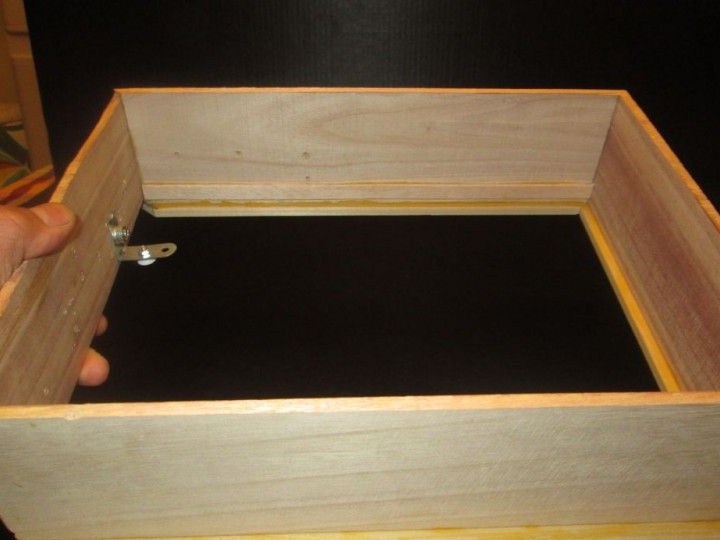
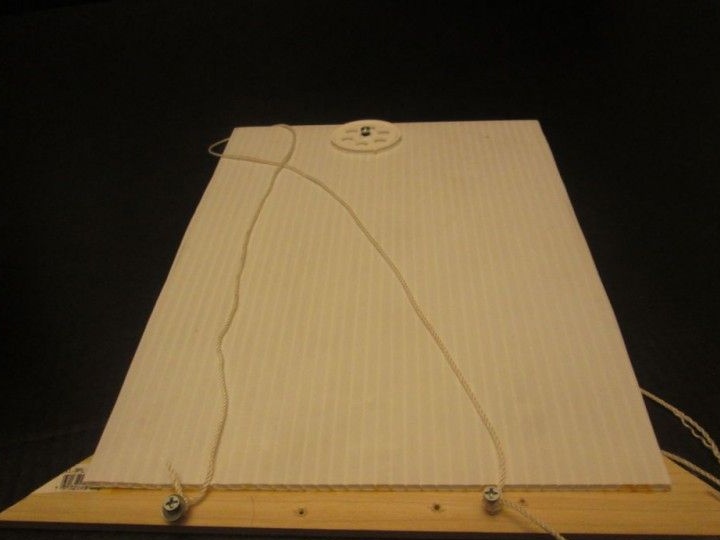
A large roller is attached to the right side of the sliding door (we look visually from the back). On the left side (on the roller side), 2 small screws must be fixed, raising seven and a half centimeters from the top and eleven centimeters lower than the first.
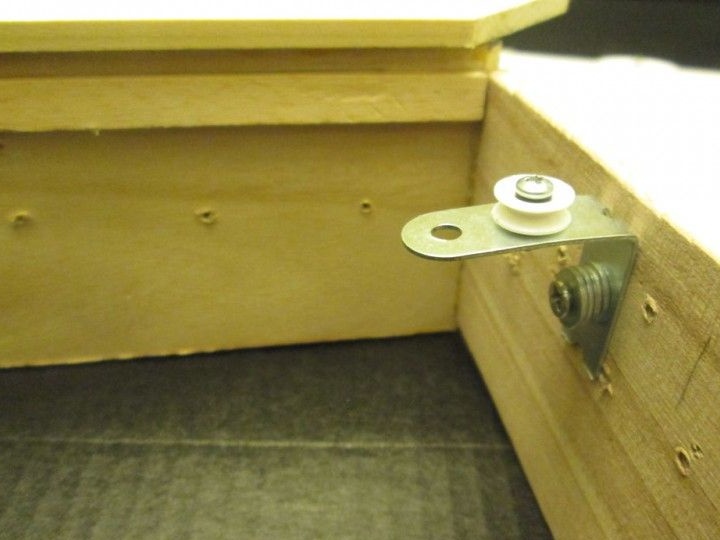

For excellent performance, the tension roller and servo must have good tension. The tape passes through the motor and the roller in the shape of the letter S in tension. If you fix it in another way, the door will not be able to open.
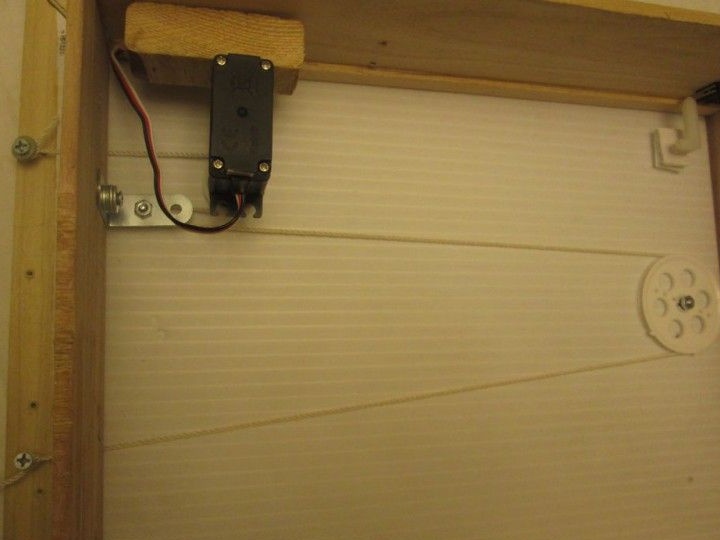
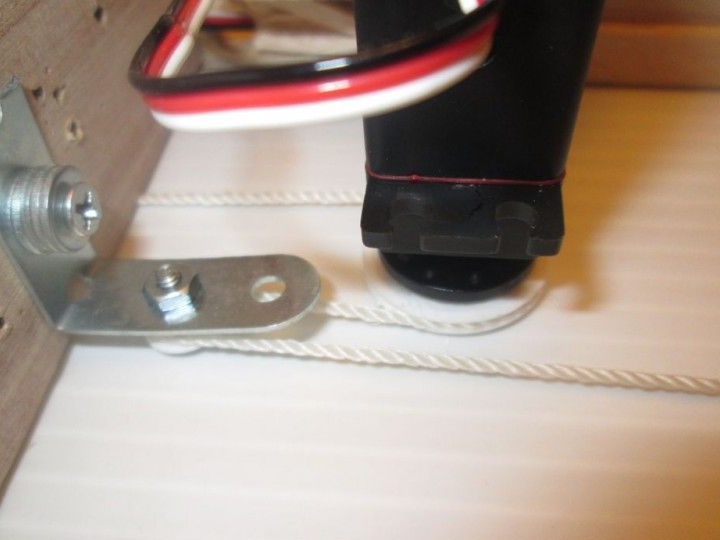
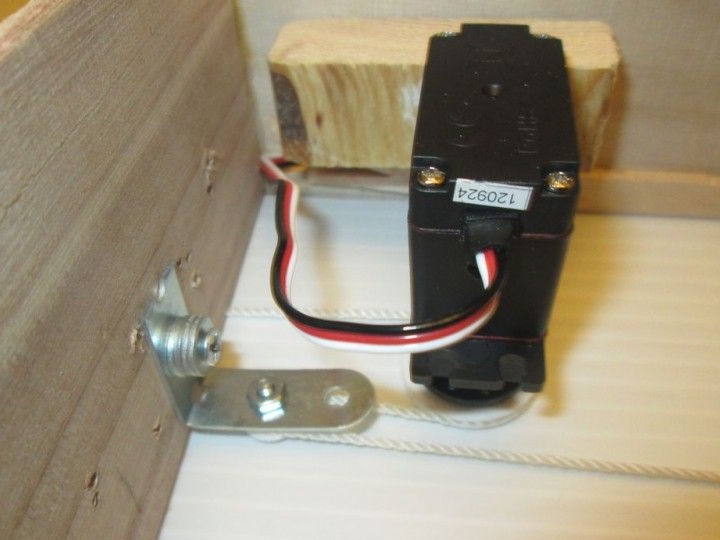
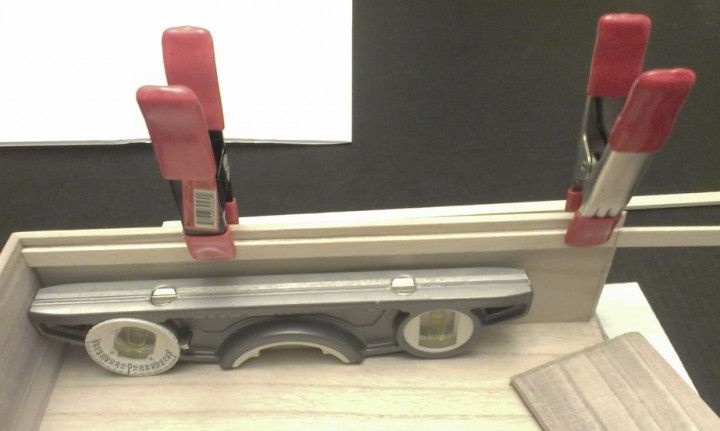
We assemble the parts in one piece, one part of the belt is attached to the first screw, then we pass through the tensioner roller, then through the large roller, then we wind the other part of the belt onto the screw located below and fix it. Before attaching the motor, we need to tighten the belt strongly, wrapping it around the roller and moving the finished engine to the side.
Stage 4: Proceed to assemble the circuit from the switch and LEDs.
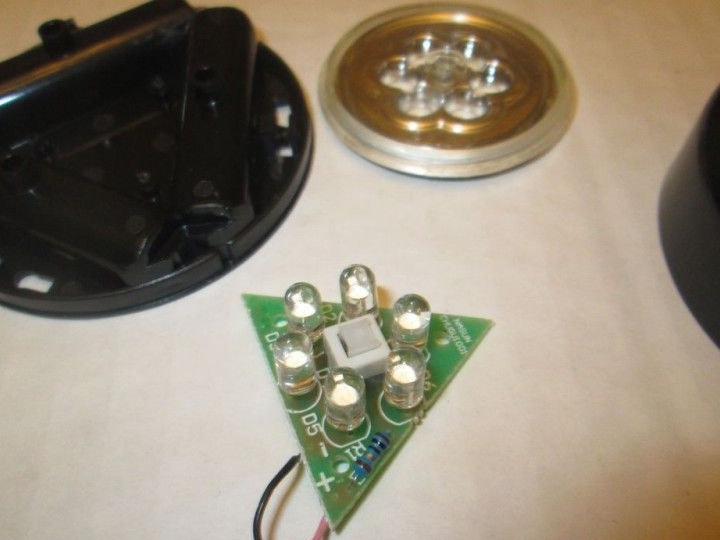
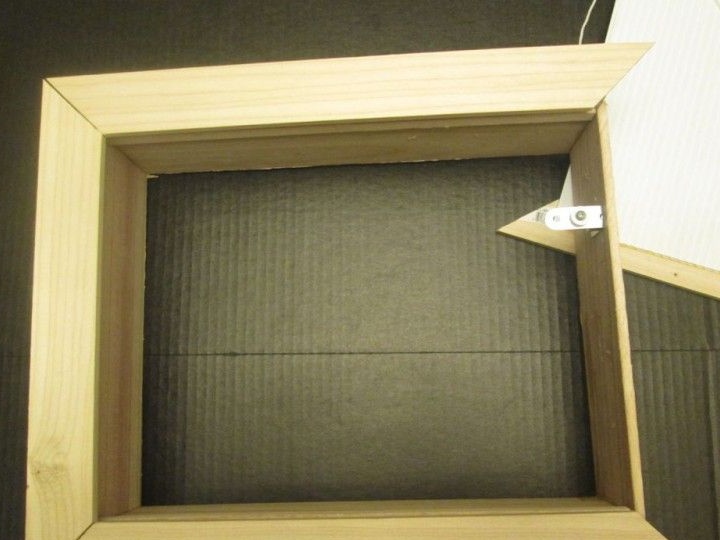
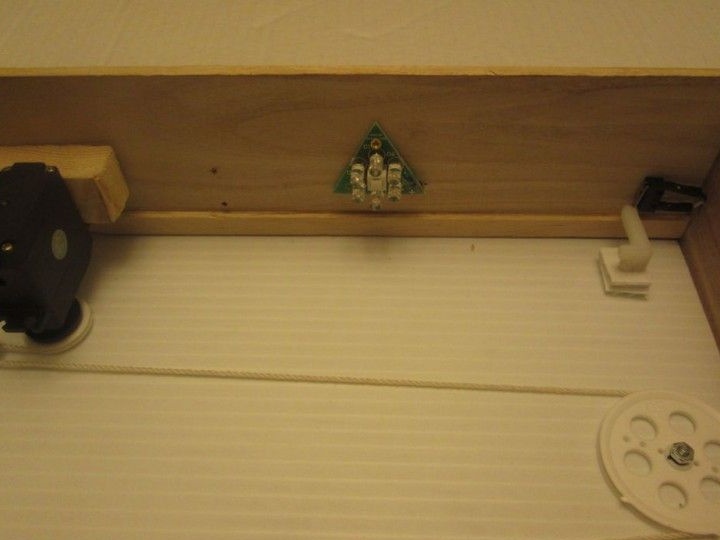
We begin to collect controllers. Install the LEDs. In the upper right corner of the box we set the contact switch. To set the door in motion: you need to glue a small piece of plastic to the side; when sliding, the door starts to contact the switch.
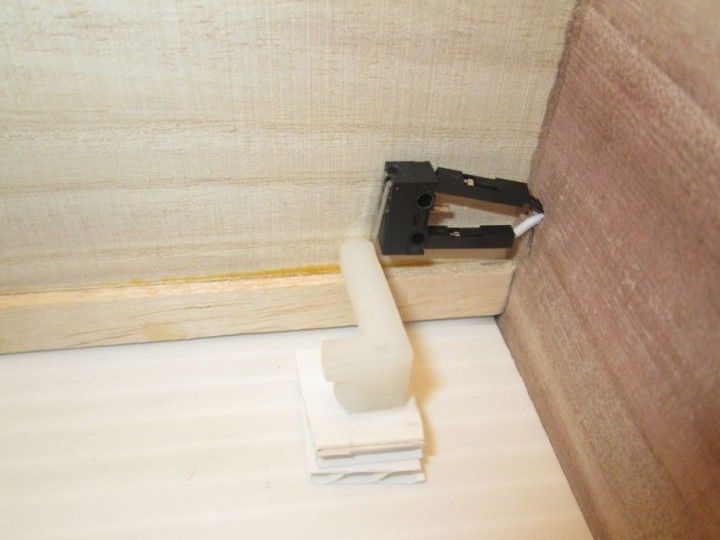
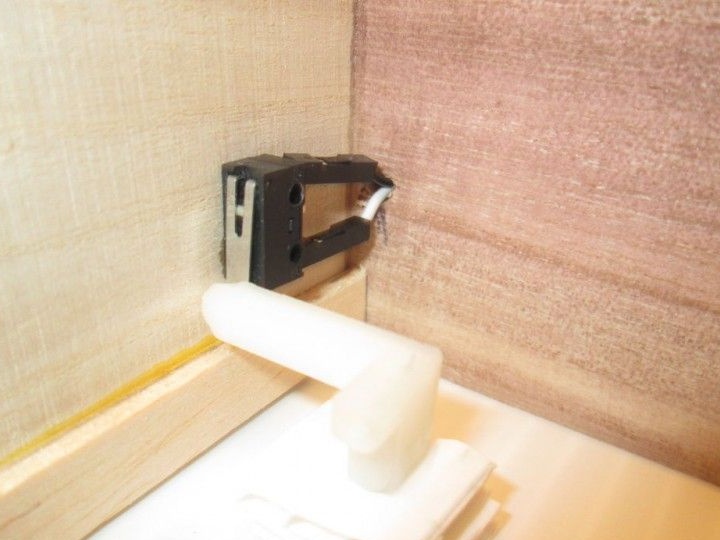
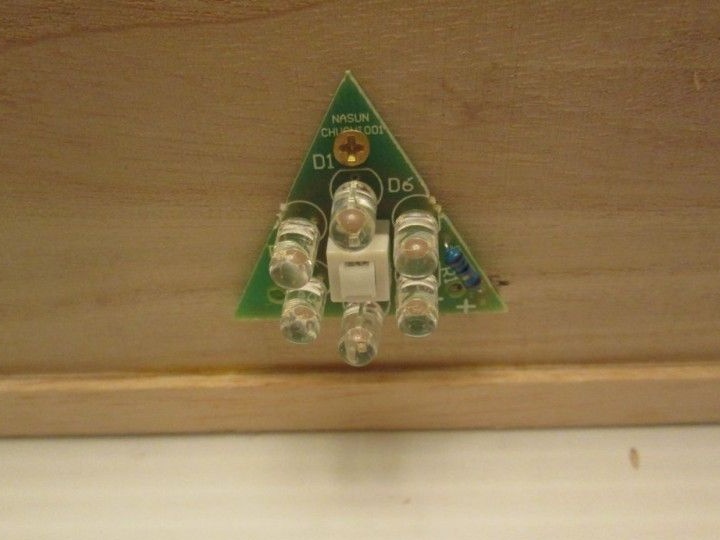
In the picture we see the correct connection of the switch and LEDs. The wiring leads through the wall and top of the box to the servomotor, circuit board, LEDs and switch.
Step 5: Install the photo frame.
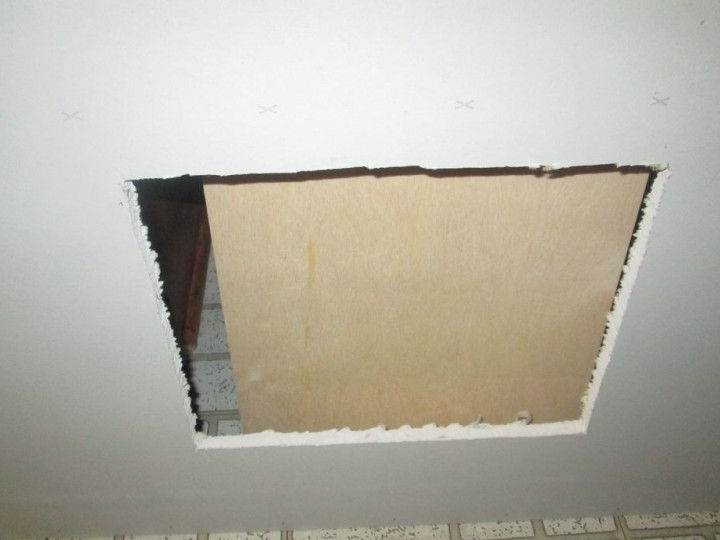
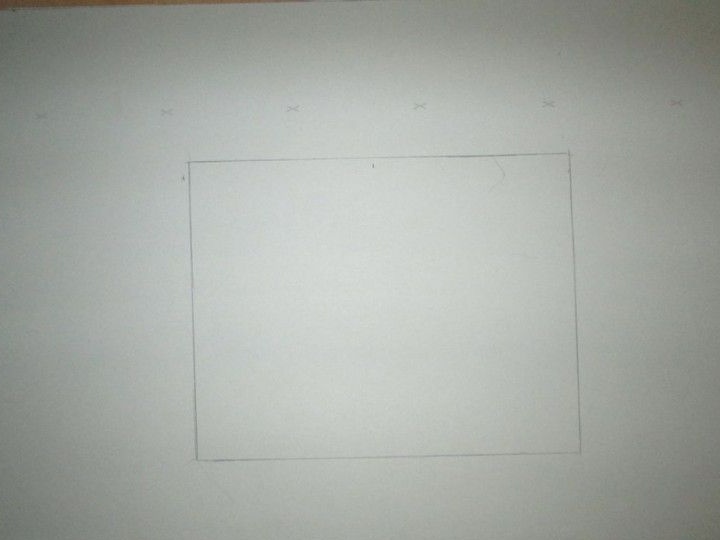
We draw the outline of the installation on the wall and cut a hole along this line to zero point and three tenths of a centimeter larger than noted. Before installing the cache itself, put the wires inside. In the central part of the photo frame at the top, we drill a hole that serves to secure the body.
Stage 6: Conclusion
It took about 32 hours to create such a unique cache. This is a simple and useful device.
Good luck in your endeavor!