How to make a homemade solder pencil? Yes, very easy! A few simple steps for those on the “you” with electronics. Getting started.
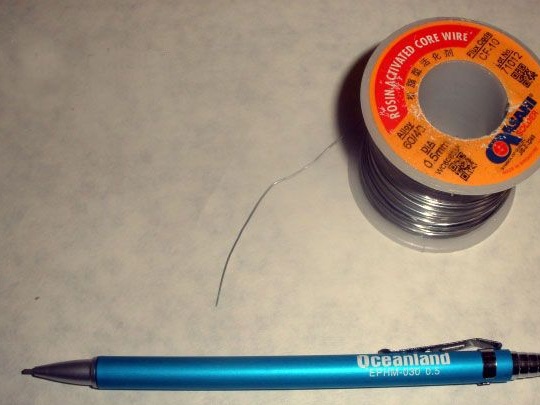
Before starting work, I would like to note that it is very convenient to use fast ice when soldering (this is a thin tube inside which rosin is located). Therefore, everything is simple: you tear off the desired piece and solder it. But it is inconvenient that it is heated and it is simply not possible to take it close to the place of soldering. Therefore, we will make a soldering pencil.
To get started, we just need to take the most ordinary automatic pencil and work on it a little. Fig. 1

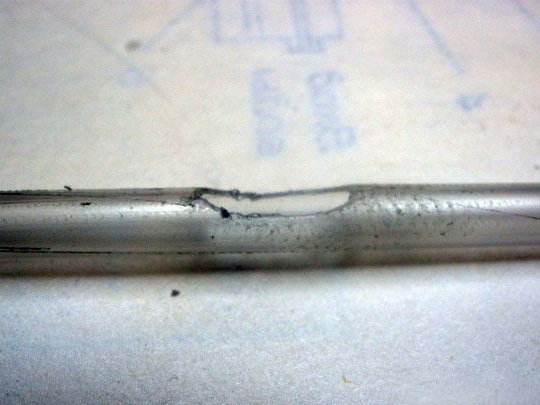
Now you need to drill a hole at a slight angle in the case of an automatic pencil. Using a knife or file, make a cut in the inside of your pencil. The slot must be made with a small margin, as this often constantly moves back and forth. Fig. 2

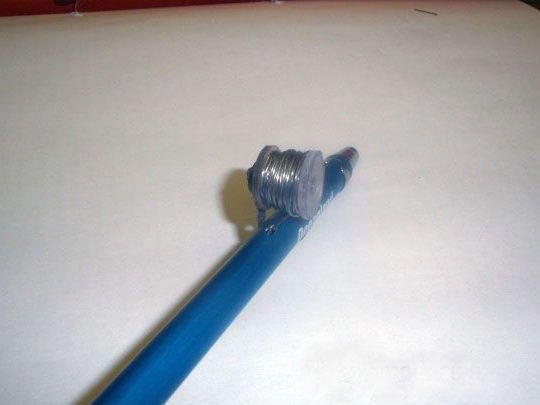
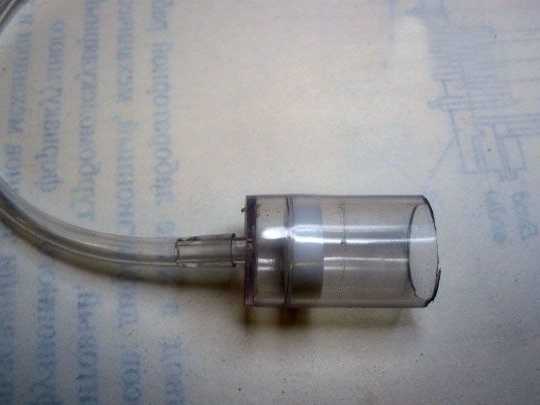
The next step is the bobbin. It will be easiest and most convenient to make a bobbin out of the medical system. But if this is not possible, you can try a bobbin with a sewing machine. Although, I will say right away, this option is less convenient. Make a holder from tin (it will be attached to the body of the pencil), pull it off with a bolt, while laying the washer. Fig. 3

Having done all the previous procedures, carefully glue everything onto superglue. Fig. 4

Now, when you press the pencil button, solder will pop up. And it’s very convenient that its quantity will be the same every time. Fig. 5
That's it. Use your new miracle pencil for health.
