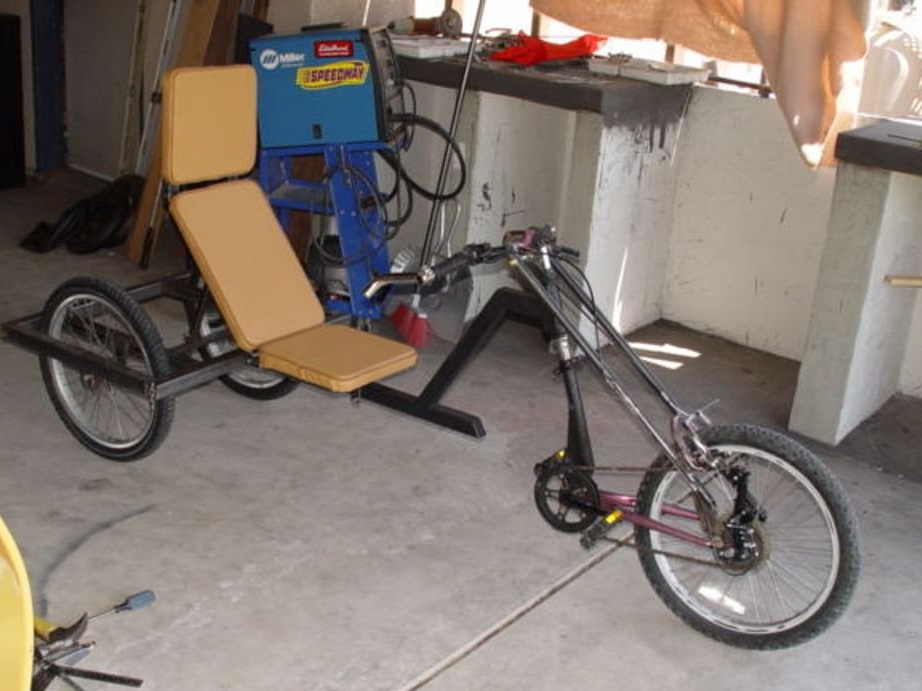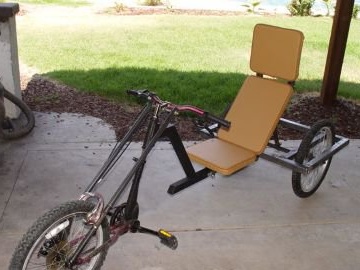
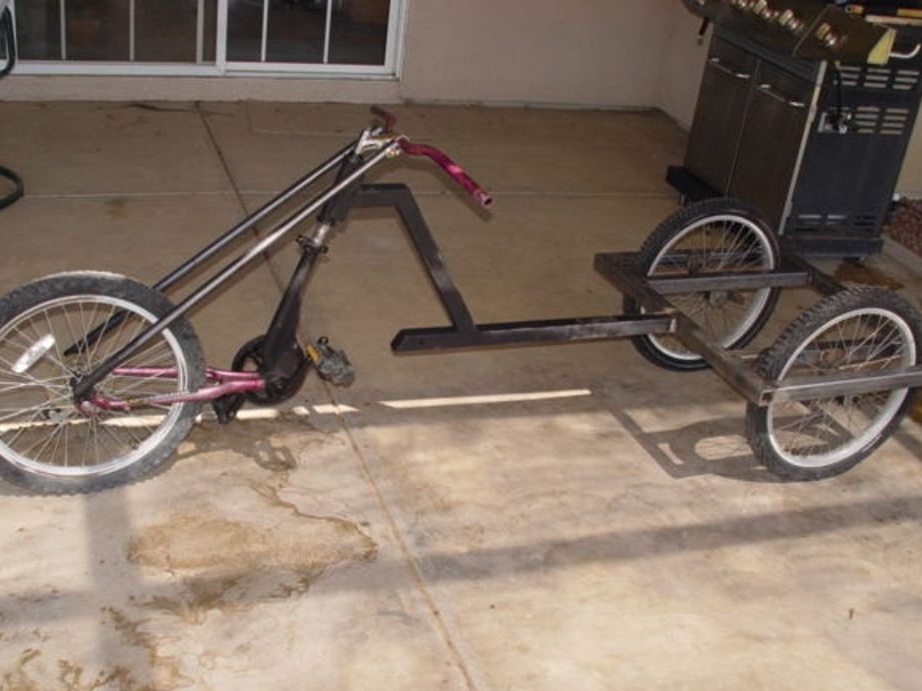
Introducing a cycle mobile as an excellent means of transportation during outdoor recreation. This transport is very comfortable.
Of course, in order to implement this project, there is a need for some skills, for example: welding, cutting and experience with metal materials. Before you begin, it is advisable to have an idea about this project.
All that we need from materials:
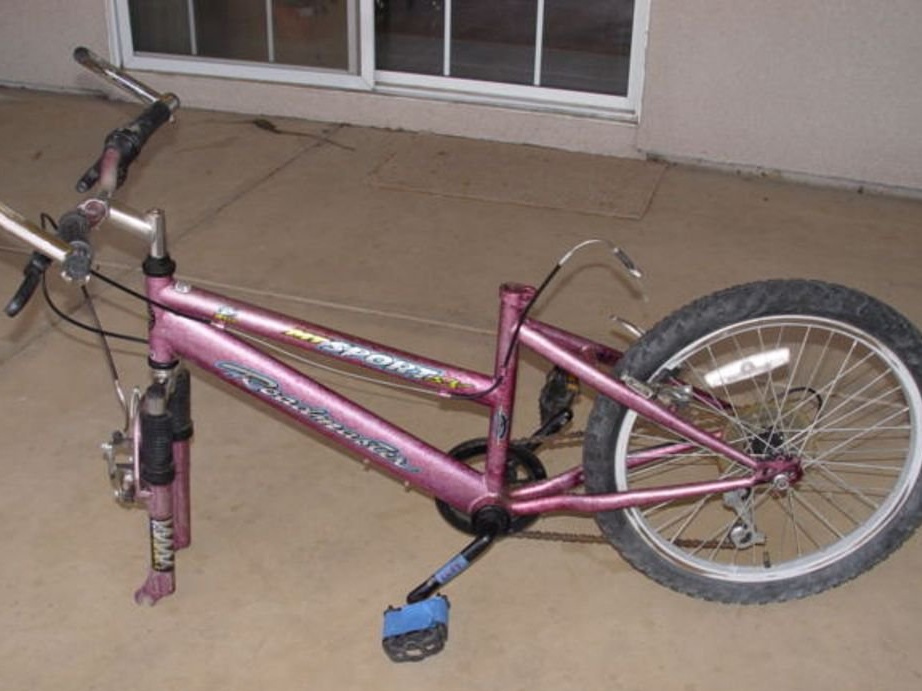
1) A couple of bicycles for disassembly;
2) Square pipes with the desired cross-section (3.75 x 3.75cm); (1.35 x 1.35 cm); (2.5 x 2.5 cm);
3) Steel pipe with a cross section (2.5 cm);
4) composite material (particleboard);
5) Cladding elements;
6) Steel sheet;
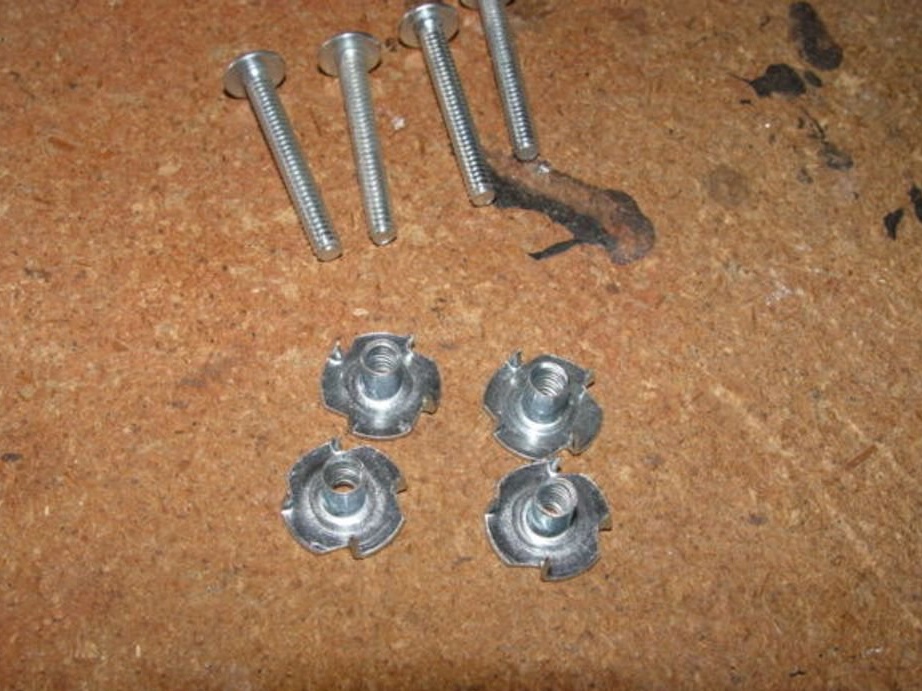
7) Nuts, bolts and various fasteners;
8) Welding apparatus, grinder and other tools.
We proceed to the work plan:
Stage 1 We work with the wheel and front wheel.
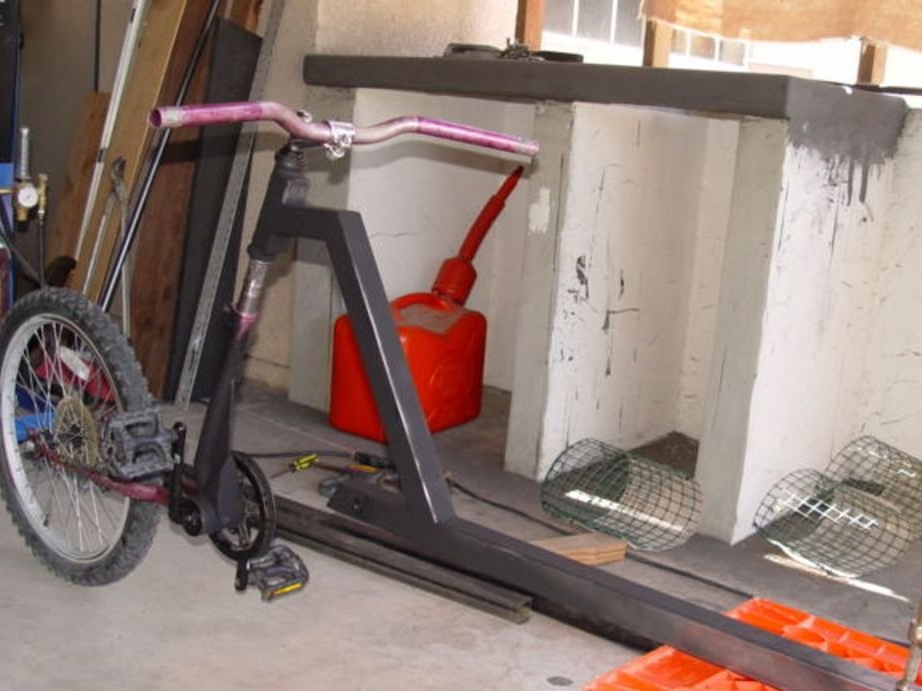
Speaking briefly about the design, I want to note simplicity and profitability. The main parts that represent this vehicle are the wheel and axle represented by the frame, then the bicycle pedals and chain drive represented by the chain.
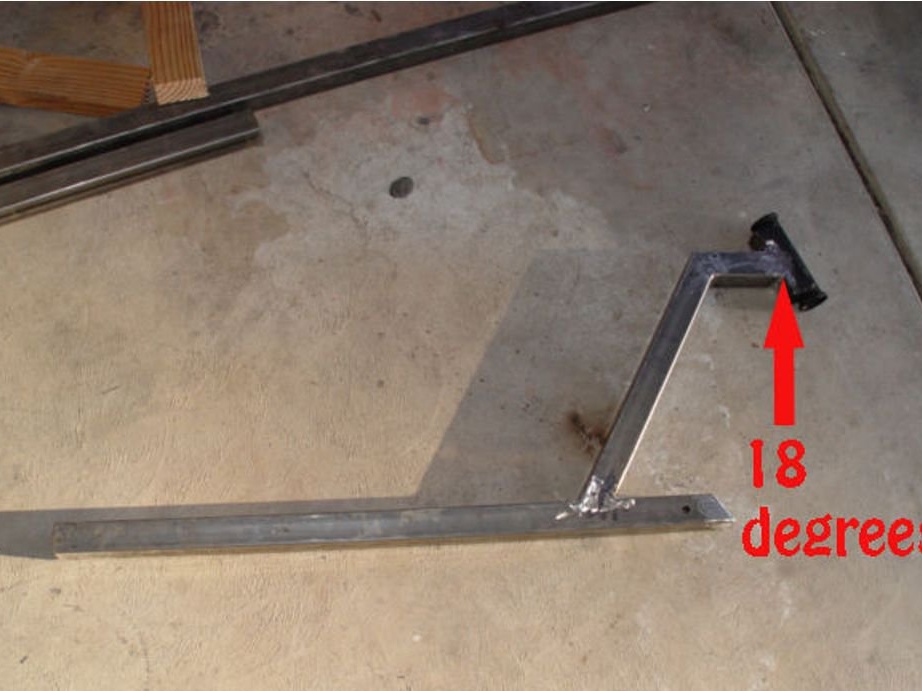
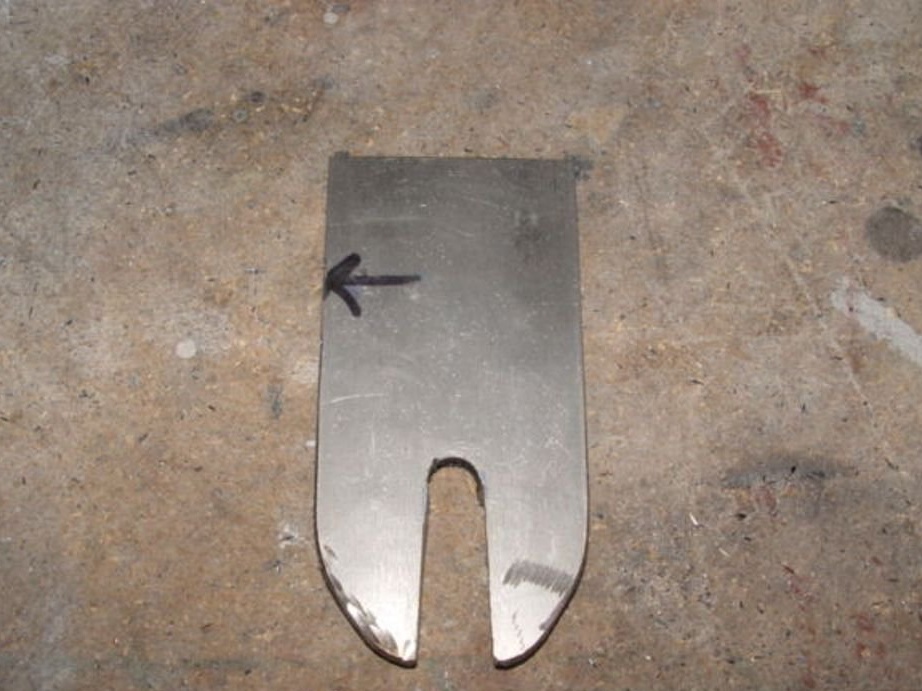
All the excess from the frame must be cut off and the Bulgarian helps us in this. On the pipe that is under the saddle, make a mark for the cut line, mark in the form of V, then an incision should be made. The notch makes it possible to bend the pipe and form a slope in the opposite direction to the original.
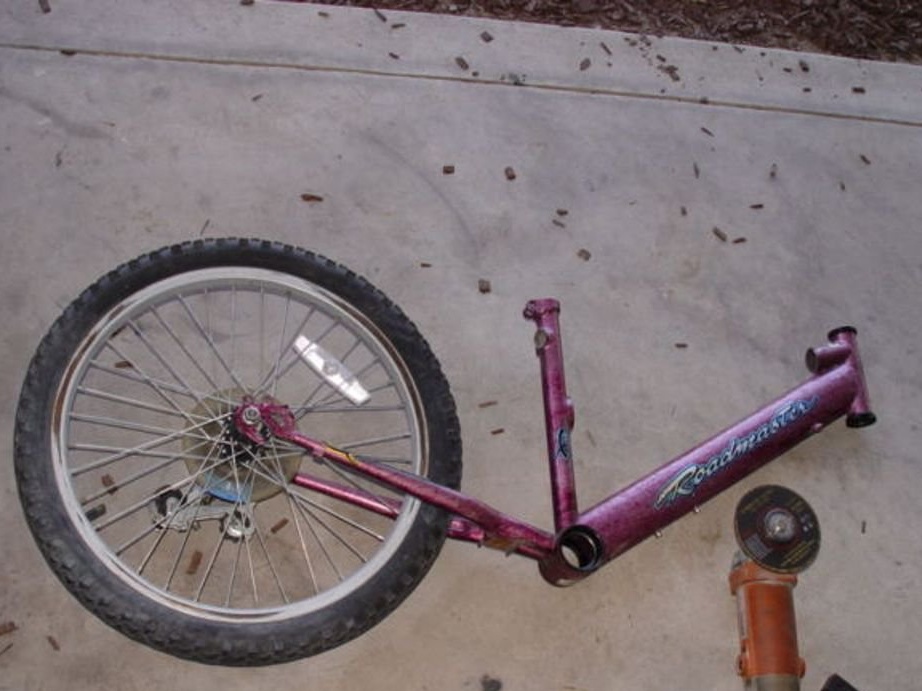
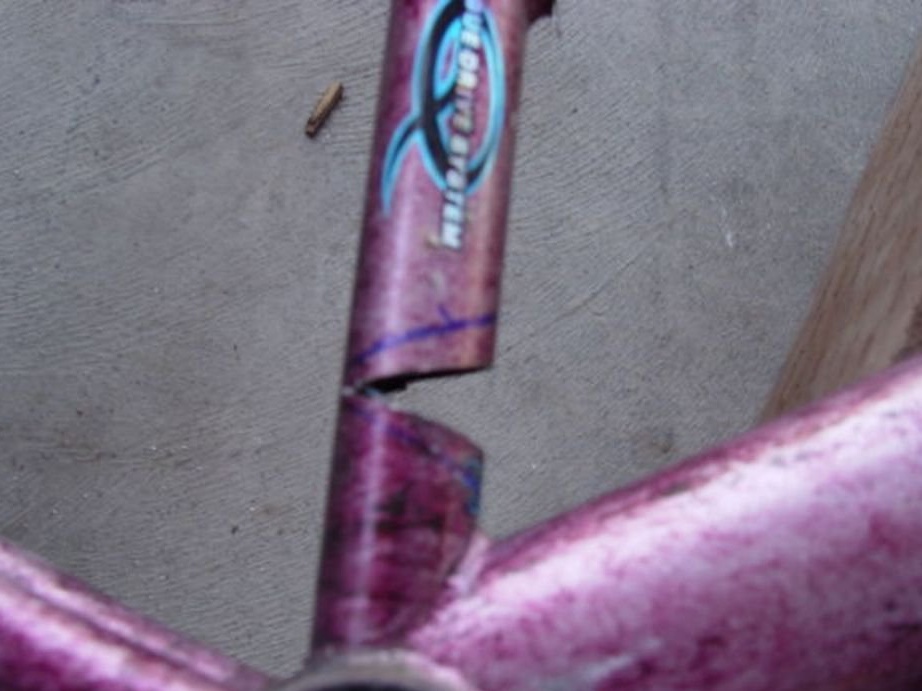

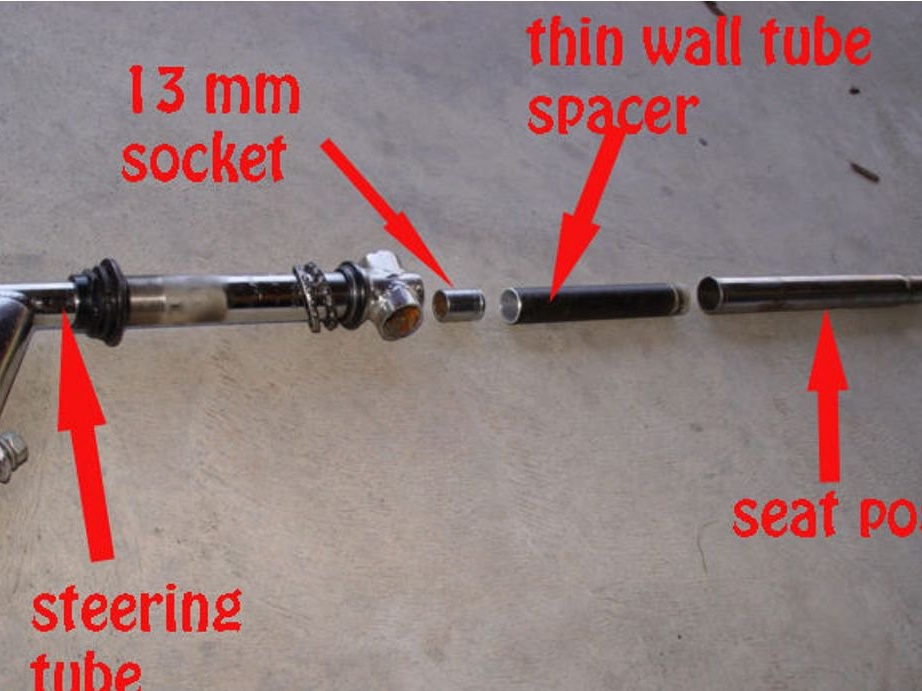
After bending, a seam is formed which should be brewed. The reinforcement of the pipe is made by a plate of steel with a thickness of about 0.5, which has the shape of a wedge. We cut off the steering column from the pipe that is under the saddle and cut a piece of size (3.85 x 3.85 cm) from the square pipe. In length, it should be less than the steering column by 2.5 cm.
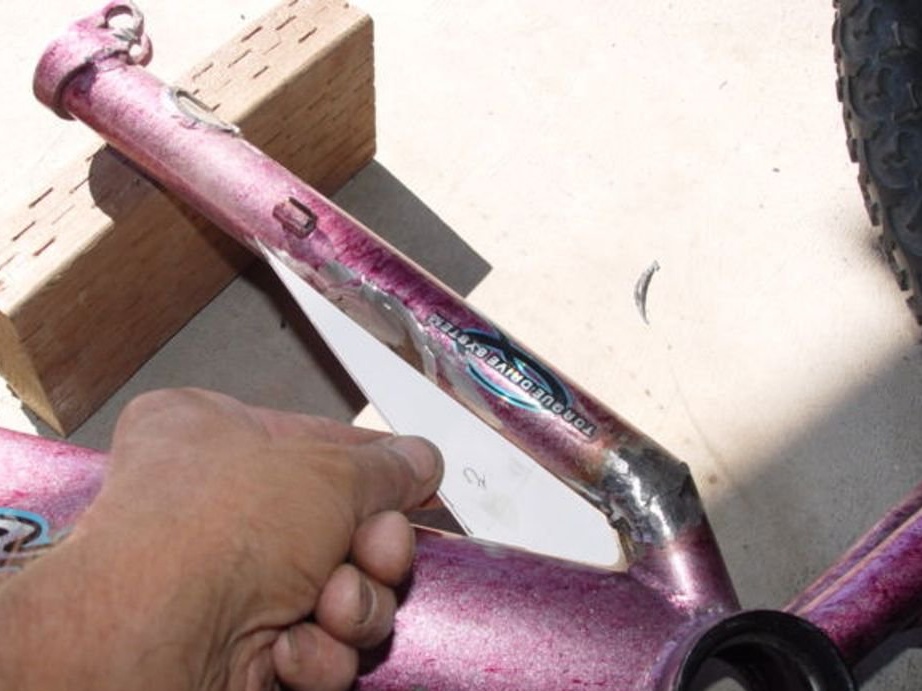
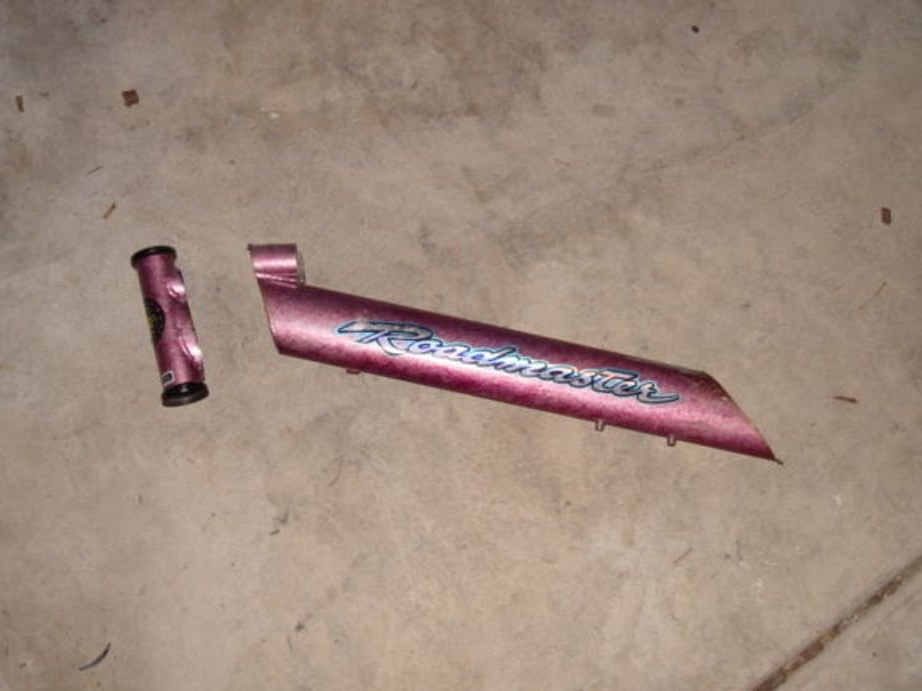

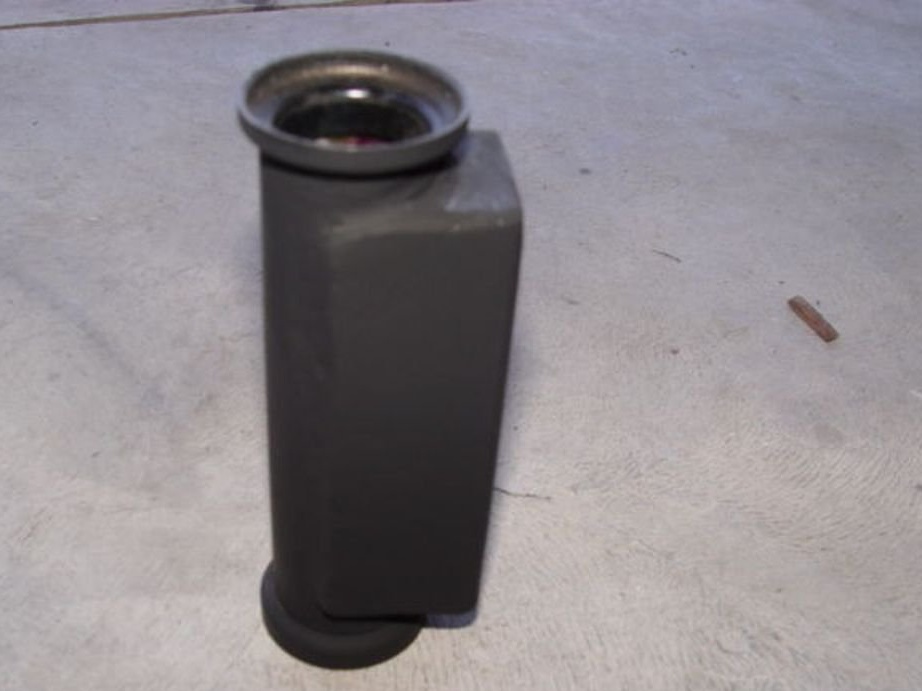
Cut one side of the pipe and get the desired element in the form of a channel.

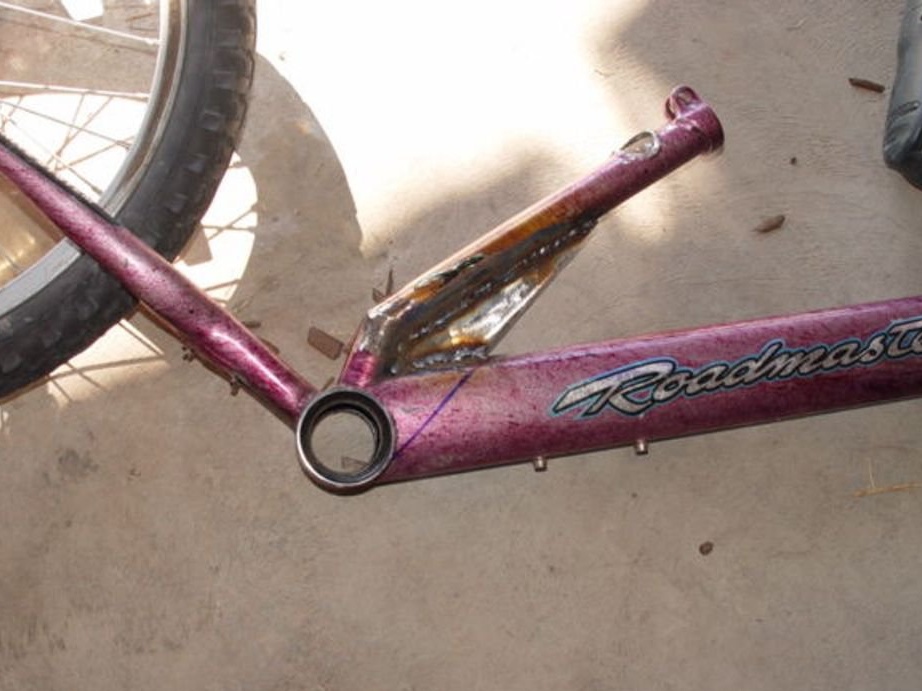
Next, we place the steering pipe in this channel and weld it. The voids should be filled with a small amount of steel.
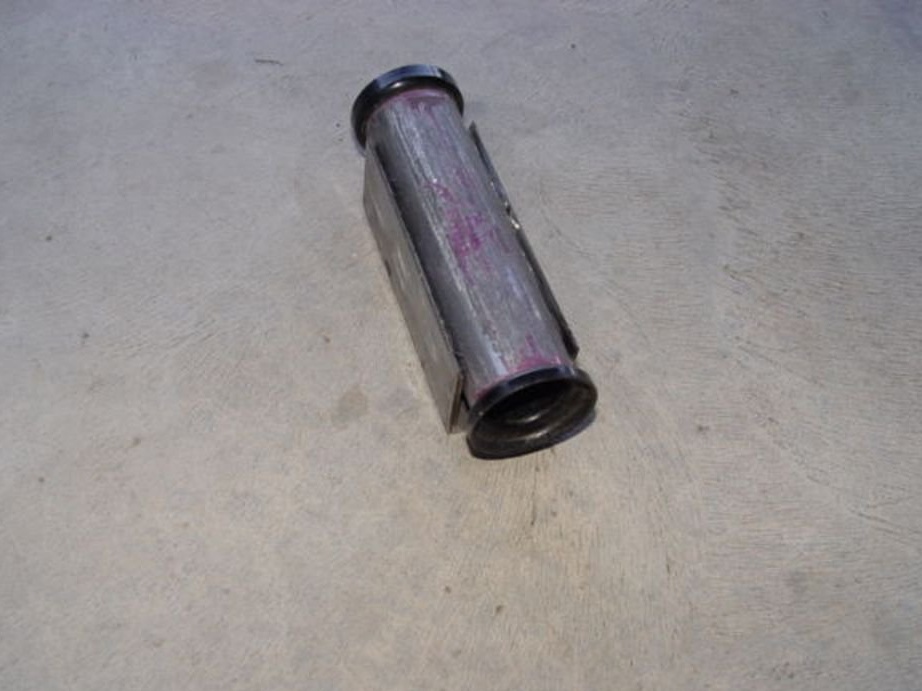
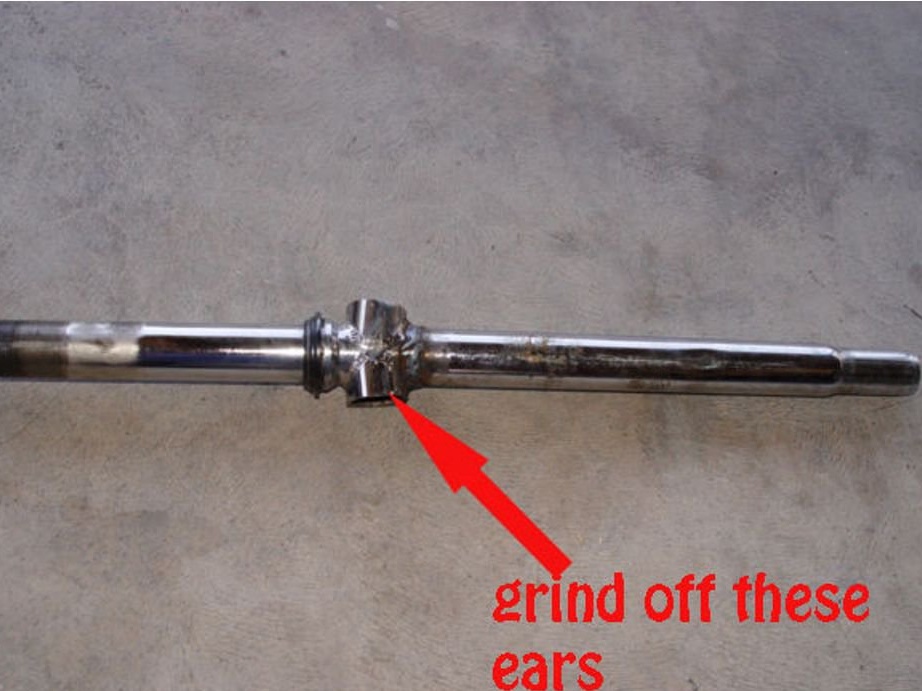
One of the parts of the steering column should be dismantled. We take out the stopper from the saddle and disconnect the connections to the column.
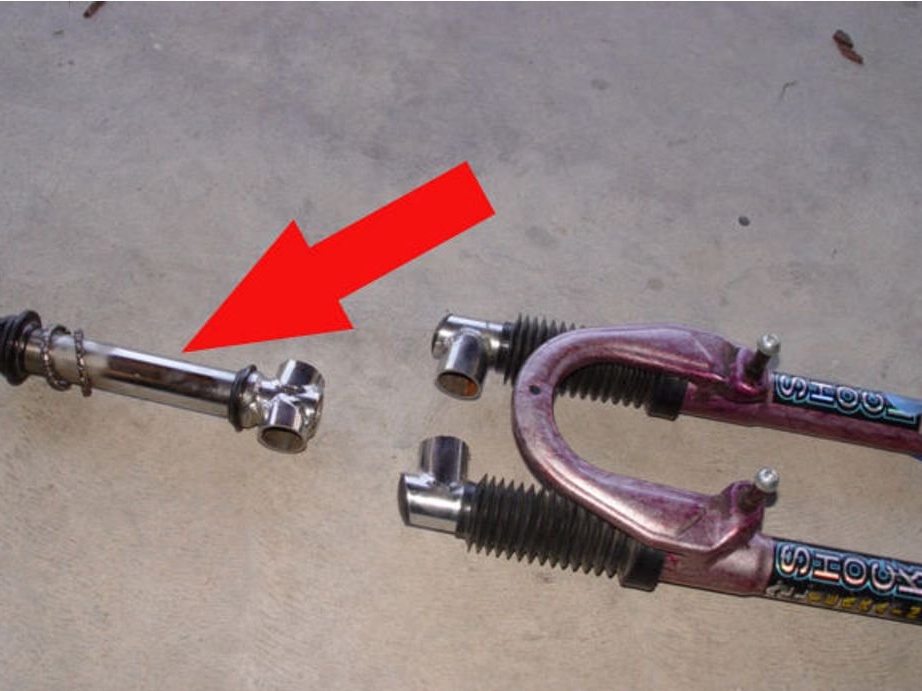
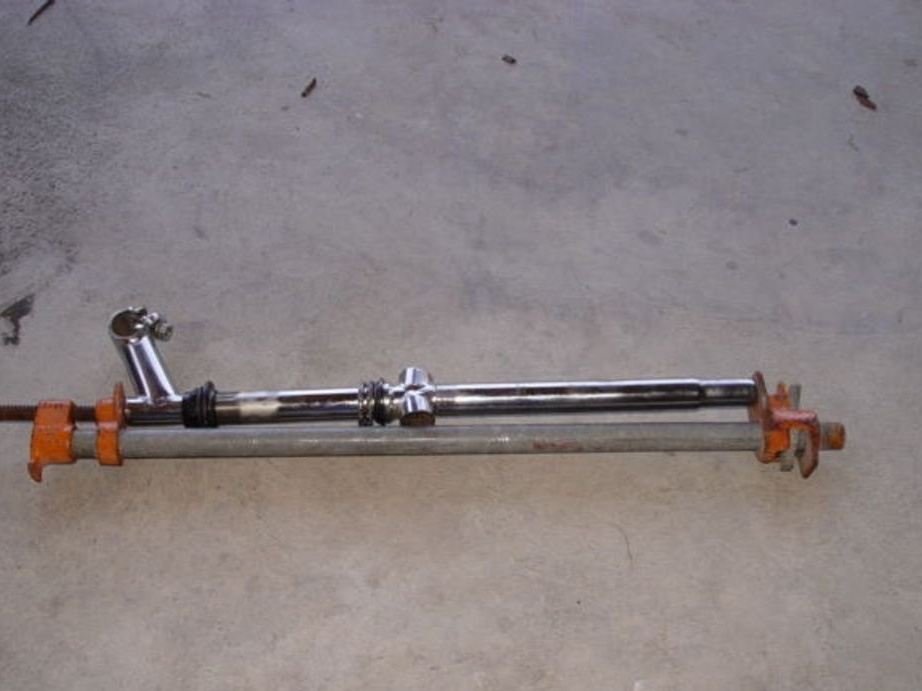
After making sure that the tube elements and the stopper are even, we connect them and weld the seam. A piece of pipe is installed inside the column for sliding.

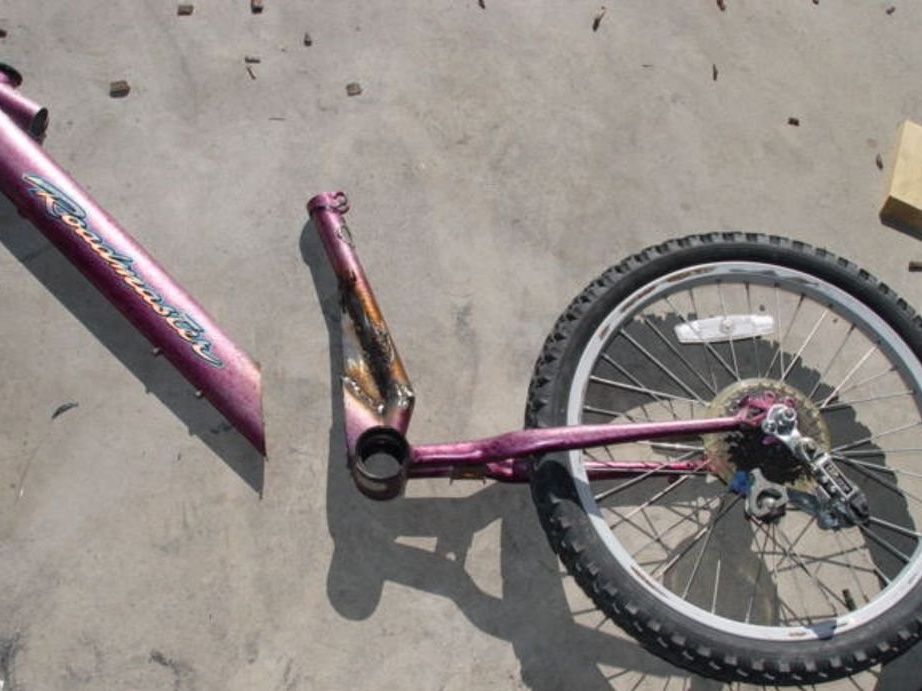
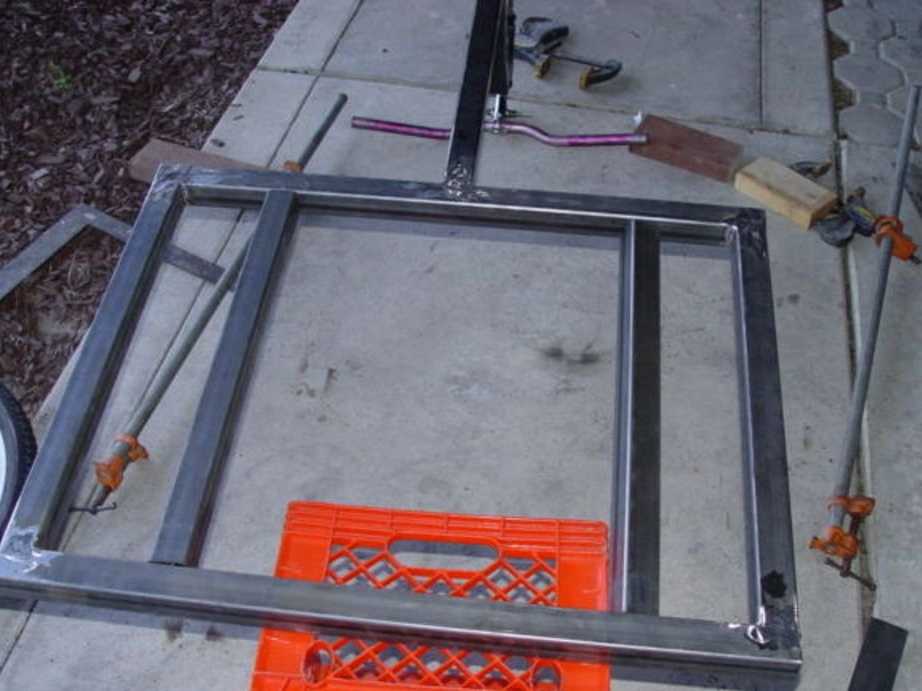
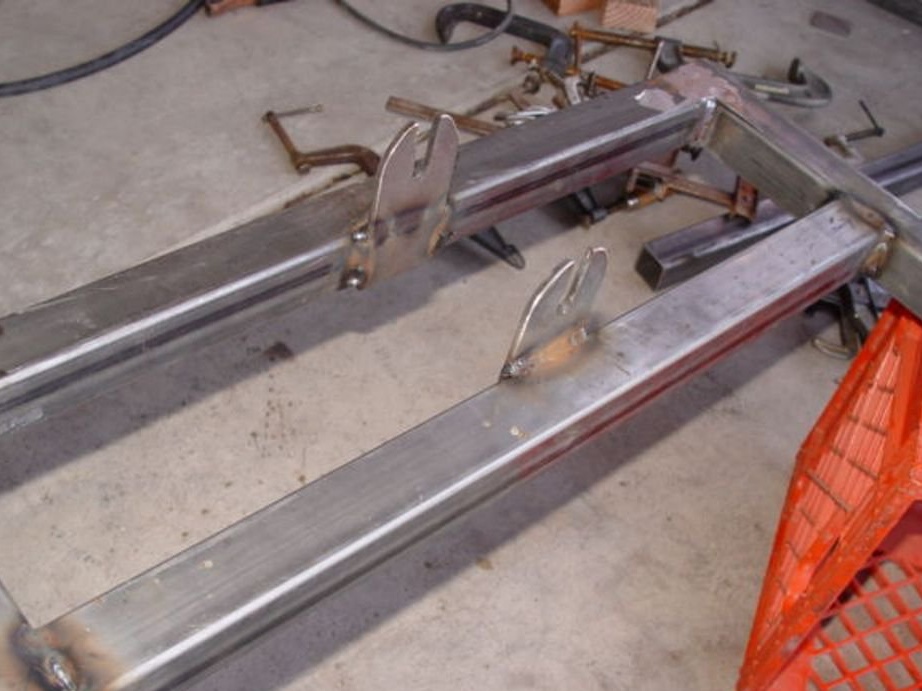
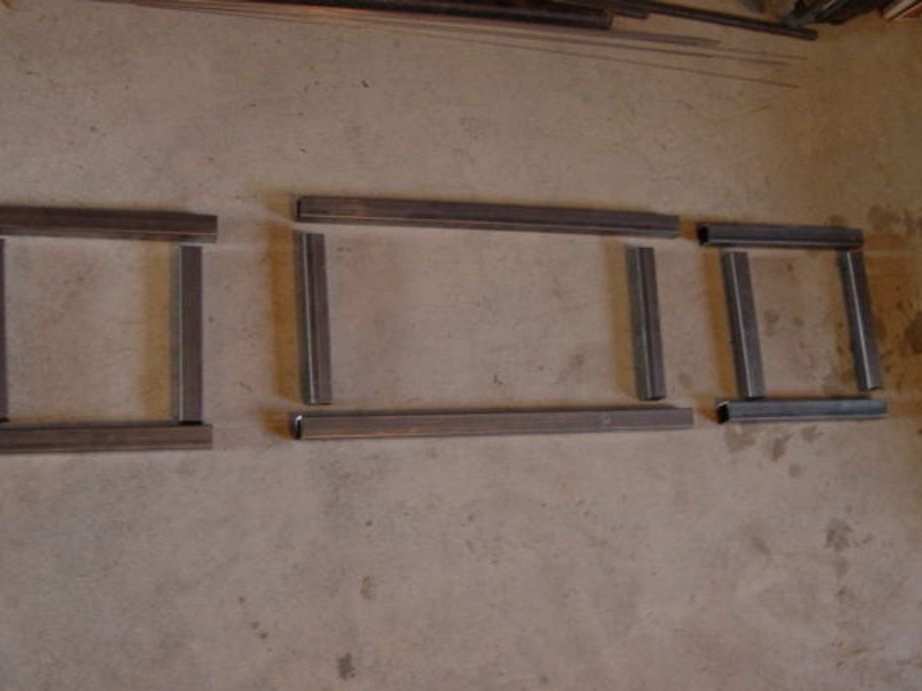
Stage 2; Frame manufacturing
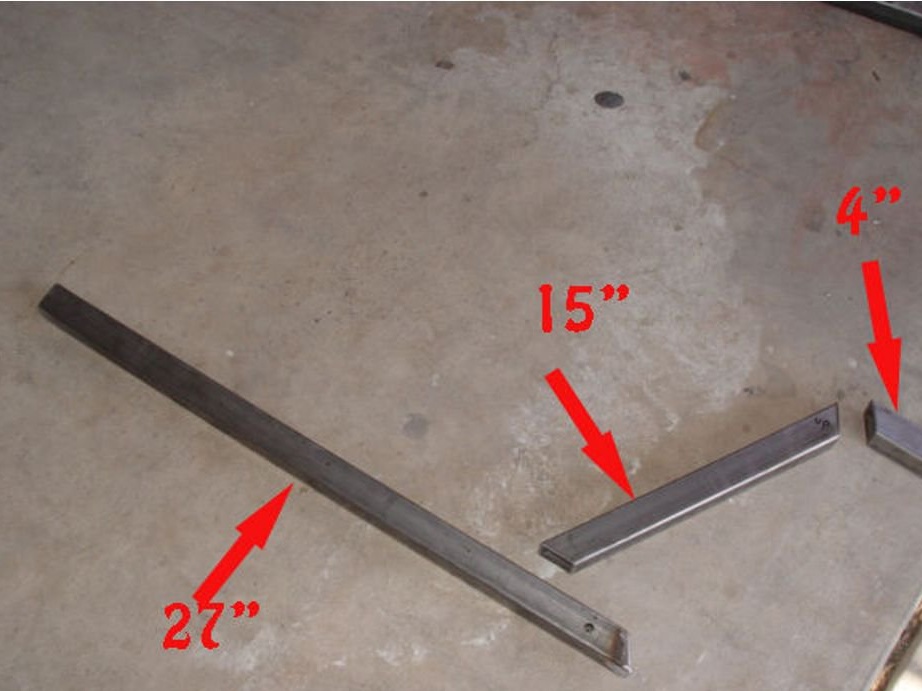
First, a square pipe should be cut into segments of 10 cm, 38 cm and the largest segment of 70 cm, the edges should have an angle of 120 degrees.
Using the fastening system, the steering column is welded to the frame plug.
Stage 3. Making the front fork.
The next step is to transfer the drive sprocket to the front so that the ratchet mechanism starts to work, we turn the sprockets.
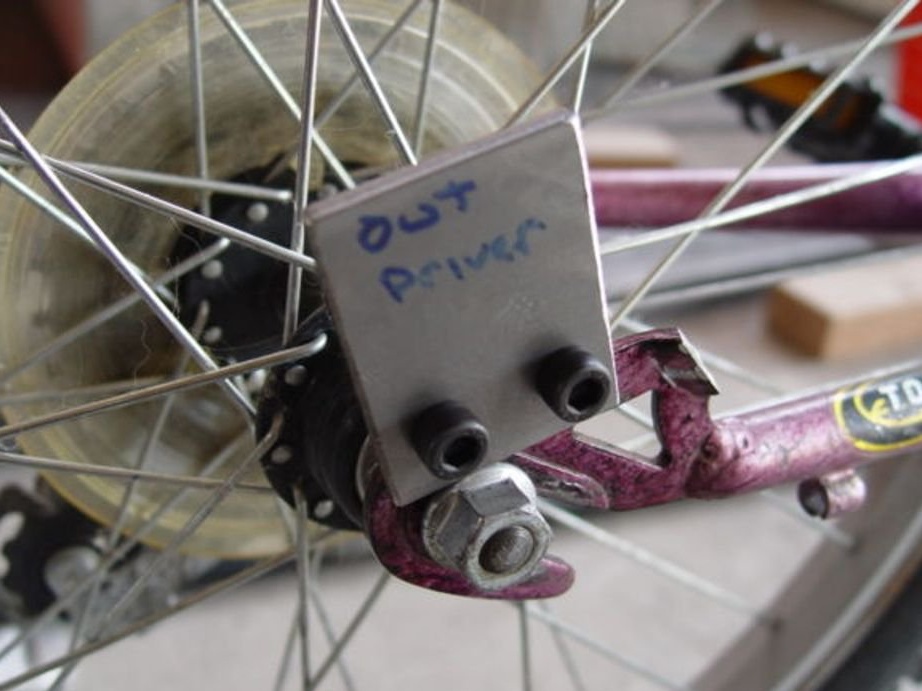
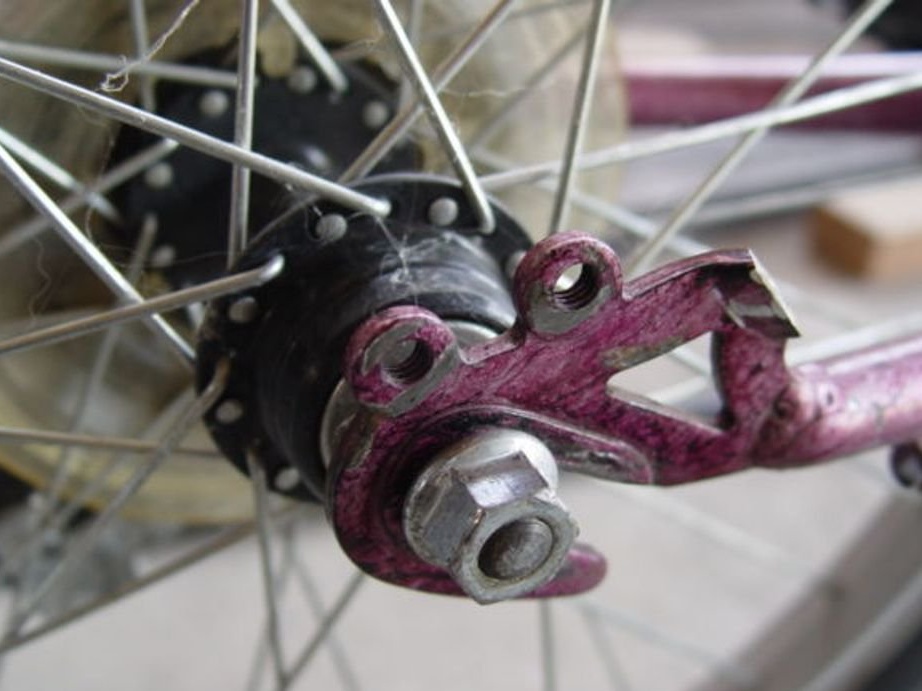
The front fork is fastened to the frame in the original holes, then from the piece of steel we cut a workpiece (3.8 x 5.5) cm and drill holes corresponding to the fasteners. The steel plate is attached to the frame.

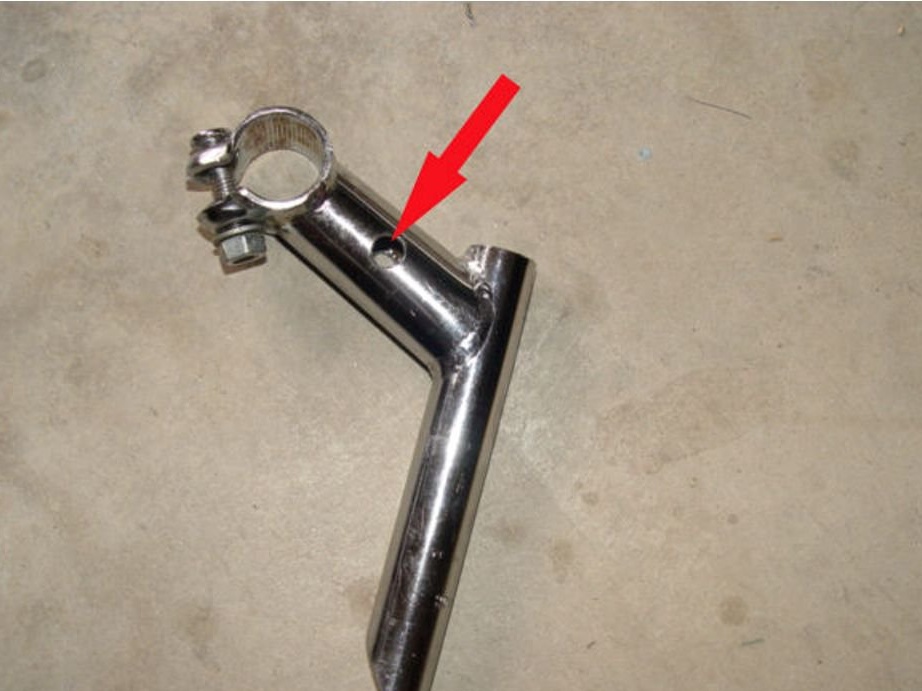
In a steel pipe (90 cm) we cut a gap, a hole with a diameter of (1 cm) is drilled in the steering shaft.
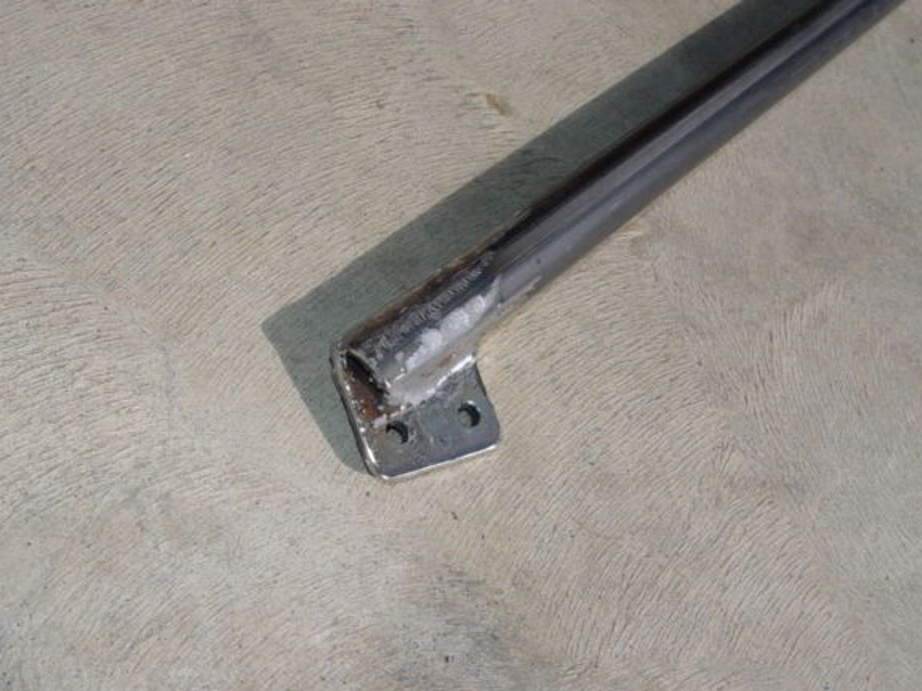

We compare the steering column with the rod with the recess in the barrel and then weld the bottom of the pipe to a steel plate, and after that the pipe is removed. Mounting hinges are welded. We cut off other parts of the plate.

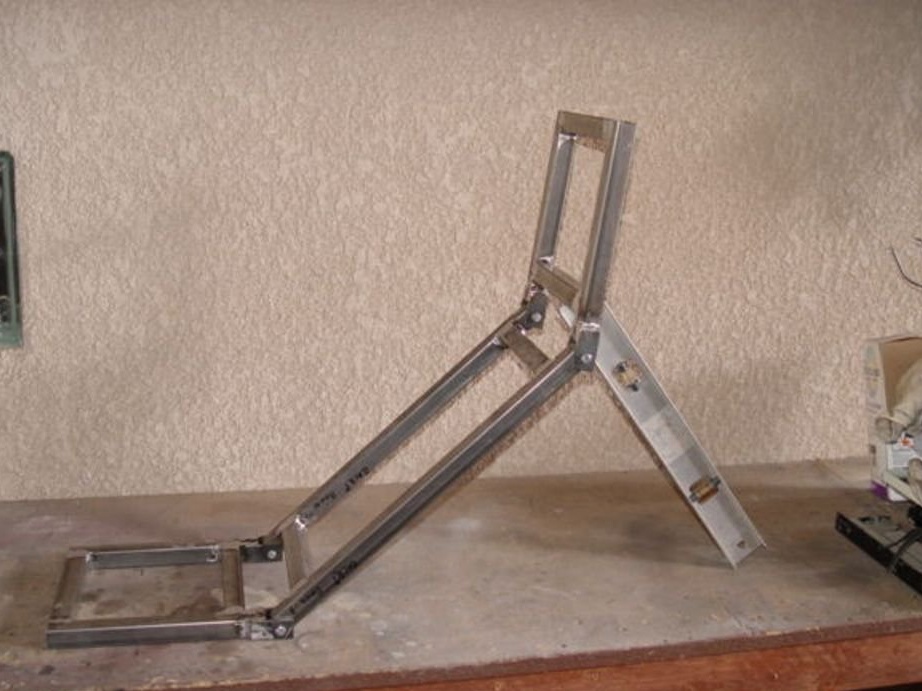
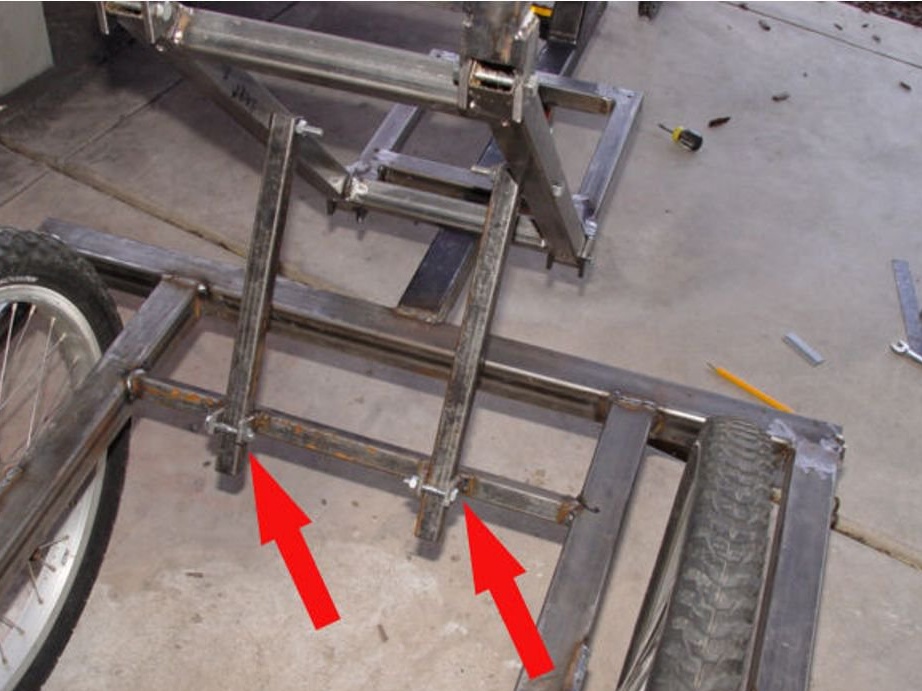
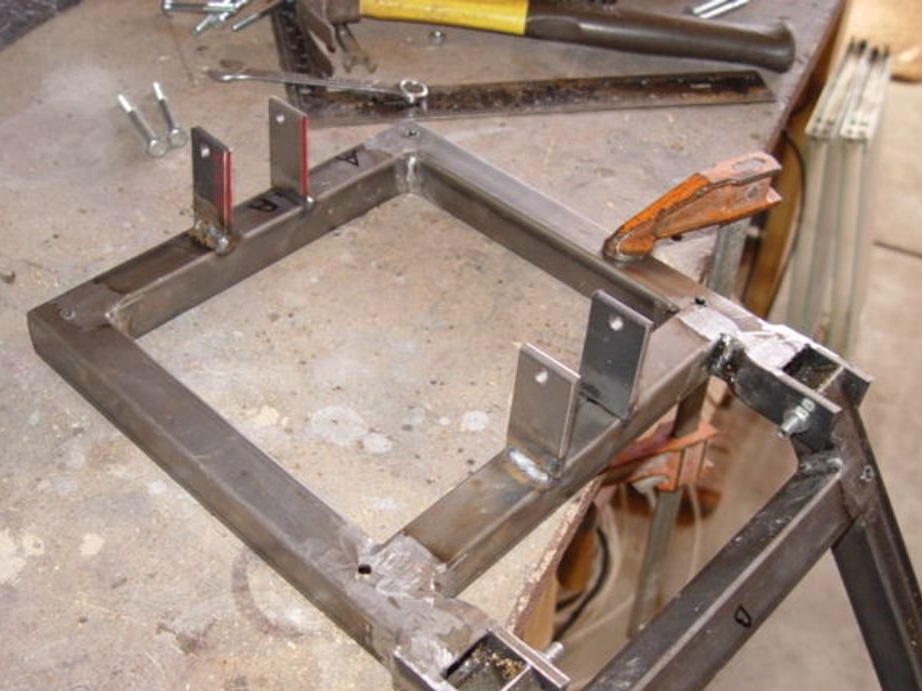
Stage 4. Return to work on the frame.
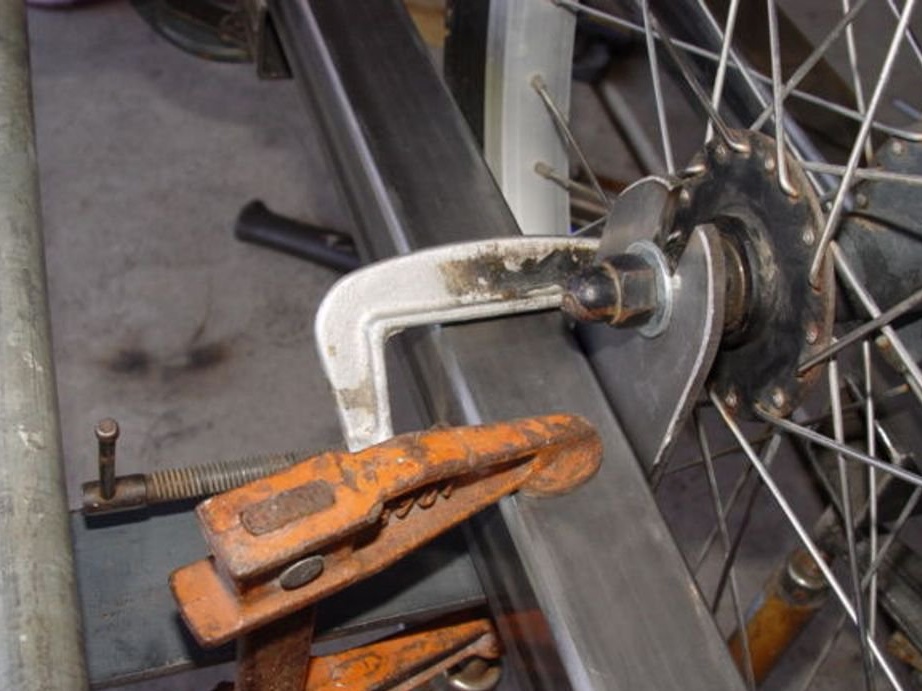
From the pipe (3.85 x 3.85 cm) we weld the rear frame. The lengths (76.2 cm) are welded to 4 lengths (53 cm), we get a square with 2 jumpers. 4 pieces (5 x 10 cm) are cut from a steel plate (0.47 cm). In the segments we drill holes in diameter to the axes.
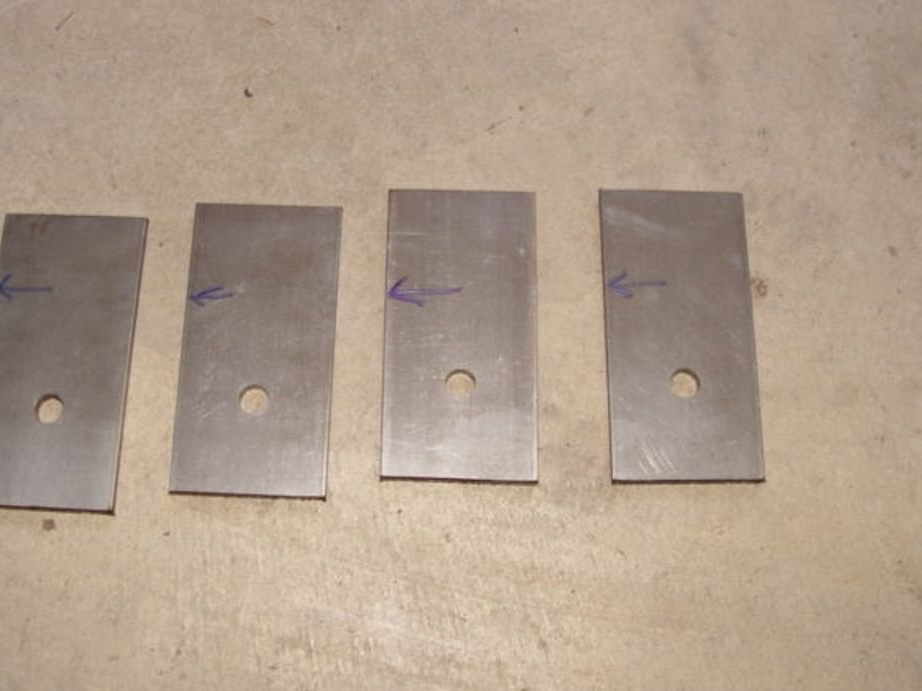
We use the wheel as a mark and weld plates to the pipes. We put the bicycle on wheels.
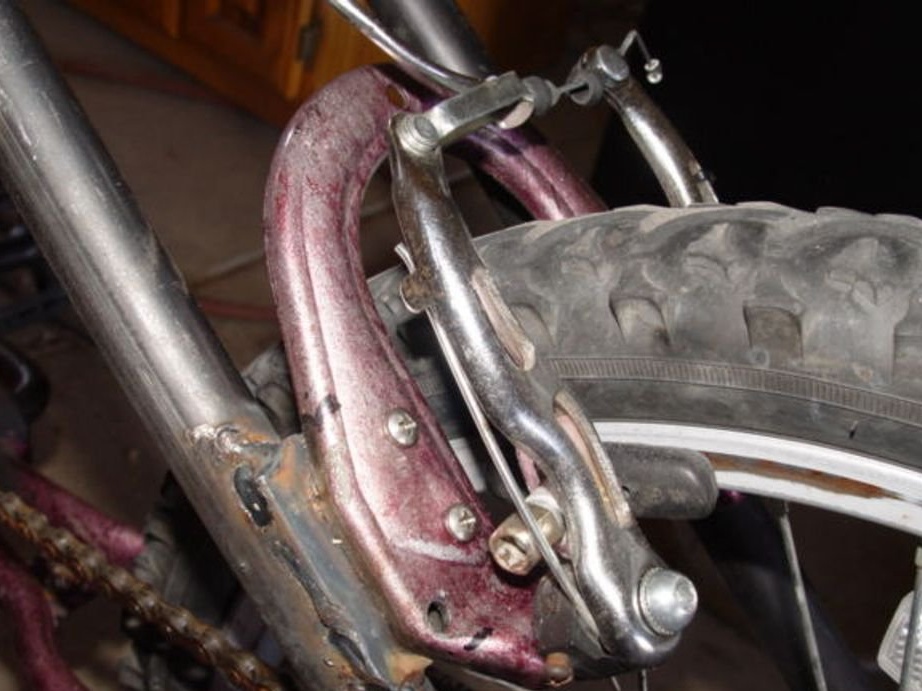
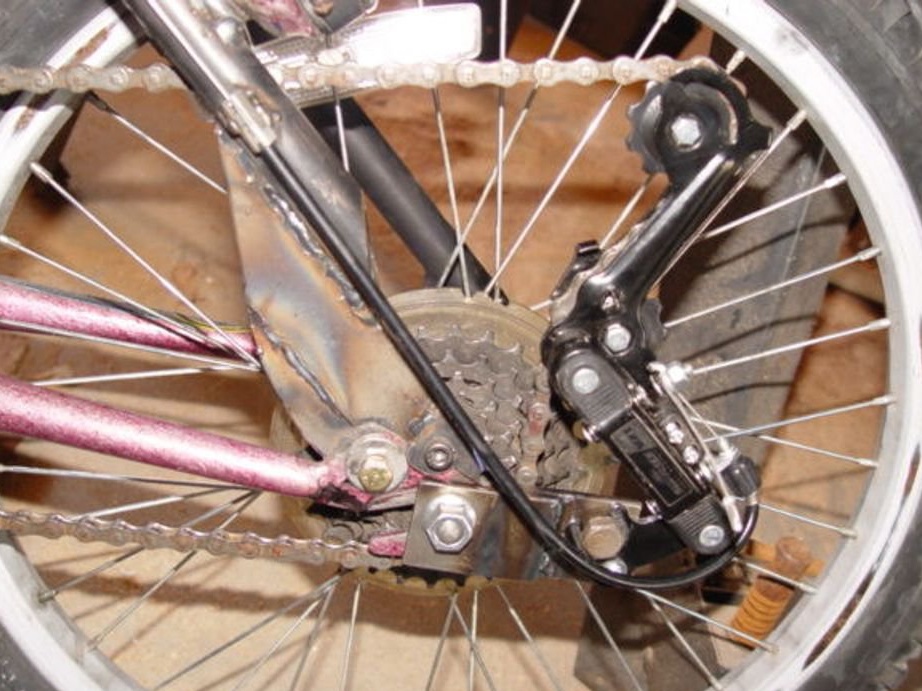
5 stage. Install the brakes.
Take the front fork from the bicycle and cut off the bracket.
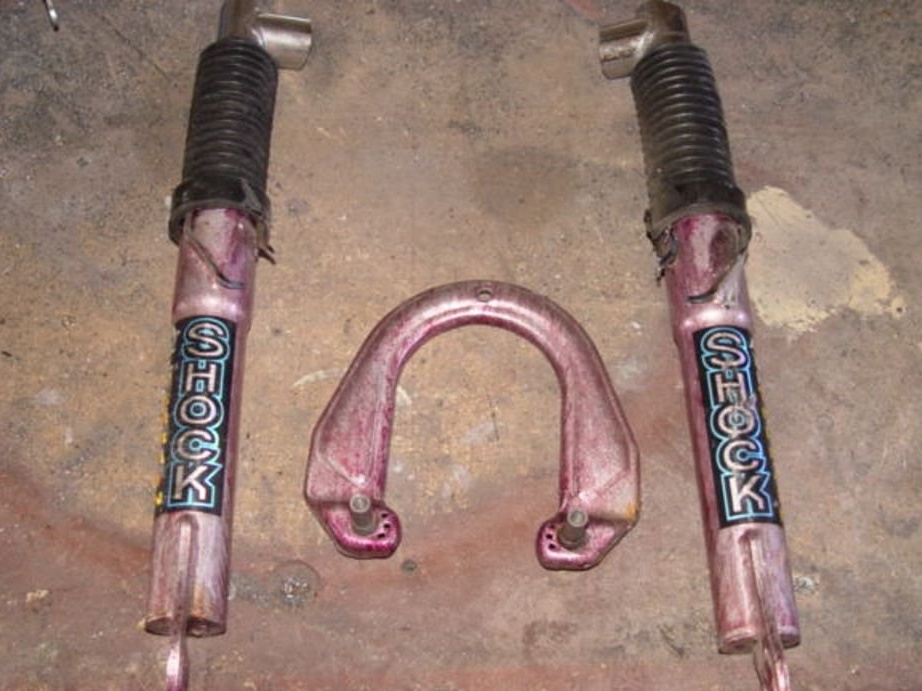
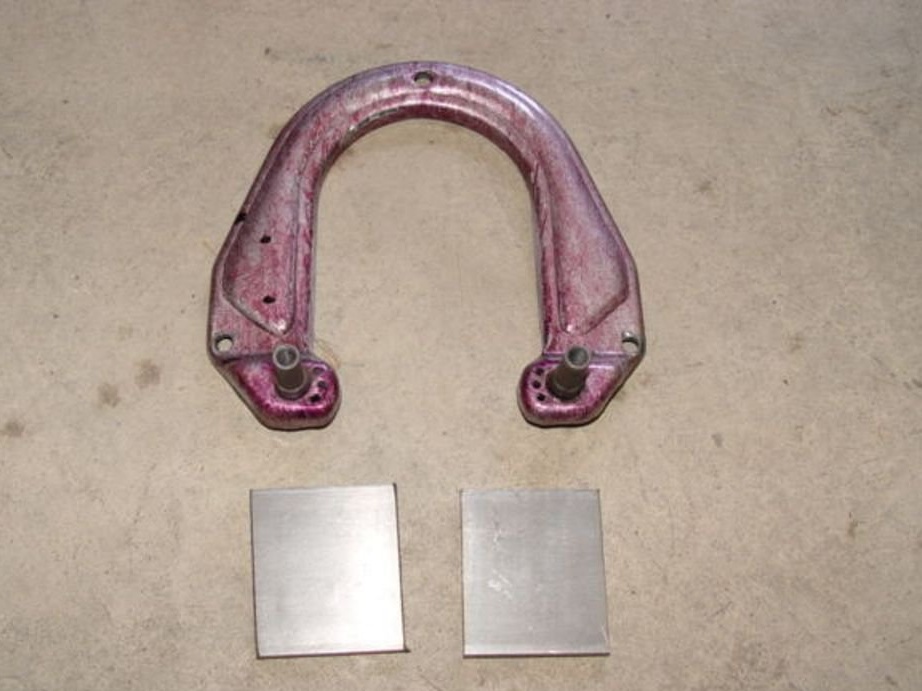
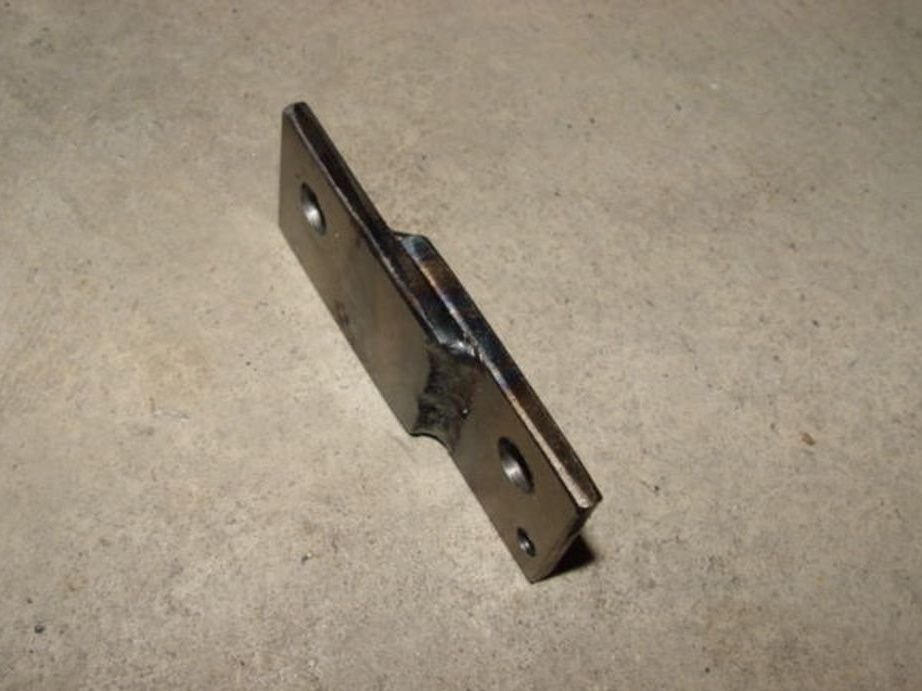
We cut off 2 pieces from a steel plate — these are mounting plates, we drill equal holes in them, we fasten these elements with a brake caliper, when the brakes are installed, we weld steel plates to the front fork.
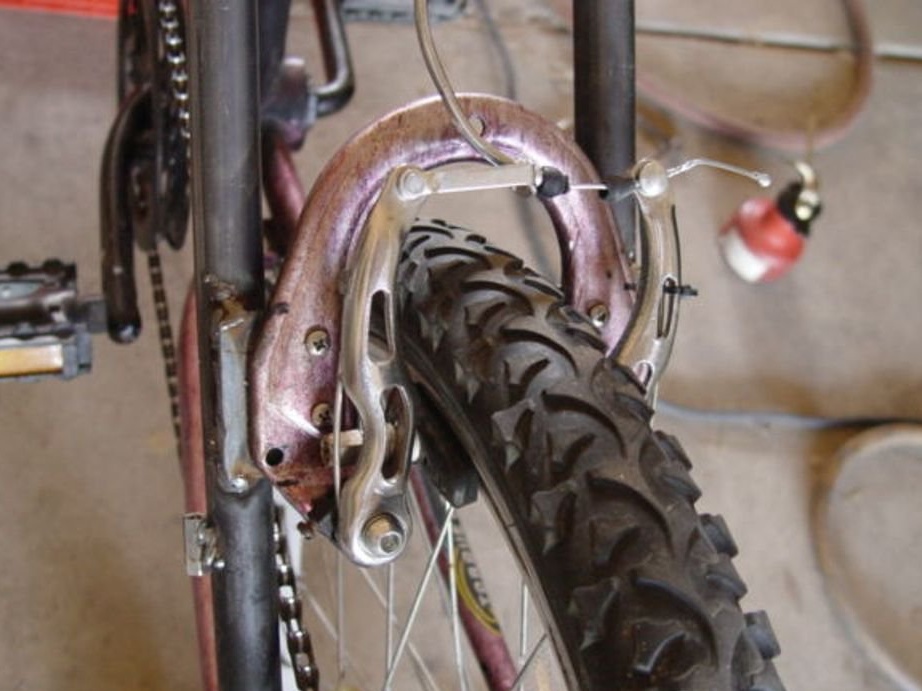
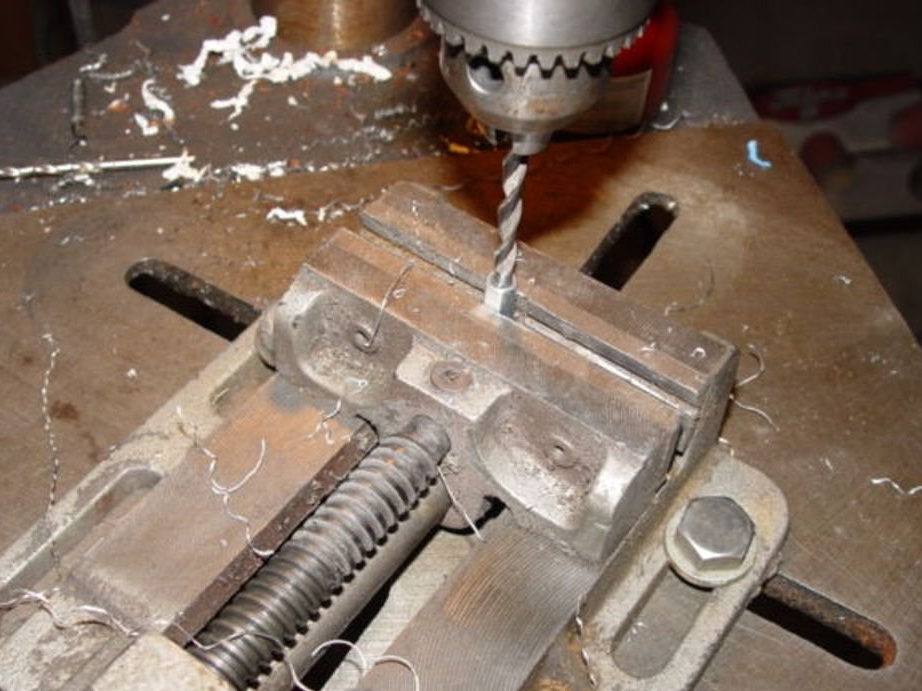
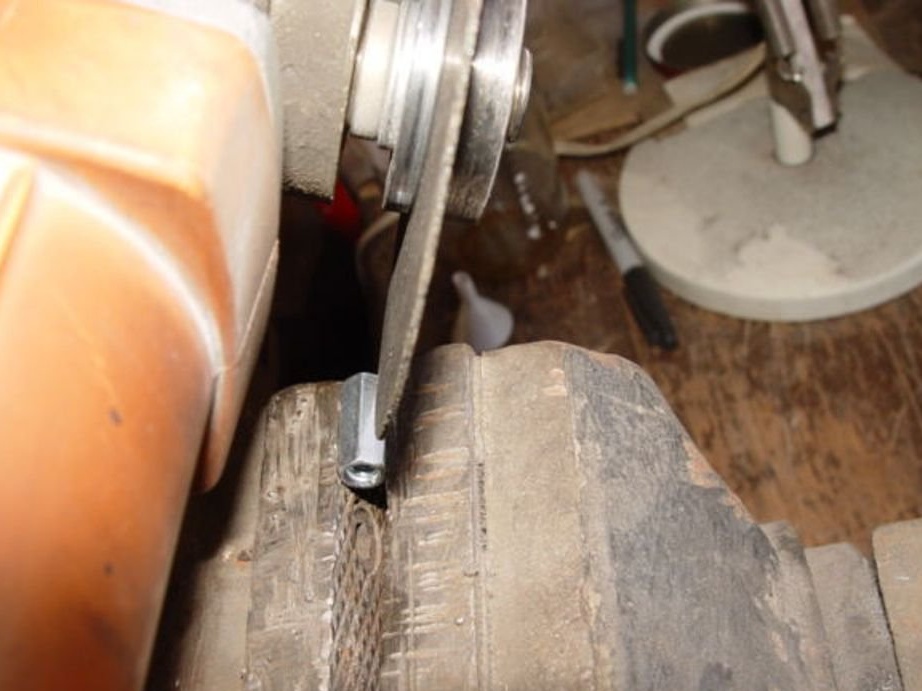
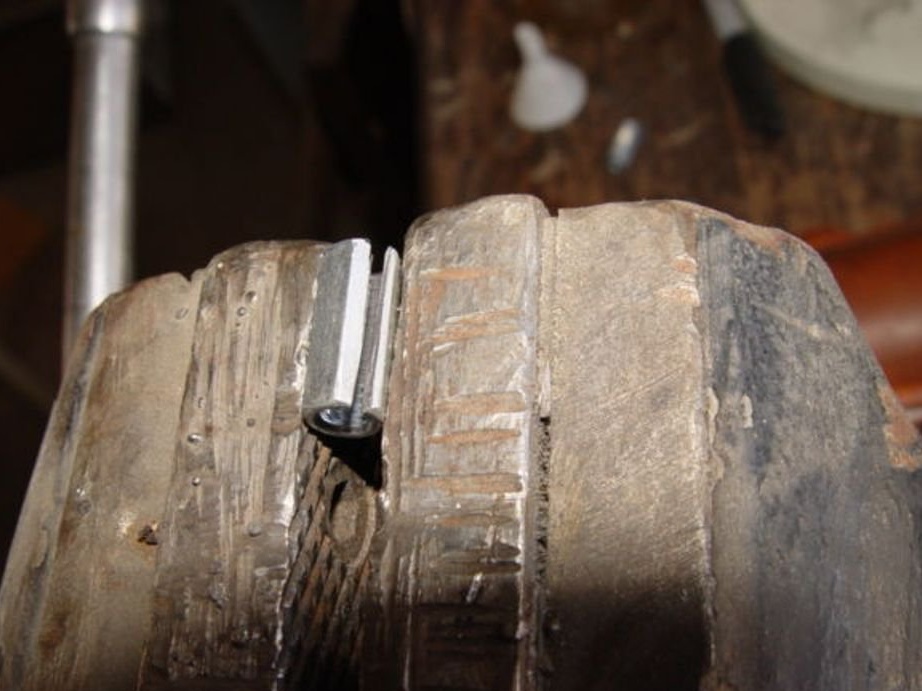
For the manufacture of cable brakes, a long nut is needed, which we clamp and drill the side, and cut along the entire surface of the nut.
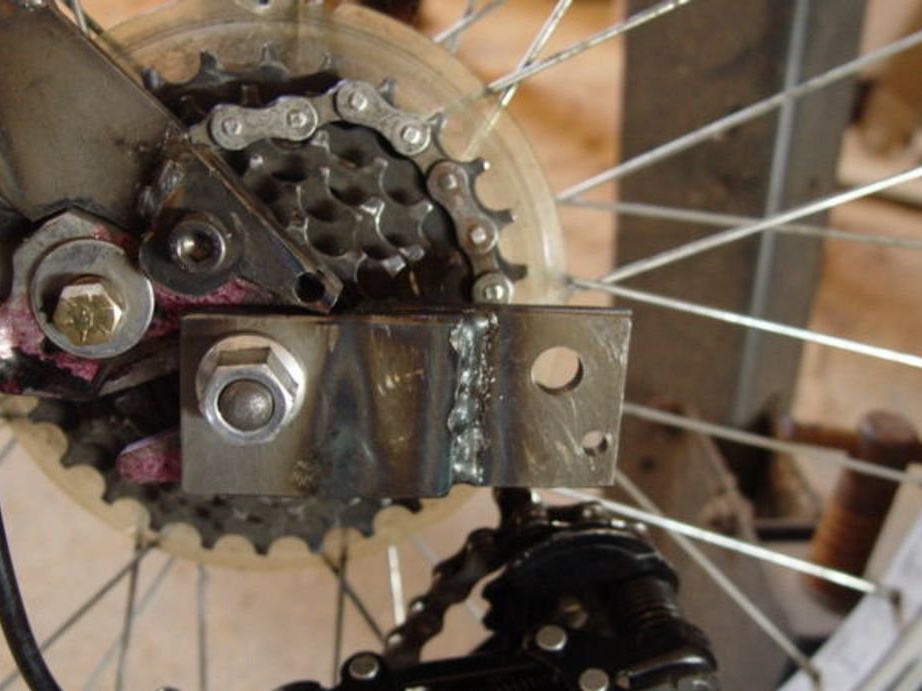
6 stage. Gear shift
We set the switch upside down, and the installation reference point goes forward (5.7 cm) and (0.15 cm) upward, then we make a bracket from two pieces of the plate.

Mount gears, drill holes with two diameters on the axis. Fasteners are inserted into the smaller one so that the gear selector does not fall out of the desired position. We install the bracket on the axis and connect to the switch.
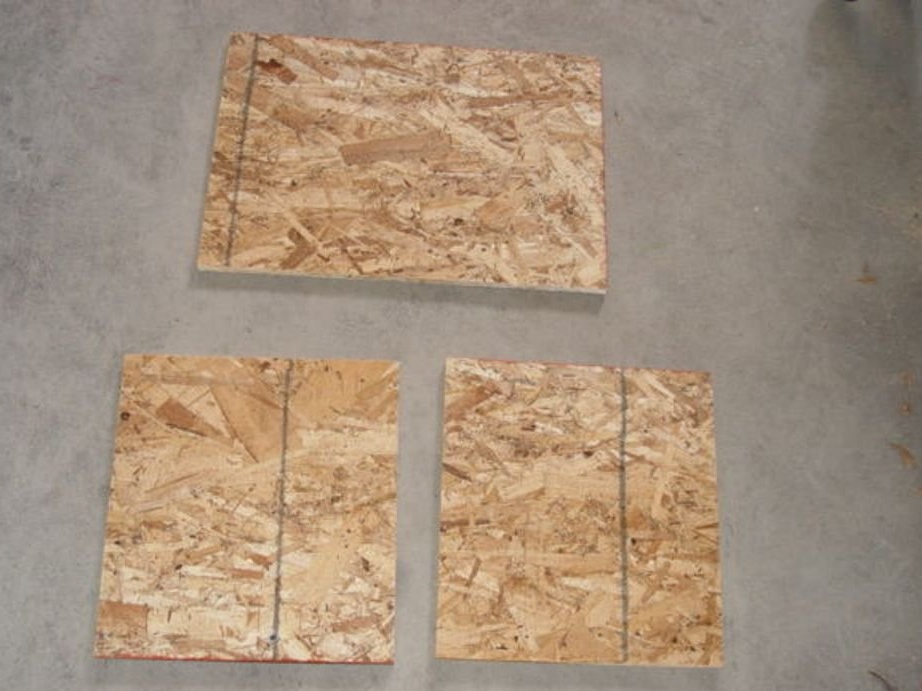
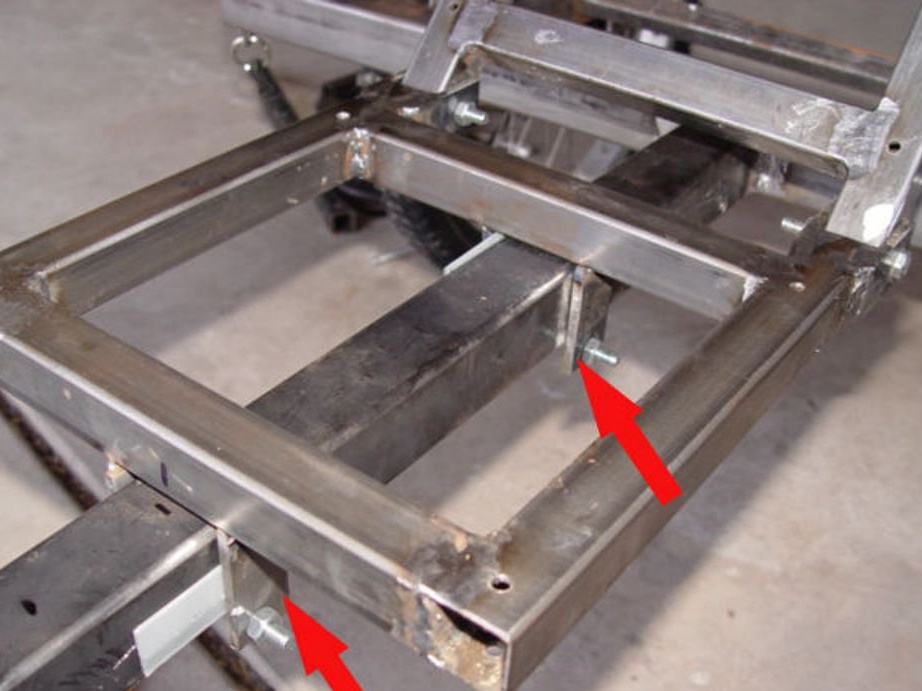
7th stage. Making seats.
From a square pipe (2.5 cm) we weld 3 separate sections.
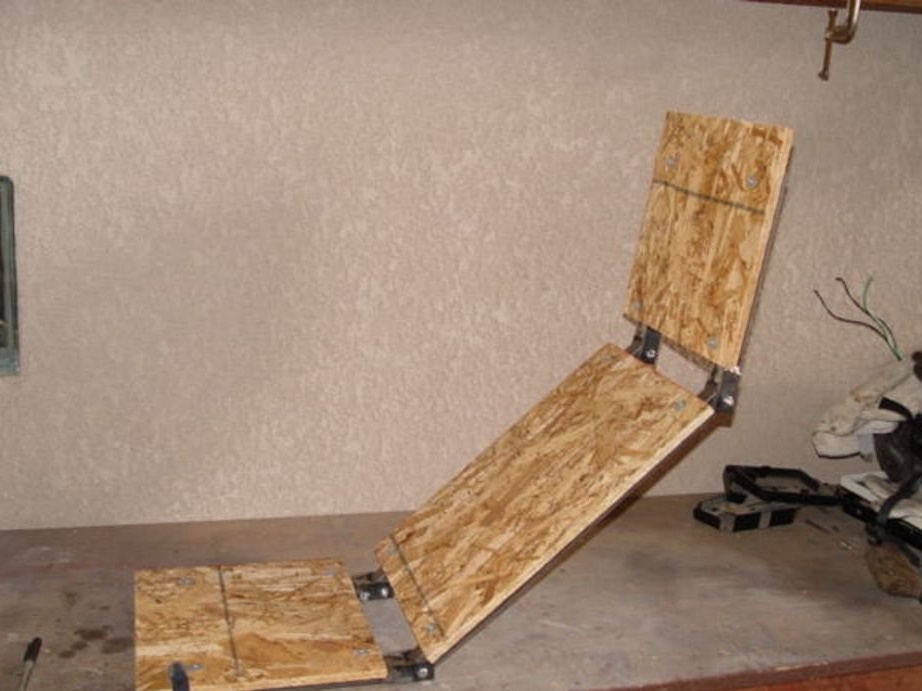
We hang the parts of the seat one on top of the other, for this we weld segments-loops made of steel (2.5 x 5 x 0.50 cm) to the pipes, weld them to the outside of the frame, and fasten the sections to the bolts.


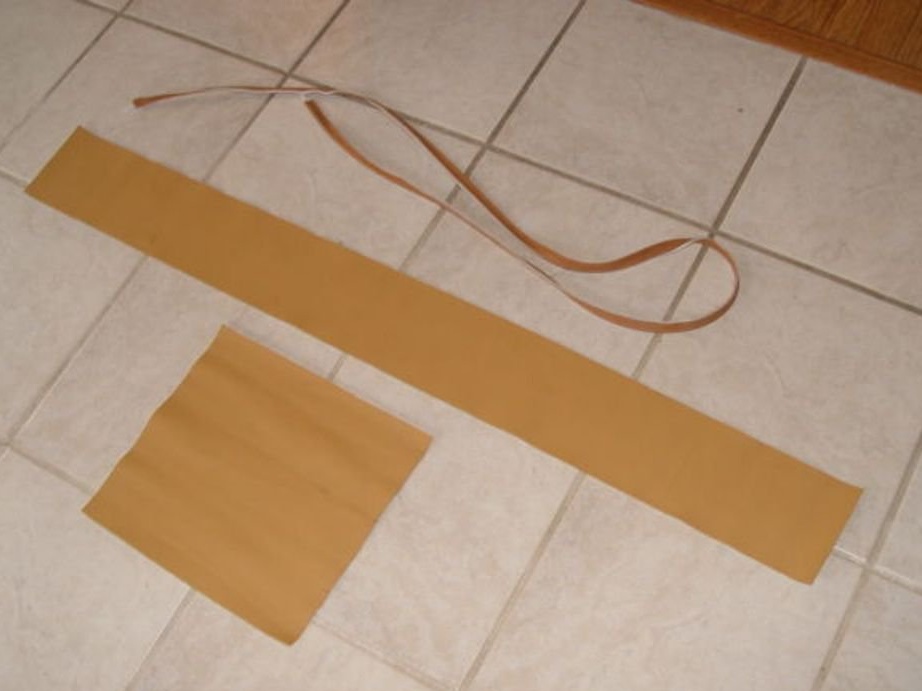
The last 2 sections are parameters in (25 x 24 cm), and the middle part (48 x 24 cm), pillow width (30 cm).
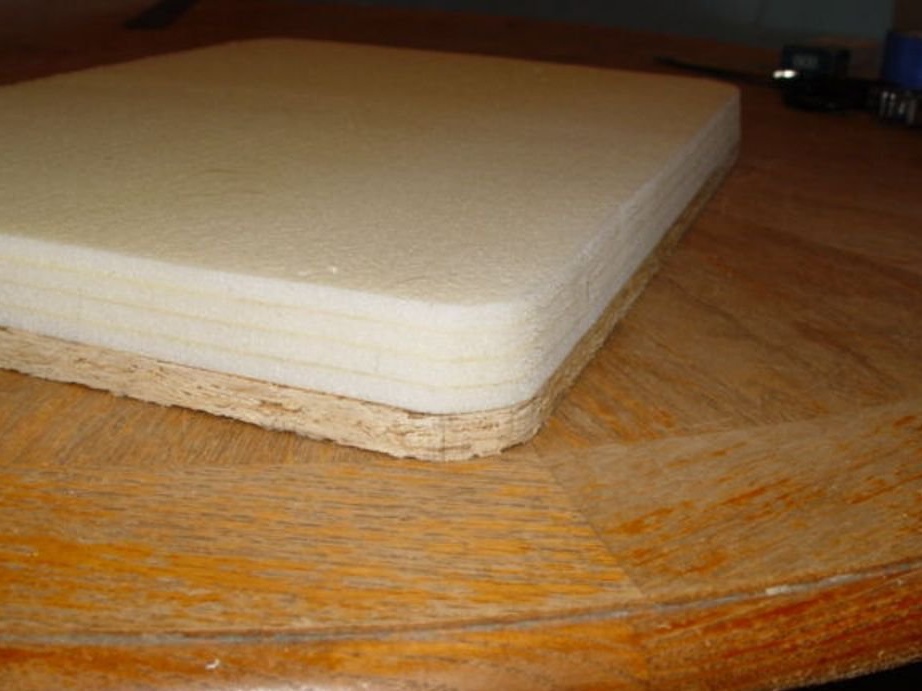
We fasten the plates from the chipboard (1.27 cm) to the seat frame. We drill holes through metal and wooden elements. The seat is mounted on special hinge bolts, so it can be moved, and 2 brackets behind the seat are reliable support and they are adjustable.
Next, we combine the pillows in 4 layers with a thickness (0.5 cm), cover with a cloth on top. We glue four layers, and grind the edges so that the surface is even. We sew three parts of the upholstery, and then we pull the finished pillow upholstery and fasten it to the wooden base.

Testing a bike.