
Hamsters are nimble animals. They like to climb everywhere and explore new territories. If in your favorite cage your pet finds an additional area for its entertainment, then it will definitely say “Thank you - OWNER !!!”
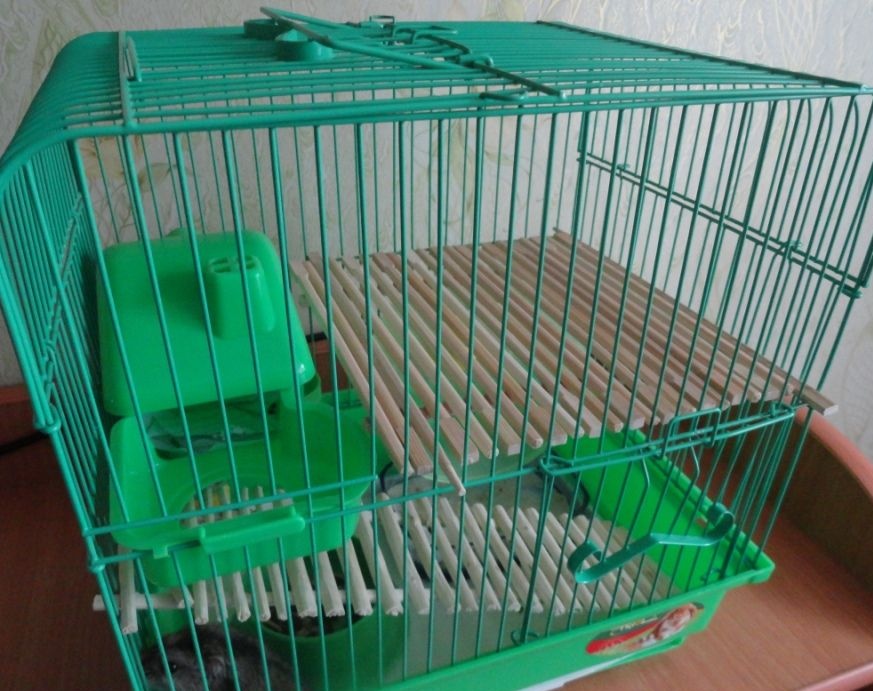
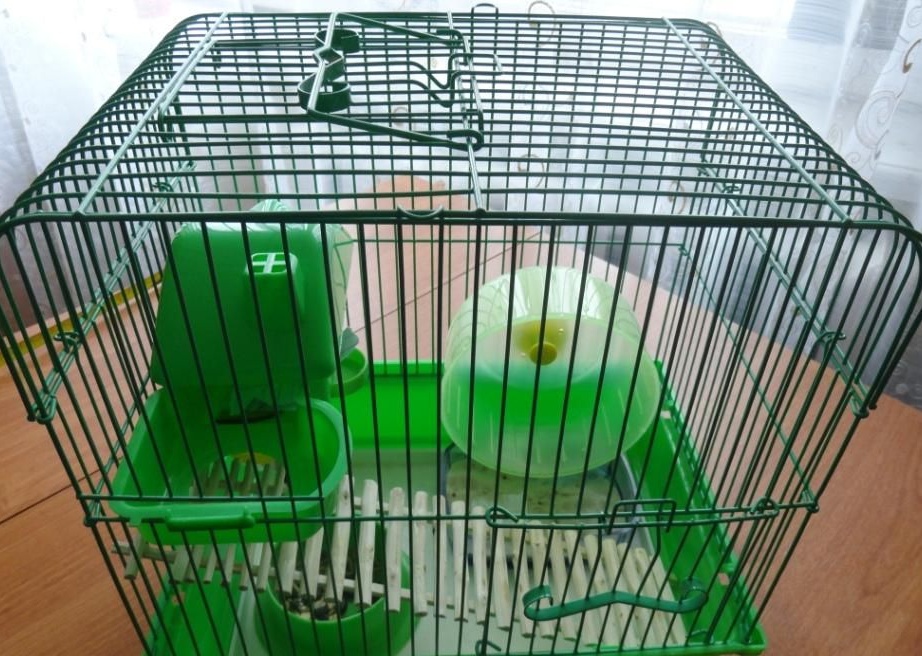
We will build the second floor in such a cage:
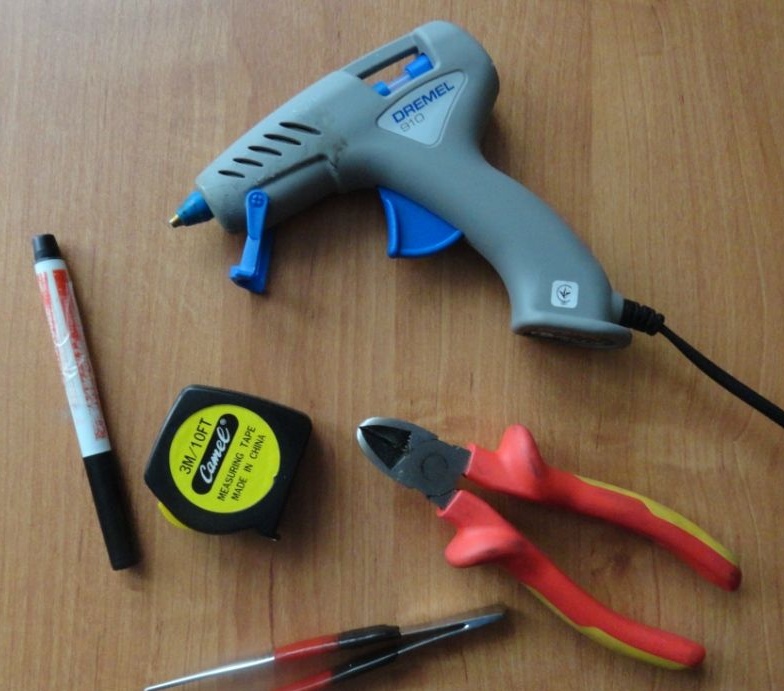
For work, we need tools:
- marker;
- roulette (ruler);
- nippers (breadboard knife);
- thermo-gun;
- tweezers.
Using a tape measure, we measure the width and length of the future site.

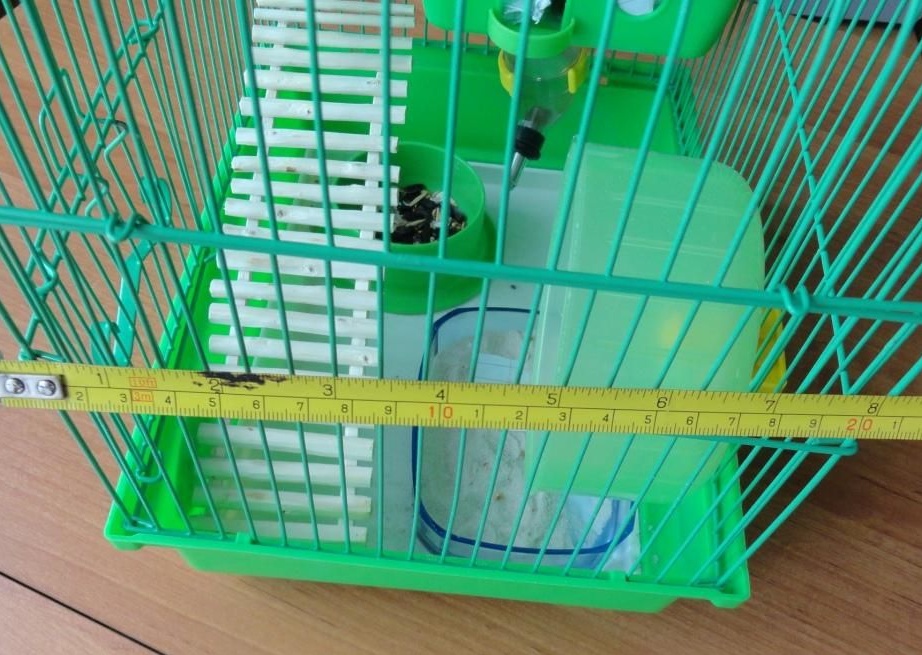
In this case, it turned out: width - 19 cm, length - 20 cm.
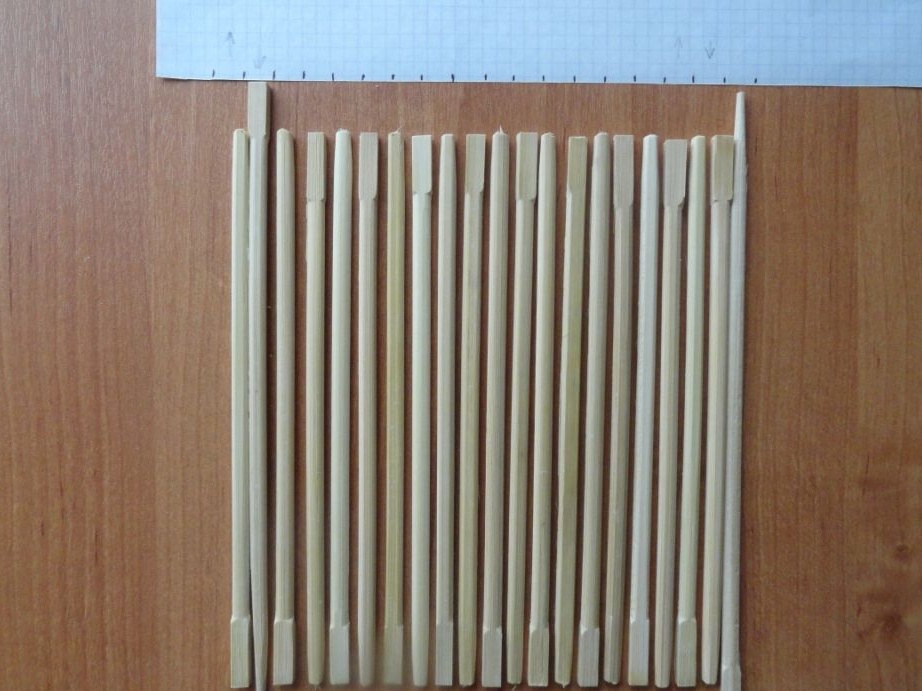
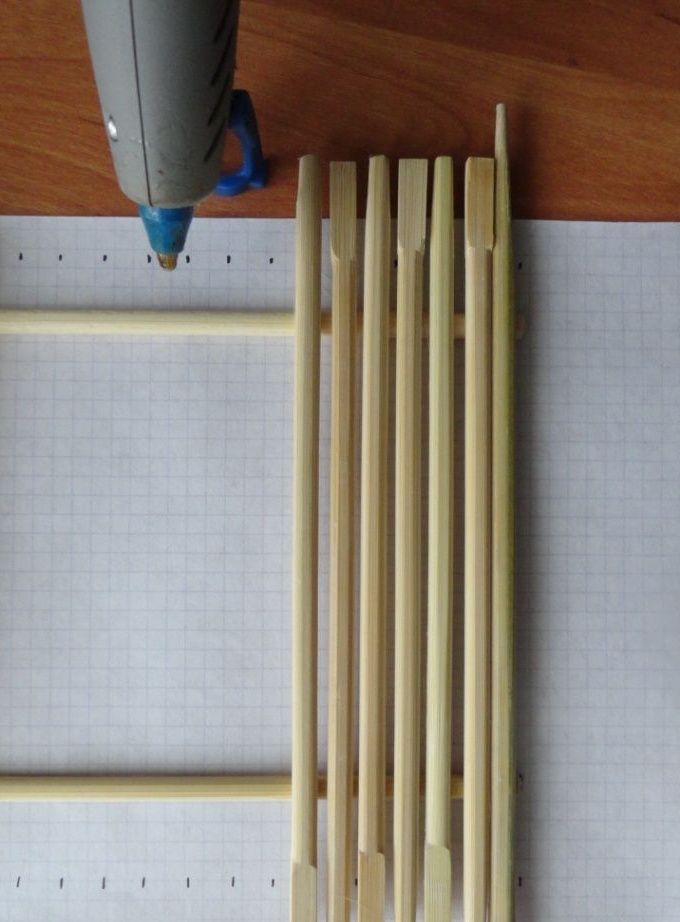
For homemade We use Chinese sticks, which in this case are an excellent building material.
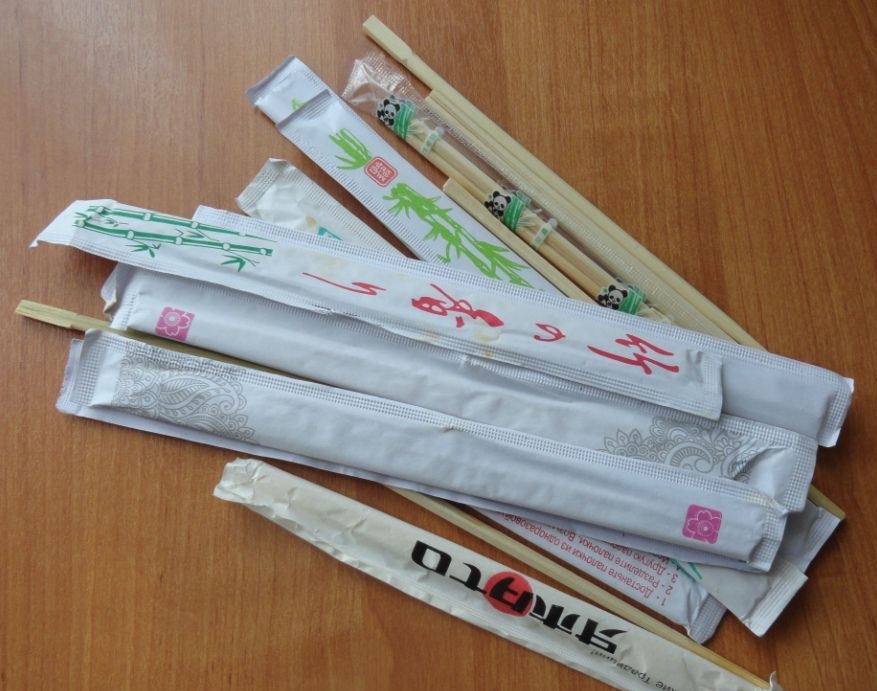
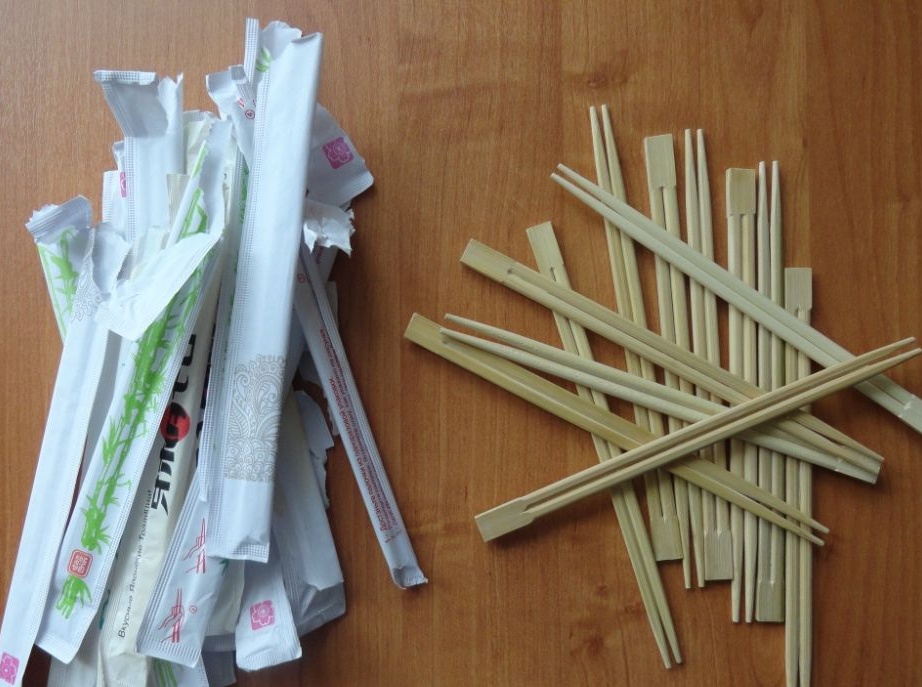
Having cleared a number of sticks from the packaging, we post the expected shape of the future site. If the width will be formed in the process of further work, then the length of the sticks must be adjusted to 20 cm.
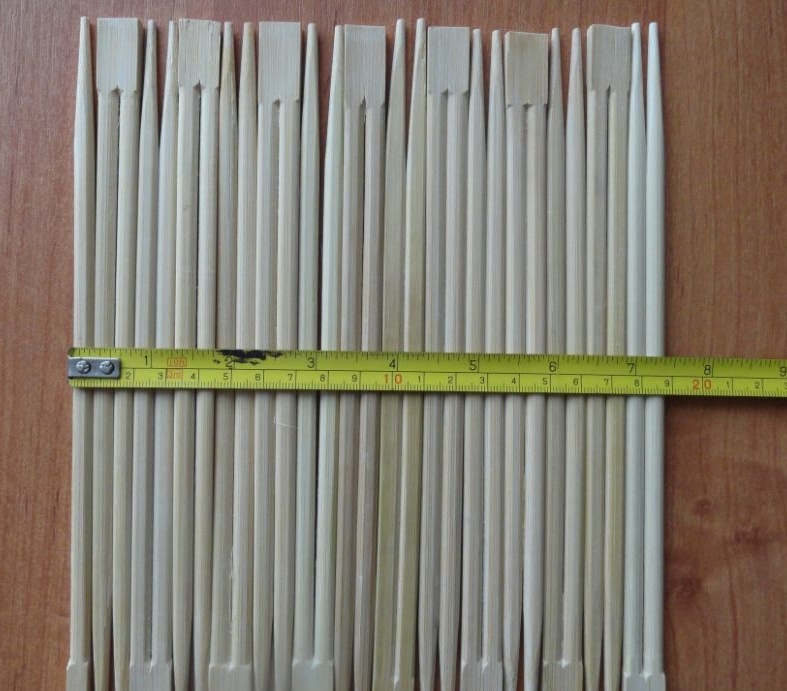
For the convenience of working on paper with a marker, we draw two lines at a distance of 20 cm. Then, applying sticks to the marks, the sticks are marked out near the thin edge.
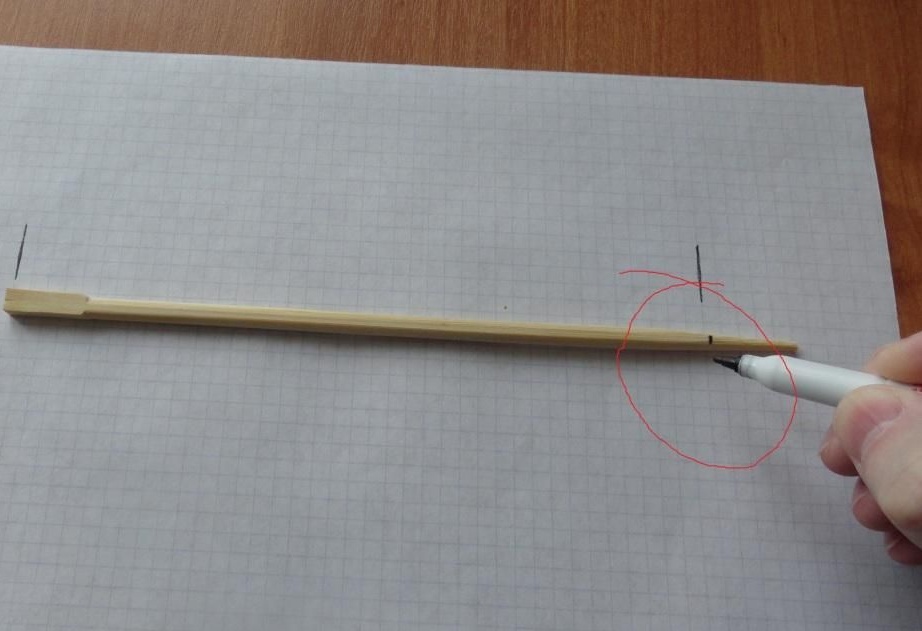
With the help of nippers, the sticks are shortened.
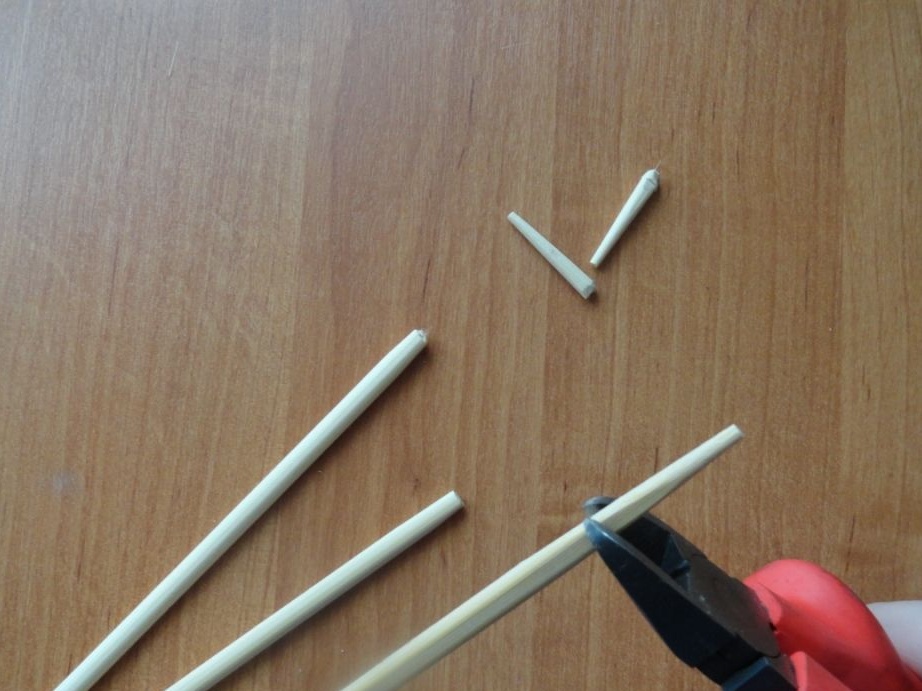
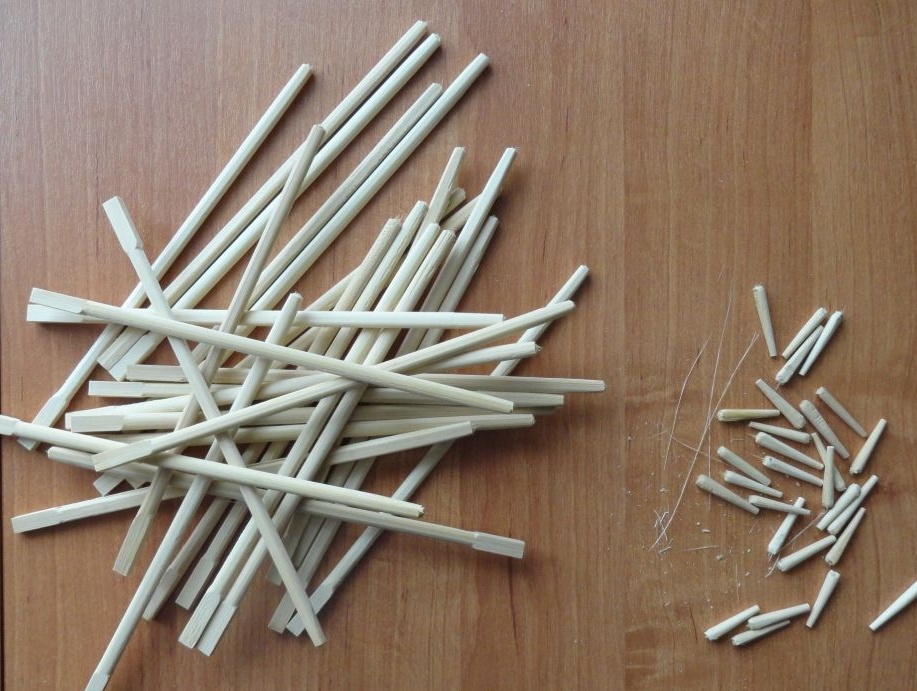
The required amount of building material is ready.
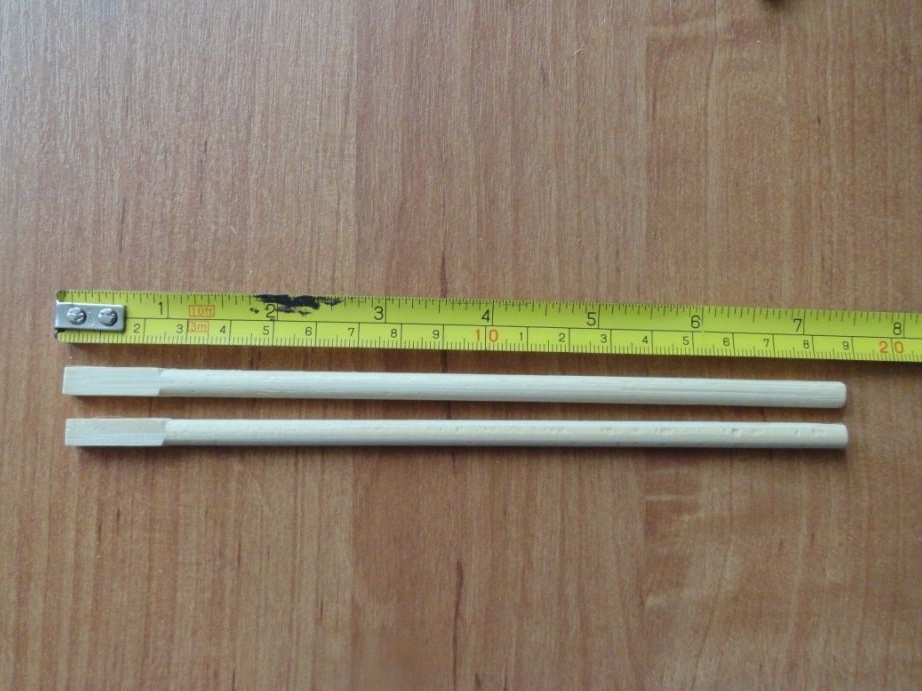
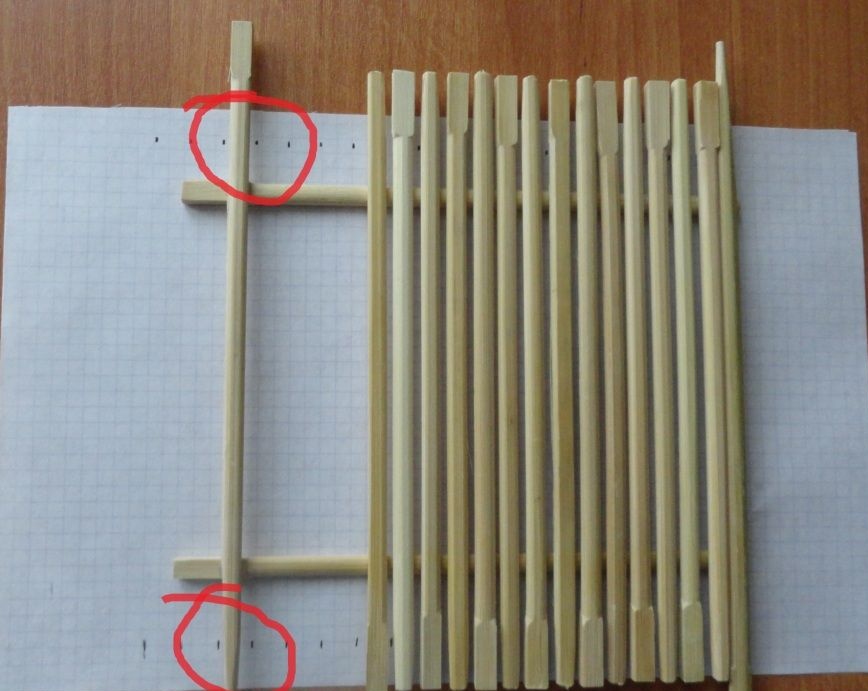
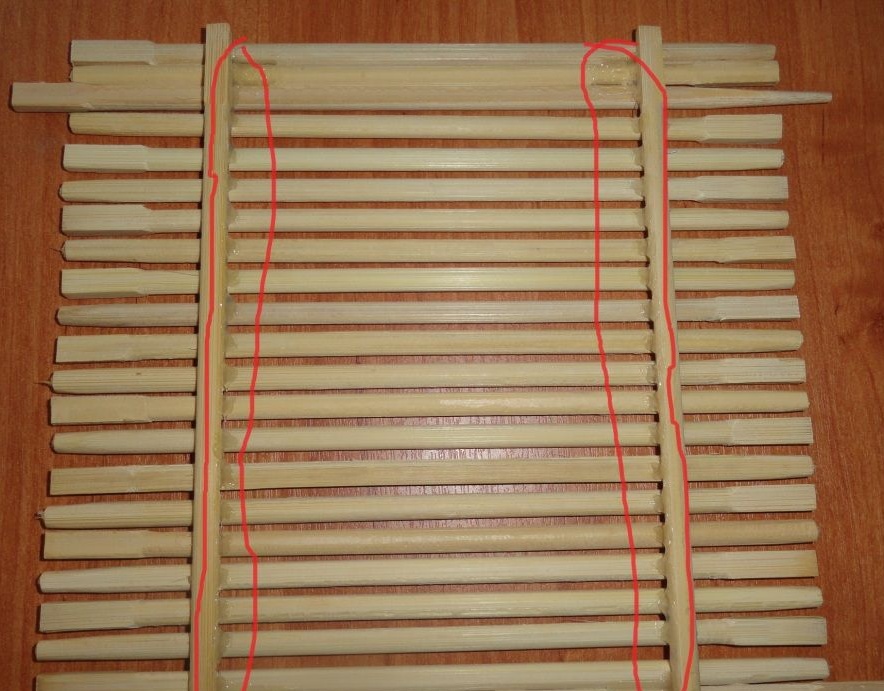
The site of the second floor will be fixed on the transverse wire running along the entire perimeter of the cell. To do this, use two sticks of standard length. So that when assembling the site, these sticks get strictly between the vertical wires, we mark the vertical wires of the cage with a marker on a sheet of paper.
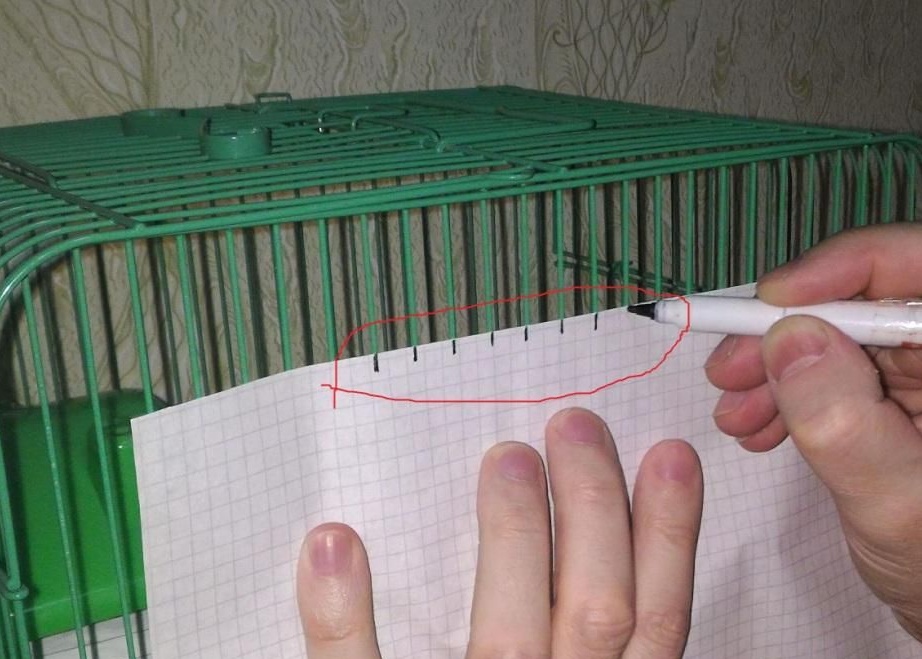
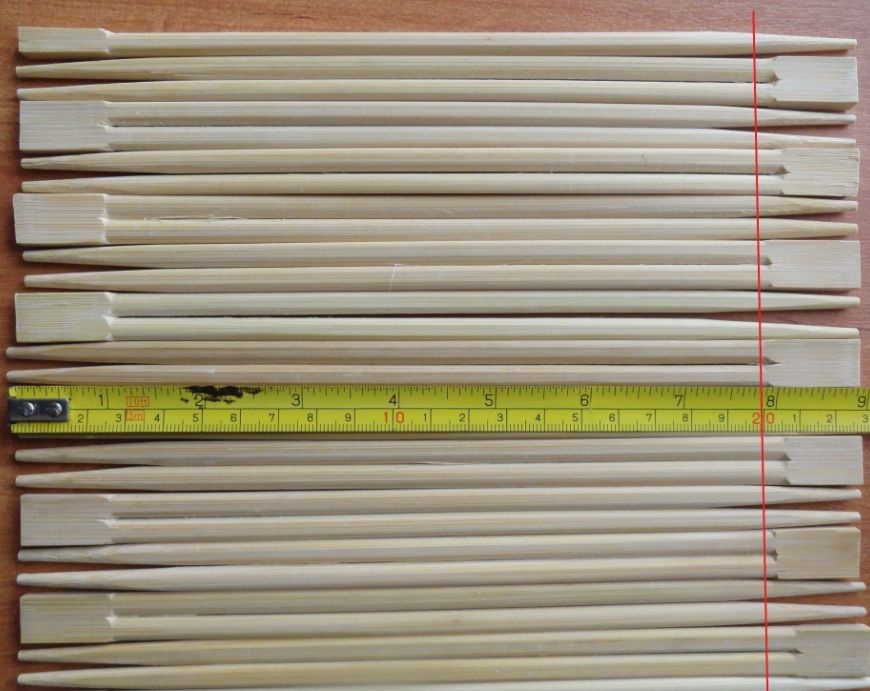
The following figure shows the result of previous work.
Since the width of the site is 19 cm, we will prepare two sticks for this size. They will serve as crossbars of the entire site.
On a sheet of paper we mark out two cross sticks, 4 cm from the edge of the pad.
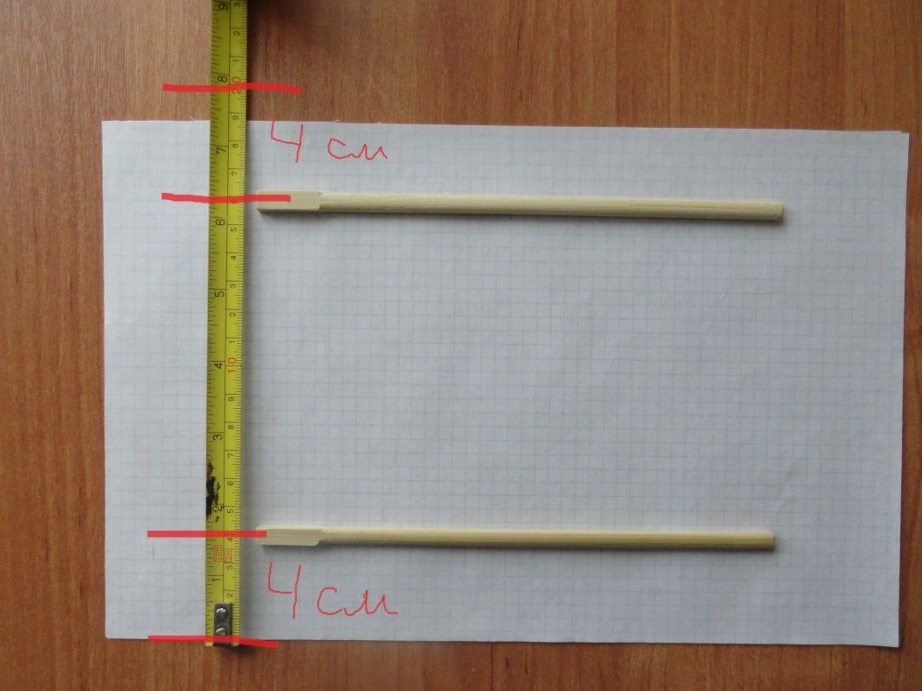
Using glue, small dots, fix the sticks on the sheet.
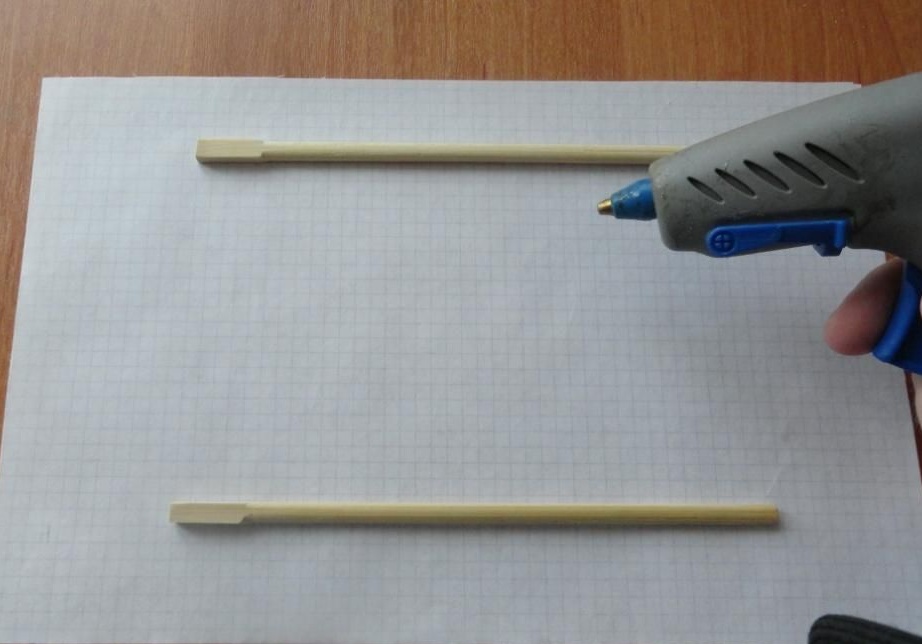
We mark the vertical wires of the cage on both sides of the sheet.

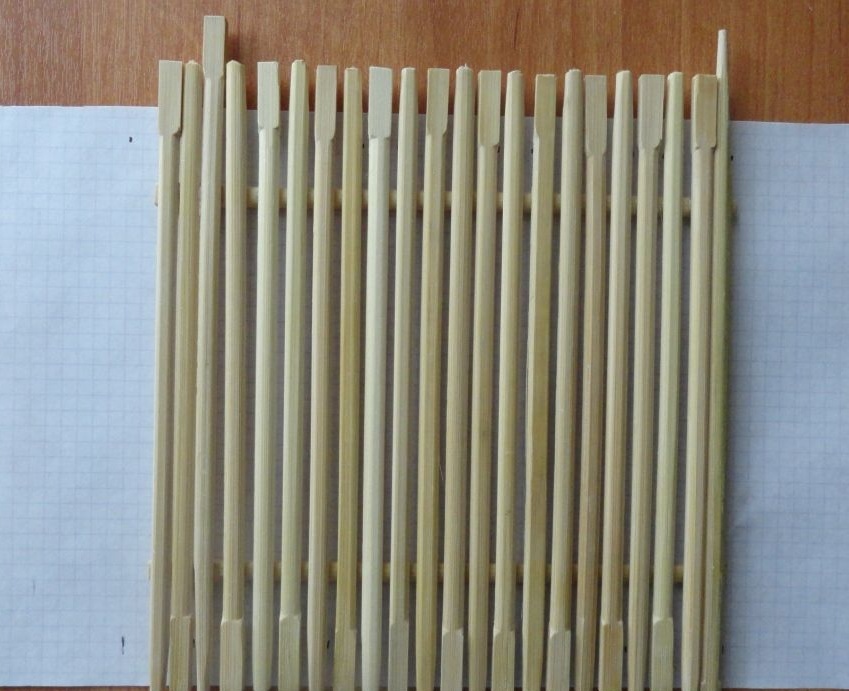
We begin to glue the site with the first long stick, this stick should be strictly between the marks.

Next, glue 20 cm sticks alternating between thick and thin ends. Between the sticks we leave a gap of 1-2 mm.For convenience, we use one edge of the sheet as a marker for aligning the sticks.
Having reached almost to the opposite edge of the site, we glue the second long stick. We pay attention to the location strictly between the labels.
We finish the sticker to the ends of the transverse sticks.
We turn the structure over, remove the glued sheet, remove the glue streaks with tweezers so that the pet does not eat it up.
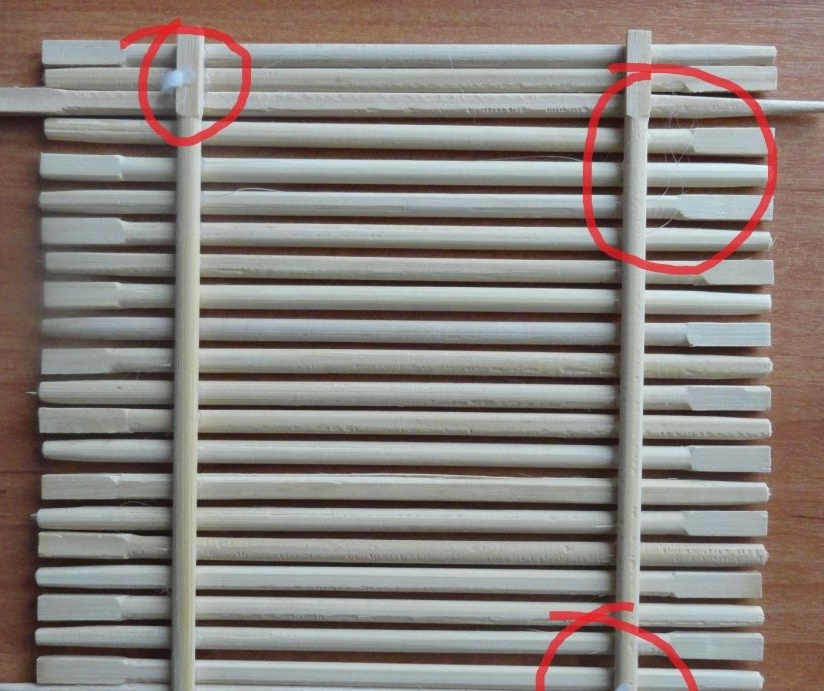
To strengthen the structure, glue can be passed along the inside of the transverse sticks.
The result is this:
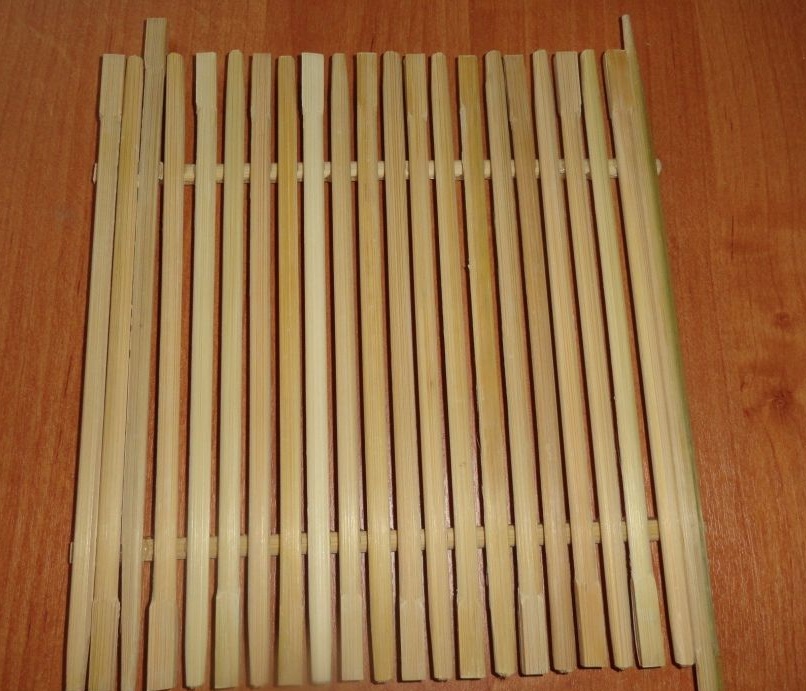
Well, in the cell it looks HERE SO:
Your pet will definitely like the new territory!