
A variety of canopies and canopies above the porch are considered to perform a decorative function. But still the main and important role of these structures is not at all in this. Of course, it is nice when at the entrance to your house there is such a decoration that attracts the eyes from a purely aesthetic side, but also is a protective element of your property. After all, the canopy protects the porch, and the front door, and the lock. And also, not unimportantly, your health. In rainy weather, moisture gets into the castle, and the door also becomes wet and slippery. If the buildings are made of wood, then nothing will help in this case, they will simply begin to rot and deteriorate.
To avoid this, we’ll look at the author’s example of how to make a beautiful canopy over your porch with your own hands.
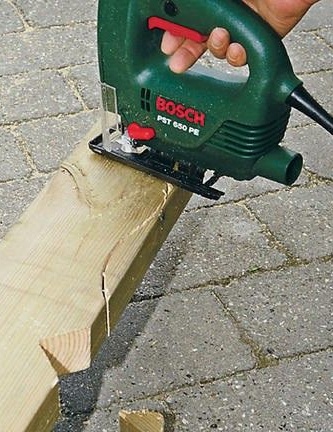
For work you will need: a jigsaw, a variety of mounts, a hammer, a chisel, a drill and other tools that you will learn about in the process of doing the work.
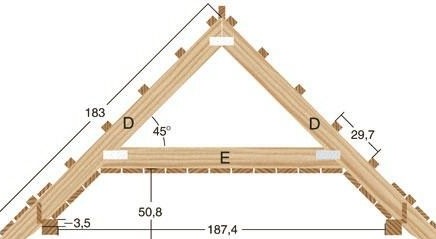
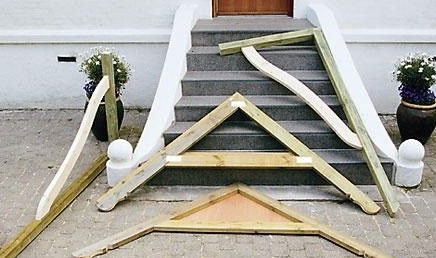
All work will be performed according to the drawings that are provided below. All sizes are indicated on them.


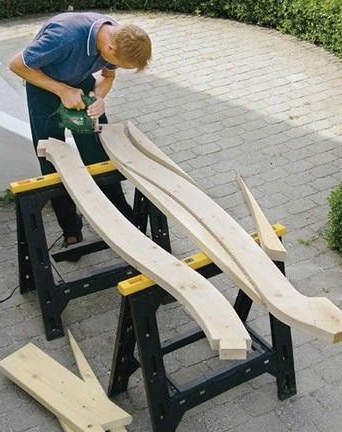
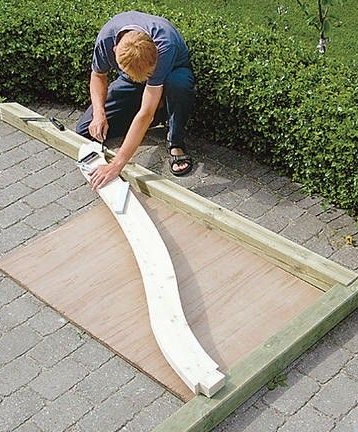
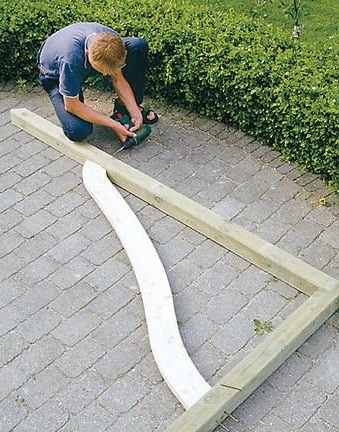
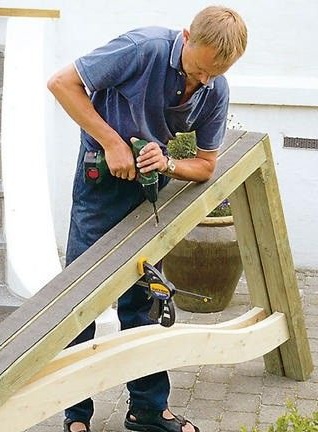
To begin with, we cut out figured supports from wood, at the ends of which recesses are made for a spike connection.
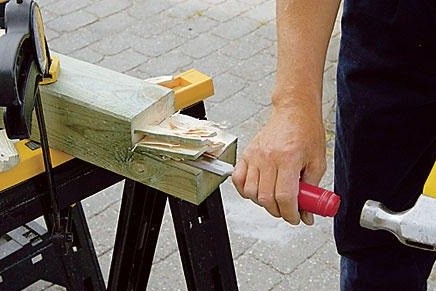
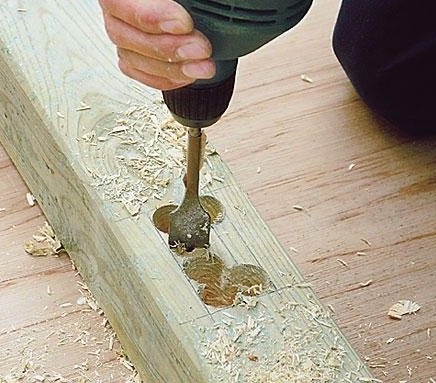
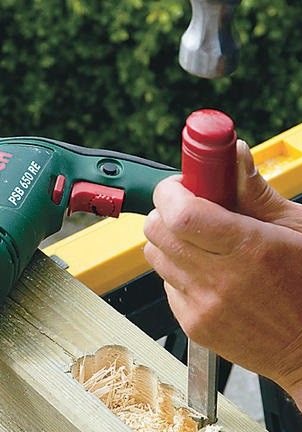
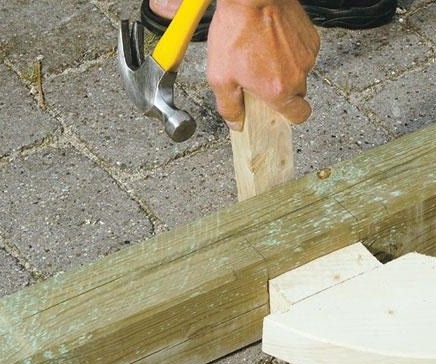
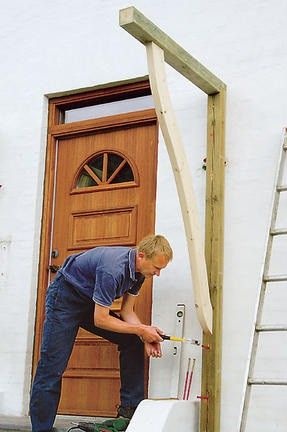
Next is the basis for wall mounting. In it, according to preliminary marking, holes are cut out for connecting parts. These grooves must be such that all parts fit into each other abutting, which provides additional structural strength. Further, they are strengthened with wood screws.
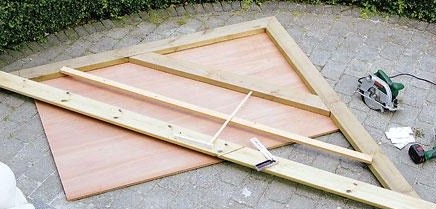
The next step is the assembly of the roof. It has a skate-like structure. Workpieces of the size you need are cut out from the boards. Connections are also in grooves and screws. Cross struts are placed so that the design is more durable. Decorative trim panels for the front of the canopy are also cut out. That's it! The basic elements of the canopy above the porch are ready.
Now, on the base, which is attached to the walls, some overlay is attached. This is necessary so as not to spoil either the wall or the canopy itself during installation and installation to the wall.
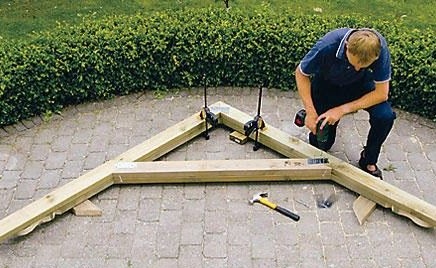
We proceed with the installation of the side supports.
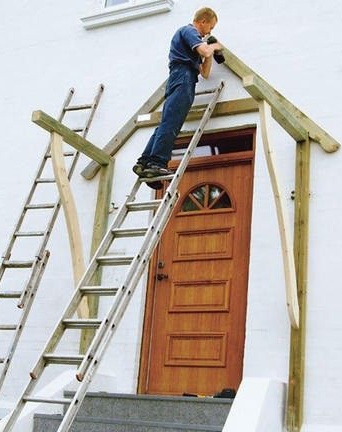
We fix the rafters, which are connected to the base with building corners.


The ceiling is sheathed with a board.
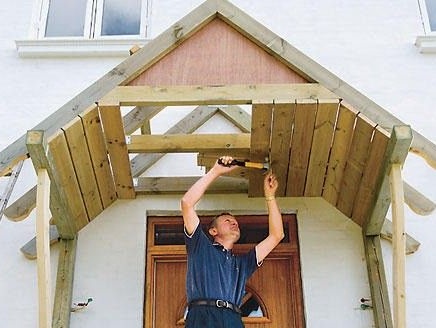
We fasten the cross bars to the rafters.

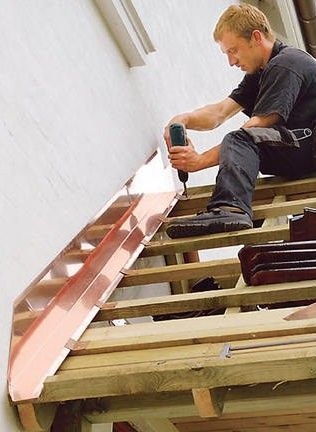
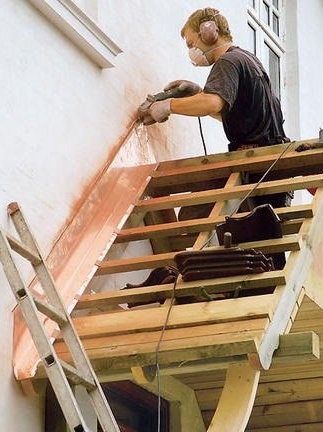
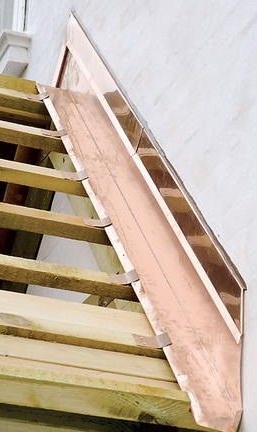
We make an ebb between the wall of the building and the roof, to protect against moisture.
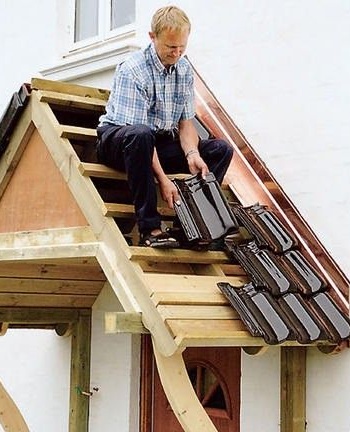
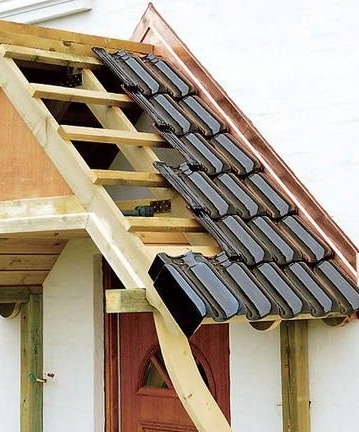
We cover the buildings with metal tiles. These are its elements used.

The installation of metal. Upwards. We fix it.
The final stage of construction is the installation of the ridge on the top of the roof.
[center]
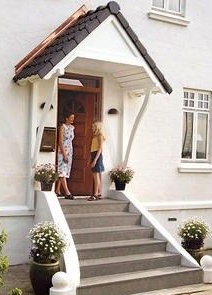
Construction over. Here is the end result.