


As at any beginning of the assembly of anything, materials and tools are needed, for our homemade need:
* Impact part of the hammer.
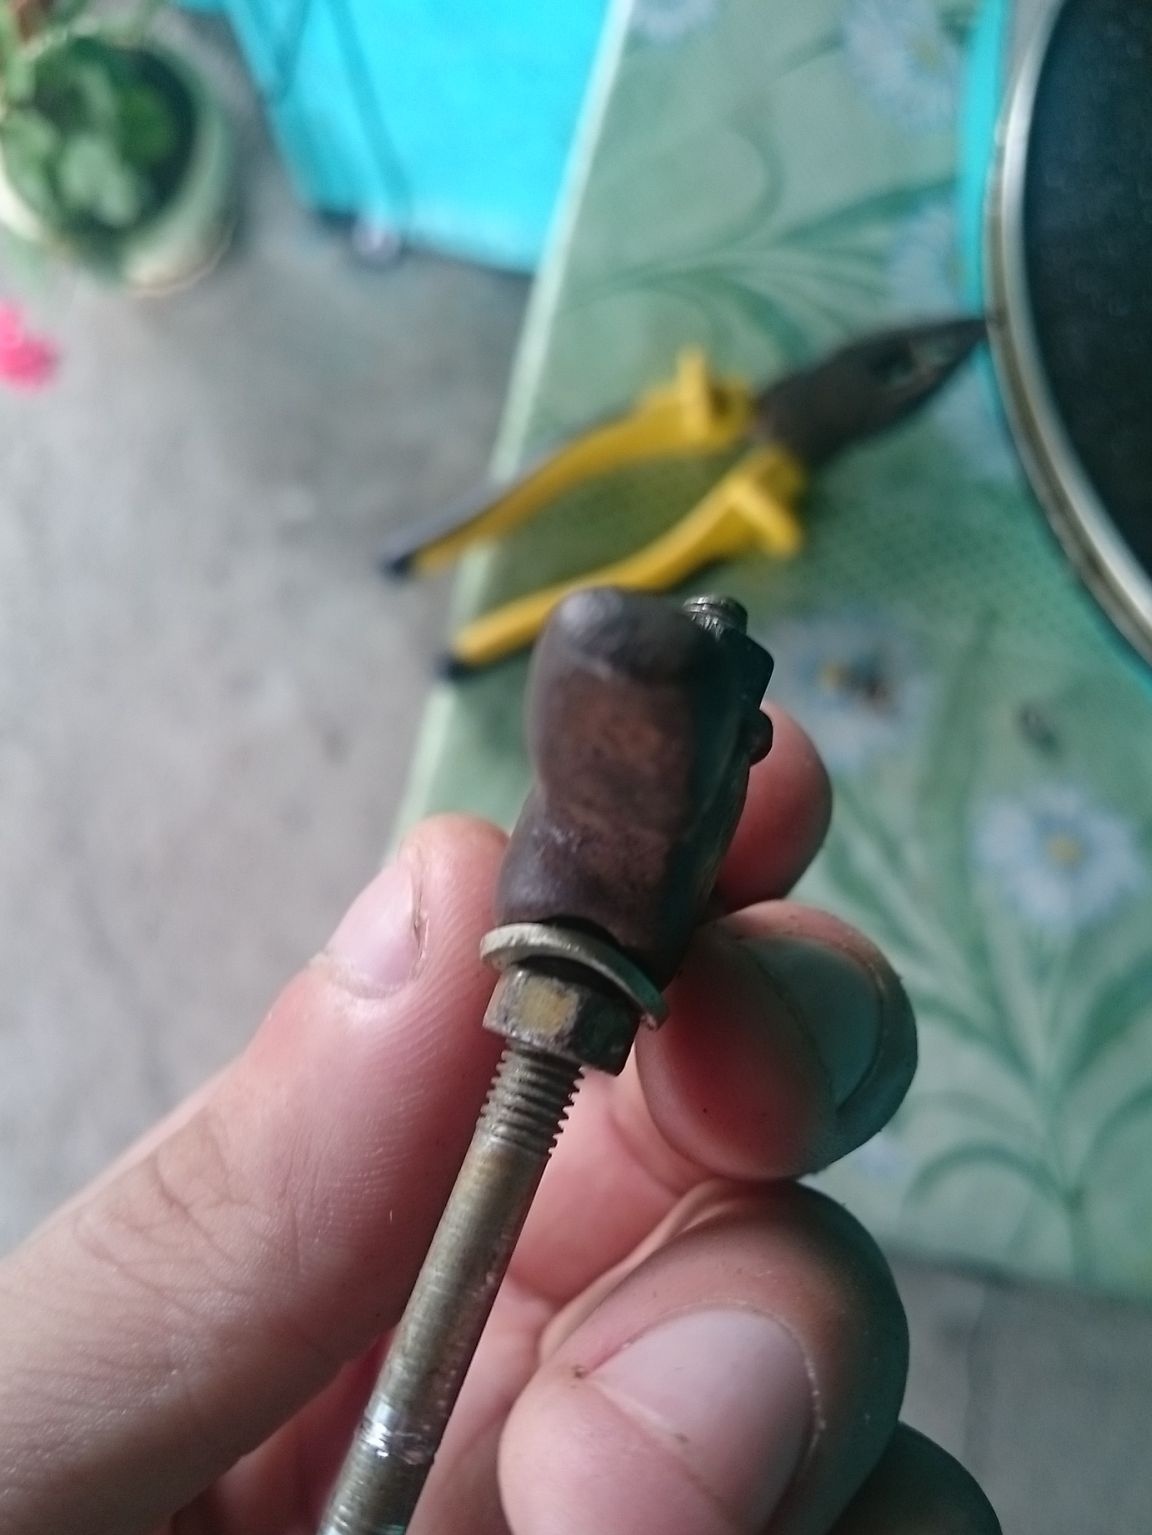
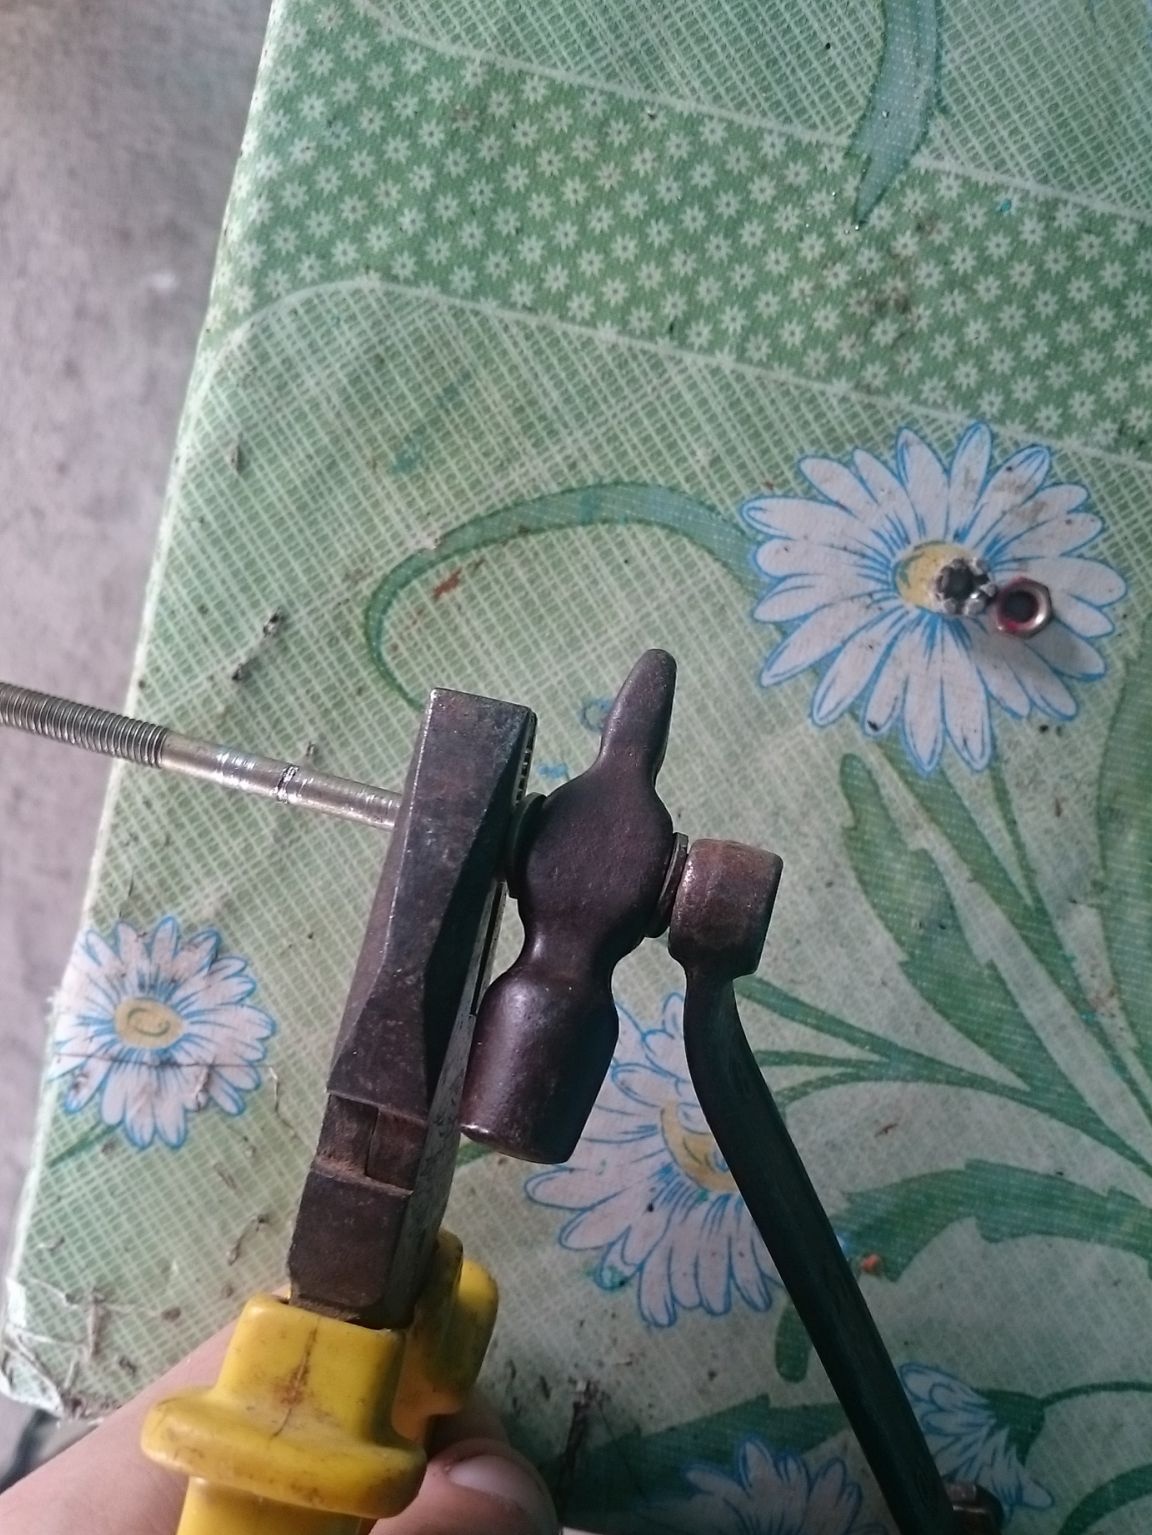
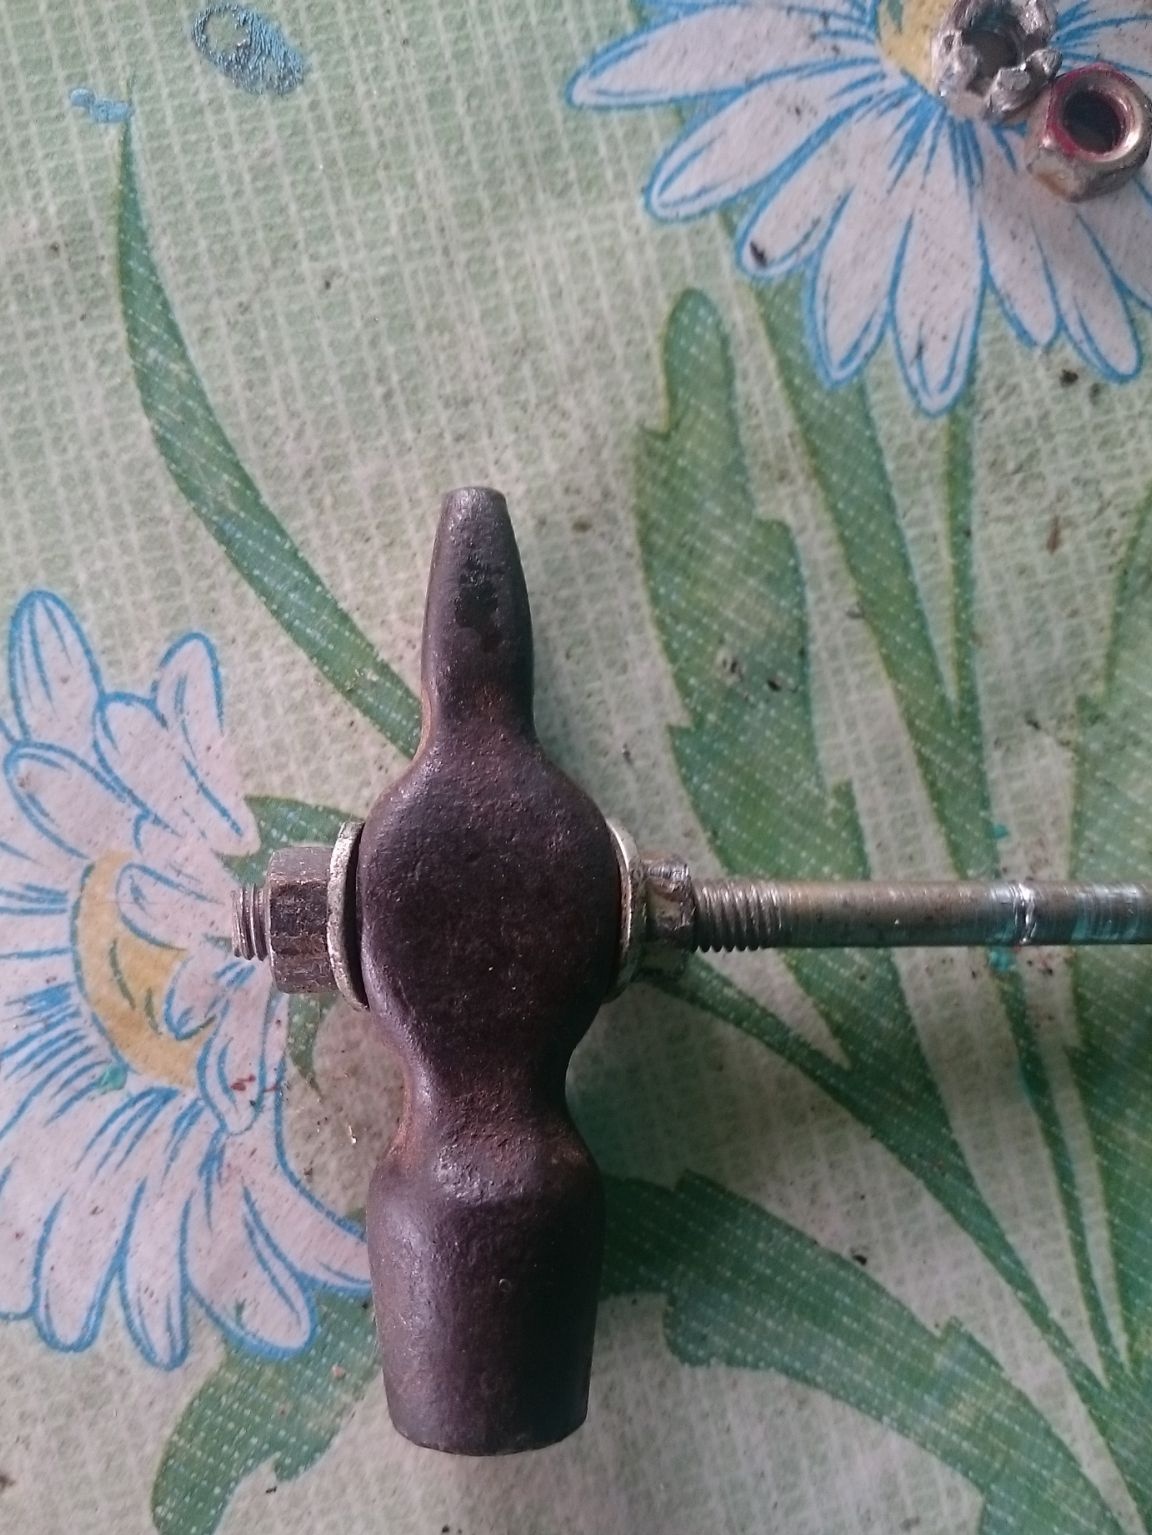
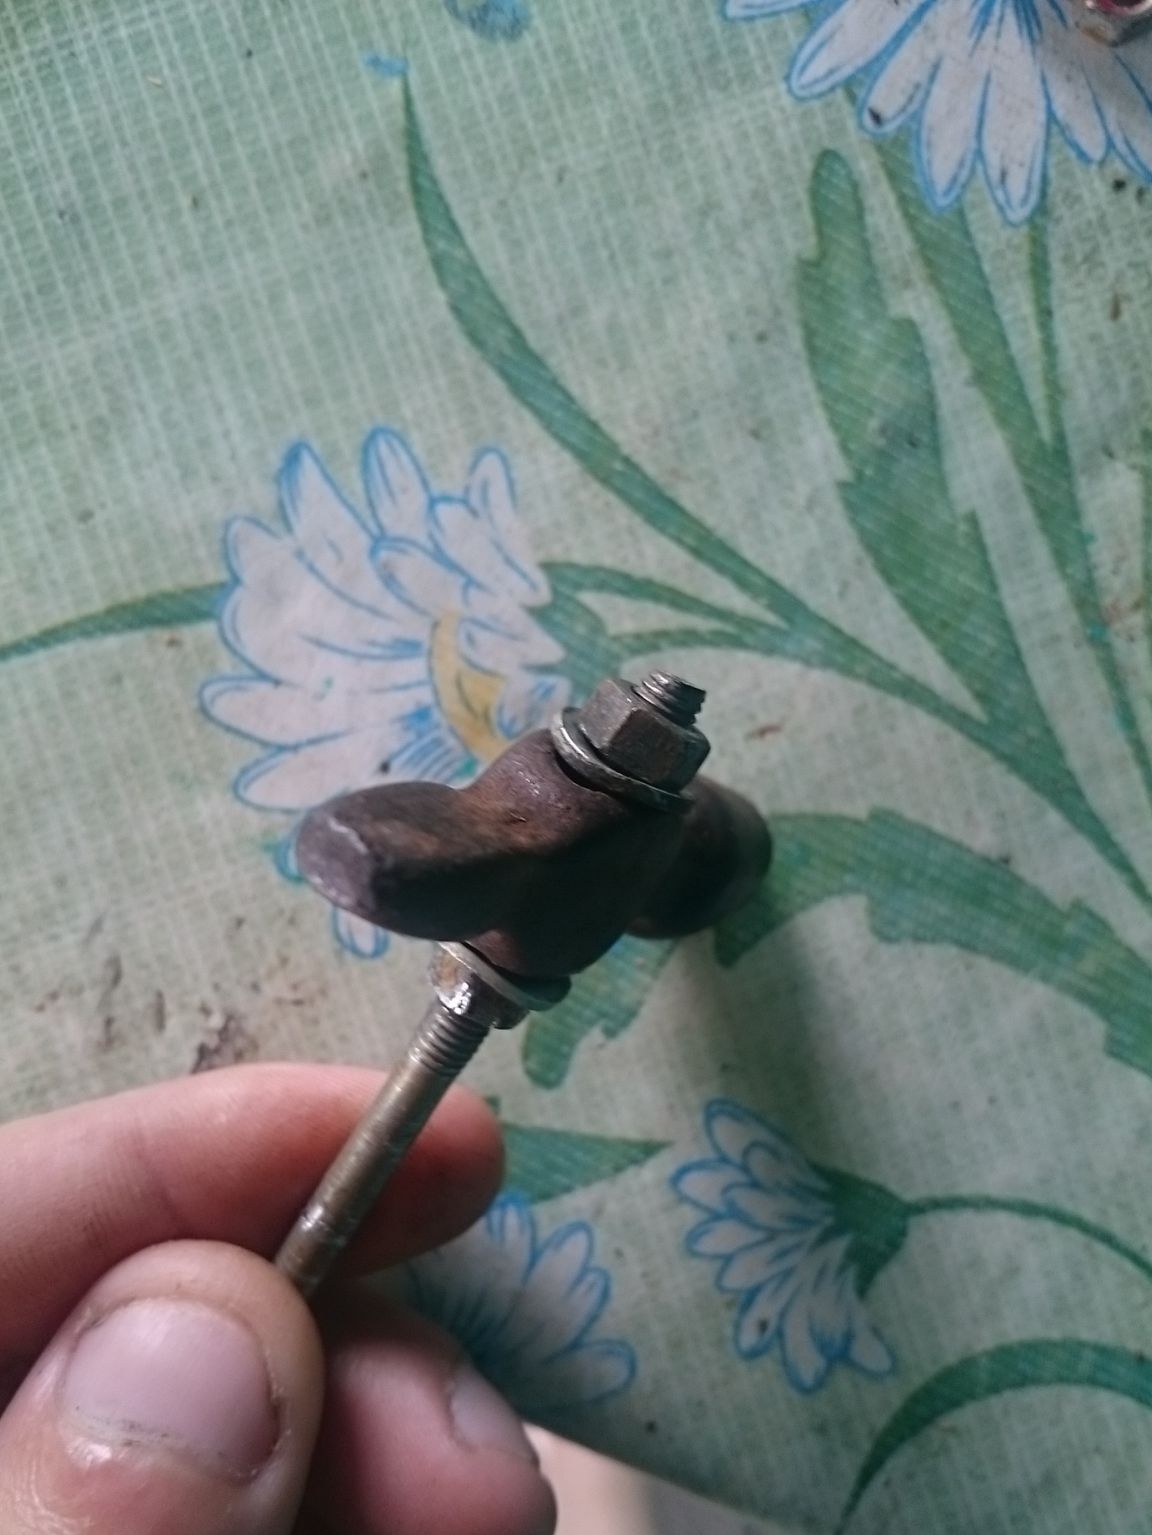
* Stud with a pair of nuts at 8 mm.
* Two washers.
* Wood lathe.
*Clear nail polish.
* Key on 8.
* Sandpaper fine and coarse grain.
* Drill on wood at 6mm.
*Hacksaw.
*Knife.
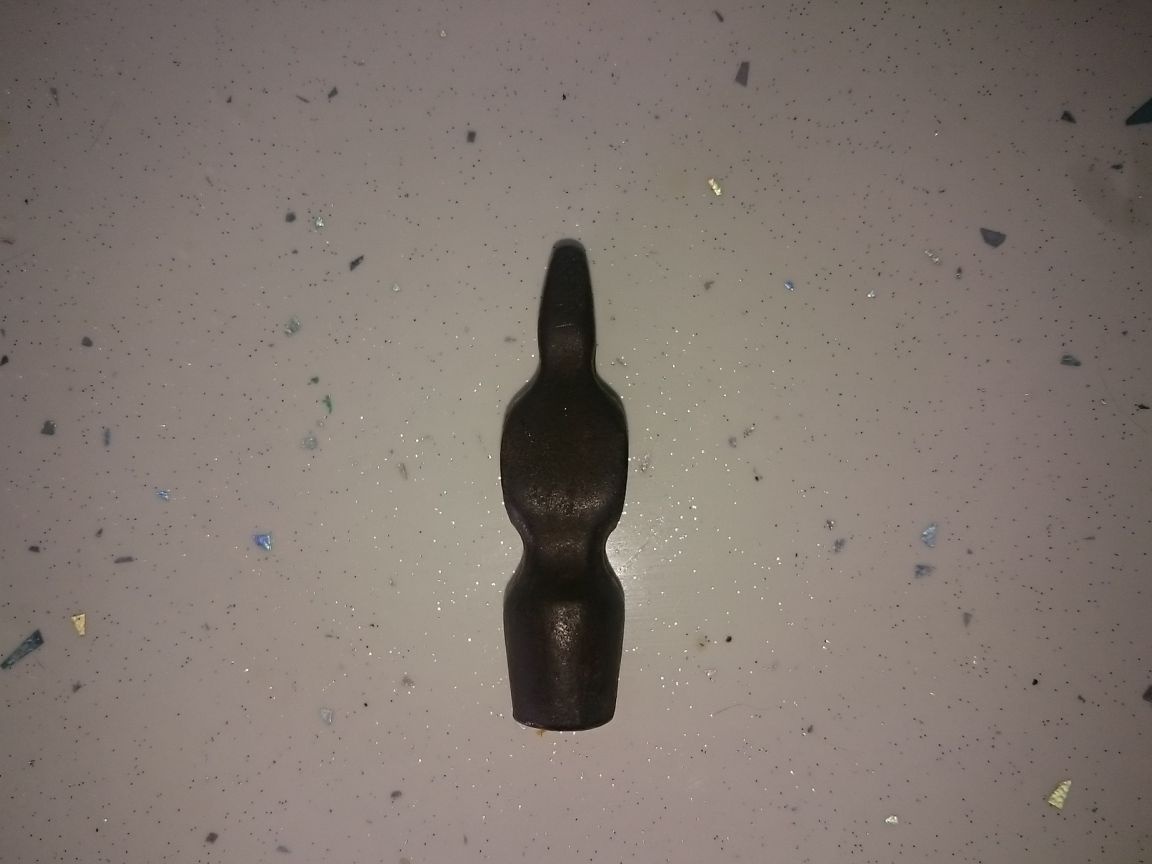
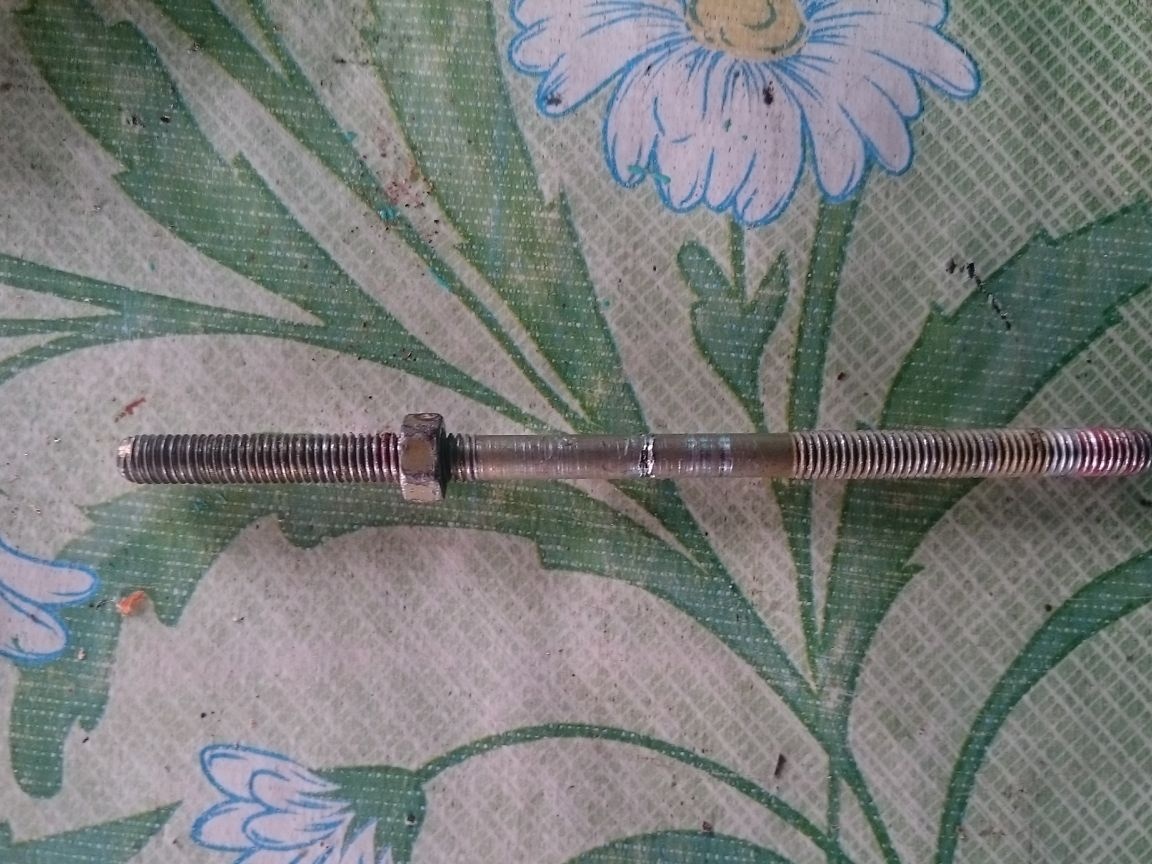
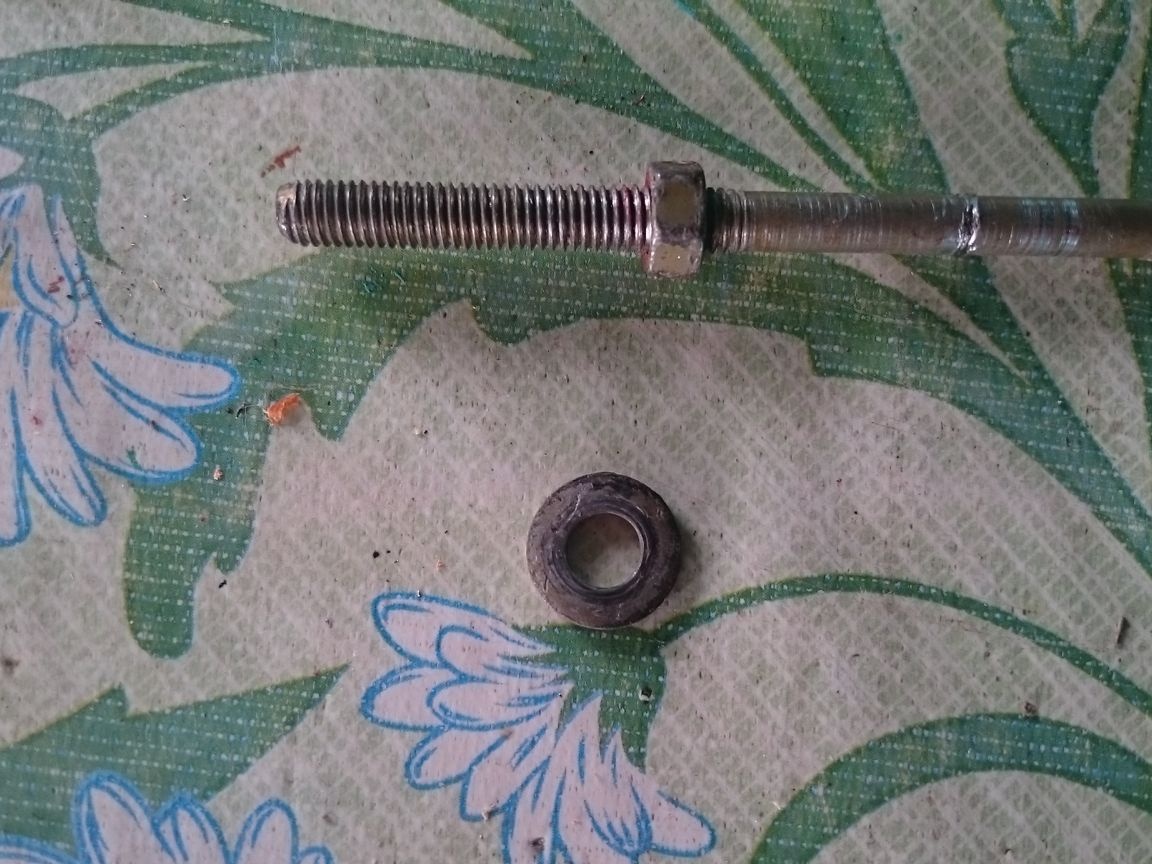
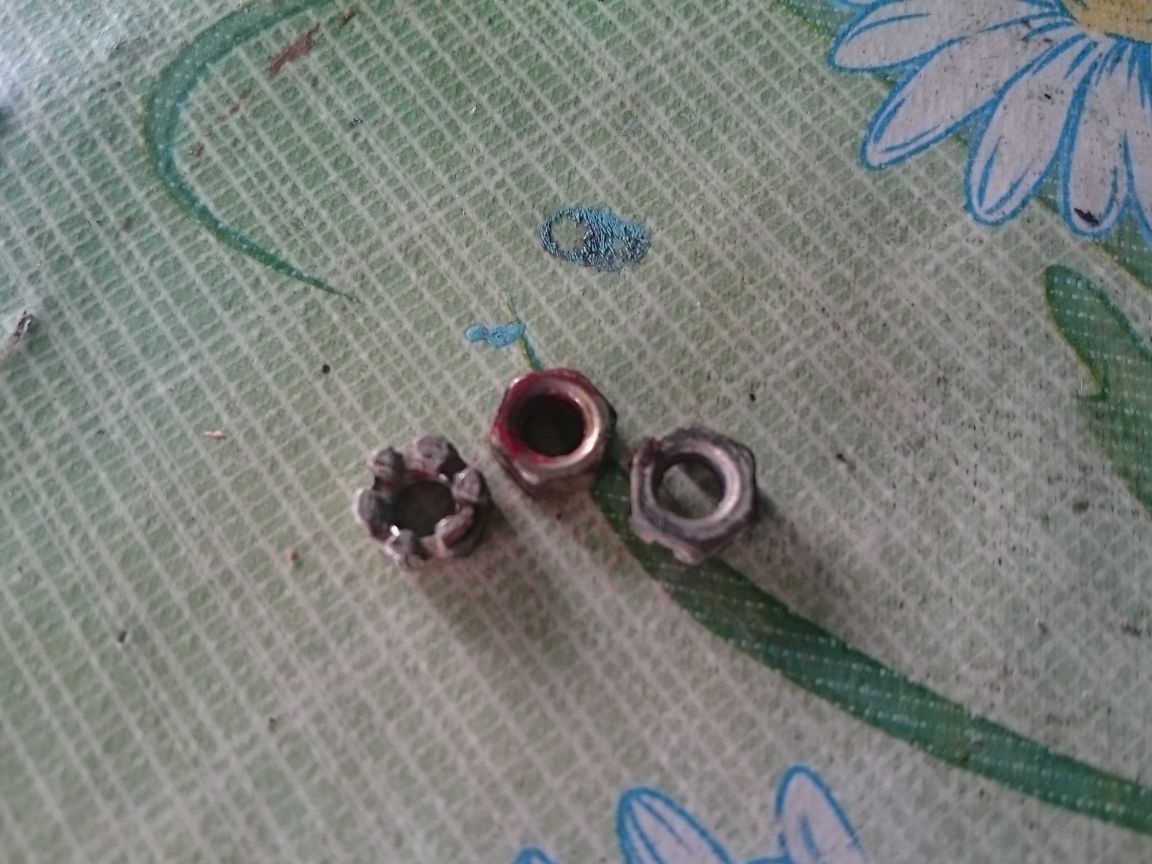
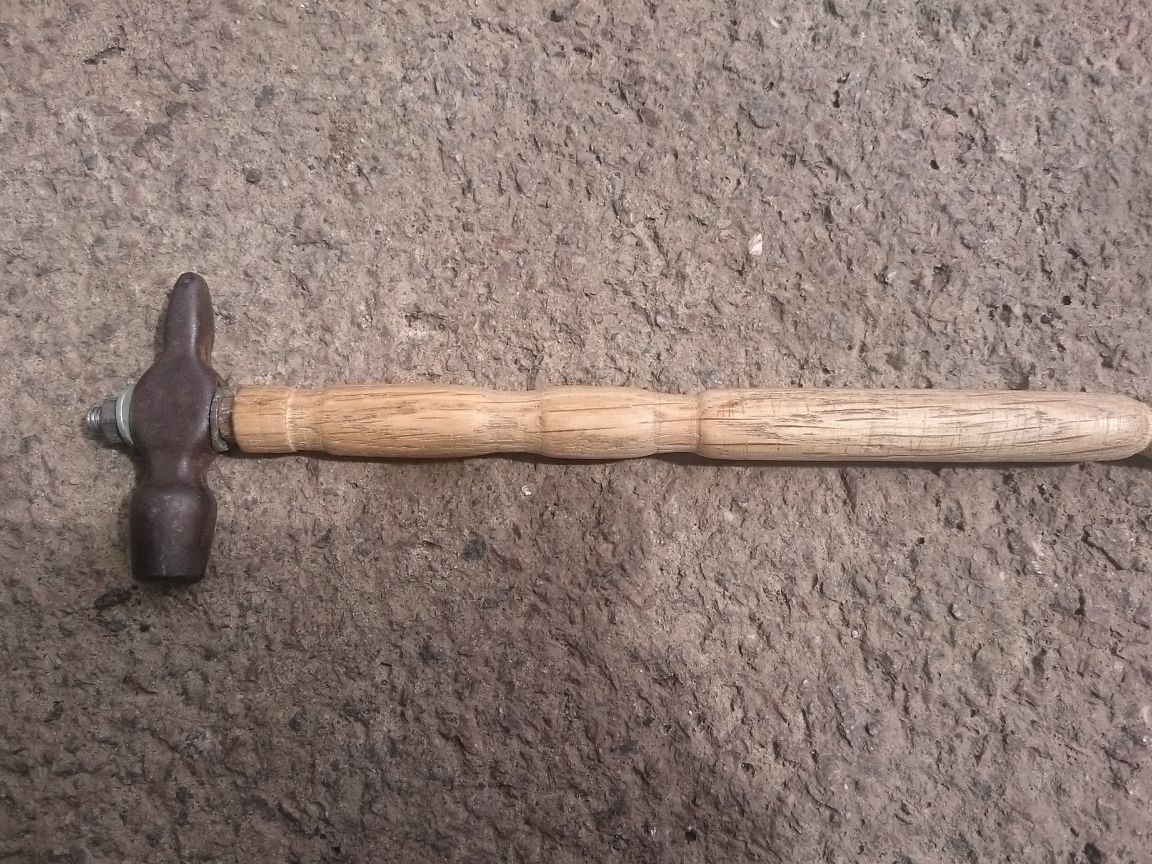
When all the parts are in stock, you can begin to assemble the hammer. The first stage is screwing the shock to the stud. Using a wrench for 8 and two nuts, we fix the metal part of the hammer, just remember to put the washers, which must be bent for a snug fit.
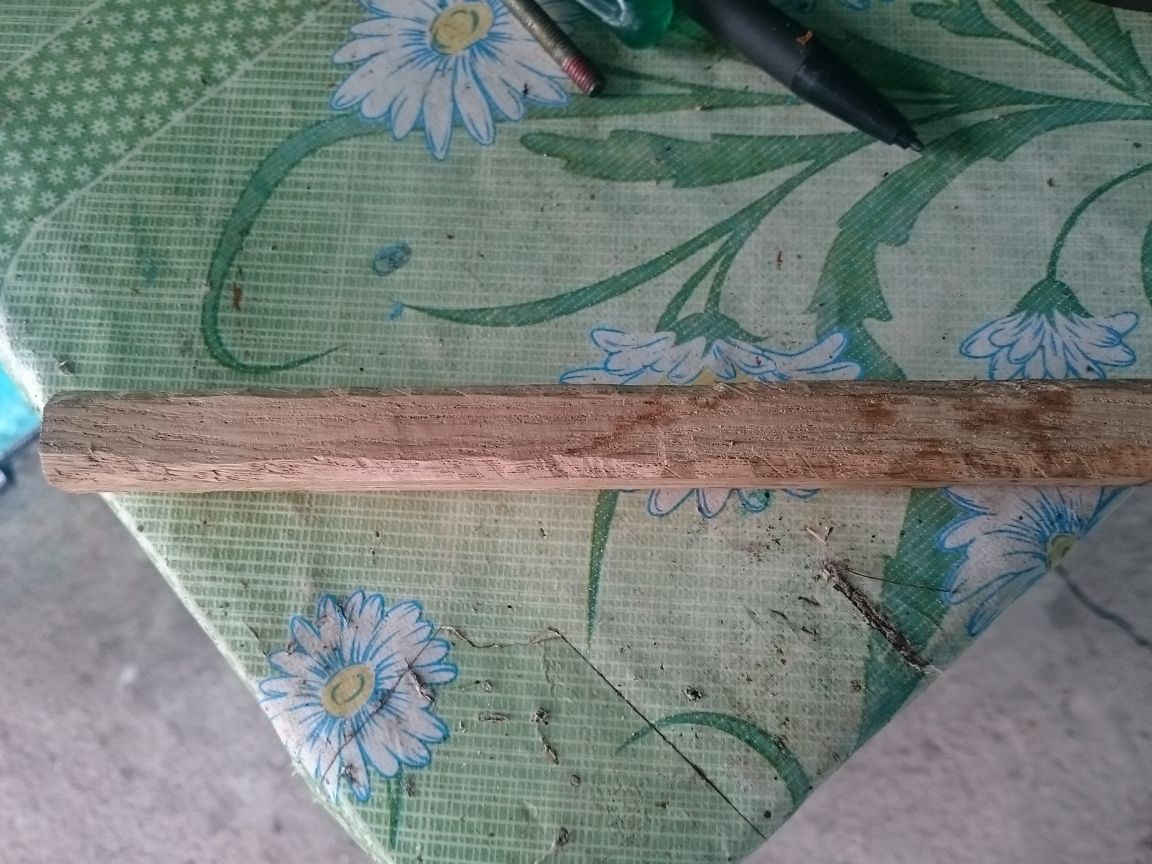
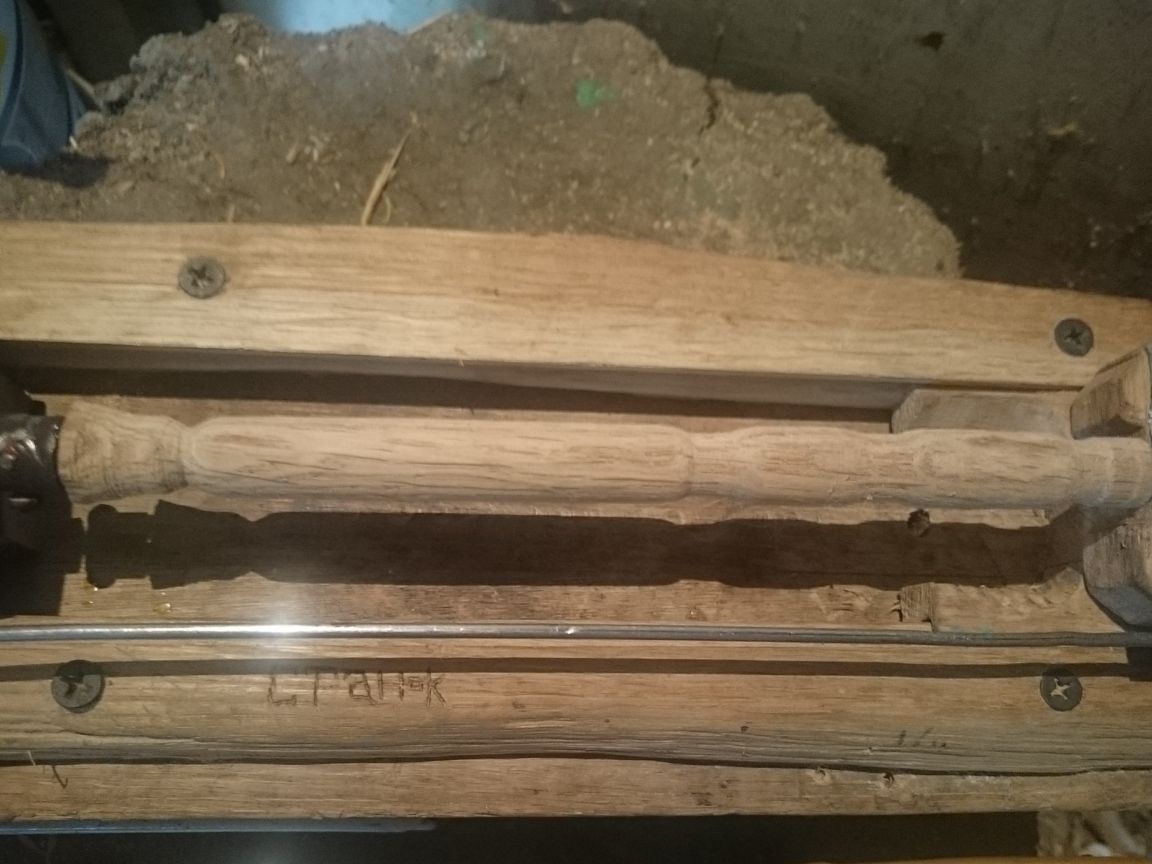
In fact, at this stage the main part is done, but what a hammer without a good and convenient handle. I didn’t have to think about what to make the handle of myself, the choice fell on the oak flooring I had long loved. Using a hacksaw, we saw off a plank with a length of about 19 cm, why is it so long, so that there is room for clamping the workpiece on the machine itself, and the long lever gives more impact force.
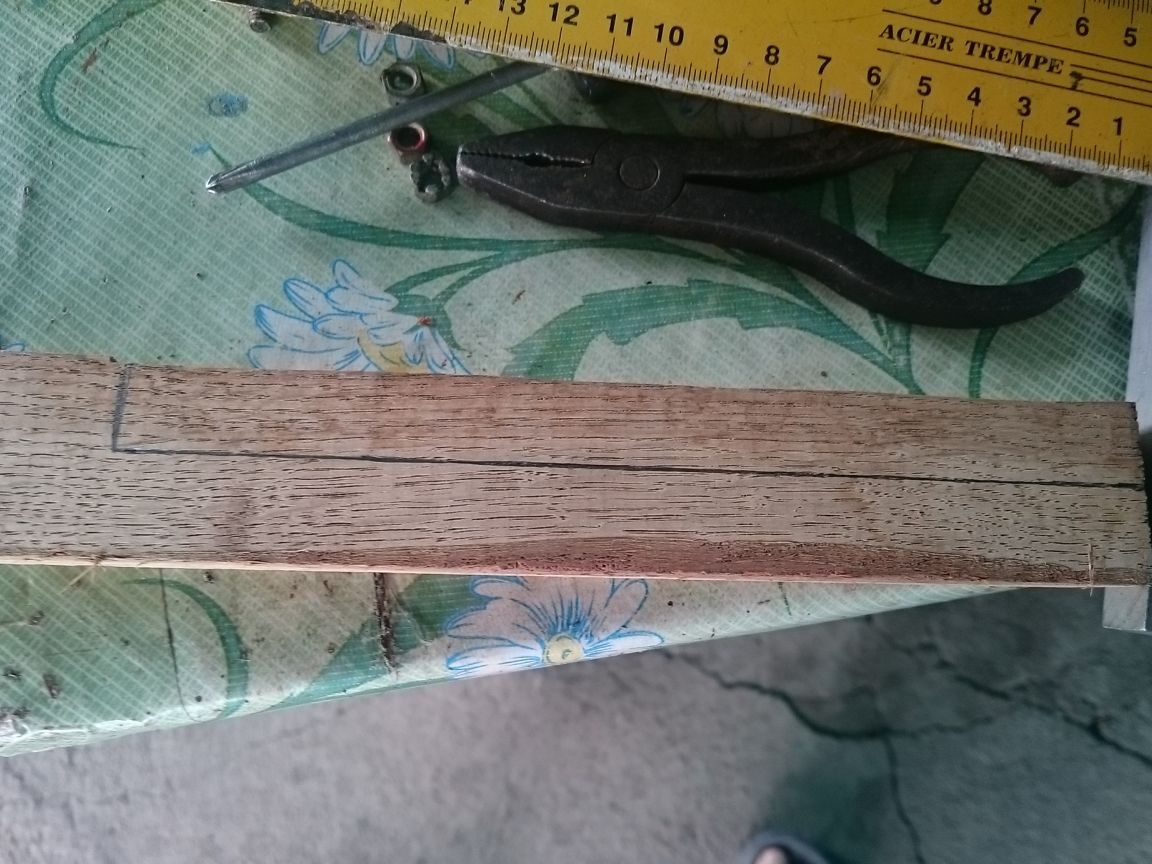
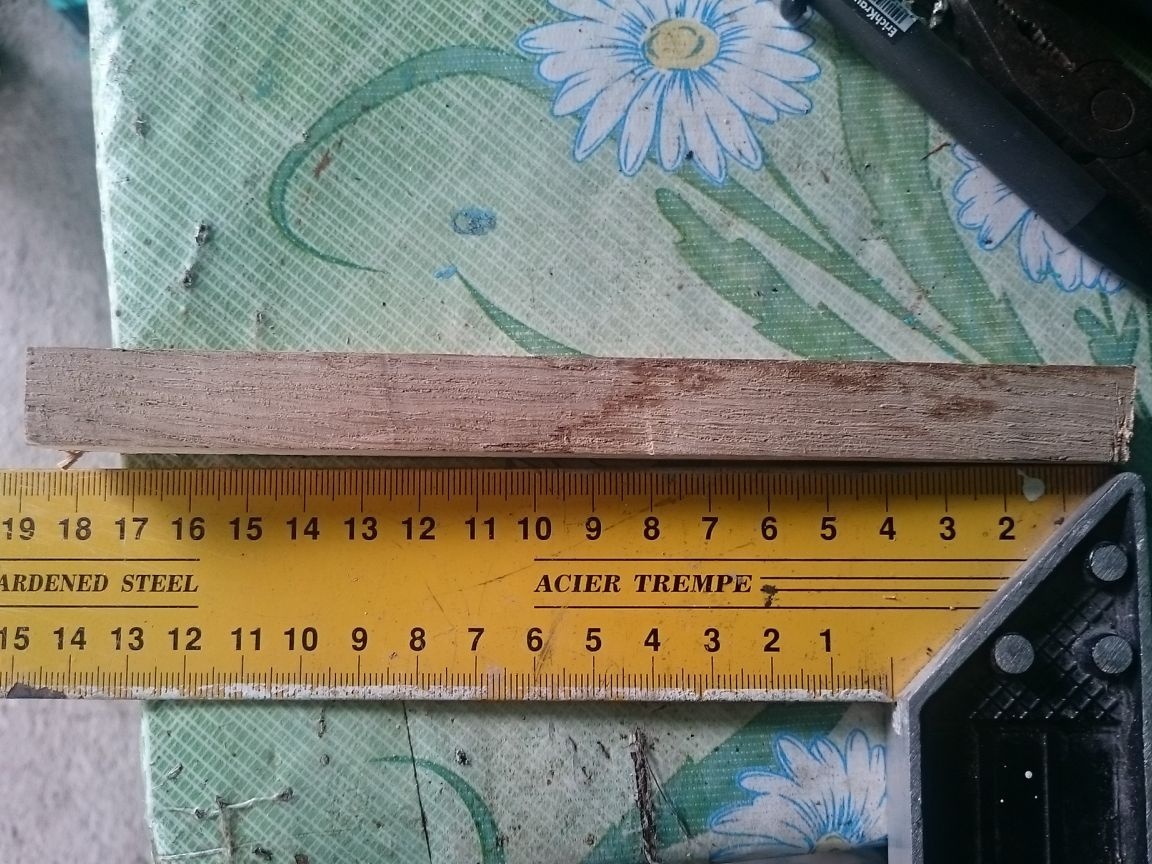
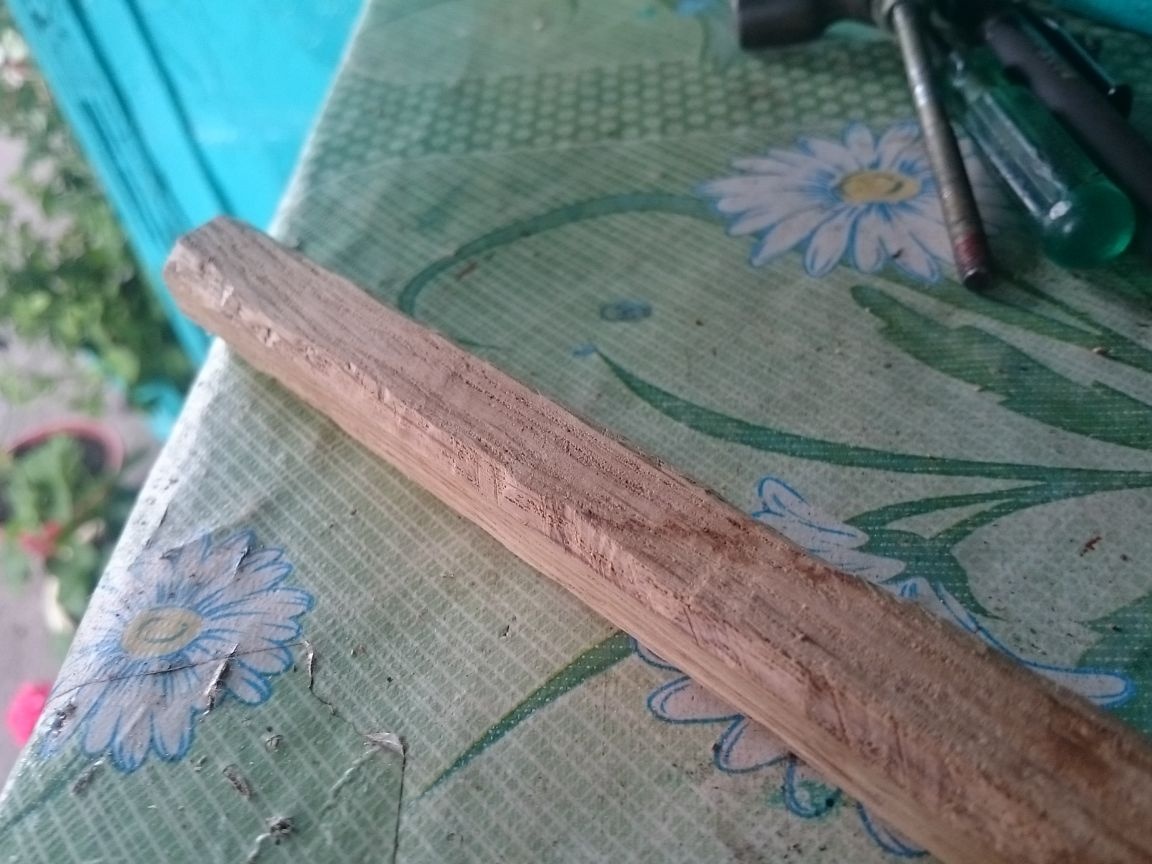
The workpiece turned out to be 15 mm thick and high. We mark the center to install our future handle on the machine, and on the reverse side you need to make a small hole in the center for the tailstock.
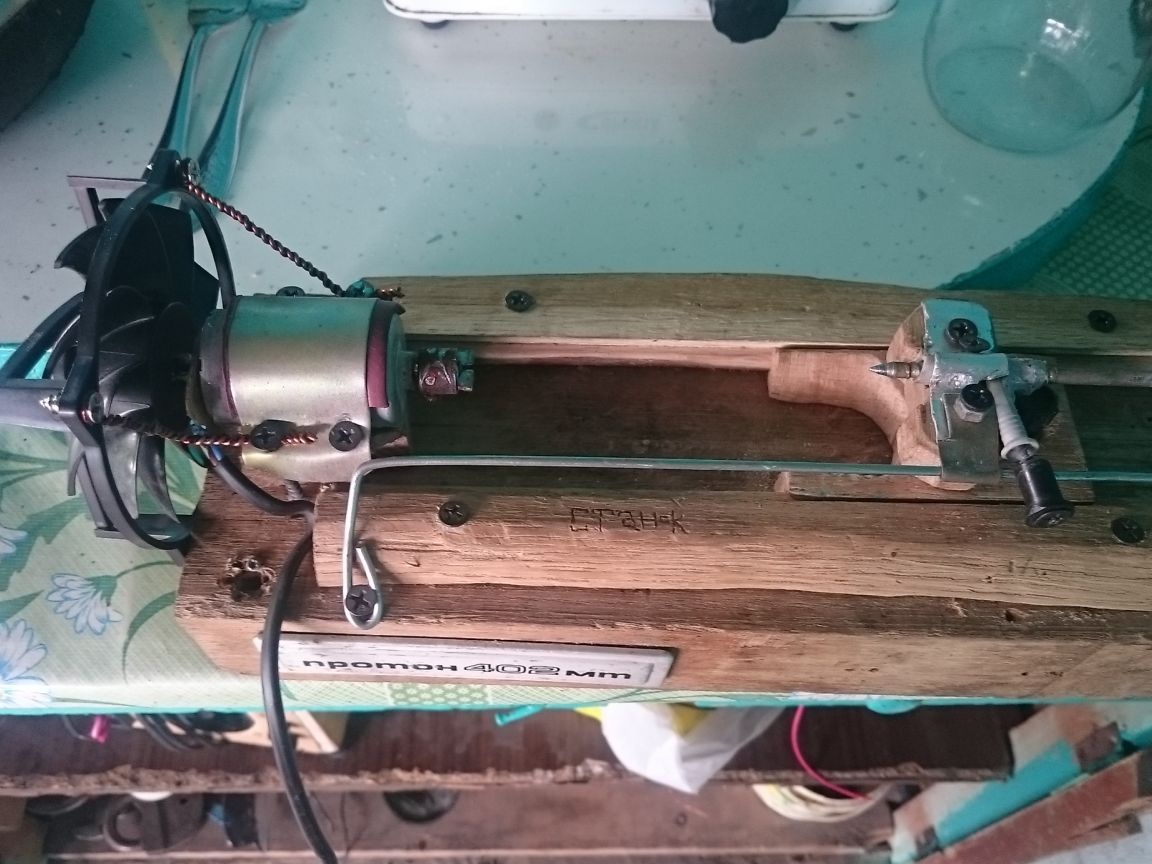
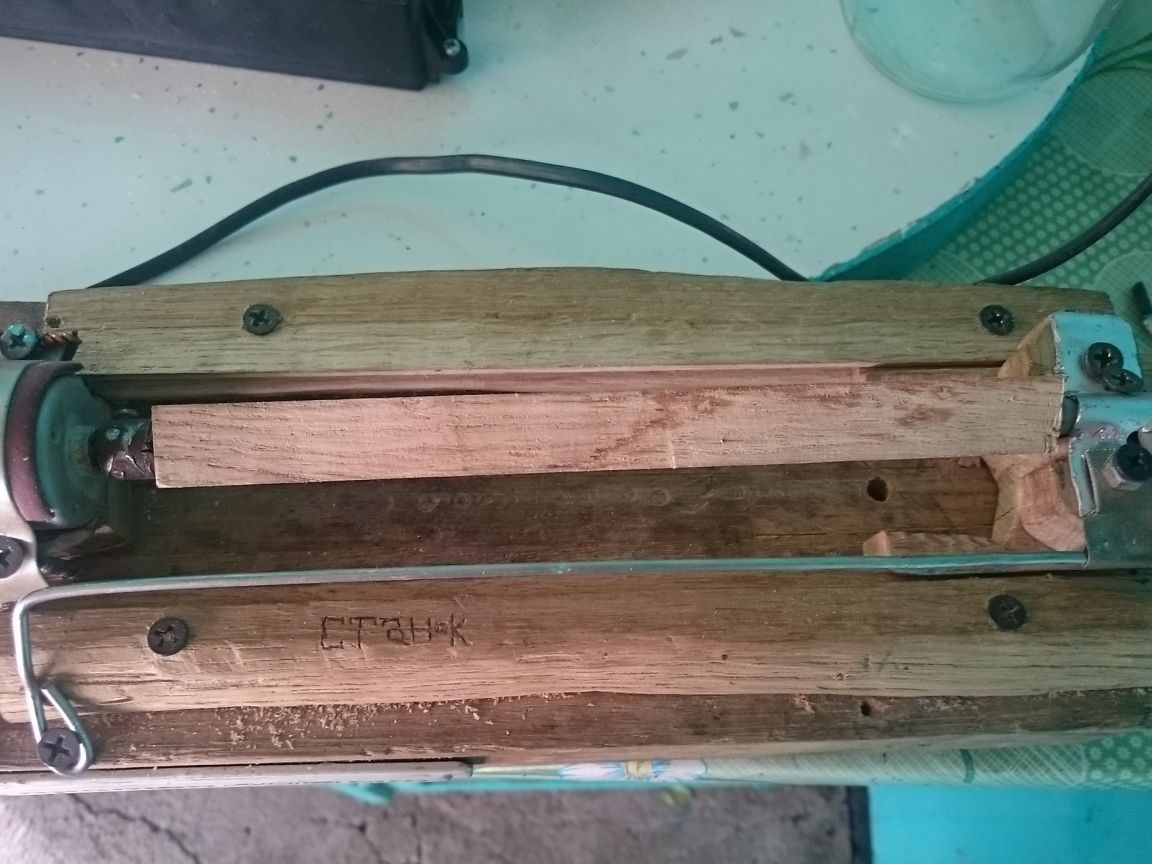
In this homemade product, I took the machine I made a long time ago, which changed a little and was transformed by a fan and a new motor.
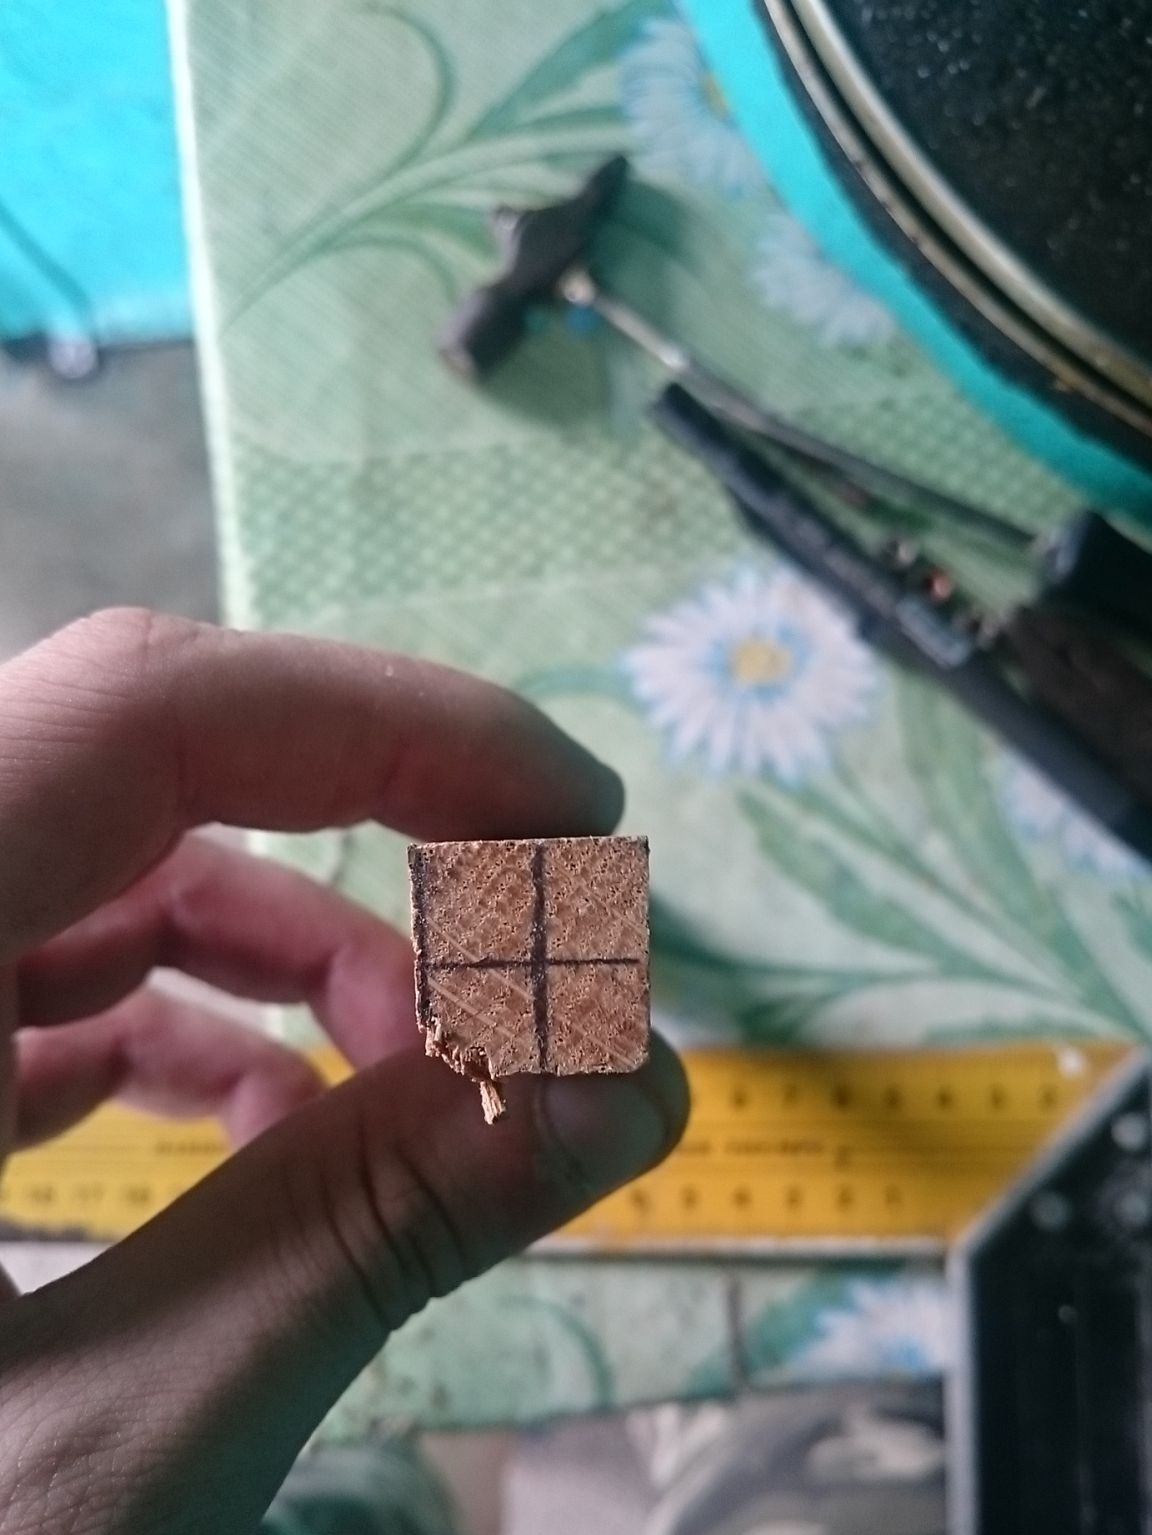
The next step is to cut off the sharp corners of the board with a knife, so we make an octagon out of a quadrangle, though it’s not so perfect, after all, the knife and the relief of the tree do not make the angles even, this is all done to make the motor easier, as well as the processing time took less time.
In the front headstock, we fix the workpiece using a cross cut, and then clamp it with the help of the tailstock, turn on the machine and do not forget about safety measures, for this we put on glasses.
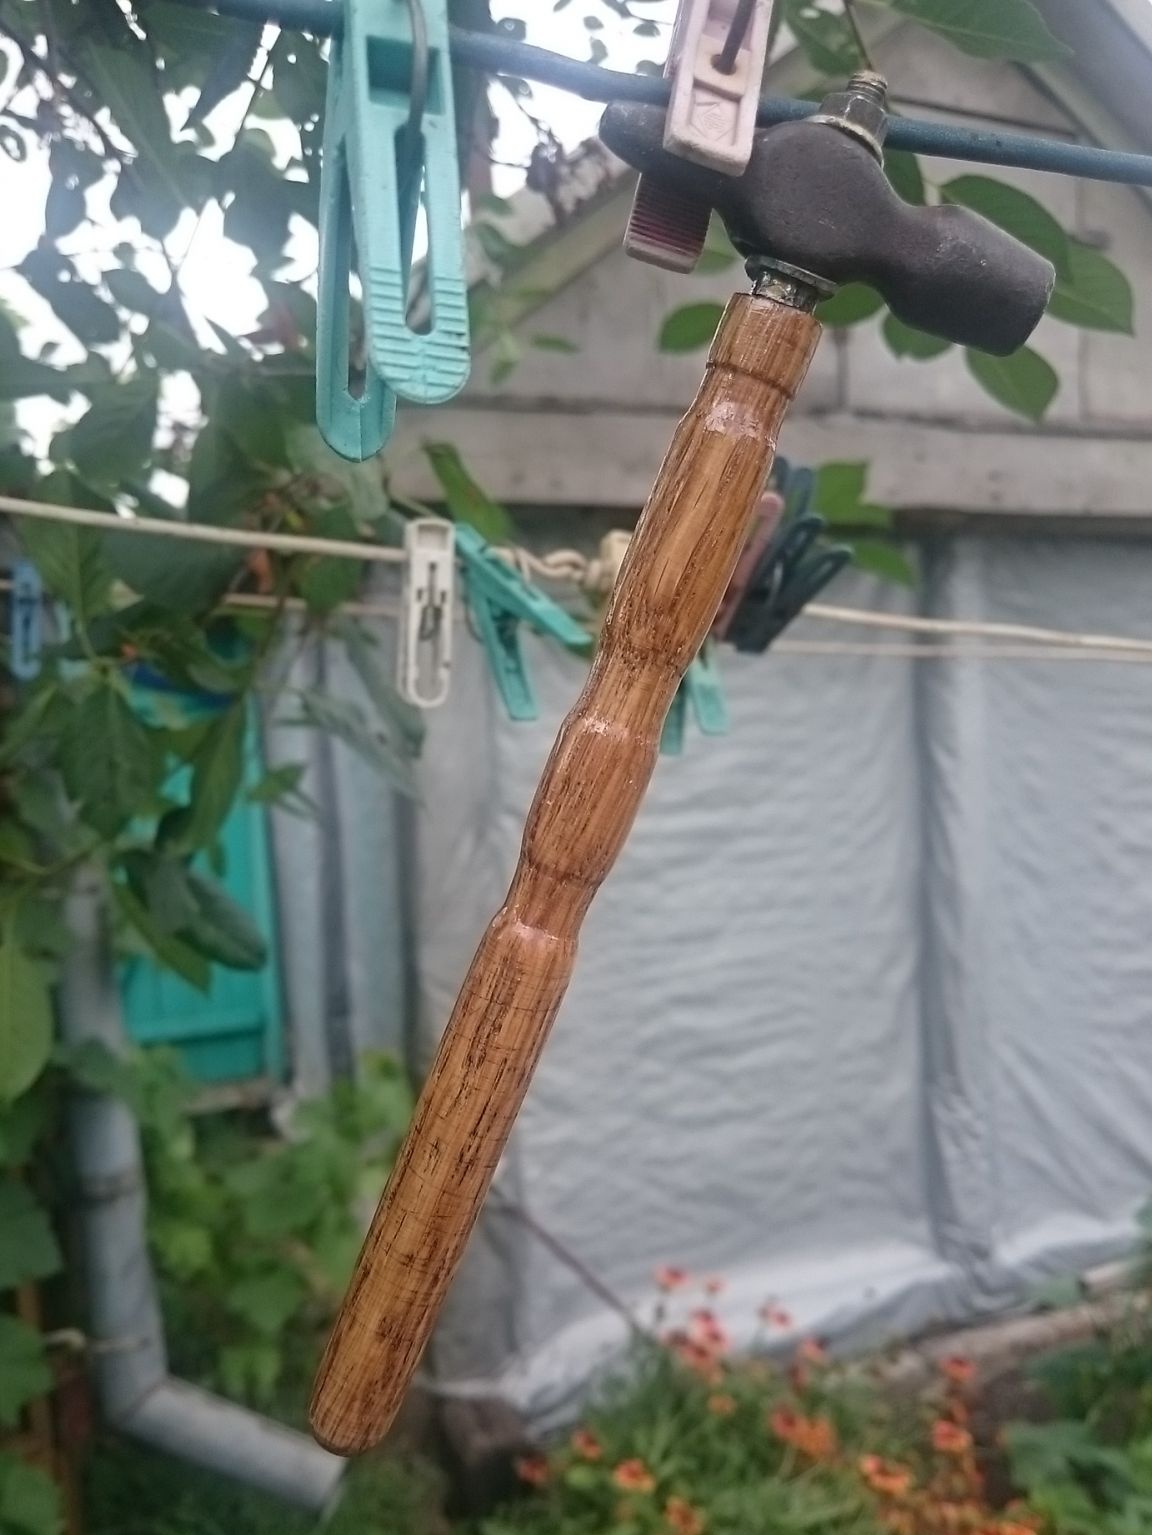
I did not bother much with patterns, because this is a hammer, not a rock painting, so I thought that a convenient shape would be better than a large number of carved grooves.
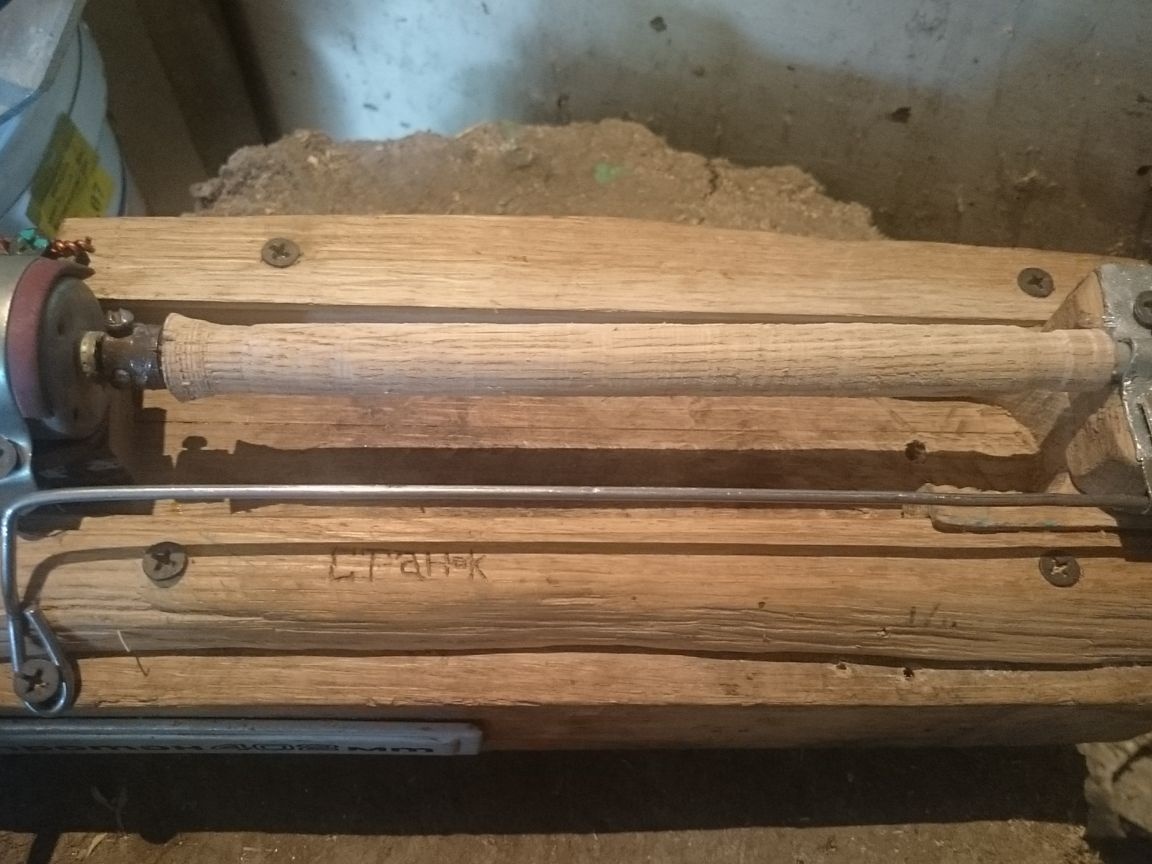
After the workpiece is turned to the desired state, it must be sanded, this is also done on the machine.
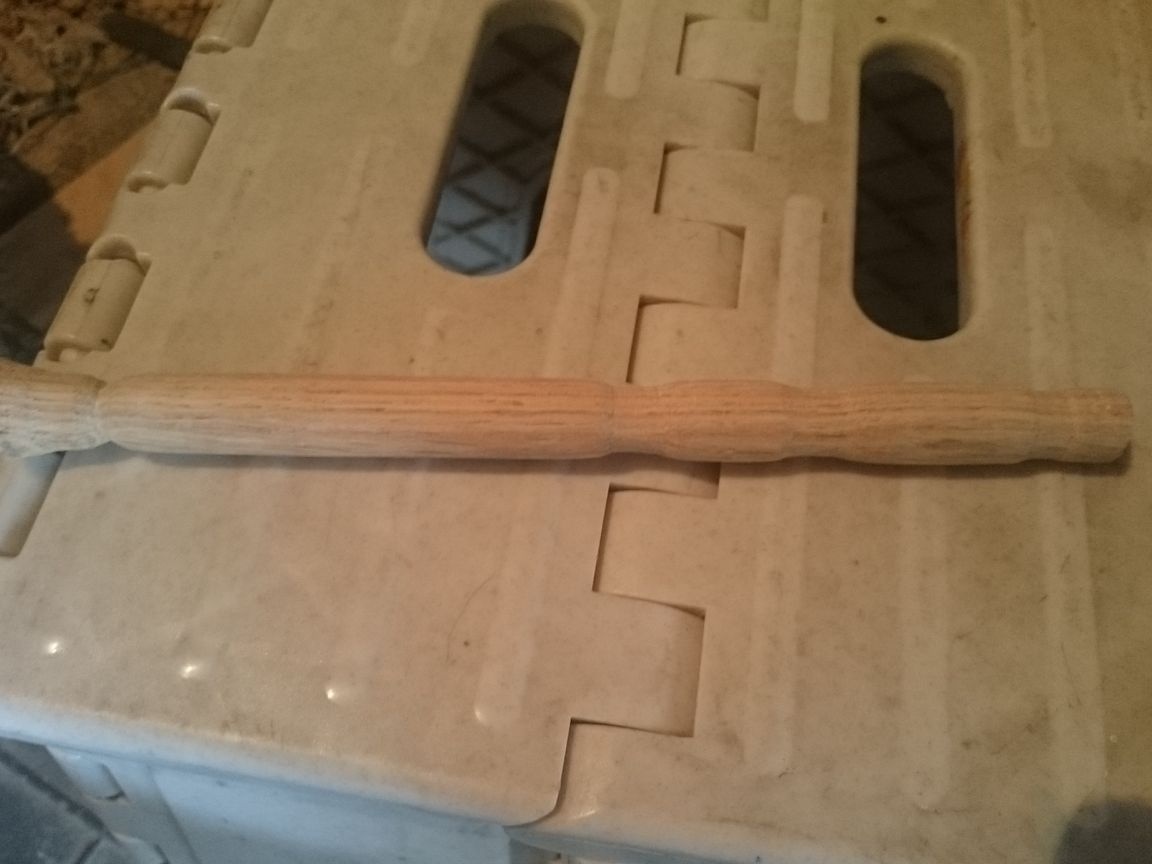
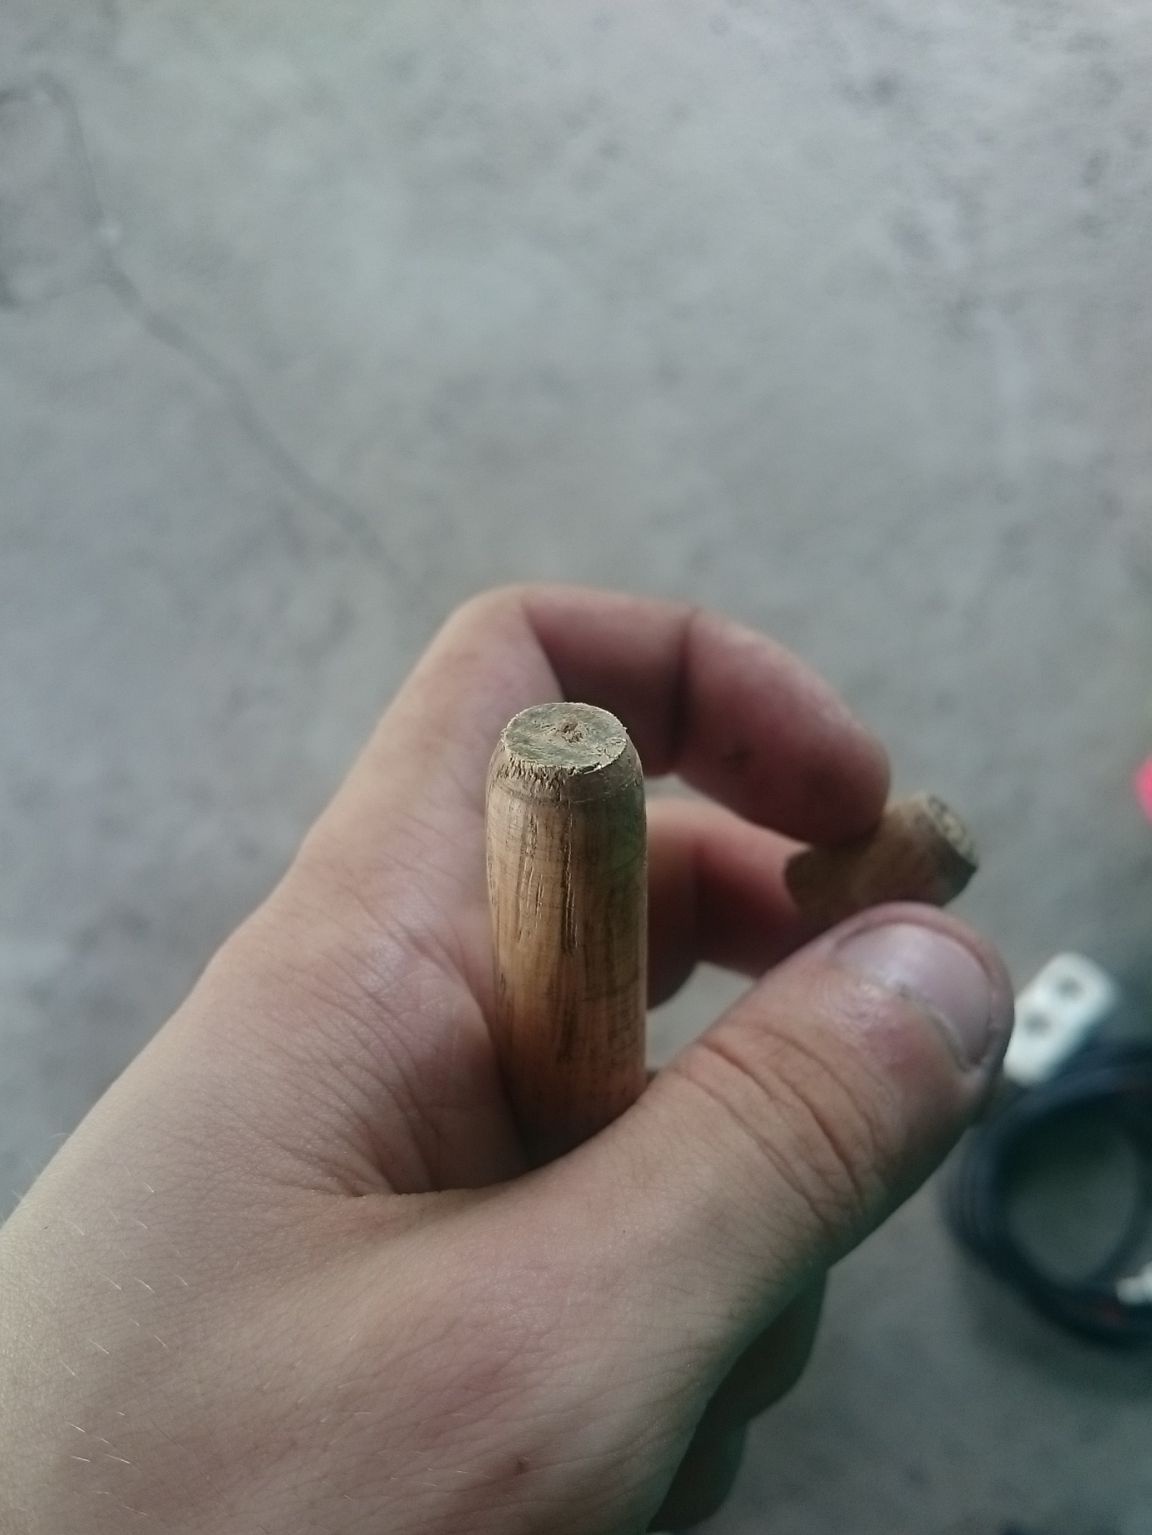
Then we remove the workpiece and, using a drill or a screwdriver, drill a hole with a 6mm wood drill.
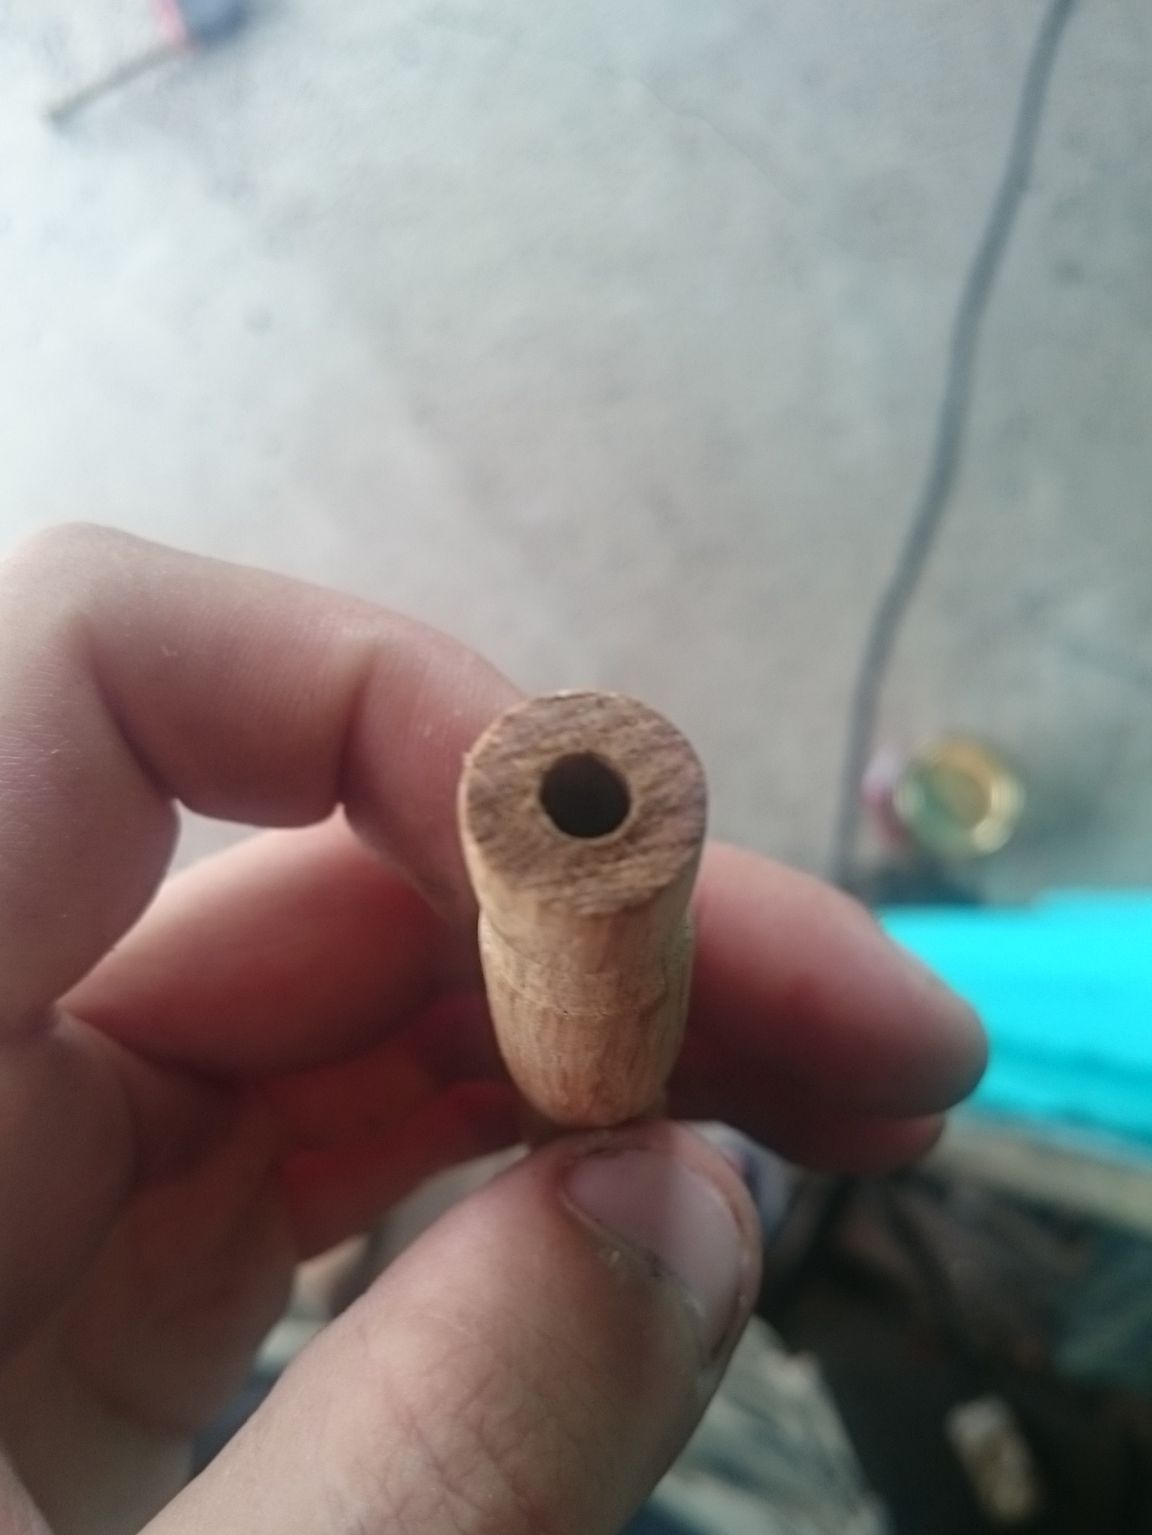
When the hole is ready we take our hammer and twist it into the handle.

Then you need to saw off part of the handle with which it was held on the machine.
Grind the end face with sandpaper.
In the end we cover with a colorless varnish and let it dry, you need to make a couple of such layers of varnish.

The homemade product is ready for this, having such a convenient hammer at home, you will not only reduce the assembly time of small parts, but also understand that a thing made by yourself is always better than what the manufacturer offers us. All successful homemade products and new achievements.