
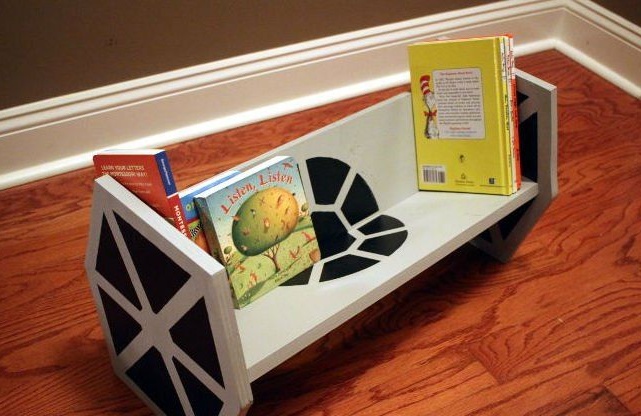
Hello to all lovers homemademaybe there are those who are fans of Star Wars. This homemade product will delight lovers of this popular saga. This bookshelf is easy to manufacture, so go straight to the description.
In order to collect our shelf, the author applies materials such as:
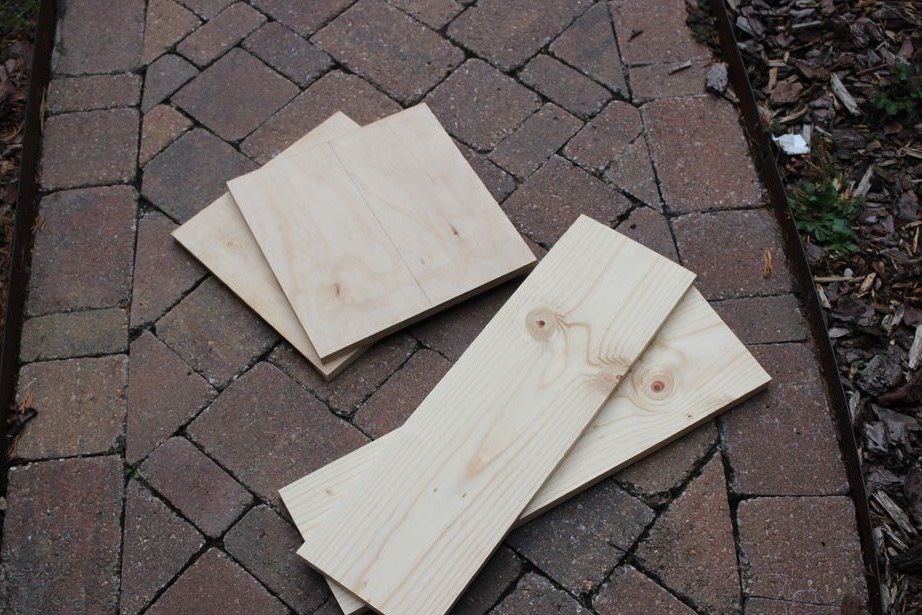
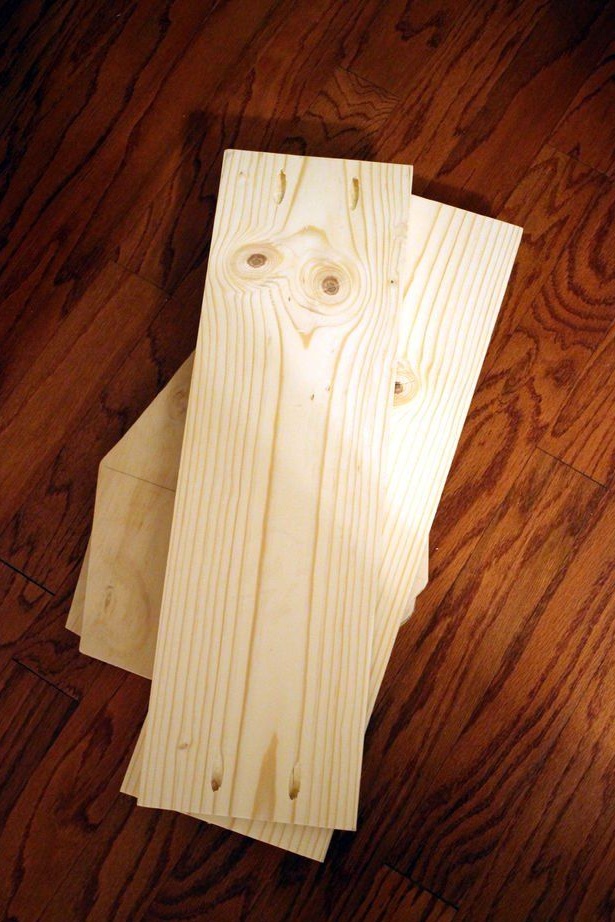
* Board size 19 mm, 33 x 66 cm, another size 19 mm, 20 x 120 cm.
* Paint for wooden coatings in black and gray.
* Masking tape.
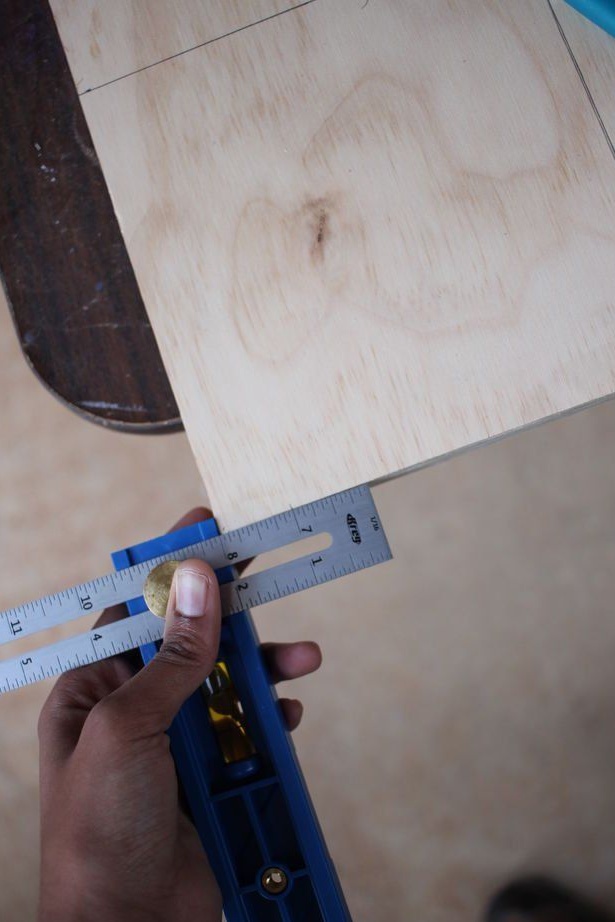
* Measuring instruments: ruler.
*Hacksaw.
* Glue for wood.
* Screws.
* Electric drill and drill.
* Sandpaper or sanding machine.
* Putty for wood.
First step. We take boards 66 cm long and others 120 cm long, cut them into two identical halves.
When you get two squares, then with the help of a ruler you need to draw their center and divide into four parts.
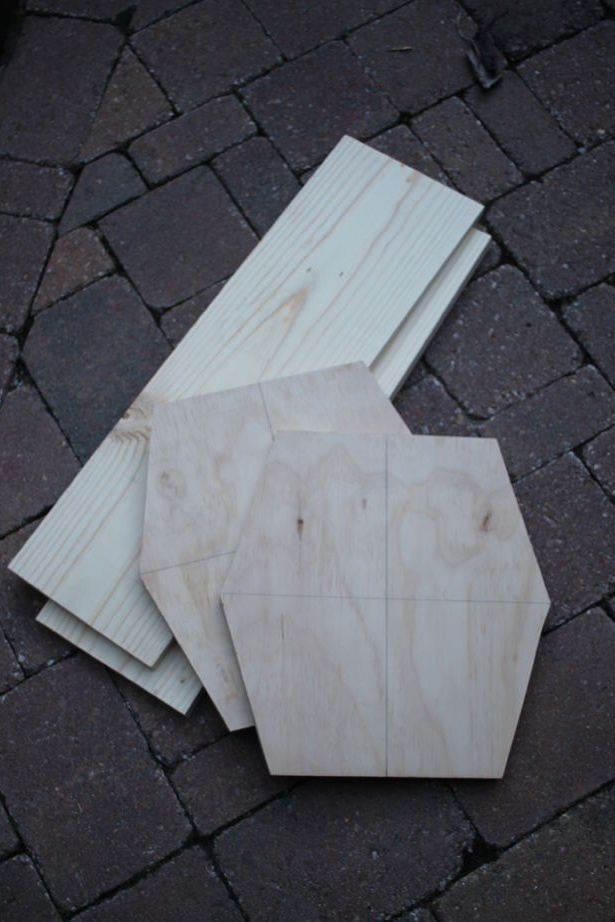
Draw the shape of the polygon, as in the photo, in the future it will be necessary to cut them along the contour.
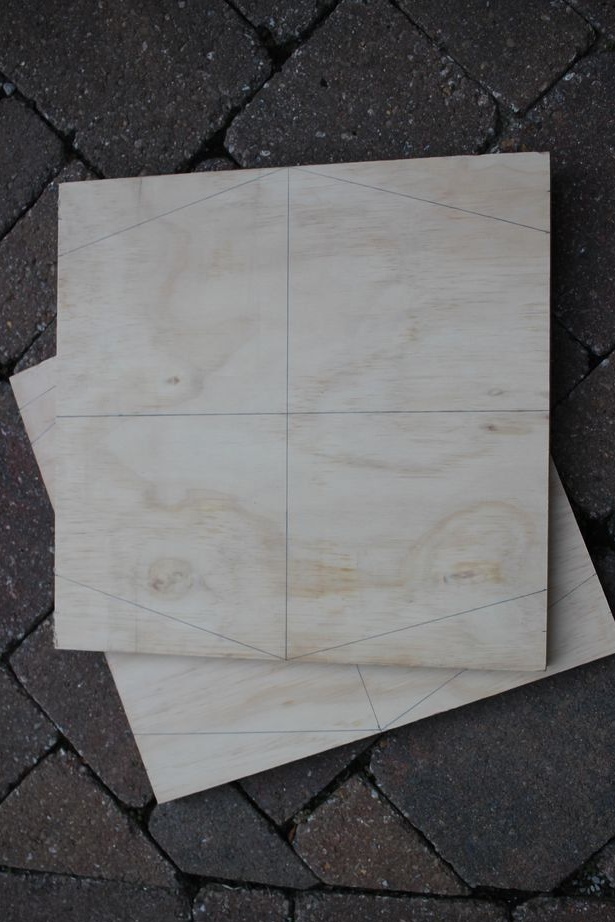
At the bottom and top of the square, retreat 5 cm from the beginning of each edge and draw lines in the place of which there will be a slice. Saw along the diagonal lines to get the shape of a polygon.
Long boards must be equipped with pockets for fasteners using a drill and a drill, two on the short sides, three on the sides with one long.
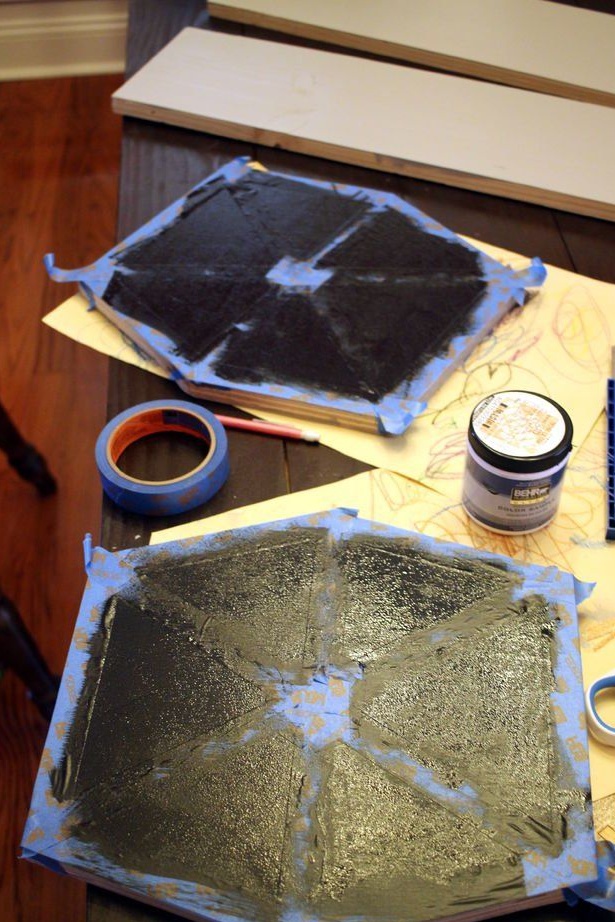
Second step. Subject the boards to the grinder, thereby giving them a presentable appearance. After processing, we proceed to painting with gray color, apply evenly and in several approaches.
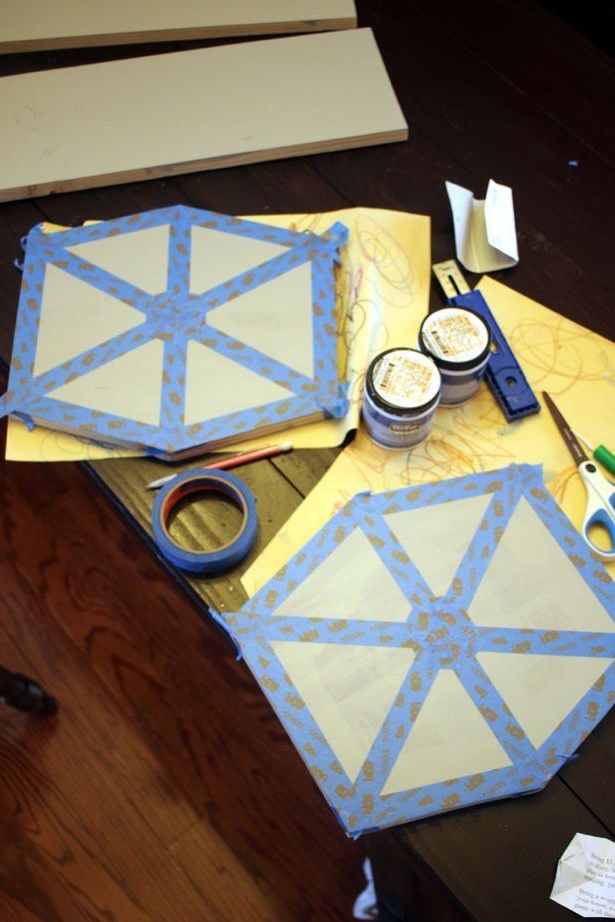
After complete drying using tape, we make a pattern in the form of stripes. This drawing is done on both sides, as in the photo.
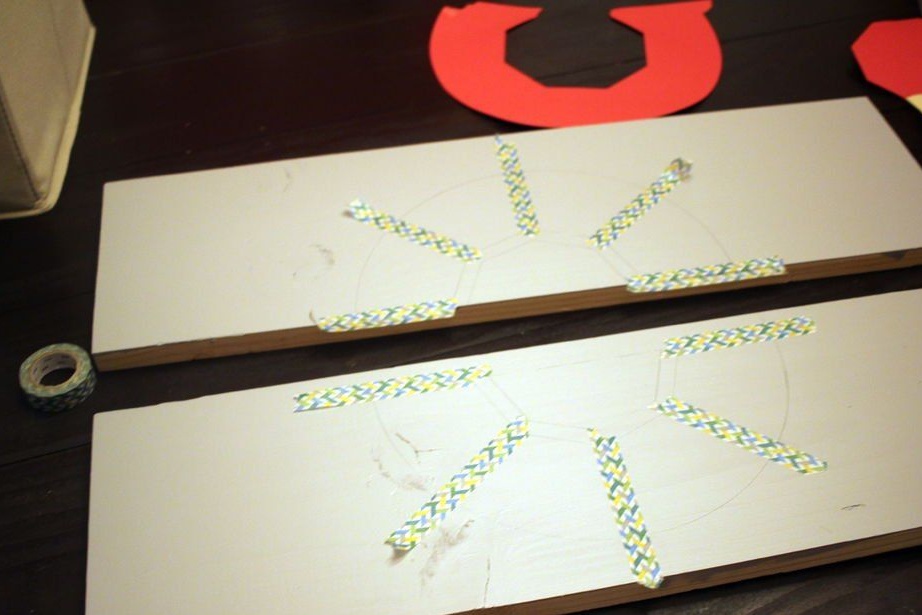
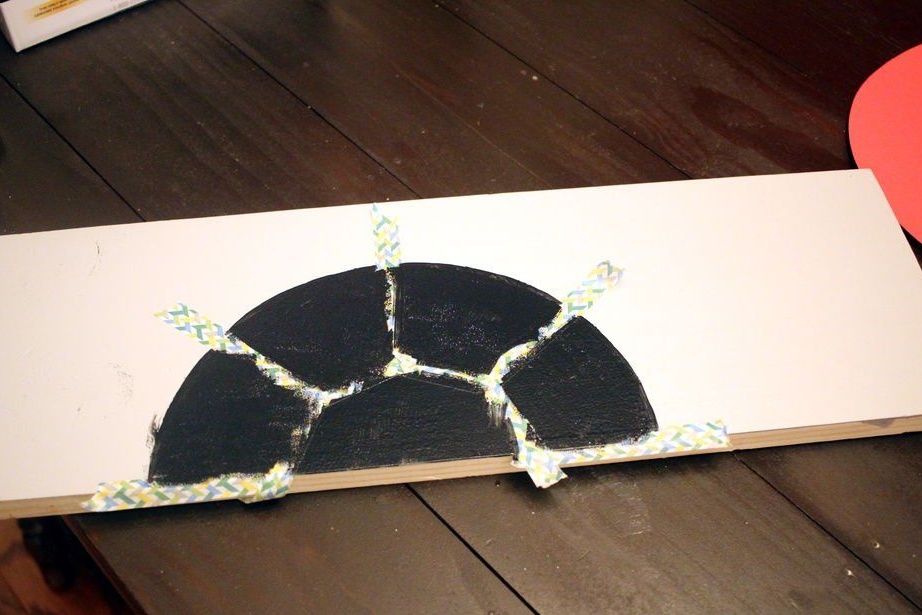
On boards that are longer, in the center on the side where the holes for the fasteners are ready, we draw semicircles with blades, and unnecessary areas are glued with molar tape.
Armed with black paint, paint the prepared areas, apply the paint with a sponge to prevent leakage under the adhesive tape.
After all the painted parts have completely dried, remove the adhesive tape and lay out the parts, and from them we will collect the shelf.
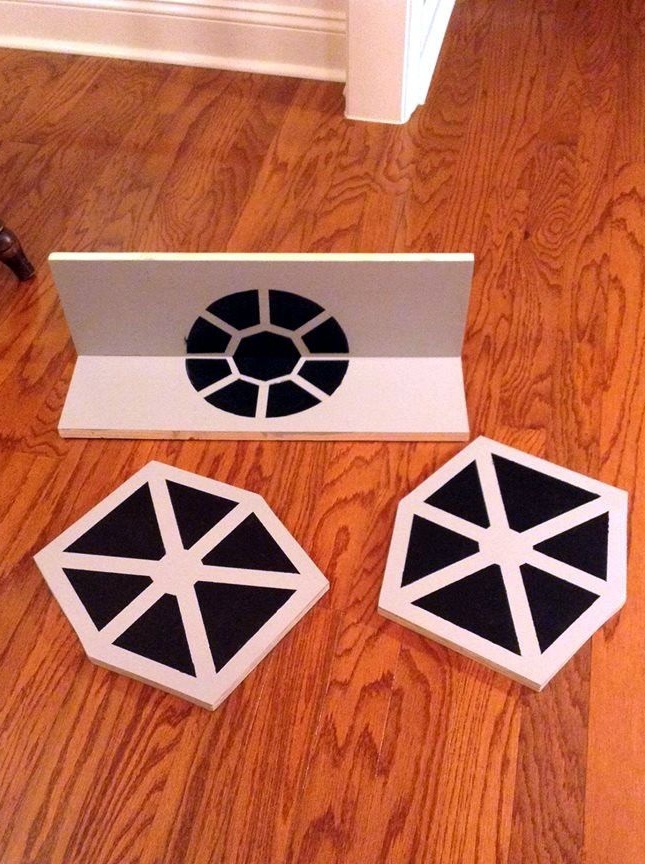
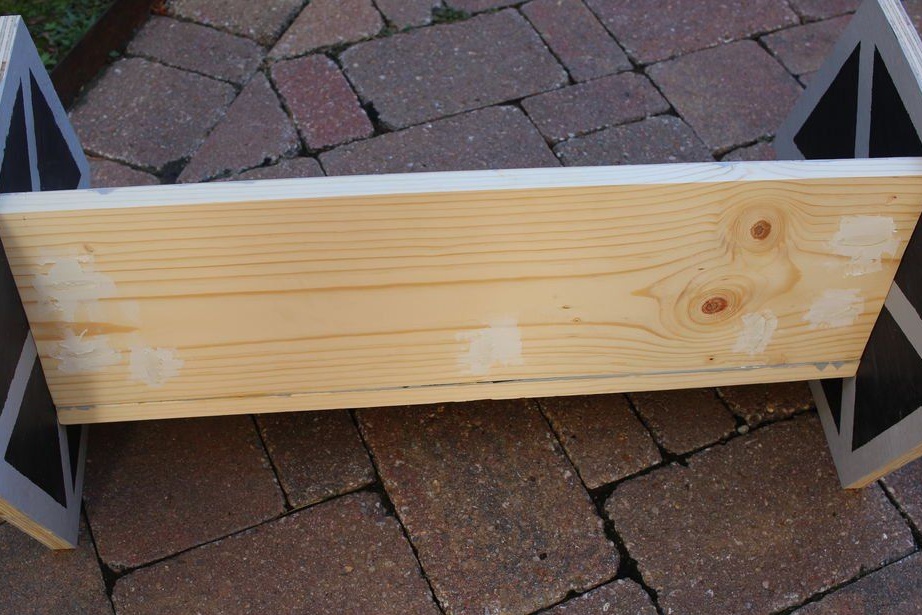
Third step. The assembly is a combination of long boards with each other at an angle of 90 degrees, and we already attach sideboards from hexagons to this design. Putty cover the holes that were made for fasteners.
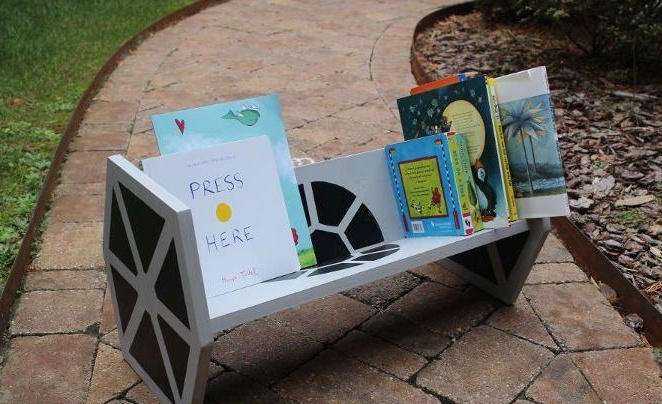
The home-made bookshelf is ready for this, it can work well as a gift for fans of this category. Thank you all and good luck in mastering the craftsmanship of homemade products.