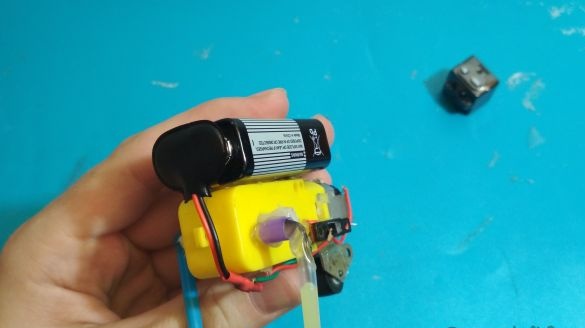
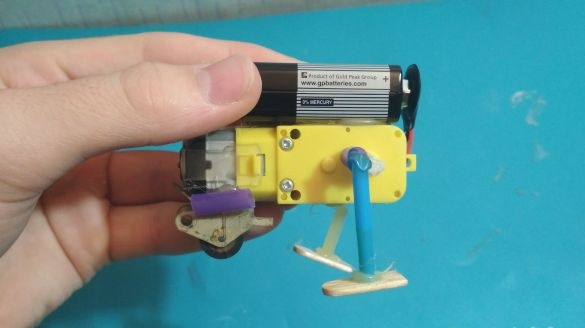
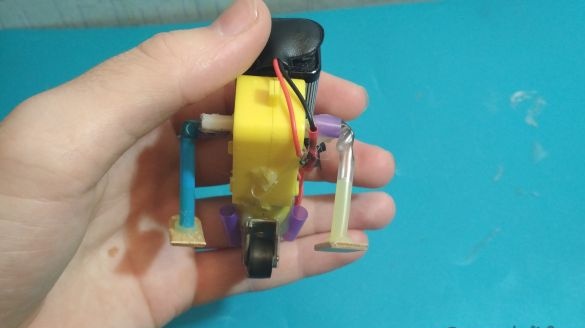
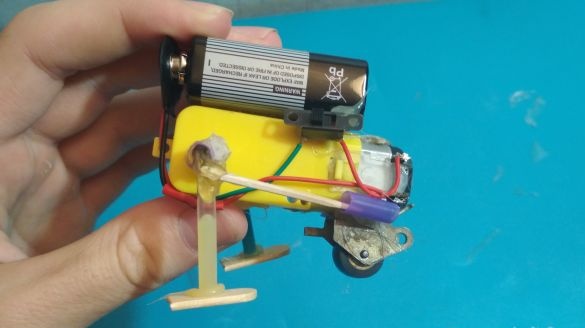
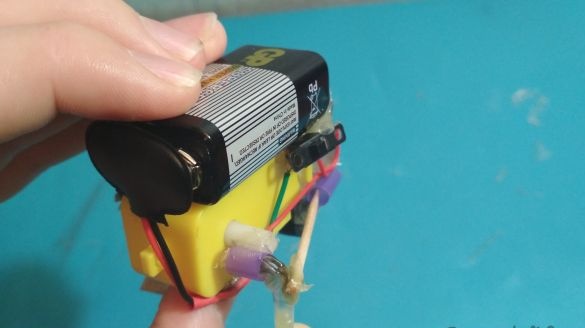
Good day to all. In today's article, it will be devoted mainly to beginners, but I think it will also be quite interesting for experienced fans. Today I will show how you can make a very simple mini walker do it yourselfgiven model very popular abroad, but I have never seen anyone from the CIS countries do it.
Video:
Well then let's get started.
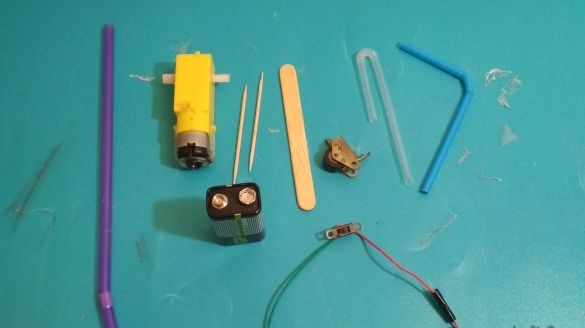
And so for a mini walker we need:
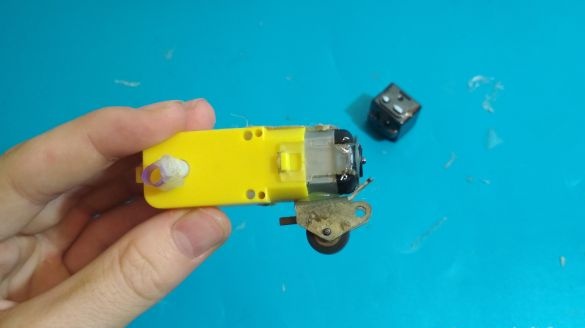
Chinese gear
-switch
- power supply (I use a crown, but it is better not a large battery of 3-6 volts)
-wheel with fasteners
-2 thin tubes
thick tube
ice cream stick
wire
toothpicks
crowns
From the tools we need:
-scissors
hotmelt
soldering iron
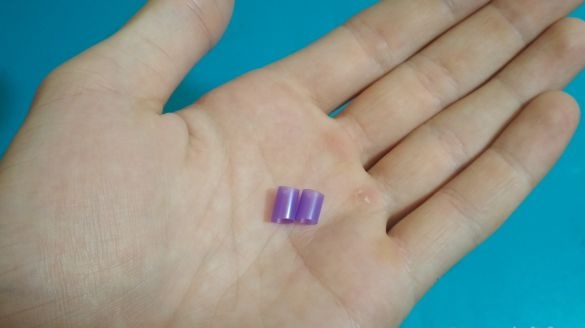
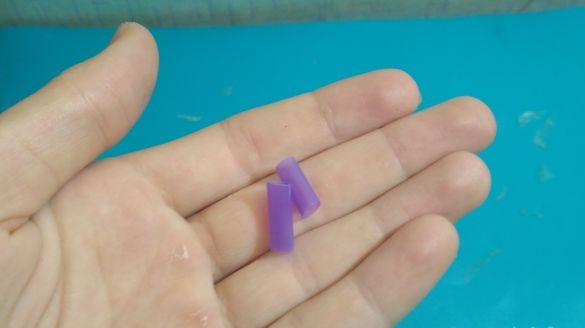
And so the first thing we cut off from the thick tube is two small pieces, each approximately 5 mm long:
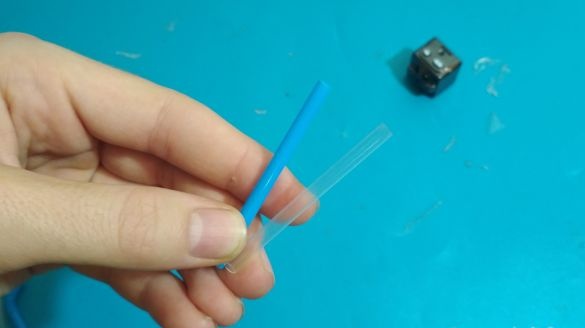
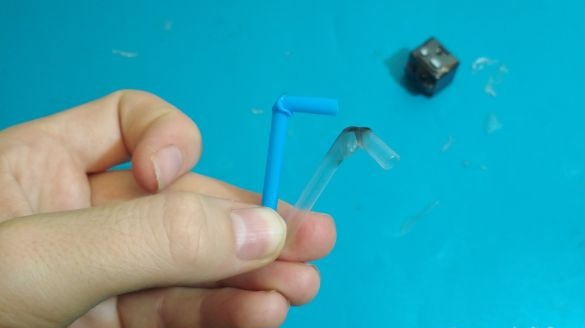
Then cut off about 4 cm from each thin tube:
We take a lighter or a match and by carefully heating we bend each tube as follows (it is important that the bend angle is 90 °)
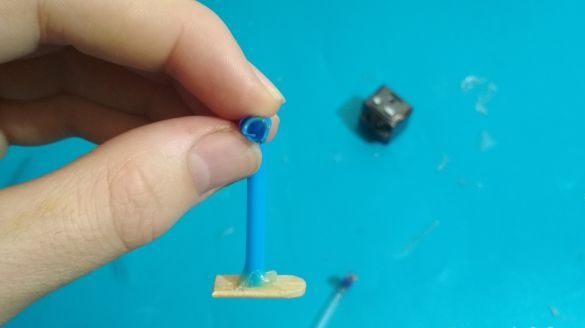
Now we put our past blanks on the tubes, again we take the lighter and carefully make the sides of the thin tube so that a piece of the thick tube does not fly off, it is also very important that the thick tube rotates freely on the thin
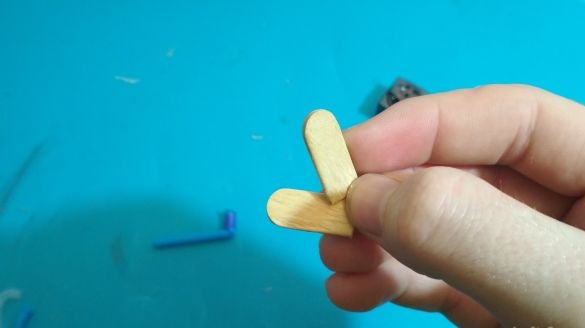
We take an ice cream stick and cut two pieces from the edge of a length of 1.5-2 cm:
Glue them perpendicular to our blanks, these will be ours
"legs"
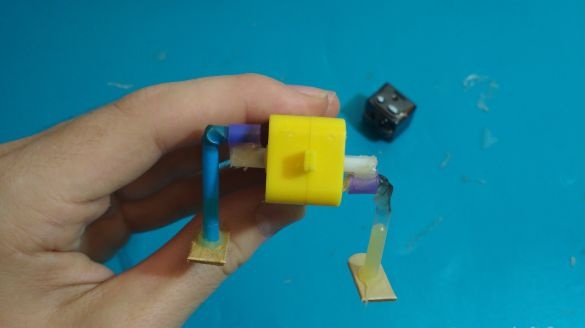
We glue them with thick tubes to the gearbox shaft as follows (it is important that the thin tube rotates freely inside the thick one)
We take our wheel (I took it from the old tape recorder) and glue it to the back of the gearbox, if someone does not have a wheel, do not worry, you can just glue a bead or tube, the walker will still work.
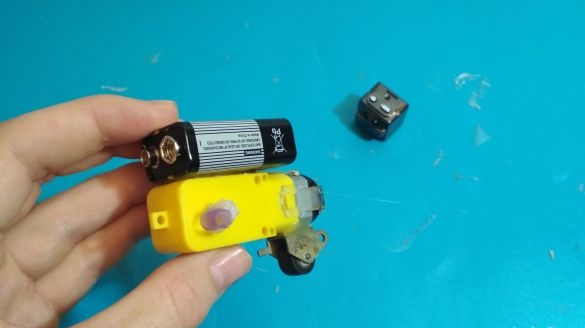
Then on the upper part we glue the “crown” battery or battery:
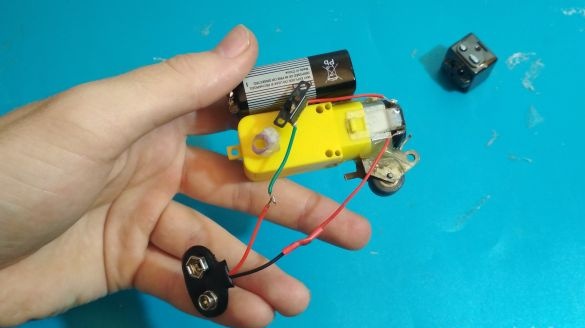
Solder the wires and the switch to the gearbox, and then solder the cantor for the crown as follows:
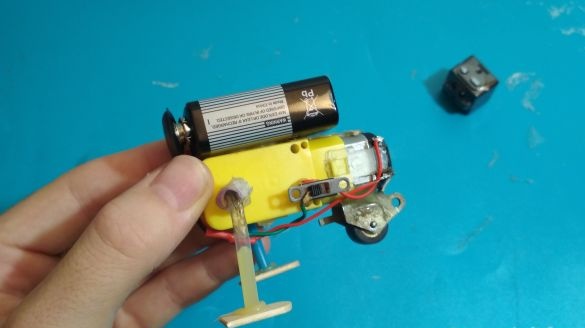
We carefully place everything on the gearbox so that it does not interfere:
Now cut off two more small pieces from the thick tube and glue them from the two rear sides on the gearbox, as shown in the photo:
Then we take two toothpicks, cut off a bit from the edges and glue them to the “legs” of our walker, and simply insert the back into a piece of thick tube:
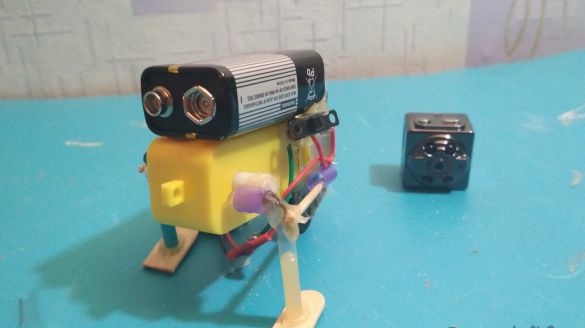
That's it! Our simple mini walker is ready and it remains only to test it, for this we put the canter on the crown observing the polarity and turn on the switch. He walks by the way pretty well, though there may be problems with long “legs” so you may have to experiment, but this is not a really big problem. By the way, children like it because it looks a bit like a small animal.
Well, thank you all for your attention!


