

Good day beginners radio electronics! Today's article is dedicated to you.
One of these days, my younger brother asked me to assemble some movable robot for him. Naturally, I didn’t make a robot for him on Arduino, because I’m sorry, so I decided to assemble a simple vibro-animal or vibro-robot do it yourself. I was just lying around the old already hooked "crown" at 9 V. And so we look at what happened. Since the article is dedicated to beginners, I will try to write in more detail
And so for this toy we need:
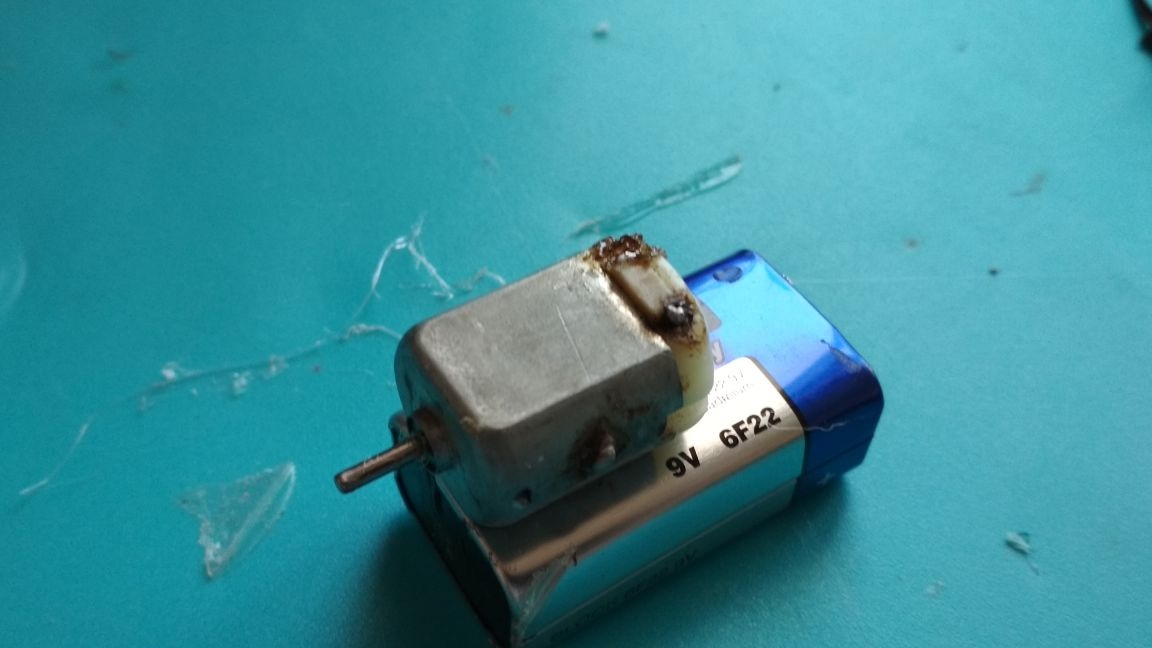
-usual Chinese motor
- 9 V crown (but I advise you to use a small 3.7 V and 600-800 mA battery, the crown has the same capacity but you can even charge the battery)
ice cream sticks
connector for crown
-switch
wire
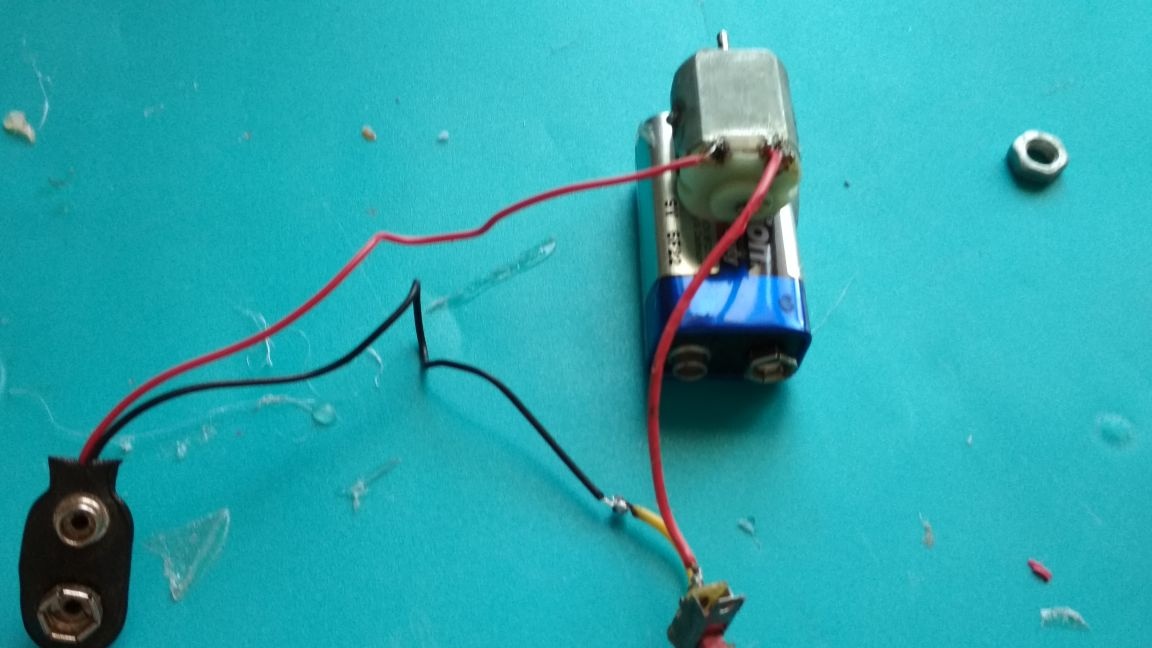
nut or big bead
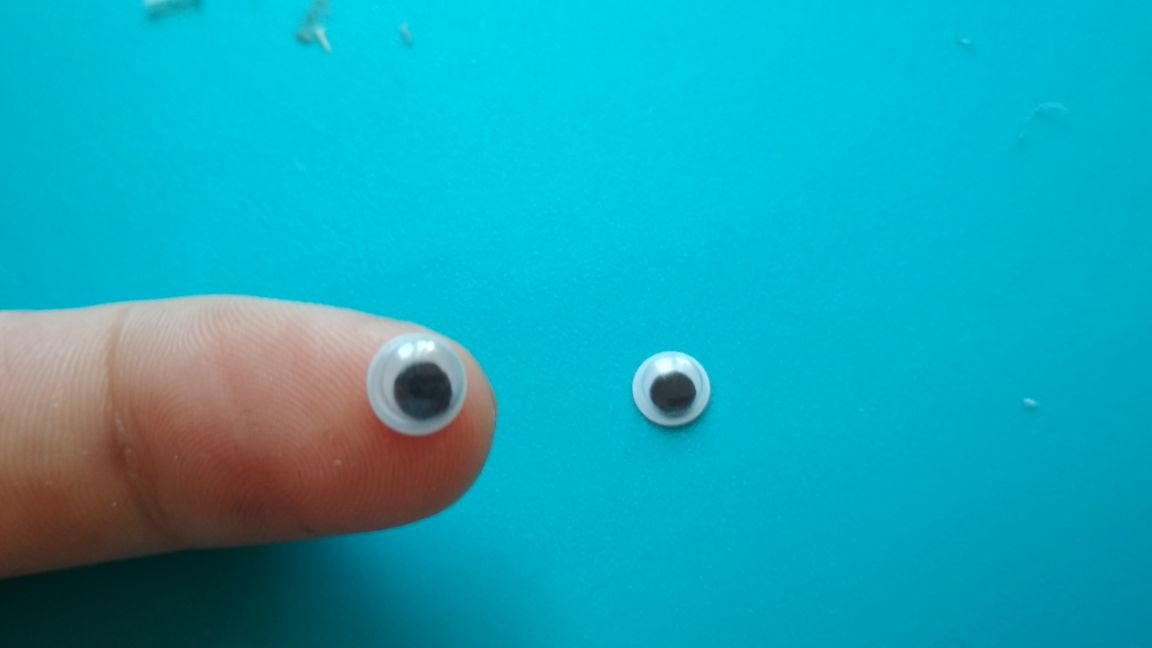
decorative eyes for soft toys
Of the tools we need
thermal glue
soldering iron
-scissors

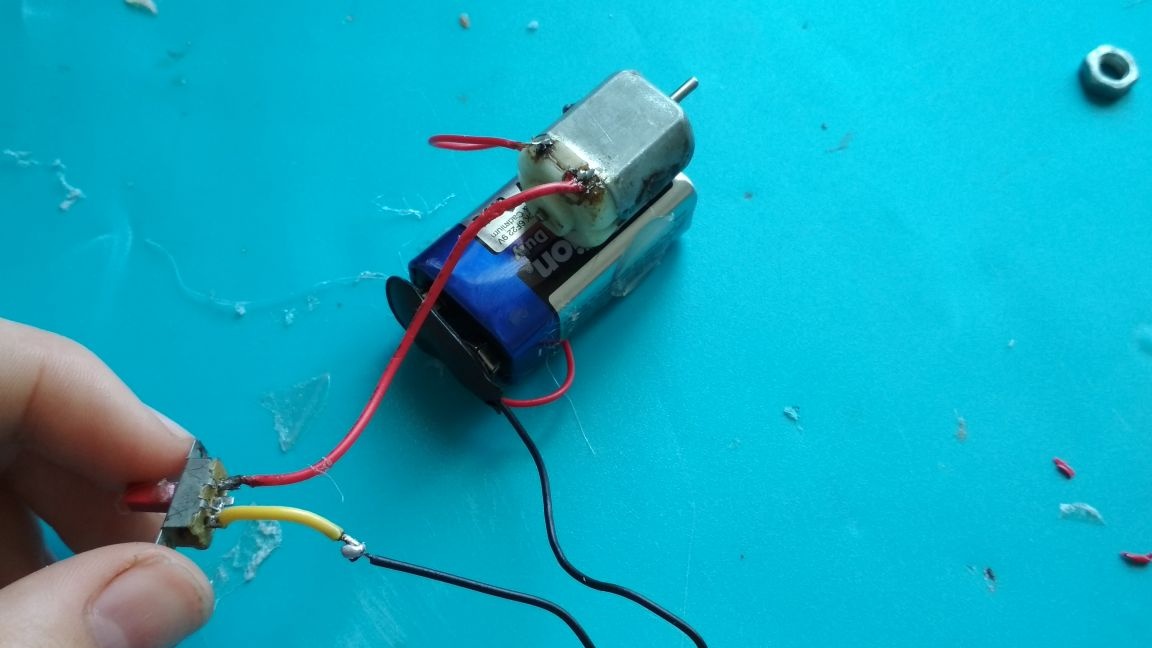
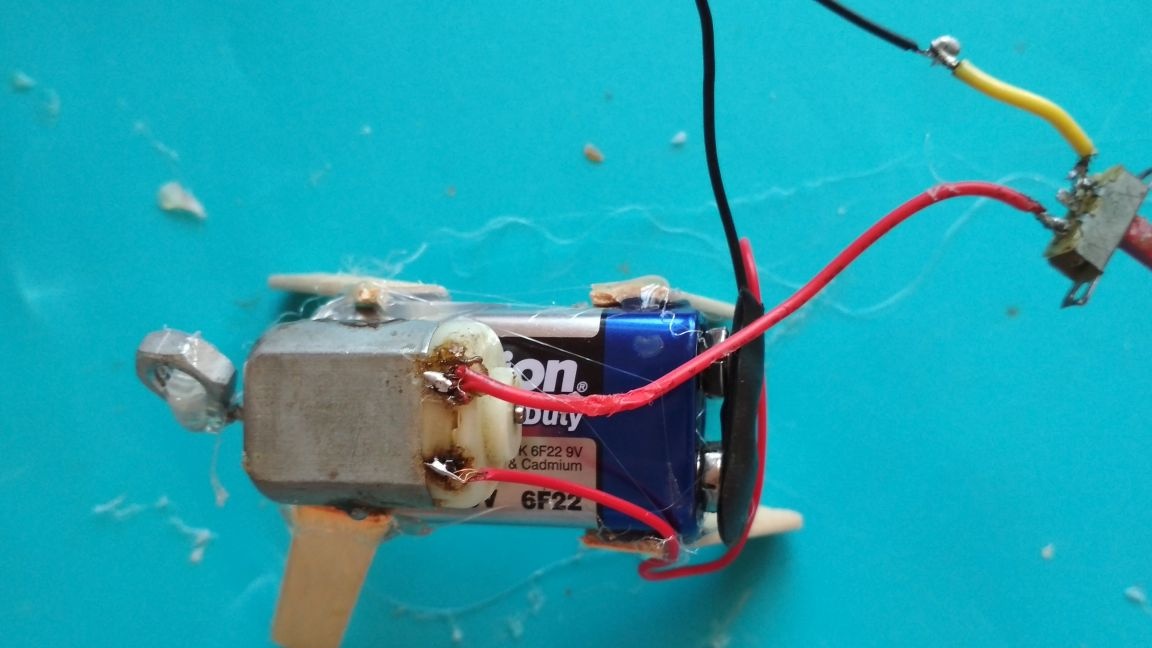
And so the first thing we glue on the motor to the crown as shown in the photo:
Now solder one wire from the connector to one of the motor contacts:
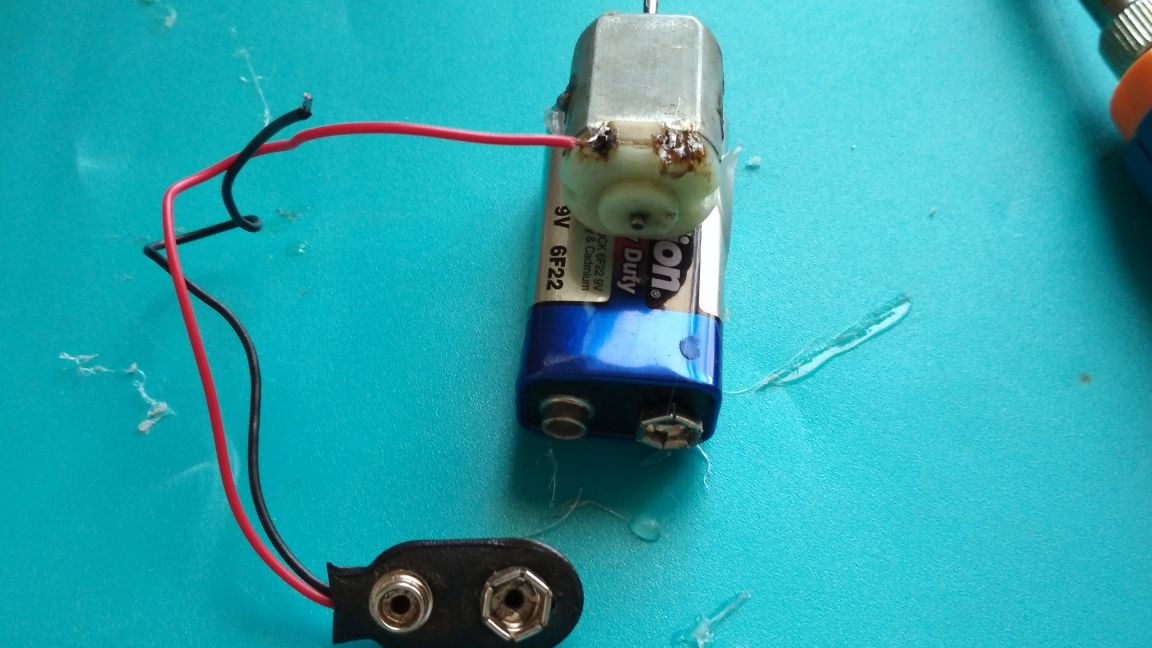
Then we solder the switch to the connector, and then to the motor:
We put the connector on the crown and test:
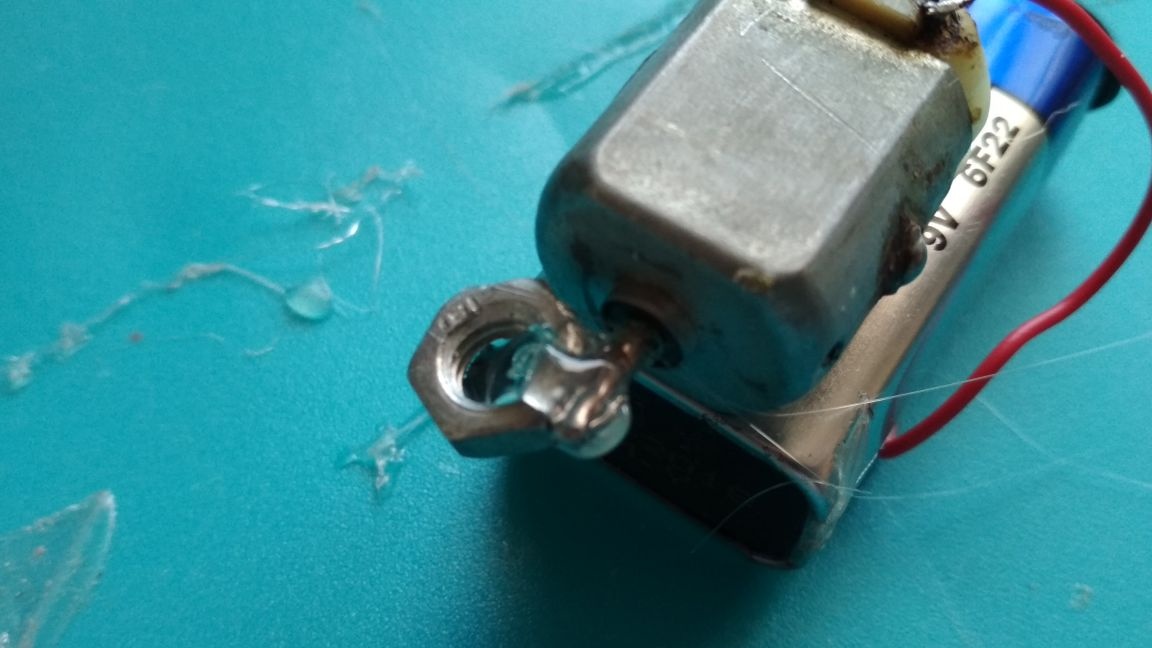
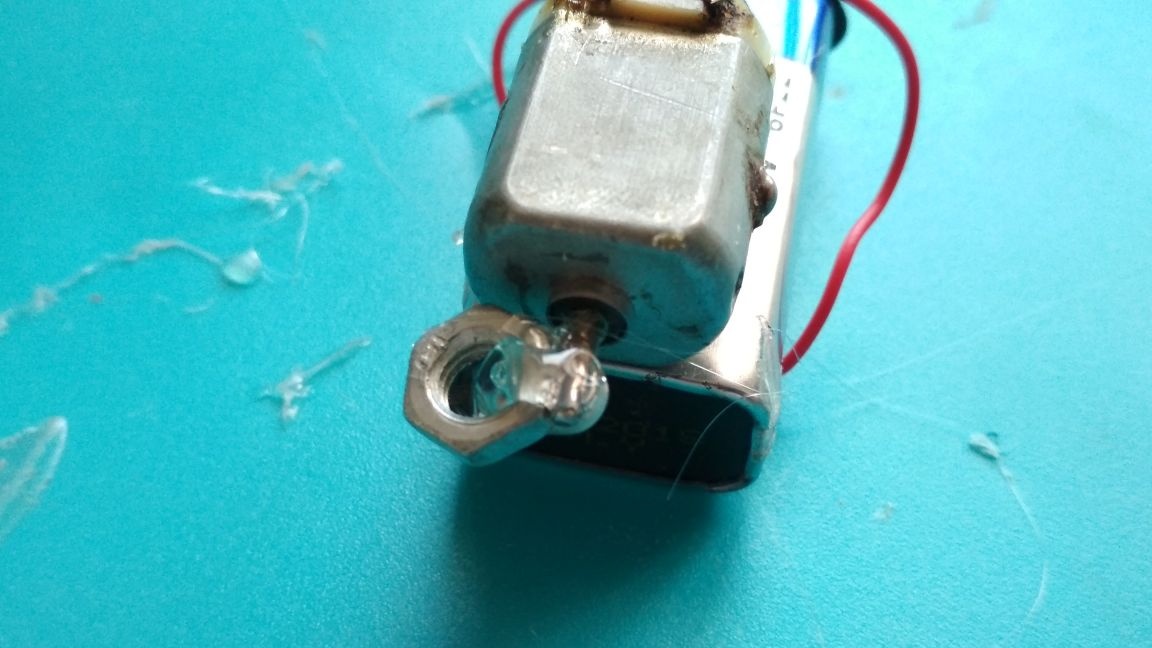
Now we glue the nut and motor axles as tightly as possible, it is very important that the nut does not fly off during rotation, therefore, after gluing, we fix it with a plastic screed
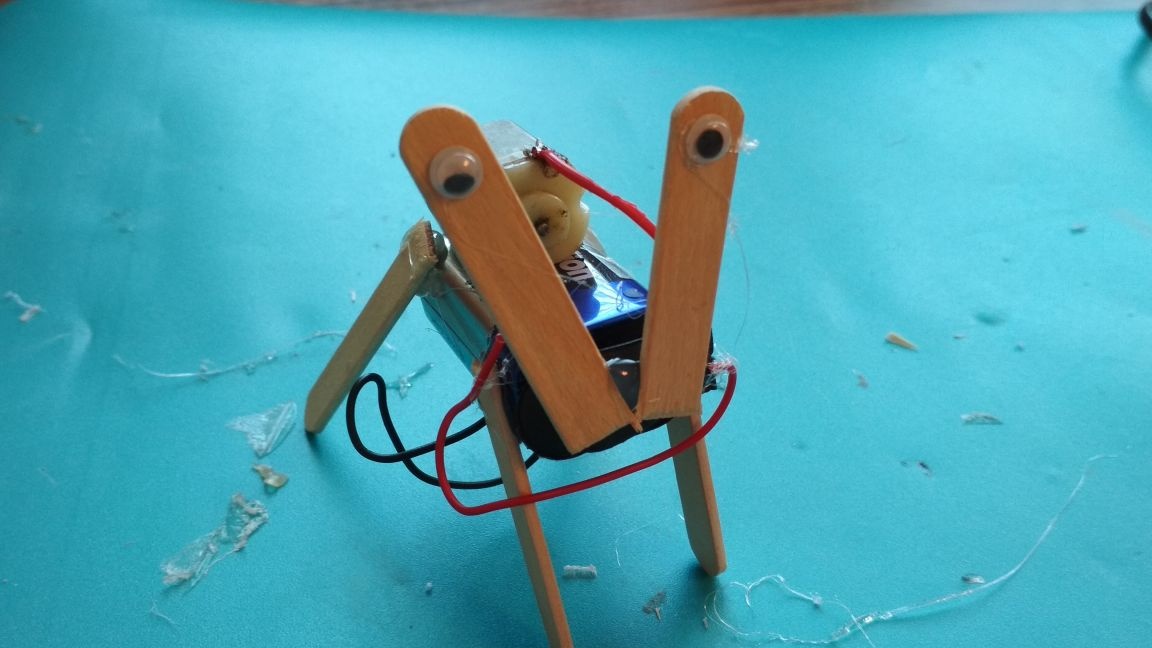
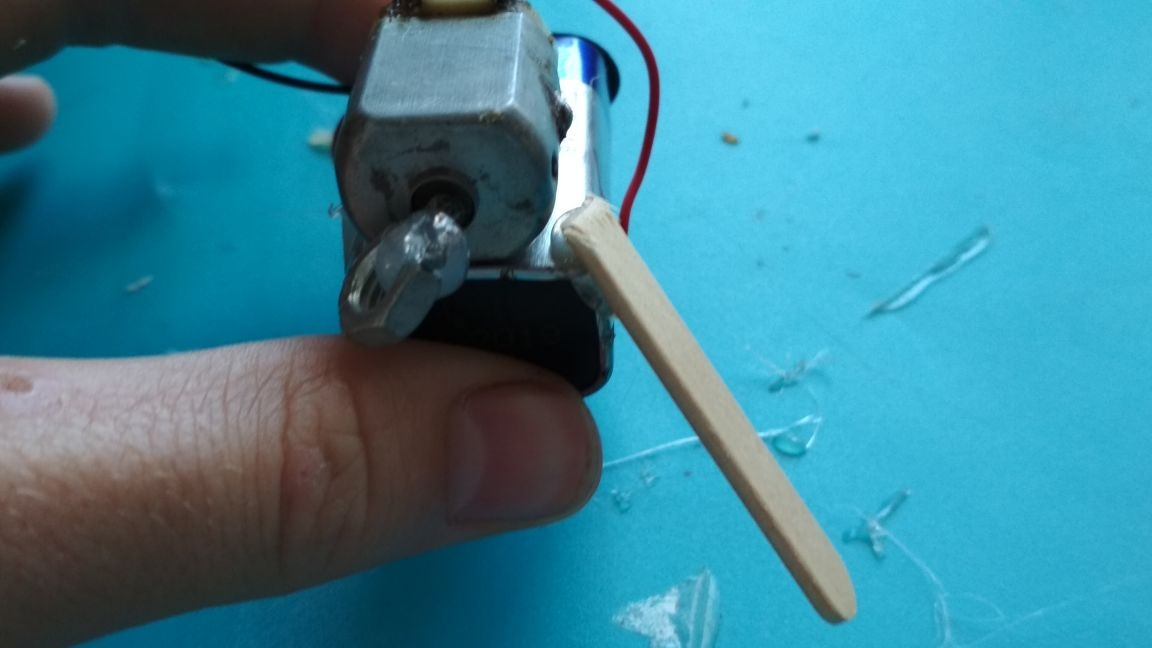
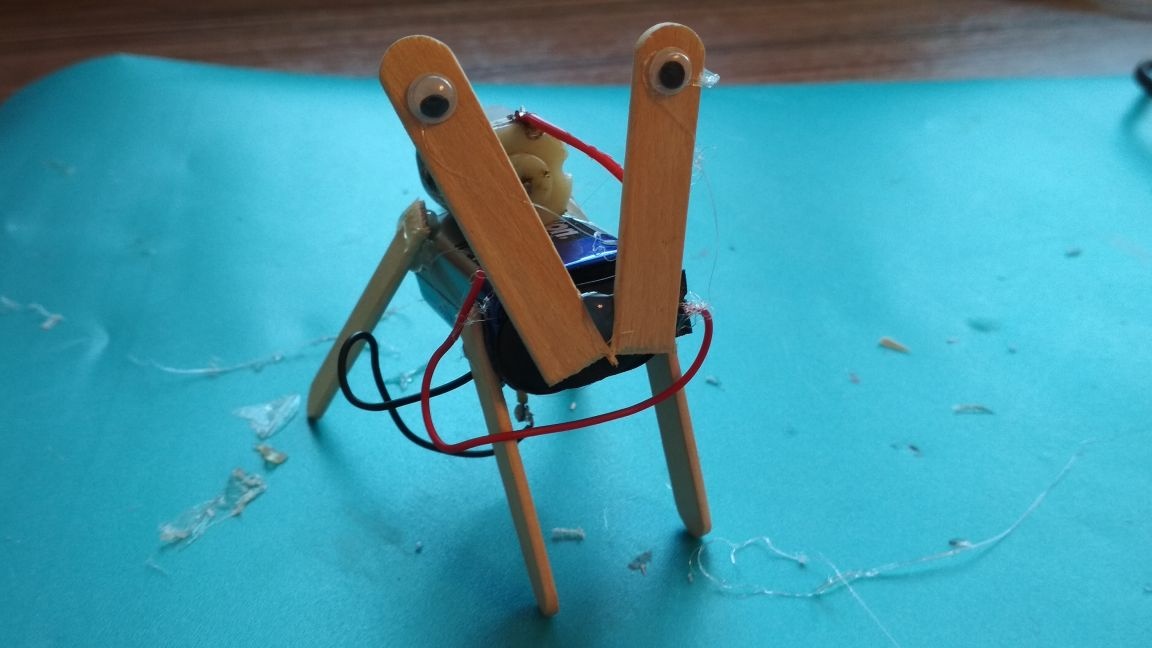
We take two sticks of ice cream and cut them roughly into floors:

Glue, forming the "legs" of our "animal", there is no need for evenness here, the main thing is not to fall off (sticks should be glued with the smooth side down)
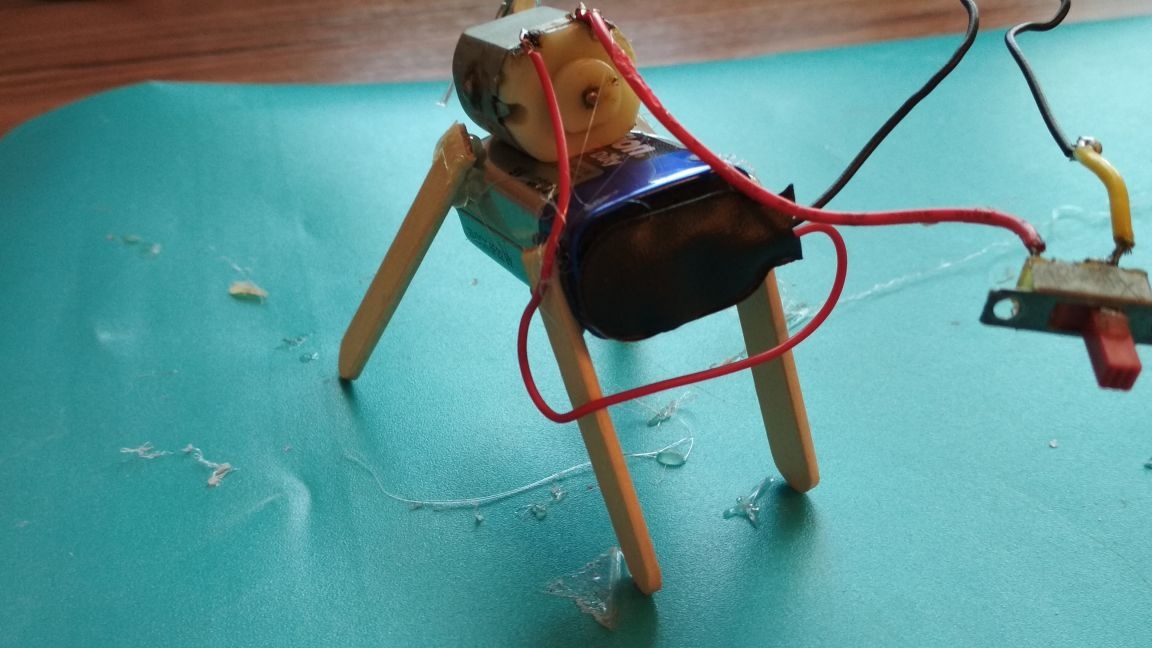
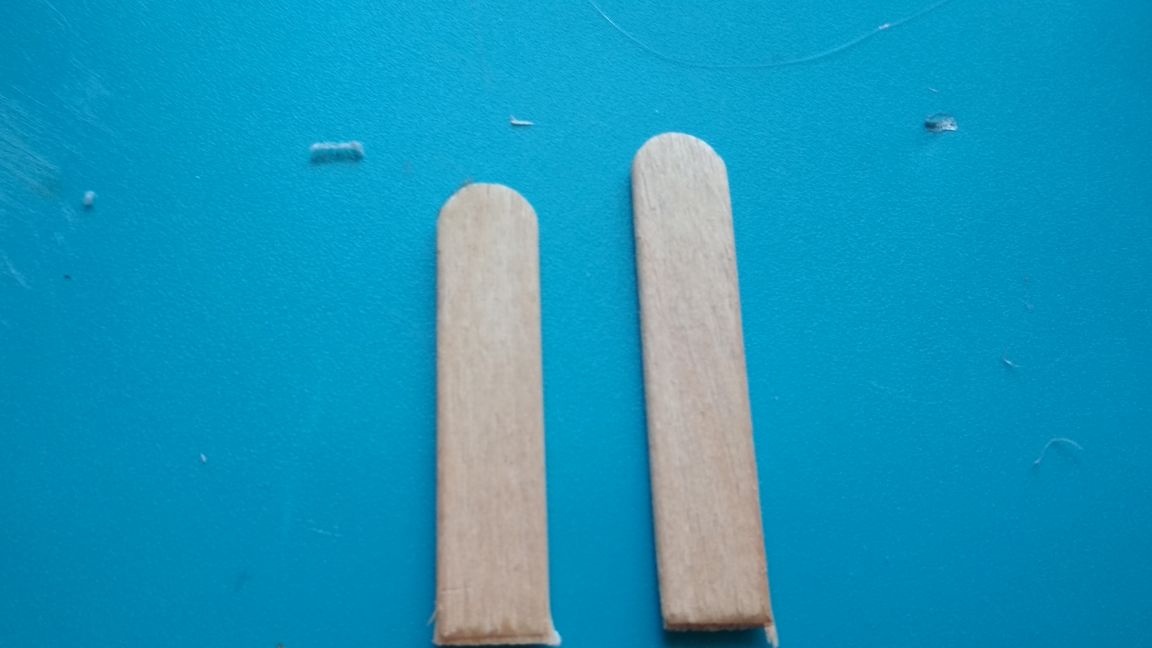
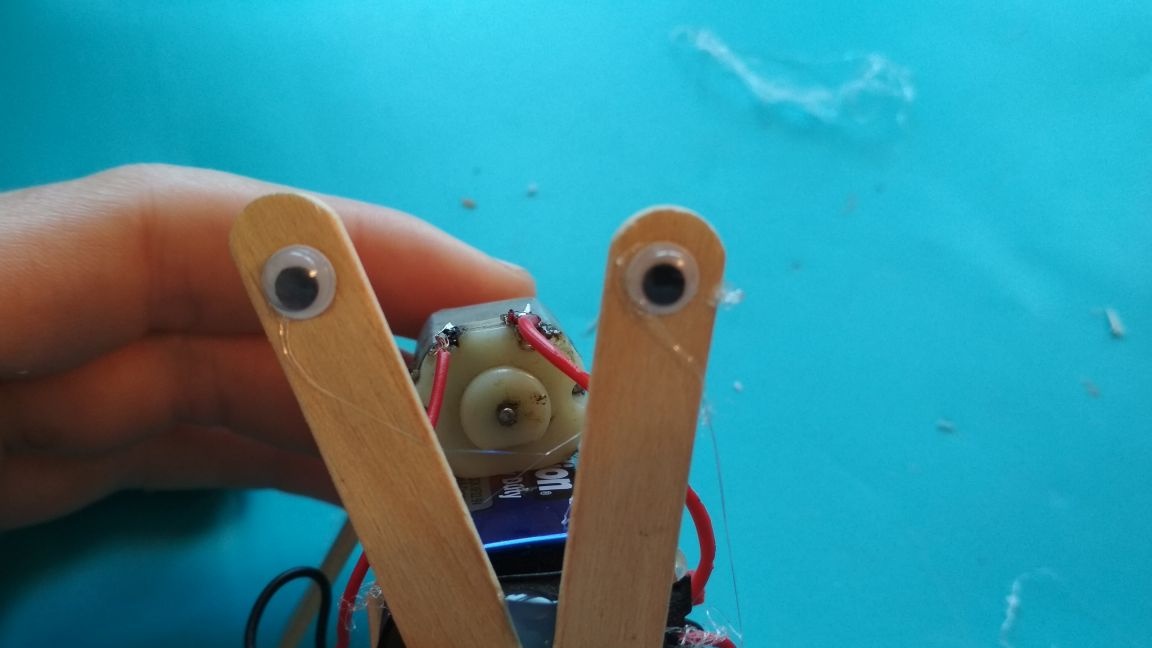
Take one more stick and cut it into two approximately equal parts (even better if one is slightly larger than the other)
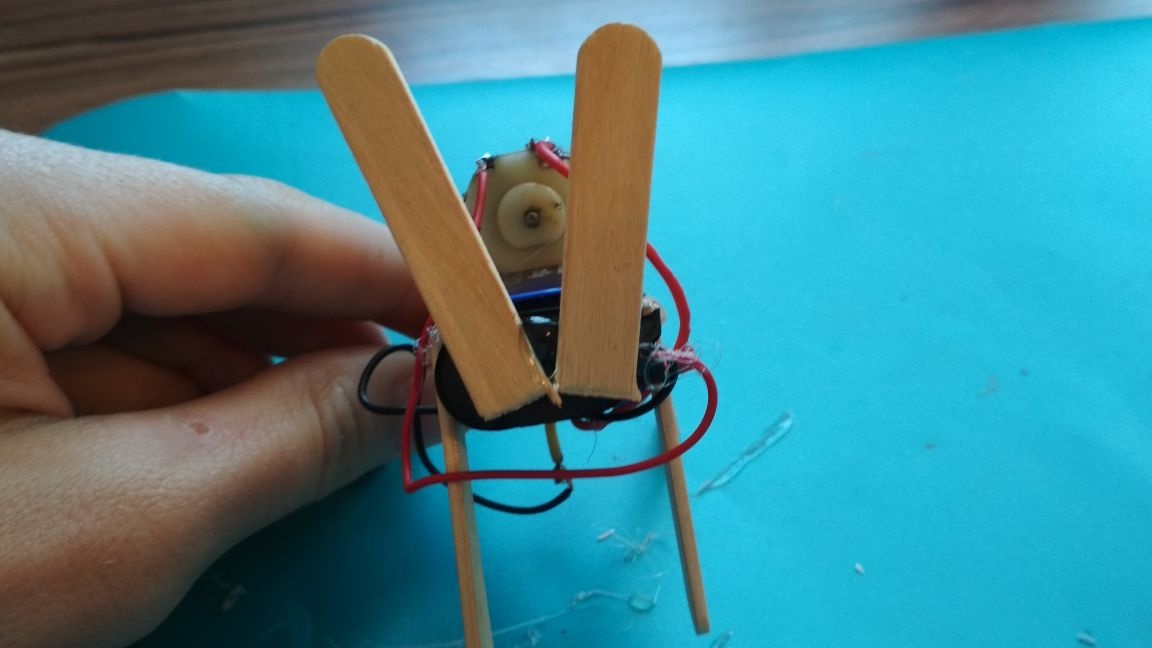
Glue them to the connector as shown in the photo:
We take decorative eyes (it’s better to use larger ones, but I don’t have one) and glue them (the “pupils” of such eyes are not specially fixed and, when moving, they hang coolly back and forth)
That's it! Our toy is ready and it remains only to test it! To do this, just put it on a smooth surface and turn it on, after which it starts to “run” cool on the surface. My brother liked it. But be careful with a rotating nut! Better attach a large bead.

Thank you all for your attention!