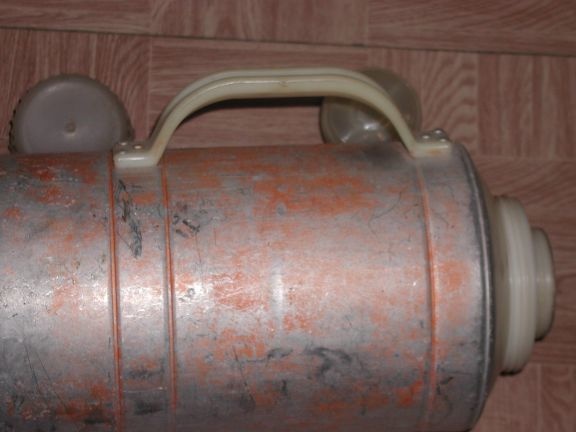
If you fell into the hands of an old thermos with a case made of aluminum or stainless steel, do not rush to take it to scrap. Two hours will be enough for a skilled craftsman to make an original and convenient bowler.
To work, you need a minimum of tools and materials that everyone will find:
- hammer;
- screwdriver;
- pliers;
- file;
- a hacksaw for metal;
- drill;
- a piece of wire or stainless steel electrode, a few rivets, a newspaper or a sheet of paper, a marker or some paint, a thread.
Step One: Markup
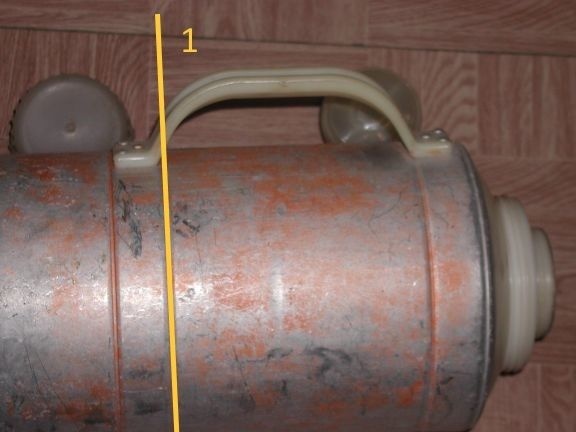
Having carefully disassembled the design, you can proceed to the first and, perhaps, the most critical operation - marking. To get an even and clearly distinguishable line for cutting on a cylindrical surface, a sheet of paper tightly wrapped without distortions will help you. Having fixed it from unfolding with a piece of adhesive tape, it is enough to walk along the edge with a marker or a brush so that after removal there remains a clearly distinguishable border.
It is even more important to achieve accuracy when determining the places for holes for fixing the handle. Diametrically opposite points can be found using a tape measure, but this is not very convenient - it is better to wrap a thread or a paper strip with an overlap around it, cut it at the place of application with a knife, remove the resulting segment and divide in two. Having made such an unpretentious template, it is possible to provide a thermos kettle with high resistance to capsizing during operation.

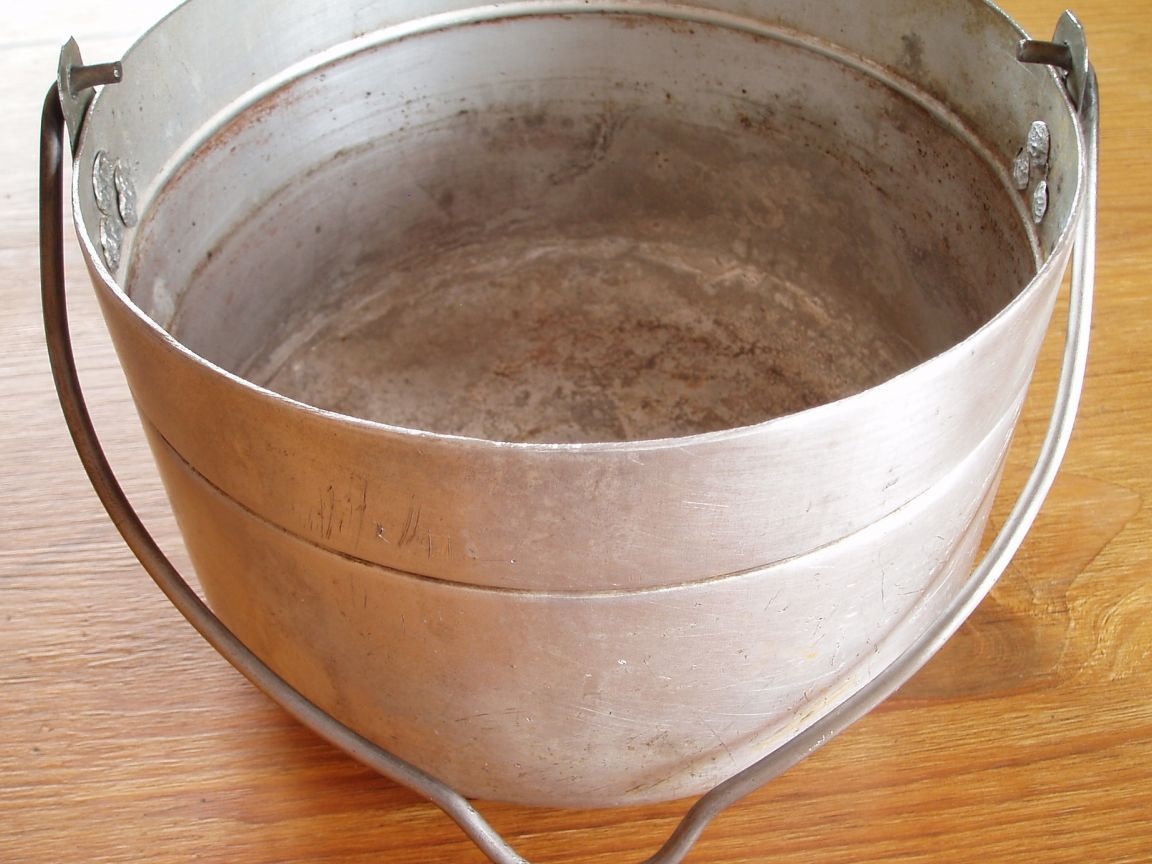
Step Two: Saw the thermos body, make eyes
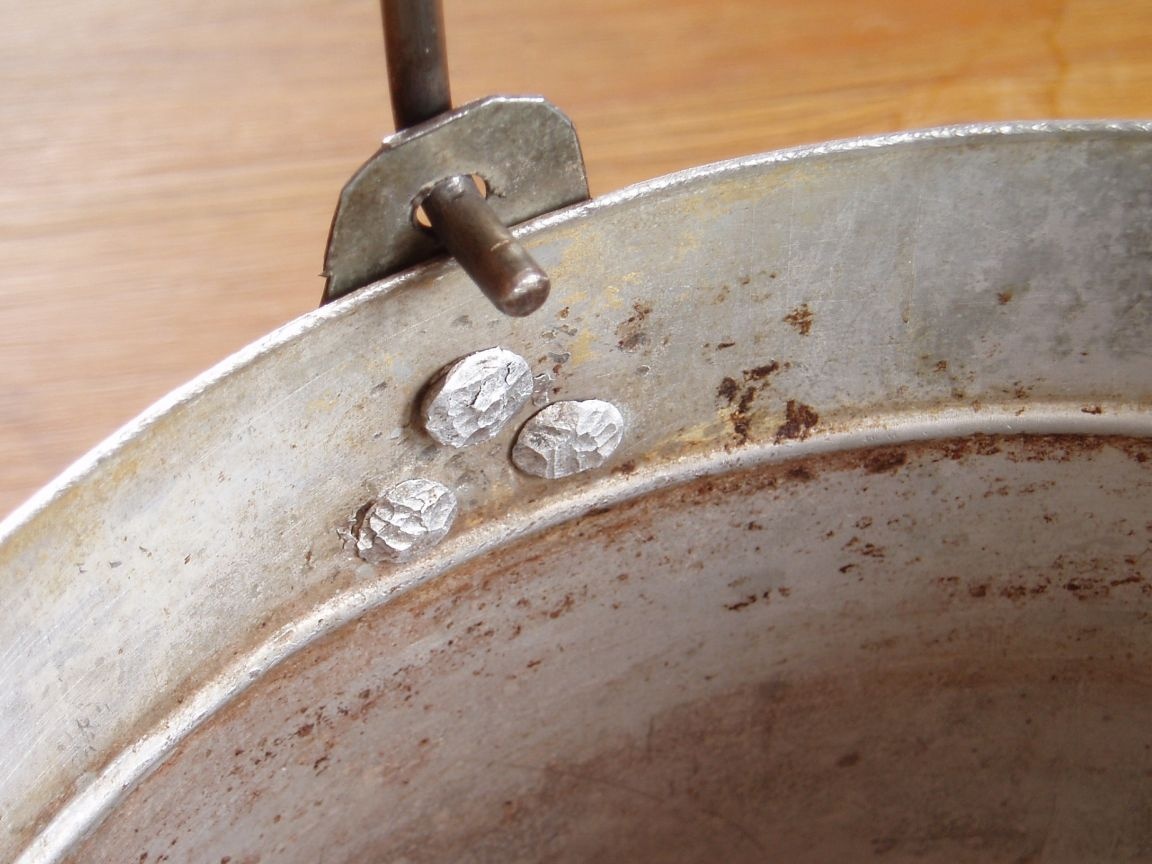
The bottom part sawed off from the body with a hacksaw or grinder is the main workpiece, and the eyes are cut from the top. Due to the same curvature and material, a tight fit and the absence of galvanic effects that contribute to corrosion are ensured, but you can, of course, make them from scraps of galvanized sheet. The sharp edges of the eyes and the main workpiece are dulled by a file or a fragment of the abrasive wheel manually.
Drilling to produce a canopy is undesirable - it is better, in order to avoid deformations, to lean the bottom part with the inner surface at the corner of the table or workbench, laying a piece of bar. The diameter of the drill must be selected so that the rivets fit tightly into the holes.
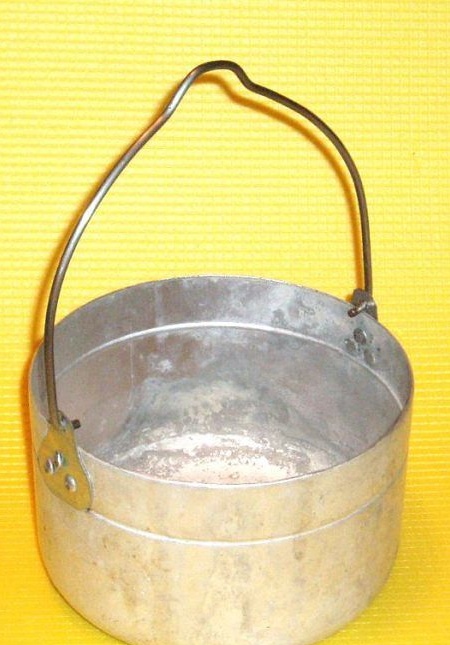
Step Three: Handle Making and Assembly
A stainless steel handle bent on a pipe or log is inserted into the holes and the edges are bent with pliers. Fans of bringing a designer twist to a product can experiment with its shape and size.


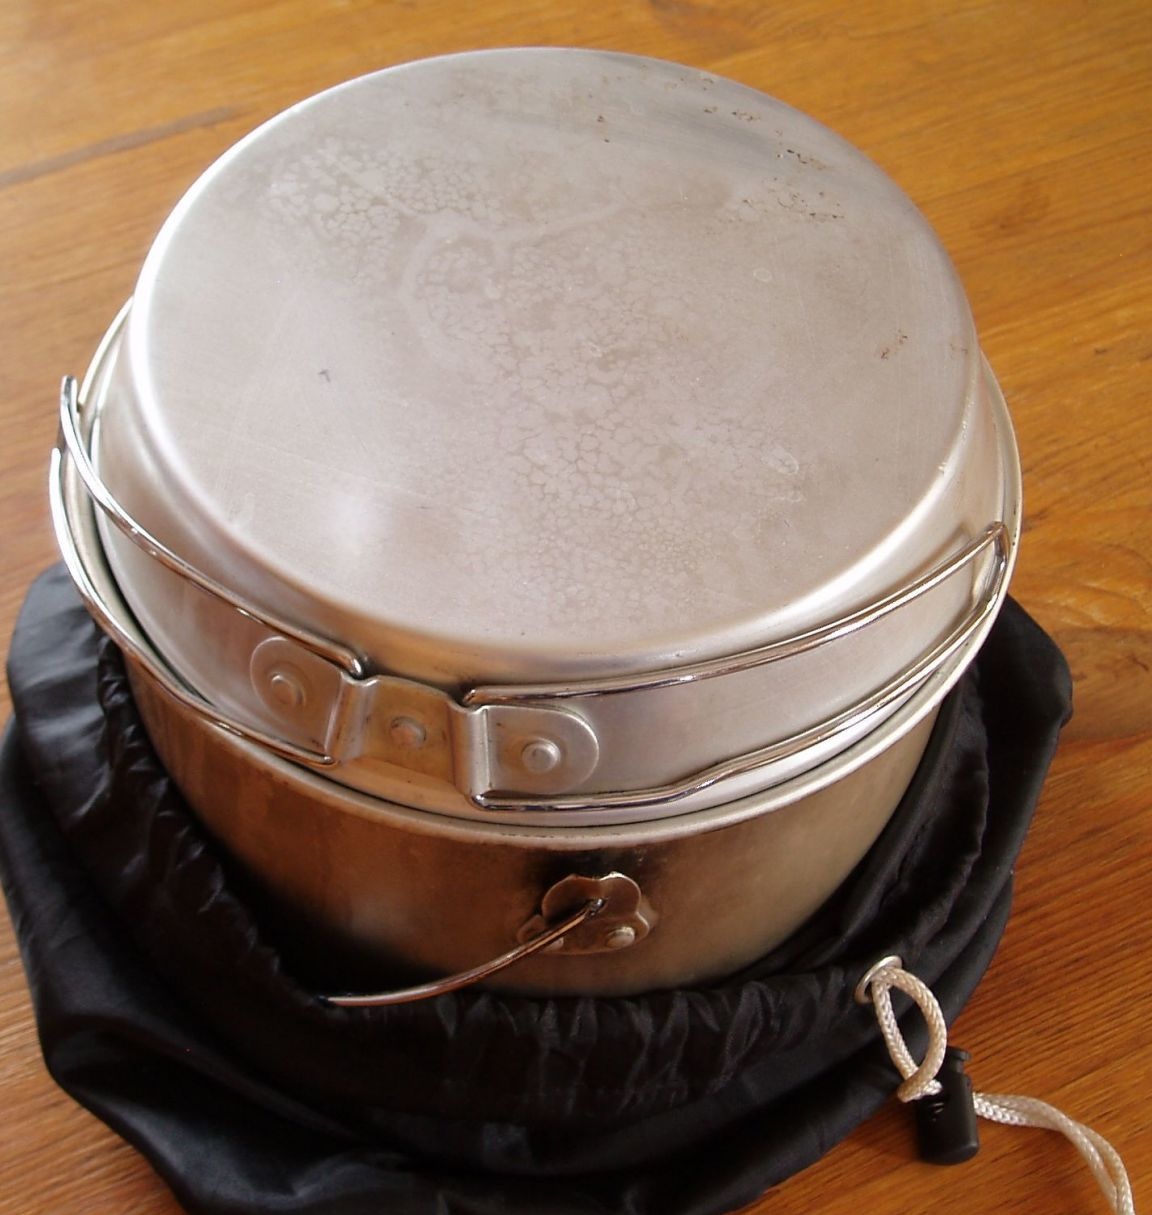
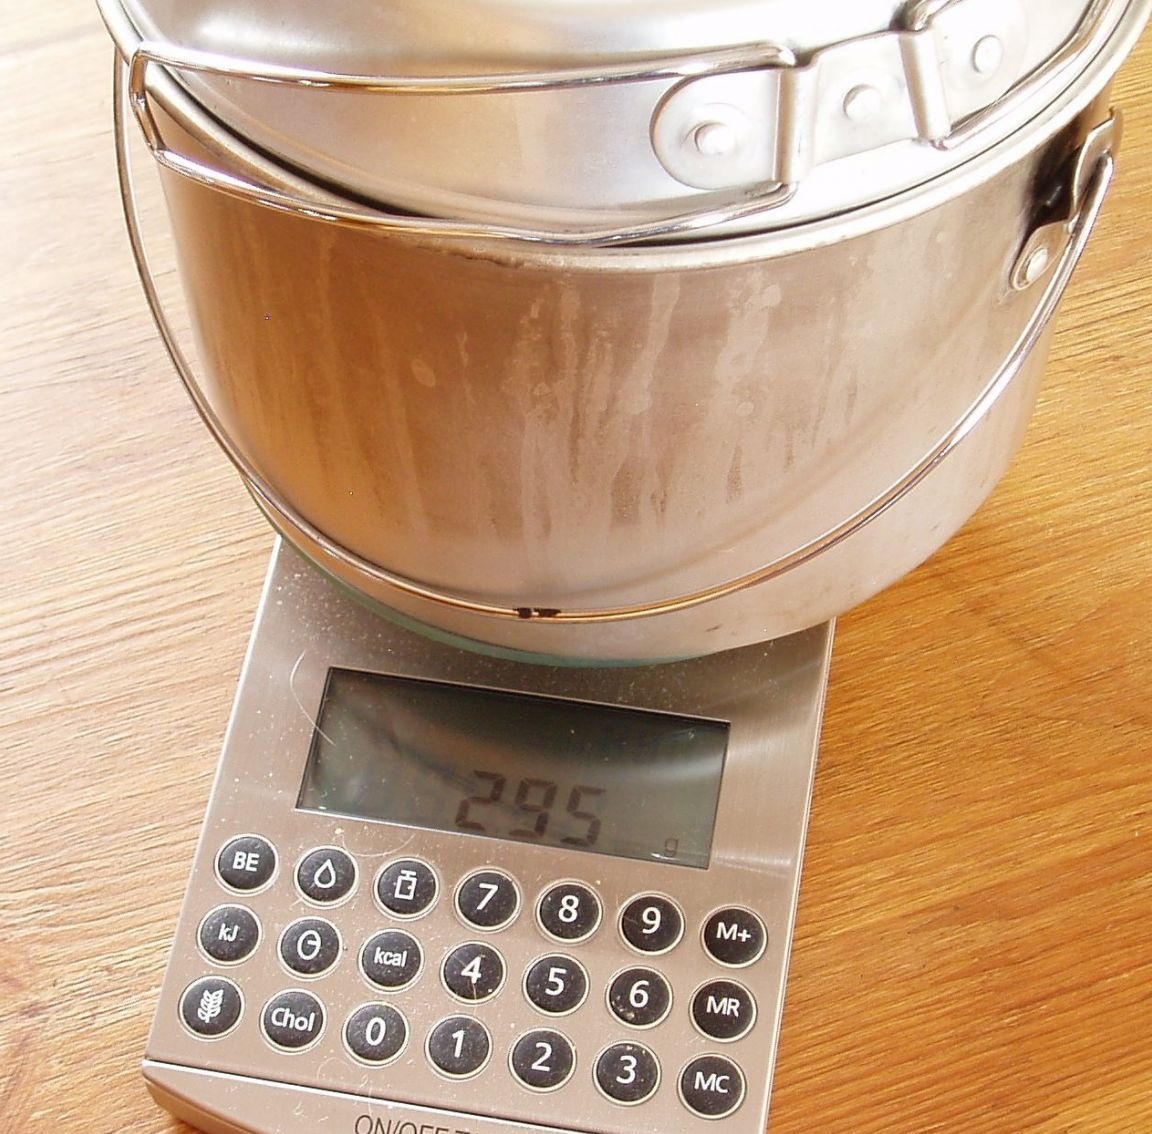
Weight with and without lid

Conclusion
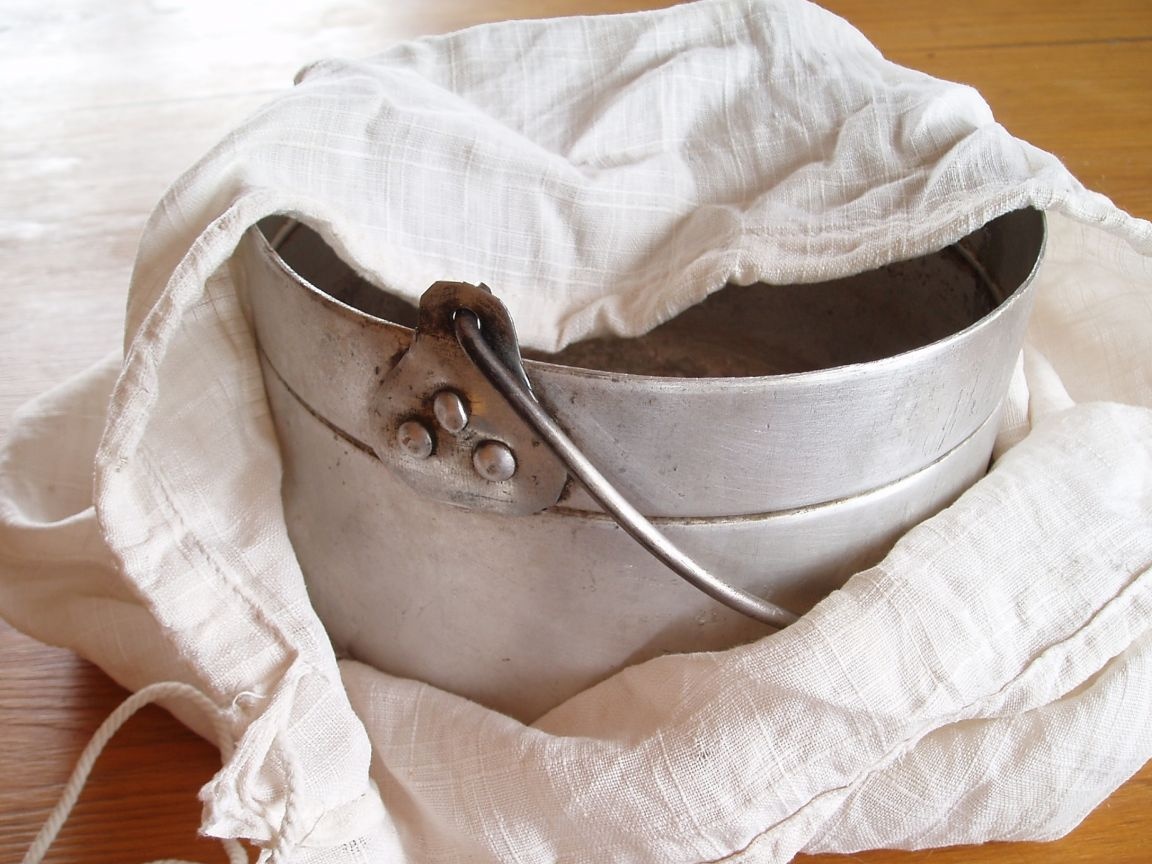
If there is no desire to tinker with rivets, there is an option to cut a solid body with eyes - this will complicate the sawing a bit, but eliminate the need to repeatedly drill holes in a stainless steel that is difficult to perform this operation.
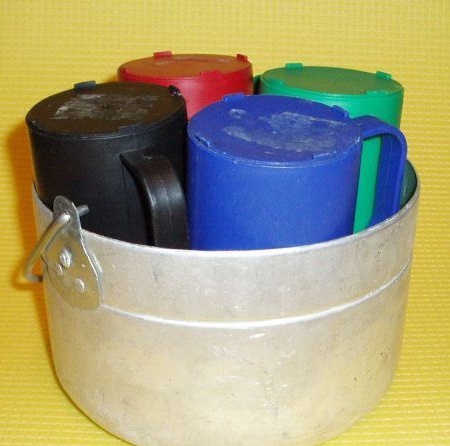
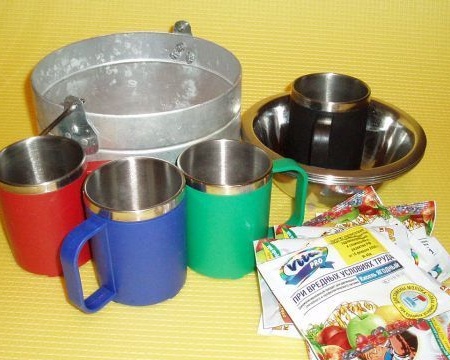
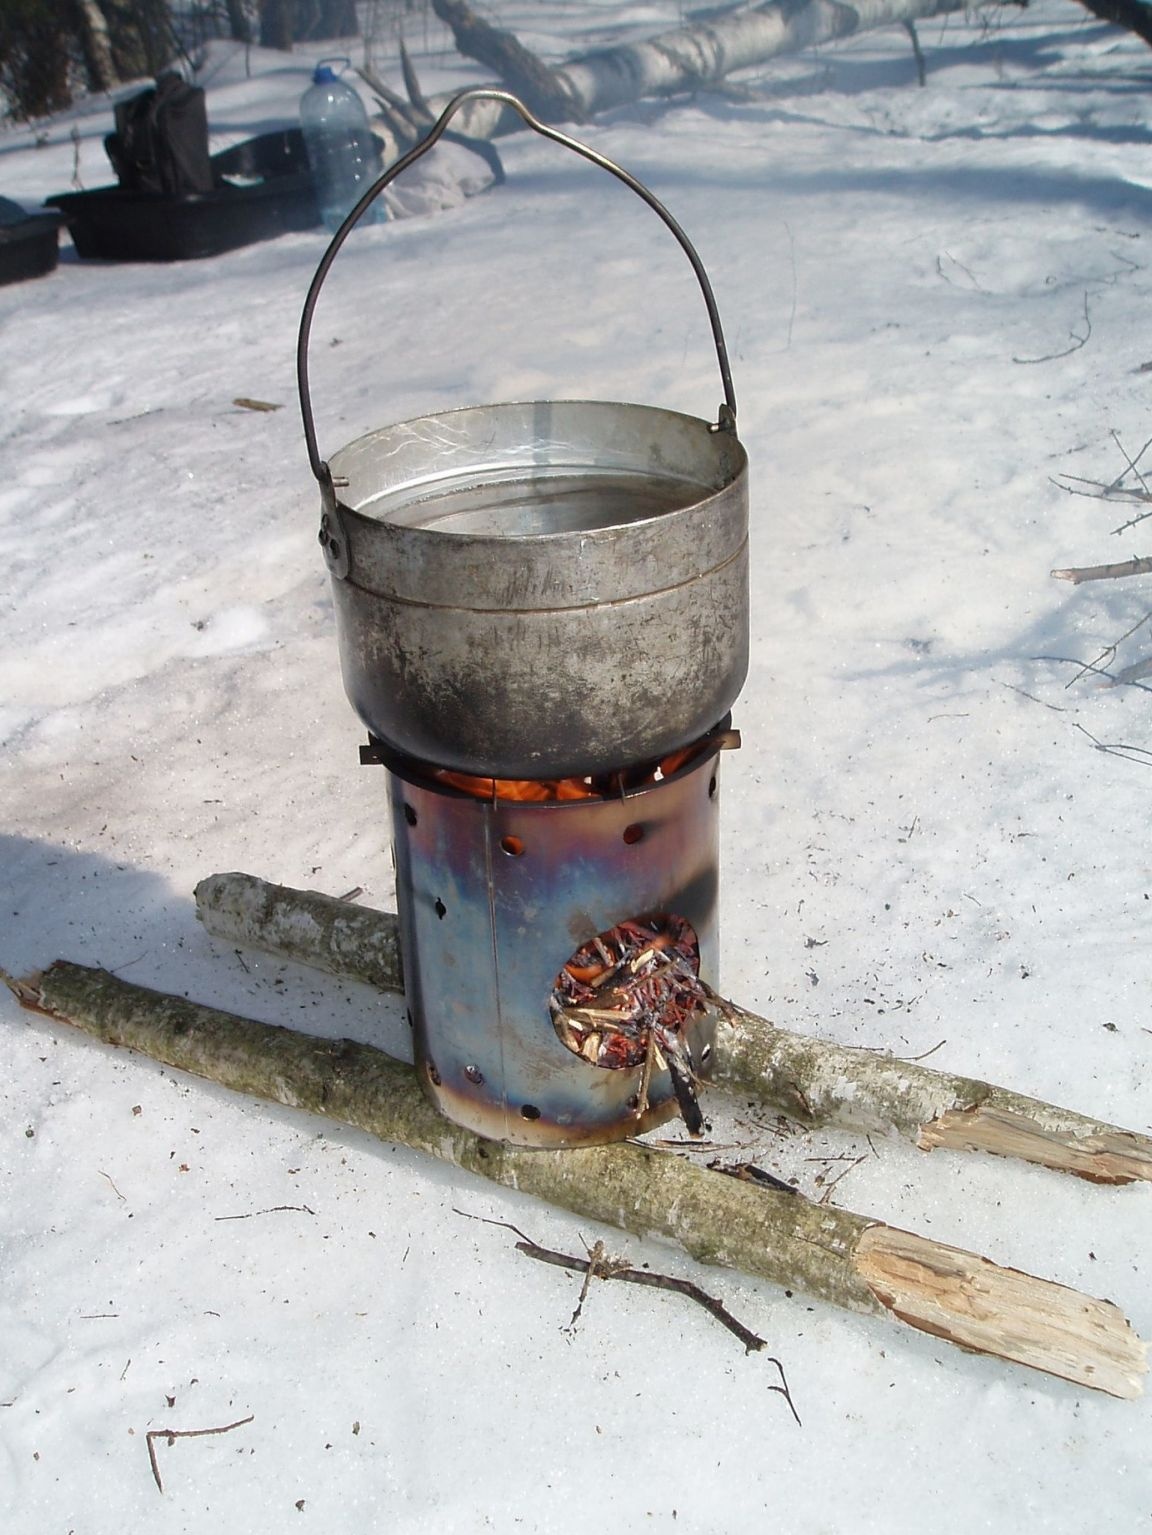
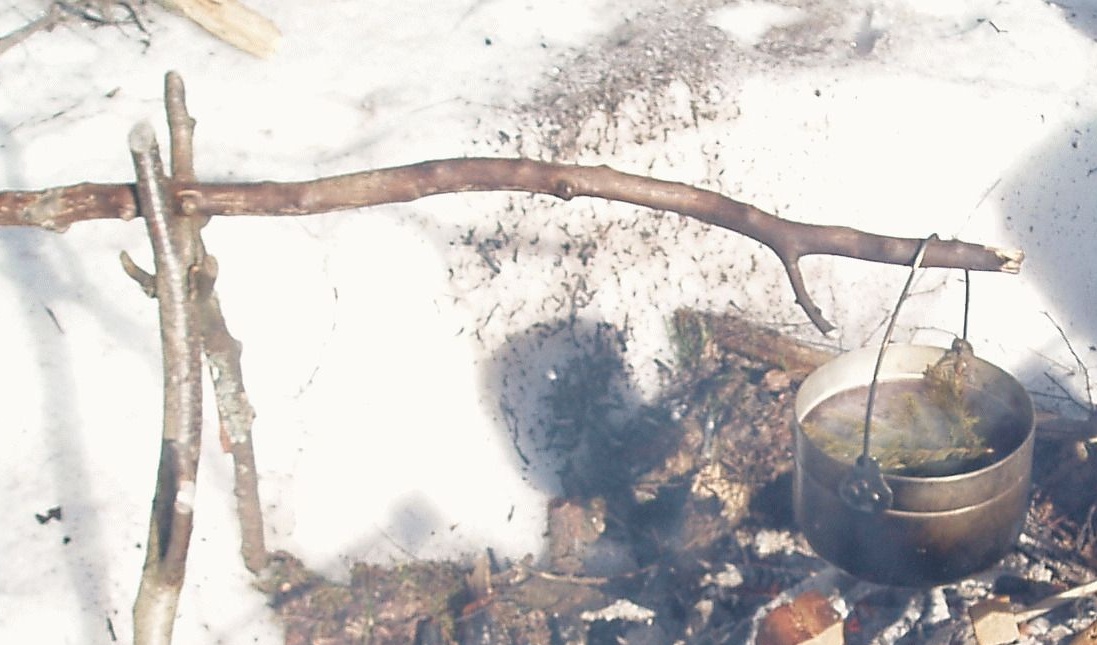
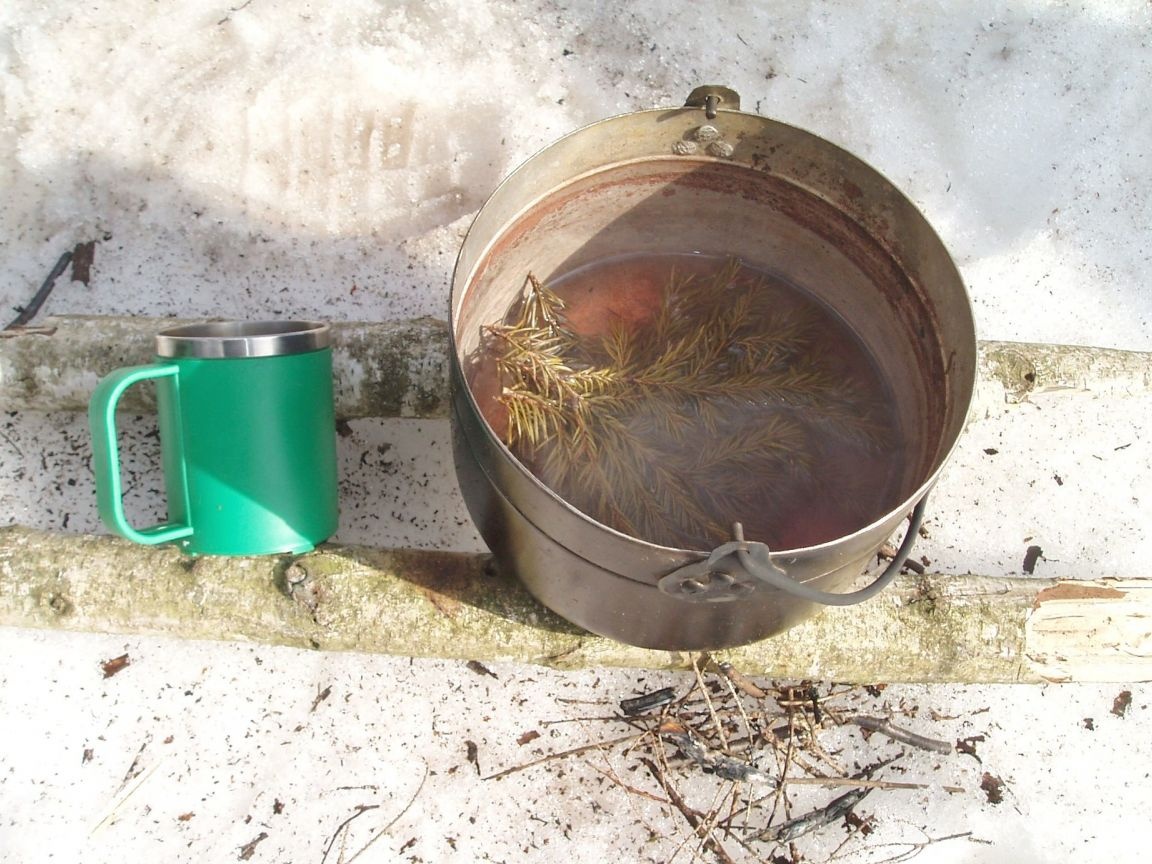
Actually, the kettle from a thermos is ready - it's time to think about outdoor recreation with friends, where you can trump with your skillful hands!