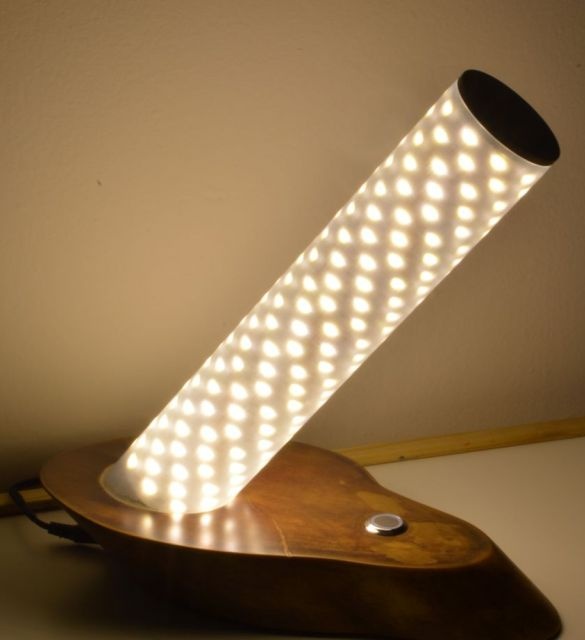
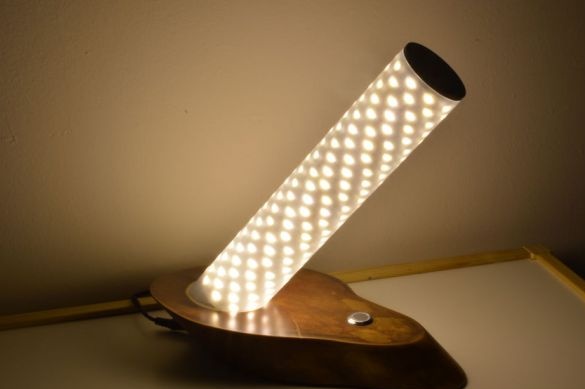
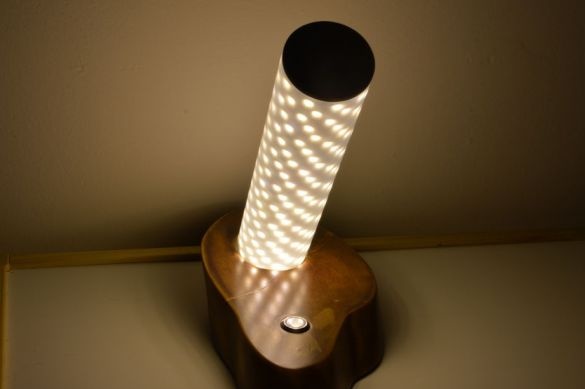
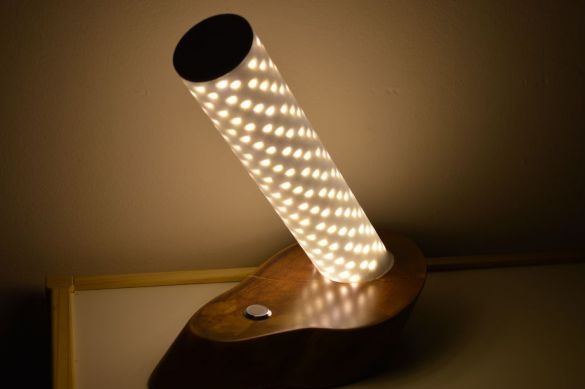
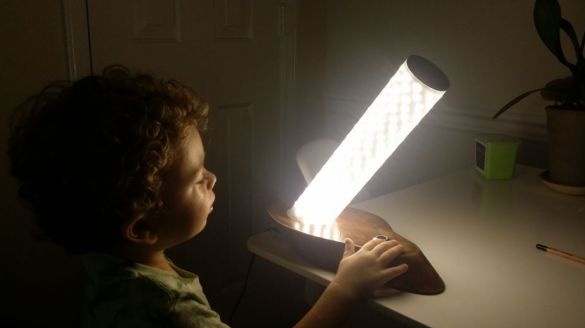
The manufacture of an interesting and original lamp will be considered in this article. The lamp was assembled from improvised materials and practically cost the author nothing.
Tools and materials:
-Eurban;
-Acrylic tube;
-Paper:
-Felt;
-Wire;
-Connectors;
-LED Strip Light;
-Touch button;
- 12V adapter;
-3D printer;
-Saw;
Grinding machine;
-Dremel;
-Soldering iron;
-Glue gun;
- Stain;
Epoxy resin;
Step One: Foundation
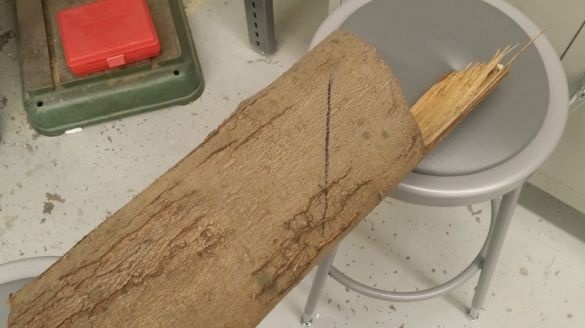
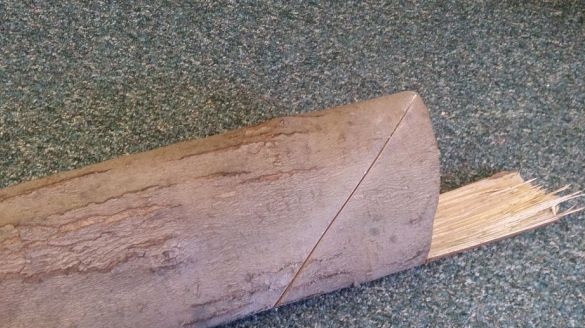
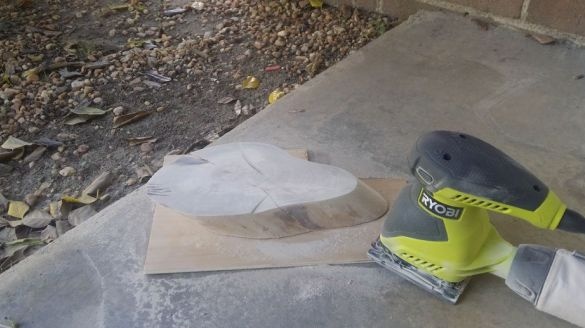
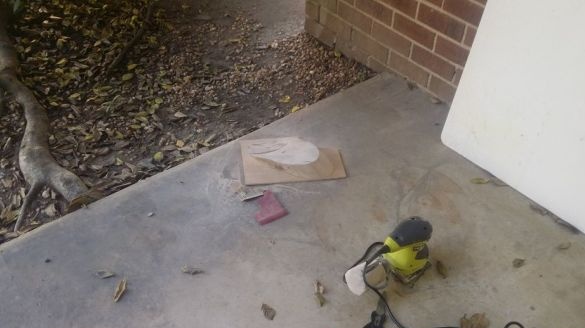
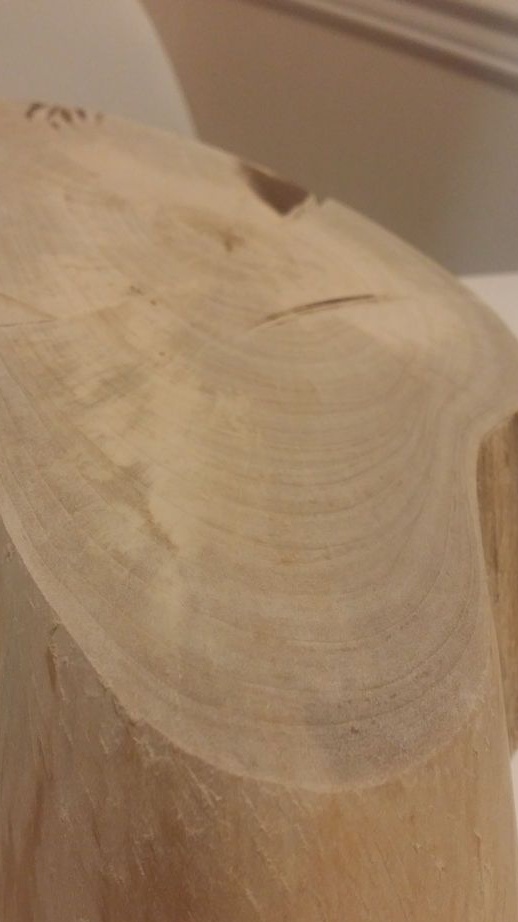
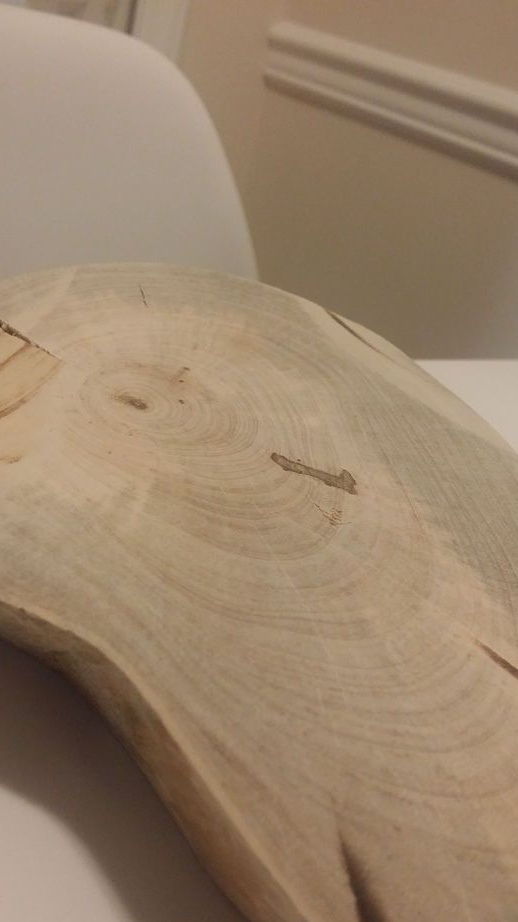
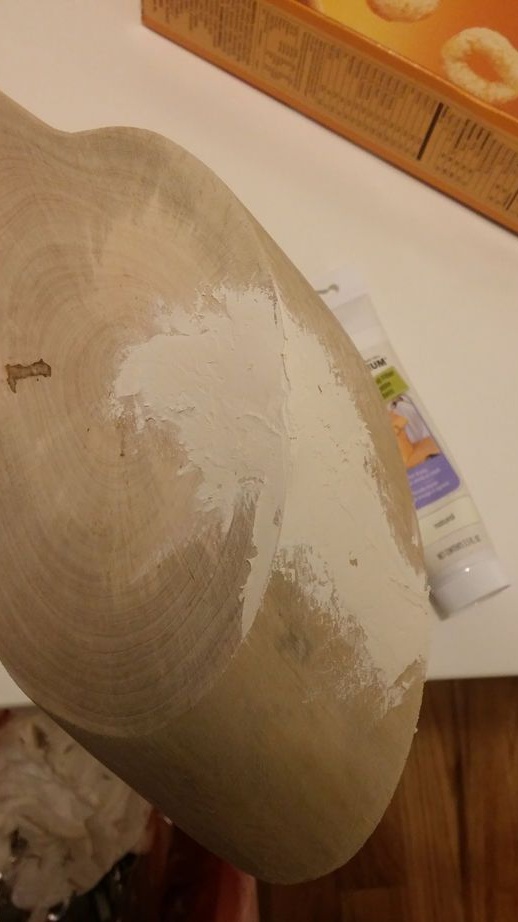
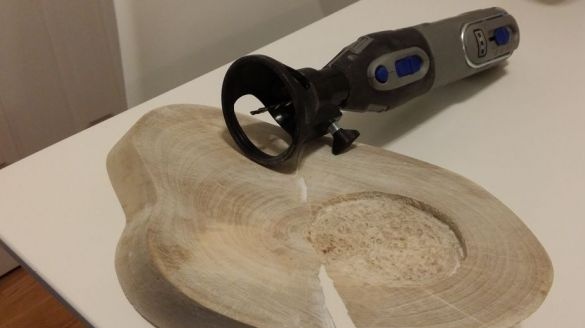
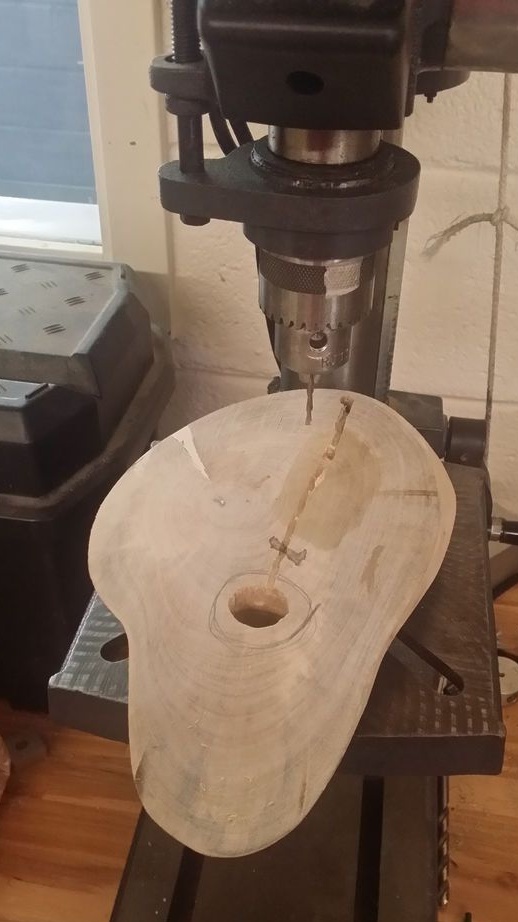
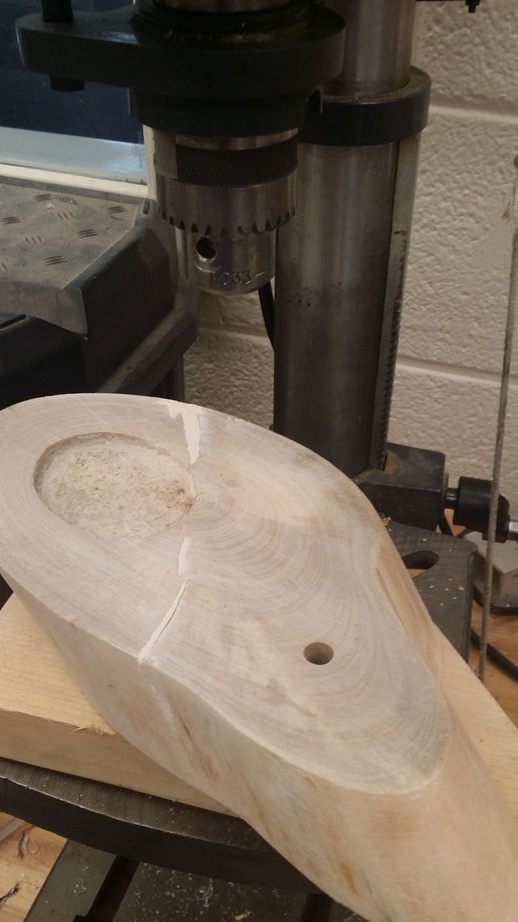
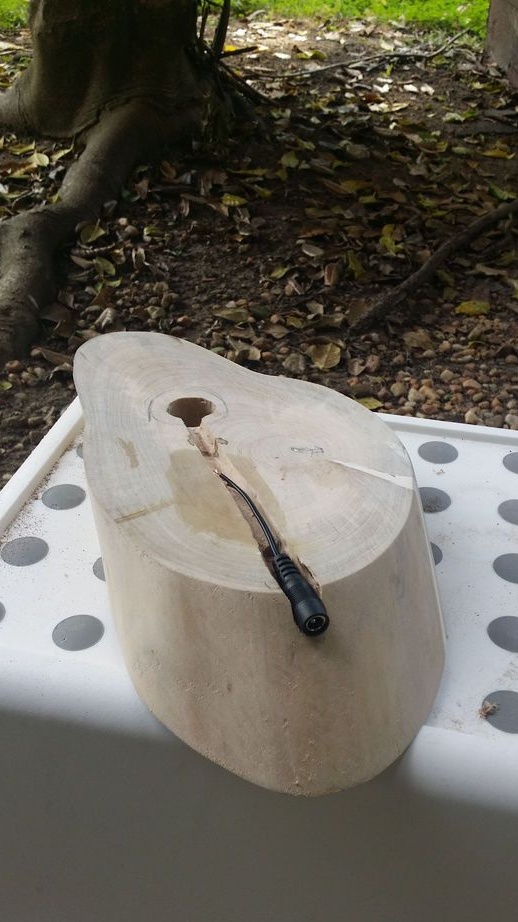
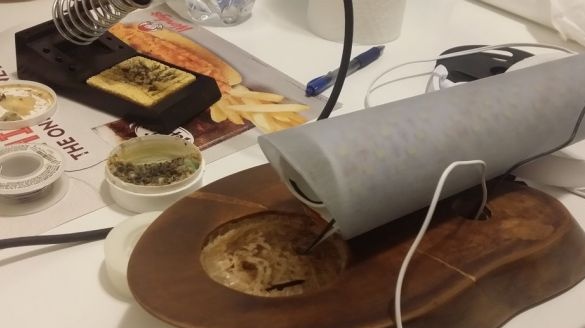
Saw off a piece of chock under the base of the lamp. Slices at an angle. Cracks in the tree are filled with epoxy resin filled with sawdust. Grinds the base.
Step Two: Digging
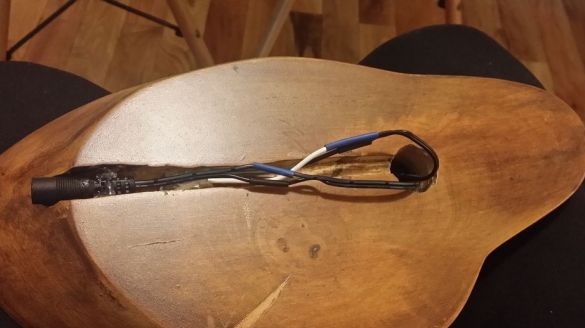
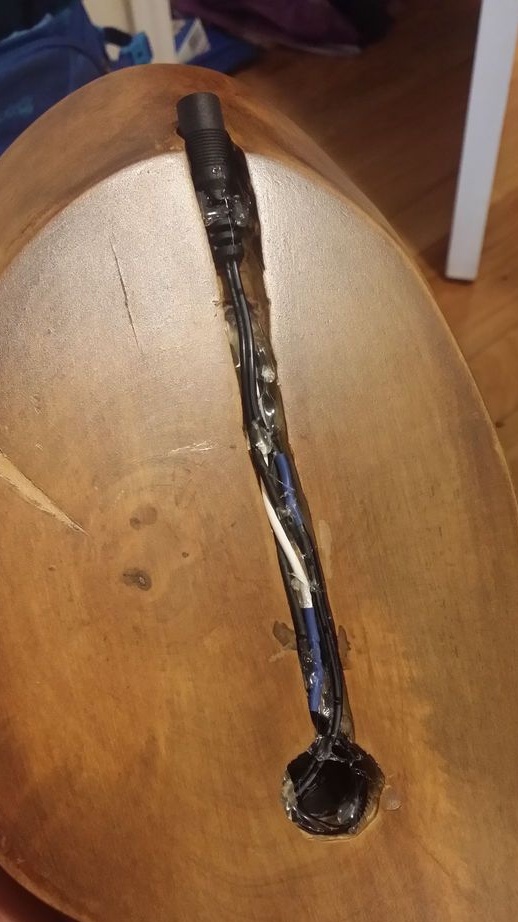
Makes a notch along the diameter of the acrylic pipe. Drills a hole for the wire and button. On the reverse side, selects a groove for the wire.
Step Three: Handset
Cuts one end of the tube at an angle. In order for the light to scatter, it polishes the surface of the tube.


Step Three: Top Cover
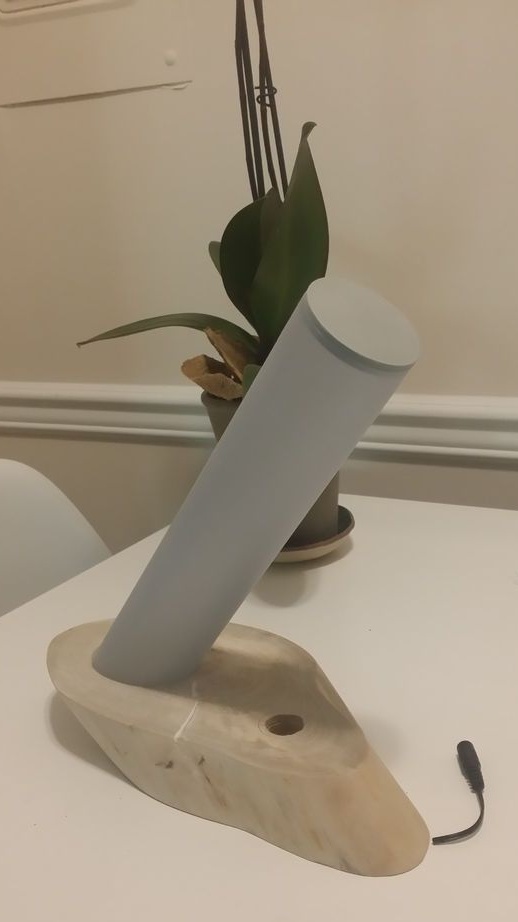
The author printed the top cover on a 3D printer. But in its absence, it can be made of wood or other materials.
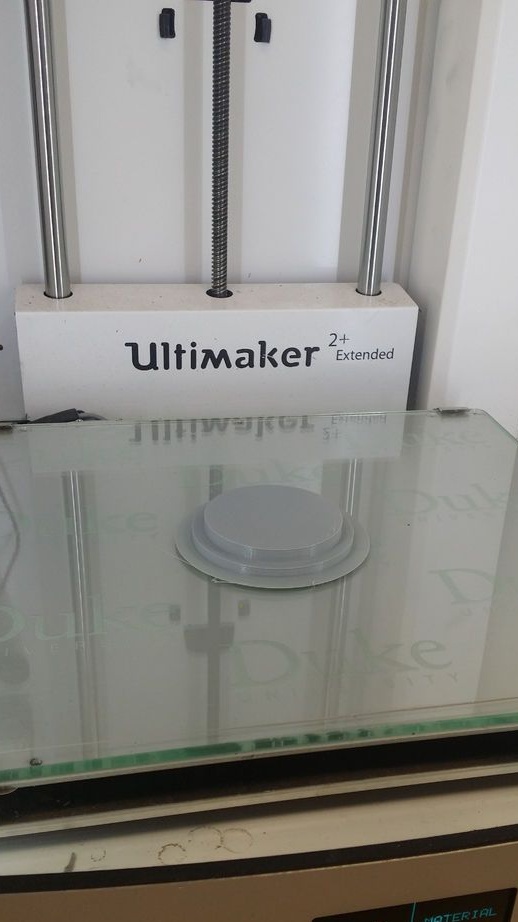
Below you can download the file link for the printer. Please note that the acrylic tube has a diameter of 2 ".
.
Step Four: Stand Coating
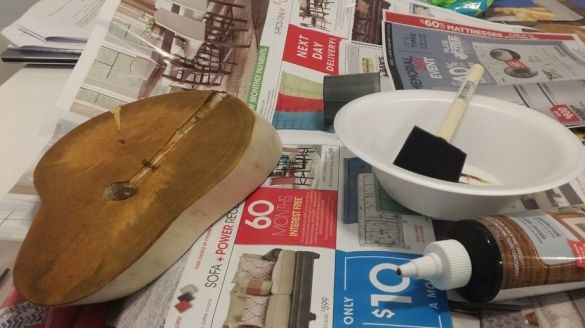
After performing all work with the base, covers it with a stain.
Step Five: LEDs
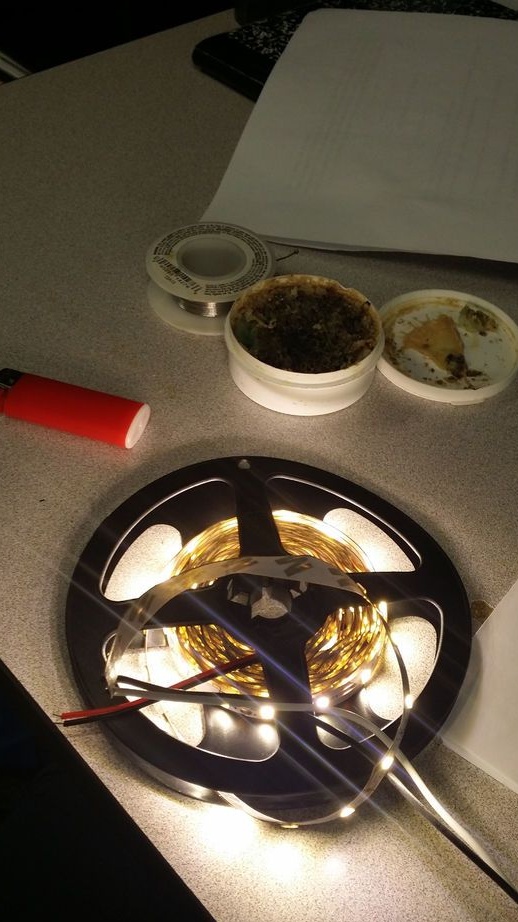
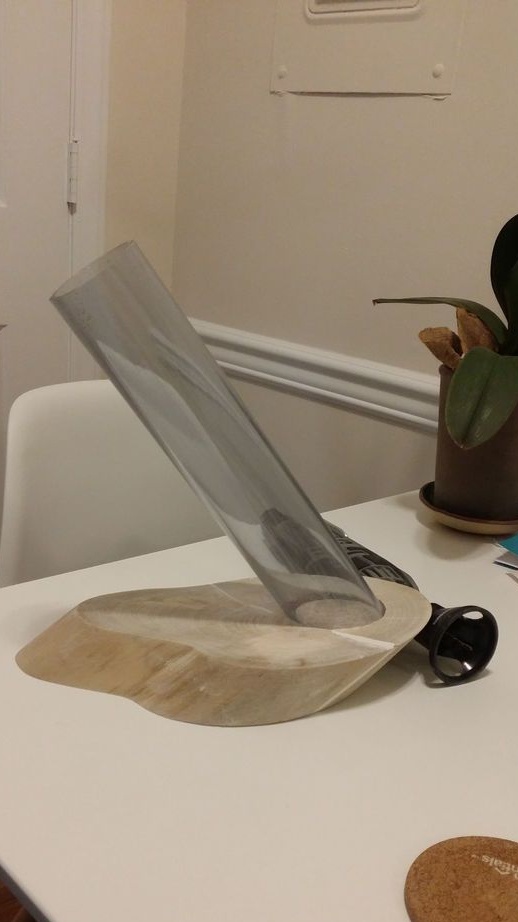
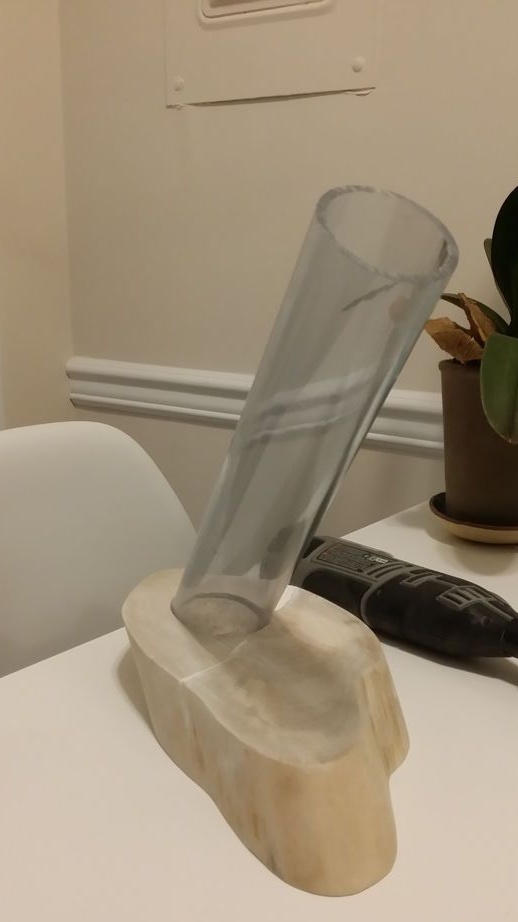
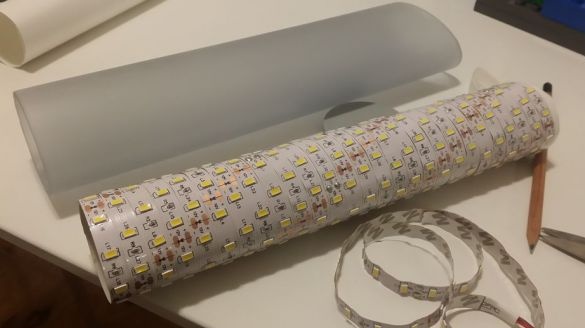
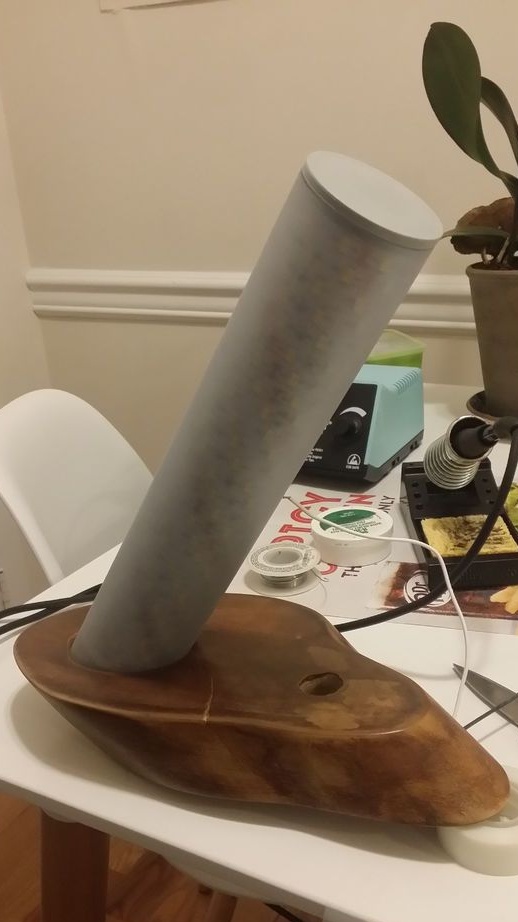
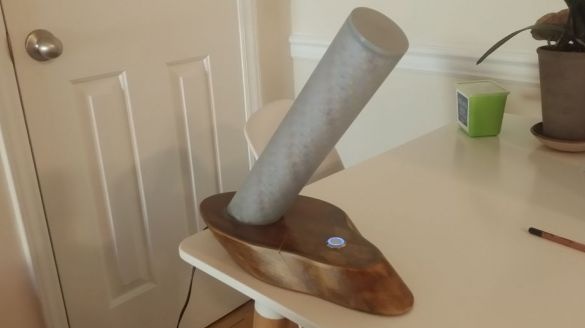
It sticks the paper out of paper. Sticks on the tube LED strip. Installs it in an acrylic tube. Secures the tube to the base. The wire leads to the holes in the base.
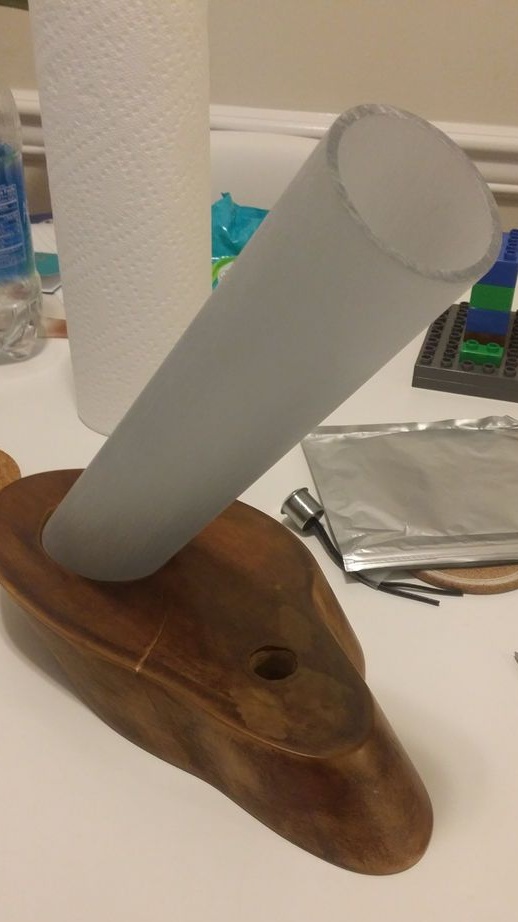
Step Six: Button
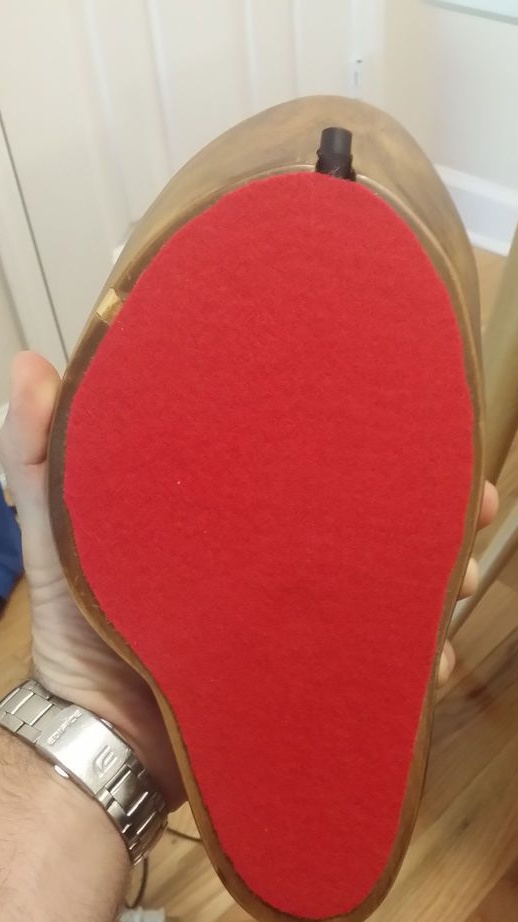
Sets the button. Fastens the wires into the groove on the underside. Glues the bottom of the felt.
The lamp is ready. Here's what you can do by applying a creative approach to the most ordinary things.

