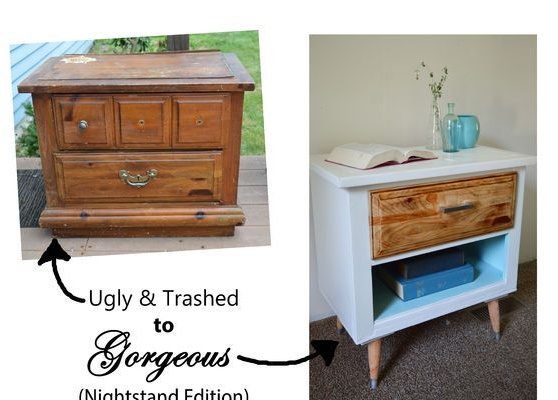
Sometimes I just can't wait to restore something. Someone sees the old furniture and perceives it only as a testing ground for the implementation of another crazy idea. Moreover, this guarantees an incredible weekend for the master restorer.
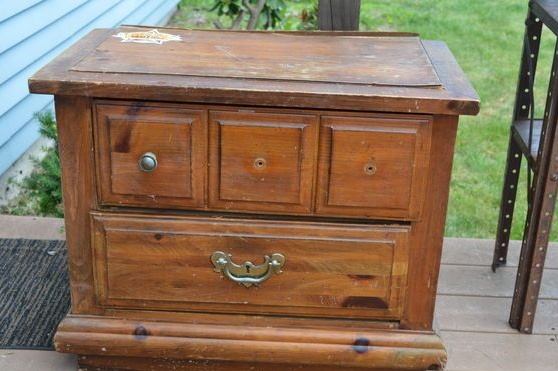
The author did not even have to buy this old smelly and disgusting chest of drawers. He found him on the sidelines near his home. For a long time, the chest of drawers fell through the rain, and this became his death sentence, because wood-shaving materials cannot tolerate such a long exposure to moisture, and the chest of drawers was far from wooden. But promising.
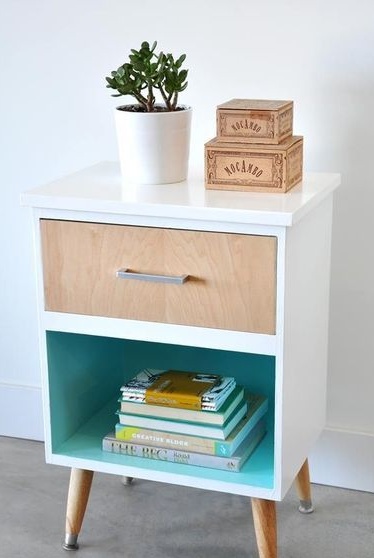
The author’s reincarnation was inspired by a photo from Pinterest, where he found exactly the image he was looking for.
In order to turn an old decayed chest of drawers into a modern piece of furniture, you will need:
Materials:
- an old scary dresser;
- pine plywood;
- putty for wood;
- furniture paint in two colors: white and milky blue;
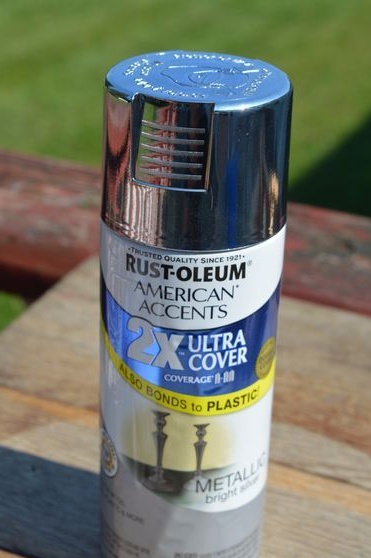
- paint tone "Metallic";
- varnish for wood;
- suitable legs for a dresser;
- handle for the box;
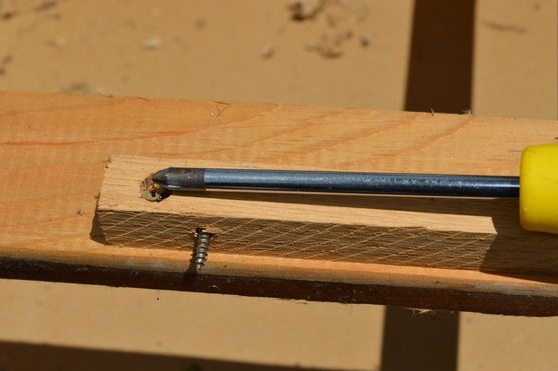
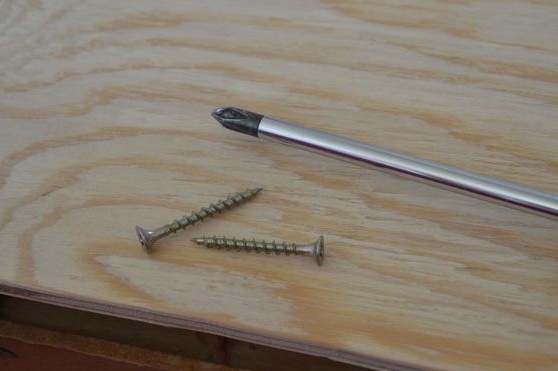
- nails and screws;
Instruments:
- jigsaw;
- electric drill;
- grinder;
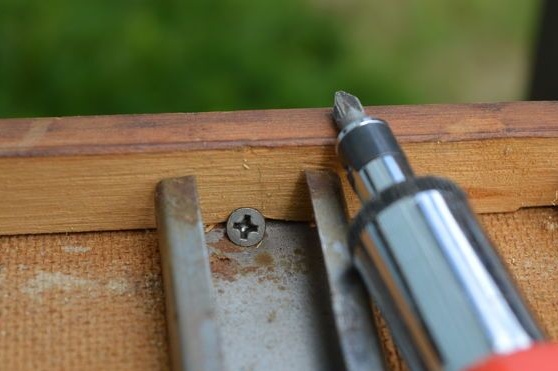
- screwdriver;
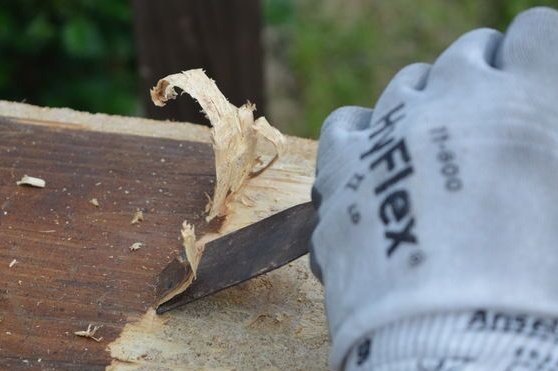
- a chisel with a flat blade;
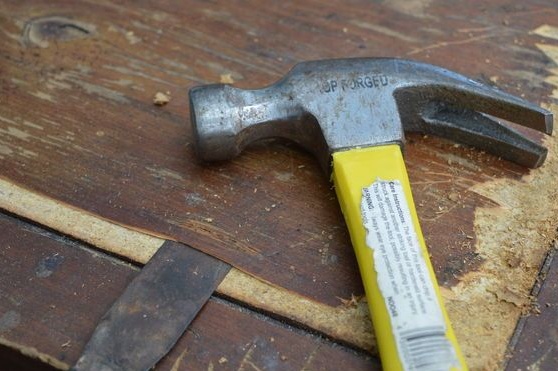
- hammer;
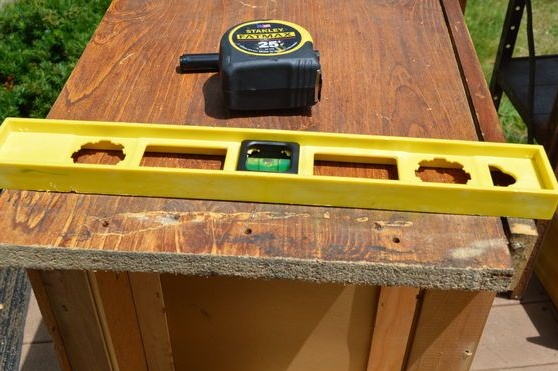
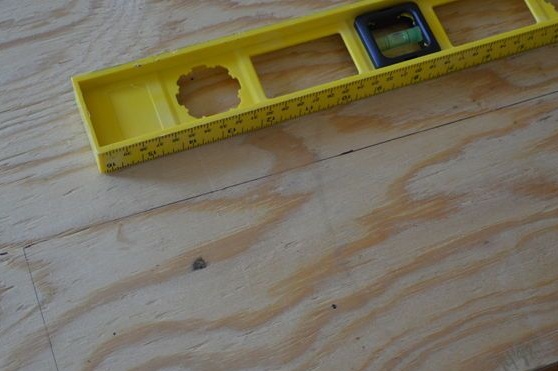
- building level;
- paint brushes;
- putty knife;
- sandpaper;
- masking tape;
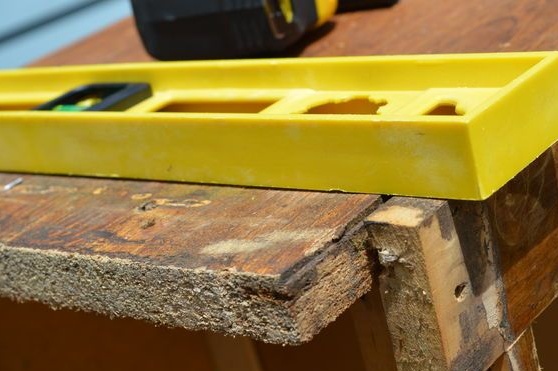
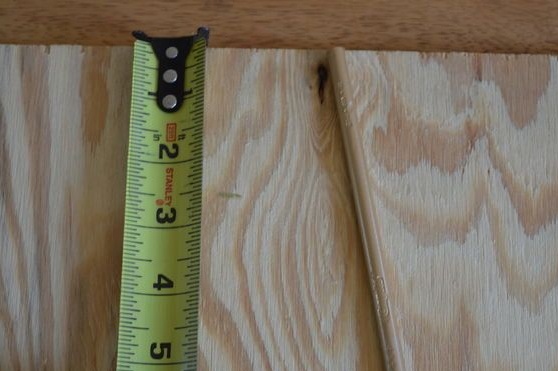
- building tape measure and square;
- a pencil.

Step One: Patient Evaluation, Choosing Strategies and Tactics
The author advises thoroughly inspecting furniture before planning a restoration. The state of the furniture, as well as what it is made of, will tell you which strategy and tactics you should follow.
After that, determine the final image of the product. For this purpose, the author considered photos from social networks until he came across the one that he fell in love with at first sight.


Step two: repair and preliminary preparation of the dresser
If a thorough inspection reveals breakdowns, they must be repaired and all connections strengthened.
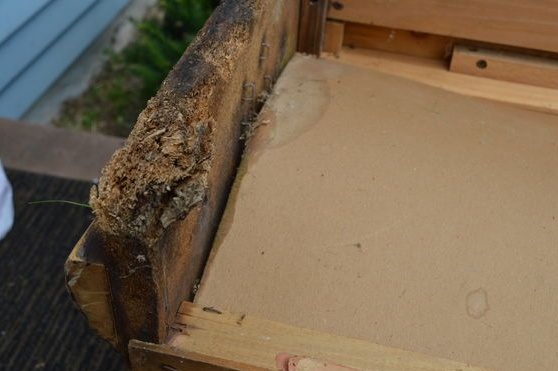
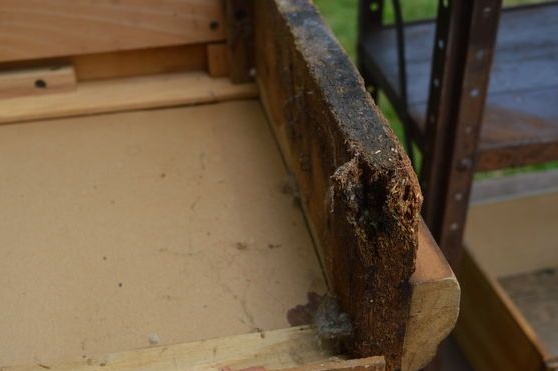
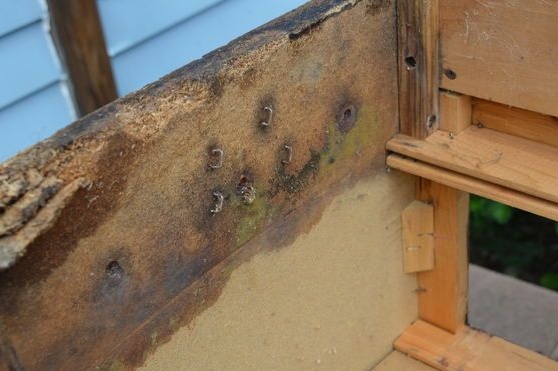
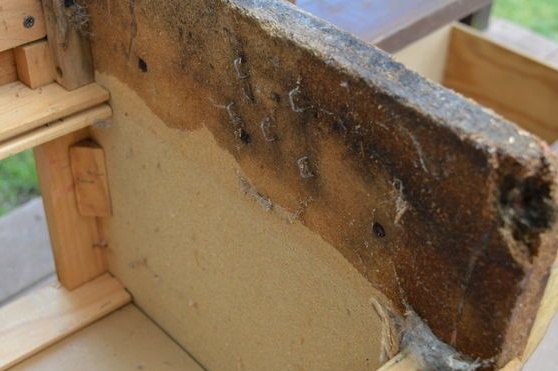
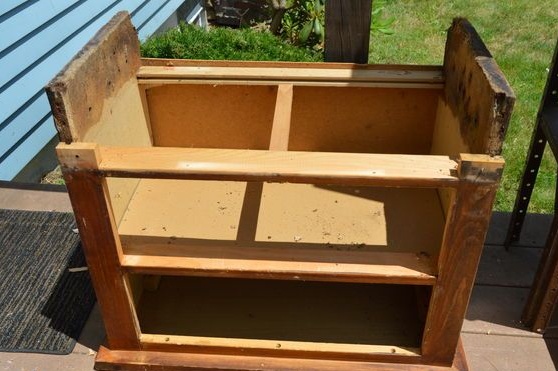
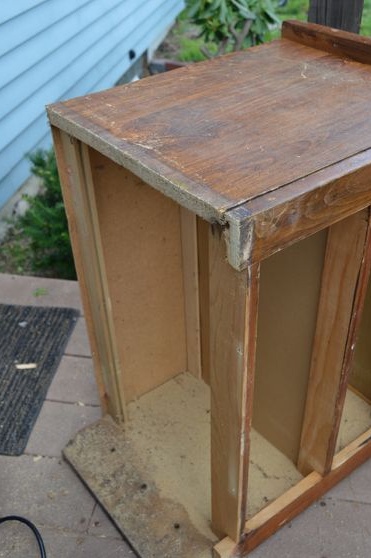
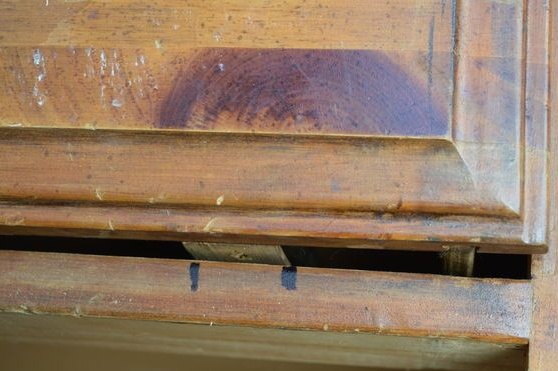
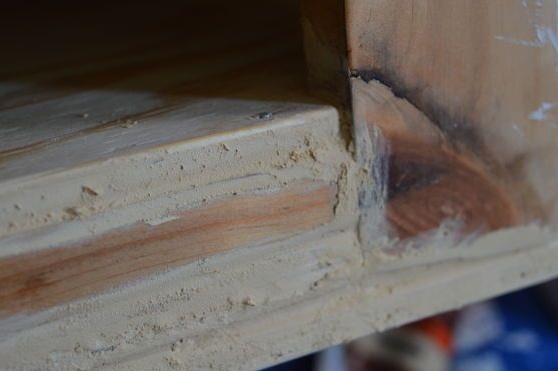
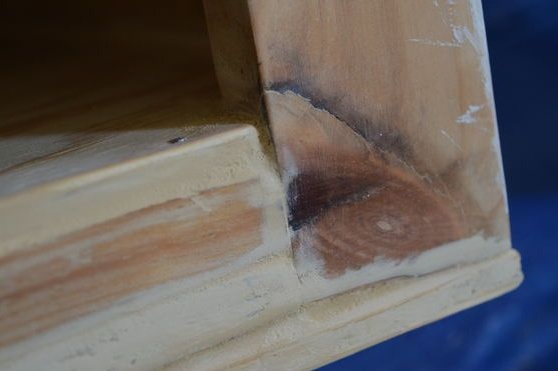
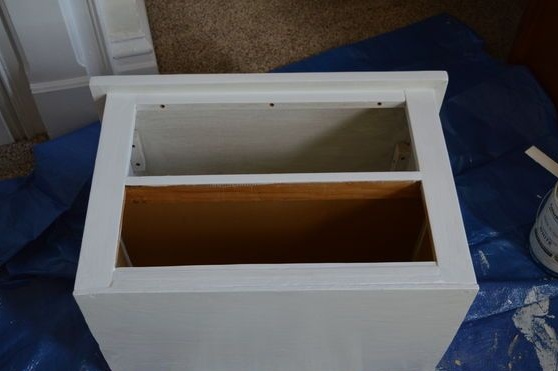
The author encountered the almost decayed lower part of the chest of drawers and the veneer swollen from moisture.
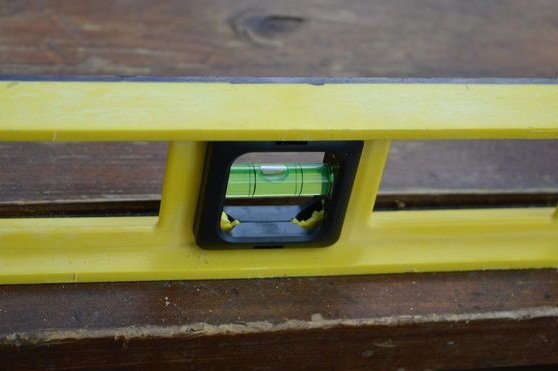
He removed the outer decorative trim that was located on the bottom, and sawed off that area of the walls and backs that had decayed and could not be restored. He secured the result of the work done by the construction level.
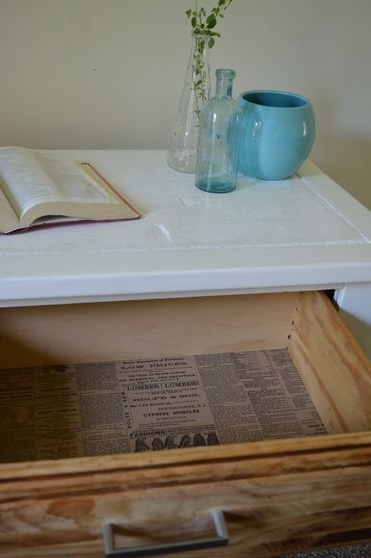
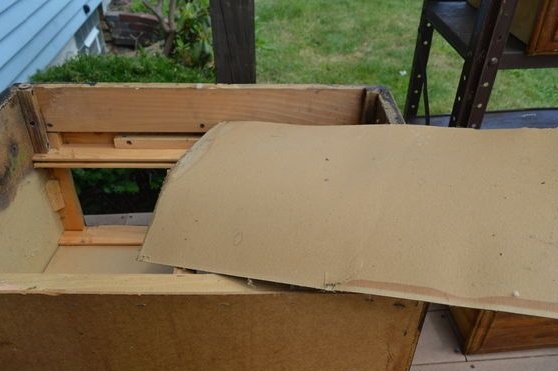
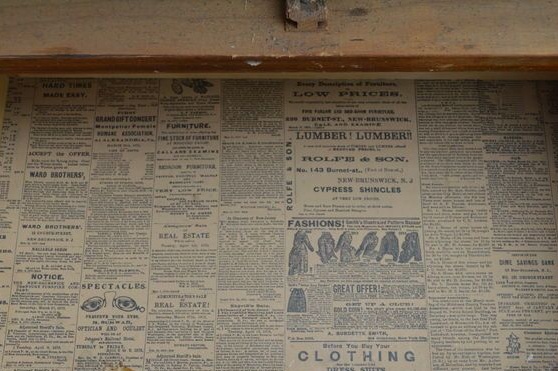
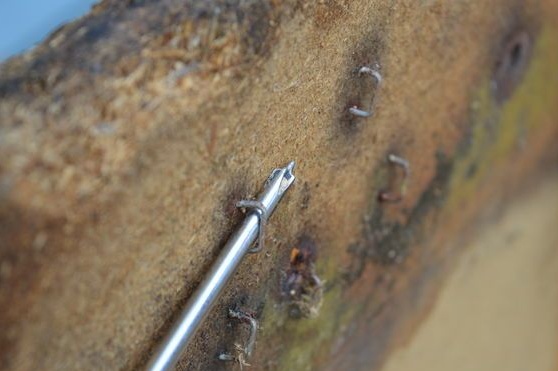
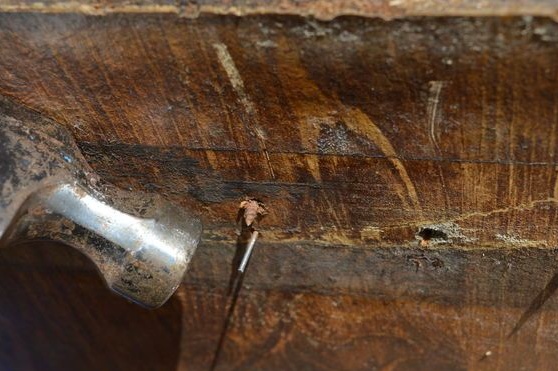
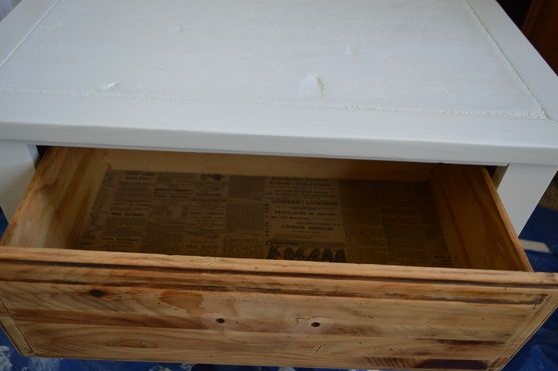
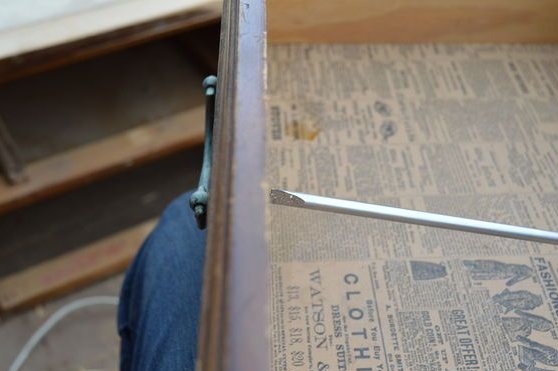
Also, the author deleted the old sheets of particleboard, rusty staples, unnecessary slats, nails and all that was unnecessary. But the ancient issue of the newspaper at the bottom of the box has been left as a keepsake.
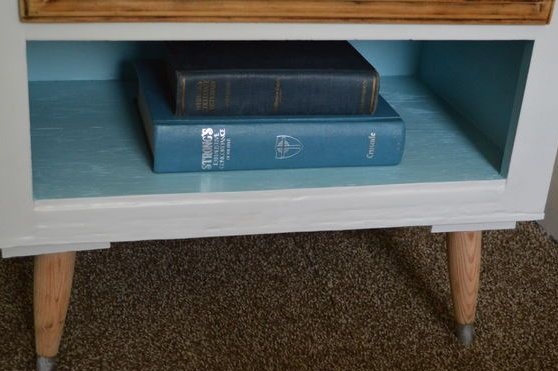
He threw the boxes of the second tier aside. Here you will find a box from the upper tier, and the lower shelf is planned to be open.
After that, the author carried out a thorough wet cleaning using soap to clean all surfaces from dirt and debris.
The veneer also had to be eliminated. To do this, he used a chisel and a hammer, and after that he ground the surface with a grinder.


Step Three: Conversion and Drawer Design
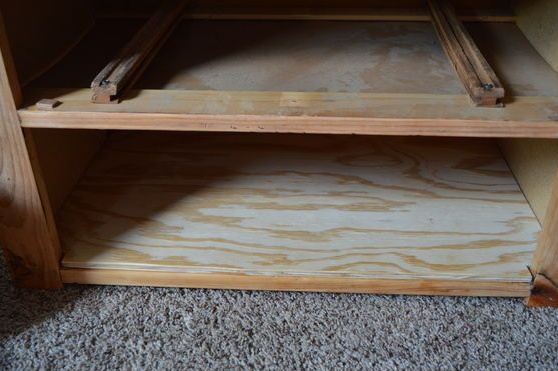
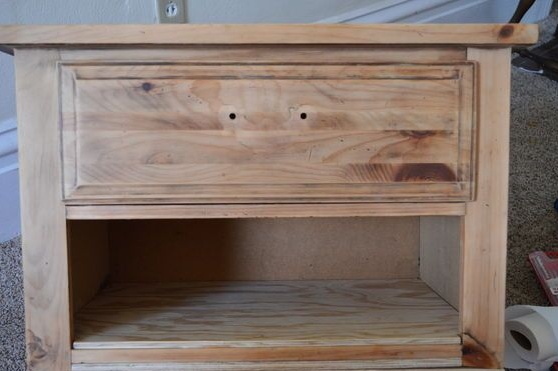
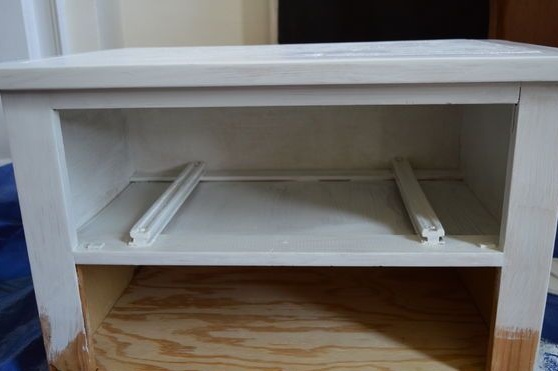
As already mentioned, the author rejected the upper box, and in his place he planned to install the box and the lower tier.
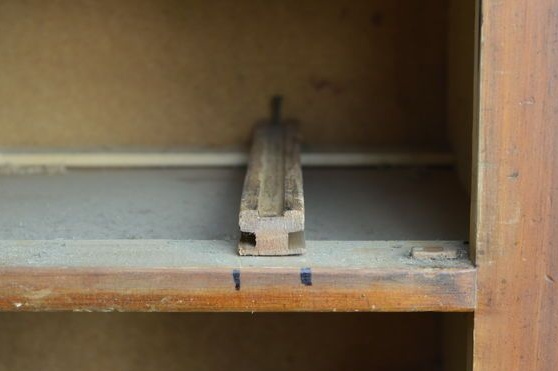
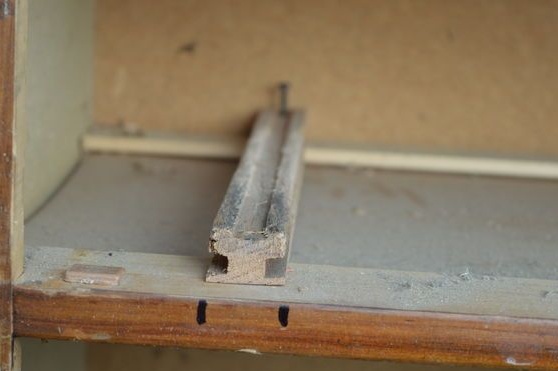
Previously, the drawer was pushed out on one slider, so it was difficult to use. Therefore, the author borrowed the second slider and installed both of them at a distance of 5 cm from the walls of the chest of drawers. He used the same metal fittings that he found in the chest of drawers.
Having fixed the sliders on the box, the author proceeded to the wooden slats, along which they had to move out. They now also required two.
He put the slats in the sliders, and put the box in place. After that, he noted the location of the rails of the second tier, removed them from the sliders and fixed them in place with screws.


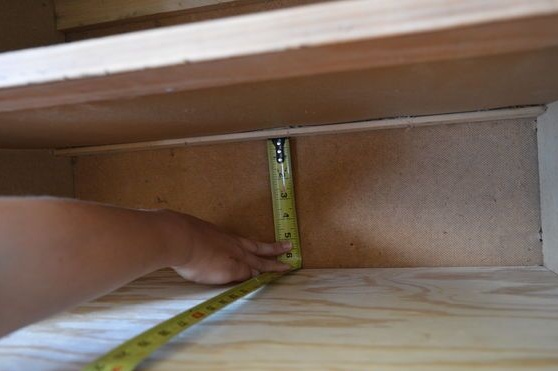
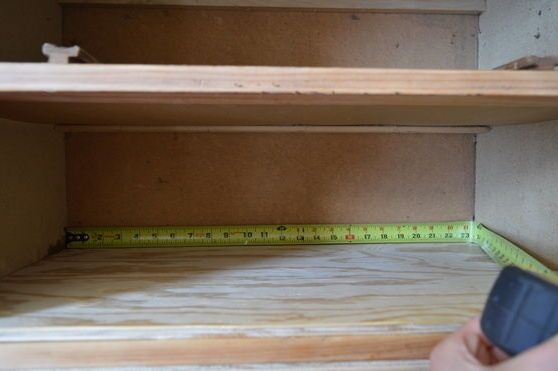
Fourth step: double bottom installation
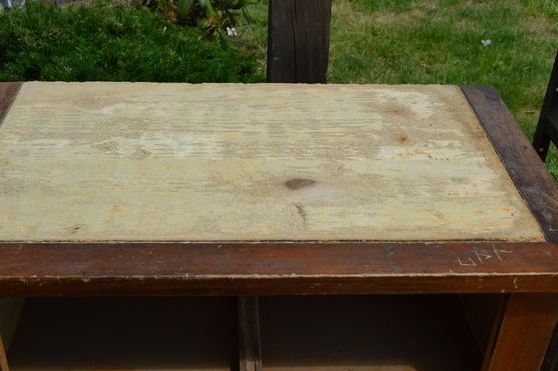
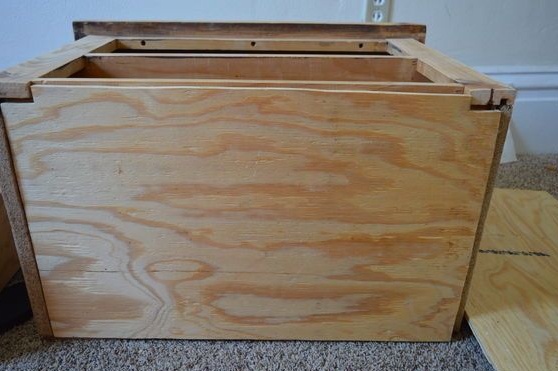
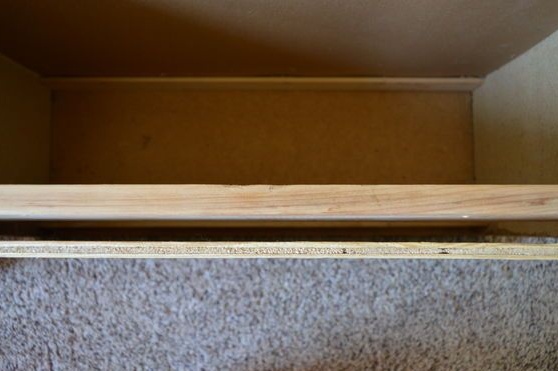
The original bottom of the chest of drawers rotted, so I had to deal with its replacement. The author planned to arrange a double bottom, where the inside would serve as the base of the open shelf, and the outside as the basis for fixing the legs.
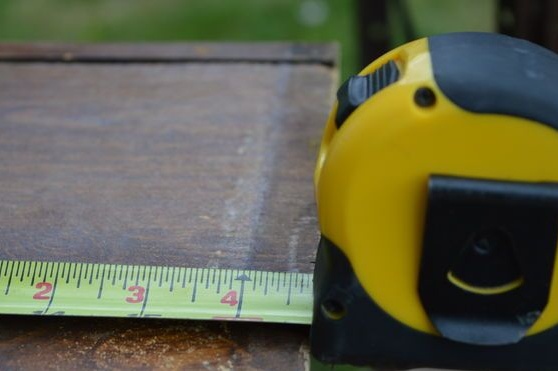
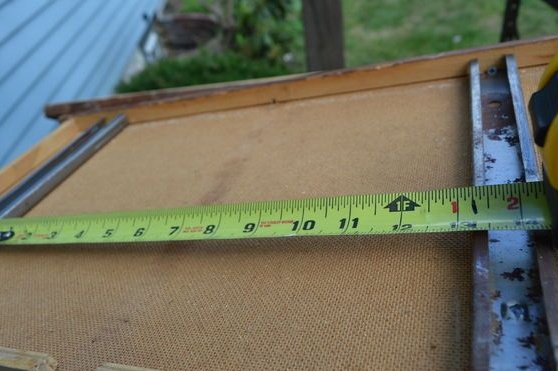
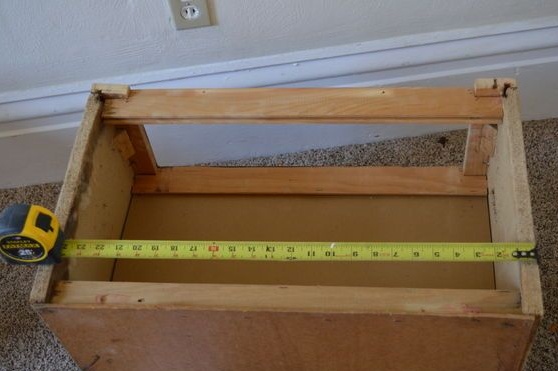
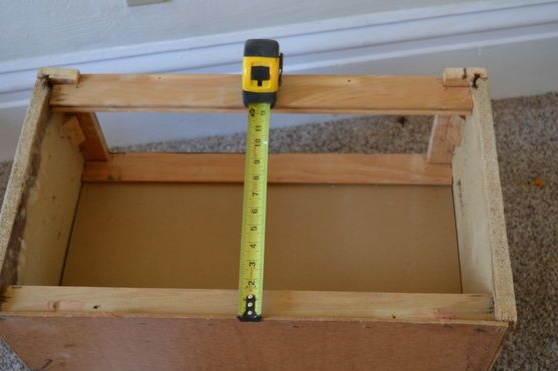
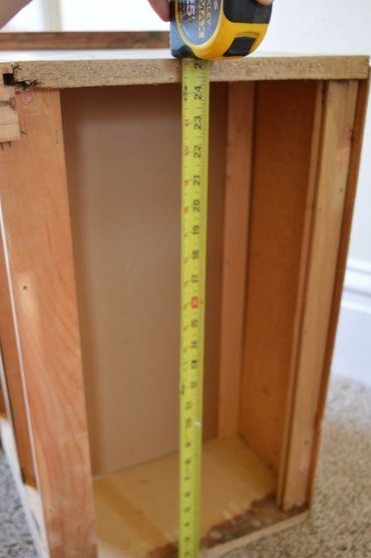
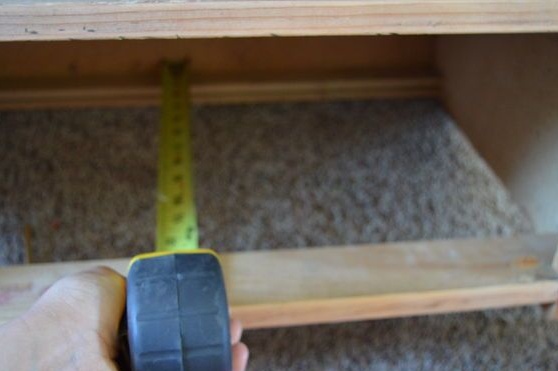
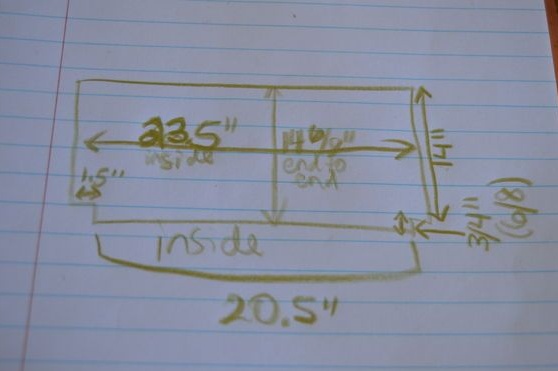
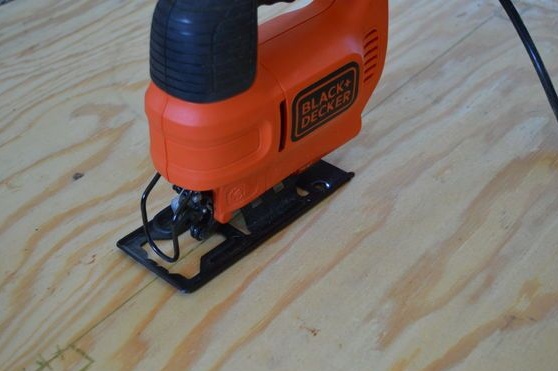
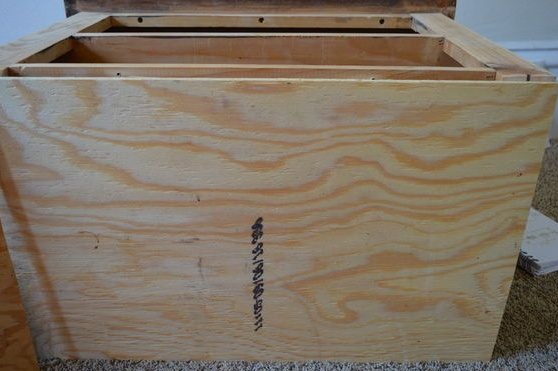
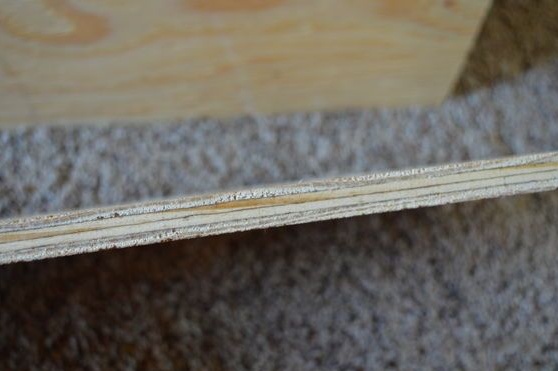
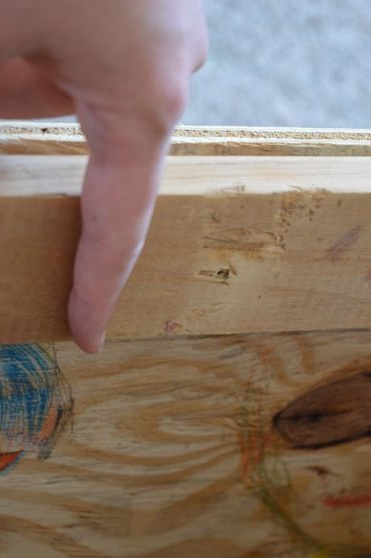
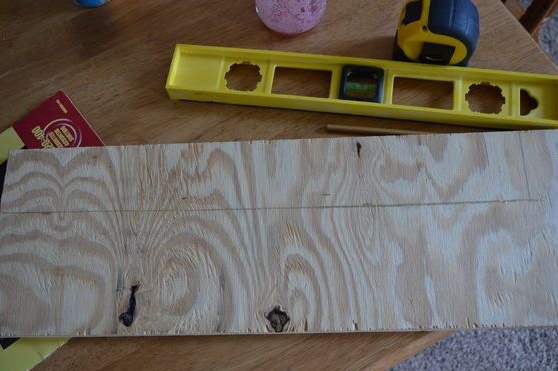
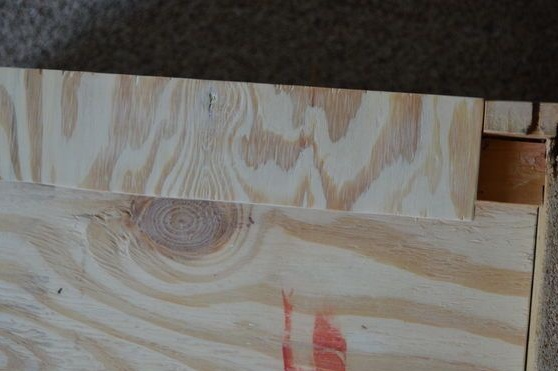
For this, he used plywood. He took the necessary measurements, made the markup and sawed out two parts: one according to the dimensions of the outer base of the chest of drawers, and the second according to the internal dimensions of the first tier.
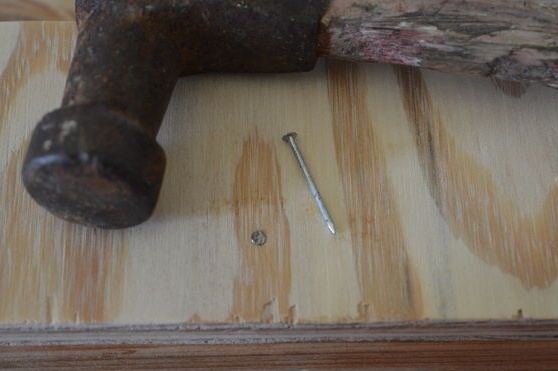
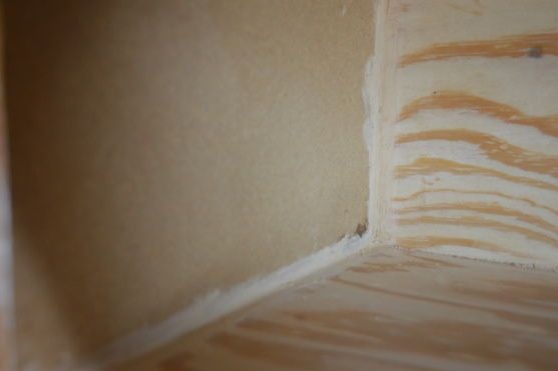
The author secured both sheets at the bottom, but encountered a cavity between them that needed to be filled. He sawed a strip of plywood, the thickness of which was just right for solving this problem, and placed it in the formed cavity, fixing it with carnations.
An external piping along the lower edge would be more relevant, since the layering of the material is striking.


Step Five: Structural Additions
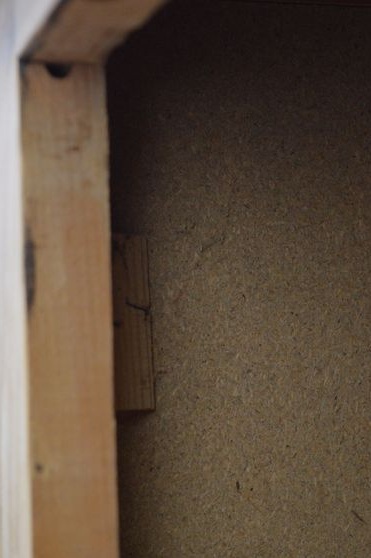
The back wall of the first tier, in contrast to its side walls and the bottom, remained virtually "cardboard". It had to be sewn up with plywood.
Therefore, the author took the necessary dimensions and sawed out the part for the back wall of the lower shelf. He fixed it with studs.

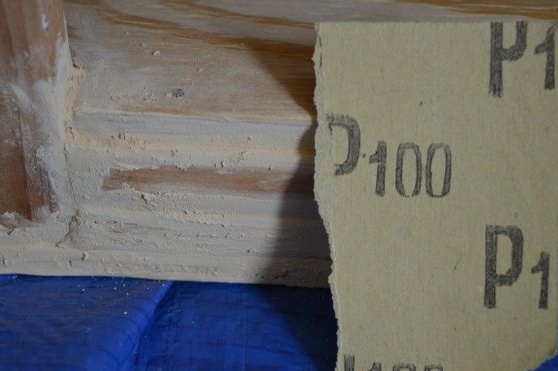
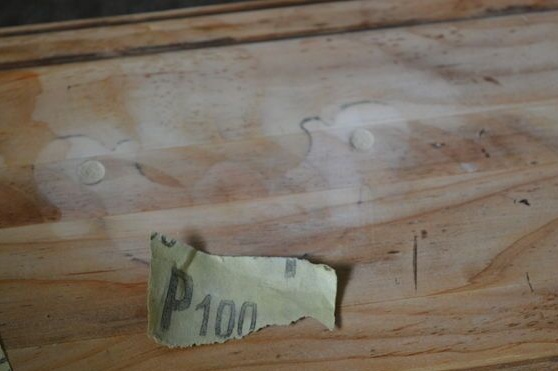
Step Six: Putty and Grinding
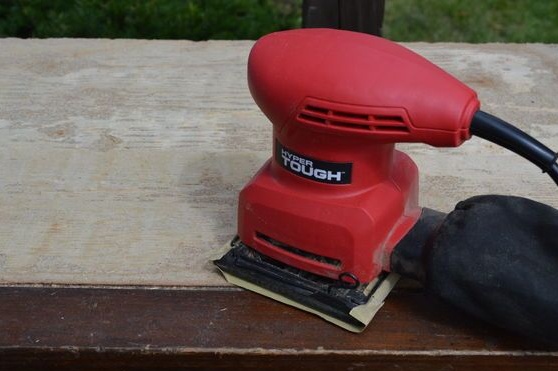
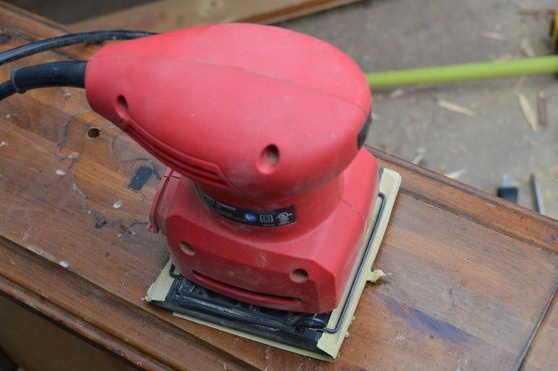
The author filled all the gaps and cracks with putty on wood. When it was completely hardened, he polished the entire chest of drawers, thus preparing it for painting.
It is convenient to sand uneven surfaces with sandpaper, while smooth surfaces can be processed much faster with a grinder.

Seventh step: painting
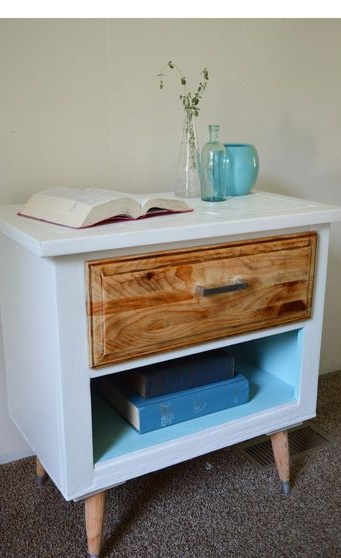
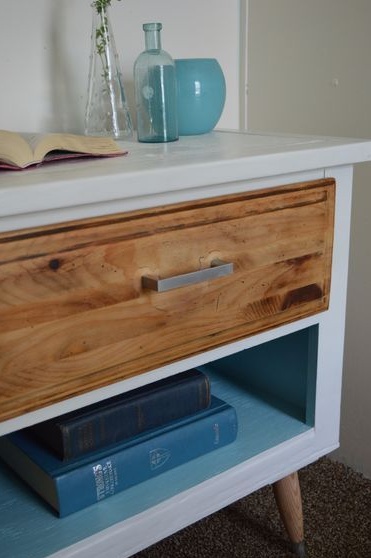
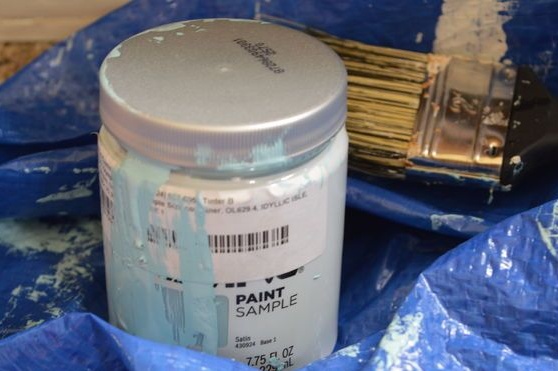
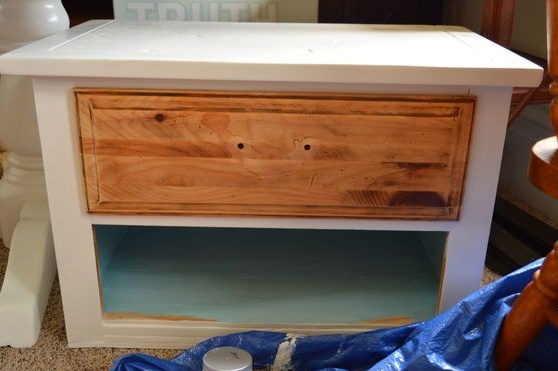
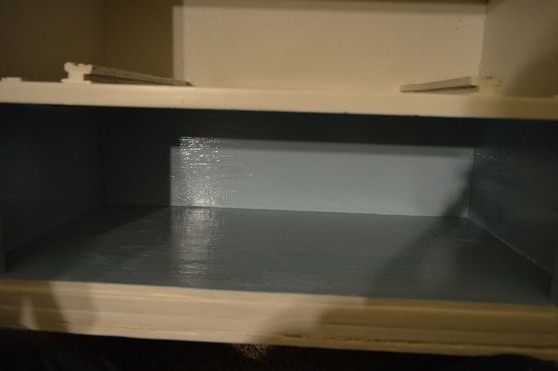
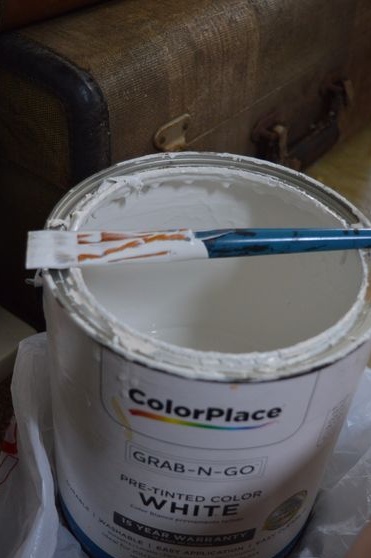
The author chose two colors to complete the image of the chest of drawers and to breathe new life into it: white and milky blue.
With white paint he painted all the elements of the dresser, except for the cavity of the lower tier and the front wall of the box. Moreover, the box will not be painted, it will retain its natural texture in order to stand out against the background of the use of modern materials.
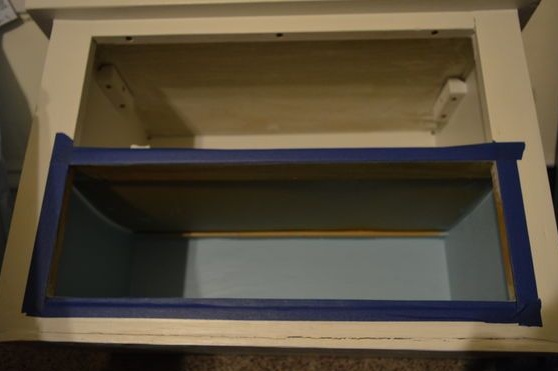
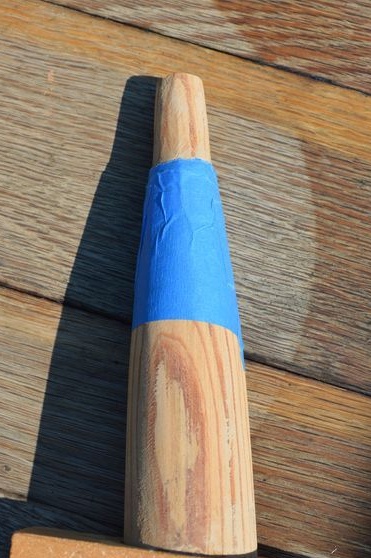
The author painted the lower tier in a milky blue hue. In order to prevent colored paint from falling onto a previously painted white surface, he used masking tape.
If you want the coating to gain extra strength, use varnish. For example, polyurethane varnish, which forms a durable coating.


Step Eight: Install Hardware
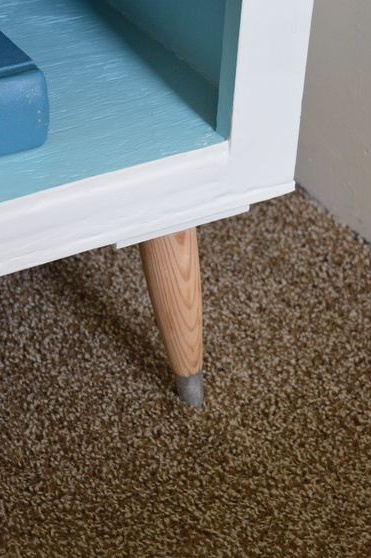
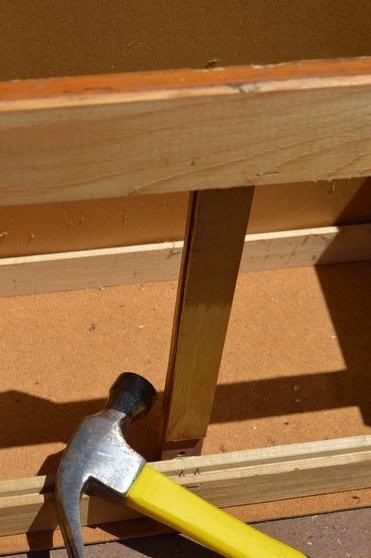
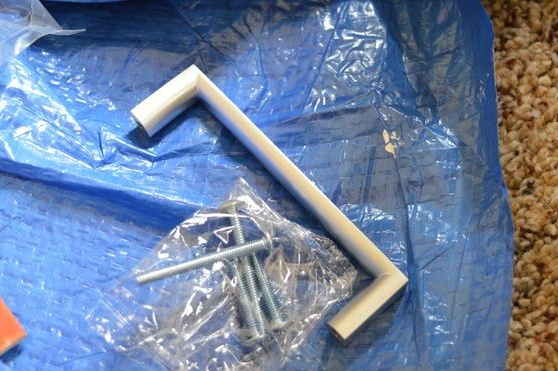
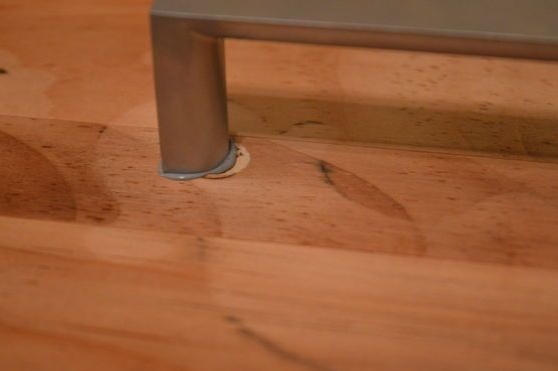
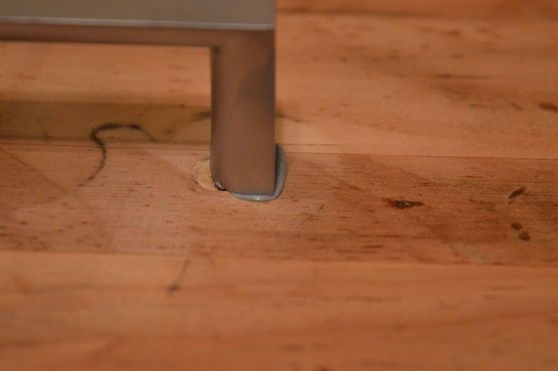
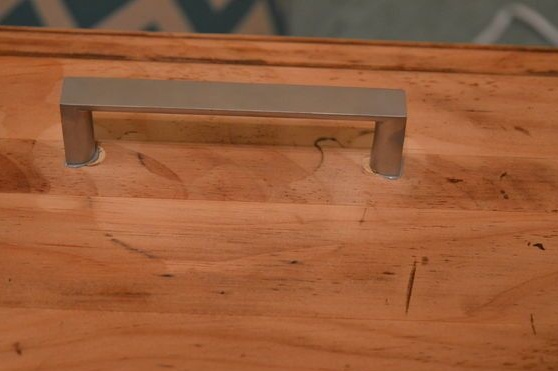
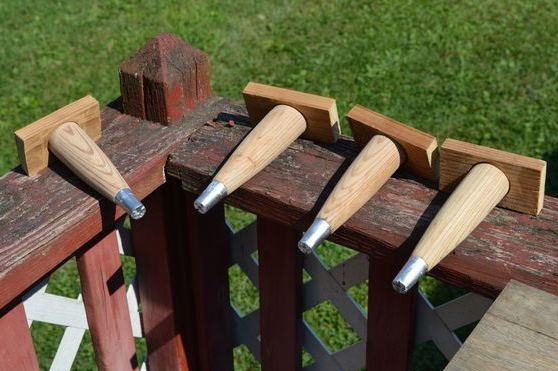
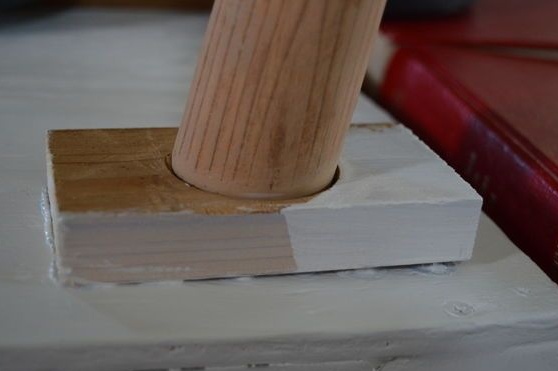
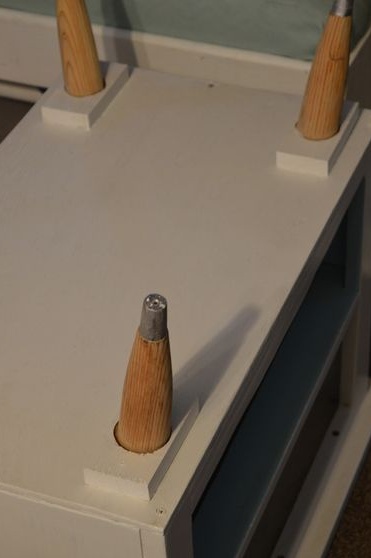
The author fixed a new metal handle on the facade of the box and proceeded to install the legs.
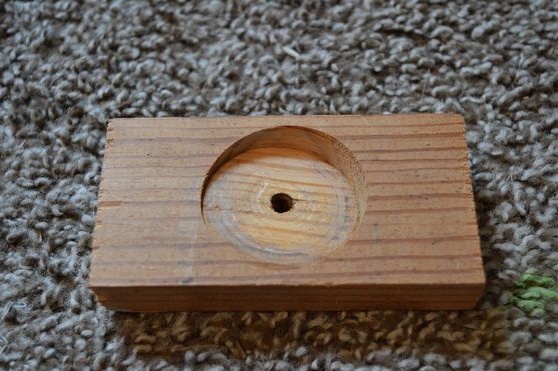
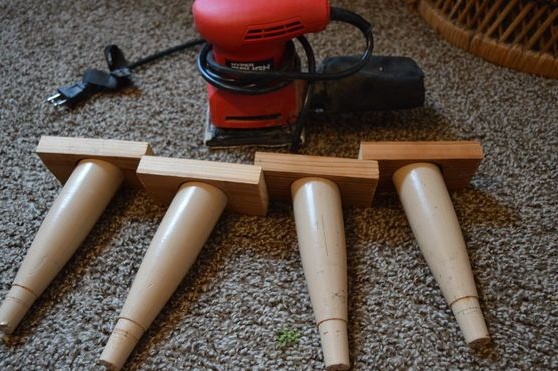
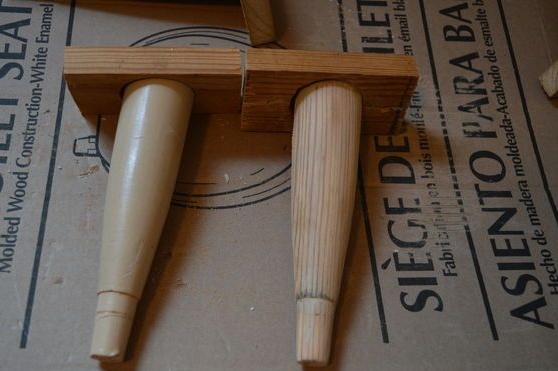
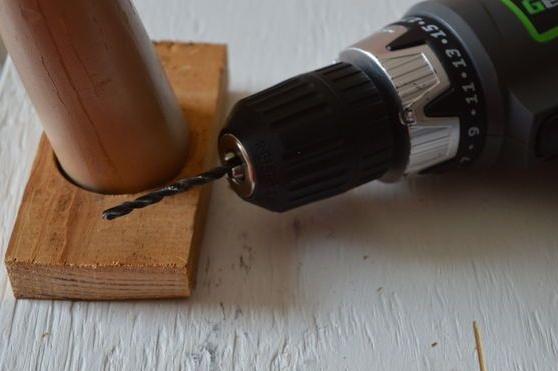
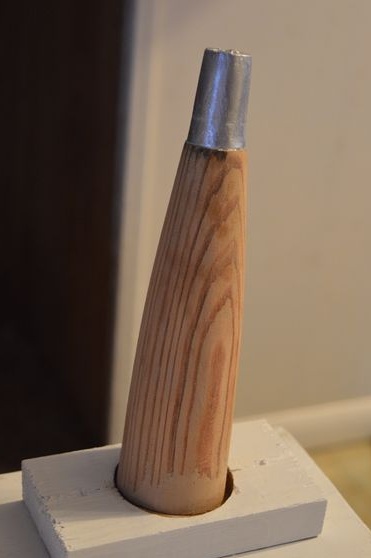
He used used legs from an old table. This turned out to be very convenient, since they were already fixed at the right angle on wooden planks.
He just polished the legs to restore their original appearance, strengthened them, removed the metal plates, since there were only three, and painted the lower part with a paint imitating metal.
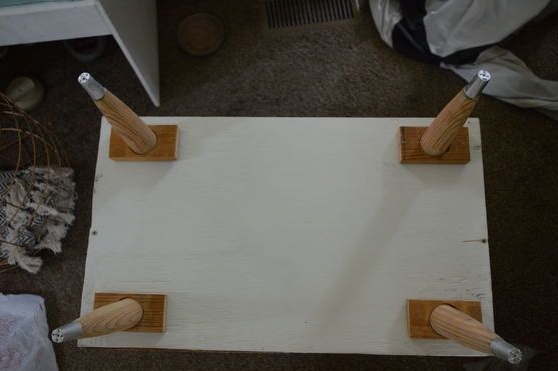
It remains to fix the legs at the bottom of the dresser, using glue and furniture screws.


On this miraculous transformation came to an end, and the dresser found its new, second life!