Many aquarists using external filters are faced with the fact that quite often they have to clean the filter from dirt accumulated in it, as the filter performance begins to decline. If the aquarium is not overpopulated, then the filter becomes clogged slowly, but if there is a lot of living creatures in the aquarium, especially if it is a red-eared turtle, from which there is a lot of waste in the form of excrement and food debris, then the filter will need to be cleaned almost every month, which it will adversely affect all filter connections, seals, as well as the settled microflora in the filter material of the filter and, as a result, the bio-balance of the aquarium itself.
To avoid all these troubles, many aquarists put in front of an external filter the so-called "pre-filter", which serves just to filter large (depending on the degree of filtration) debris and prevent it from entering the external filter. At one time I used a filter from a drip irrigation system, but the grid that was standing in it clogged quickly, and the speed of water circulation dropped significantly. I had to clean it once, or even twice a week. By the way - I have a red-eared turtle, and the waste from it is quite large.
In general, I decided to make a pre-filter of a slightly larger volume and another filtering system.
What is necessary:
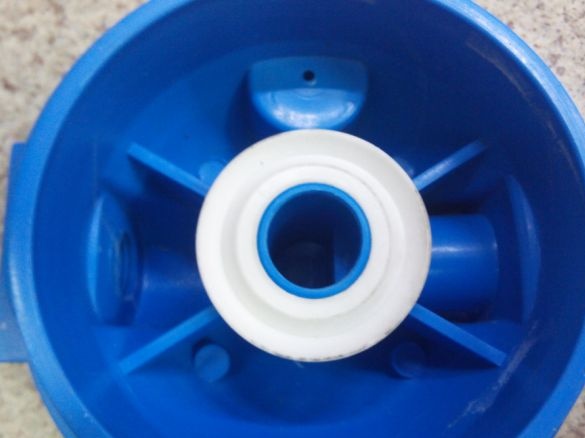
1. Geyser type filter flask
2. Coupling sealing 2pcs.
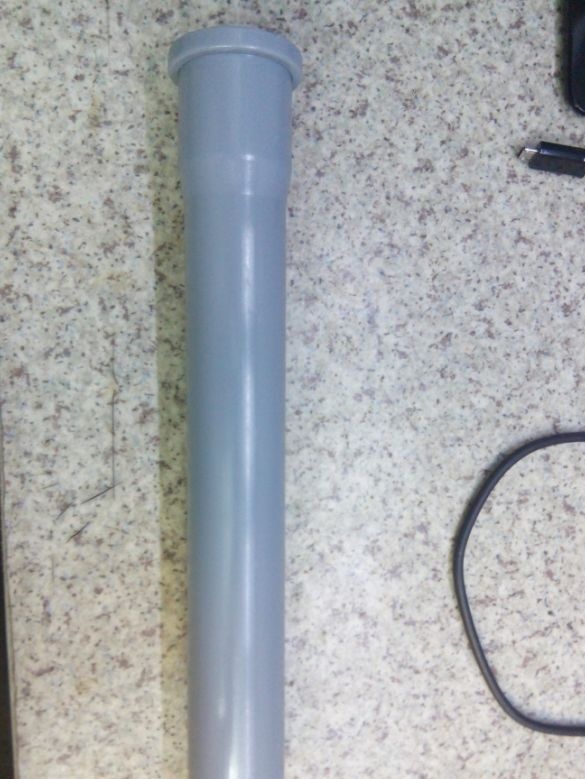
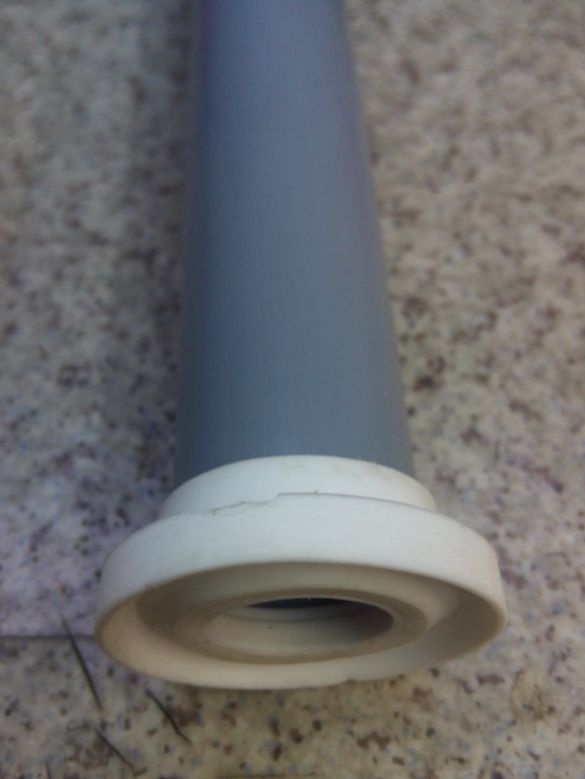
3. Sewer pipe with a diameter of 32 mm, length 50 cm.
4. Filter media (Aquarium sponge)
Tool:
1. ruler, pencil
2. hacksaw
3. screwdriver and drill (I used 8mm)
4. file
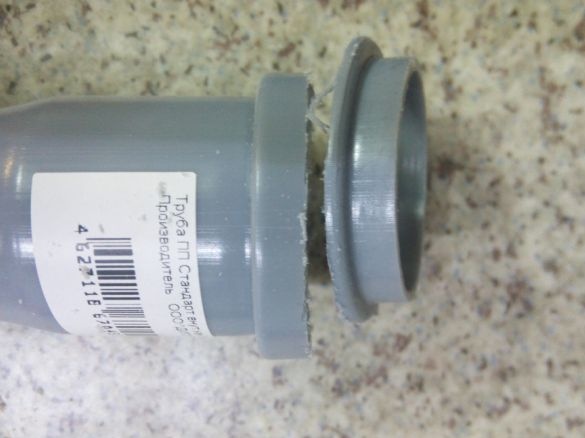
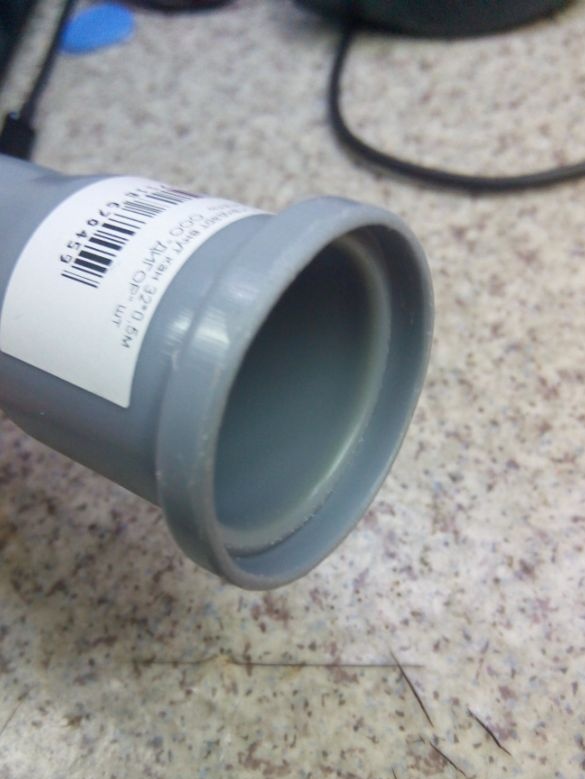
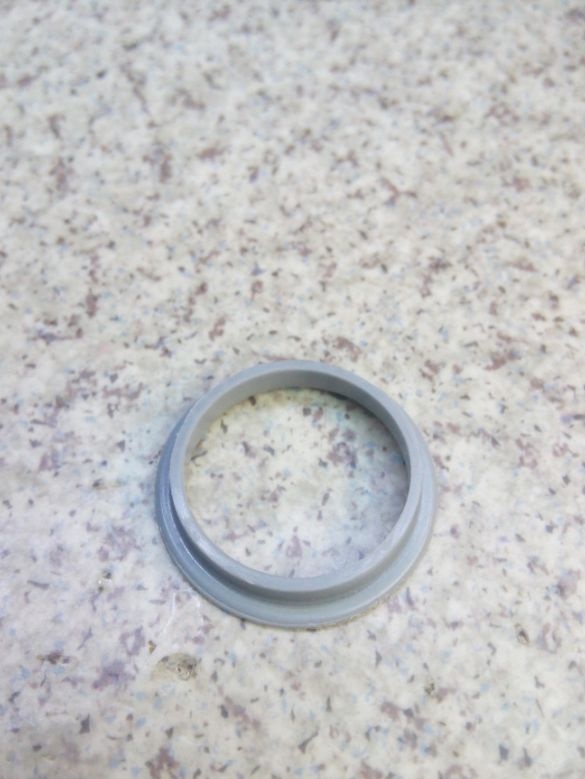
We take out the rubber sealing ring from the pipe and saw off as in the photo. We do not throw out the sawn off part, it will be useful to us later.
We measure from the sawn edge 245mm and saw off the excess (this is the length on my filter. When using another filter, the length of the tube may be different)
We process the edges with a file.
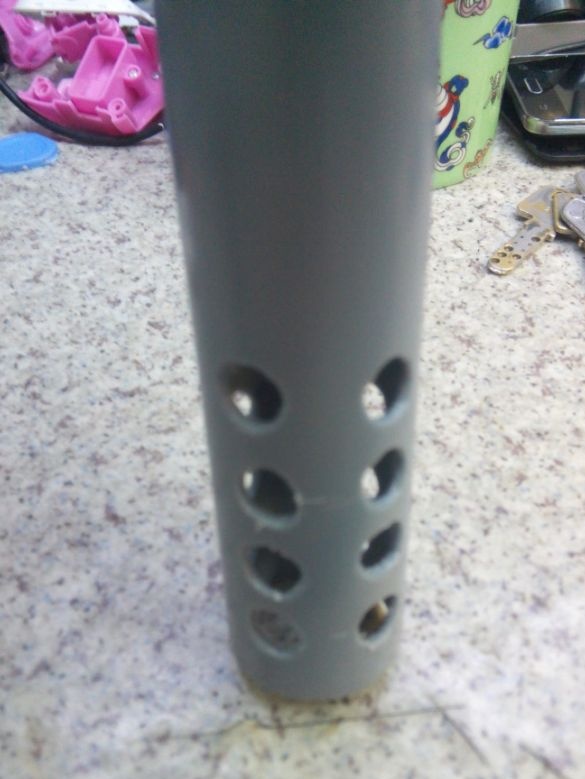
Having departed from the edge 1-1.5 cm for the sealing sleeve, we drill holes.
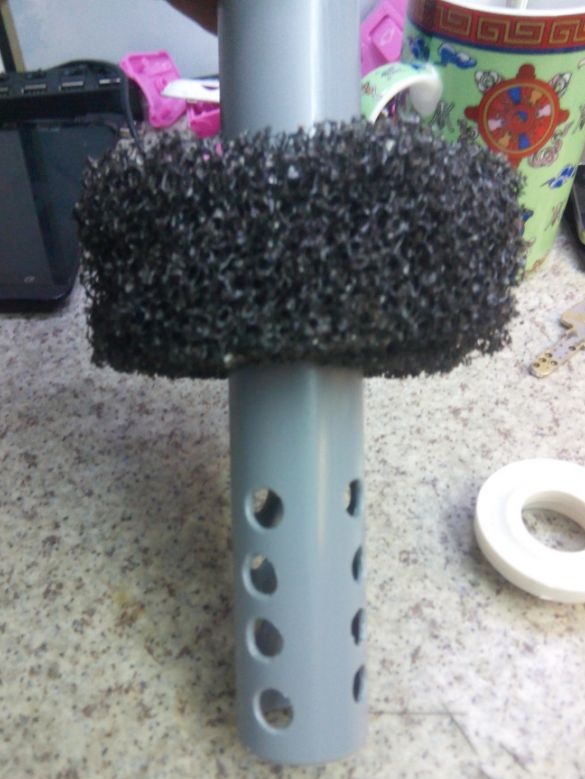
Cut the sponge to the size of the filter flask, make a hole in the middle of the sponge, put it on the tube.
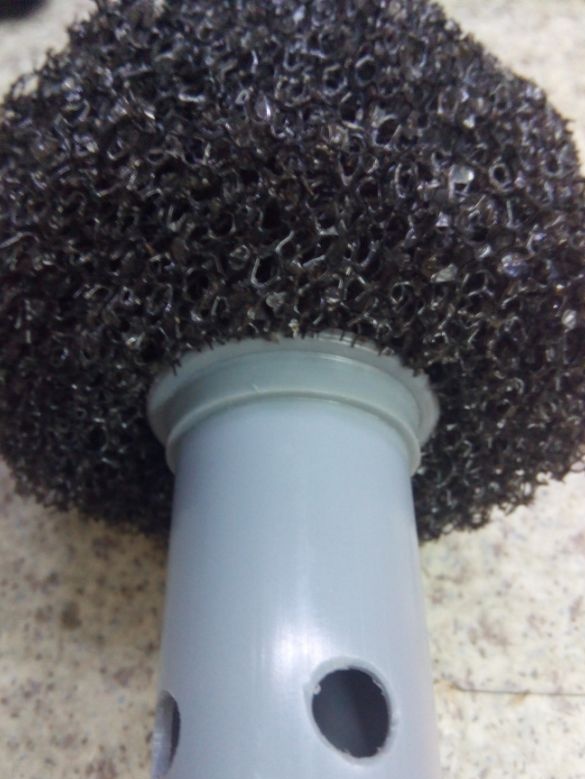
And here the small part cut off from the pipe, about which I spoke above, just comes in handy. It can be used as a retaining ring so that the sponge does not move on the tube when removing it from the filter bulb and reinstalling it.
When sawing a tube, at first I incorrectly measured and sawed off the excess, thereby spoiling one tube, but I still had a sawn off ring from it, so I fixed the sponge on both sides.
We insert one coupling into the filter cover.
We put another sleeve on the tube, on the side where the holes are drilled.
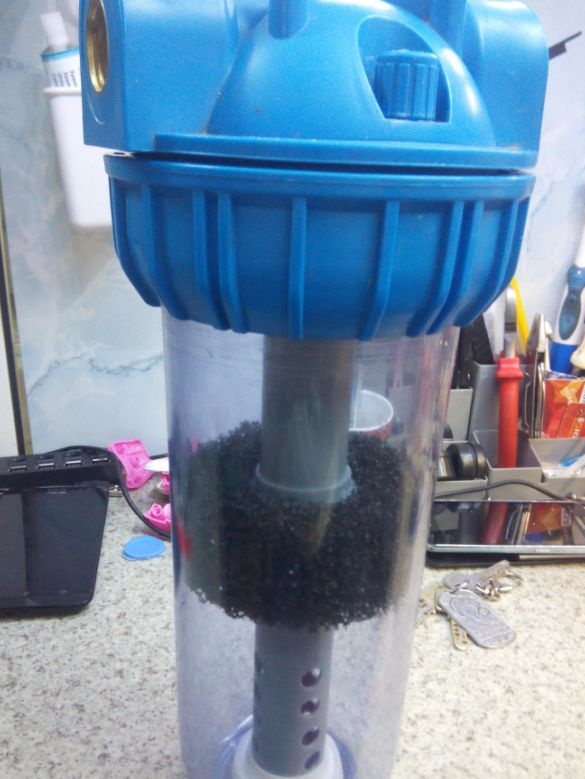
We insert the tube with the sponge on it into the flask and collect the filter completely. Here's what happened:
On the covers of such filters are indicated the inlet-outlet of water. When connected correctly, dirty water entering the filter passes through the filtering sponge, and passing through the holes in the lower part, it is already filtered through the tube. The degree of filtration depends on the porosity of the sponge.
All dirt remains in the upper part of the flask, and if you use a filter with a transparent flask, you can clearly see the degree of contamination of the filter.
P.S .: Since the arrangement of the filters relative to the aquarium is individual for everyone, I did not describe how the pre-filter is connected to the rest of the filtration system, because the fittings, taps and hoses will be used differently for everyone.
Happy aquarium farming to everyone!


