

Hello to all the masters! Today we will consider one of the many applications for the WS2812B type LED strip on addressable RGB LEDs. Such tapes (as well as separately mounted WS2812B LEDs) can be used to illuminate the Ambilight background of computer monitors as well as televisions, dynamic lighting in a car, paintings, photo frames, aquariums and so on. They are widely used in the design of any room, in the form of New Year's illumination or light shows. Using LED strip type WS2812V makes it possible to get a large number of interesting projects.
The WS2812B LED is an RGB LED inserted in the same housing as the WS2801 chip.
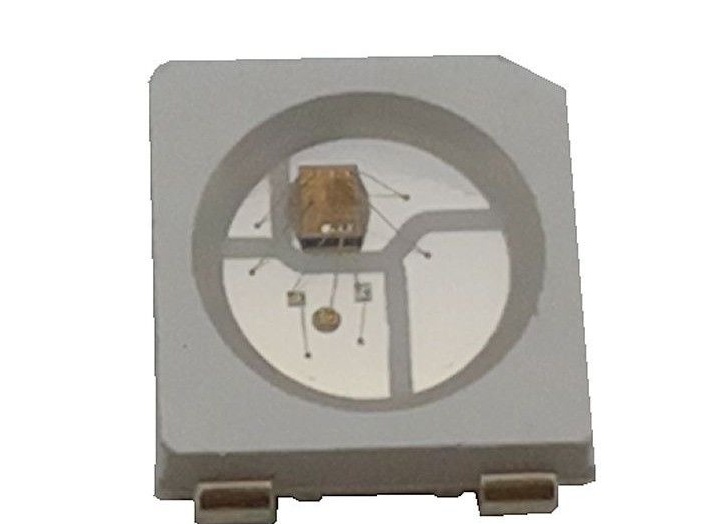
The WS2812B LED itself is an SMD element designed for surface mounting. Inside the LED consists of crystals of red light (red), green light (green) and blue light (blue) crystals, located in one housing. Using this LED, you can get a wide variety of color shades of light radiation.
RGB LED control via microcontroller board Arduino.
I received a WS2812B LED strip from the Chinese. It represents a 1 meter length with the number of LEDs -144 pieces. I have long wanted to try for different experiments. With libraries for the Arduino, Adafruit Neopixel and Fast led you can get a lot of very unusual lighting effects. But then I decided to try to make dynamic turn signals for a car in the so-called “Audi style.” I have not yet begun to put this scheme into practice (how will our gibber desk guys accept it?), But the effect is certainly very attractive.
The Arduino Uno board serves as the controller for controlling the LED strip; other boards can also be used (Arduino Nano, Arduino Pro mini).
See the whole process in the video:
Enumeration of tools and materials.
Arduino Uno board
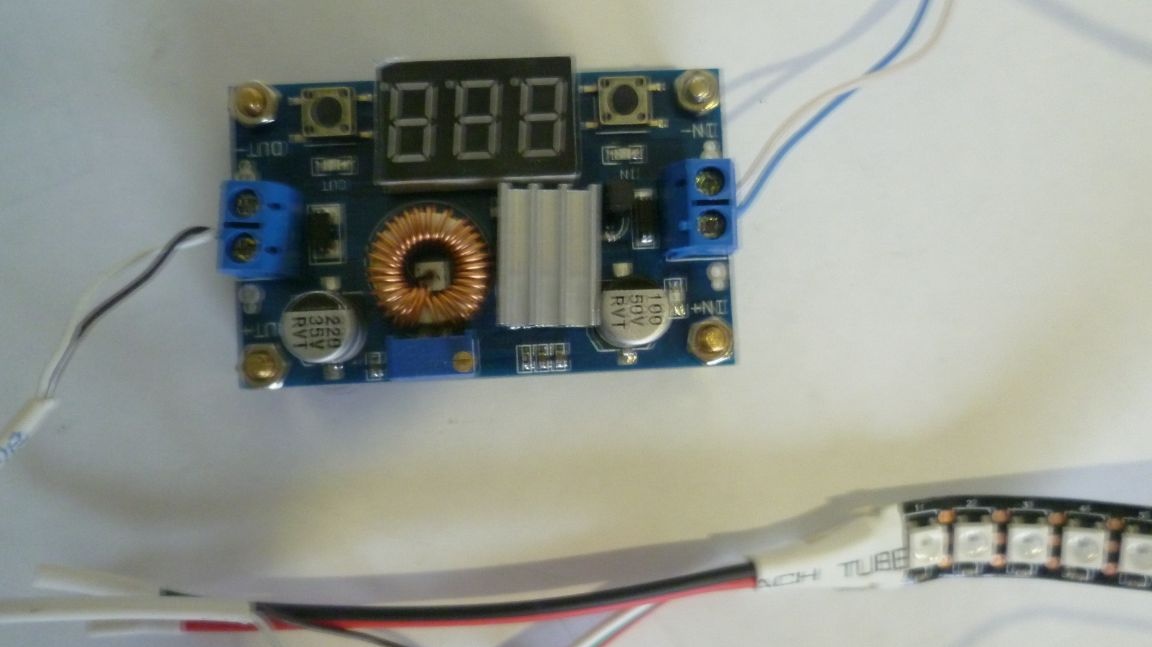
- lowering board 12V \ 5V to 3A;
- 100Kom-4pcs resistors;
- 47Kom-4pcs resistors;
- resistors 500 Ohm-1pc;
-buttons (to simulate the inclusion of signals) -4pcs;
-bread board
-screwdriver;
laboratory power supply
soldering iron;
Cambridge;
-tester.
connecting wires.
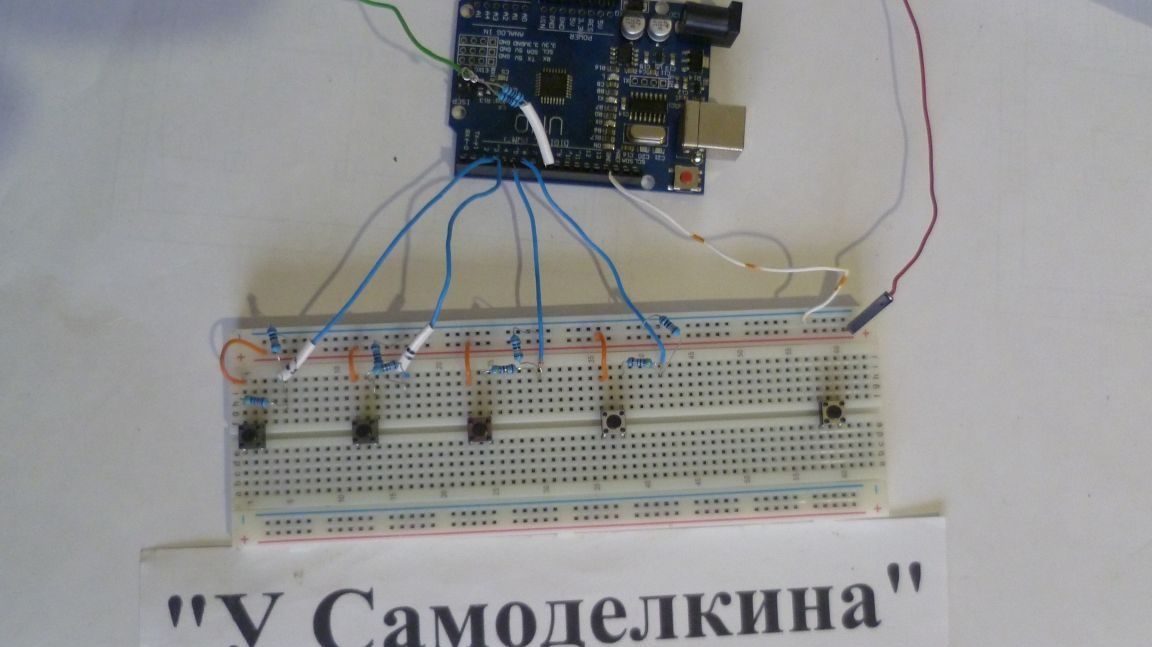
Step one. Assembly circuit.

Assembled a circuit using a breadboard (delirium). The resistors connected to the Arduino digital inputs are needed to convert the input signals of the car from 12 to 5 volts. 500 Ohm resistor to protect the control line of the WS2812B LED strip.
Board photo
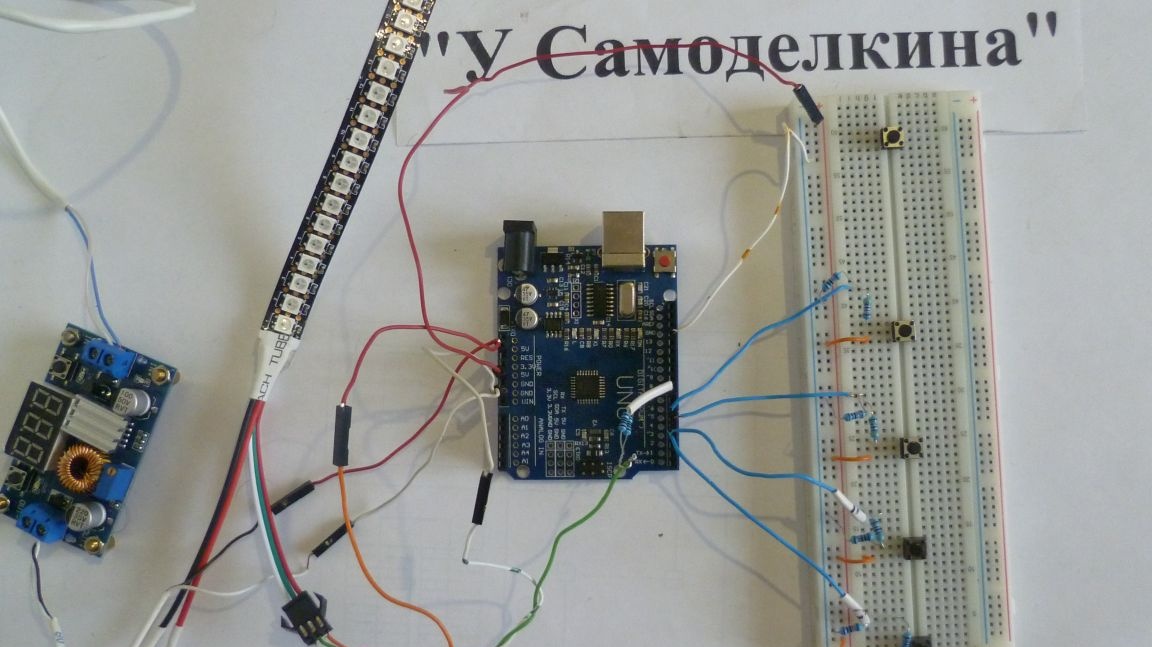
I used a ready-made board with Aliexpress as a converter from 12V to 5V. Any converter with suitable parameters can be used. The converter is needed for stable power supply of the Arduino and the WS2812B LED strip.
Step Two Programming Arduino.
The digital inputs of the Arduino board number 3.4 serve to enable left and right rotation. Pin No. 5 - inclusion of a stop signal, pin No. 6 - inclusion of a backing. Pin number 8 - control signal tape WS2812B.
In the Arduino IDE, download the sketch (link above). Two sketch options — one for the front of the car and one for the back. Use what you need. At the beginning of the sketch, you can set the number of LEDs you need. You can also adjust the speed of the turn signals according to your auto. You can also change the brightness of the LEDs with the strip.Color parameter (103.311) - change the first two digits from 0 to 255. That is, you can experiment a bit.
When you click on the desired button, we give a signal to enable the desired parameter. With the correct assembly of the circuit, it usually starts working immediately.
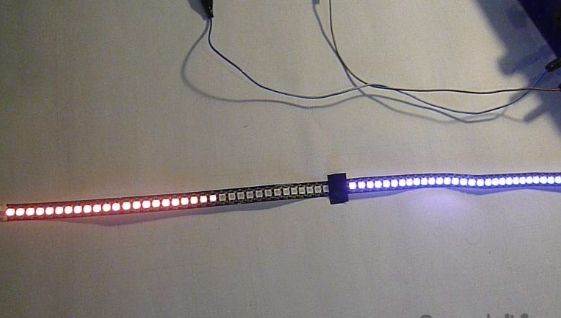
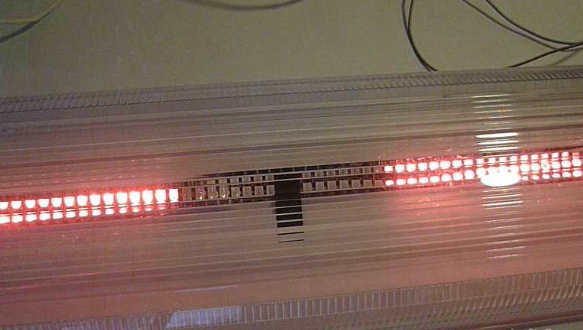
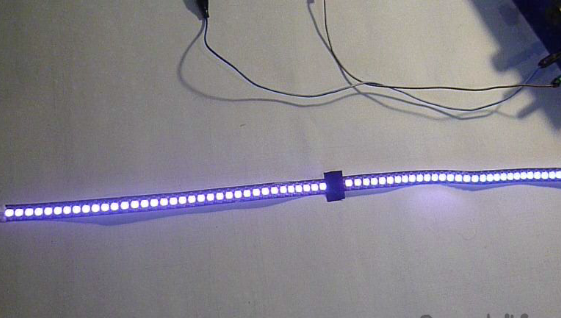
Photo at work.
A good experiment turned out with this weekend design. It was interesting do it yourself make and program this circuit. To make such a device on your own is affordable for a beginner without a lot of time and money.
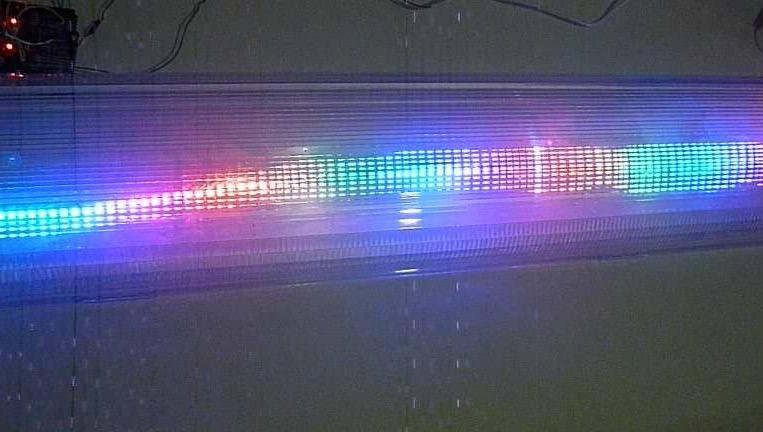
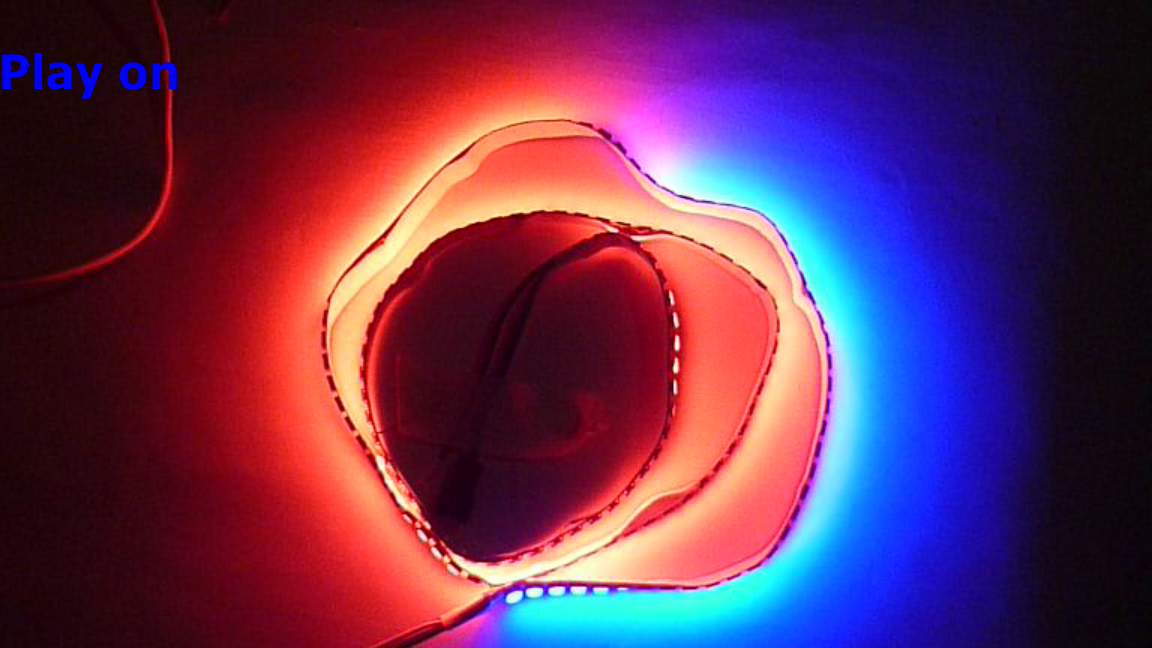
Along the way, lighting effects with this tape (from the Adafruit Neopixel and Fast led libraries)
Photo with light effects.
All the work went one weekend, all electronics Took on Aliexpress. The rest of the components I had were in stock. Based on the Arduino platform, you can assemble a wide variety of useful devices.
I wish you all good luck and success in life and work!