

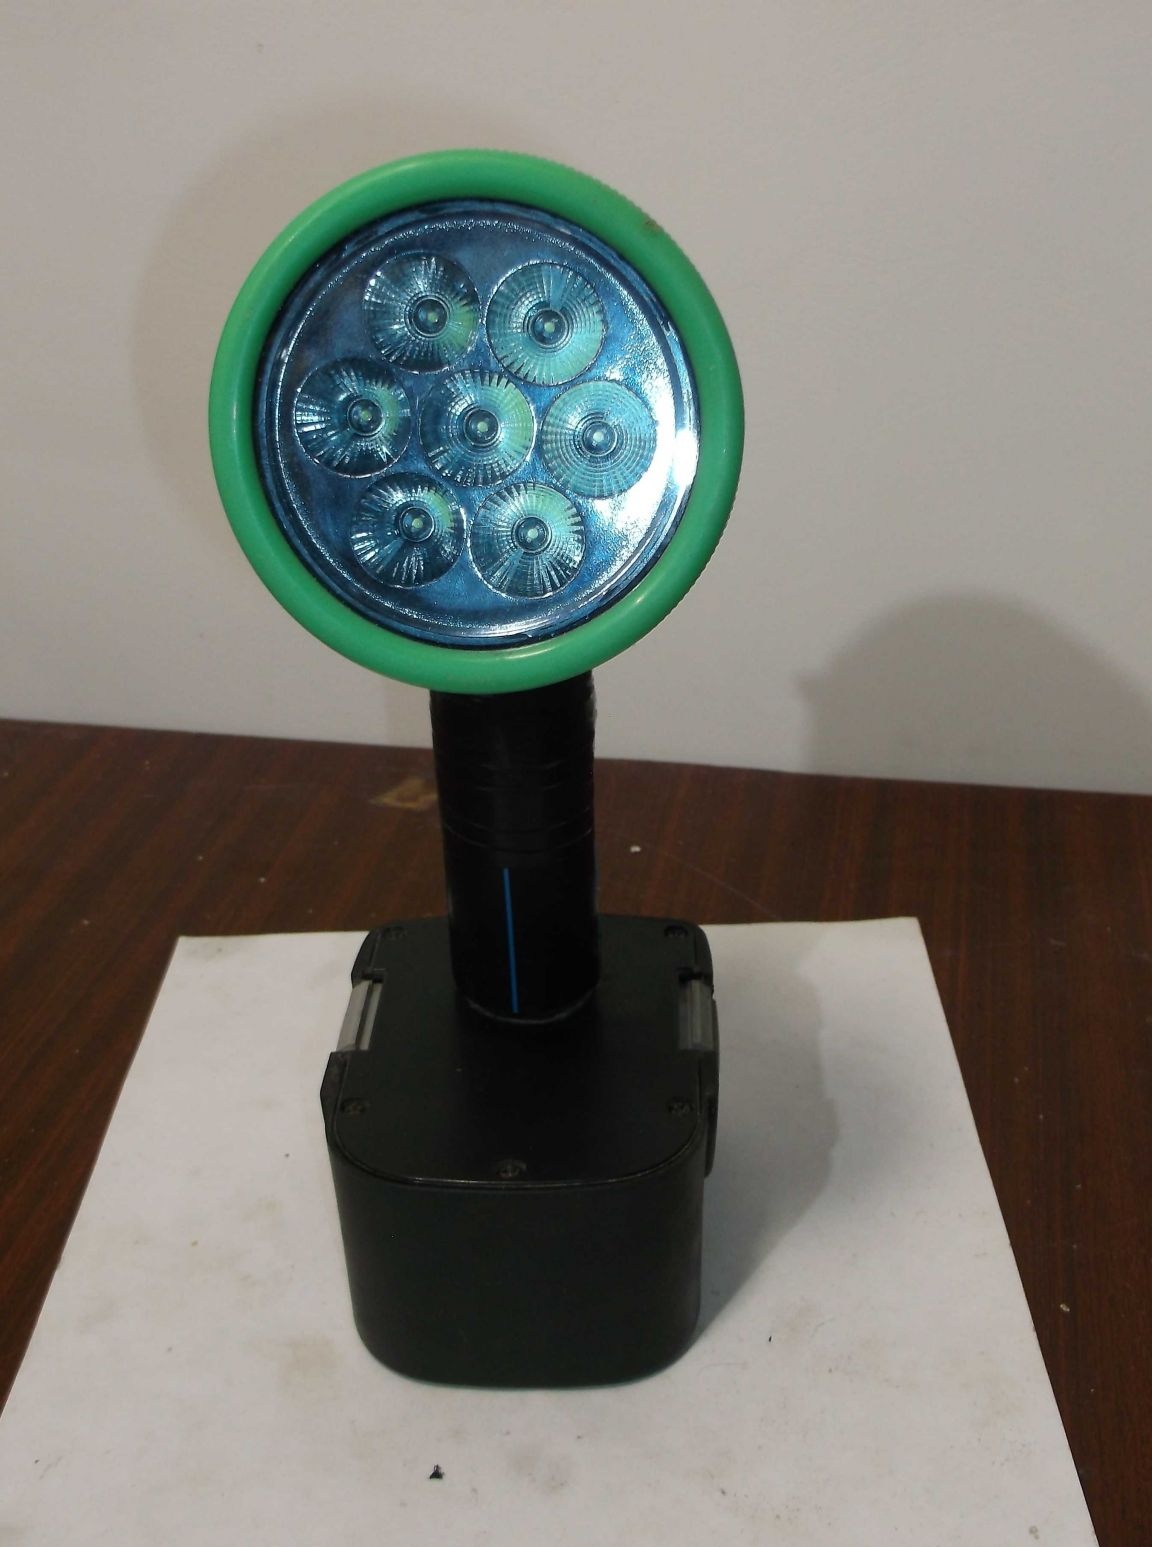
Hello everybody! To make this homemade I was inspired by a blackout. After spending an evening by candlelight, for a start I decided to make emergency lighting based on the LED assembly from the old flashlight and the battery from a screwdriver. Since in our time, a cordless screwdriver is available in almost every family, but not all models are equipped with flashlights, then perhaps this idea will interest someone. On the other hand, this flashlight is useful as additional lighting for repairing electricians, when a complete blackout is required. To power the flashlight, approximately 6 volts are required - this means that when working with the battery of a screwdriver, it will shine without loss of brightness even with a decently discharged battery, and a low current consumption ensures continuous operation without charging the battery.
In this homemade product, parts from different, outdated devices and simple tools were used. The view of this lamp certainly leaves much to be desired, but it copes with its direct task one hundred percent.
Materials and tools:
LED flashlight optics
DC-DC Step Down Module
Button switch
Automotive female terminals 2 pcs.
Any small diode
10 cm pipe PND-32
Housing from motion sensor with a tripod.
A piece of PCB or laminate
Insulating tape
Insulated wires
Screwdriver
Drill
Soldering iron.
Metal file
Thermal gun
Clay "moment"
File or Emery
DC-DC Step Down Module
Button switch
Automotive female terminals 2 pcs.
Any small diode
10 cm pipe PND-32
Housing from motion sensor with a tripod.
A piece of PCB or laminate
Insulating tape
Insulated wires
Screwdriver
Drill
Soldering iron.
Metal file
Thermal gun
Clay "moment"
File or Emery
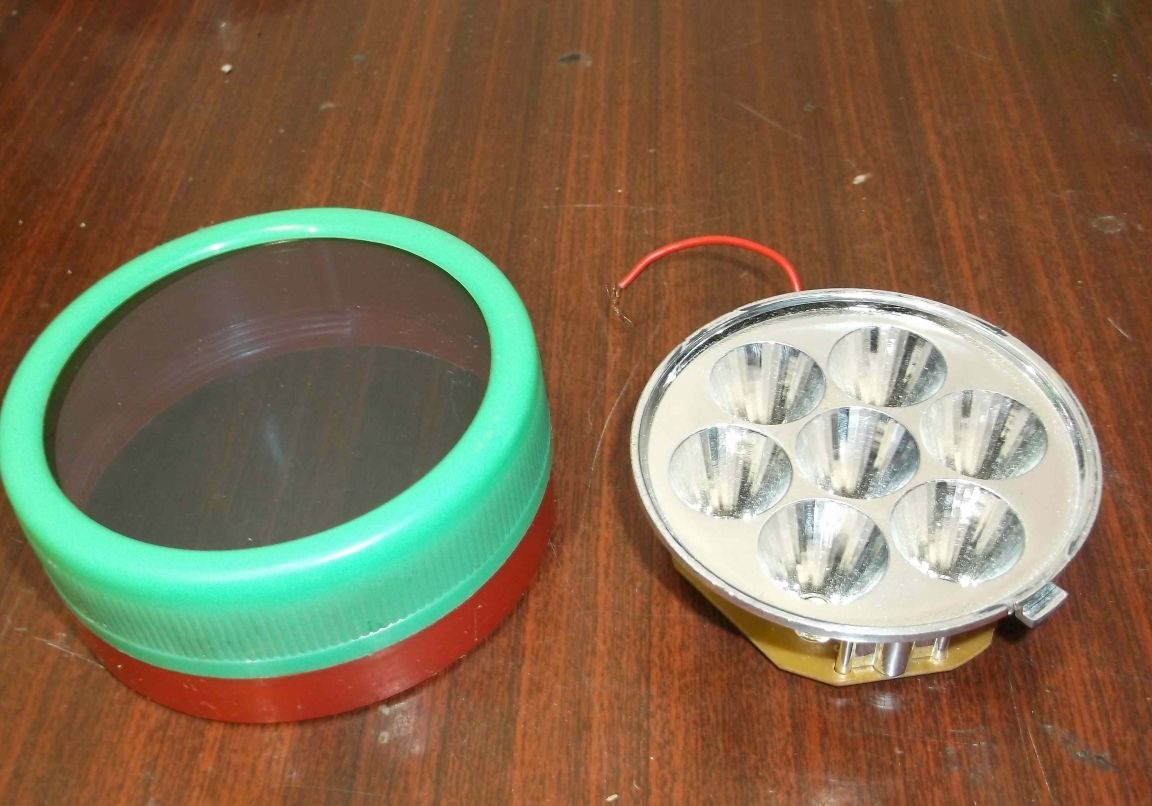
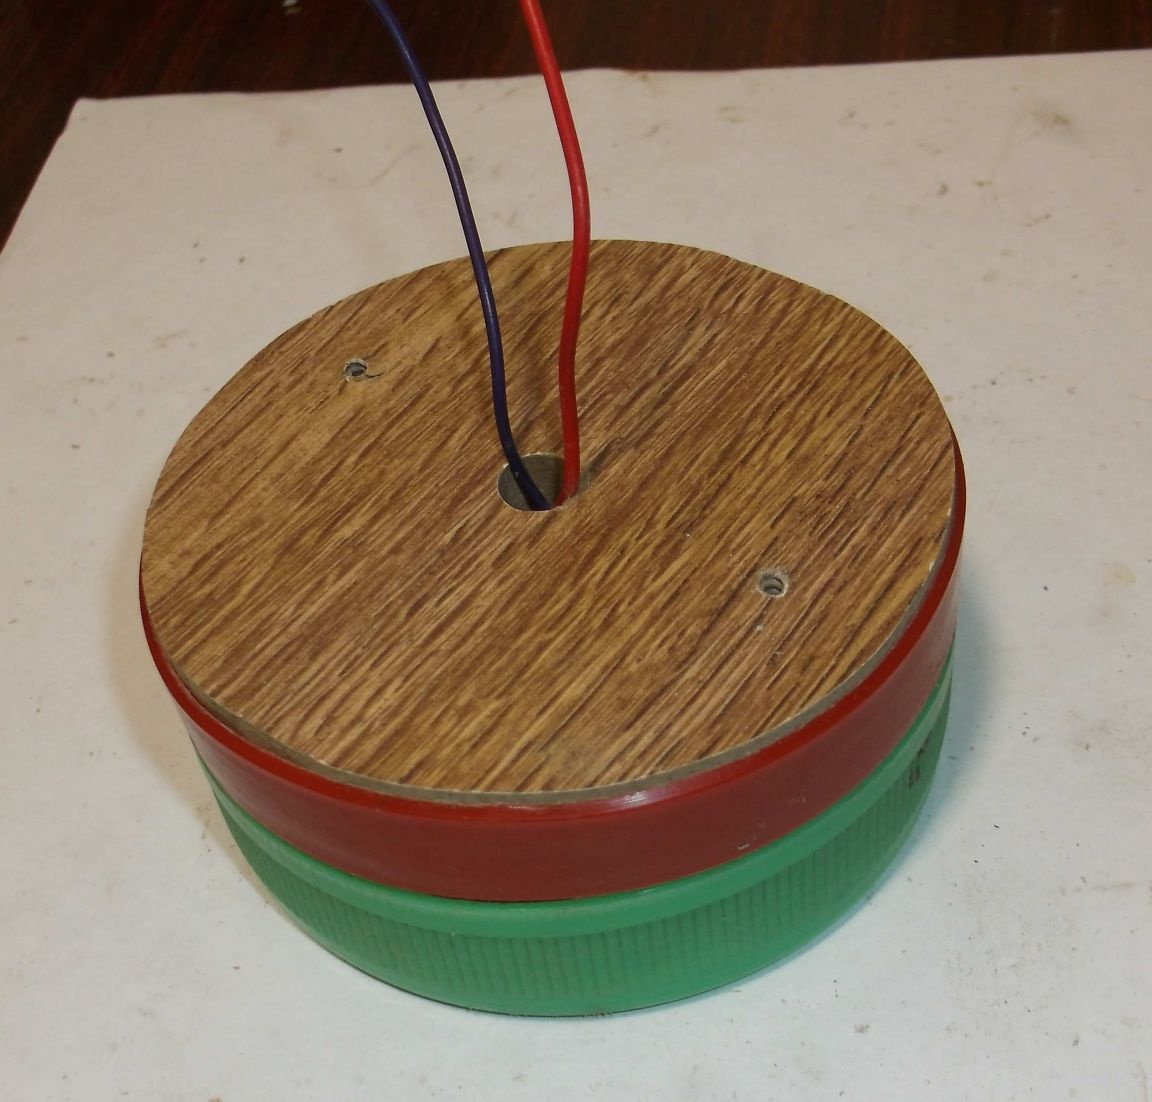
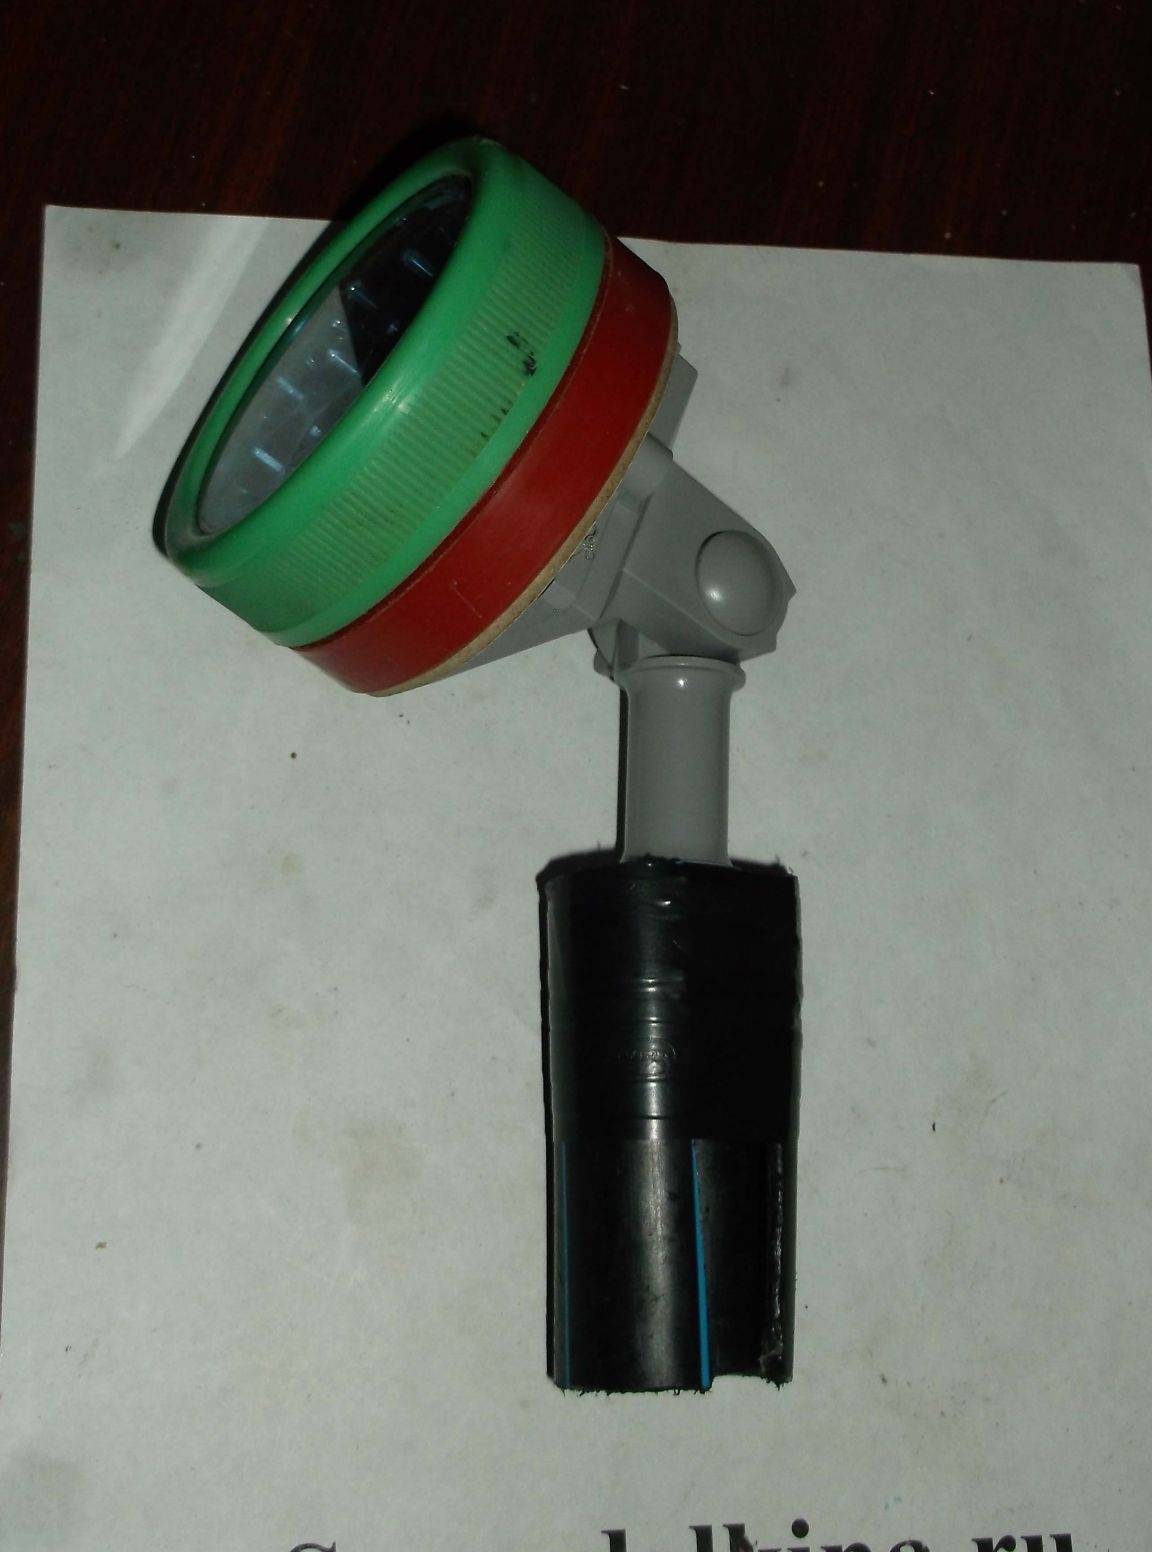
From spare parts from old flashlights, I chose a suitable housing and an LED assembly with a reflector of suitable sizes. In this case, the LEDs are powered by a 6 volt battery. I sawed a back cover from a piece of laminate in size and made a hole in the center for the output of wires. Of course, it is better to use textolite instead of the laminate, but when assembling it was not at hand.
Using a heat gun connected the body, glass, optics. I checked the operation of the diodes, brought out the wires and closed the back cover, having previously smeared the ends with glue “moment”. The lamp itself is ready.
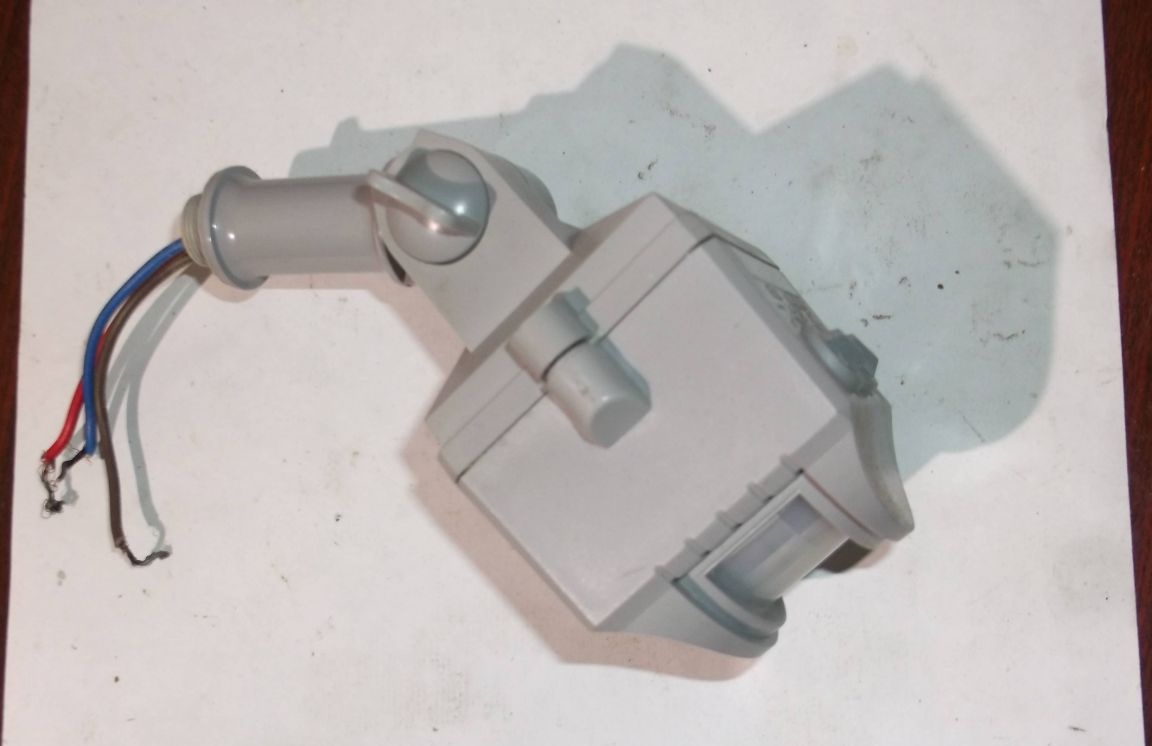
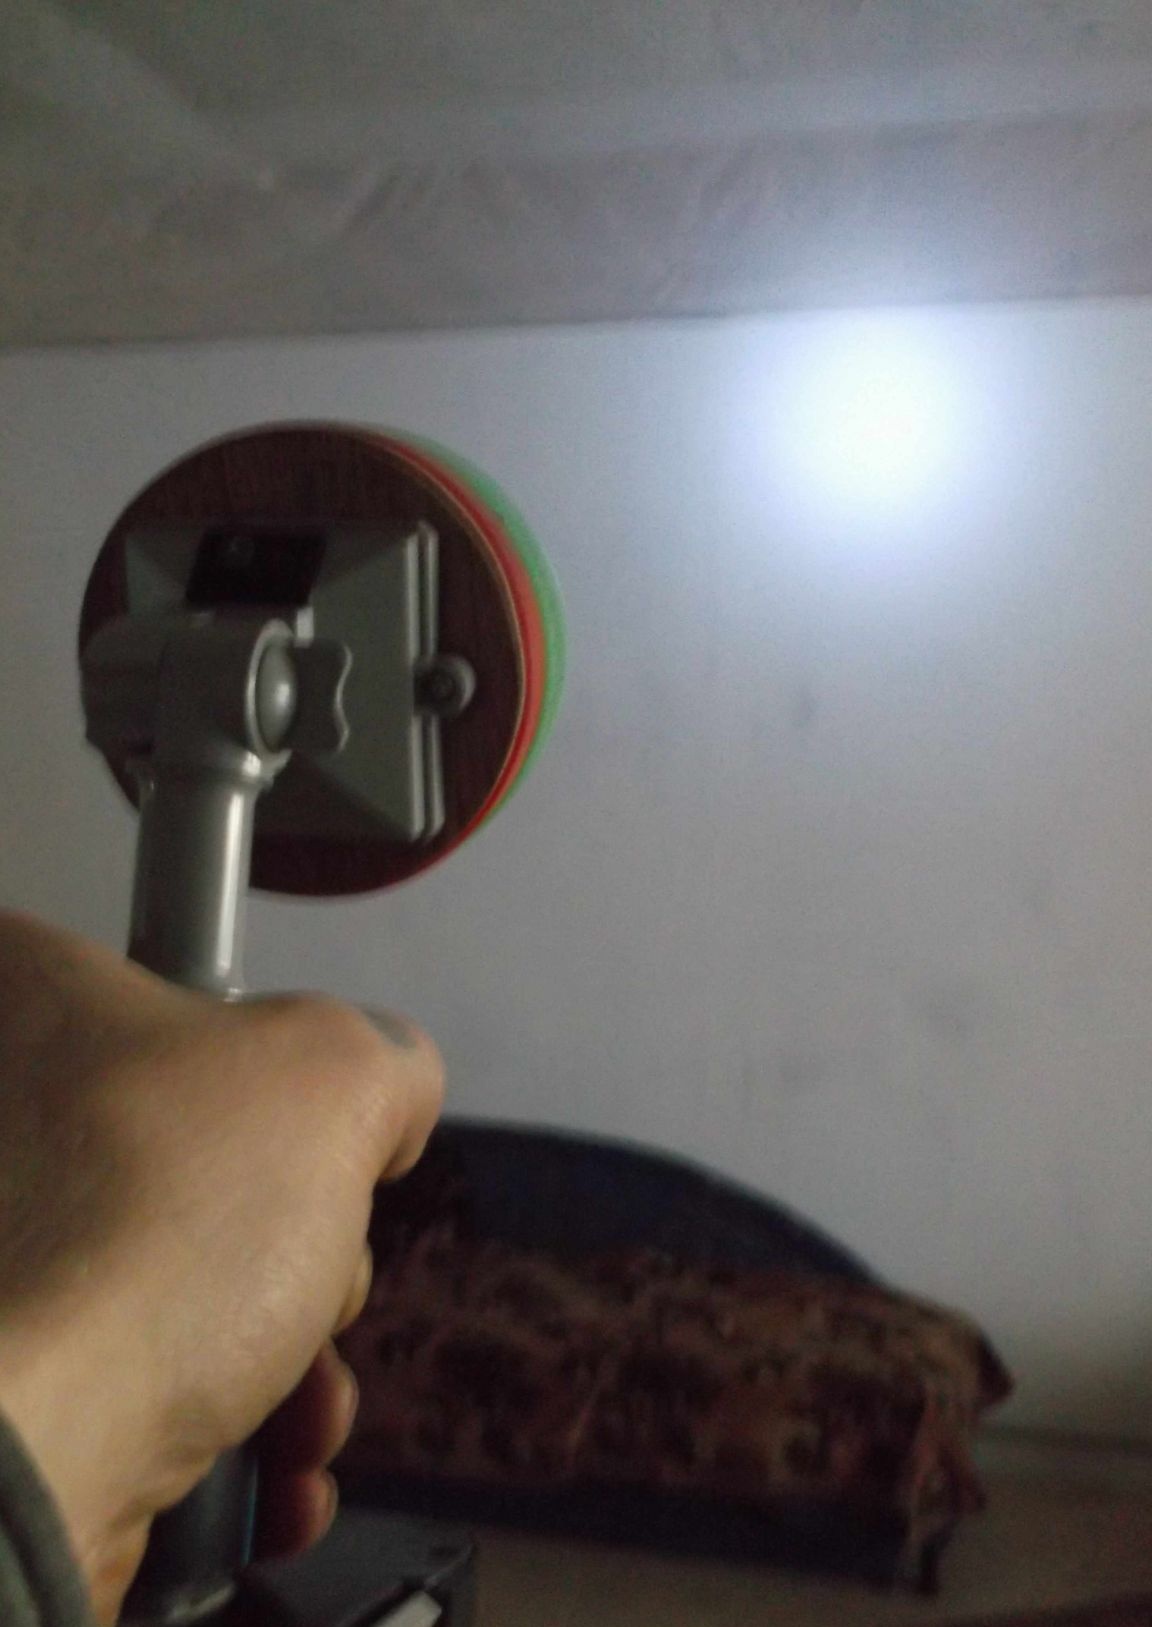
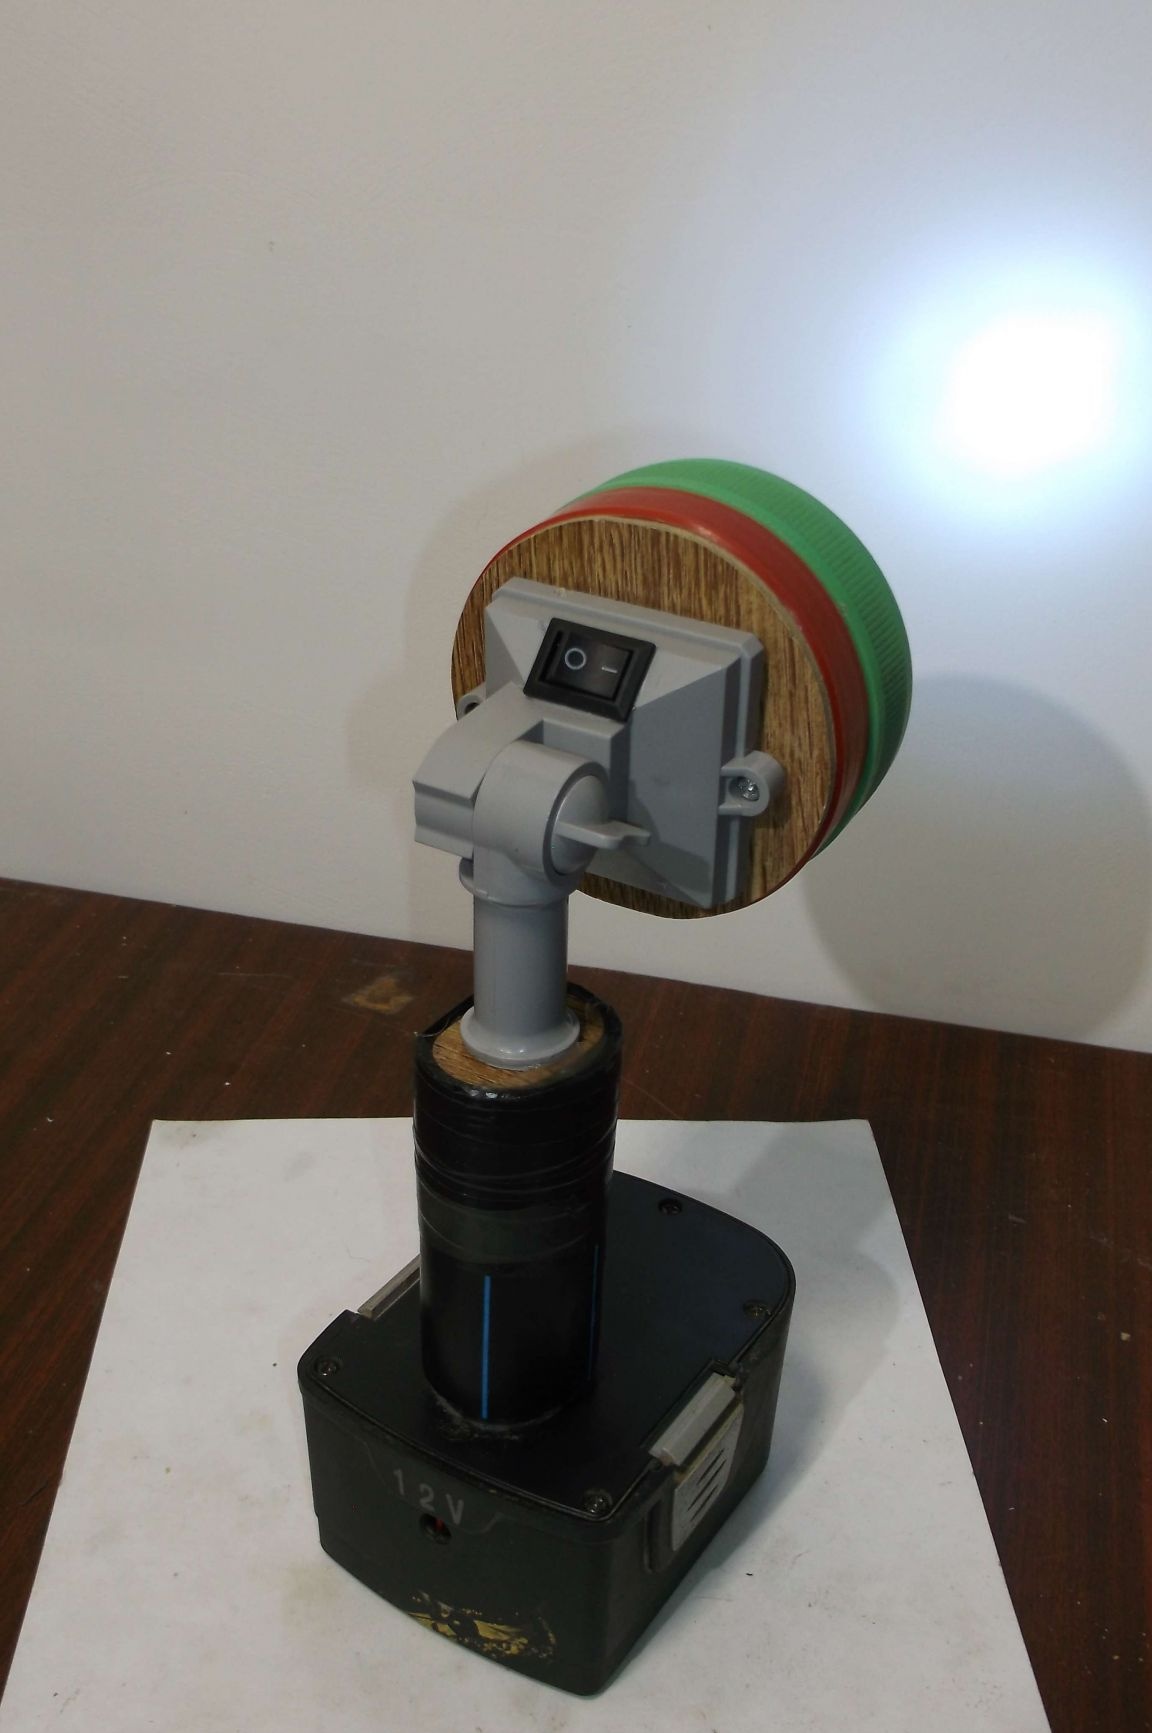
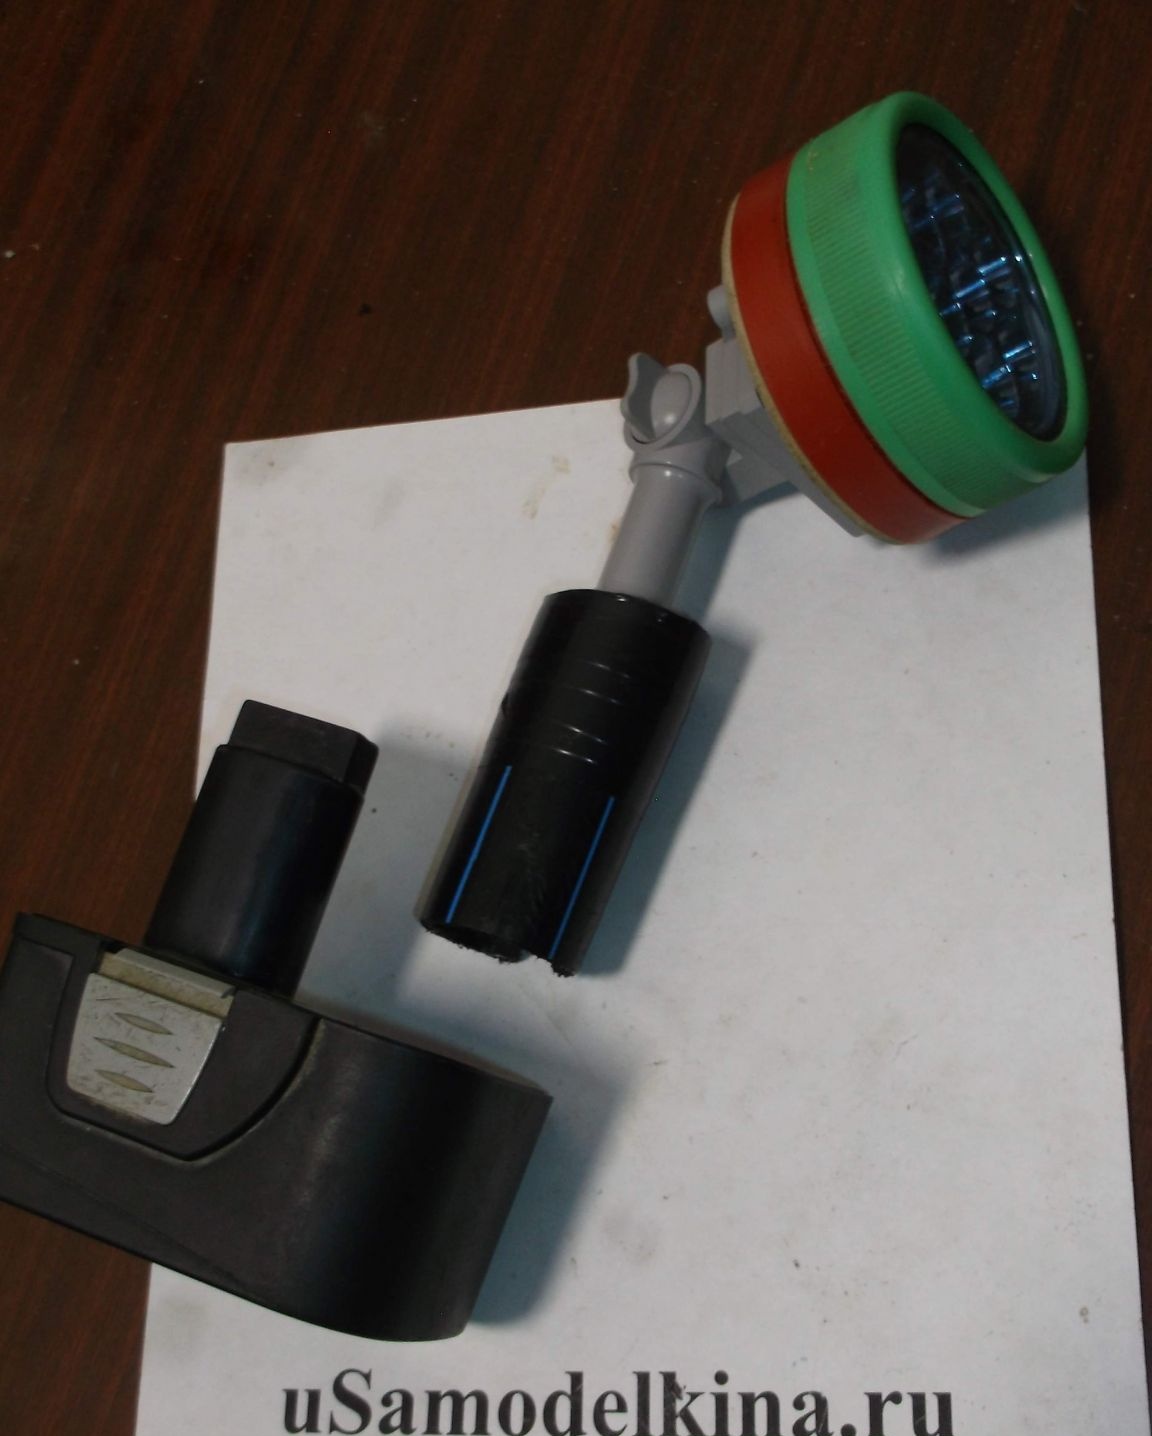
From the motion sensor and a tripod from a street lamp, a rotary stand for a flashlight will be made. More precisely, you need only the back cover with an adjusting stand.
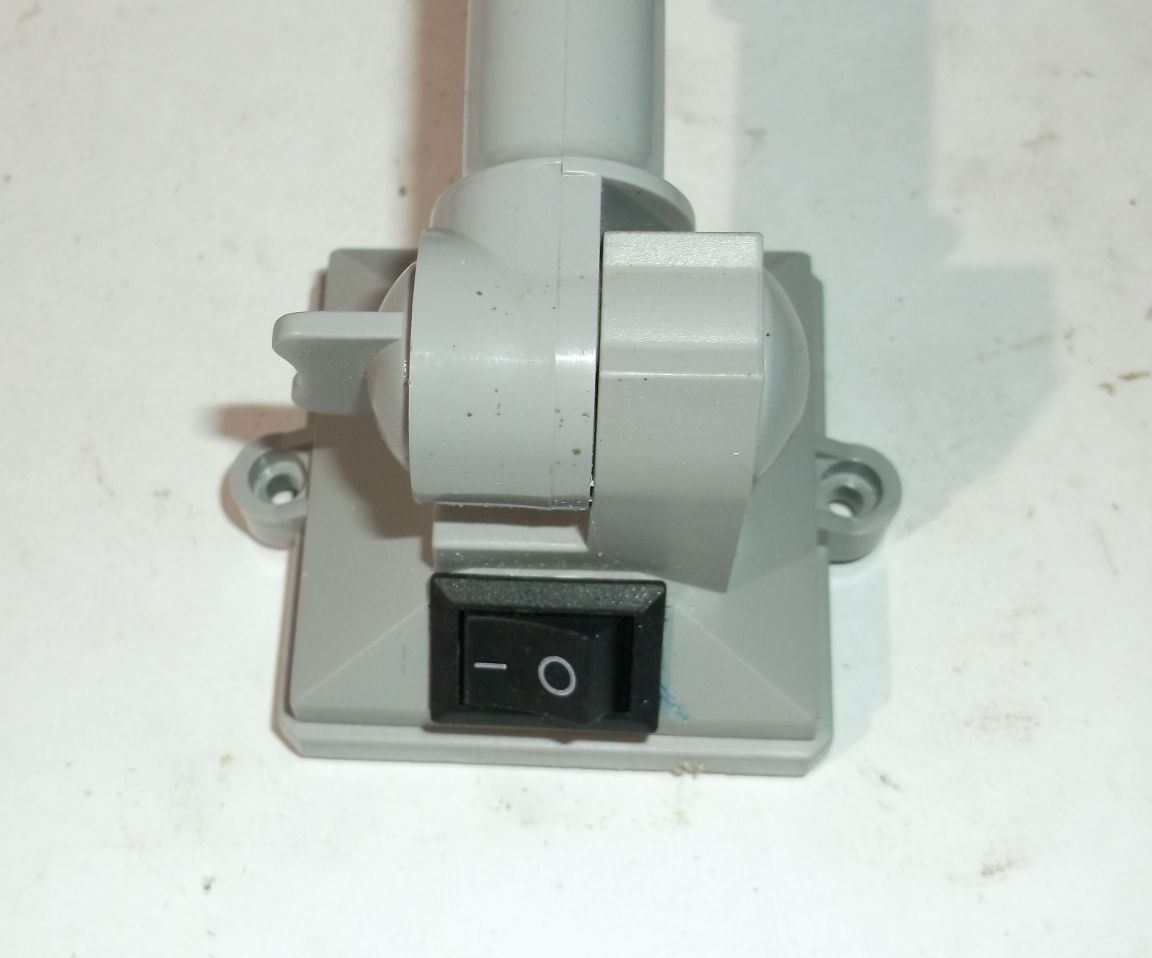
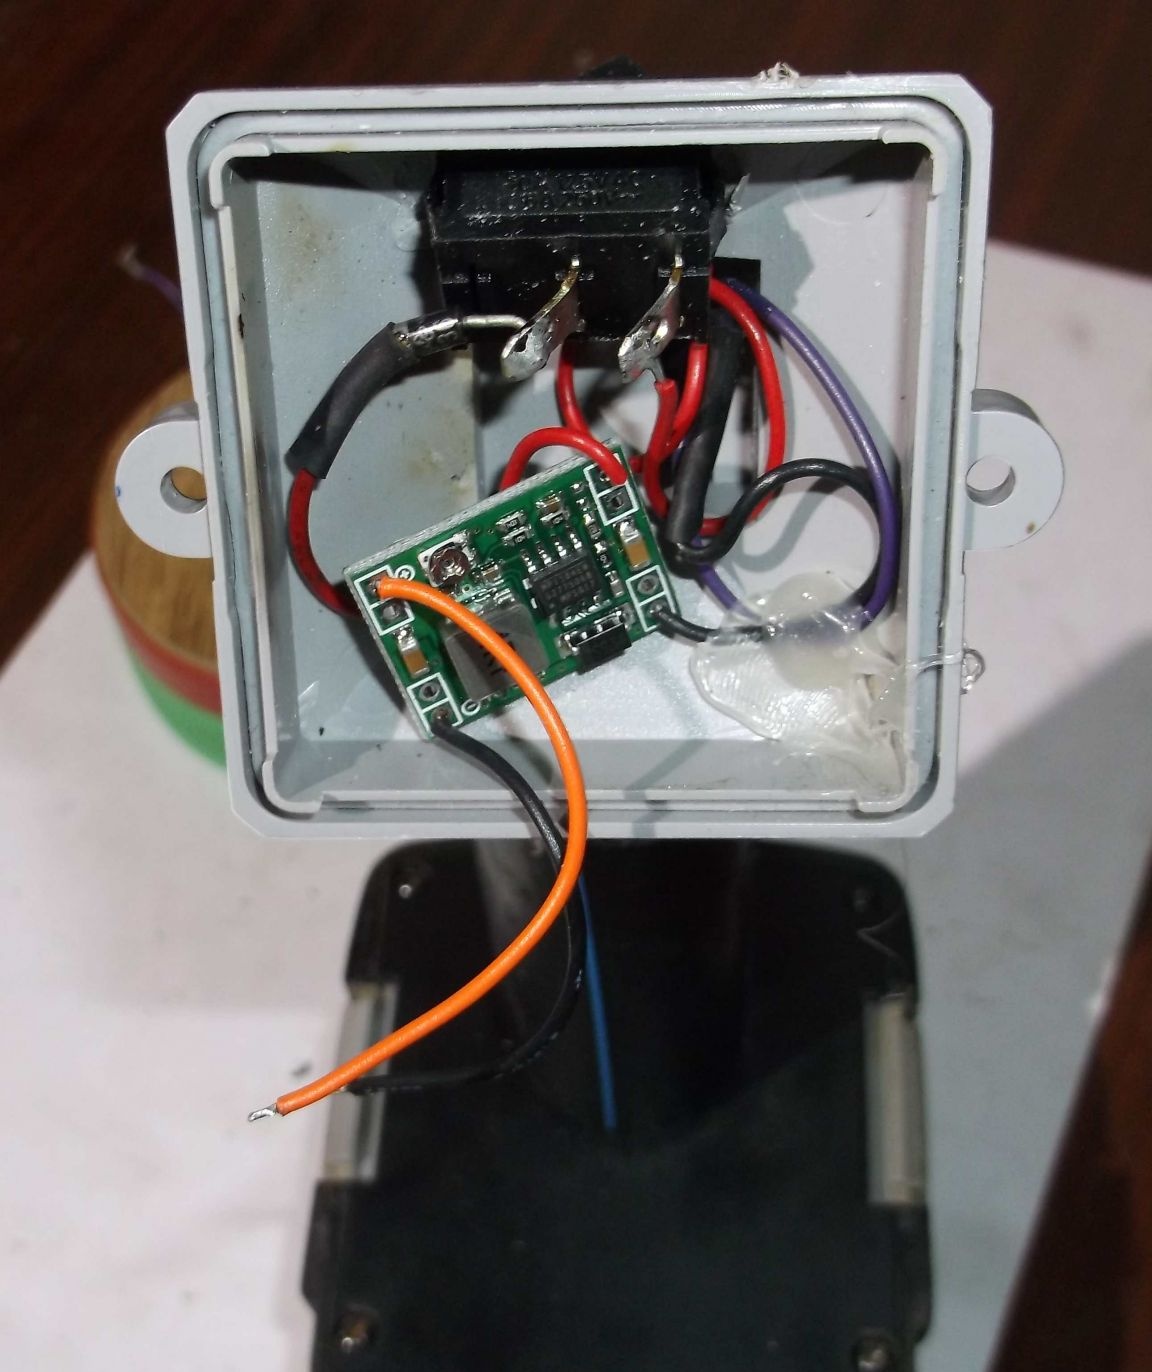
I installed a switch in the back cover to turn the flashlight on and off. The hole for the switch is easier to do if you have a regular wood burner at hand.
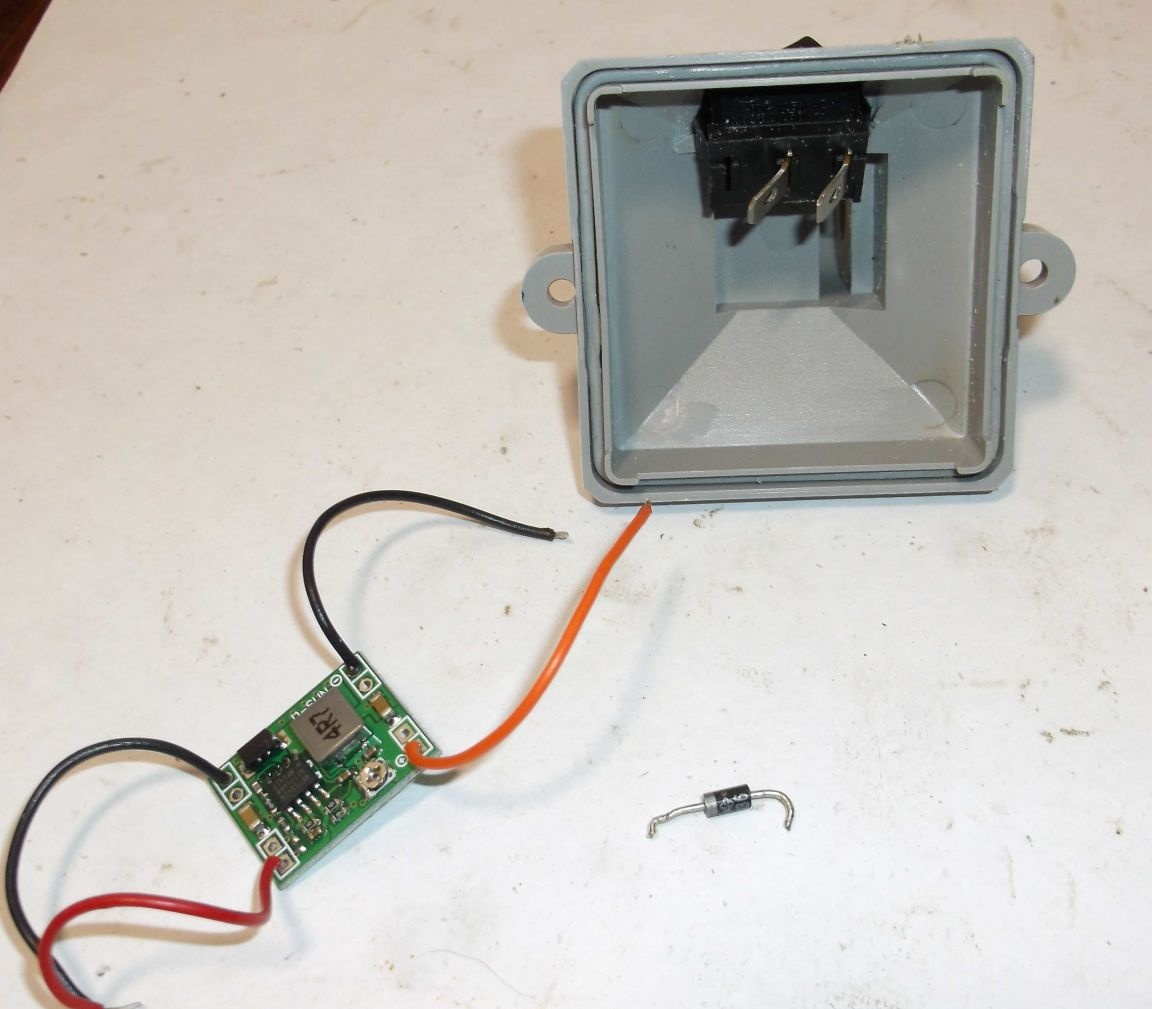
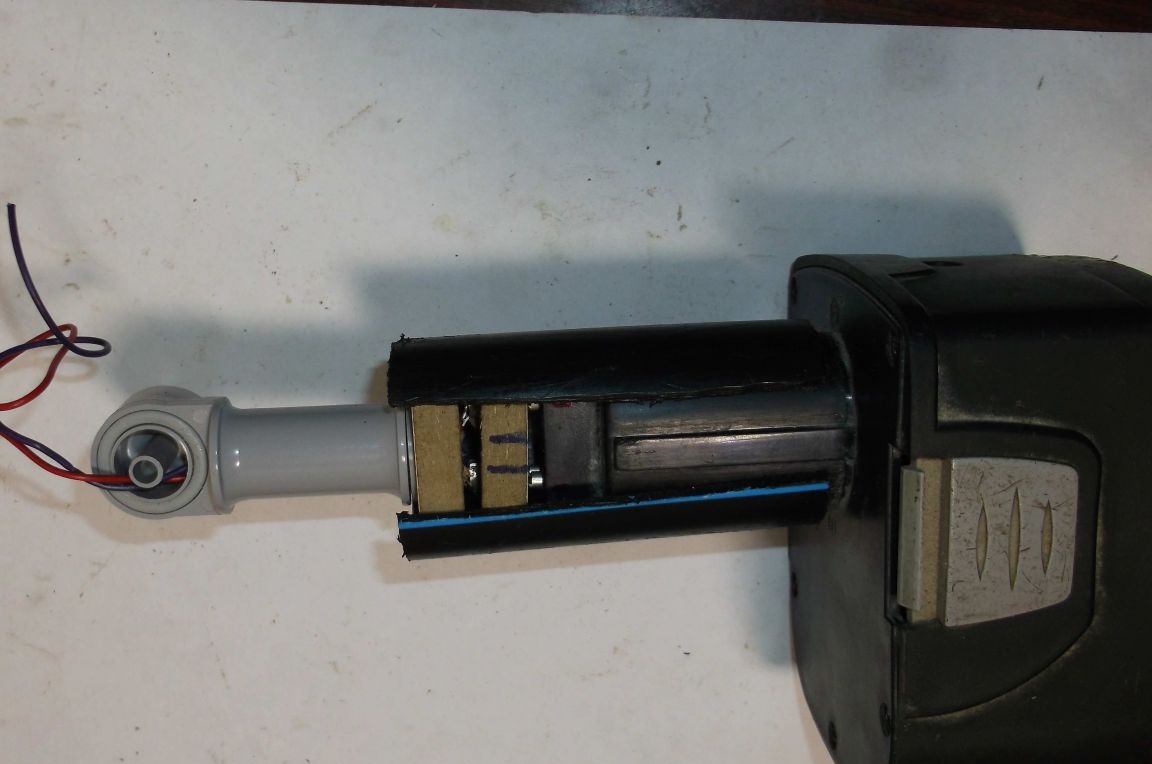
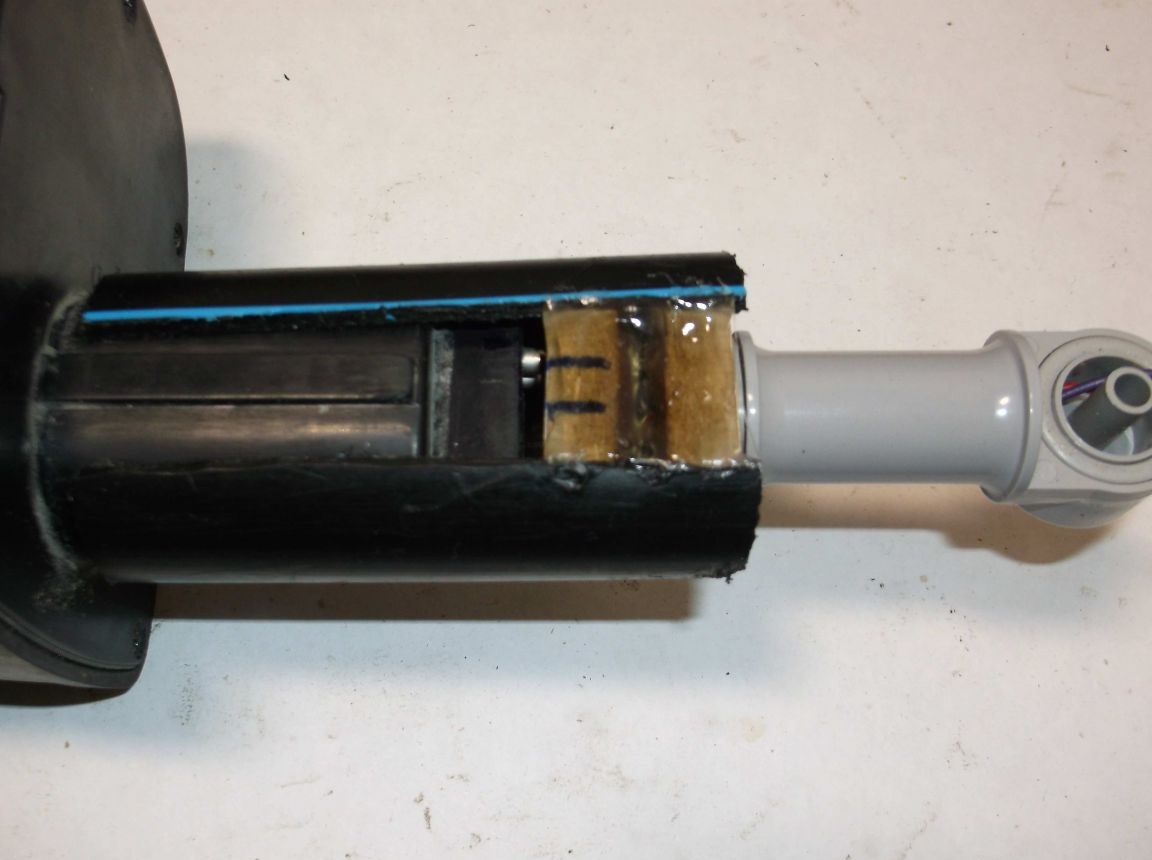
A diode was soldered to the switch terminal to protect the circuit from polarity reversal. Also, after the switch, the lowering module was soldered, by the way, a very very good converter for home homemade. With a trimming resistor, you can set the desired voltage from 1 to 20 volts. Naturally, the input voltage must be higher than the desired output voltage. I order on Aliexpress, it costs quite inexpensively.
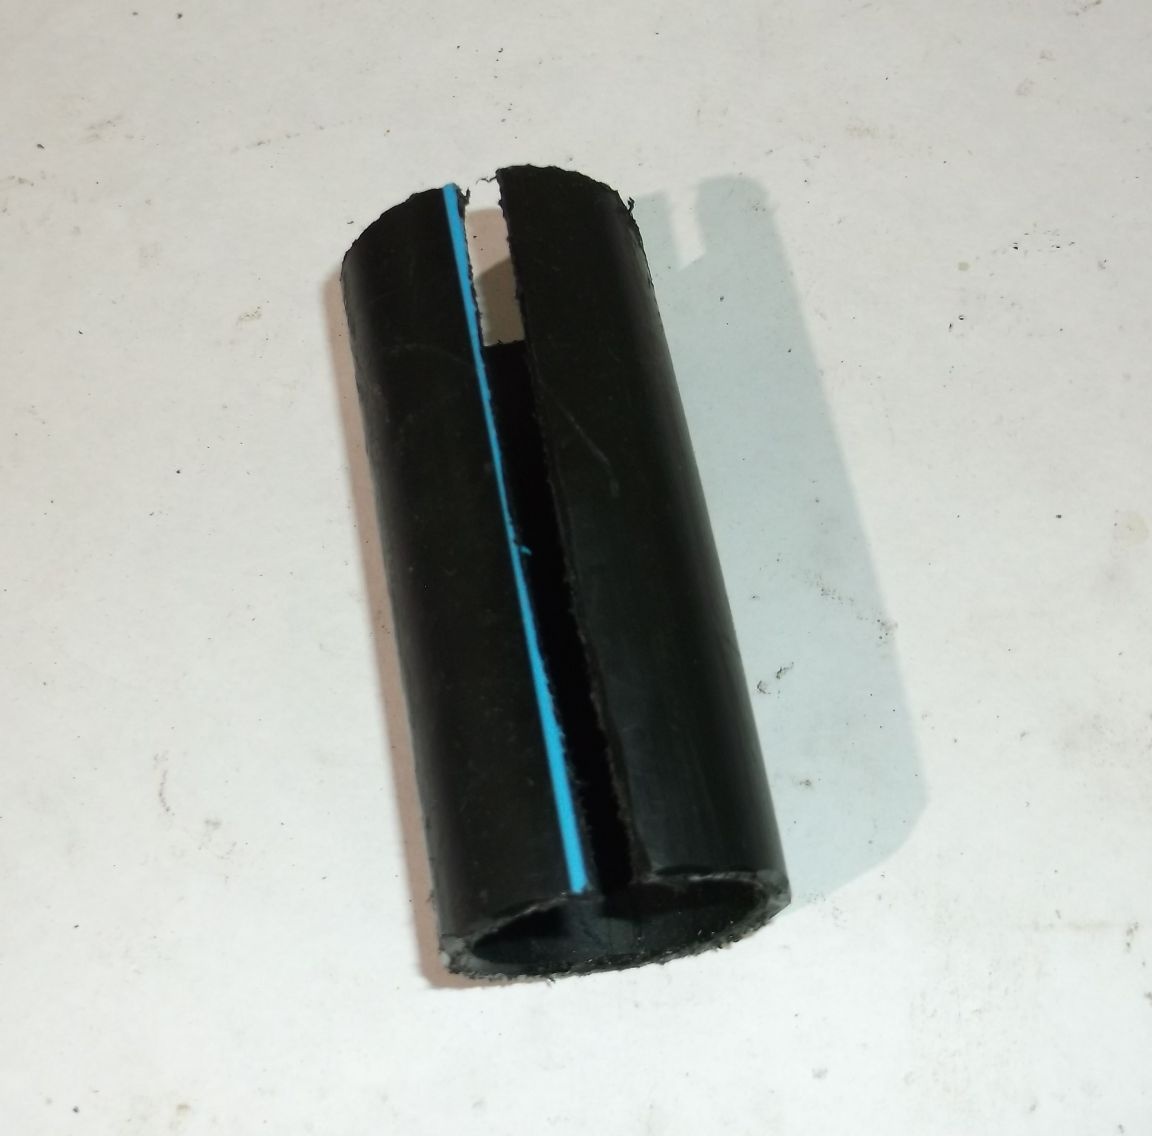
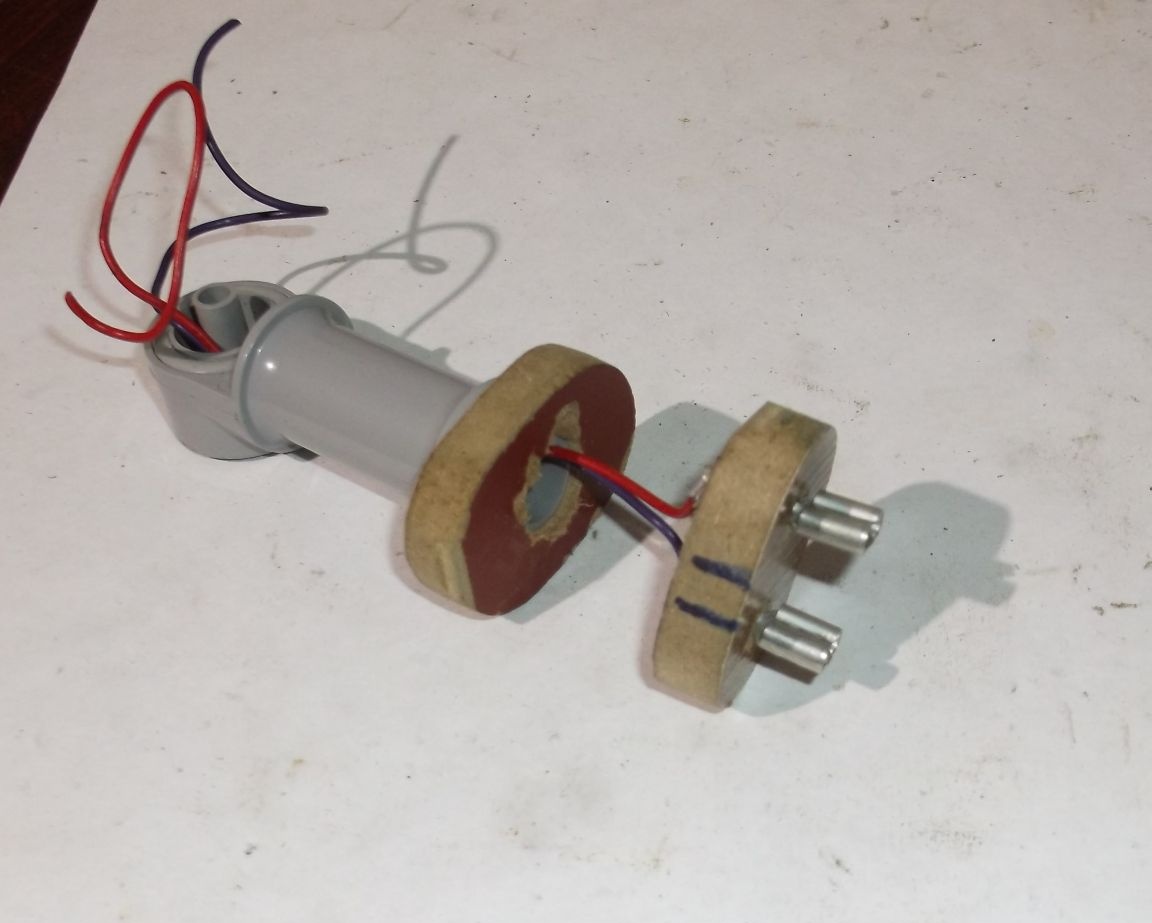
From a piece of polyethylene pipe I made a holder with terminals for connecting the battery from a screwdriver (I made Interskol batteries). Since the pipe has an inner diameter smaller than the terminal block of the battery, sawed the pipe along. The pipe has a certain rigidity and, when installed on a battery, a screwdriver is held securely.
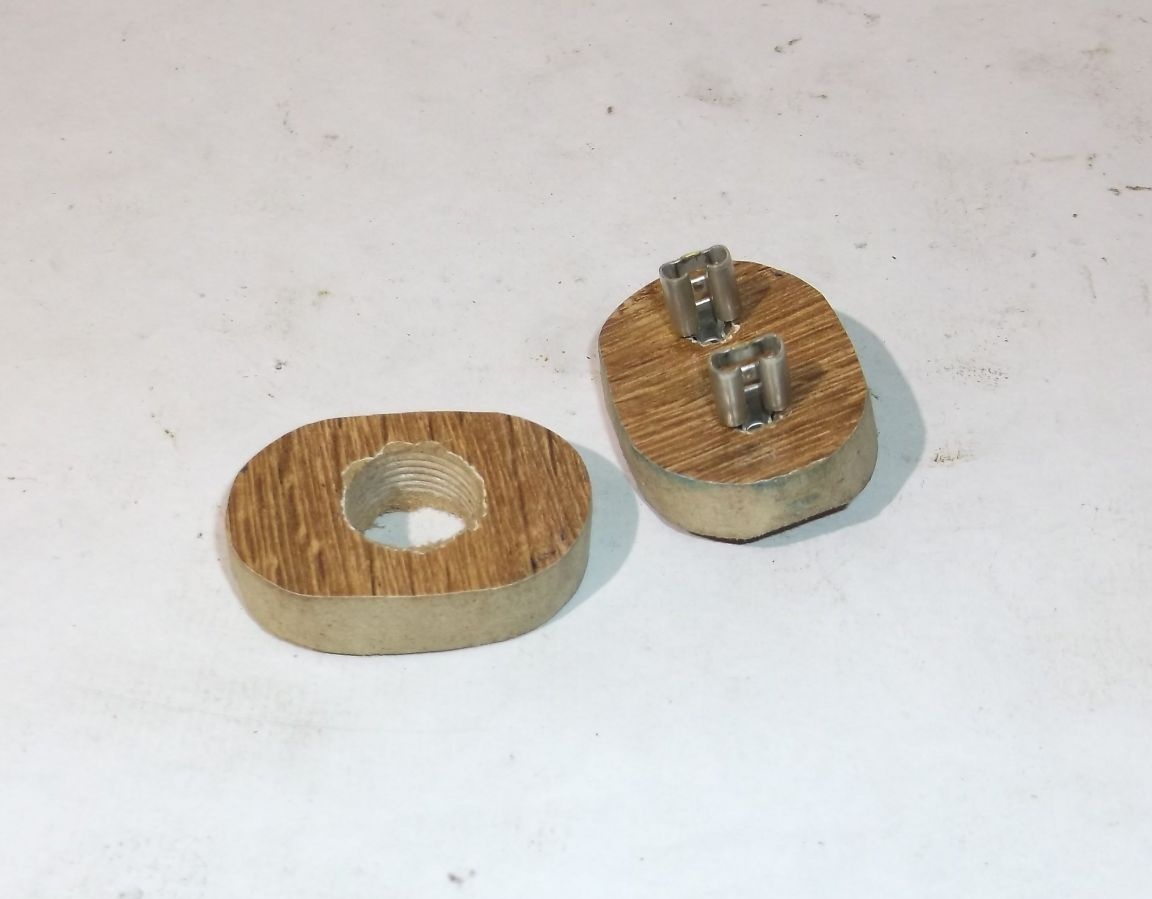
From the laminate, I cut out pads for the terminal block and the rack mount. As contacts, I used automotive terminals installed in the block at a distance equal to the distance of the contacts on the battery.
The hole in the block is slightly smaller than the thread on the rack and to connect it only needed to screw the rack into the block.
Set the pads in the handset and connected to the battery.
After checking that the contacts coincide with the battery terminals, he filled the pads with hot glue.
Before final assembly, I checked the connection. I checked the voltage at the output, it should correspond to the supply voltage of the LEDs. In this case, 6 volts. You can replace the limiting resistor on the LEDs and make an operating voltage of about four volts. This change will allow you to use the flashlight almost until the battery is completely discharged. At the time of manufacture, it was not possible to find a suitable resistor so that it left everything as it is.
The upper part of the tube was wrapped with black PVC tape for additional fixing of the pads. The lower the winding of electrical tape, the more tightly the tube will hold on the battery.

I repeat once again, such a useful, although not very attractive homemade product is made of old, broken things that have served their time. Thanks to everyone who read to the end and I will be glad if someone comes in handy.