
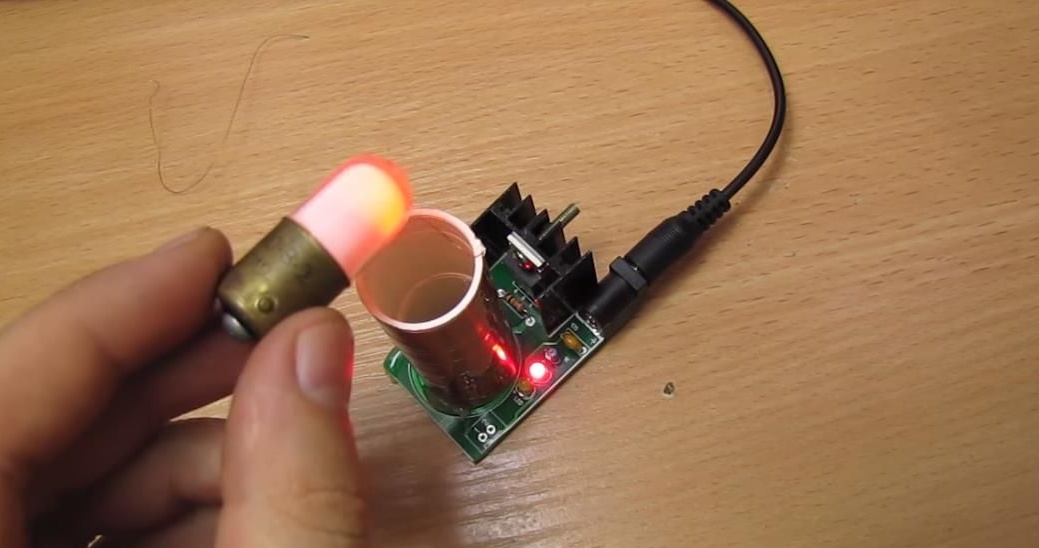
This kit kit allows you to assemble a simple and compact Tesla transformer, the principle of its operation is based on the use of resonant standing electromagnetic waves in coils. A very interesting device for demonstration and various entertainments. If you bring a fluorescent lamp or an energy-saving lamp to the coil of the switched-on device, we will see that it starts to glow brightly, as if it is connected to the network. Neon lamps also light up. You can learn more about the operation of the Tesla transformer by reading the article on the site.
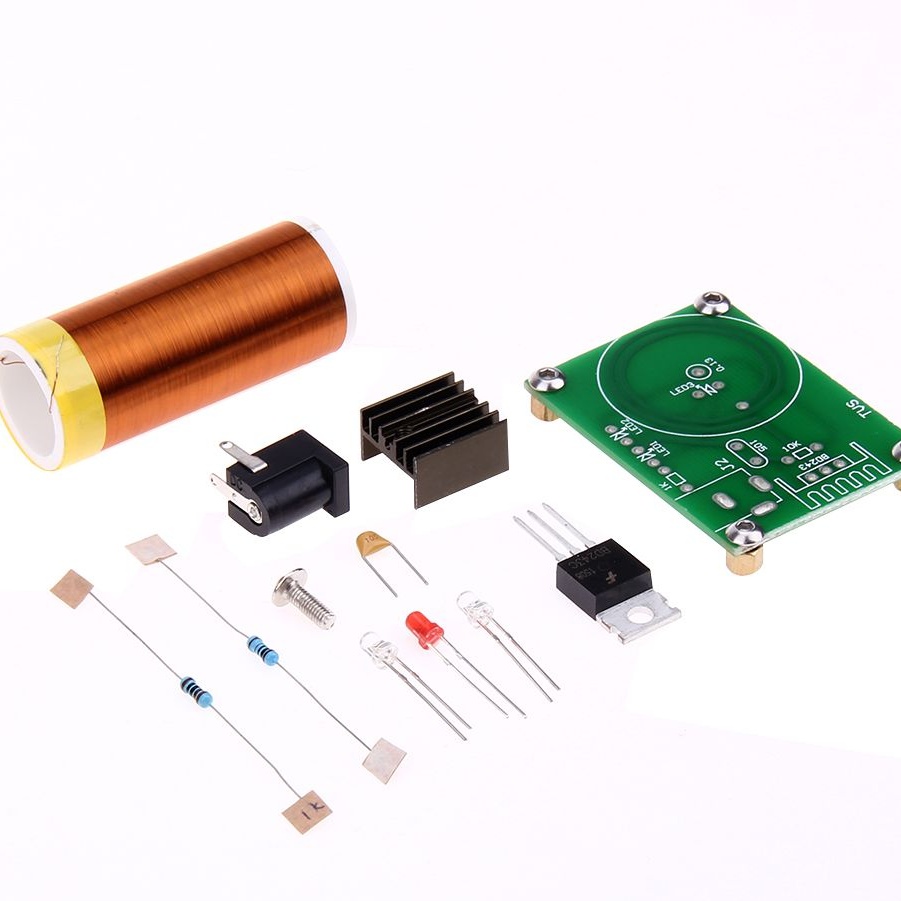
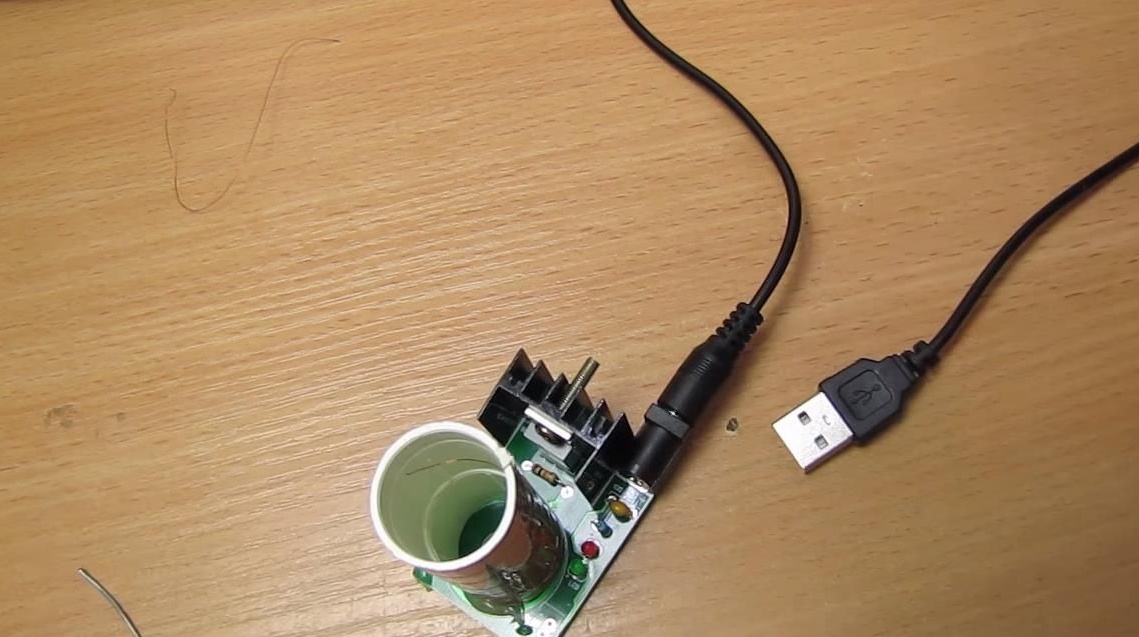
The kit kit includes the printed circuit board on which the places of soldering and the location of all elements are indicated, the finished coil wound on the frame, two resistors, a ceramic capacitor, two LEDs and a neon lamp, a power connector and a BD243C transistor with a radiator. The coil is wound neatly and protected by tape.
For those who do not like to read, I suggest watching a video.
Tesla Transformer Assembly
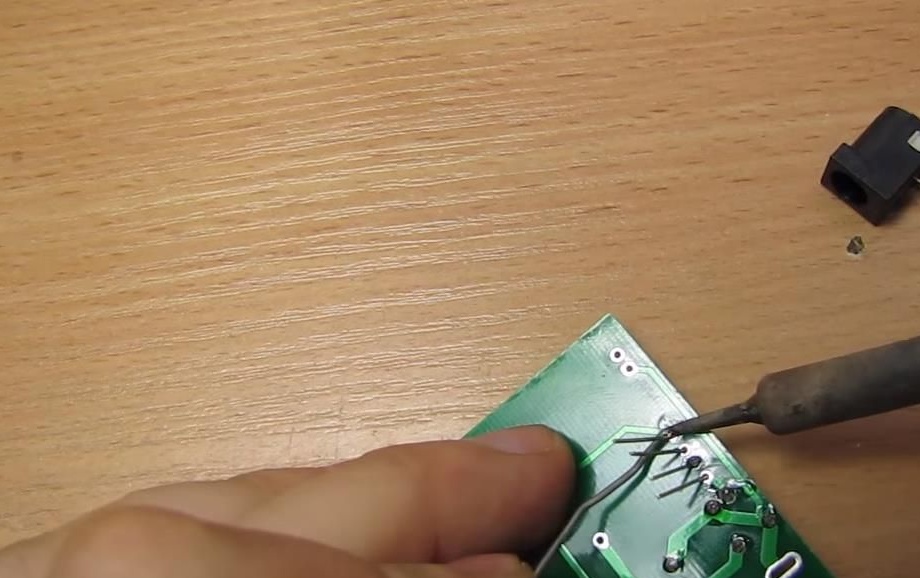
We warm up the soldering iron and first of all install all the components on the board. In this case, we start with resistors and a capacitor, with small parts. In order not to confuse the values, check them with a multimeter. We solder them and bite off the extra antennae.
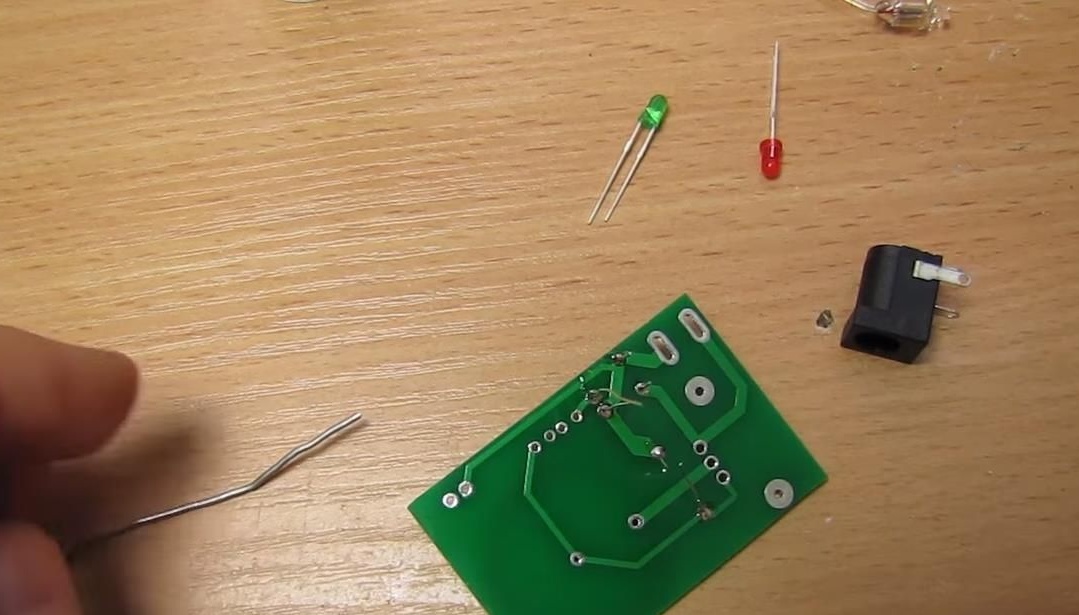
Then we put the LEDs in their place, on the board it is signed where the cathode is, where the anode is, the main thing is not to mix it up.

Next, we apply thermal grease to the radiator, attach the transistor and fasten it with the screw that comes with the kit. Then we put the finished transistor in its place and solder it in the same way.
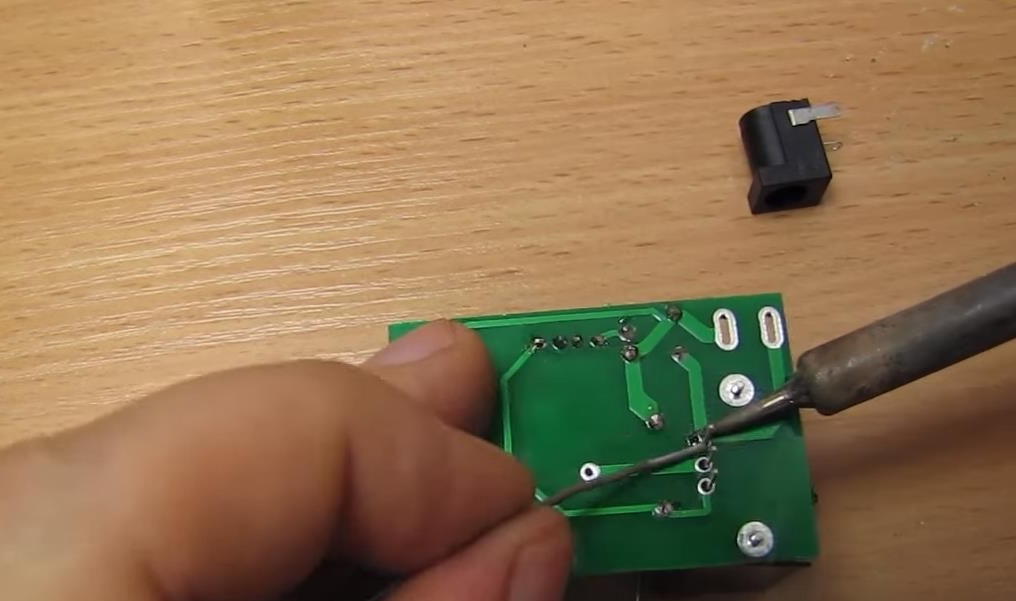
Well, solder the power connector in its place. The side leg from it can be broken off so that it does not interfere, it is superfluous.
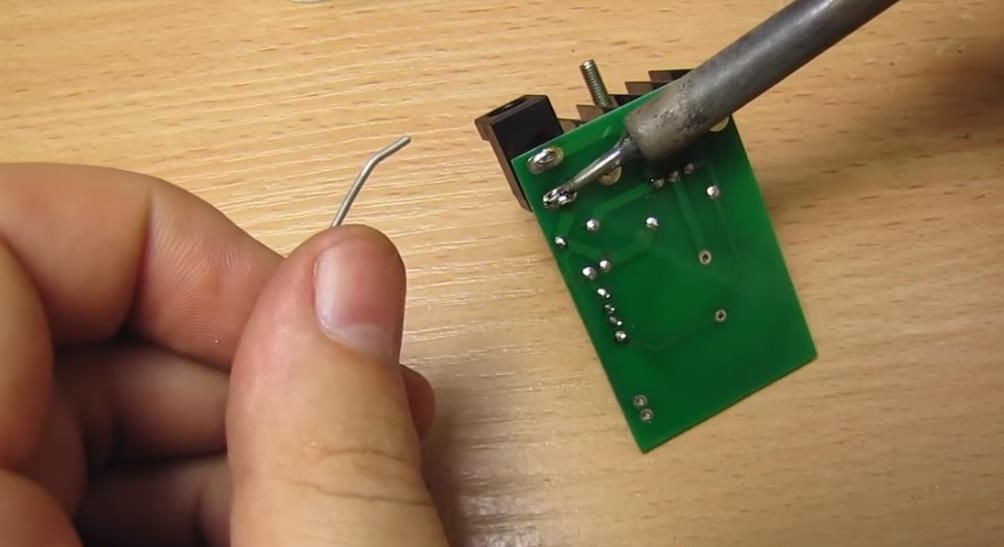
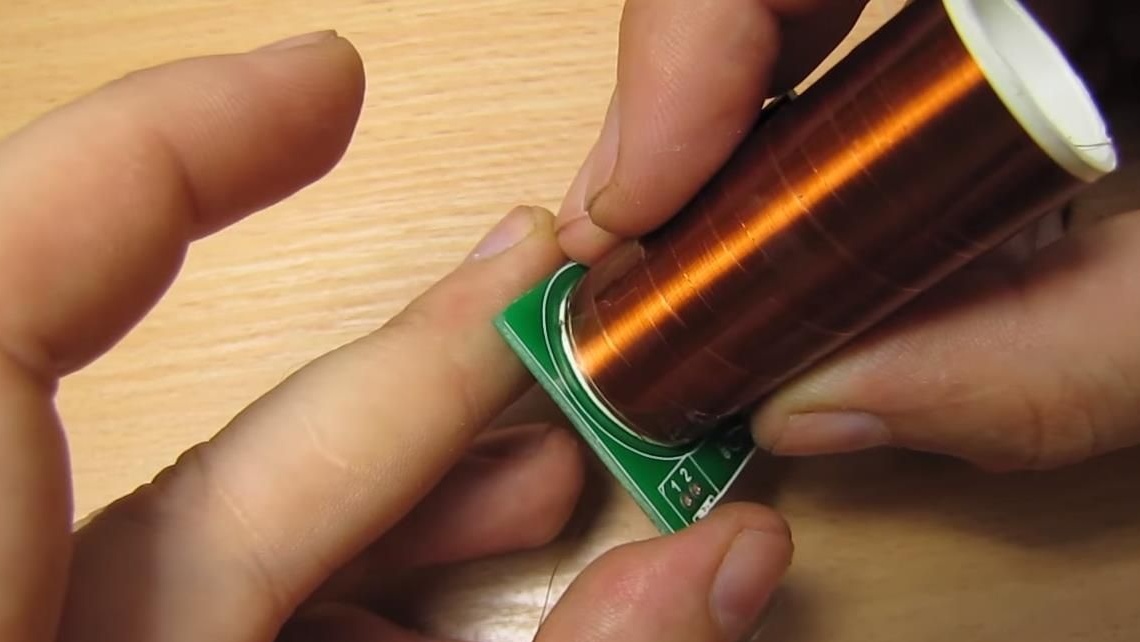
Now it’s time to put the coil itself in place. It does not have a fastener, so you need to thread the wire into the hole, and glue the coil to the board with super glue, hot glue or fix it in another way. The winding hairs are thin, and the coil on the board rests on only one of them, so it can come off, it is necessary to fix it. Then, on the other side of the board, solder the wiring into place.
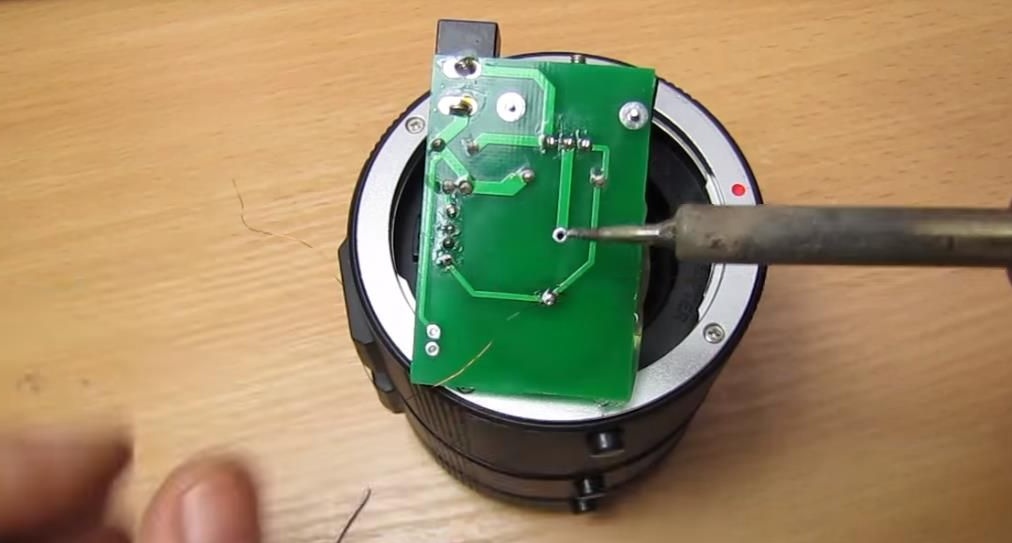
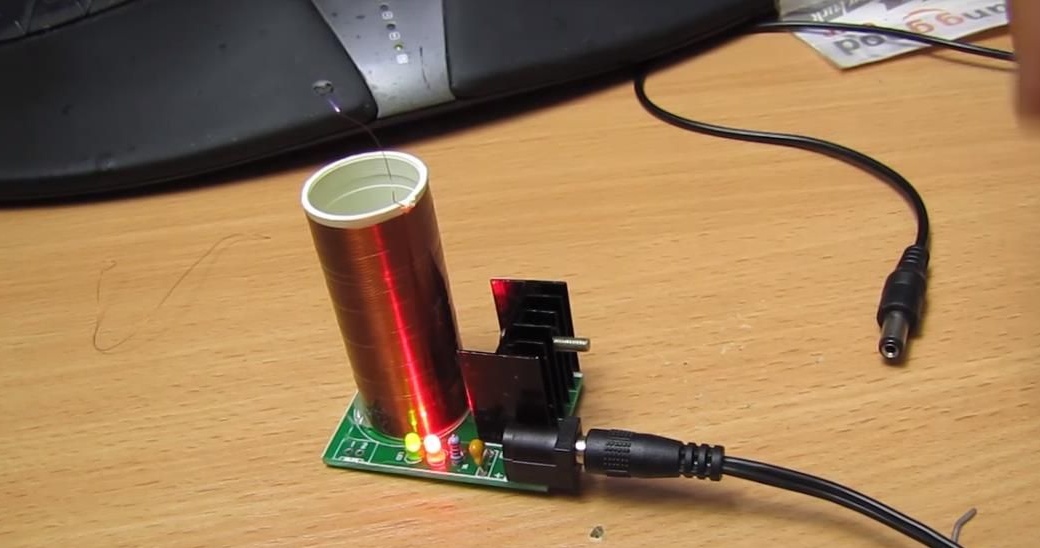
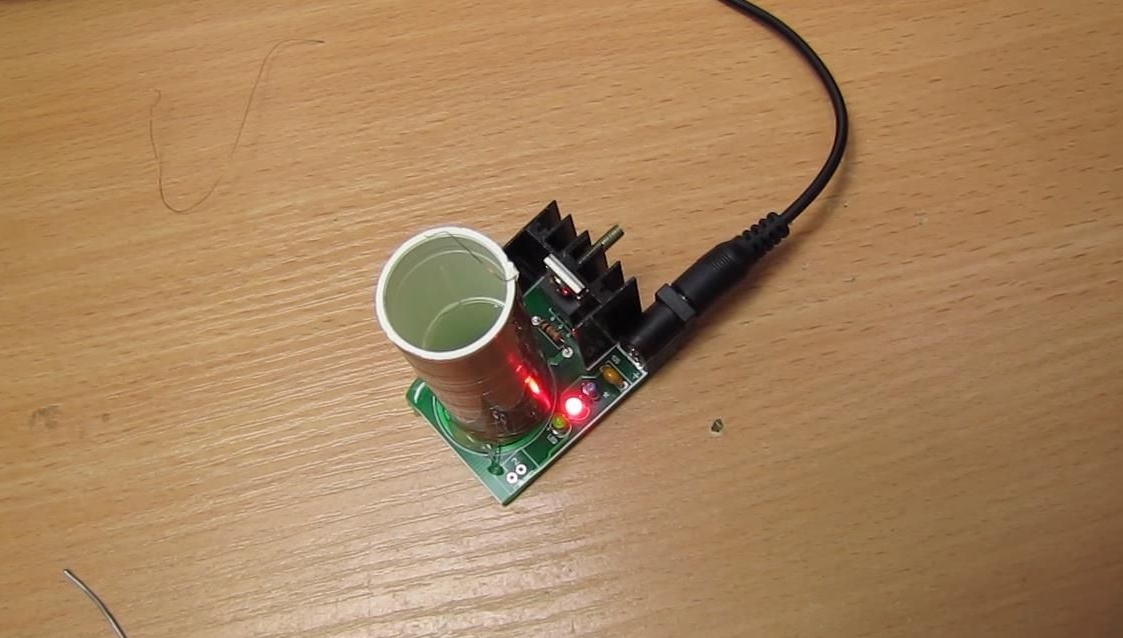
After all the components are in place, the transformer can be checked.To do this, we connect 12 volt power to the board, you can use the unit from the television receiver or another power source with this voltage.
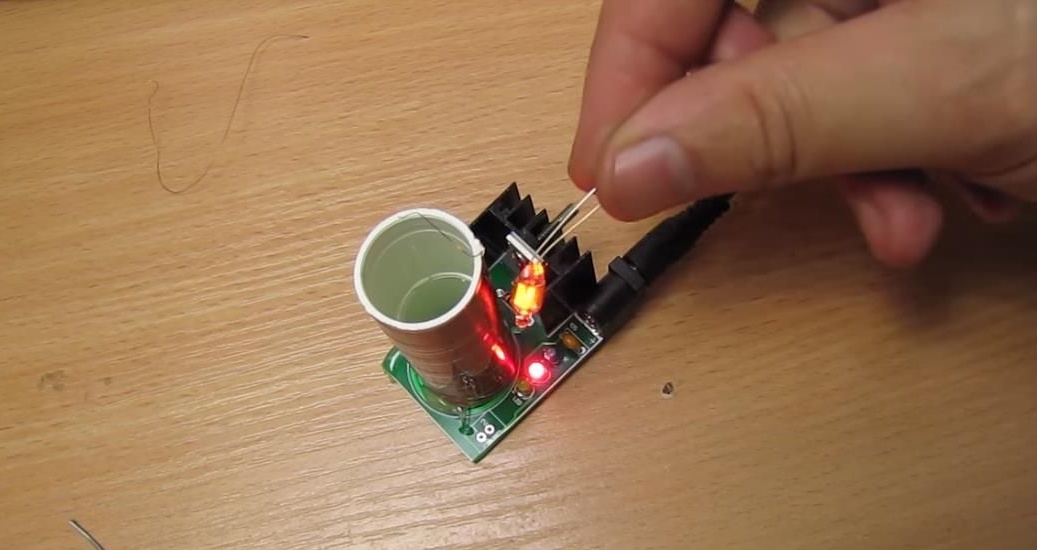
If everything is assembled correctly, after connecting the power, the red LED should immediately light up.
Now you can start the test. There is a neon lamp complete with transformer parts, you can bring it to the coil and see how it starts to glow.
That's all, I advise you to order for general development!