
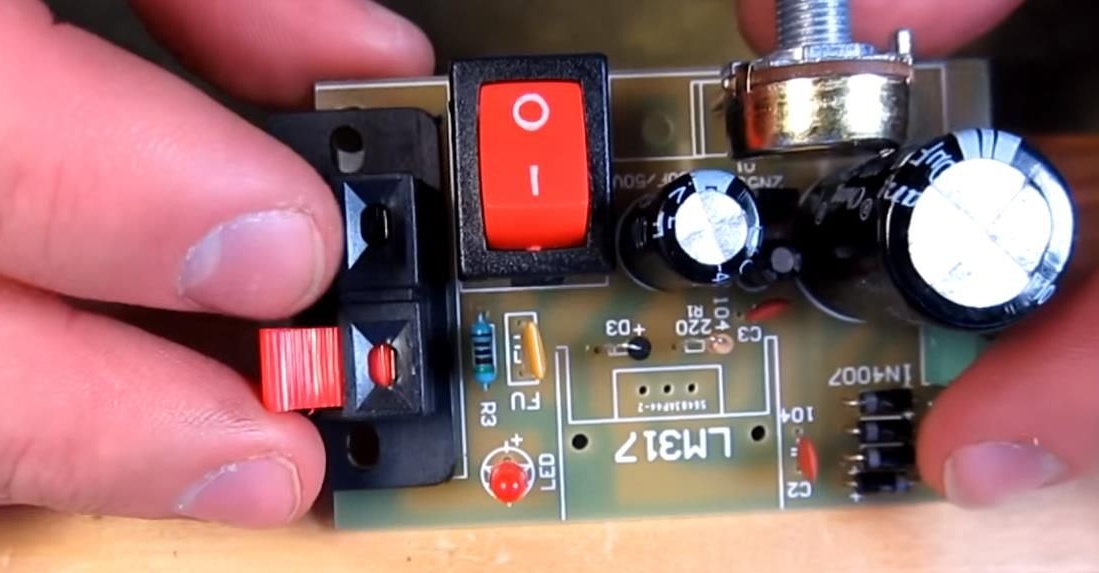
In finished form, the power supply looks like this:
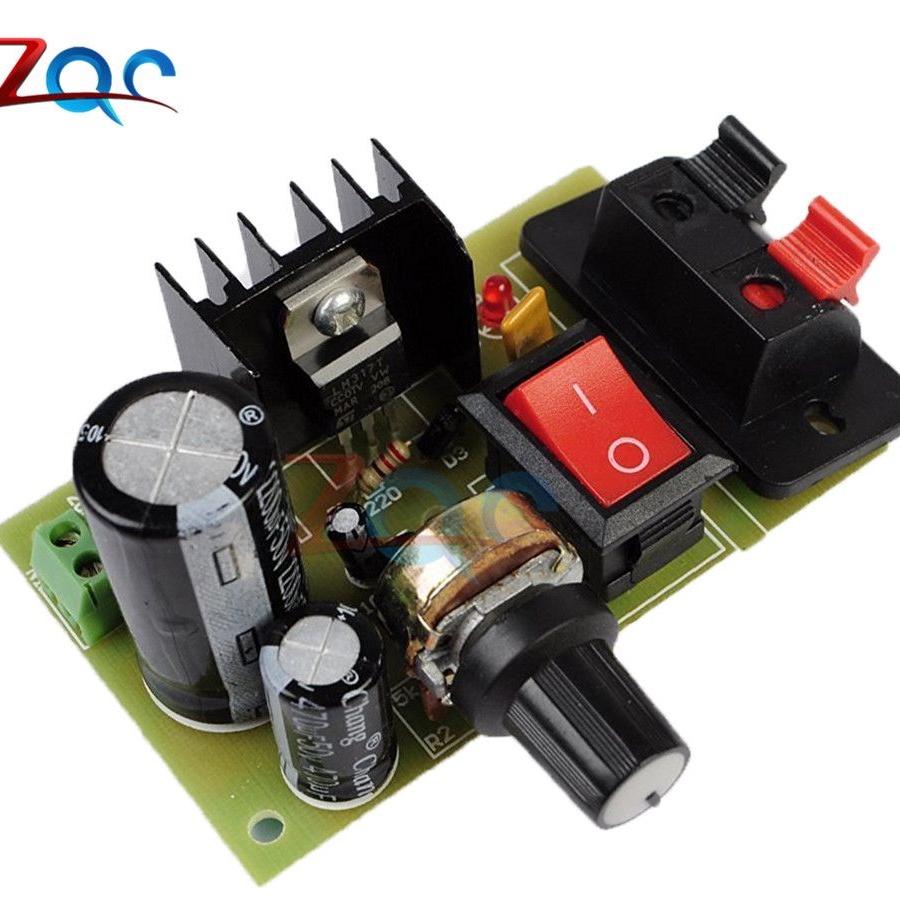
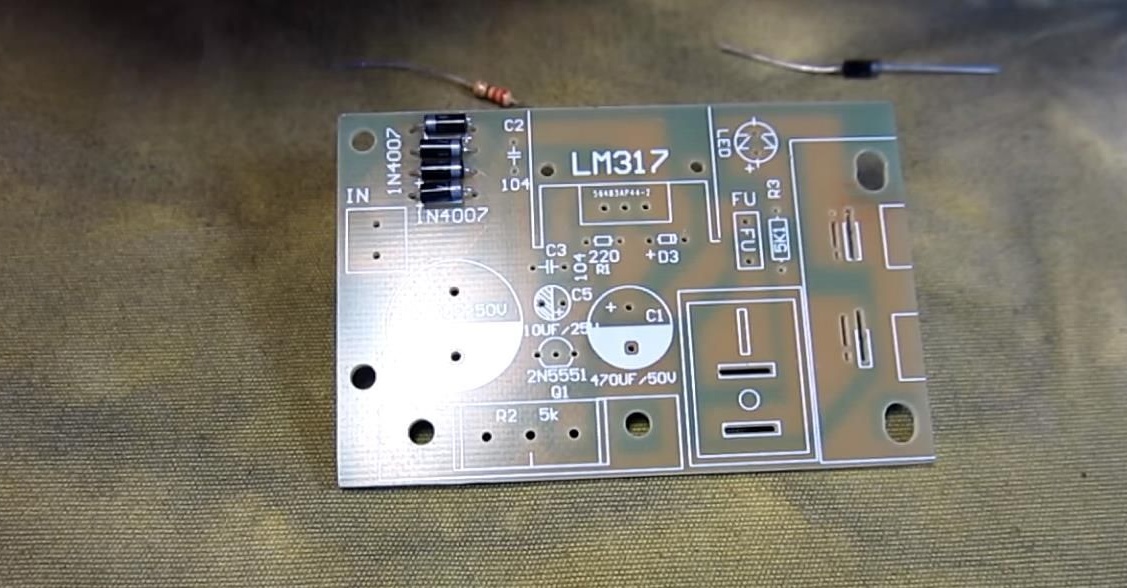
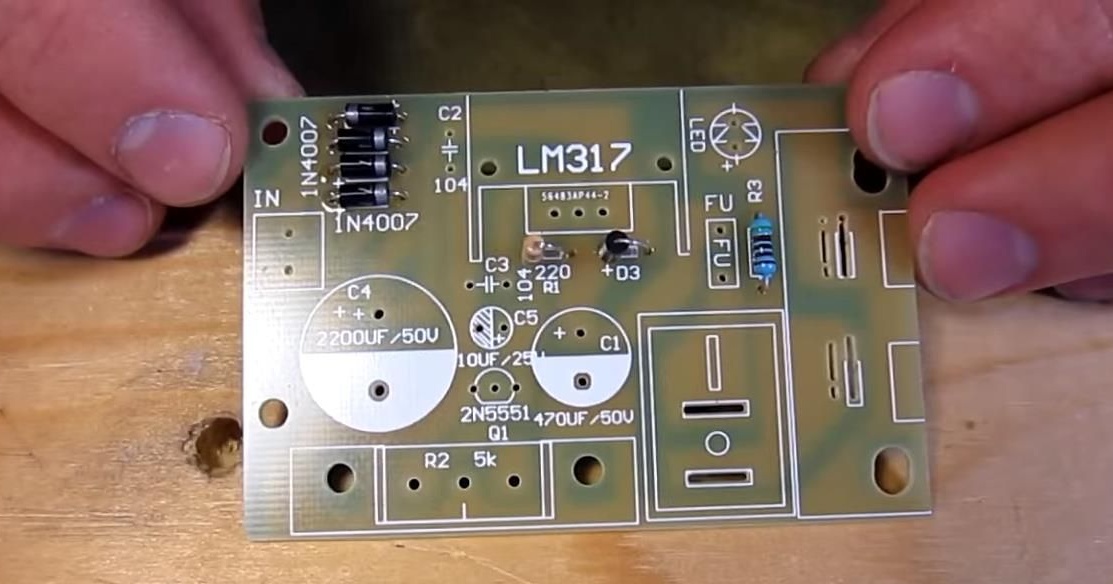
On the printed circuit board that comes with the kit, the installation locations of the parts and their ratings are completely painted, as well as the anode and cathode of the diodes and + - capacitors.

Preparing and assembling a power supply
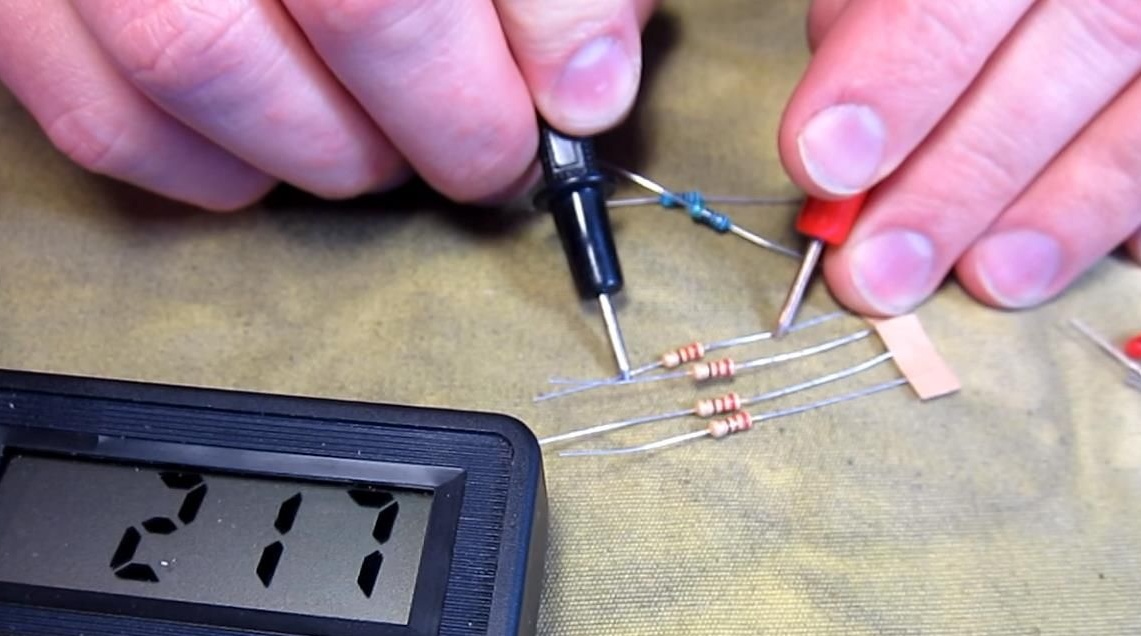
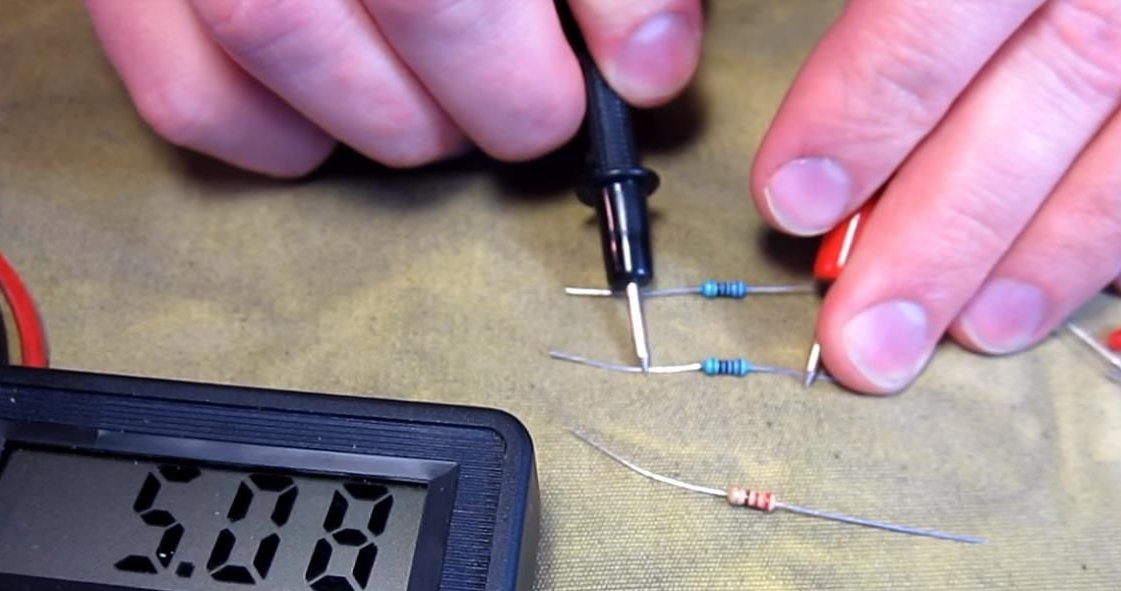
First of all, you need to take a multimeter and check the ratings of all resistors. The seller put as many as 6 resistors at 220 Ohms, for the circuit only two are needed, this is a huge plus, they will come in handy.
Next, we collect the diode bridge, consisting of diodes, bend the legs and insert them into the holes. Be careful, the correct arrangement of the diodes is drawn on the board, do not confuse!
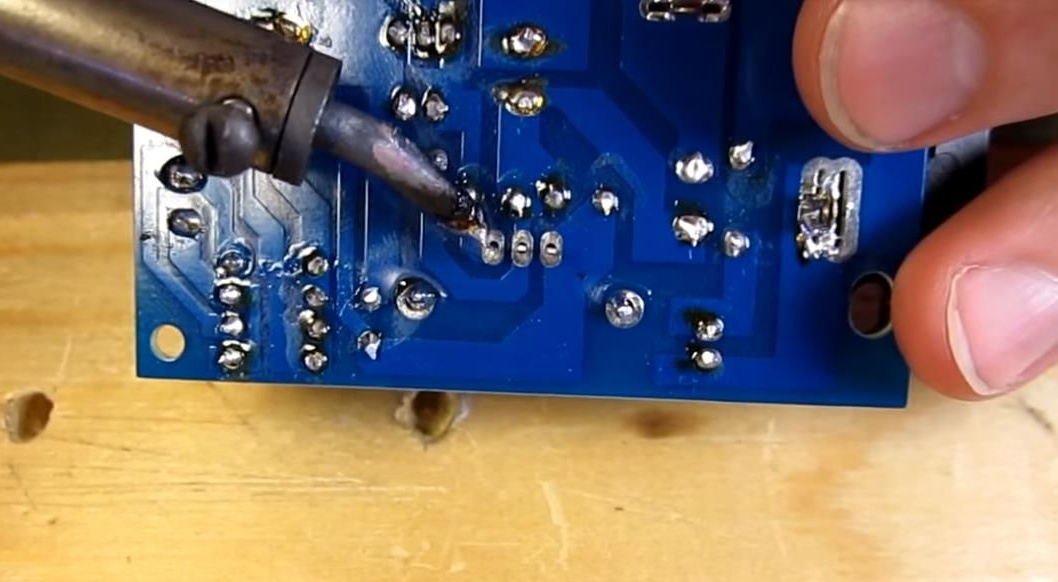
Then we install resistors and a diode on our meta, also without confusing the ratings. We solder them and bite off the extra antennae.
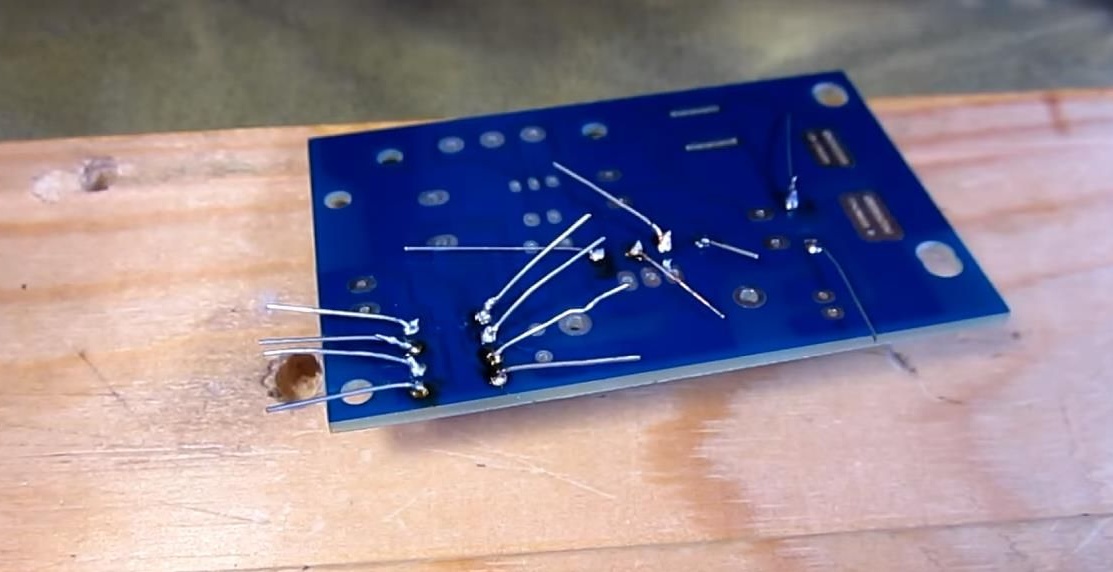
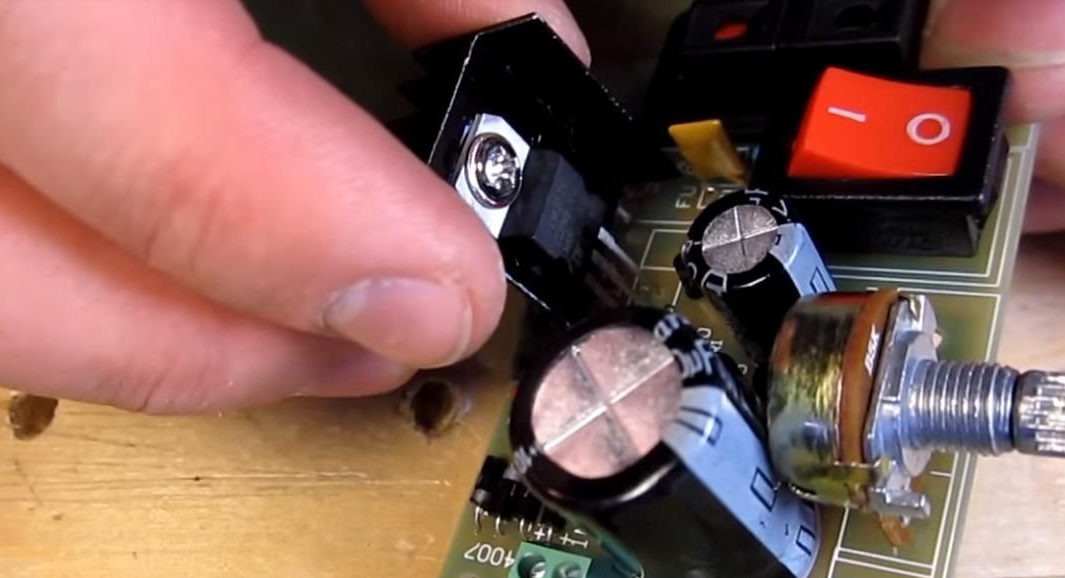
Next, we install two ceramic capacitors, a fuse, an indicator LED, a transistor and other components on the board. We also solder everything and remove the extra mustache.
We lubricate the heat sink of the LM317 stabilizer with thermal grease and fasten it to the radiator, which is also included.
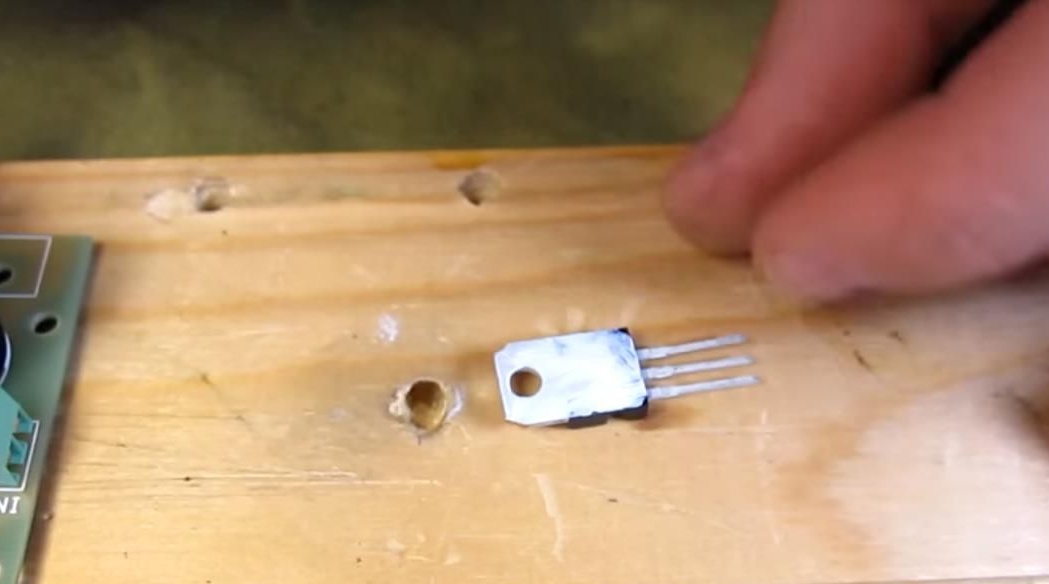
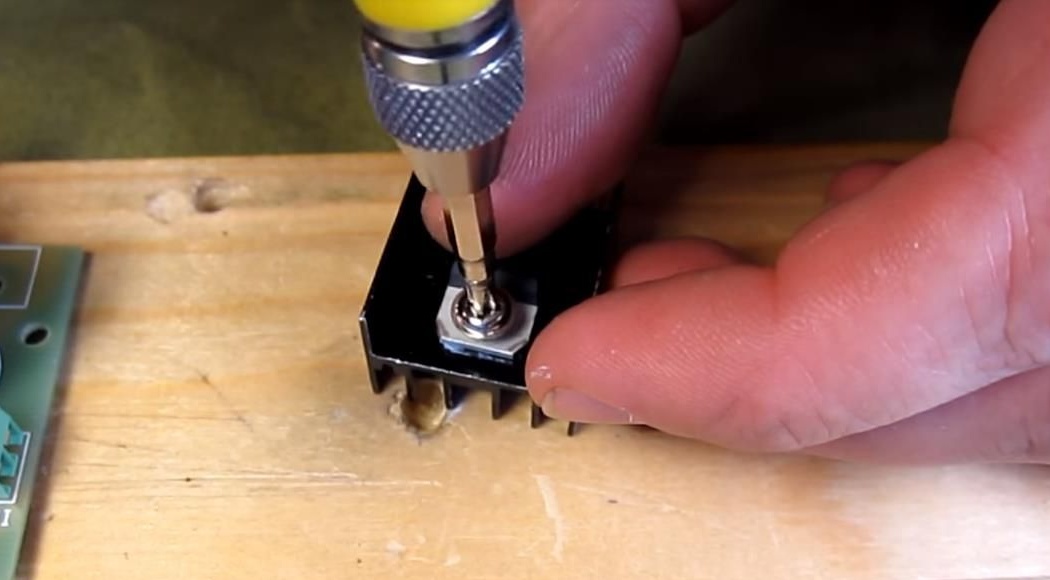
Then we solder all this design on the board as well. For more convenient soldering, you can grab the radiator legs first, and then the stabilizer legs.
After all the parts are soldered, you can proceed to the test. We connect the multimeter to the output of the power supply, and to the input to the power source 12 volts or higher. Variable resistor adjustable voltage.
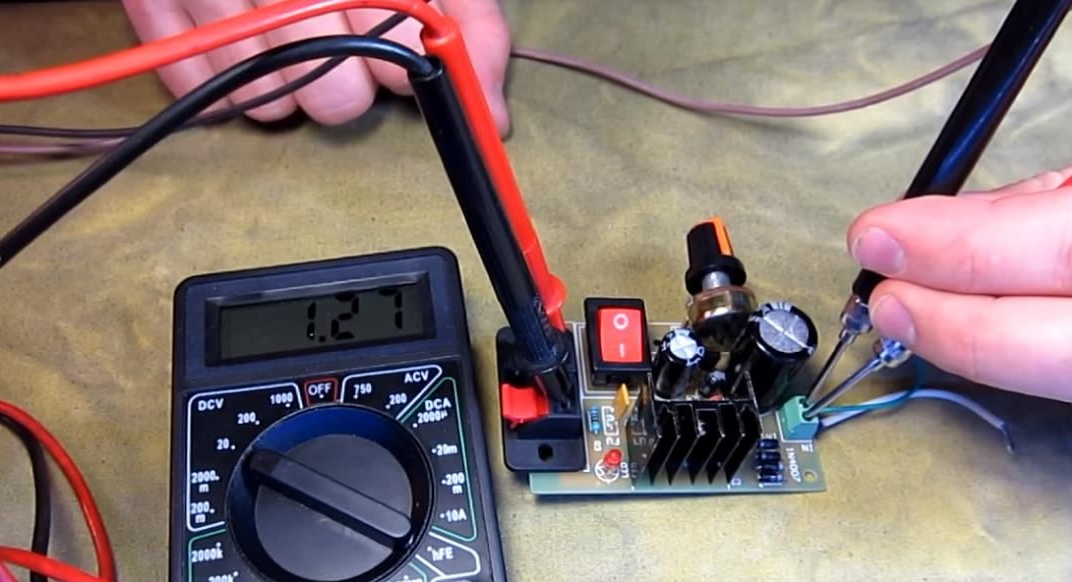

The regulator works great! Optionally, you can put it in any case or install it in the case of an existing power supply and thereby upgrade it. The variable resistor and indicator LED can be lengthened on the wires and fixed to the housing. Also, to increase the sensitivity, you can replace the variable with a tuning one, since during the tests insignificant nuances in the operation of the resistor were noticed, this does not affect the performance, I can see more about this at the end of the video. In general, a decent decent adjustable power supply turned out, to all the advice, you will get great pleasure from the assembly!