


Hello, dear visitors of the site!
IN one of my old publications I talked about a makeshift, very effective, mousetrap. Its principle of action is based on the instincts of rodents. The mouse is simply not able to pass a hole without exploring it! Therefore, as personal practice proves, mice sometimes fall into this mousetrap even without bait !!! And if the mink smells delicious too !! Well then, rodents pulls into this hole, like a magnet! ))) And then the thread blocks the passage! But a rodent - that's why he is a rodent !!!
 He will immediately try to cut through this "barrier" ... The spring is released and ... The tail sticking out of the mink will not scare away other mice. Rather, on the contrary - they will hasten to explore the neighboring minks, of which they also smell delicious, until their "more successful" girlfriend eats what she found first and does not start for them herself ...)))
This mousetrap is good for everyone! And efficiency. And "reusability" (which is very convenient if you decide to install it somewhere in the country, where you rarely come). And safety for all but mice ...
But she has one, very significant drawback - it is rather inconvenient to charge her !!
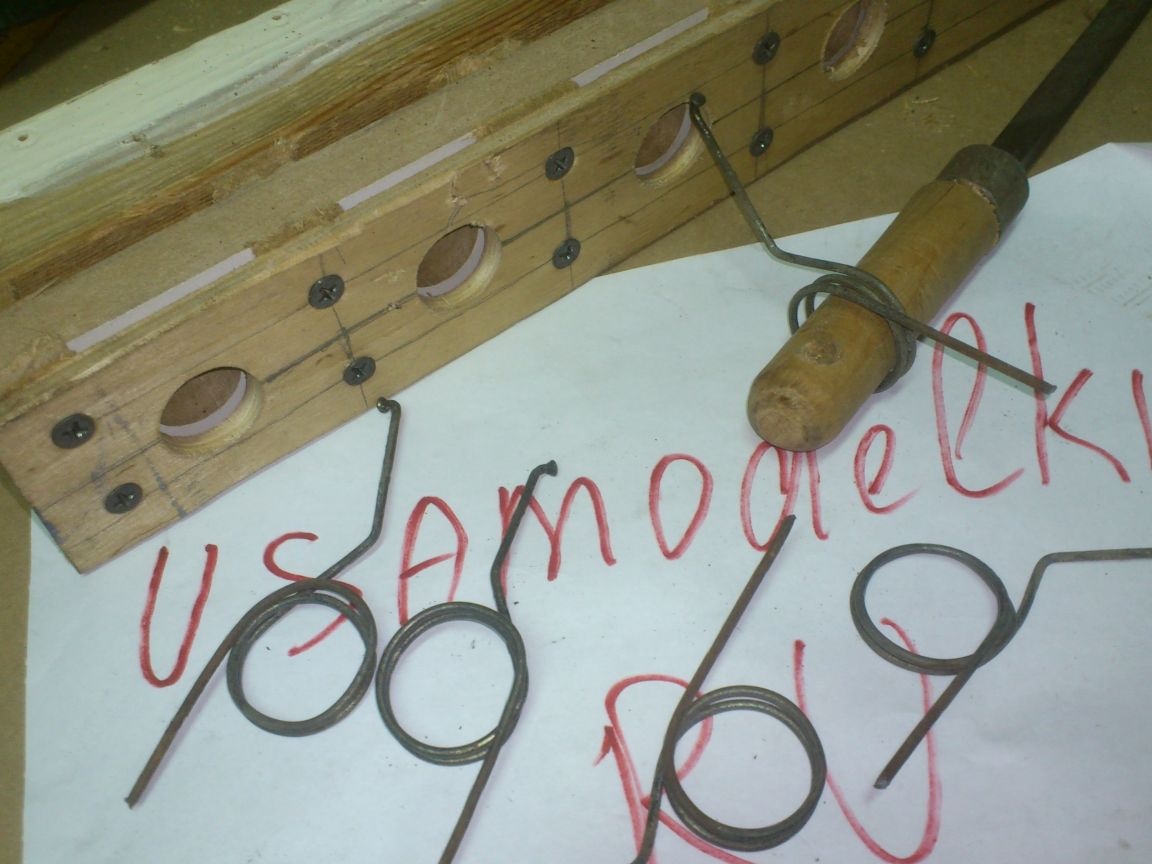
Indeed, in order to recharge the triggered cells, it is necessary to compress the spring, fix it by inserting something of a suitable diameter into the hole (I used the file handle). And now we need to thread the thread through two thin holes in the wood, which is not so simple! For this I used a huge, as we call them, "gypsy" needle. But it happened that it was just not at hand ... Yes, and on sale I have not met them since the days of the USSR ...)))
And then, when the thread is threaded, you need to tightly tie the tightened spring. And it often happens that the knot, as you don’t tighten it, relaxes (there’s nobody to hold with your finger!))))). And, after the spring was released, the file handle was taken out of the mink, sometimes it turned out that the wire loop overlaps the entrance by half, and is not hidden in the slot, as it should be ... I had to cut the thread and tie it in a new ...
But, nevertheless, the mousetrap is still more effective than the purchased counterparts ... And so, somehow one of my good friends asked me to make him the same. Excuse about the fact that I do not have bicycle spokes, did not ride! ))))) He brought me an old wheel:
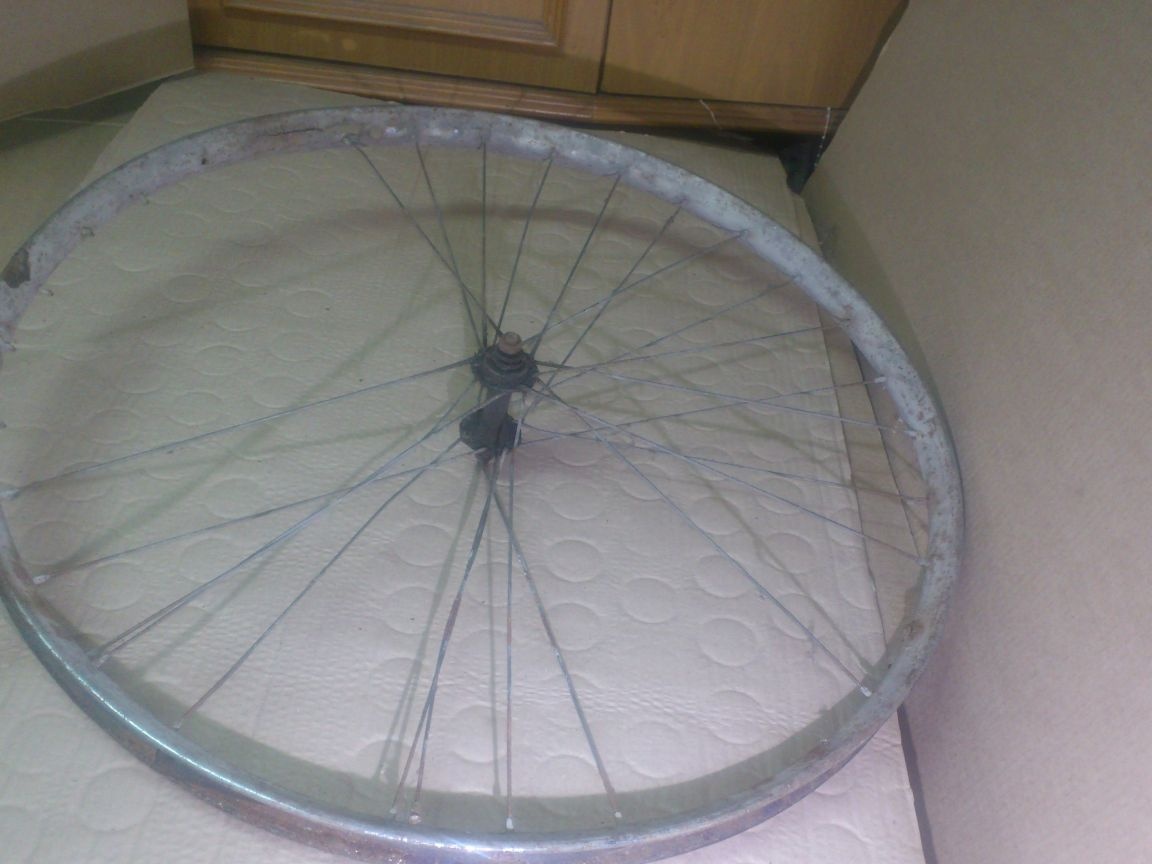
Since it’s difficult to find free time, I decided to just give it mine, and make myself another ... So the motivation will be stronger))))
And so, the "stars came together" and I set about the mousetrap ... And, this time, I decided to minimize, if possible, all of its shortcomings listed above. Namely - to make it so that it was easier to charge it, and so that it would not be necessary to search for some "third-party" fixtures (file, needle). Looking ahead, I’ll say that I did it, but ... as sometimes happens, during the manufacturing process I did everything not as I thought it over, but simpler :)))
I needed the following materials for this:
1. A bar with a section of 50 by 50 mm.
2. Board, section 20 to 50 mm.
3. Strip of plywood, 50 mm wide. (any thickness will go)
4. Pieces of fiberboard.
5. Bicycle spokes.
6 Wood screws, 50 mm long.
7. Thick thread.
8. Strip of sheet steel, 1 mm thick.
9. Thin knitting wire. (I used 0.8 mm).
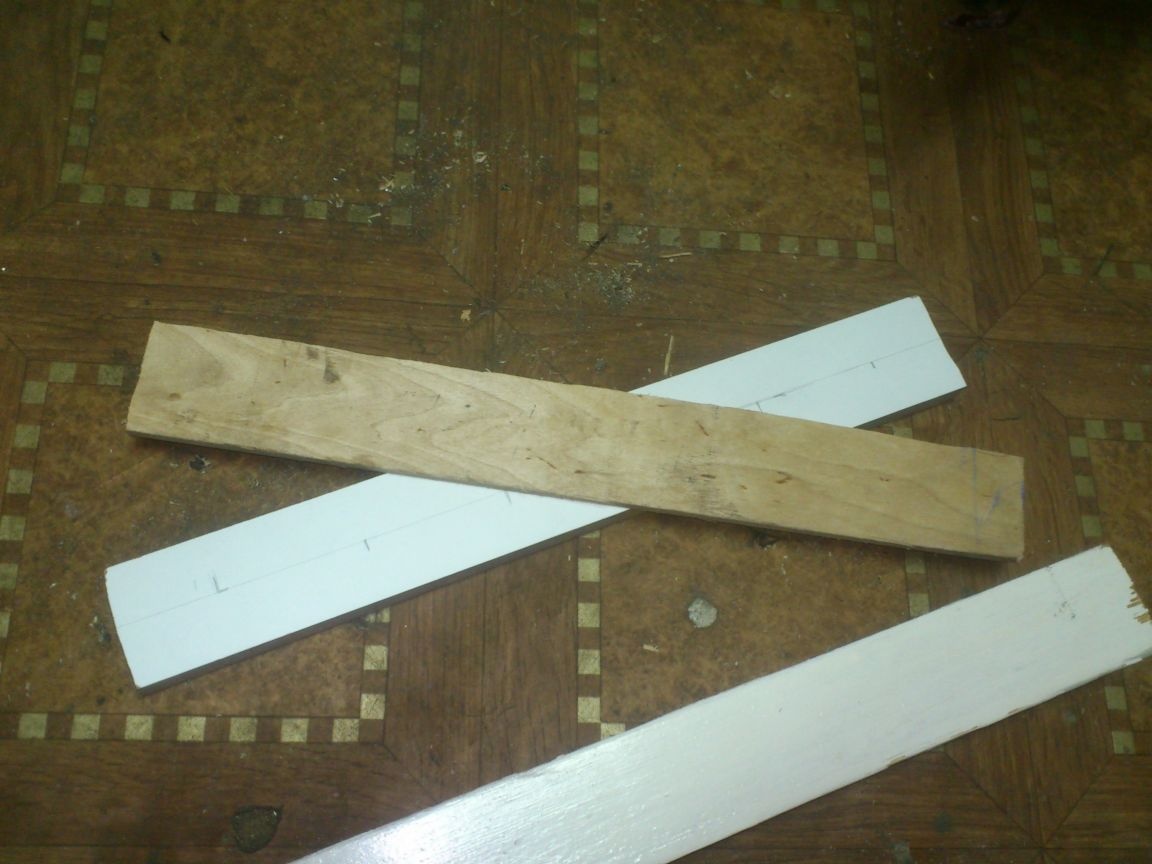
For the first version, I used a large section beam. Now, in order to simplify the manufacturing (and subsequent loading), I decided to make it not from a solid bar, but from individual components. The base itself is made of timber, with a section of 50 by 50 mm. I picked up a fragment of such a beam in my reserves ... (It used to be, apparently, a part of a window box)))
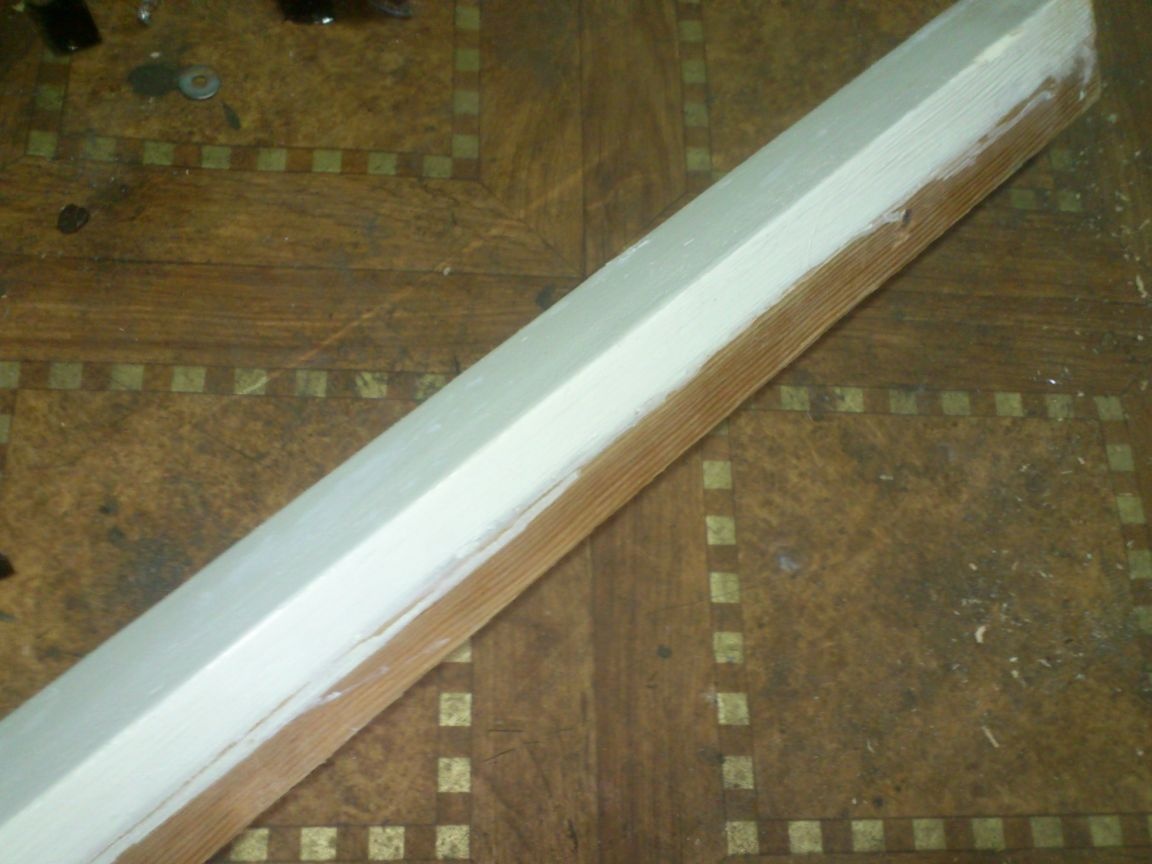
I cut a part from it, length .... in short, about 7-8 cm per mink!
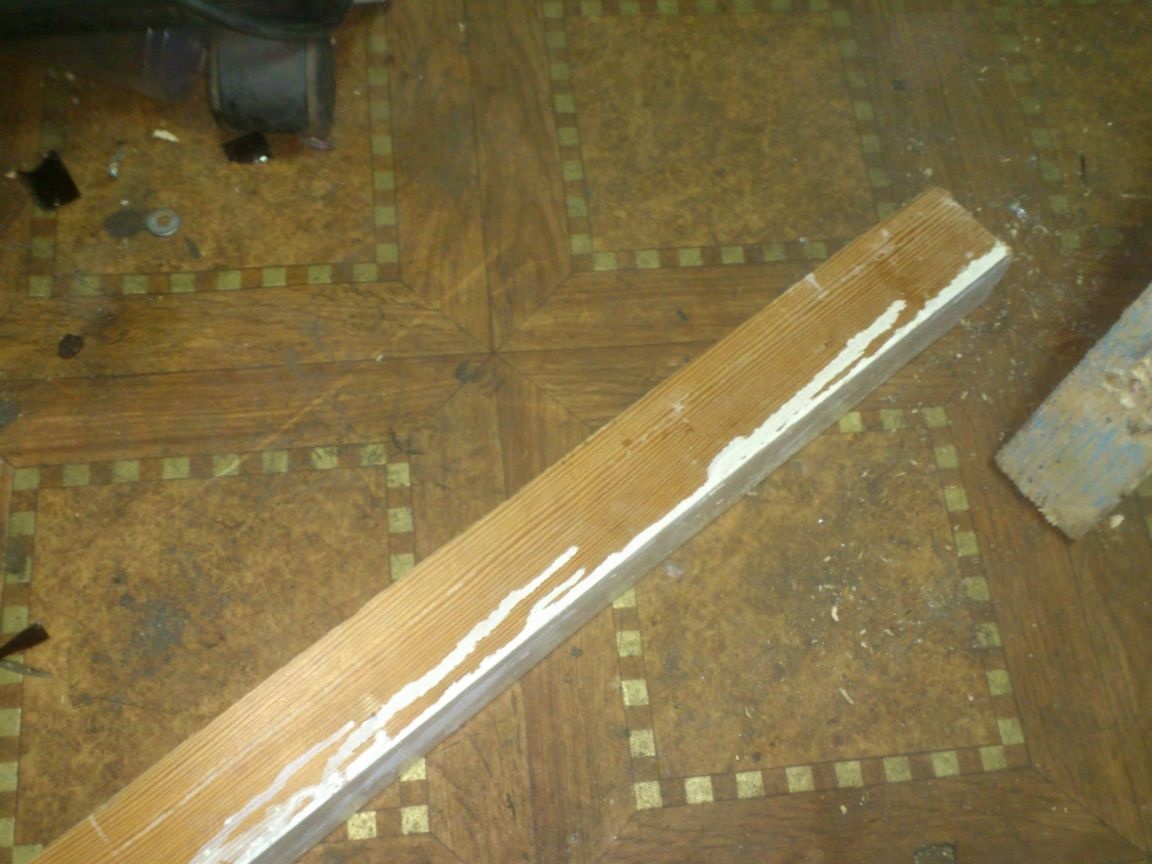
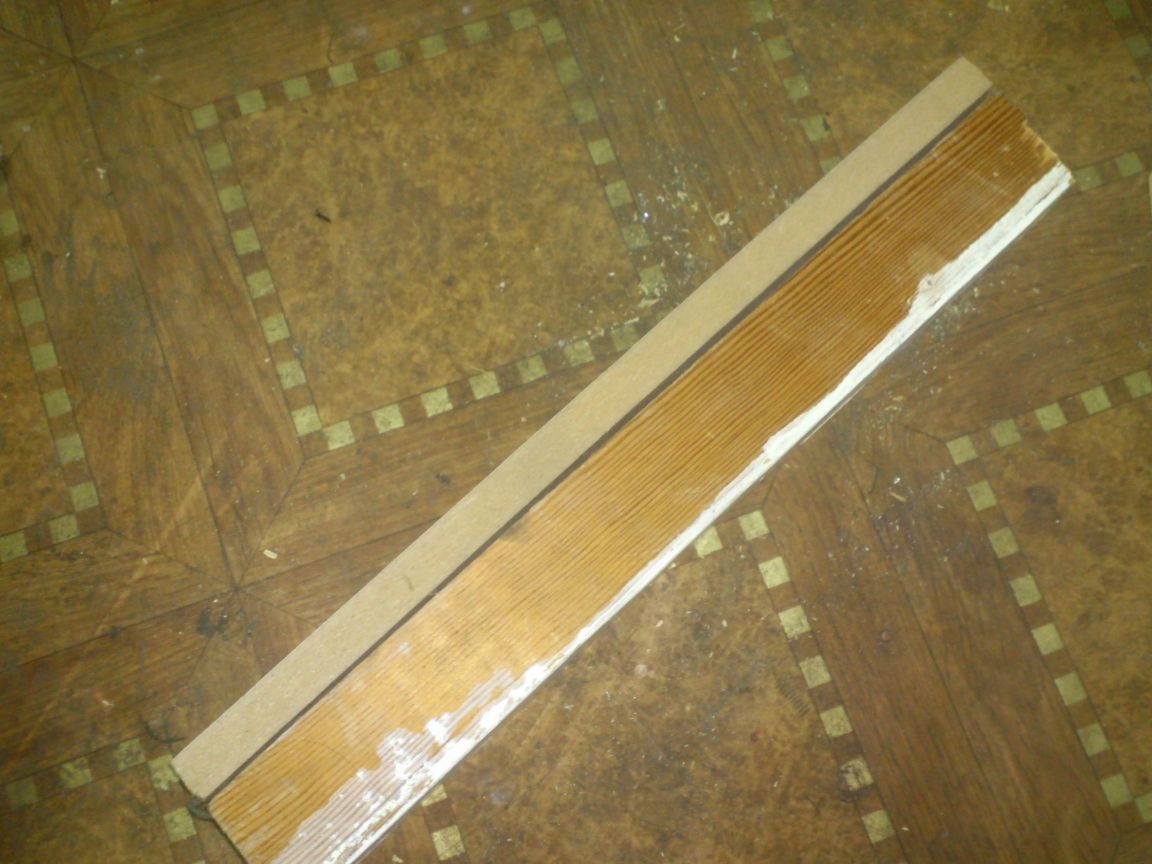
I cut off exactly the same part from the board ... In my case, however, I did not use a board, but a piece of thick fiberboard that fell into my arm (or, as it is now commonly called, MDF). It was just the width and thickness I needed (5 by 2 cm), so I used it:
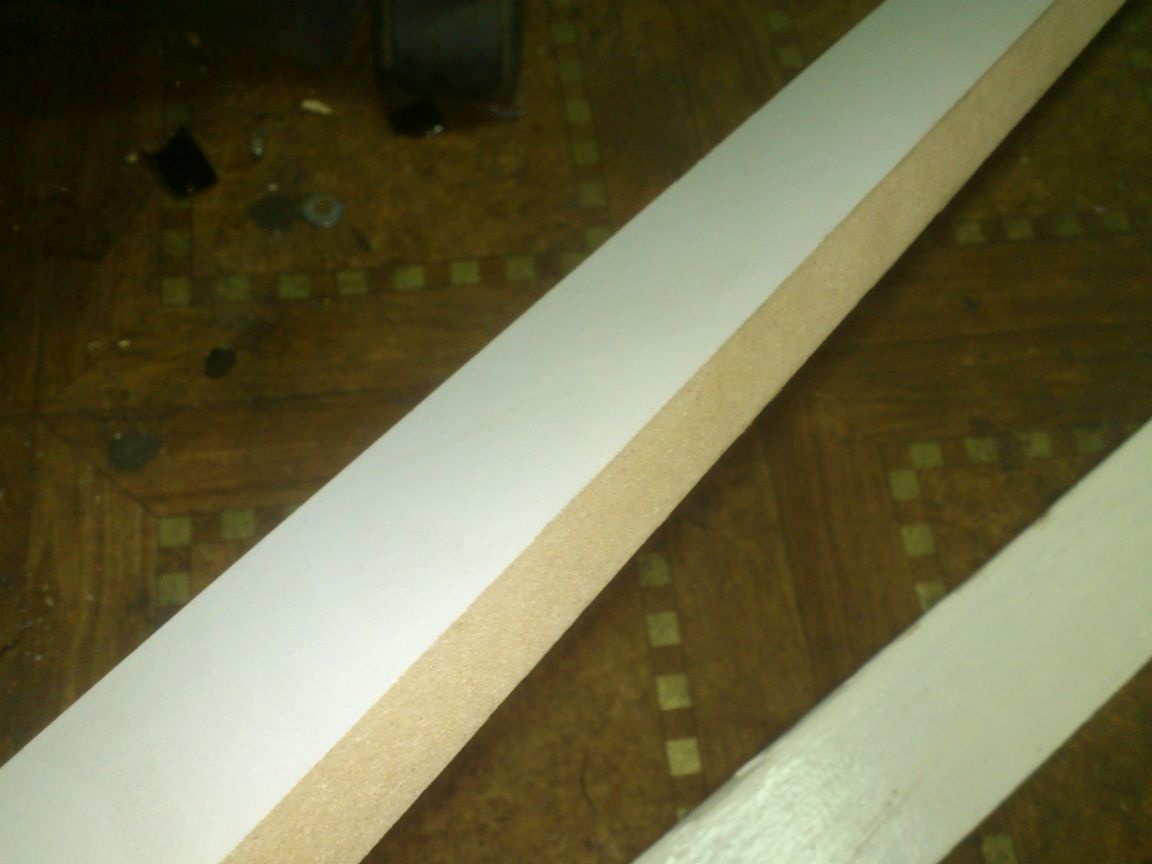
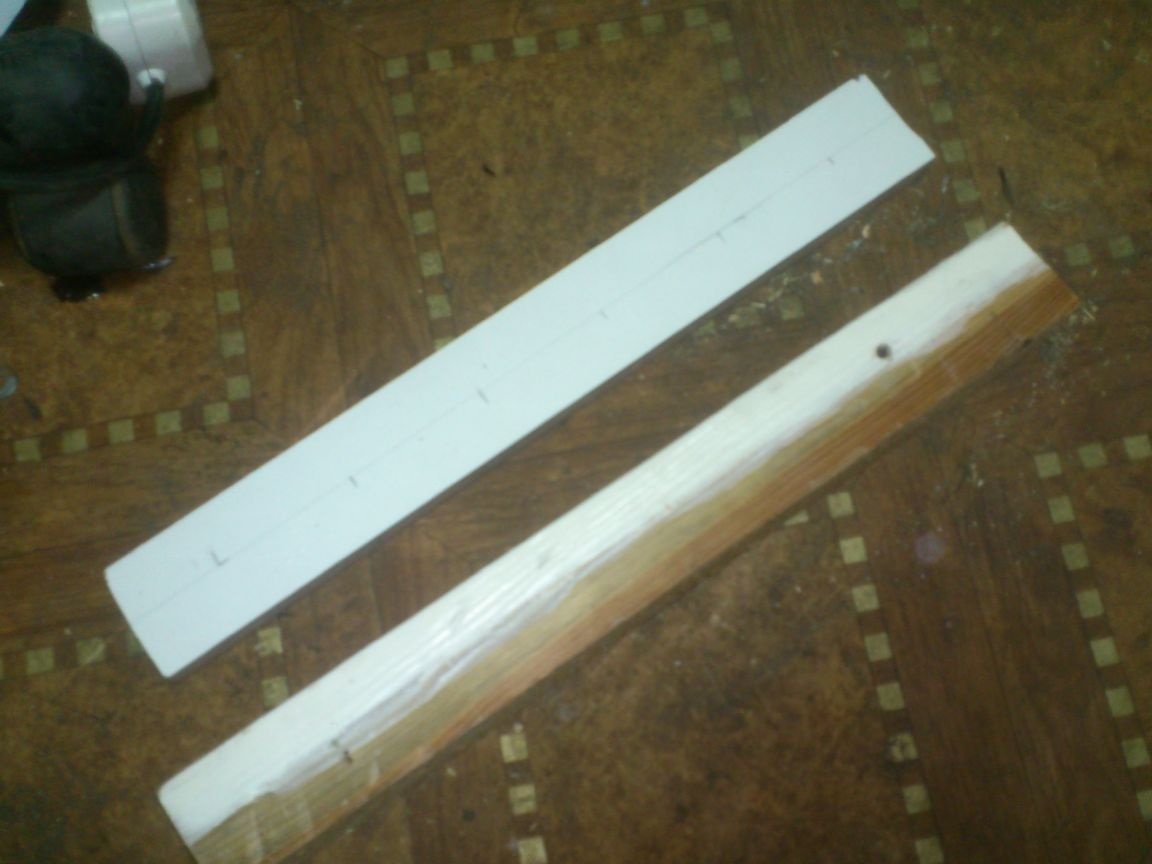
And finally, I cut a segment of the same width and length from plywood:
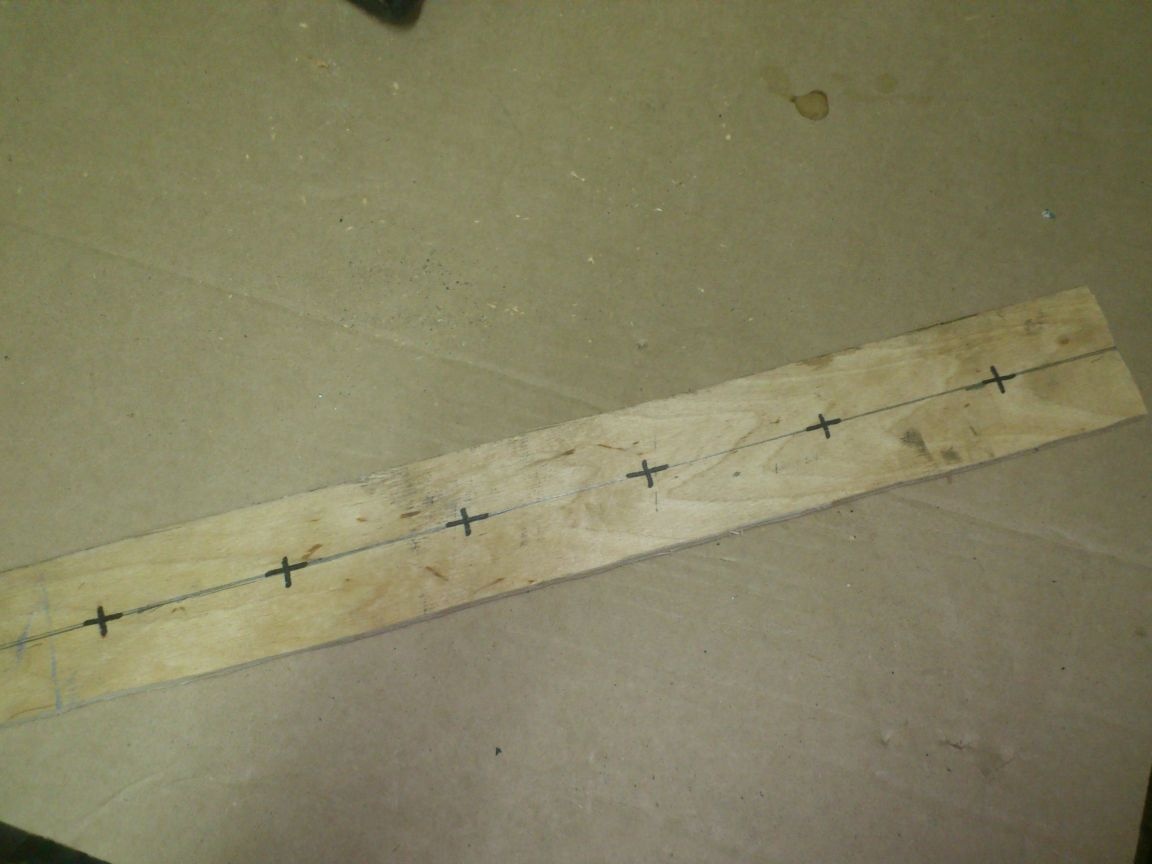
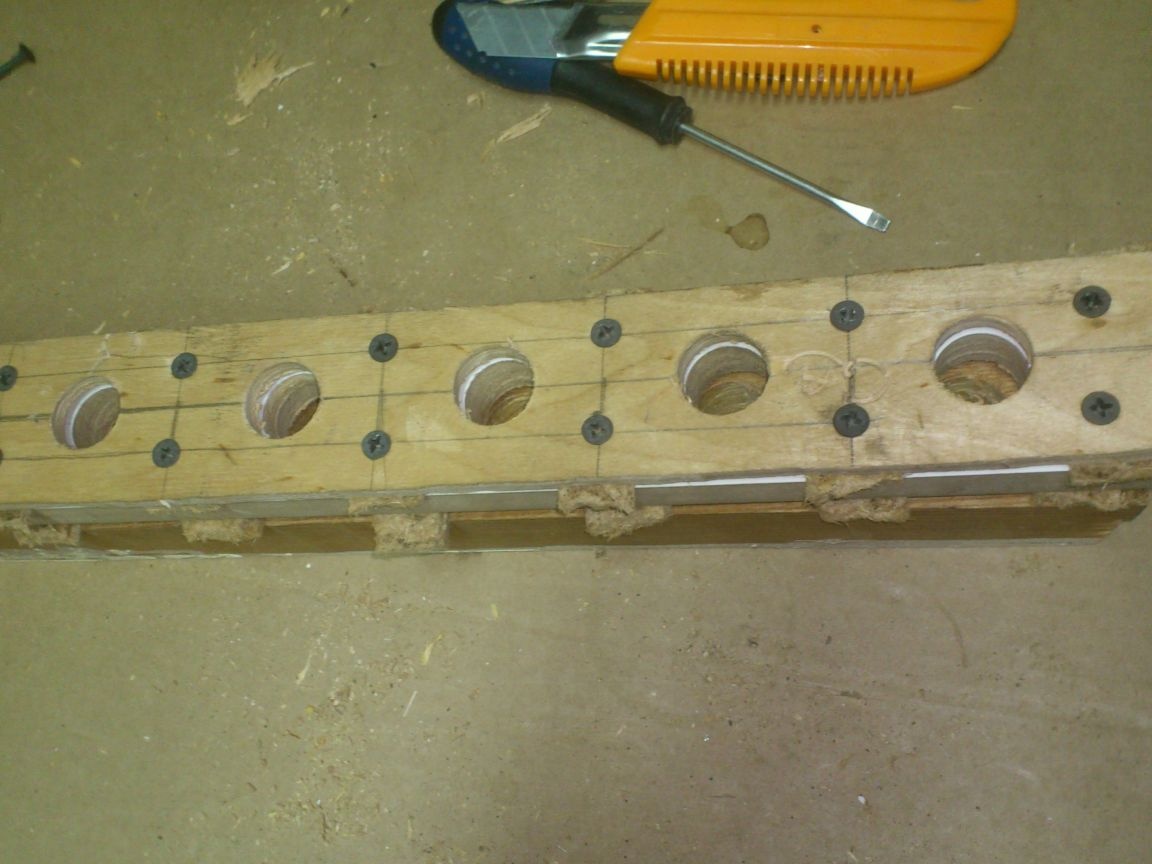
It is plywood that will act as the "front part" of our mousetrap, so on it I marked out the places where I would later drill the "mink":
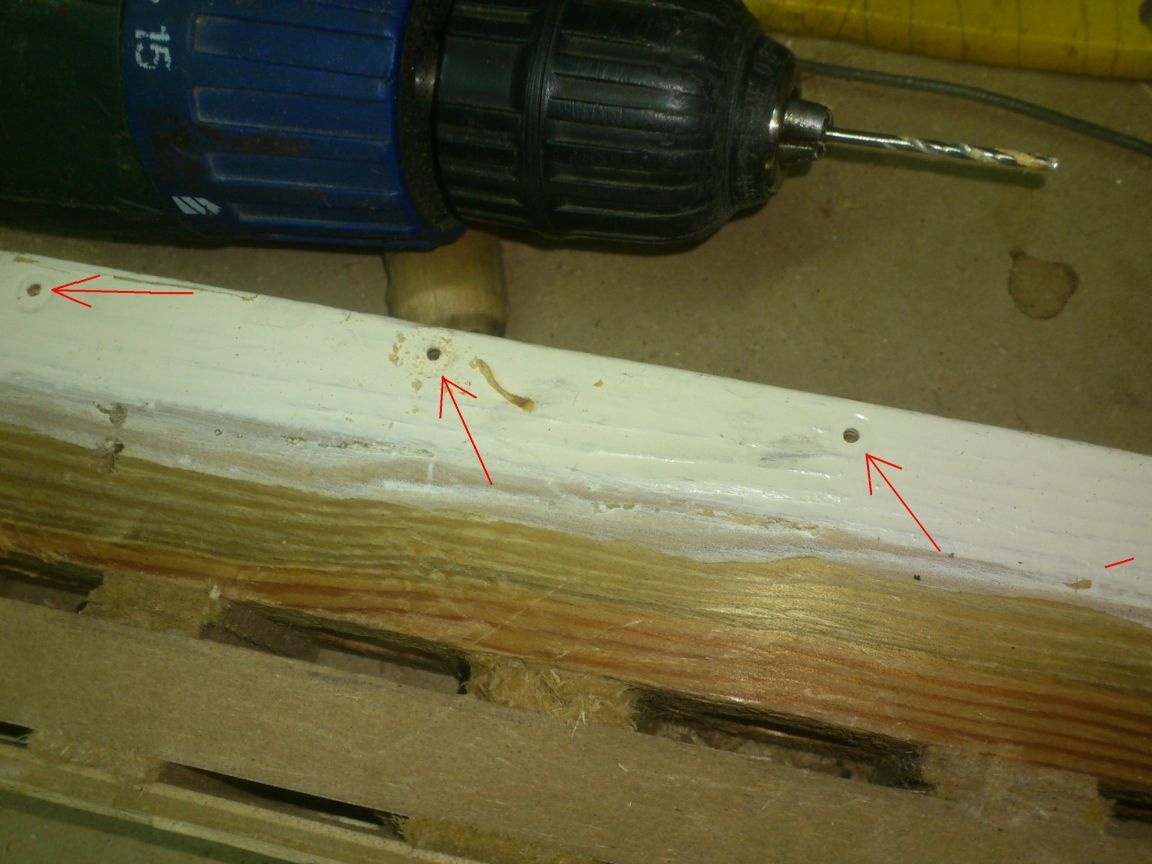
Then I put together a bar, a board and plywood, and fastened this “cake” with four screws, having previously drilled holes in them with a thin drill to prevent splitting:
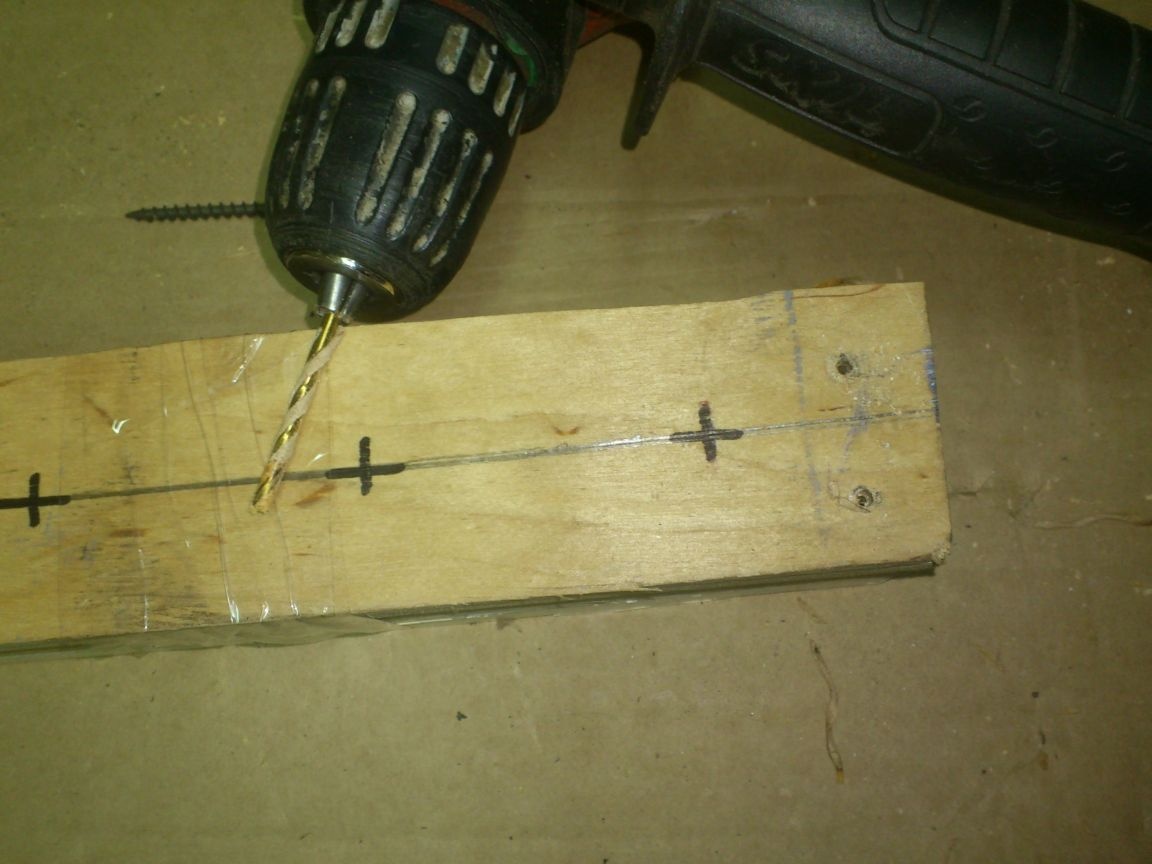
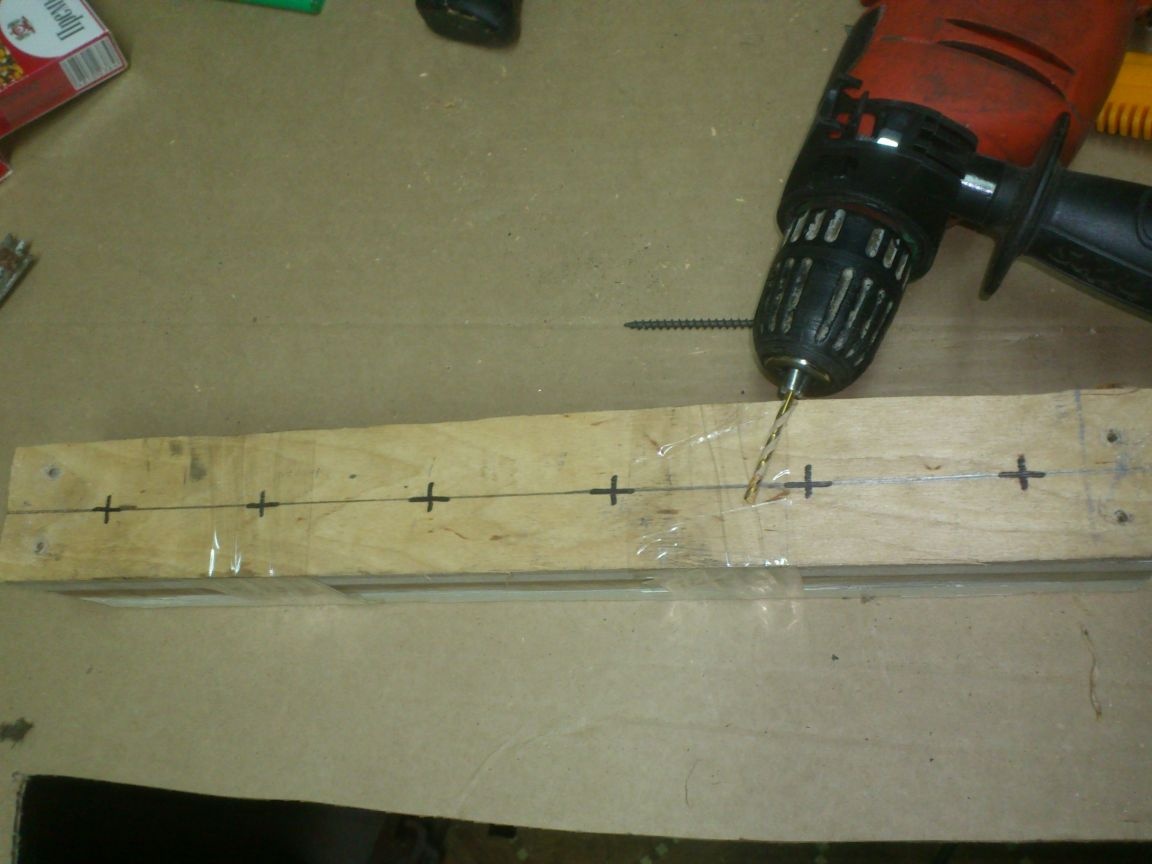
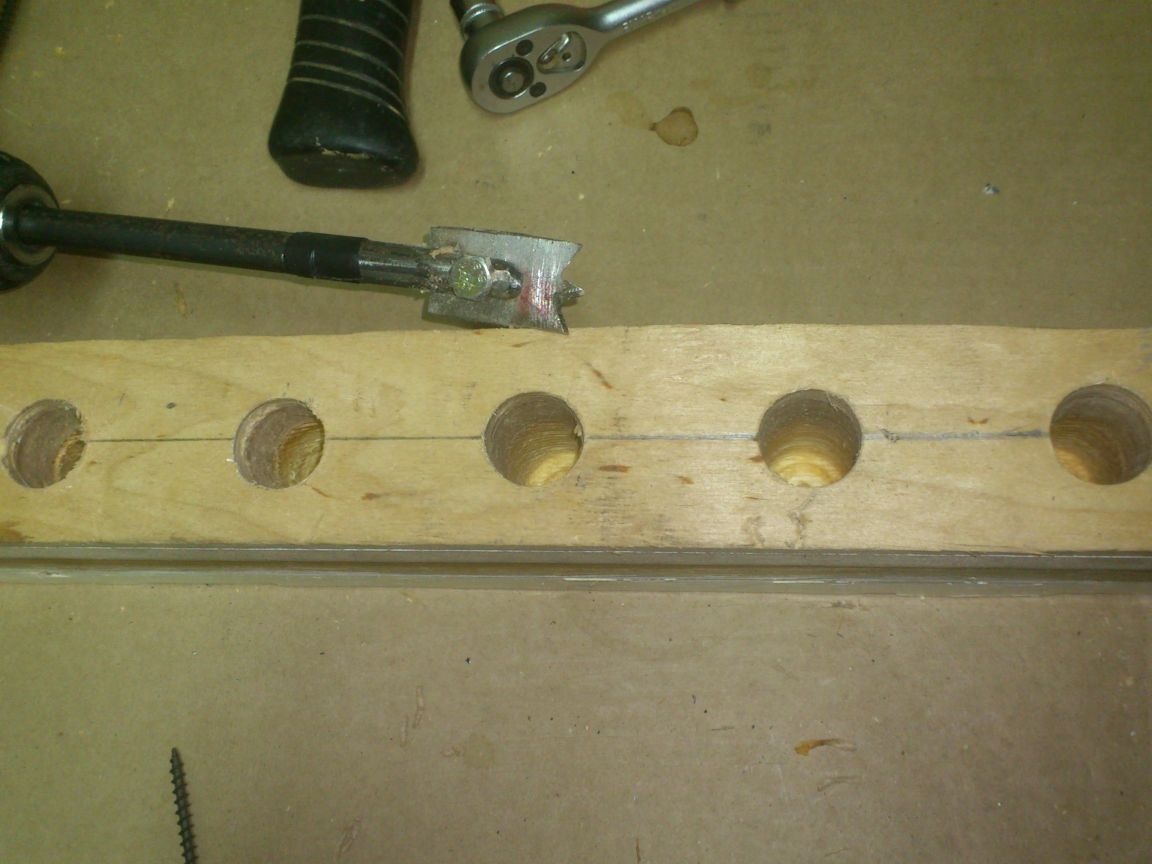
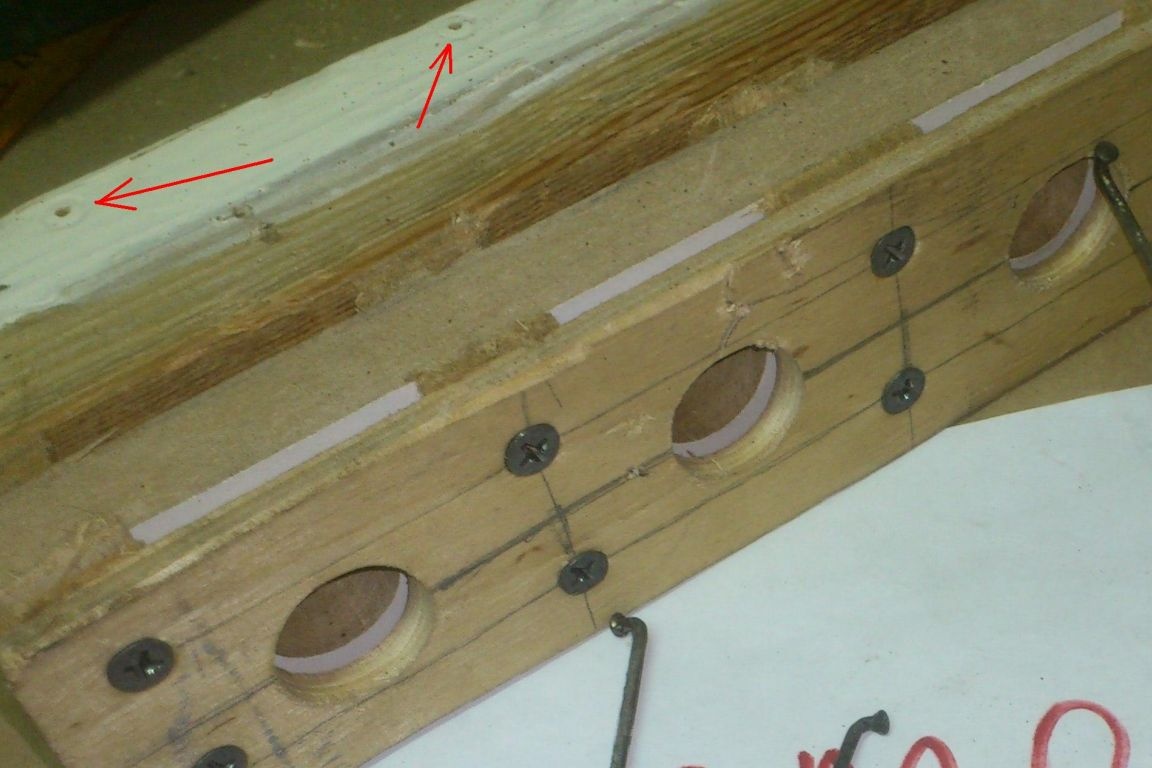
Now you can drill the "mink". (That's exactly what I did about which I wrote earlier. Then I needed a drill with a diameter of 20 mm, but I didn’t have it at hand.))) Minks are drilled “deaf” - it is necessary that their “bottom” does not reach the end of the bar about one and a half centimeters. In order not to drill more or less, I made a mark on the drill stem using electrical tape:
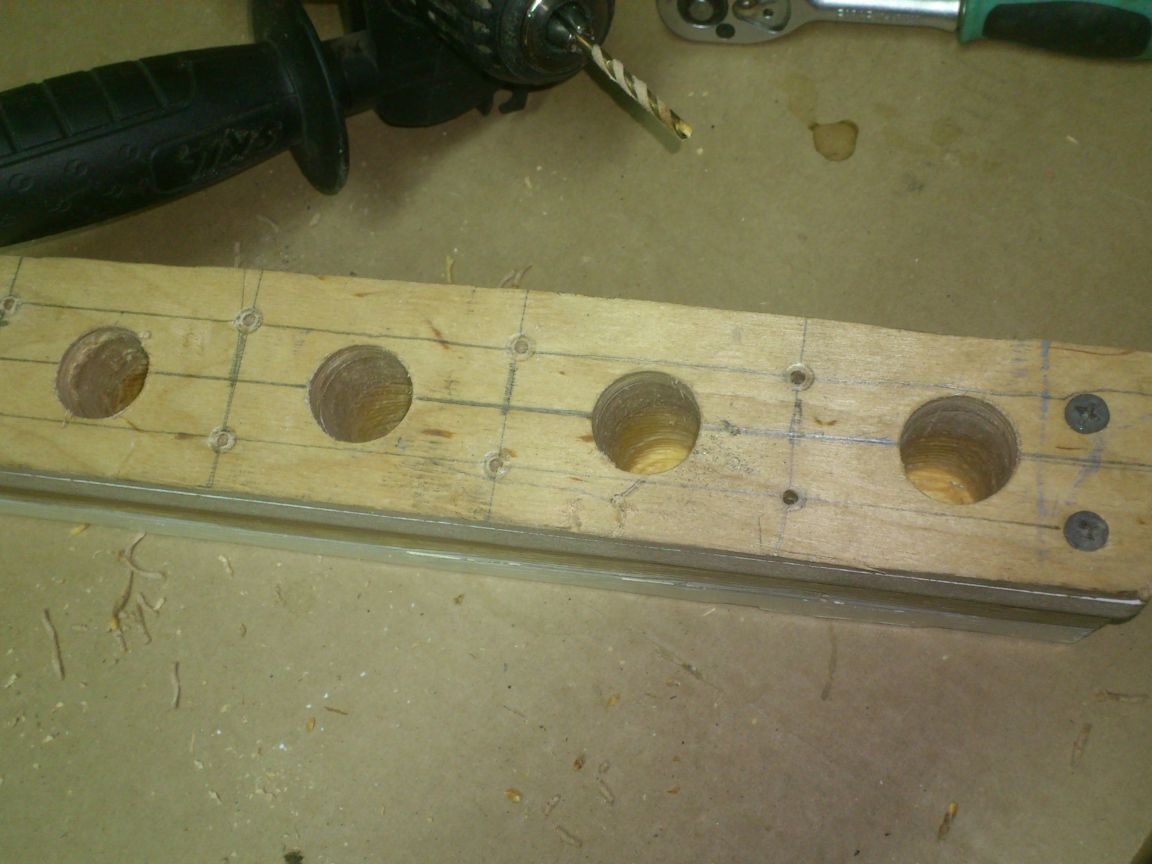
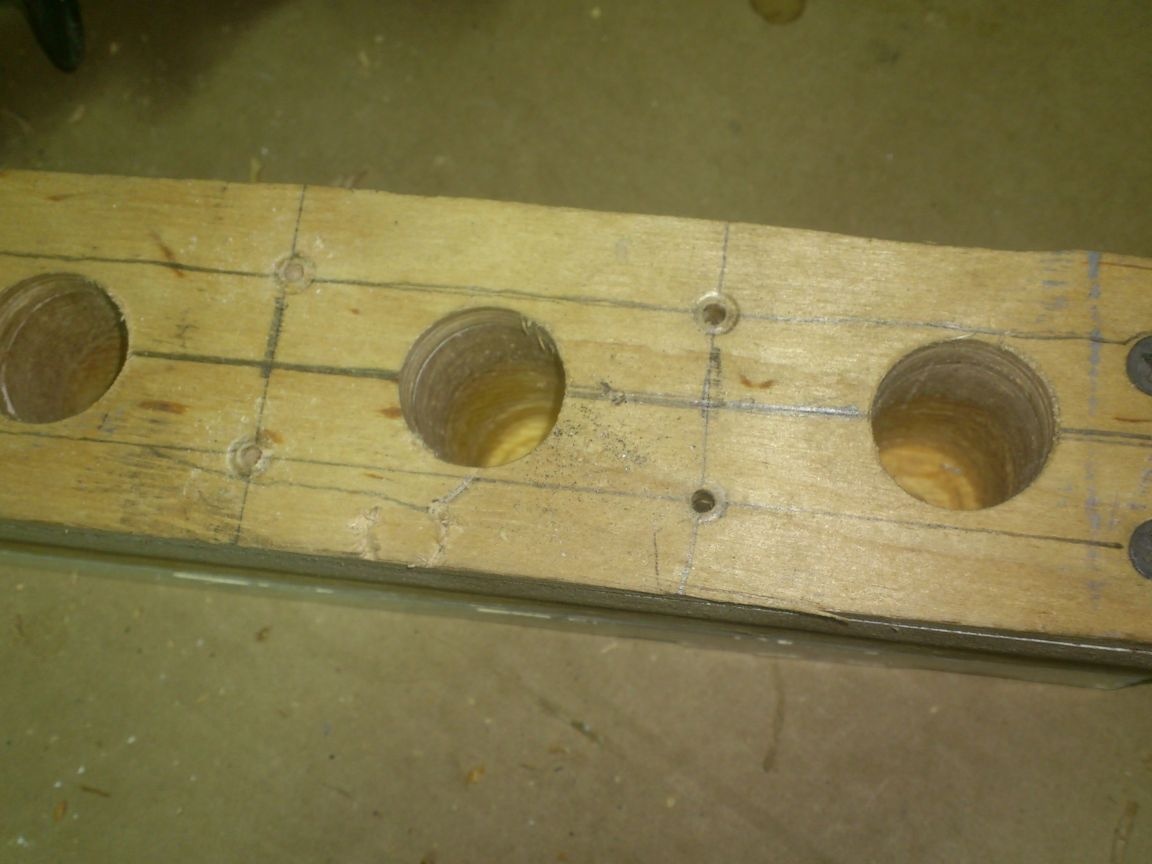
After the “minks” were drilled, I marked and drilled the seats for the rest of the screws. one pair between minks:
We do not screw the screws yet, but, on the contrary, disassemble our design. After all, wide gaps are needed between all components. In one, a fixing thread should be placed, in the other - a wire loop.
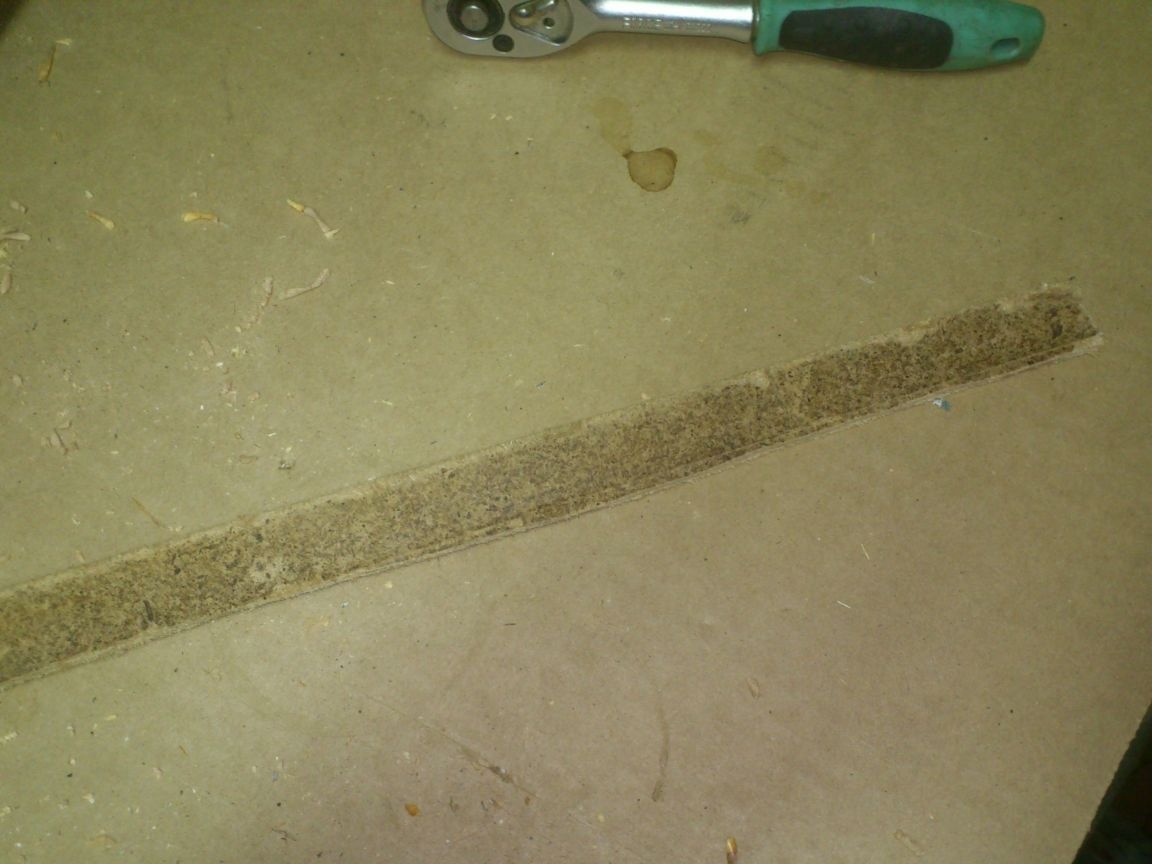
In order for these cracks to form, it is necessary to make some gaskets. I used fiberboard of "standard" thickness. The back wall from the old cabinet fit for this. Real friends don't throw anything away !! Everything goes to business! )))):
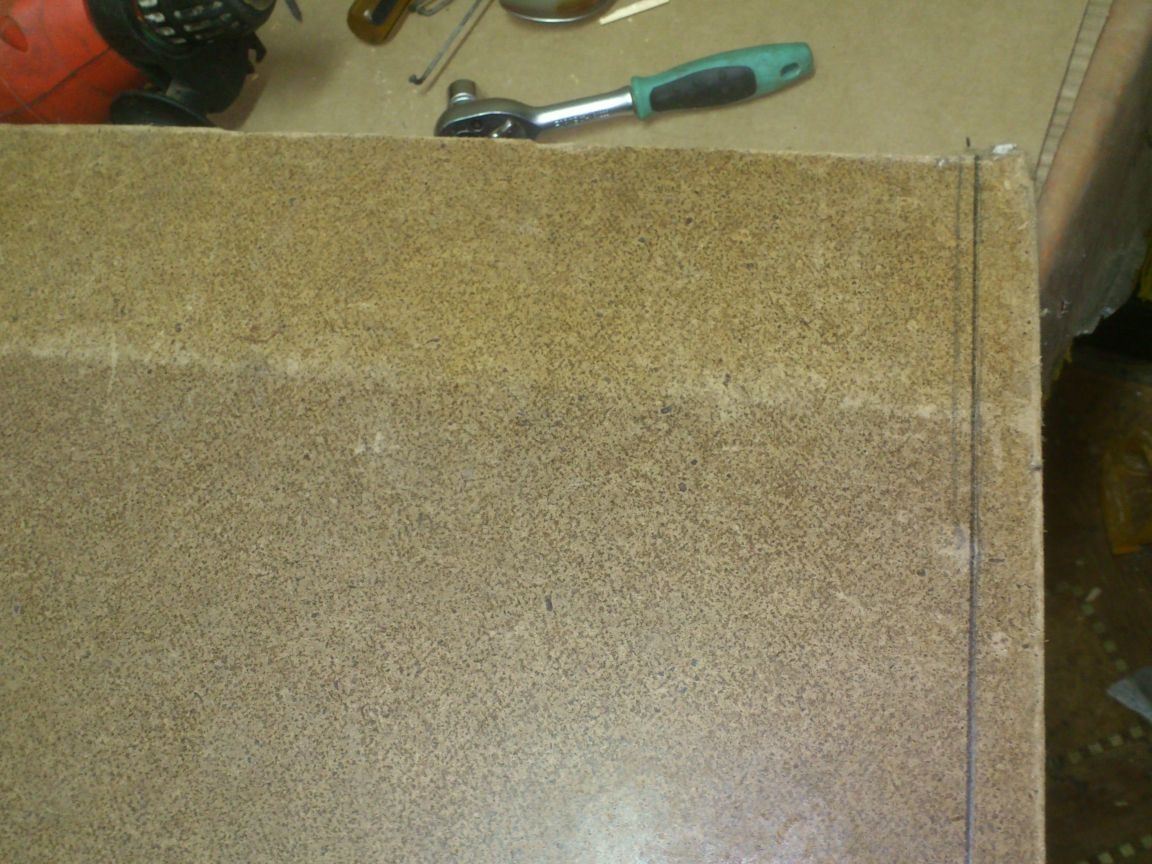
I cut a strip from it (I made it with a technical knife, since I did not need a particularly flat cut:
Then he broke it into pieces, about 5 cm long, and laid it out on a bar between the “minks”:
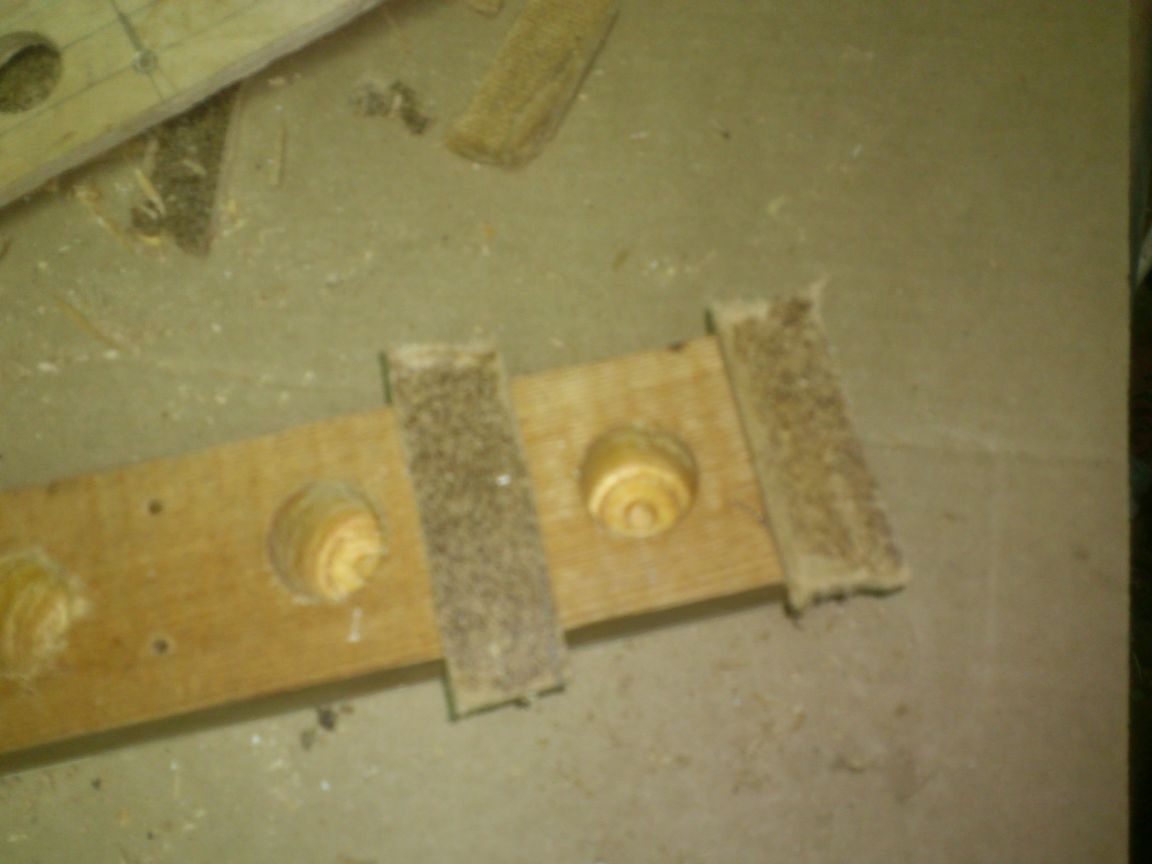
I put a “board" on top and also laid out pieces of fiberboard:
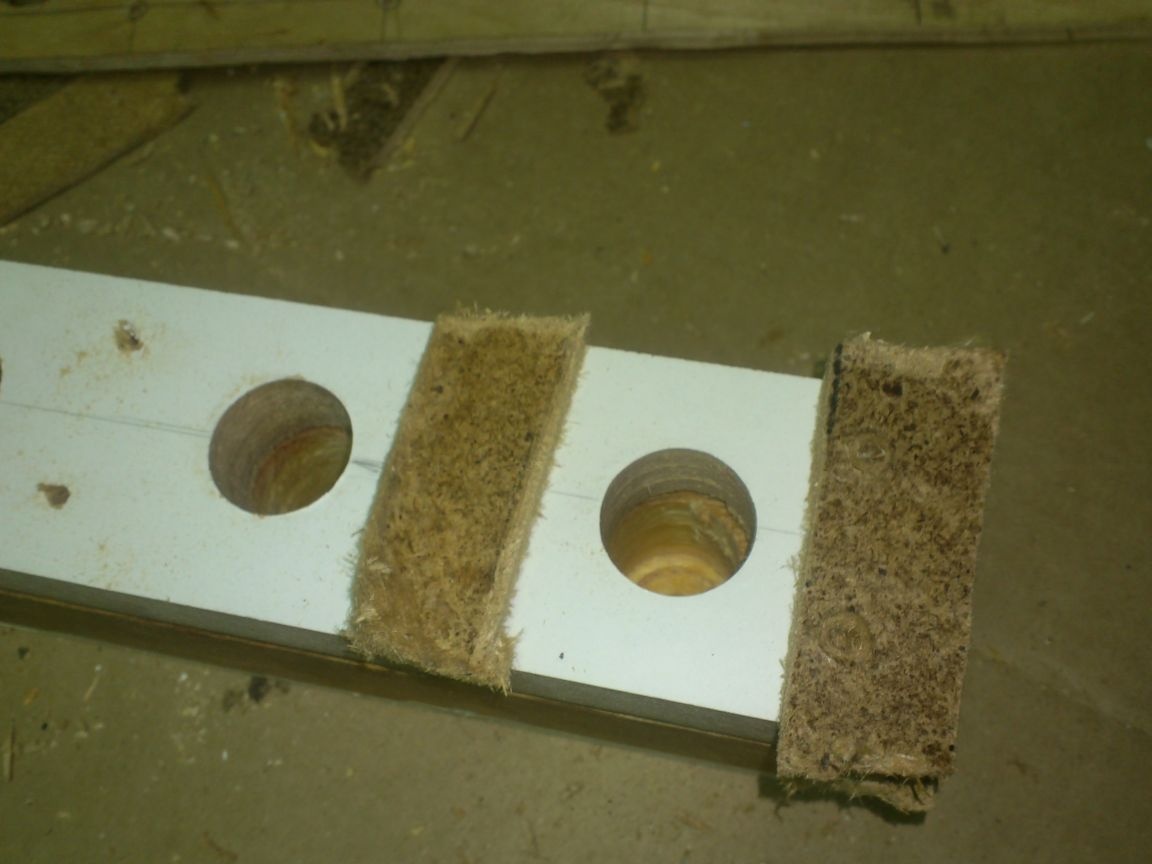
I covered it all with plywood:
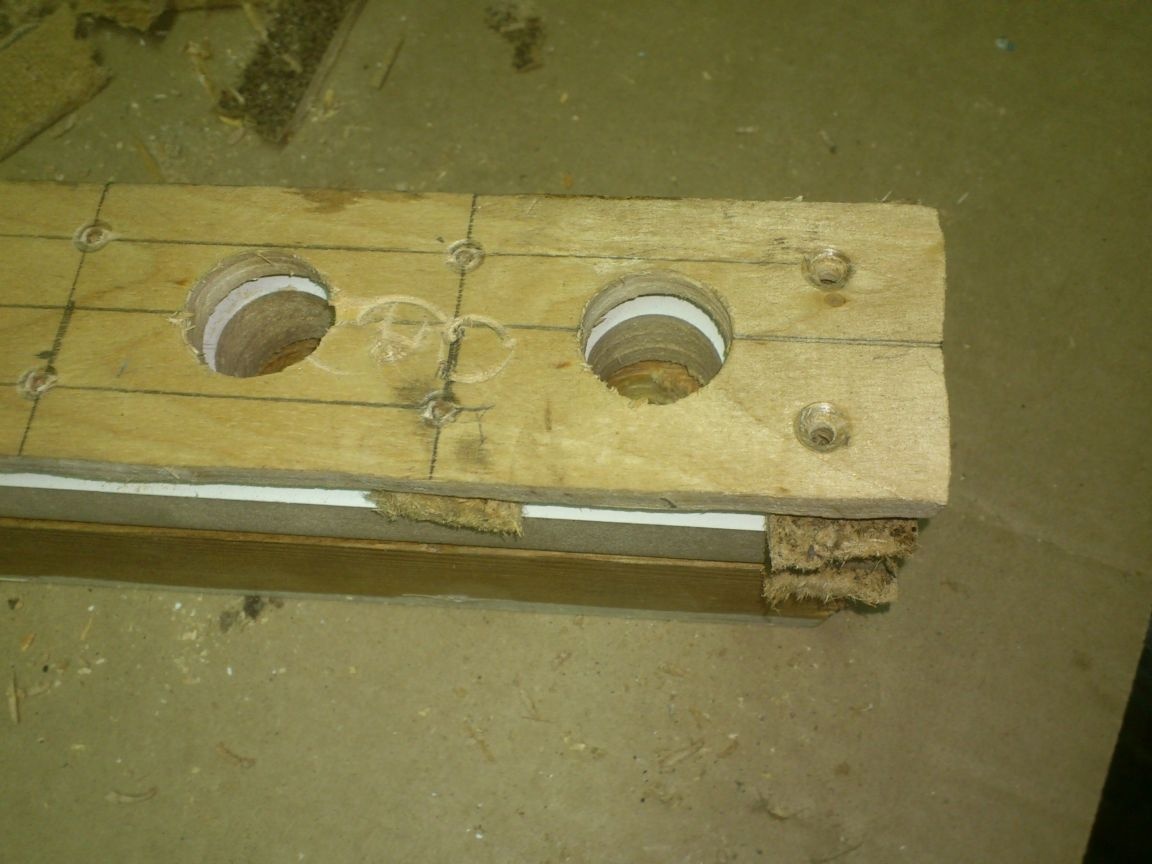
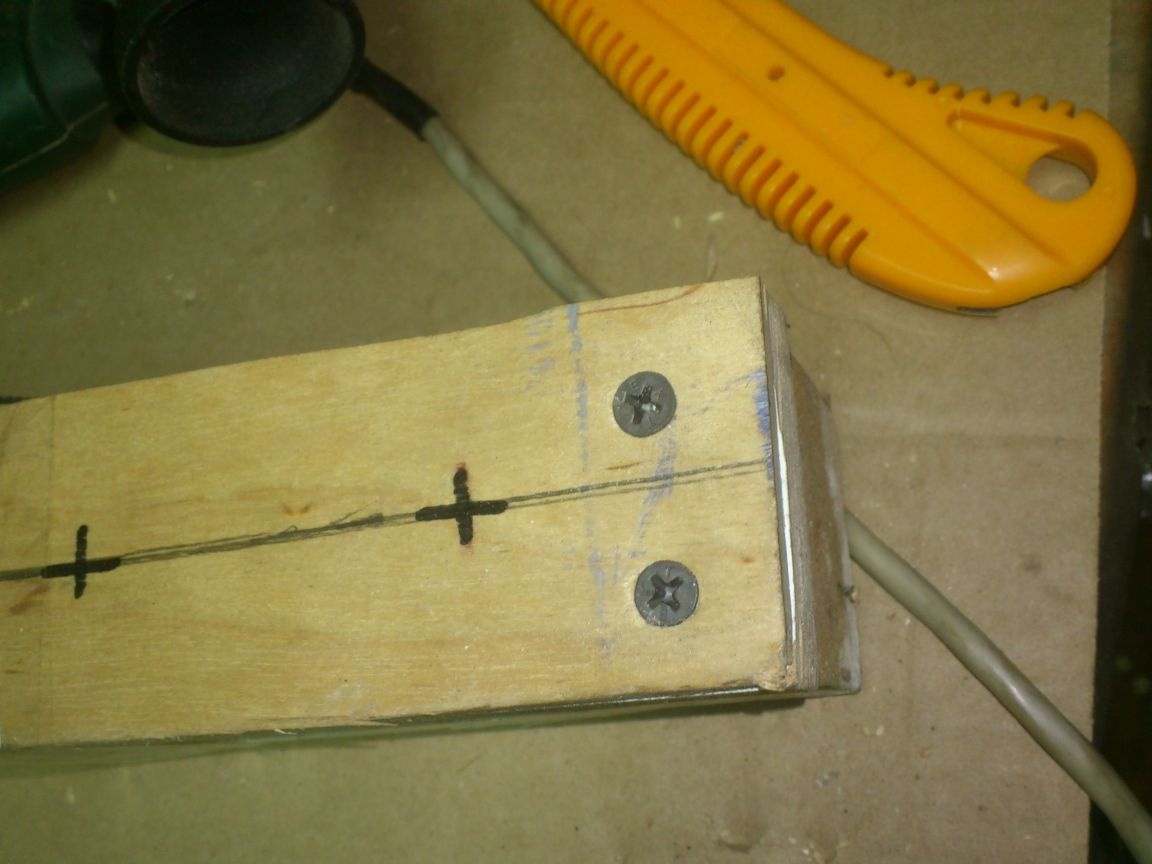
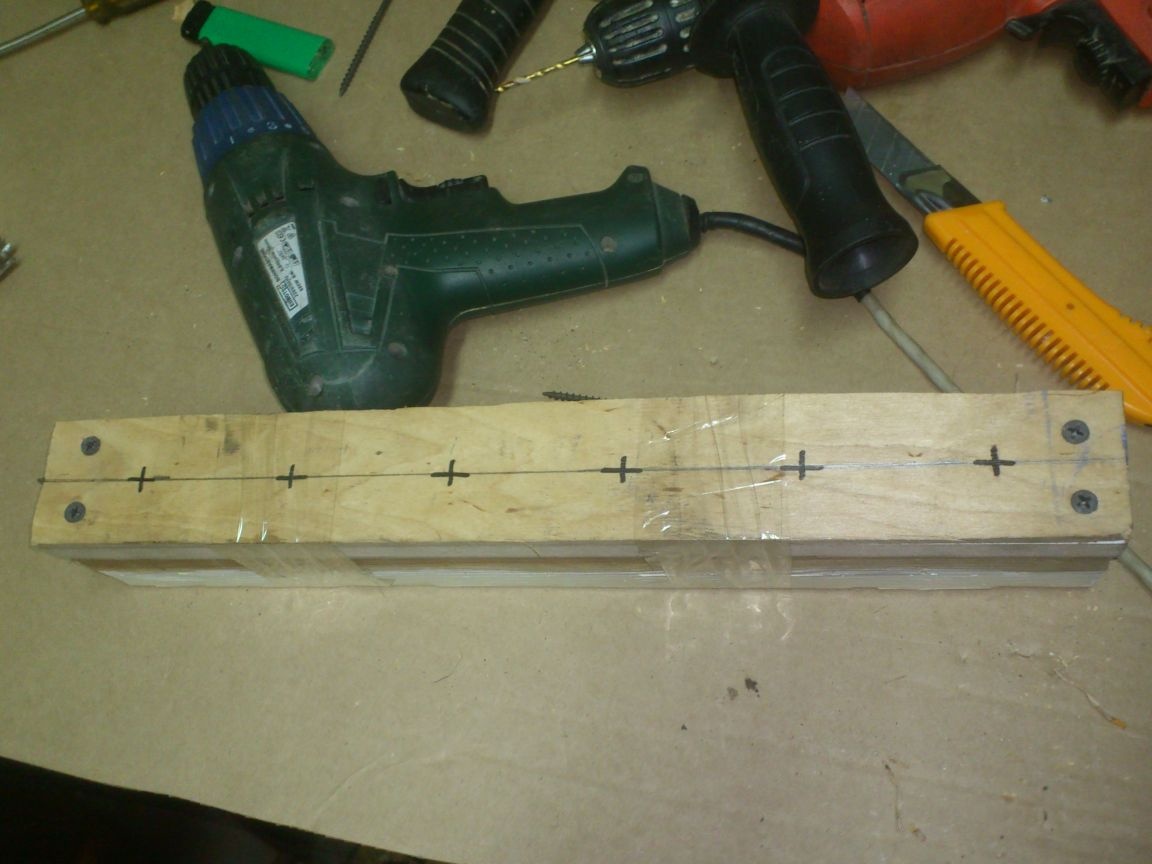
It remains only to fasten it all with screws. I had drilled places for them, and they easily penetrated the fiberboard pieces:
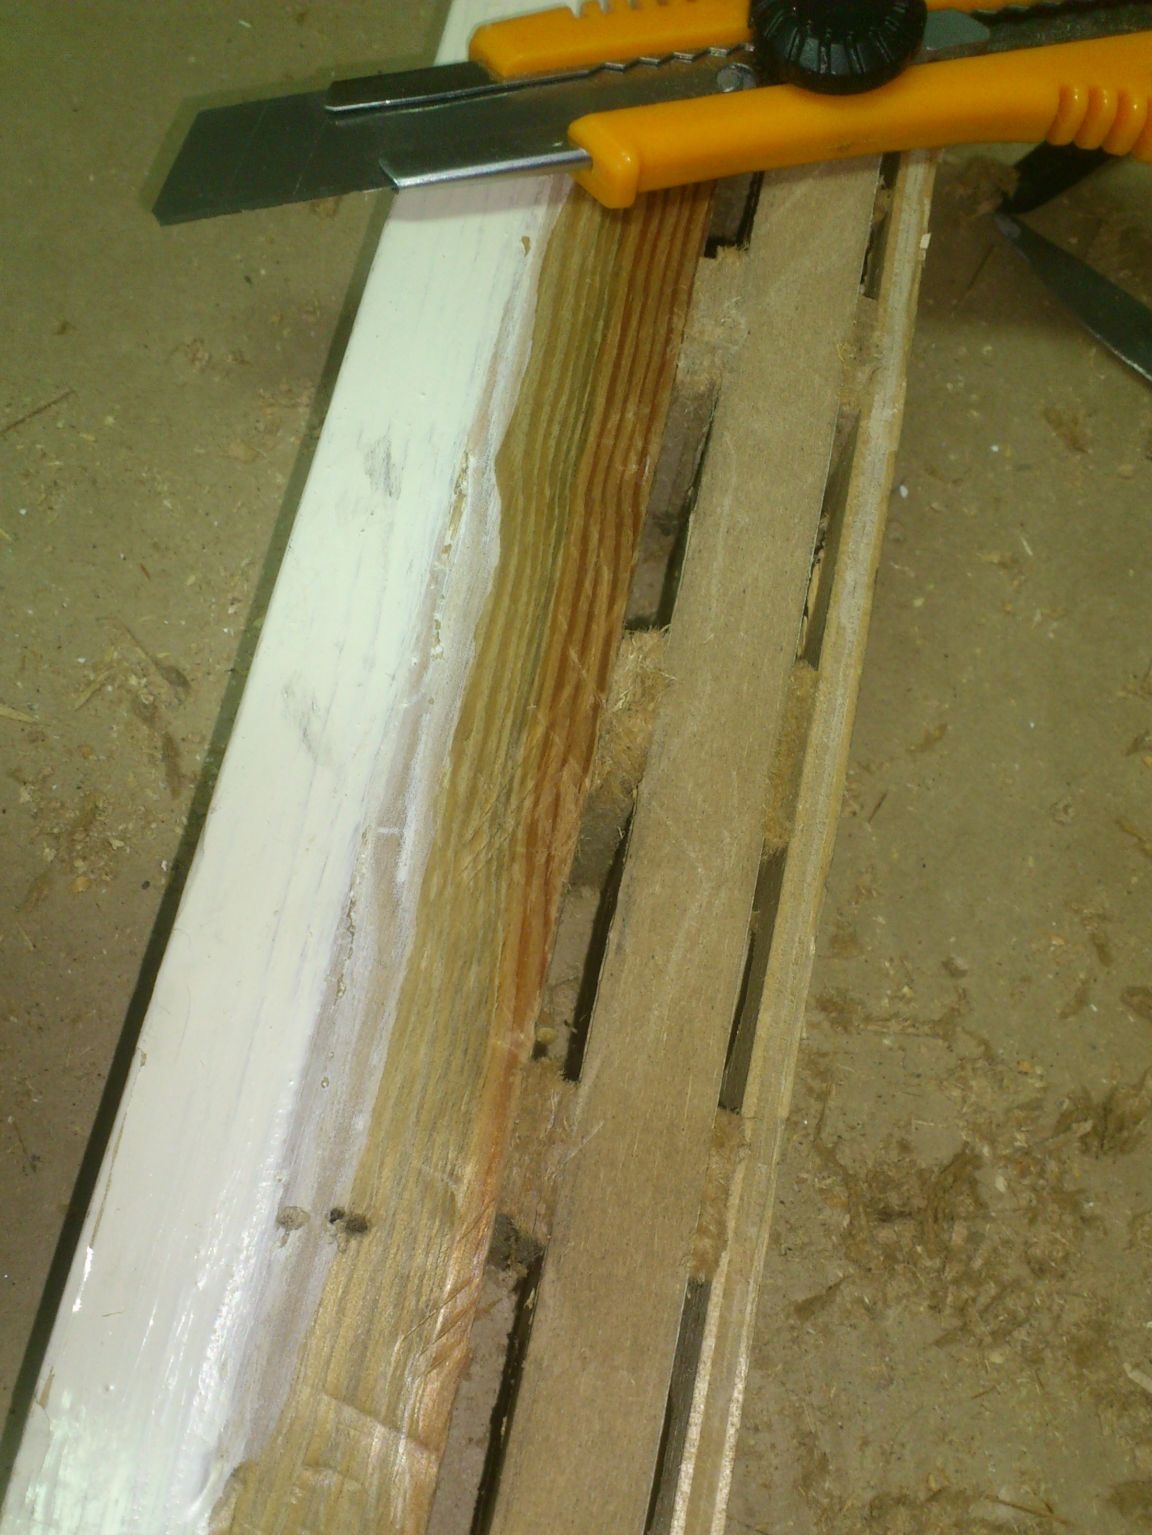
After all the components were fastened, I cut the protruding ends of the fiberboard gaskets with a knife:
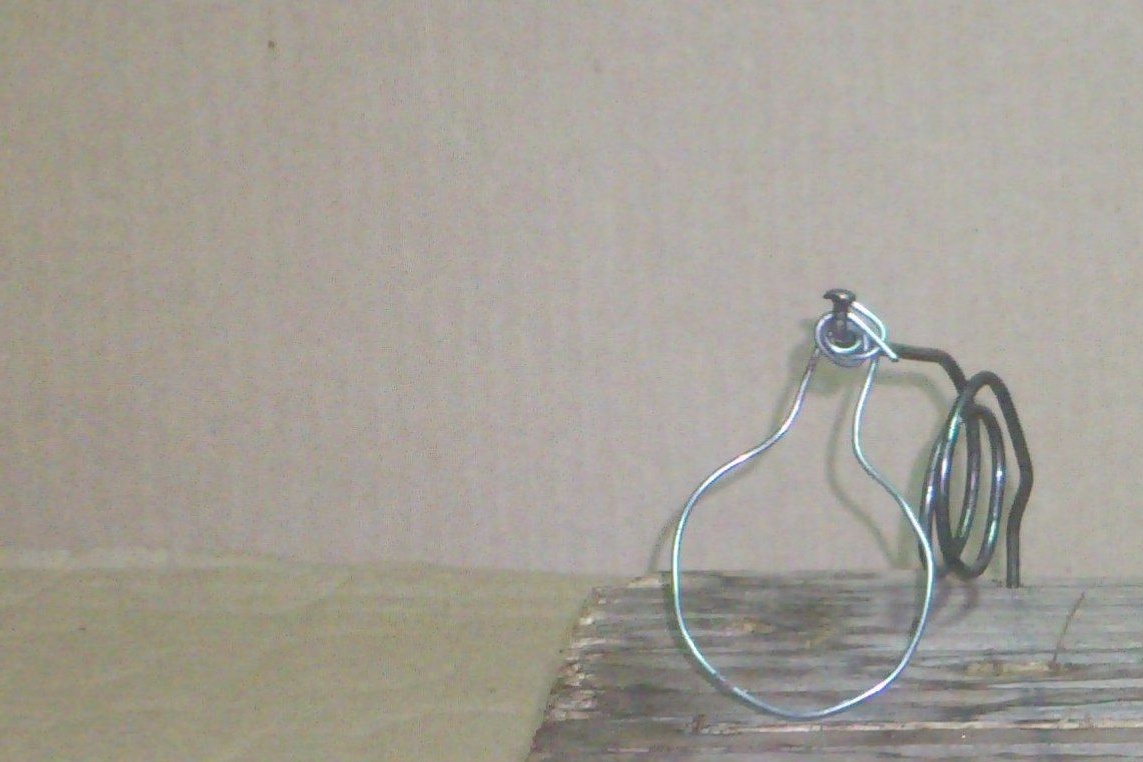
So, the case is ready ... Now we are going to make the springs. I, like in the previous version of the mousetrap, decided to make them out of bicycle spokes. The old wheel has rusted for a long time, it was not possible to unscrew the heads. Therefore, without hesitation, I armed myself with a chisel and a hammer, and simply chopped off the heads:

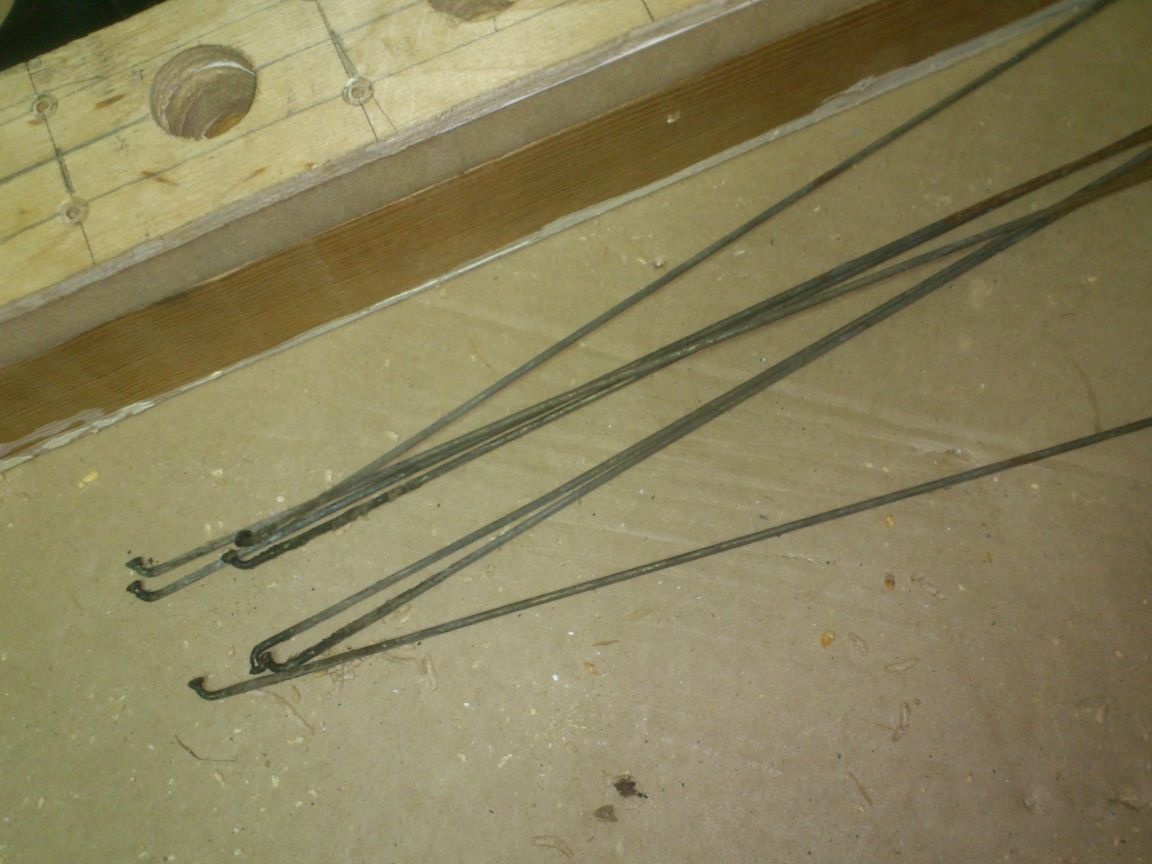
Using the file handle as a template, I twisted six (according to the number of holes) of these springs:
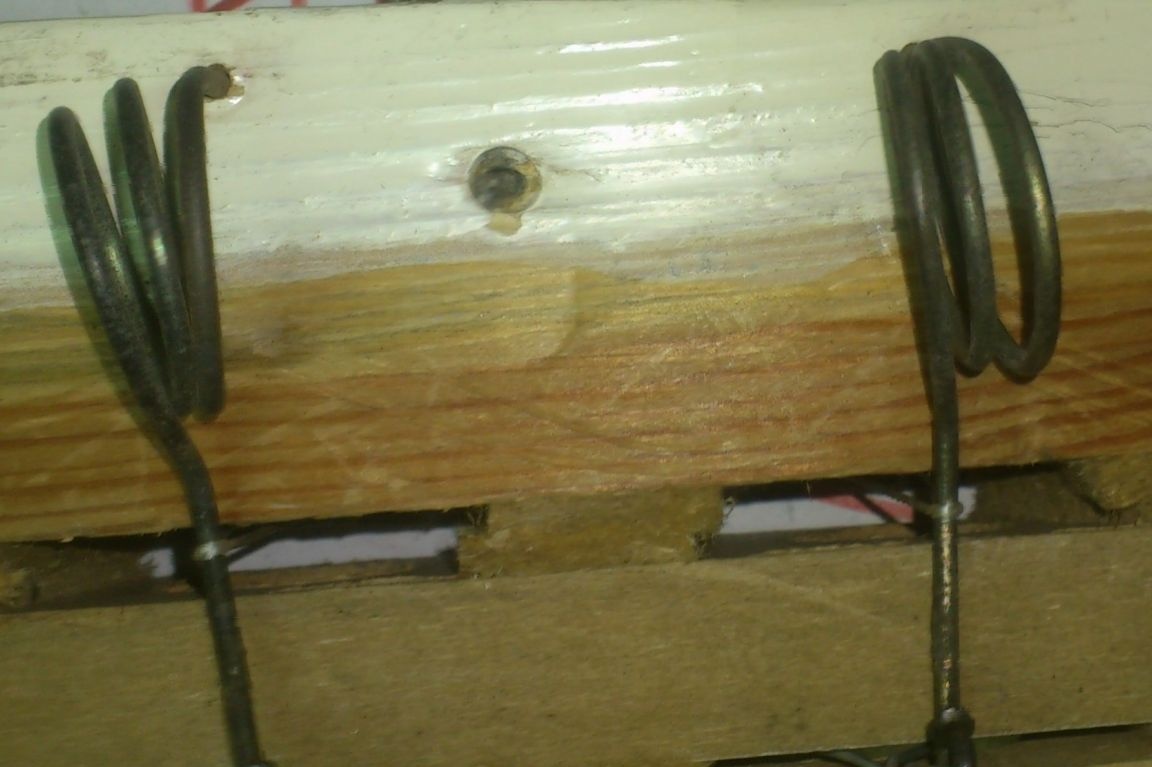
To install them, in places where the "minks" did not reach, holes were drilled with a diameter slightly smaller than the bicycle spokes themselves. I used a 2 mm drill:
Now we screw our springs into these holes, and at the other end we make a 0.8 mm thick knitting wire loop.
As I said, in the new version, I decided to minimize the inconvenience of loading to the extent possible.That is why instead of thin deep holes in the wood, the thread is passed through a fairly wide gap.
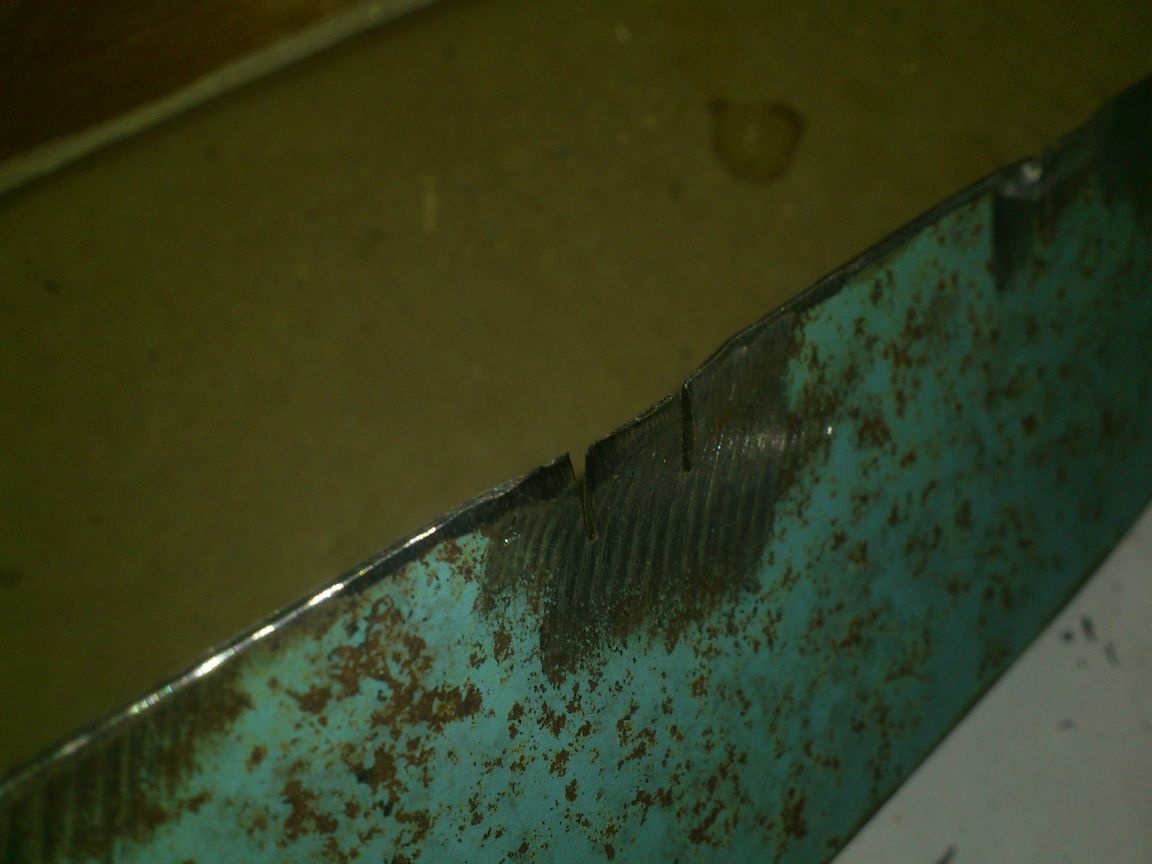
But you need to arrange the thread so that it overlaps the mouse with the entrance to the hole! And for this it is necessary to part the ends of the thread from about 5-6 millimeters from the bottom. In addition, the ends of the thread need to be wrapped from below for something. I decided this as follows. I selected a scrap of sheet metal 1 mm thick from "scrap metal" and cut out from it a strip equal in length to my mousetrap and about five centimeters wide.
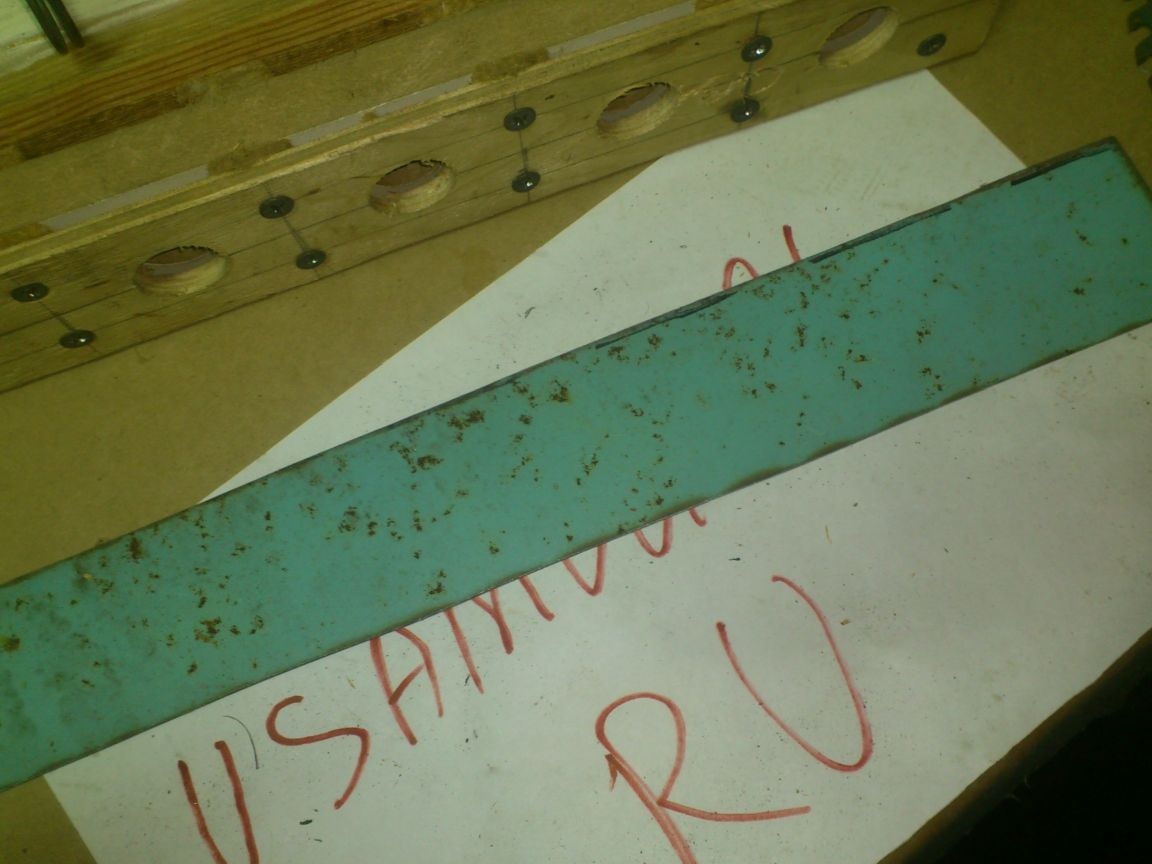
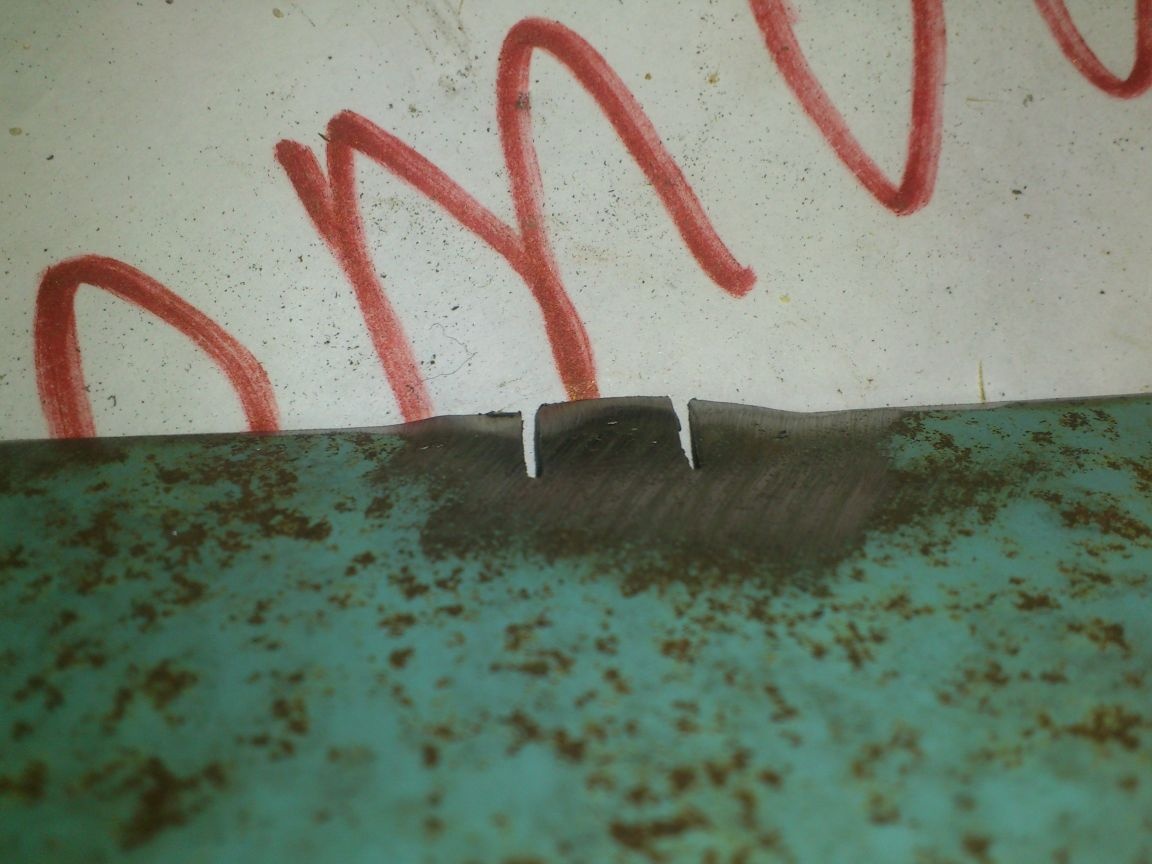
Having tried it, exactly opposite each mink, I made two such slits:
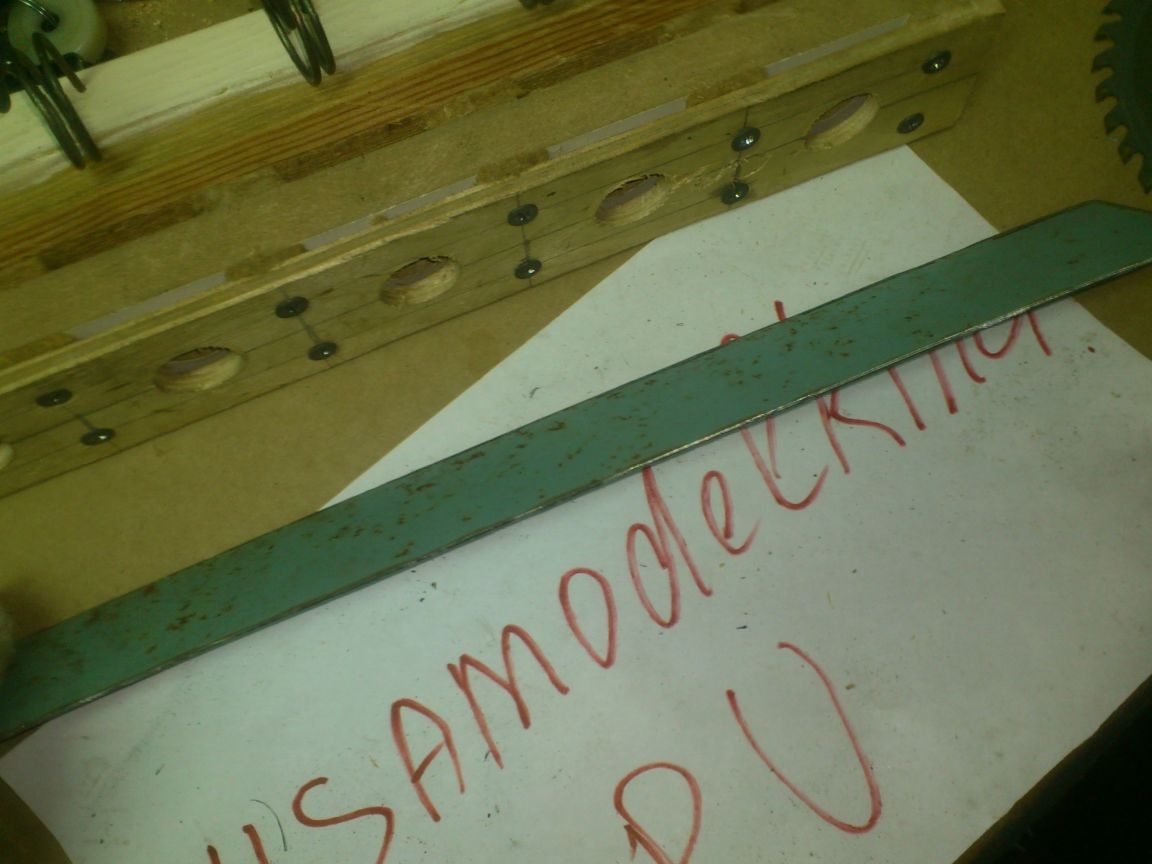
Slots need to be carefully cleaned from burrs so that they do not cut the thread that I am going to skip into them:
Next, with a pair of pliers, I slightly bent this place with cuts from the plane:
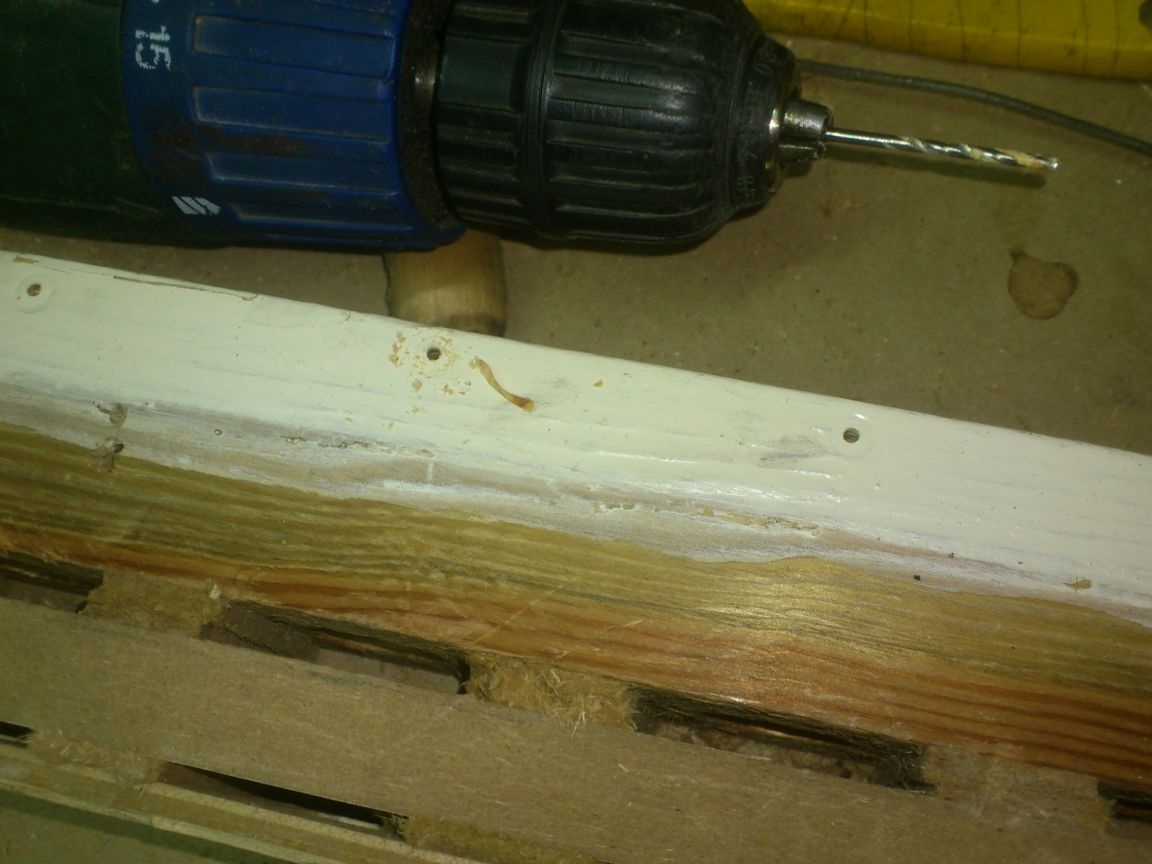
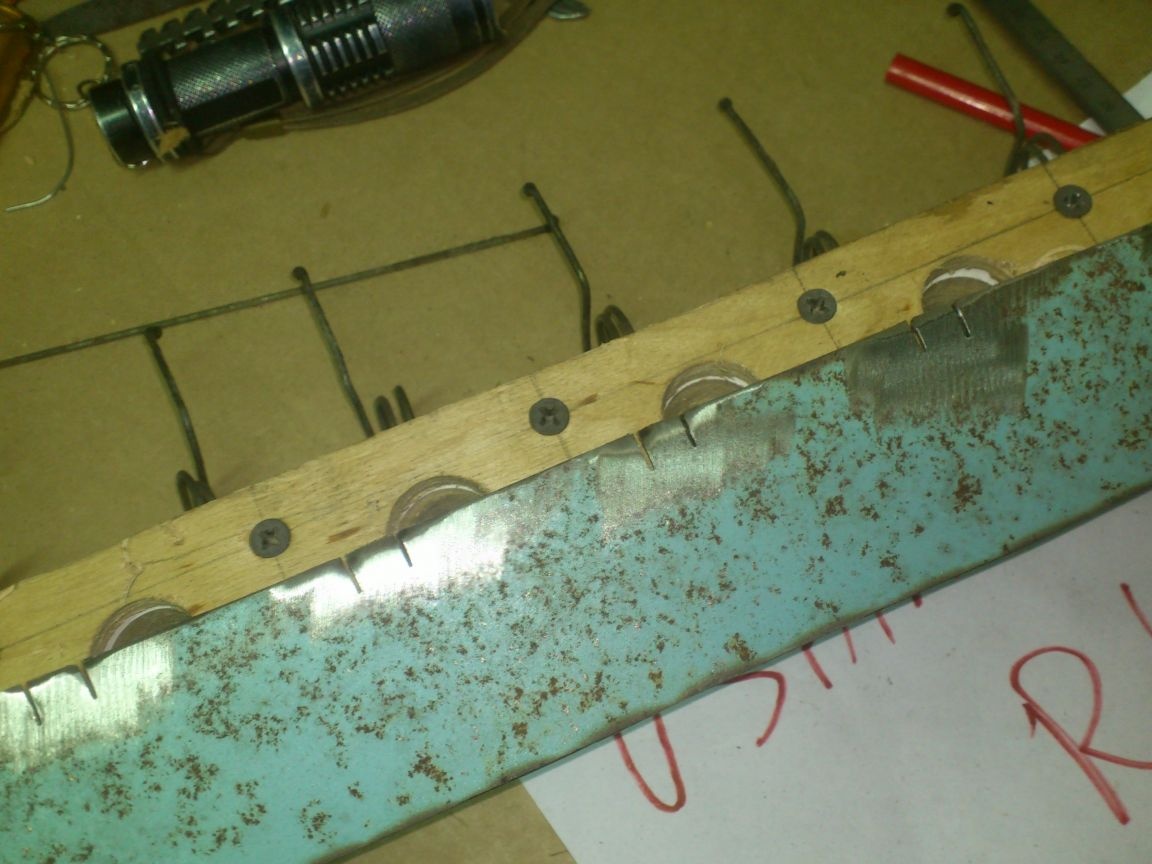
I think you understand my plan! The plate will be secured from below with screws. To do this, I drilled several holes in it:

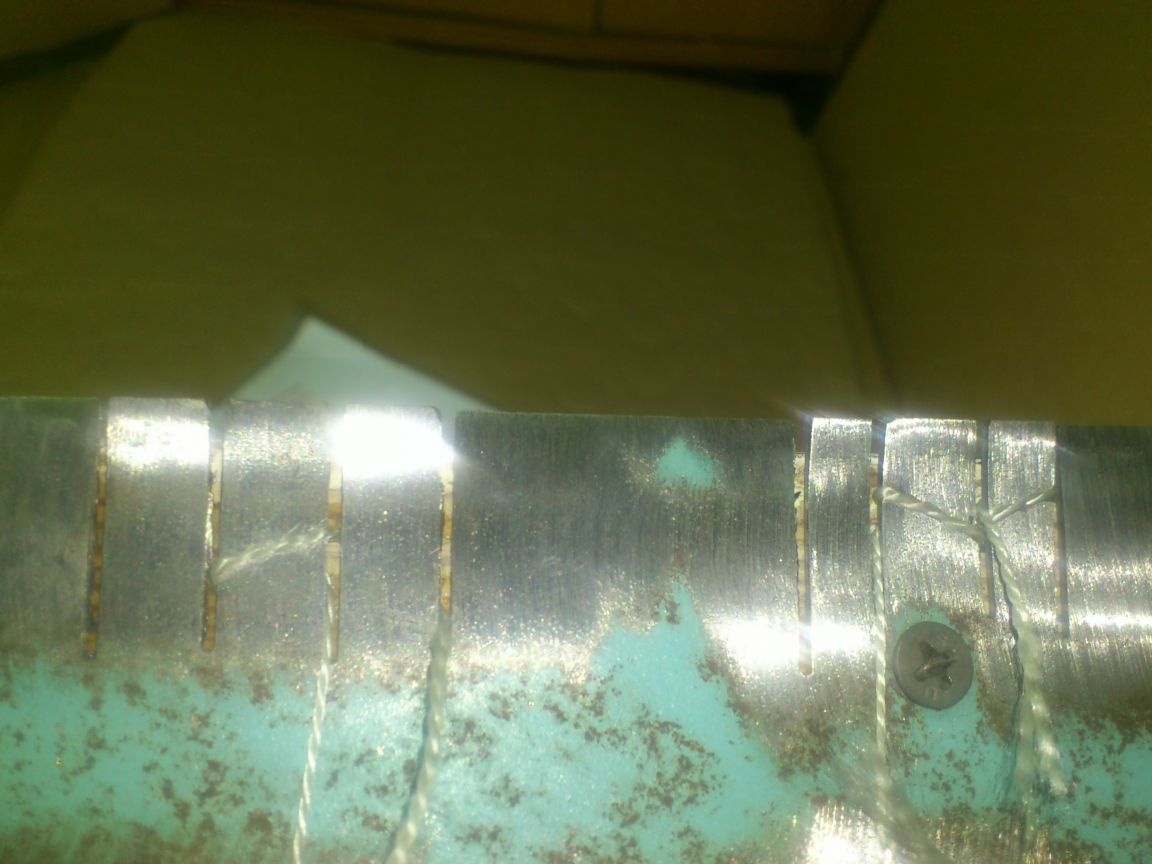
At the end of the thread, a knot is made, by it it "gets stuck" in one slot. Then the thread is passed up, goes around the compressed spring, and, returning back, passes through another slot. As a result, it turns out that the entrance to the hole is blocked by two threads, and there is nothing left for the mouse how to cut through them !!! The spring is released, and the wire loop in its slot breaks sharply up !! And it is located at a distance of about two centimeters from the threads, that is, from the place where the mouse’s teeth are at that moment!))) That is, about under her neck!
Not humane !! But effective !!! ))))
I thought about how to fix the other end of the thread, without tying it every time around something on a knot. As a result, I decided to make a template that would allow me to tie two knots at the same distance from each other in advance on a piece of thread. ...
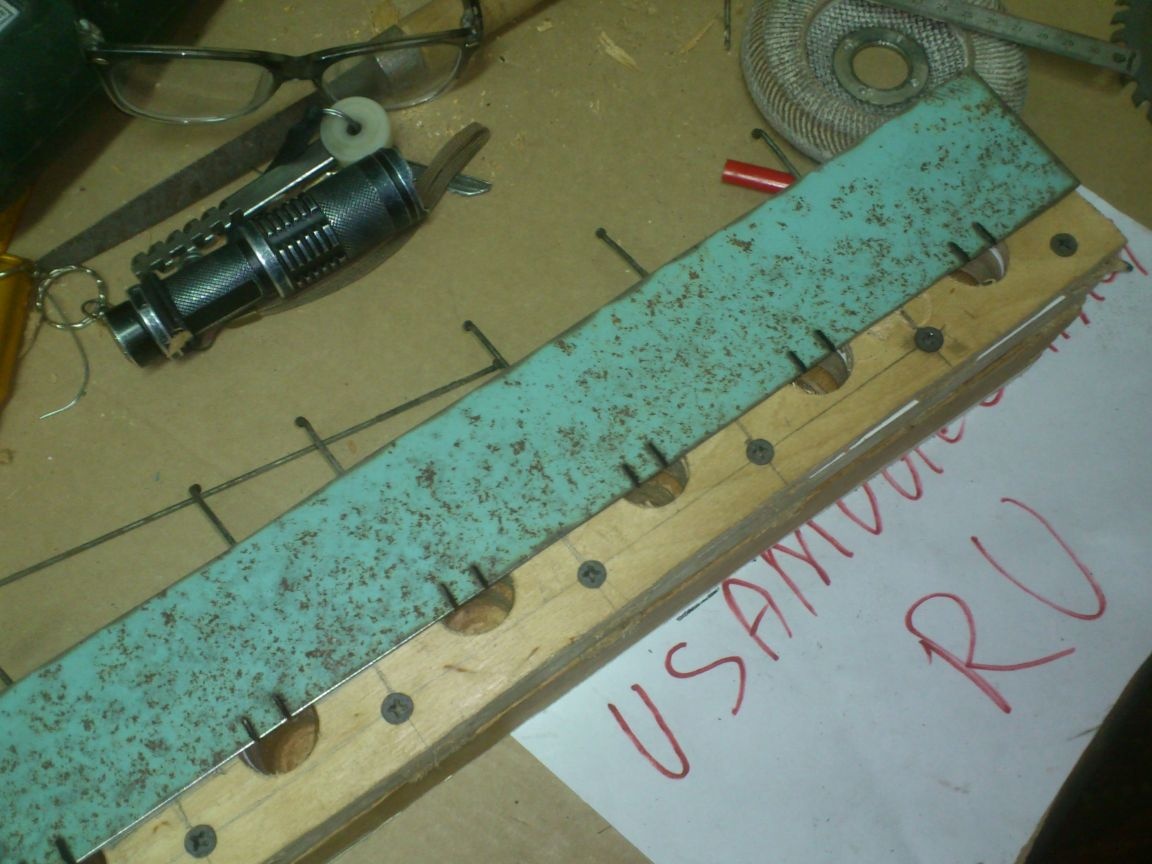
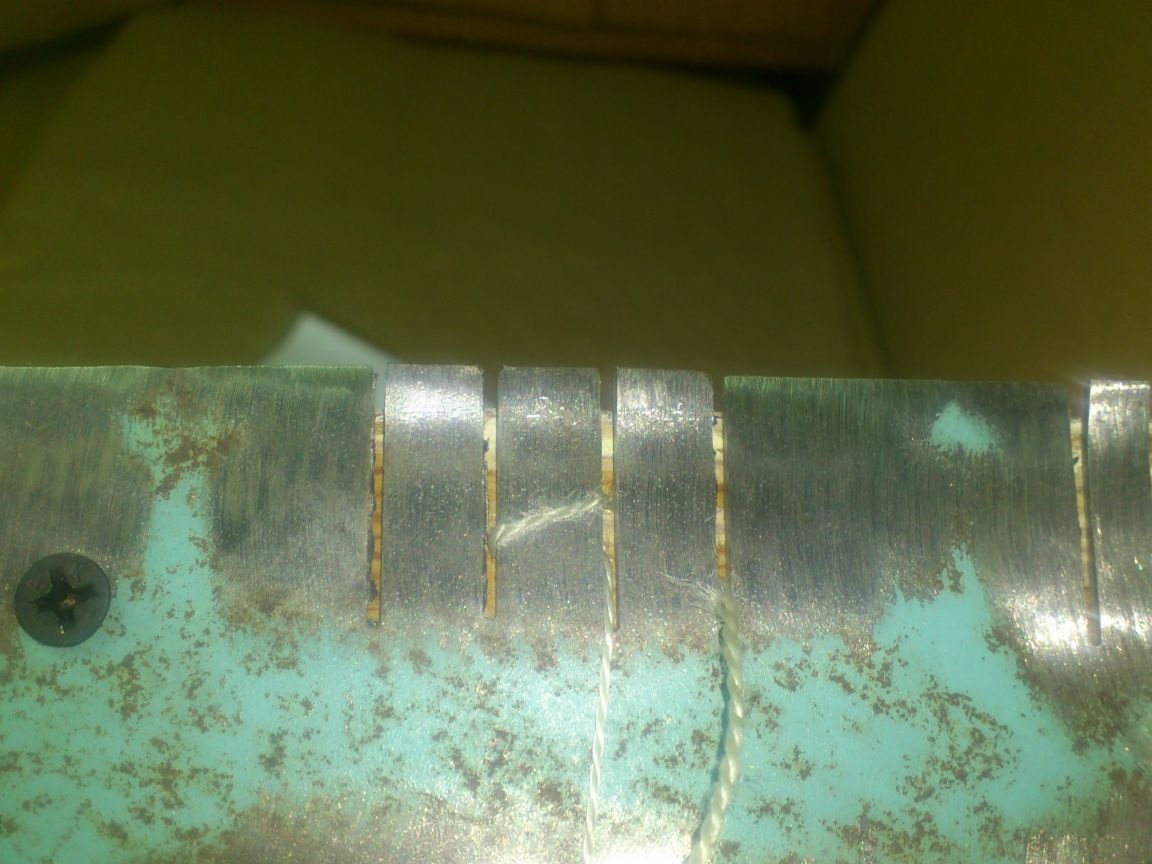
And when I was already making it, a simpler thought came to my mind! I just cut a lot of slots from the other side of the plate! The tensioned thread can simply be wrapped several times around the resulting “teeth”, each time tightly tightening between the plate and the tree:
All! the mousetrap is ready. But I, on the basis of past experience, decided to equip it with everything necessary for loading. Because the past often often stood for several triggered cells simply because there were no threads or needles at hand ... We do not need a needle in this version. But the thread ... You need to make some kind of reel on which you can reel the supply of thread. And, preferably, place the threads out of the reach of the mice. Because once I just left the bobbin nearby, and the mice, before examining the minks, gnawed the thread on the bobbin! )))) ..
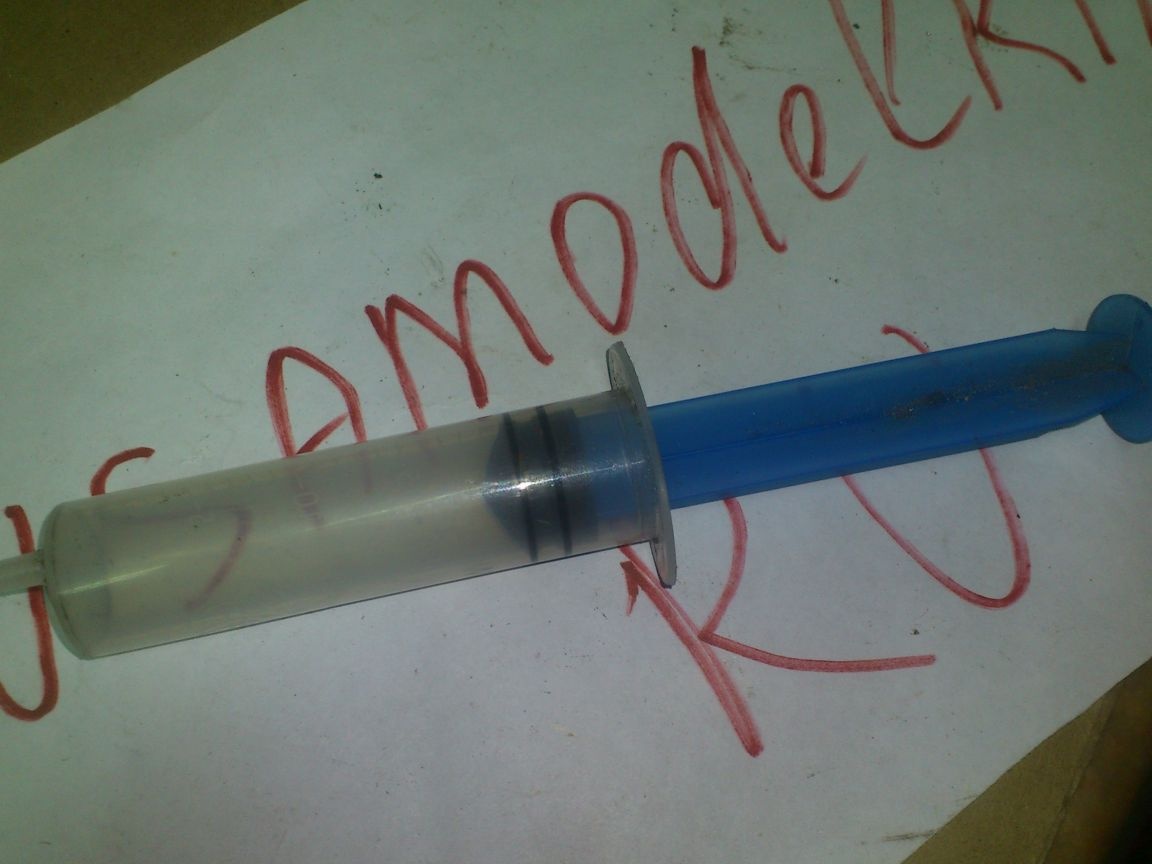
Looking around my "stocks", I found here is such a large syringe (Once I refueled the printer with it))):
Having slightly cut the edges of the piston, I wrapped a thread around it:
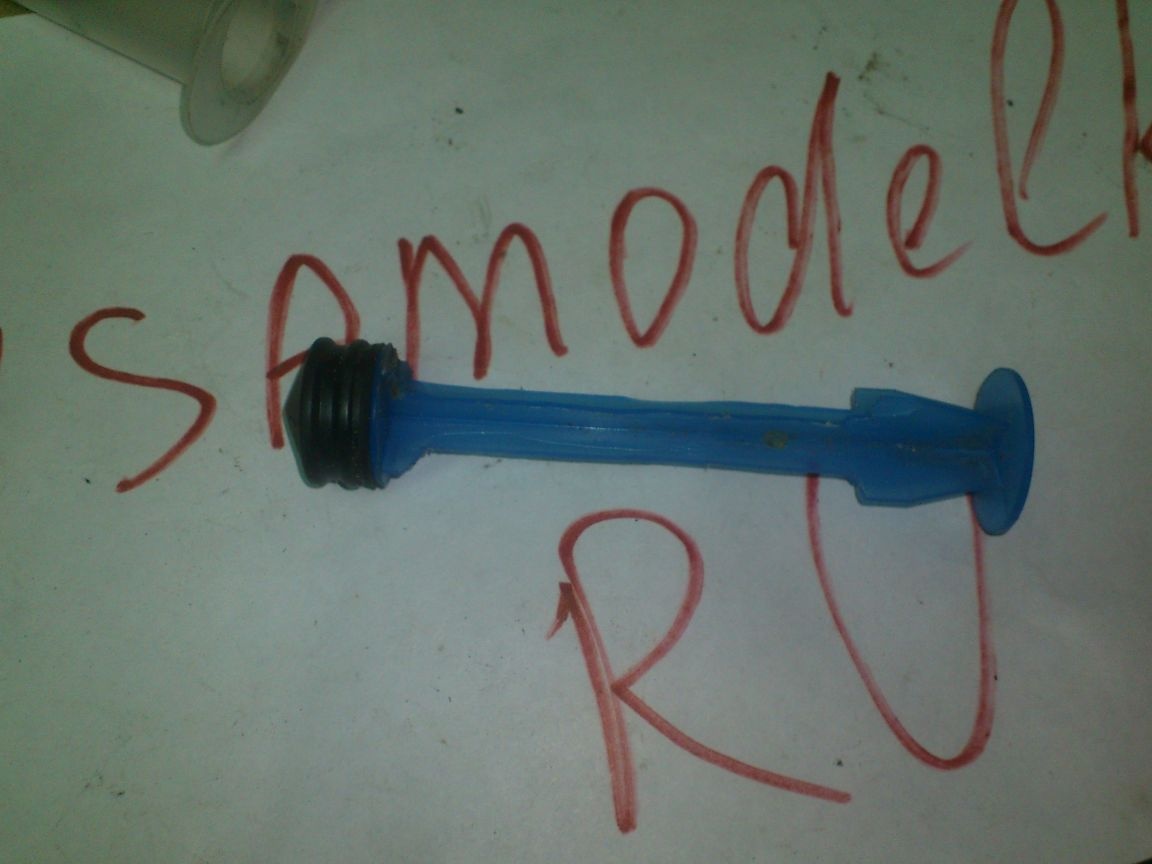
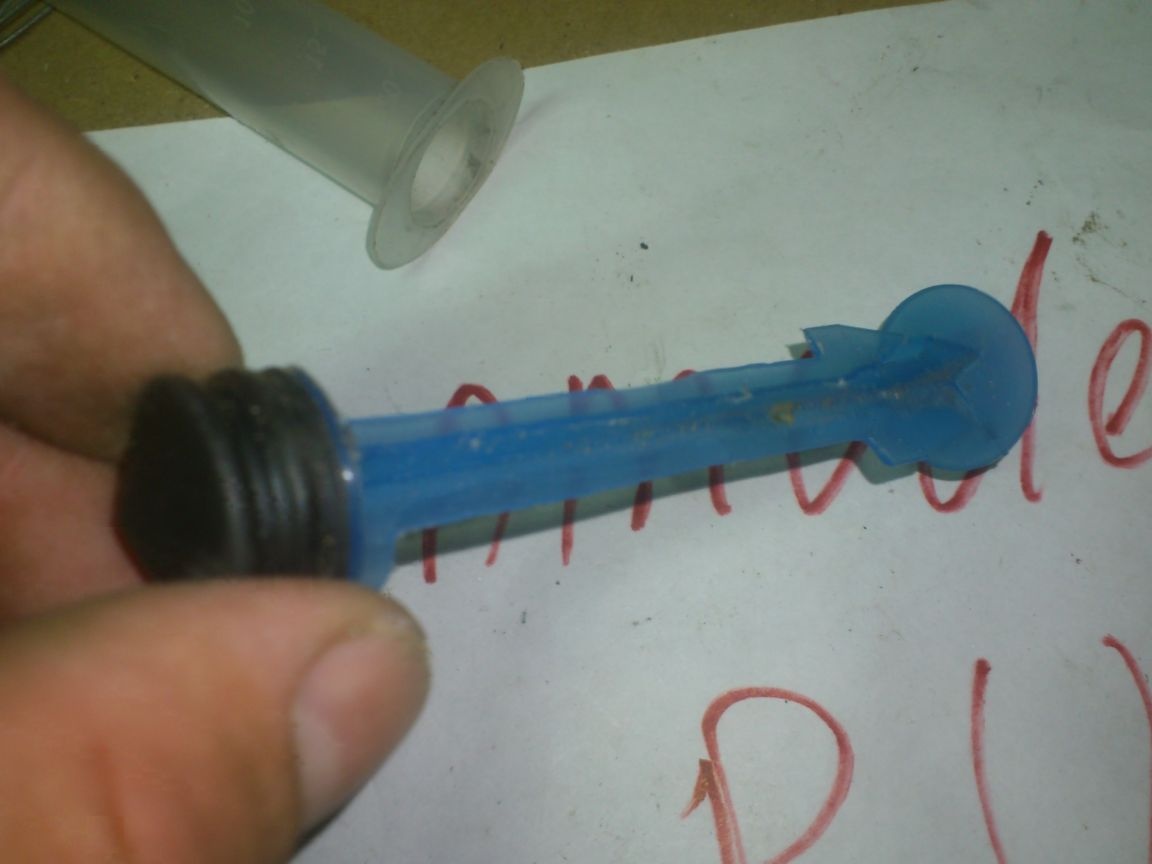

And put the piston back:
I got a sort of closed coil. It remains to fix it on the mouse trap body and the supply of threads will always be at hand. What I did with knitting wire and screws:
To make it easy to thread the thread through the slot, I made a hook like this from a bicycle spoke:
So that it can be fixed on the case, and then removed without any problems, I screwed three screws in the back:
Insert the hook between the two screws and the syringe
And then we rearrange its end under the distant screw. Having springed together, it is tightly fixed.
Now the hook will not be lost, and it will be very easy to remove it.
And I also decided to equip the mousetrap with a knife. After all, the thread is strong and breaking it is problematic. I made a knife from a dull and replaced blade from a technical (clerical) knife. He just dulled a piece of it on an emery and wrapped it with insulating tape:

In order to cut the thread, it is enough.
I did not begin to make any adaptation for its fastening! He just stuck it in the gap between the syringe and the mousetrap. He’s not going anywhere from there!)))
Well, that's done! It remains only to throw something into the mink that smells delicious!

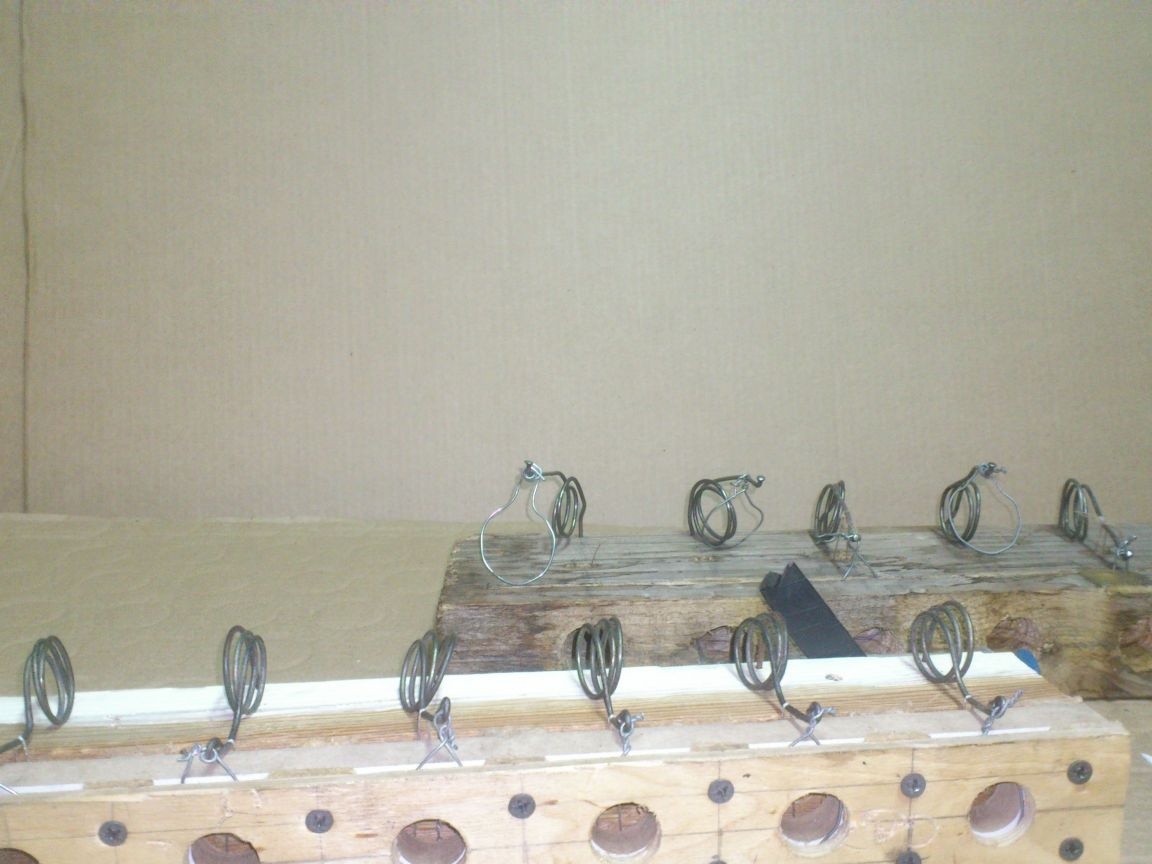
Compared with the first version, the new mousetrap turned out to be more technological. And it’s much easier to charge! I think that in terms of effectiveness it will in no way yield to the old!