
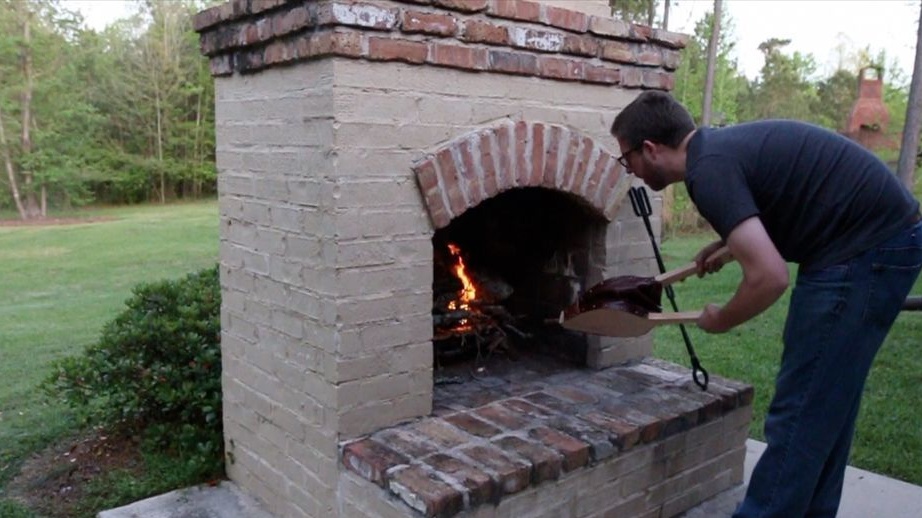
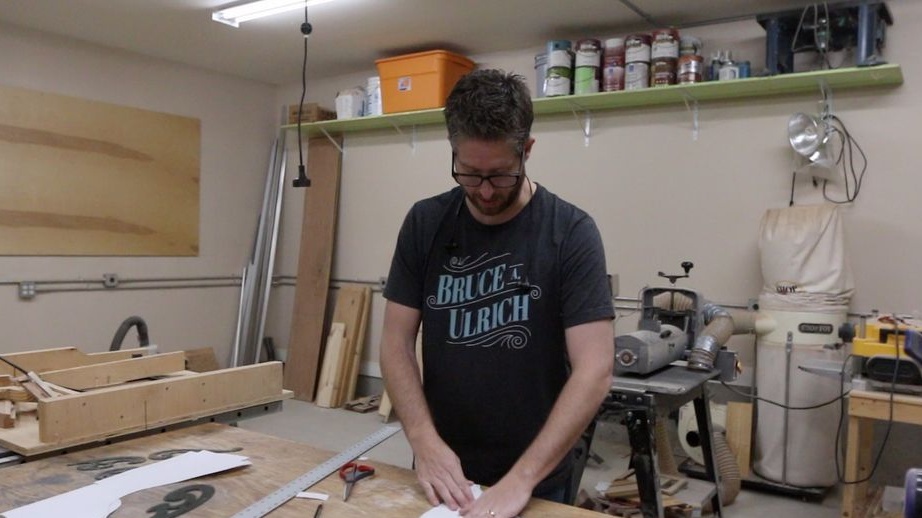
If you constantly blow and there is no effect, then you blow weakly or incorrectly. Today we will talk about fireplaces, barbecues and other similar stoves. Surely at least once in your life you fanned a fire with your mouth, it’s quite difficult, unpleasant, and sometimes dangerous, because we often breathe in smoke and also face the fire, from which a hot coal can fly out. It’s time to end this suffering! I bring to your attention an ancient blower that has been used and used by man for several centuries, it is called furs.
The author decided to make furs from leather and wood. It is simple and stylish, with such a device you will not be left without the attention of guests. Using this device is also quite simple and convenient, and it is quite durable. Furs are easy to assemble, you will need a simple tool for cutting wood, as well as scissors and knives to cut the skin. Let's consider in more detail how do it yourself make fur for the fireplace!
Materials and tools used by the author:
Material List:
- wood board or plywood;
- skin;
- a piece of tube;
- carnations with decorative hats;
- oil for wood impregnation;
- epoxy adhesive.
Tool List:
- ;
- drill;
- a pencil;
- files, sandpaper and more;
- hammer;
- stationery knife;
- clamps.
Manufacturing process homemade:
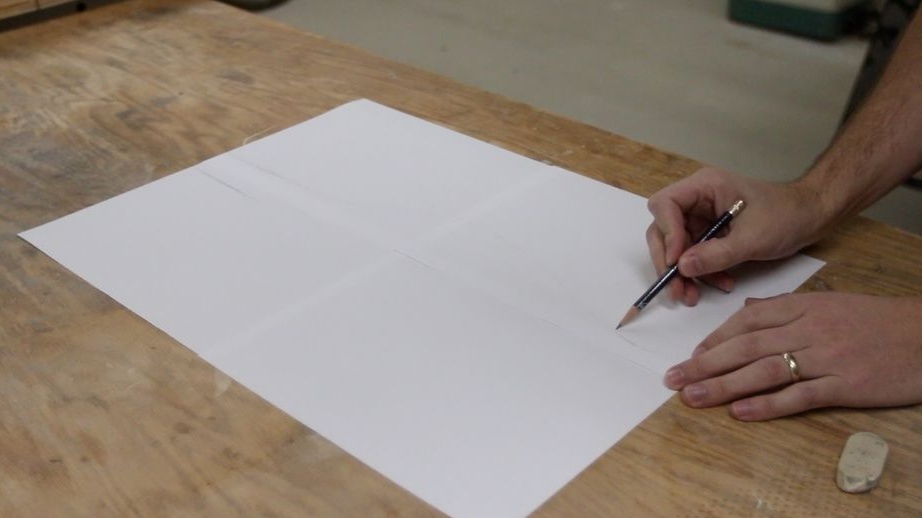
Step one. Template making
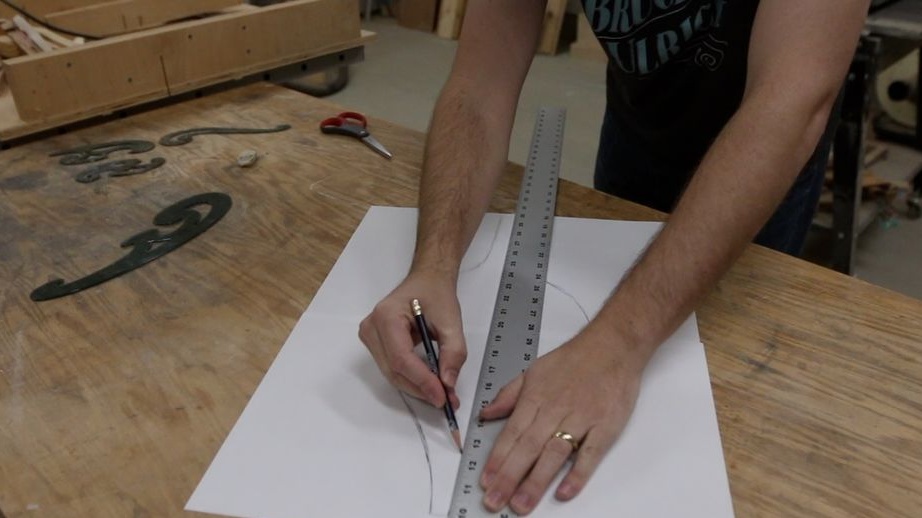
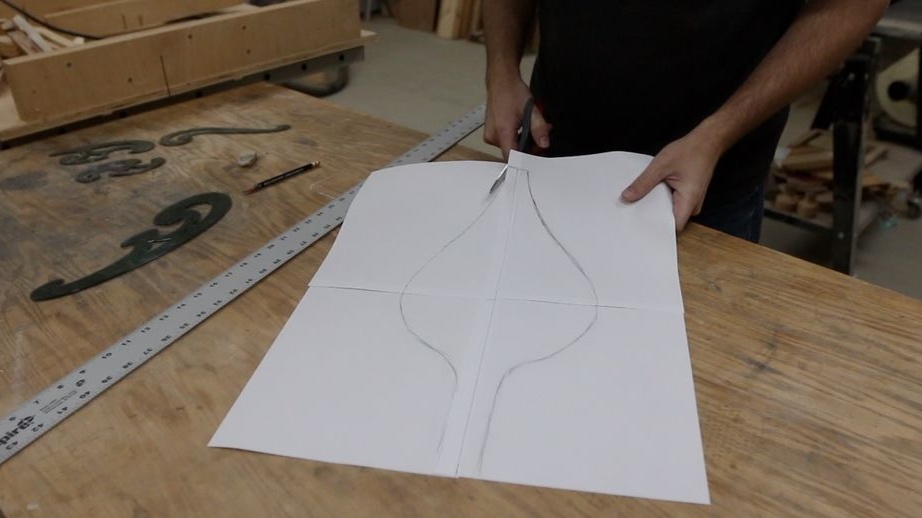
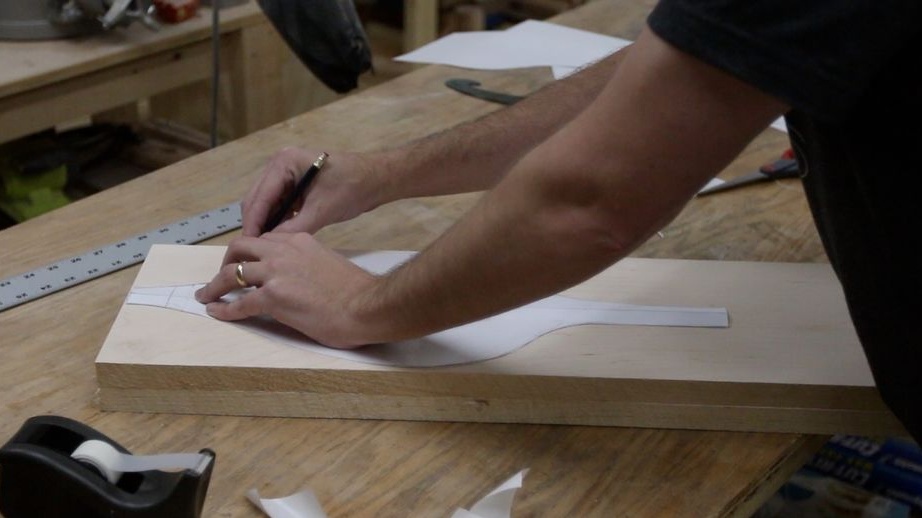
First of all, we will make a homemade pattern. Decide on the size of the bellows and the shape. What should be the profile, look at the photo. We draw the profile with a pencil on paper, and then cut it out with scissors. The author does not remember the size of the device, he made it in order to make it convenient to fan the flame in the fireplace without bending too close to it.


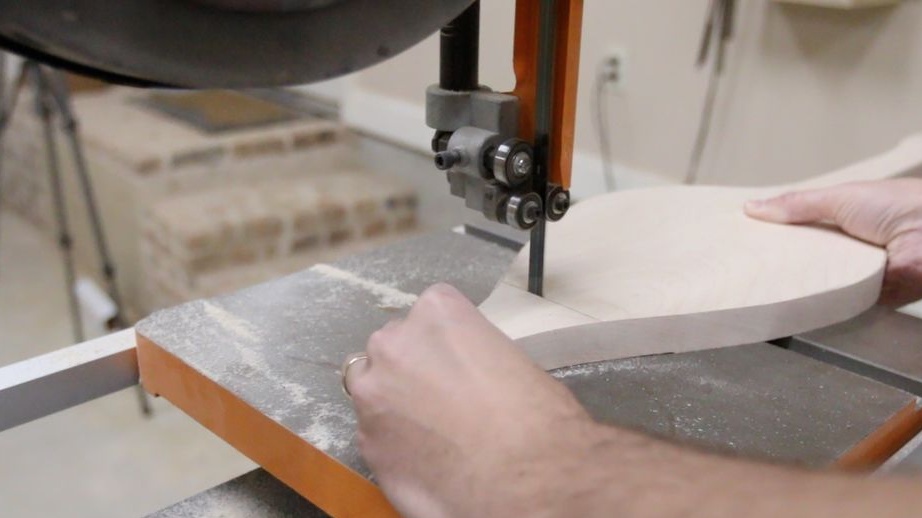
Step Two Transfer the template and cut it out
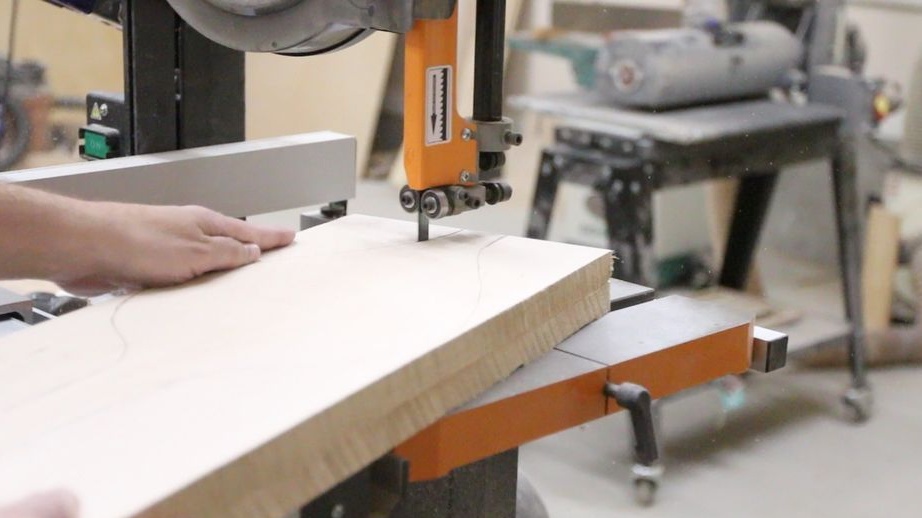
In total, you will need to make two absolutely identical parts. To do this, fasten the two boards or the other sheet material together, and then transfer the template by circling it with a pencil. Well, now you just need to cut out the template. It is most convenient to use a stationary jigsaw or other similar band saw. In principle, this task can be handled with a manual jigsaw, but it will all be much longer.
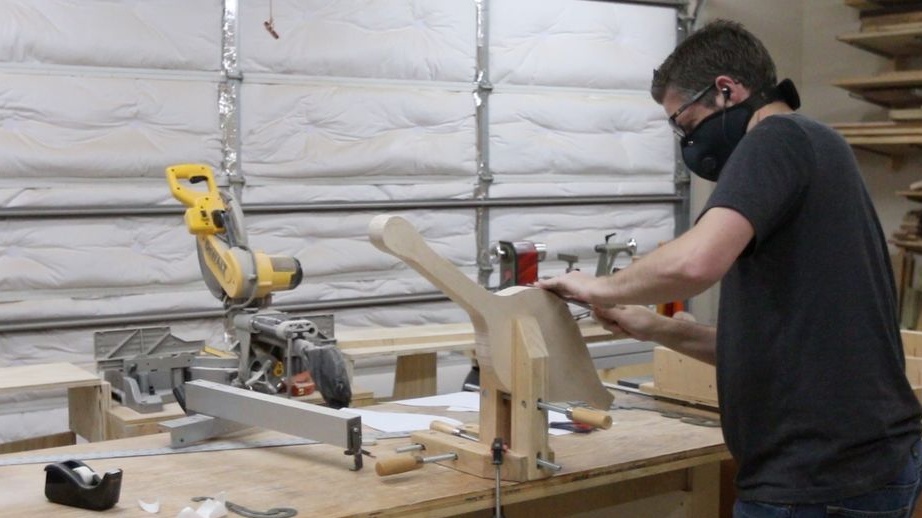
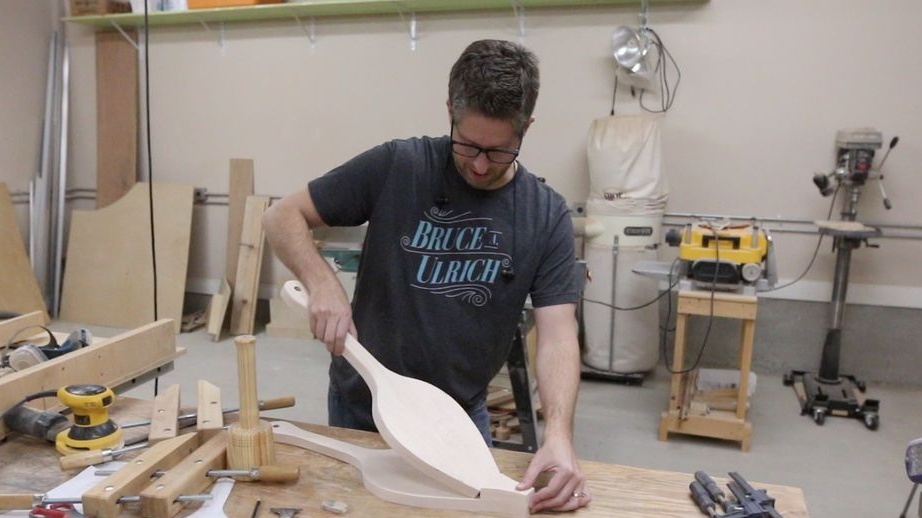
Step Three Finalizing the final profile
After cutting, the parts will have uneven edges, nicks and other defects. We arm ourselves with files on wood and, clamping the workpiece with clamps, we process it along the contour. Well, then you can use sandpaper.It is desirable to cut sharp corners, so the instrument will look more beautiful, and it will be more pleasant to hold it.
Step Four We cut ...
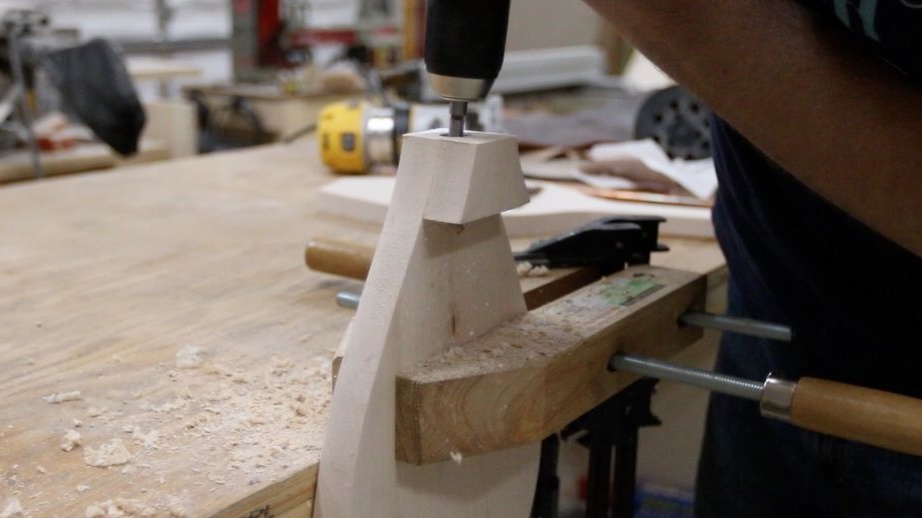
From one of the details you need to cut off the nose, as the author in the photo. And then this do is glued to another with epoxy or other glue. The second half will be attached to it movingly, using the skin.
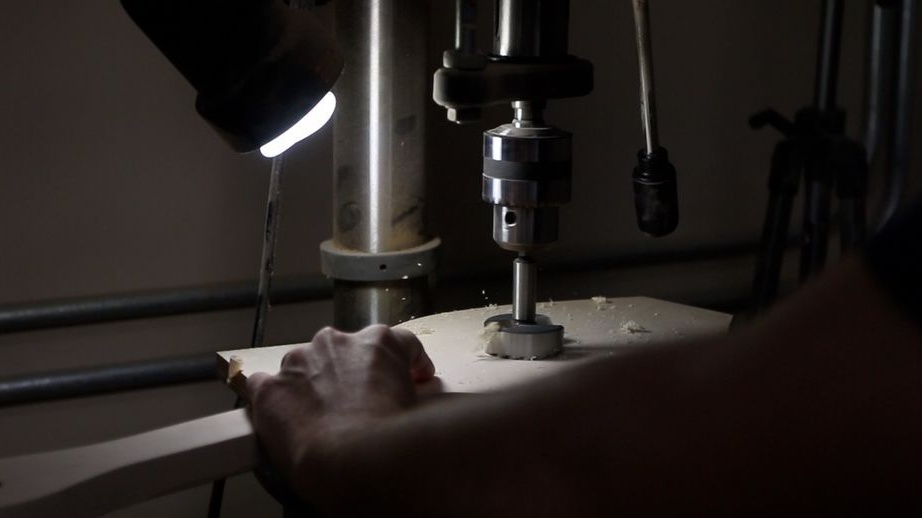
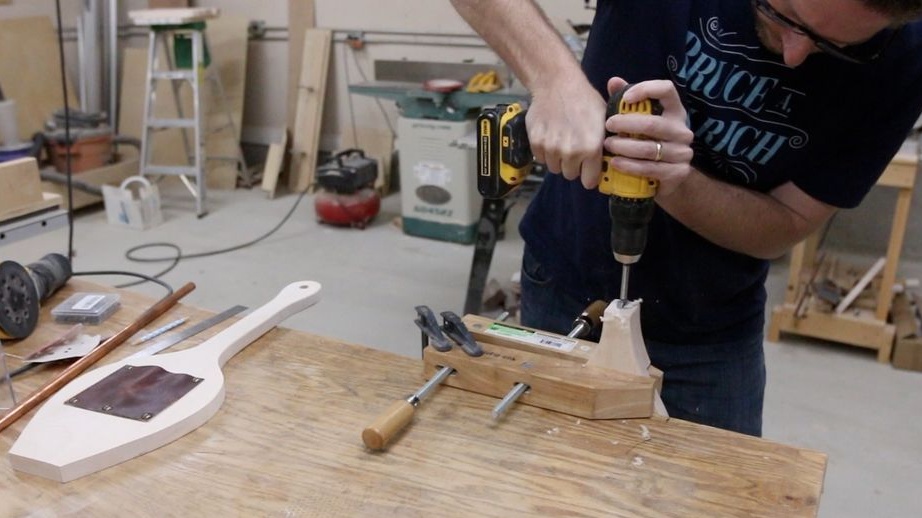
In addition, you will need to drill a hole in one of the sides. It will be needed to supply air into the blower; a valve is installed above the hole.
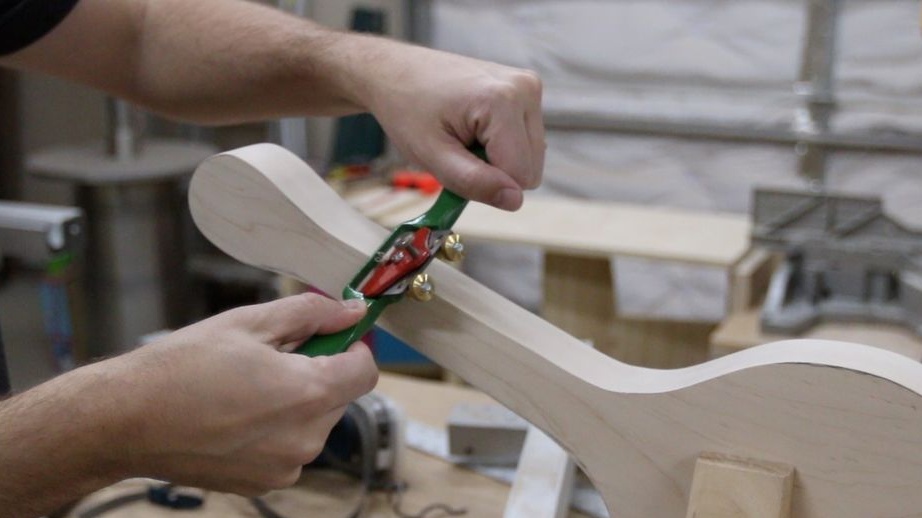
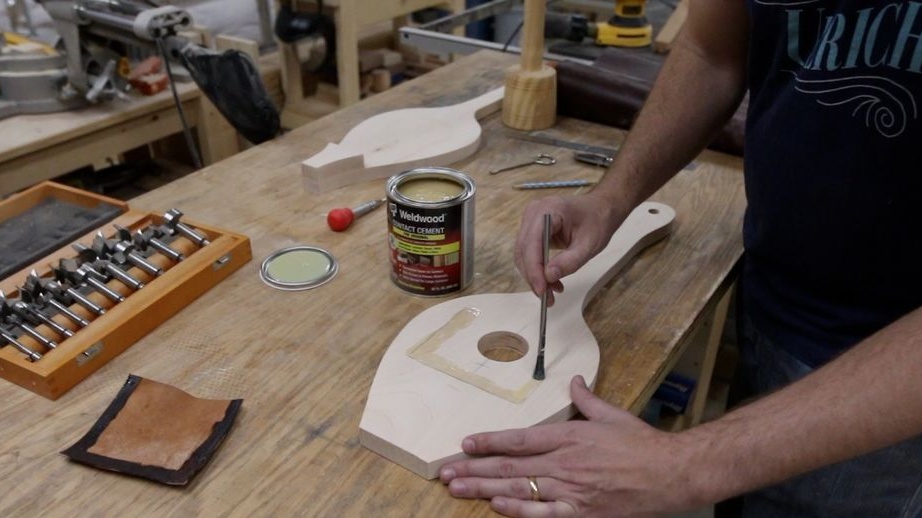
Step Five Install the valve
The valve is made of leather, it must let air in and should not let it out. The author installs the valve using glue, as well as decorative nails. Thanks to the glue, the three sides will be securely sealed, and the fourth will either open the air supply or close it.

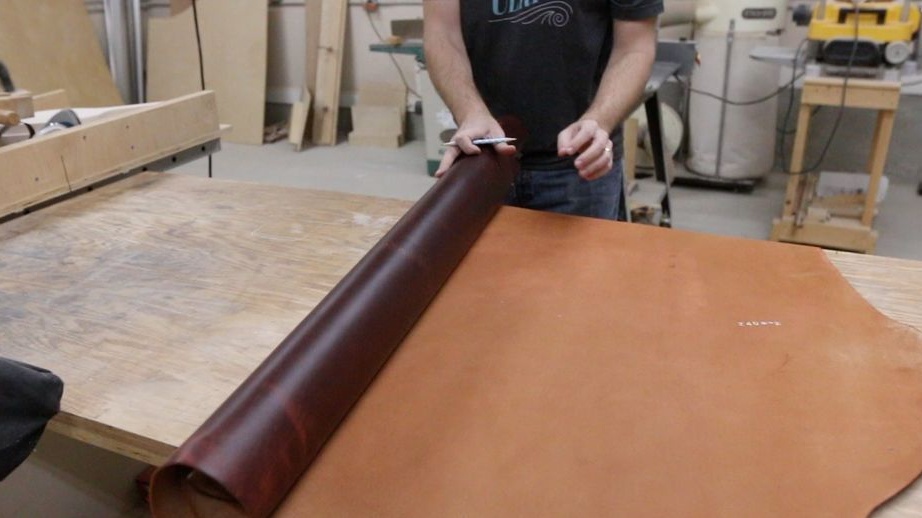
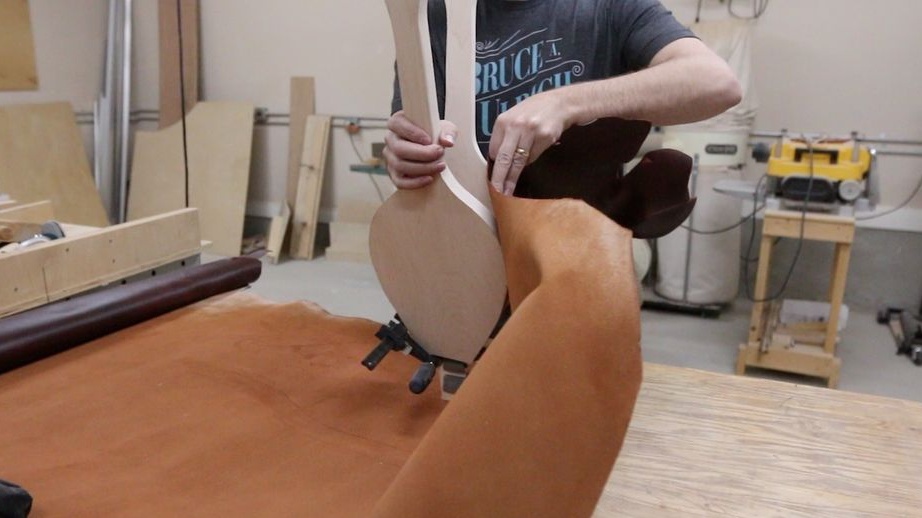
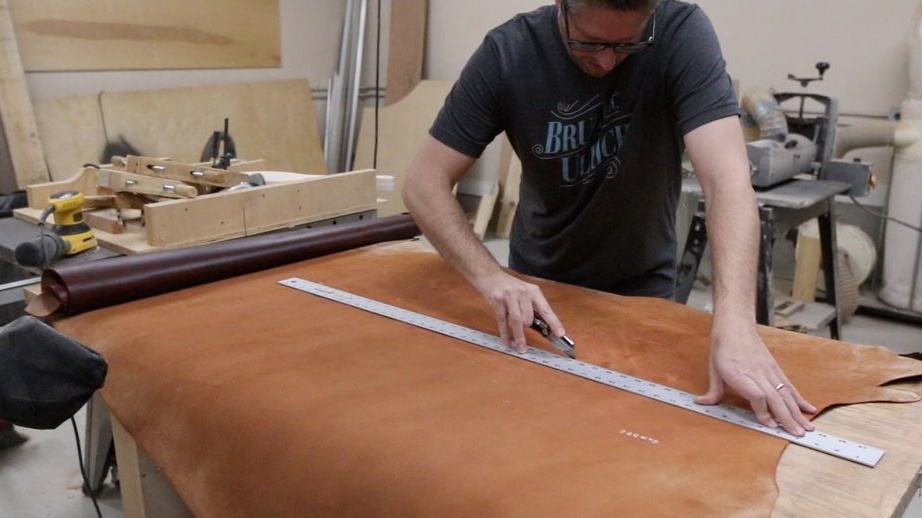
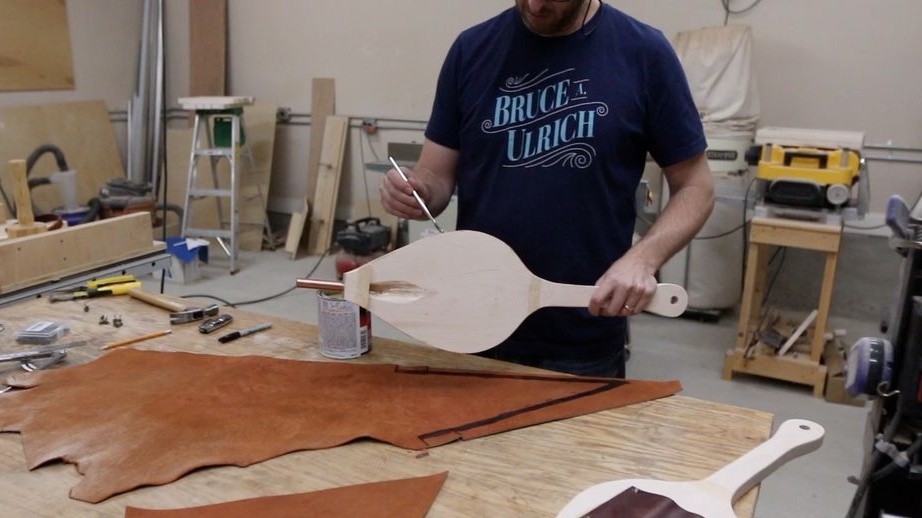
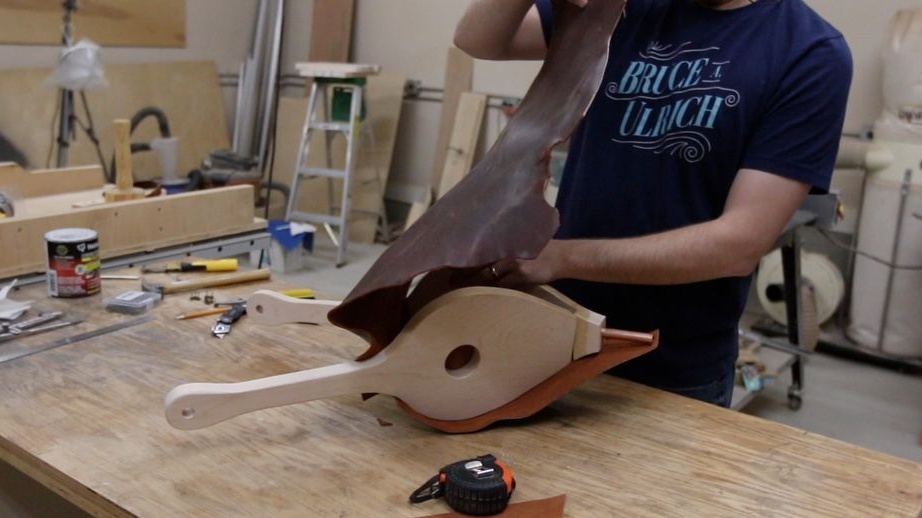
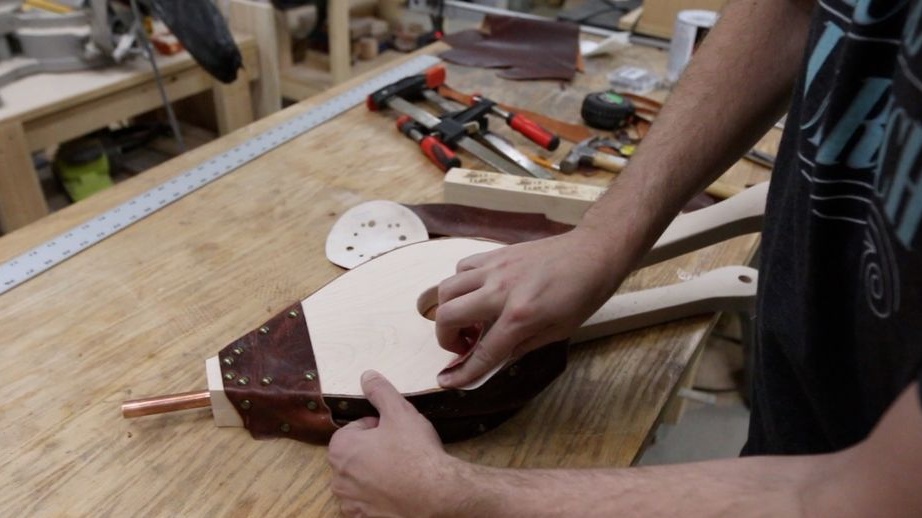
Step Six Working with leather
This is the most difficult step in the manufacture of furs. You need to cut out the necessary parts from the skin for the device. However, if you have a large piece of skin, you can first attach it to the device, and then just cut off the excess. The skin needs quite thick, so that the furs are powerful and last a long time. The most important thing here is the appearance of the skin, it sets the basic design of the tool.
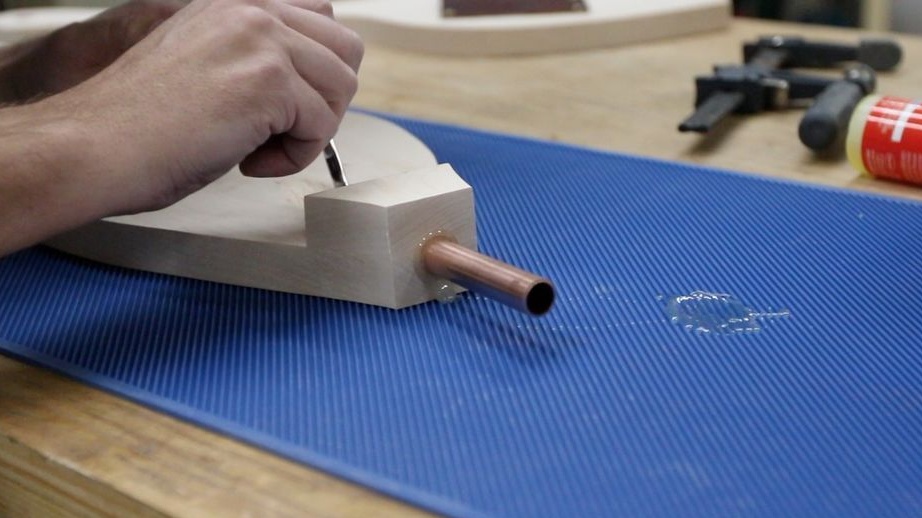
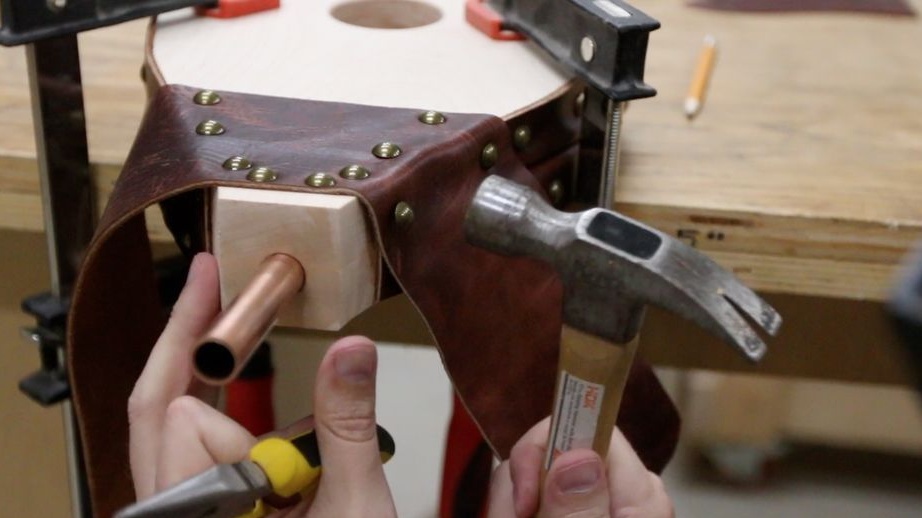
Seventh step. Fore part
In the bow of the instrument we drill a hole through which air will escape. We install a copper tube in this hole, copper will look pretty stylish. The author glues the tube using epoxy. The smaller the diameter of the tube, the slower the air will escape. The choice of the desired diameter must be approached intuitively or experimentally.
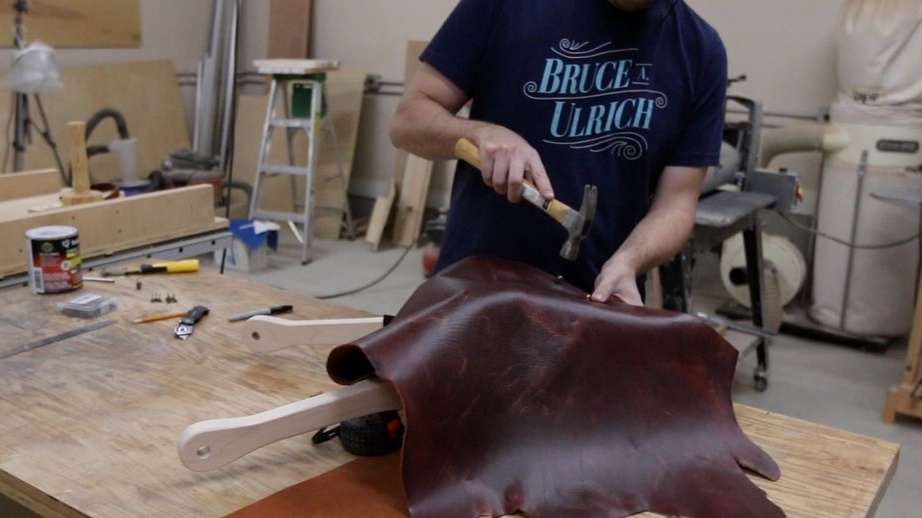
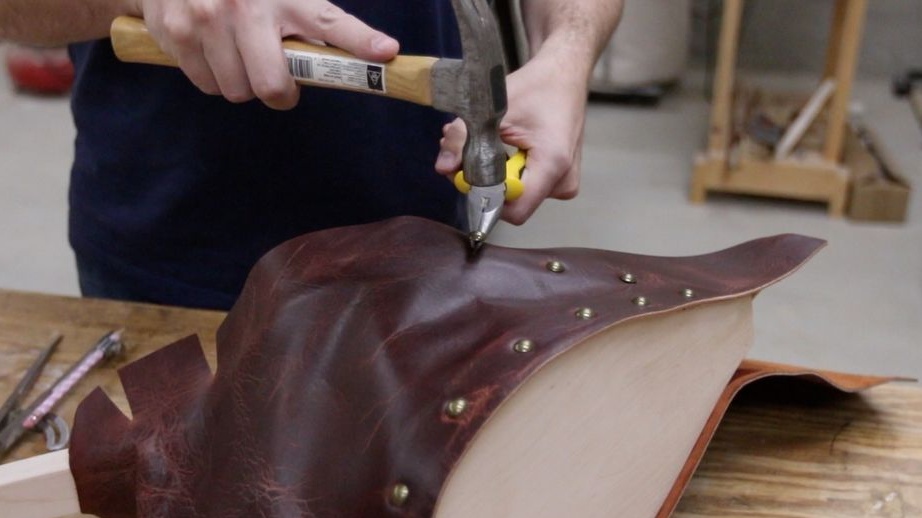
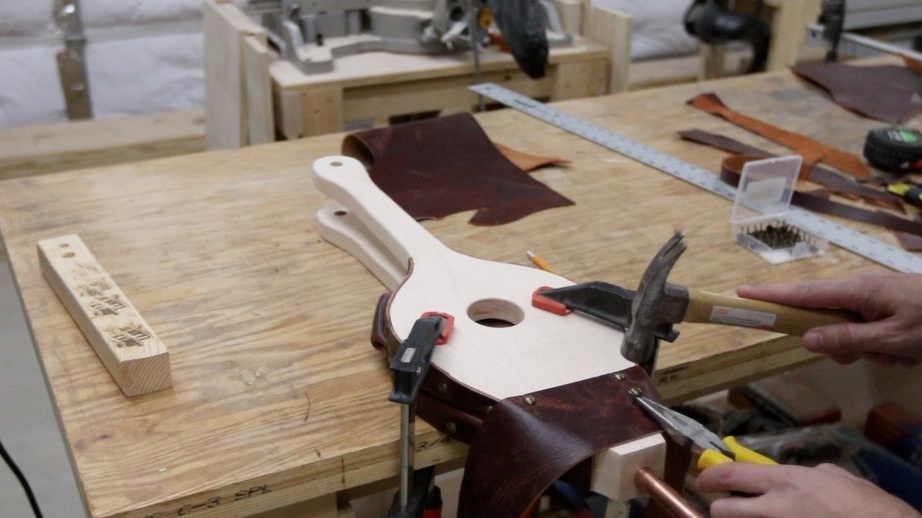
Step Eight. We collect homemade!
To assemble furs, you will need to fasten the skin on moving parts of wood. We coat the places of skin fastening with epoxy glue or some kind of sealant so that air does not come out from the bellows. Well, then we fix the skin using nails with decorative hats. Nails with copper caps come in handy, they should look great. As for the hinge, a piece of leather is also used here. Do not forget to make sure that there is a sufficient supply of skin to open the furs to the desired width.
Step Nine. Wood processing
There were places on the device that were not covered by skin. So that the wood does not smear and look beautiful, it can be soaked with oil or varnish. Flaxseed oil or one that is designed to impregnate wood can be used. Today there is a huge assortment of oils for any color and for any purpose. Before applying the oil, sand the surface with fine sandpaper.

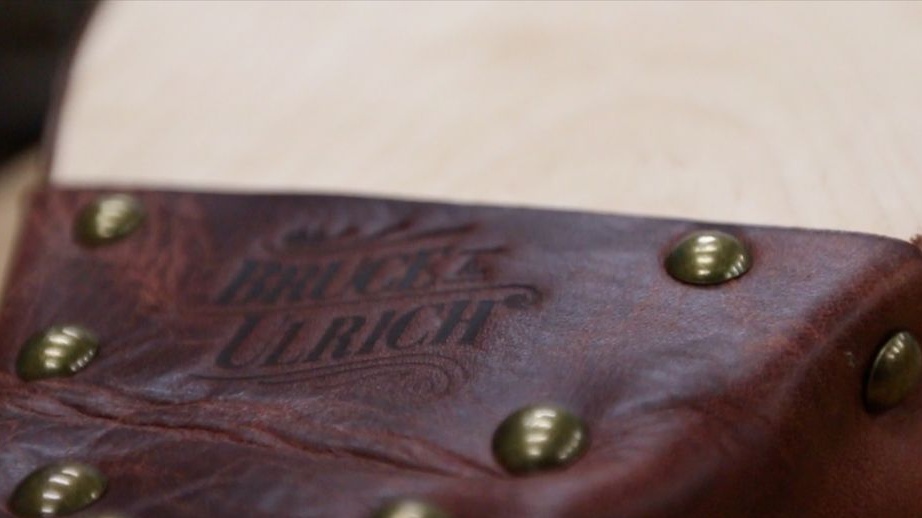
Step Ten Logo
If you want, you can put a logo on your furs. It can be applied to wood or leather. For this, the author used the "hot print".

Step eleven. We pass to tests
Furs can be tested! The author turned out to be a very high-quality homemade product and now he will not have problems with inflating firewood or coals that do not want to burn. This process has become simple and safe.
On this project can be considered completed and completed successfully. I hope the instruction was useful for you, and you have found something new for yourself. Good luck and inspiration in the manufacture. Do not forget to share your homemade products with us!