Something useful can even be made from a canister. The author came across this idea in one of the online stores selling handmade products. That canister was a box for luxury spirits.
The idea seemed gorgeous, but only boxing itself cost neither more nor less, but as much as 700 US dollars. And all this despite the fact that the work on the conversion of the canister does not require either expensive materials or any supernatural efforts. In addition, the boxing door opened downward, which was uncomfortable and looked strange.
The author was inspired by what he saw and planned to make the same thing, but for storing photo equipment. As a result, all the costs of turning a gas canister into a box cost him ten times cheaper. We will add here the valuable experience and pleasure of the work done.
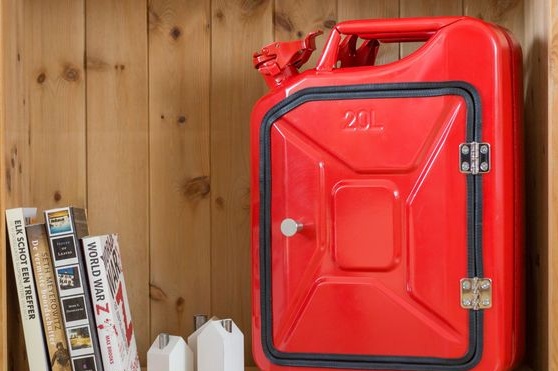
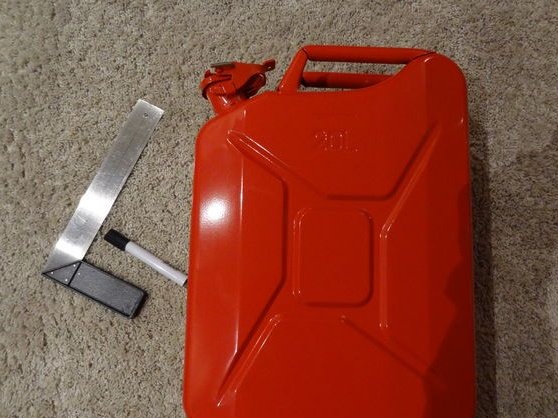
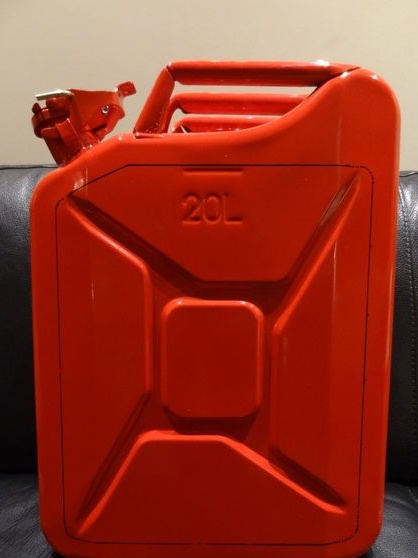
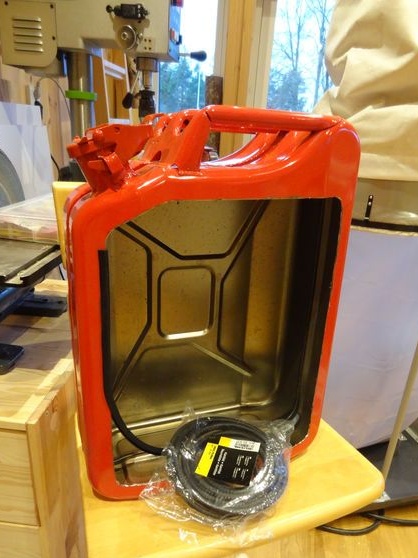
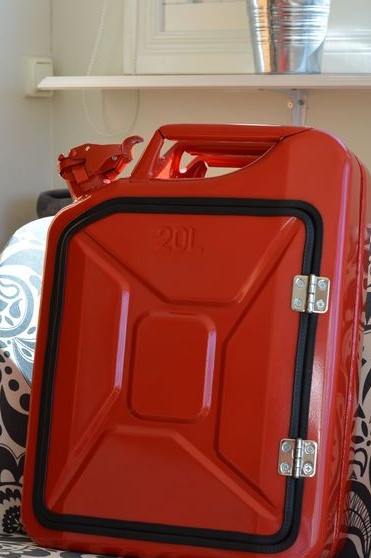
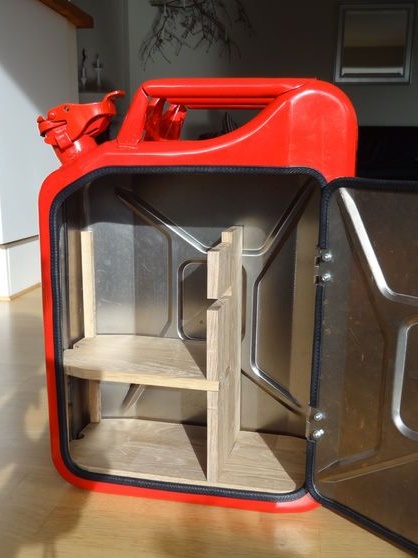
To translate this idea into reality, you will need a canister for gasoline in perfect condition, and even better - a new one. The author acquired a canister of spectacular bright red color with a capacity of 20 liters.
Let's see what you need today to create a miracle:
Materials:
- 20-liter canister for gasoline;
- automobile sealant for doors;
- thin plywood;
- metal loops;
- small bolts with nuts for fastening loops;
- wood screws;
- glue for woodwork if necessary.
Instruments:
- Bulgarian with a cutting wheel for metal;
- grinder;
- a drill with a small cutting disc for metal processing;
- electric drill and drill of suitable diameter, drilling machine, if possible;
- jigsaw;
- file;
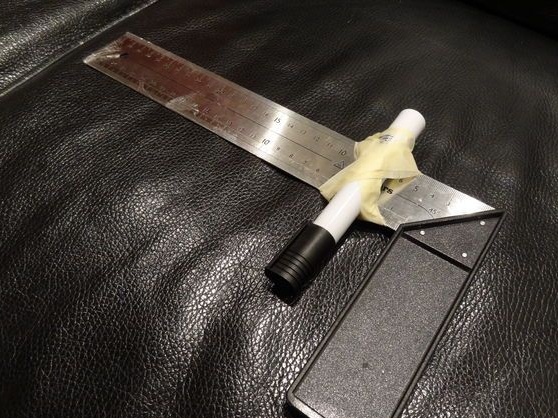
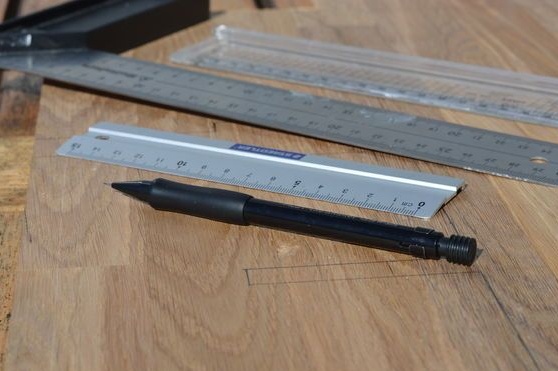
- square and ruler;
- a pencil;
- a wrench of the required diameter;
- sandpaper;
- pliers;
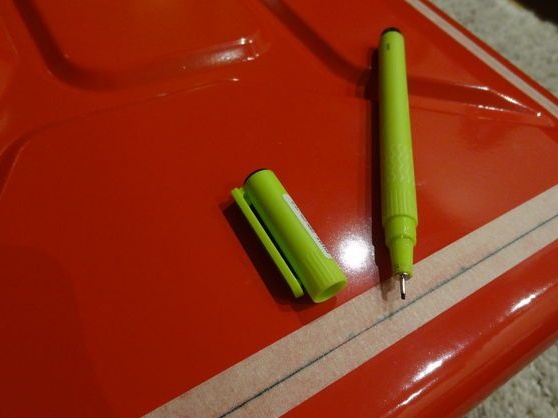
- marker.
Step One: Preparing the Canister
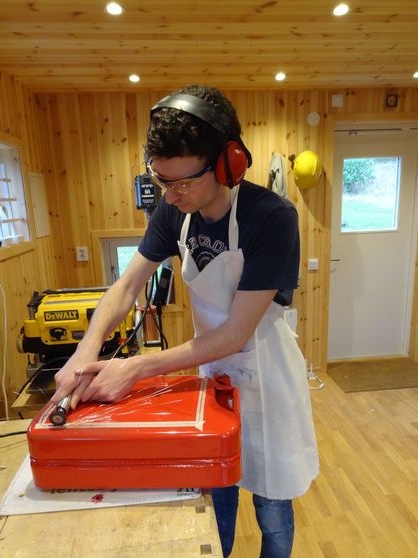
The author used a new canister with a capacity of 20 liters. You can purchase a used can in excellent condition. In this case, it will need to be cleaned. Use a solvent or soda ash for this. Use a respirator as solvent vapors are toxic. Wash the canister outside and wipe dry.
Step two: marking future doors
Decide on the size of the doors. It all depends on what you want to store in boxing, and how dimensional these things are. In any case, from the side where the door hinges will be located, you need to leave enough space.
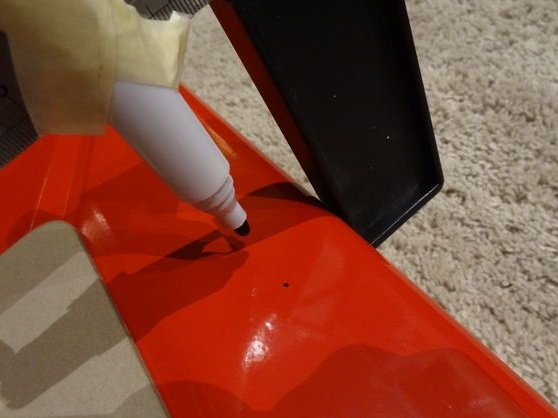
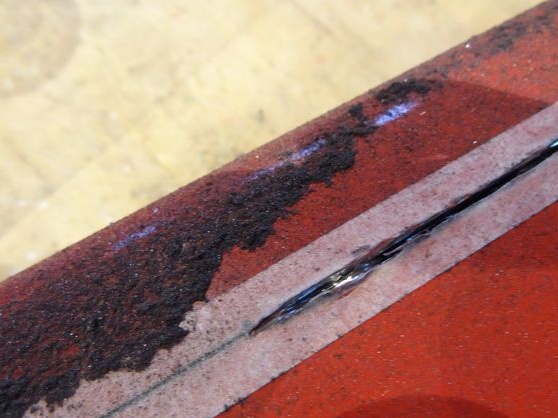
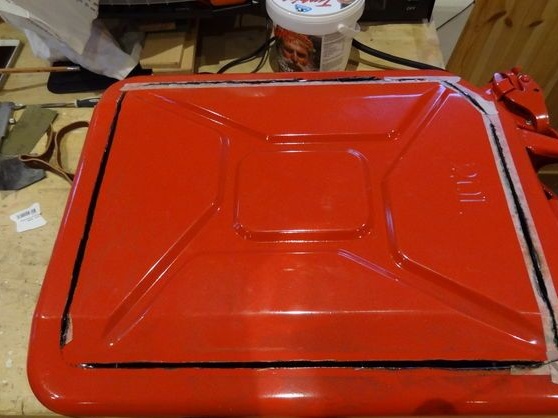
The author pasted masking tape in order to markup. Moreover, the adhesive tape allowed to estimate in advance how optimal the selected door size would be. He settled on the fact that along the entire perimeter he stepped back from the edge by 30 mm.
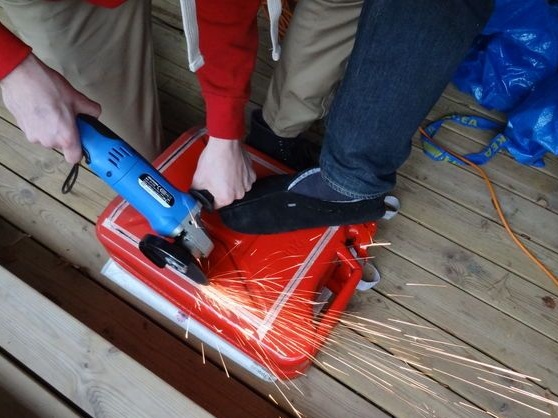
Step Three: Cutting the Door
Prepare the grinder and proceed to cutting the hole. In the photo you can see that the shape of the doors is not strictly rectangular. Its corners are rounded. Therefore, work as a grinder only in those areas where straight lines are marked.
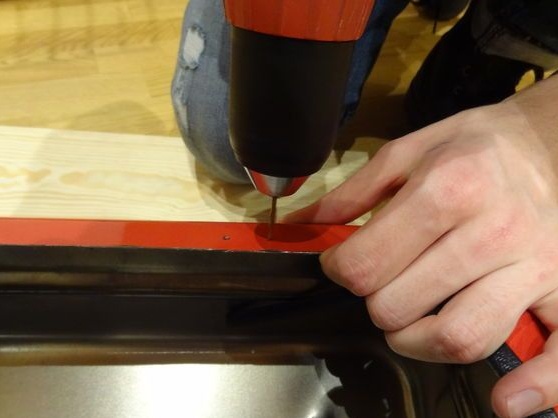
Next, a drill comes into play. This wonderful mini-tool is just designed to carry out small parts processing. For a drill you can get a cutting wheel of small diameter.
Please note that in this case, it is better to use a mount under the circle, which allows the latter to deviate about its axis. This prevents tearing of the cutting wheel during operation, when its small pieces can cause very dangerous injuries.
So, cut the rounded corners with a drill. Work carefully and try to make the cut out neat, because the cut piece of metal will go into the manufacture of the door, and it will have to fit snugly against the body of the canister.

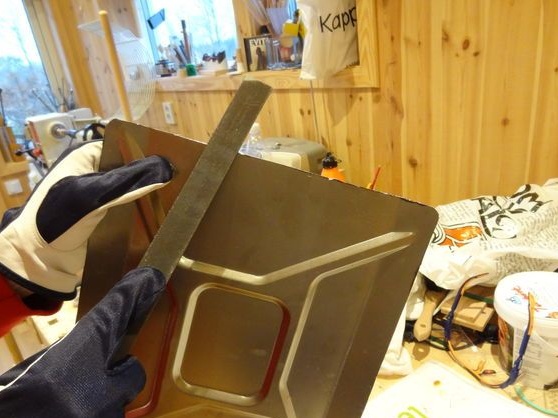
Step Four: Cut Processing
After working with a grinder, you will get a not-so-attractive cut. Therefore, arm yourself with a file and carefully process the edge of the metal so as to rid it of chipping and make it even.
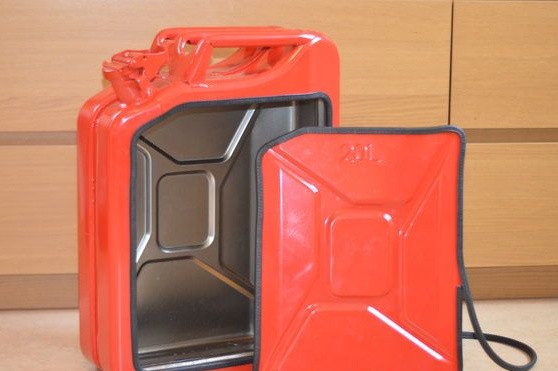
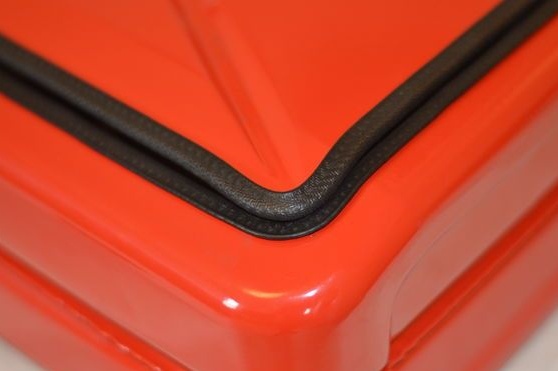
The author used a car seal to form the door and opening of the box. The seal itself was not too narrow, therefore, at the first attempt, the door did not fit into the opening. Therefore, he again cut it to the required size, repeated processing of the cut, and this time the door turned out to be what was needed.
Later, when you have completely decided on the location of the hinges, for greater reliability, you can put the seal on glue or sealant so that it does not slip off the metal during operation.
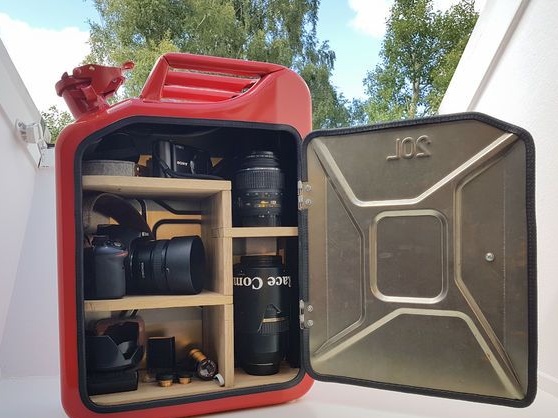
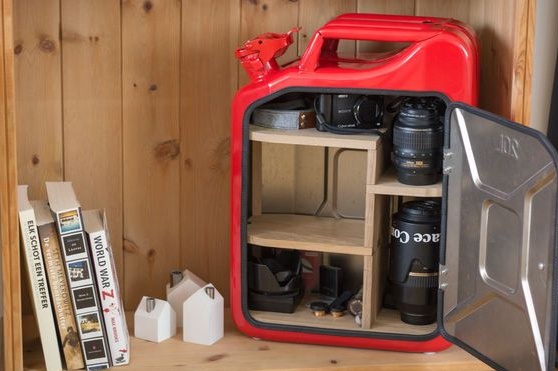
Step Five: Designing a Boxing Stuffing Scheme
The author planned to injure the camera equipment in the box, so he thought in advance of the dimensions of the compartments inside, which would be convenient for him. You can choose other sizes and a different design of the boxing filling, but the principle of its manufacture is worth adopting.
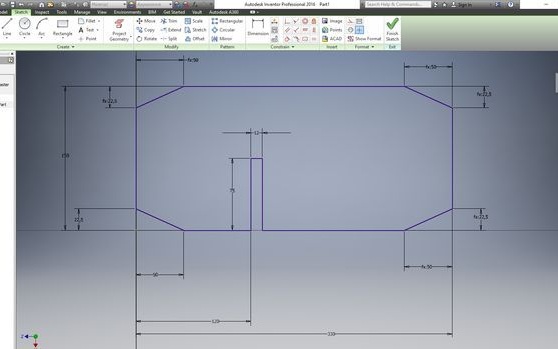
The author used thin plywood. He advises starting with measuring the inside of the canister, since they are all different. Then you can make a visualization on the computer so that the machine independently calculates the dimensions of each individual part.
The author used Autodesk Inventor and created his own virtual model. In order to make sure that he did not mess up with the dimensions of the insert, the author made a transverse template and tried to place it across the canister. Everything turned out, the layout turned out to be correct.
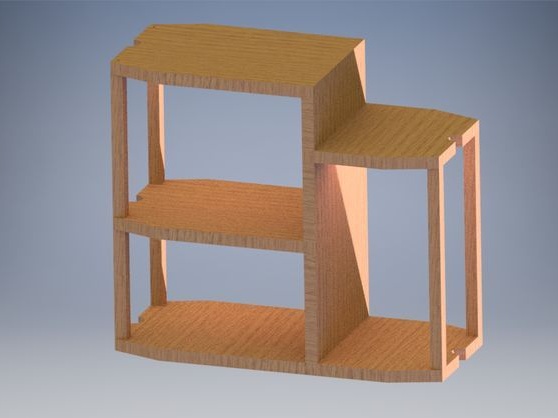
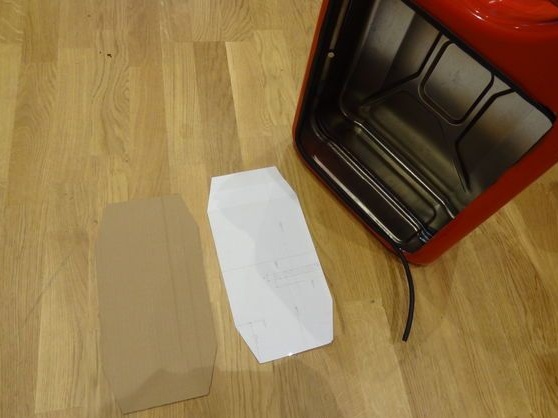
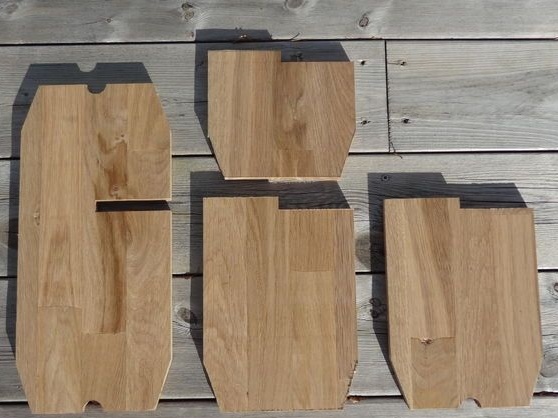
Step Six: Making Boxing Filling Parts
What a computer program is really good for is that at the output you get a complete list of parts with detailed dimensions. You can even print the patterns on paper, cut them out and transfer them to the material without any problems.
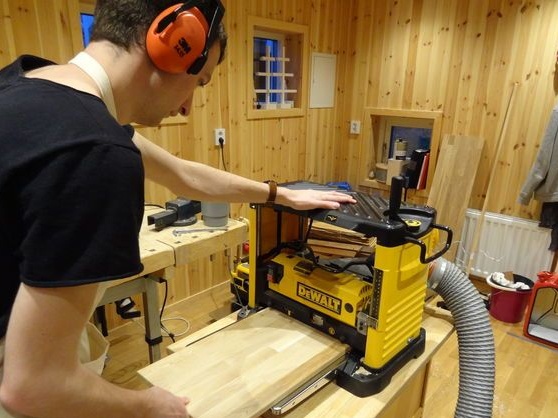
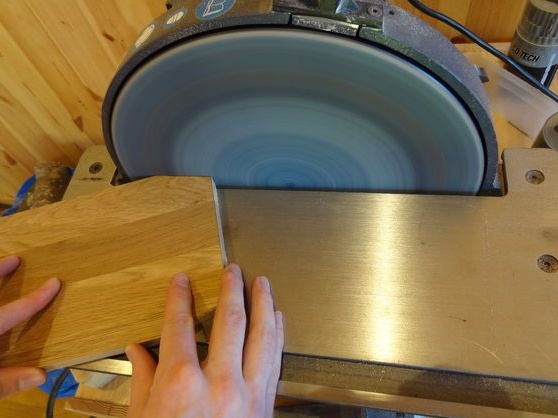
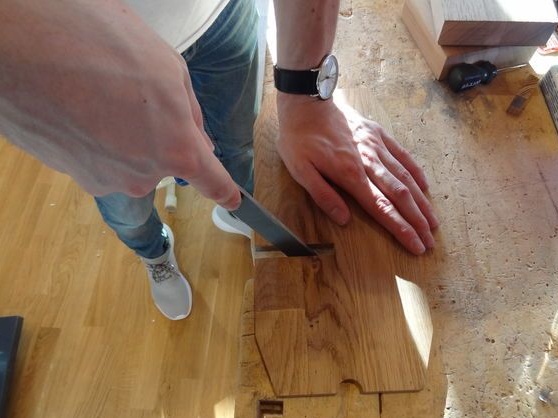
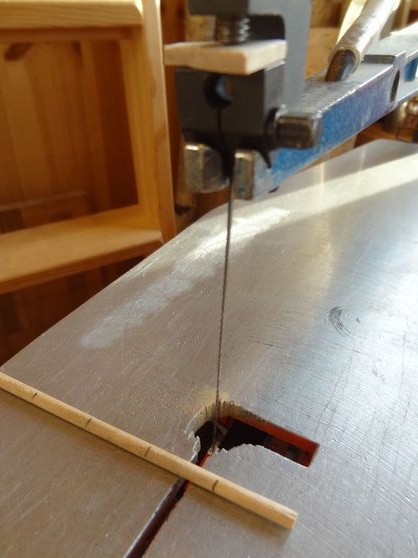
The author did just that. He made markings and cut the elements of the filling from plywood using a jigsaw. Before starting work, he carefully polished the workpiece. After sawing, he again went through the details, but this time with sandpaper, and processed the cut.
There are recesses inside the canister body. You need to cut holes for them in your details.
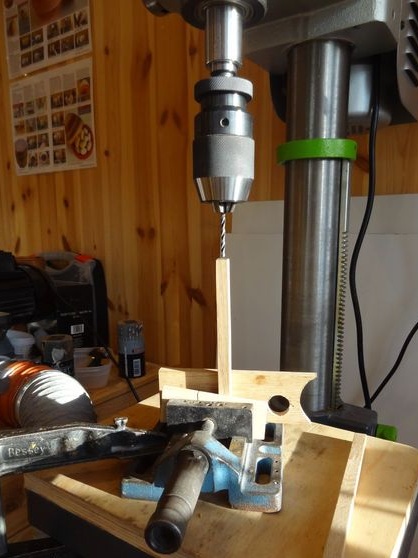
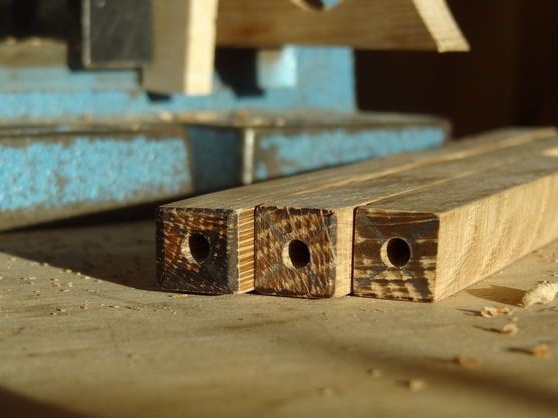
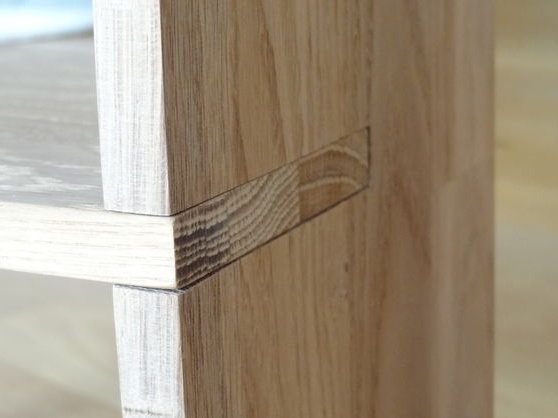
In addition, the author made support rails 12 x 12 mm with holes for mounting.
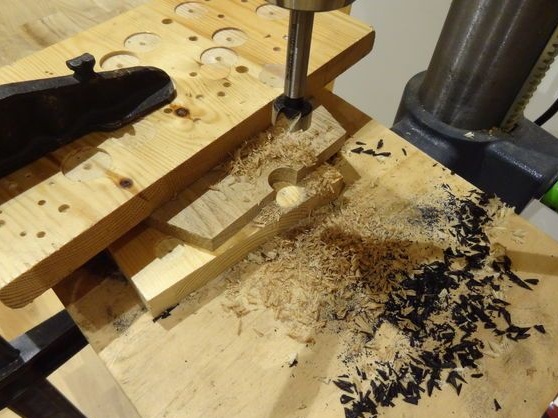
Drill holes for self-tapping screws to subsequently connect the parts to each other. The diameter of the drill should not exceed the diameter of the screw, otherwise the connection will be fragile.

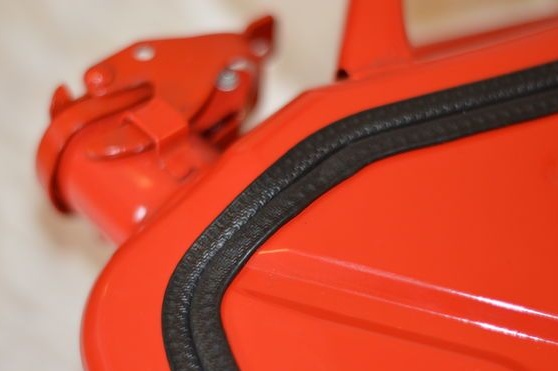
Seventh step: fastening the doors
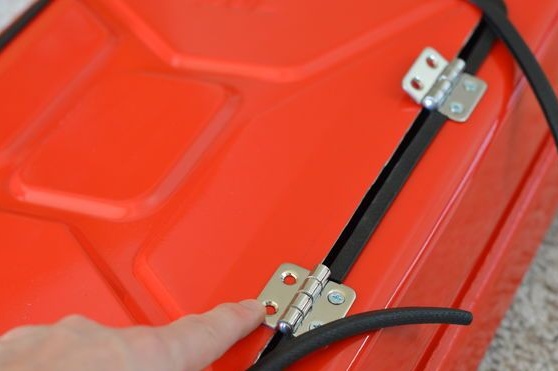
Boxing doors are mounted on ordinary metal hinges for four bolts with nuts. Thus, you will need two integral loops and eight bolts complete with nuts. Pick up the bolts in diameter so that they easily pass into the holes of the loops, otherwise the latter will have to be drilled.
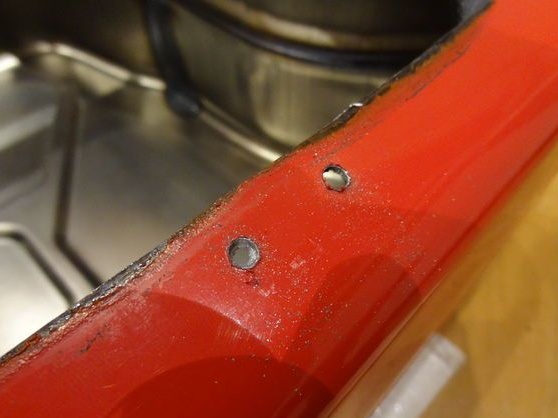
Identify mounting locations and mark out. Drill holes for the bolts on the door and screw the hinges. Place the door in the opening and mark the attachment points on the body of the box. Drill holes and secure the back end of the hinges with bolts.
Tighten the nuts firmly using pliers and a wrench of a suitable diameter. Check how your door opens and closes.
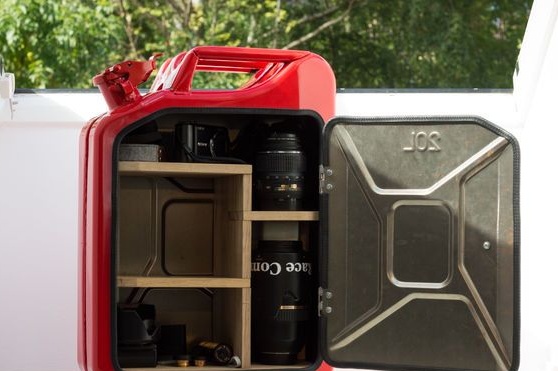
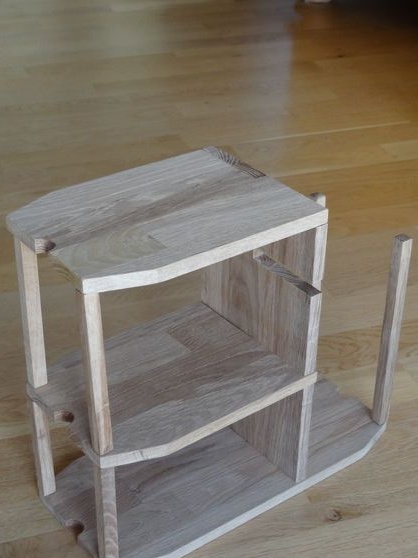
Step Eight: Filling Assembly
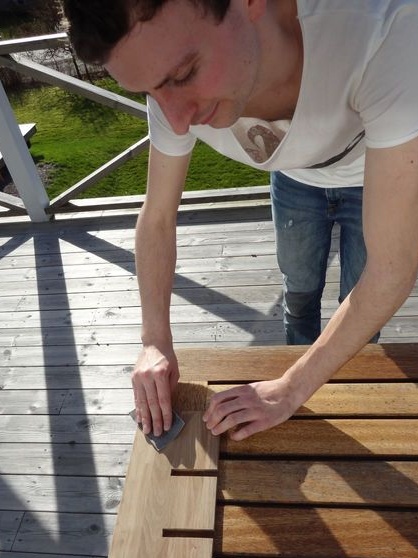
The filling is assembled in stages right inside the box. You can pre-treat the parts with varnish or any other protective and decorative agent.
In order for the filling to hold tight in the box, it must be assembled using either glue or self-tapping screws. And you can take both together.
When using glue, you can fix the filling from the bottom side in such a way that you can’t see the screws at all in the visible parts of the box.
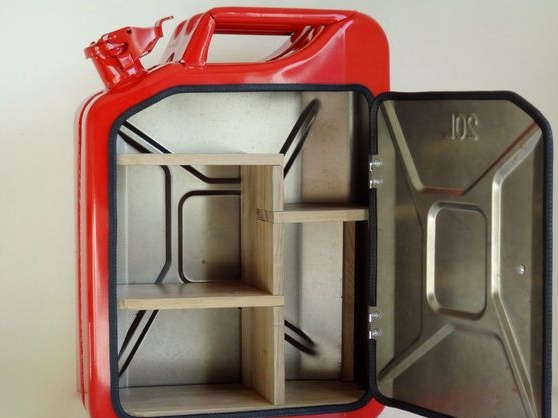

The original box from the canister for storing things is ready and saved the author as much as $ 630!