

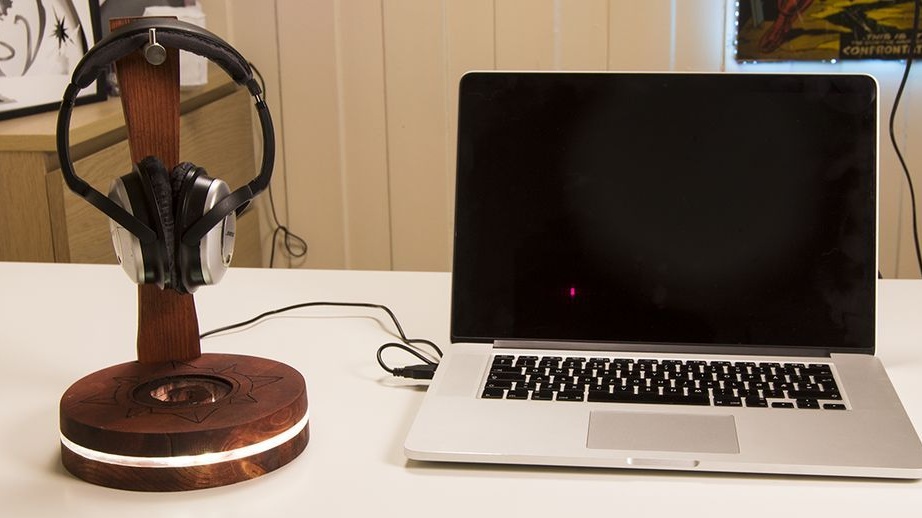

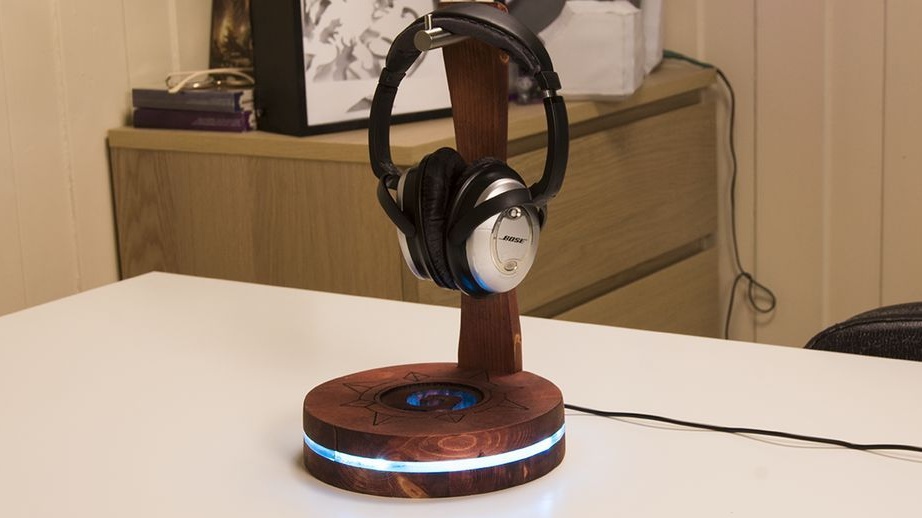
A headphone stand with RGB backlight and power from the computer’s USB port was made by a self-made craftsman from Norway. To make the stand, she used the following
Tools and materials:
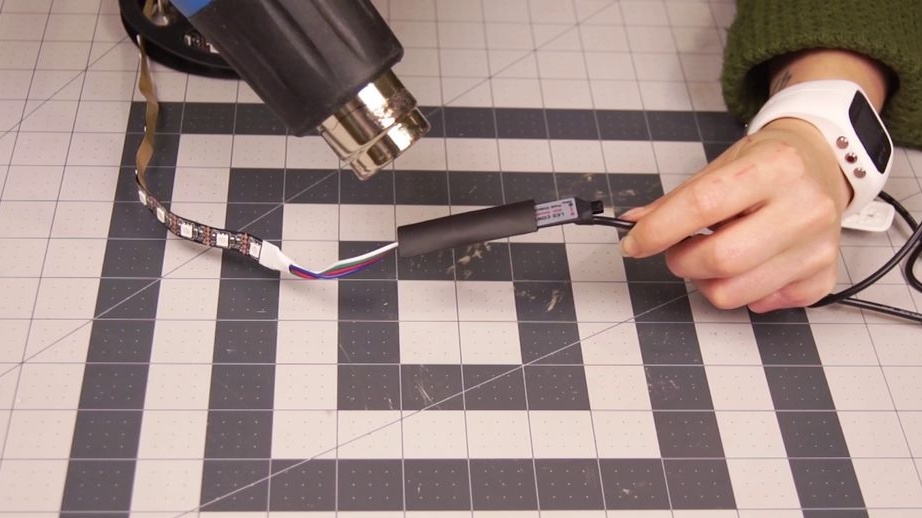
-Heat-shrink tubing;
-Acrylic;
- Suspension (towel hook);
-Boards;
Milling cutter;
-Pyrograph (burner);
-A circular saw;
-Glue gun;
-Drilling machine;
-Grinder;
-File;
-Crown on wood;
-Sandpaper;
-Dremel;
-Rule;
-Compass;
-Pencil;
- Clamps;
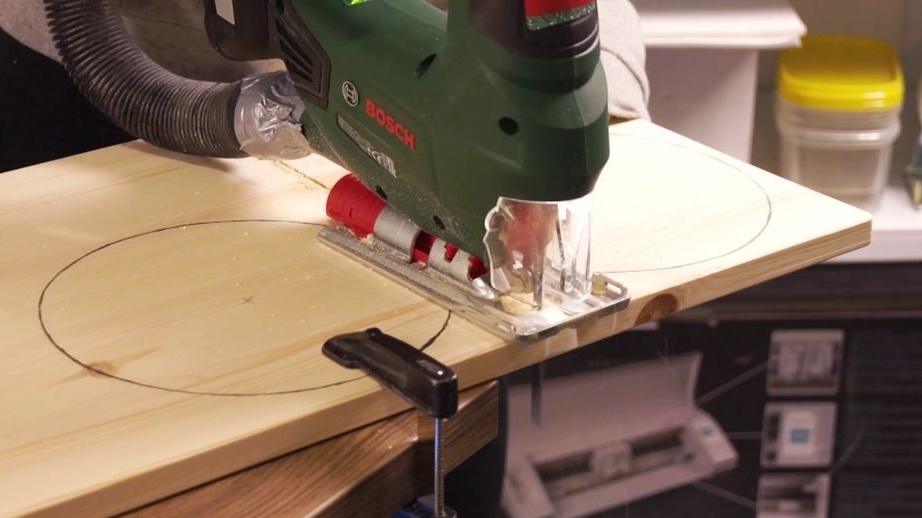
- Electric jigsaw;
- Paint tape;
-Tape machine;
-Paper;
-Scissors;
-Gon;
-Glue;
-Plane;
- Stain;
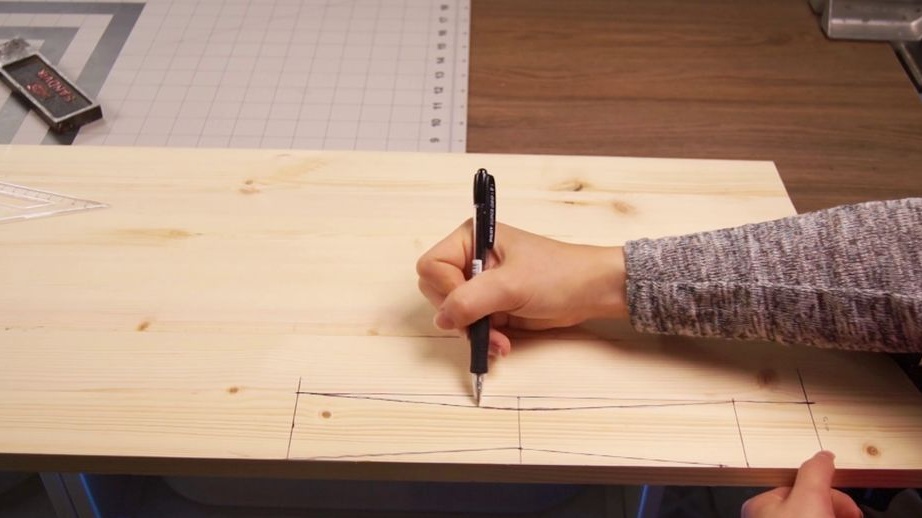
Step one: procurement of parts
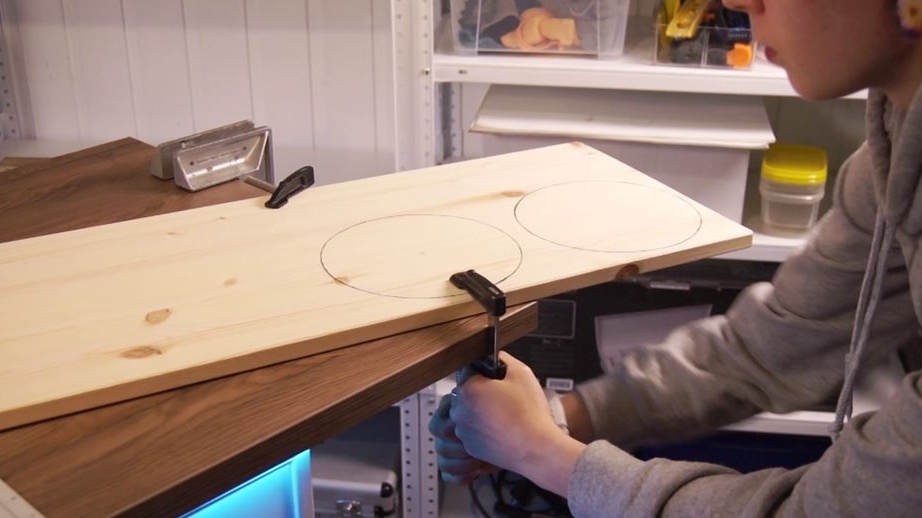
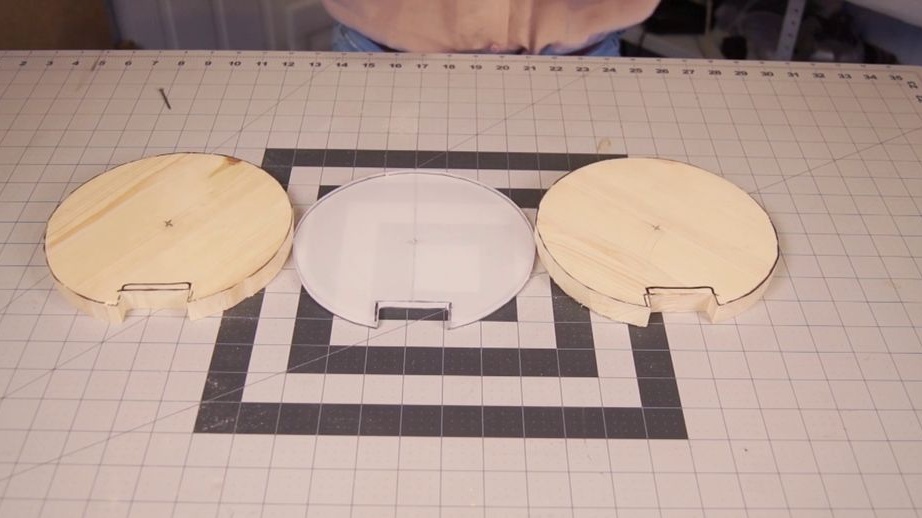
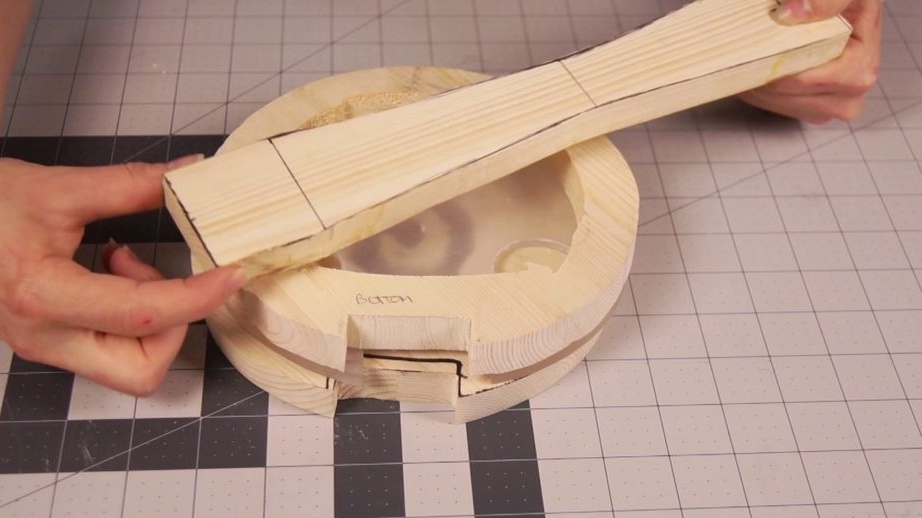
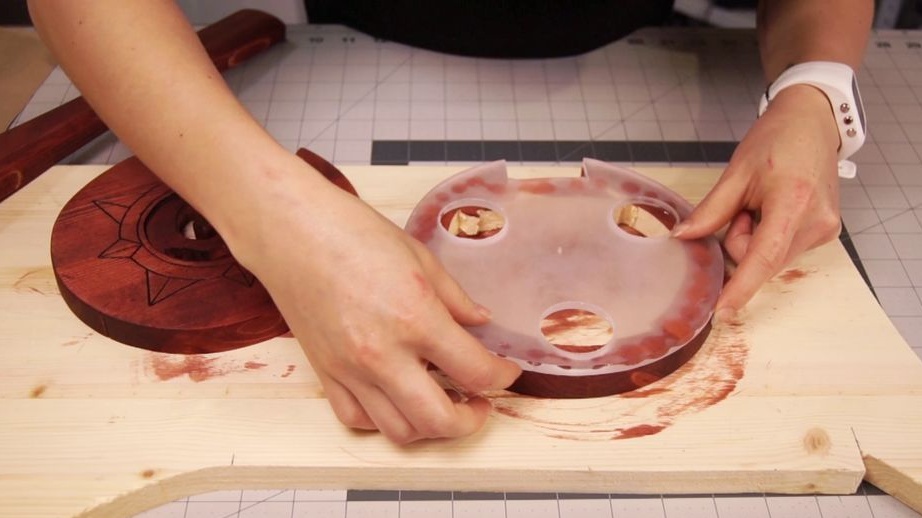
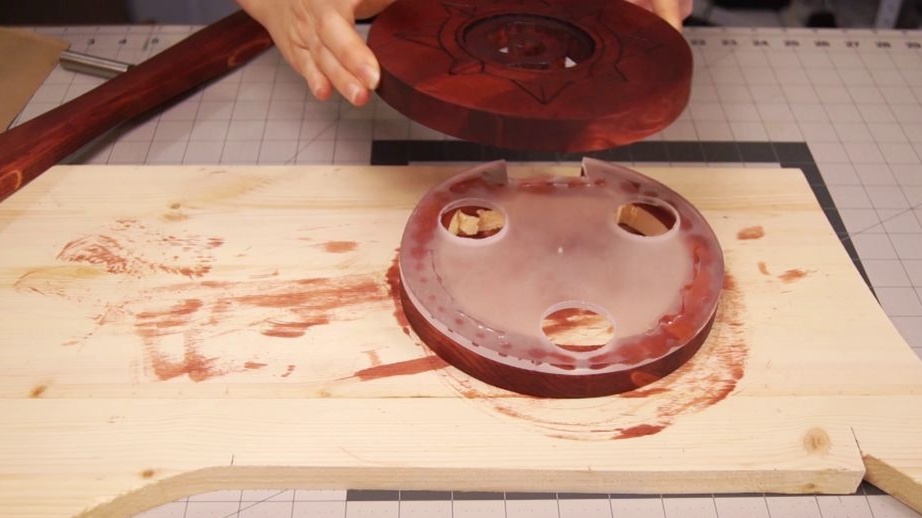
The master decided to make the foundation out of two boards with an acrylic insert between them.
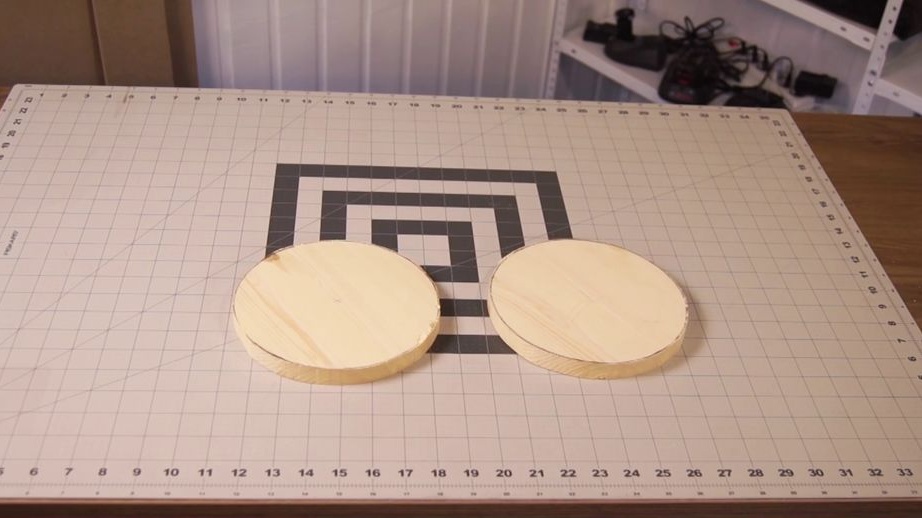
From a pine board cuts two circles with a diameter of 18 cm.

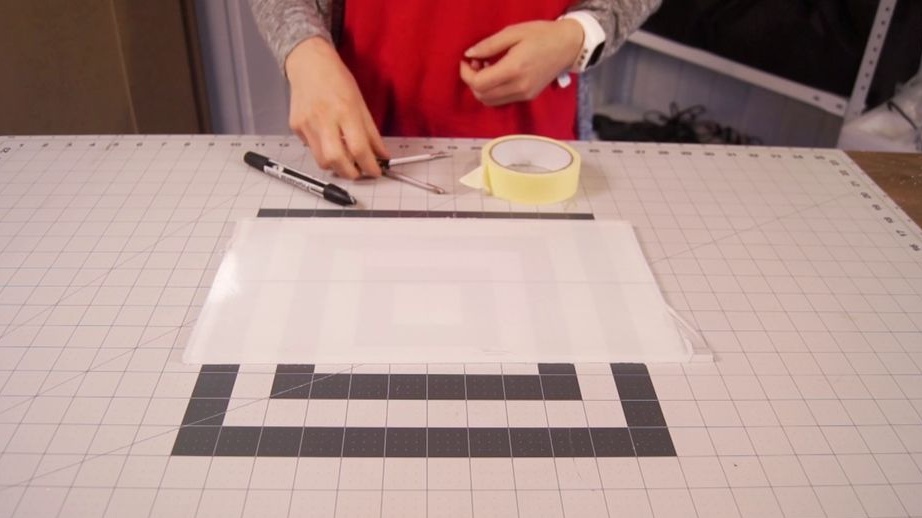
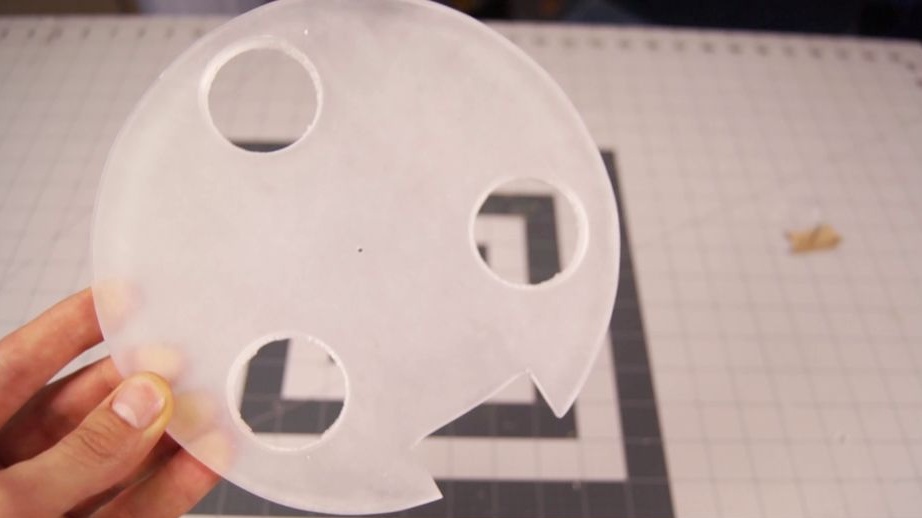
Cut acrylic.
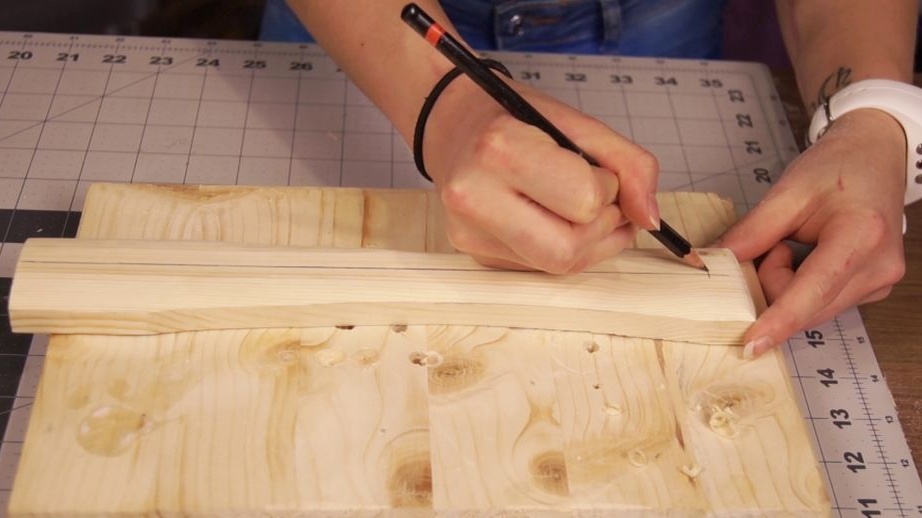
Cuts the rack. The length of the rack is 30 cm.
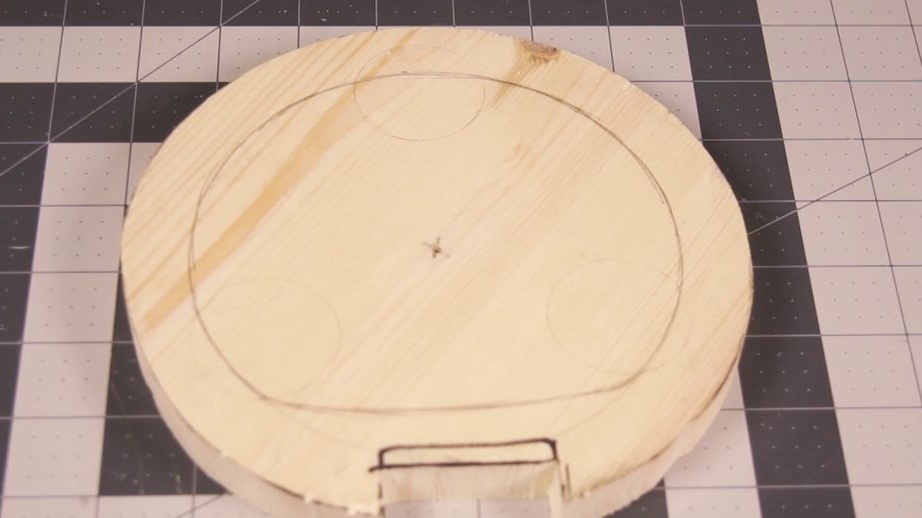
Step Two: Foundation
The master decided to make the foundation out of two boards with an acrylic insert between them.
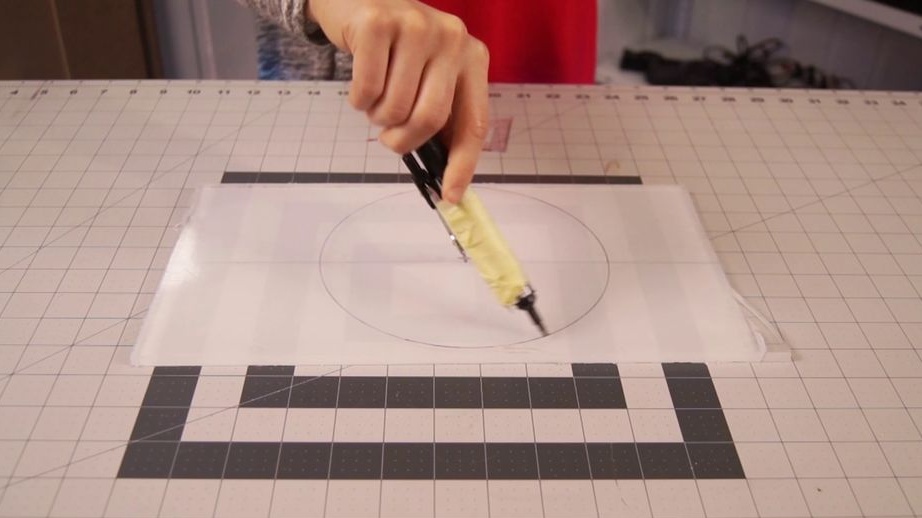
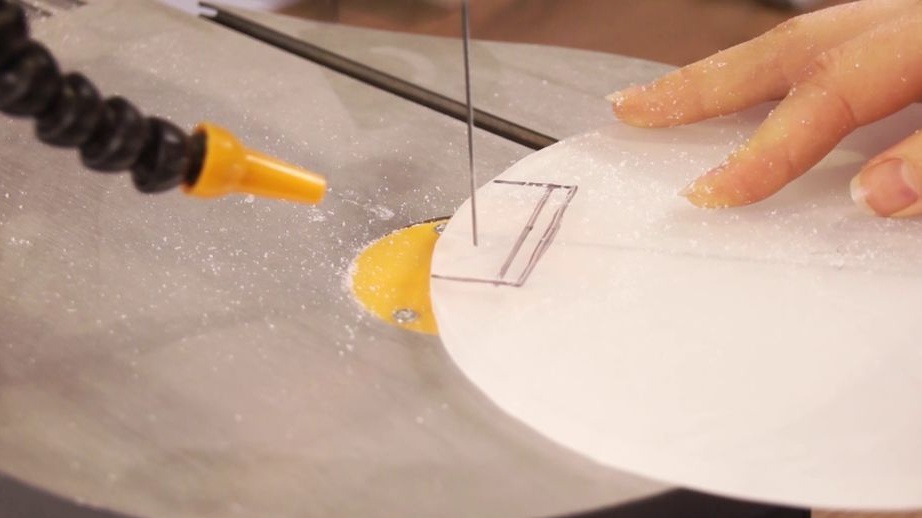
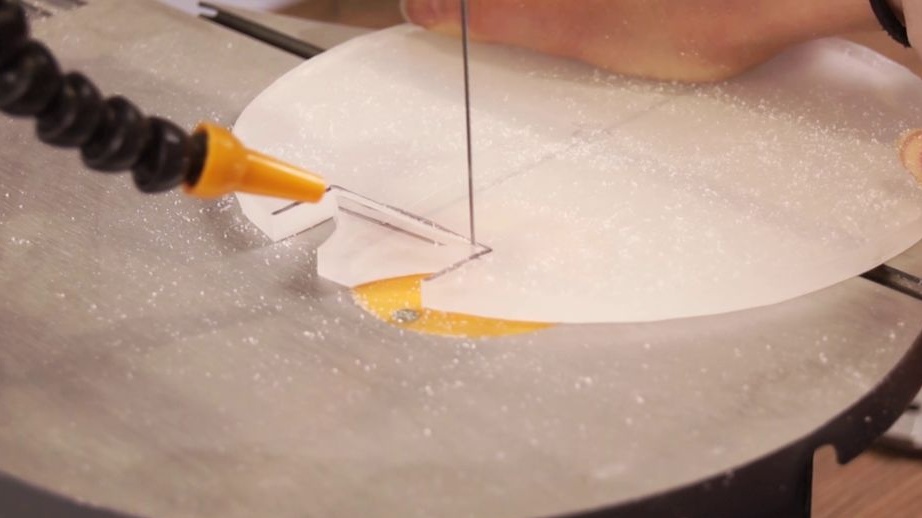
Marks acrylic space for a rack.
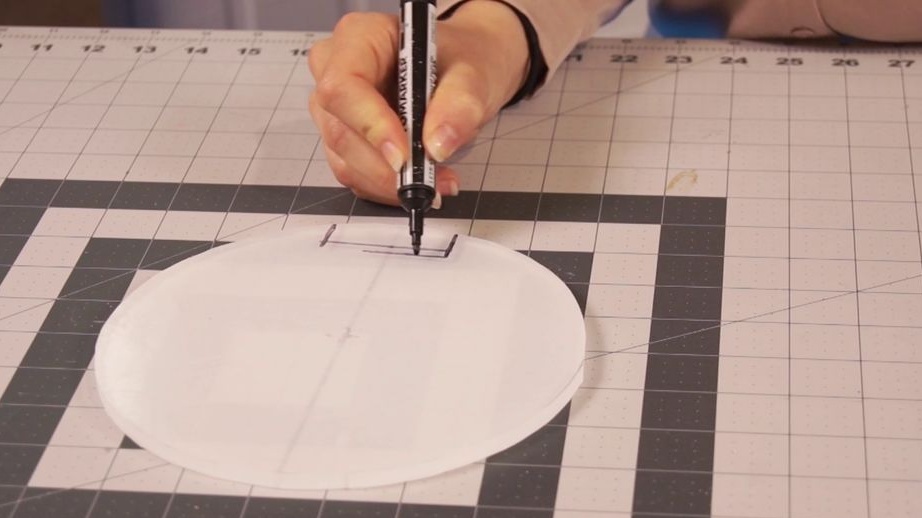
Cuts out.
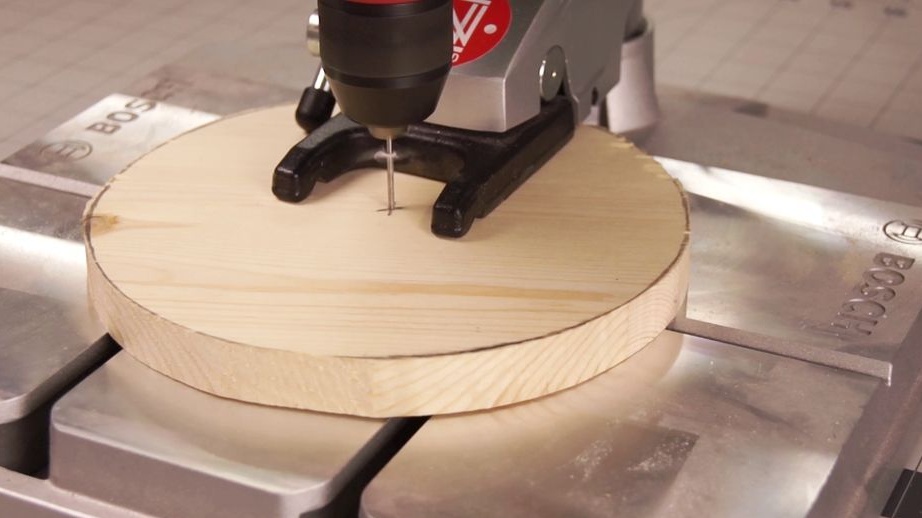
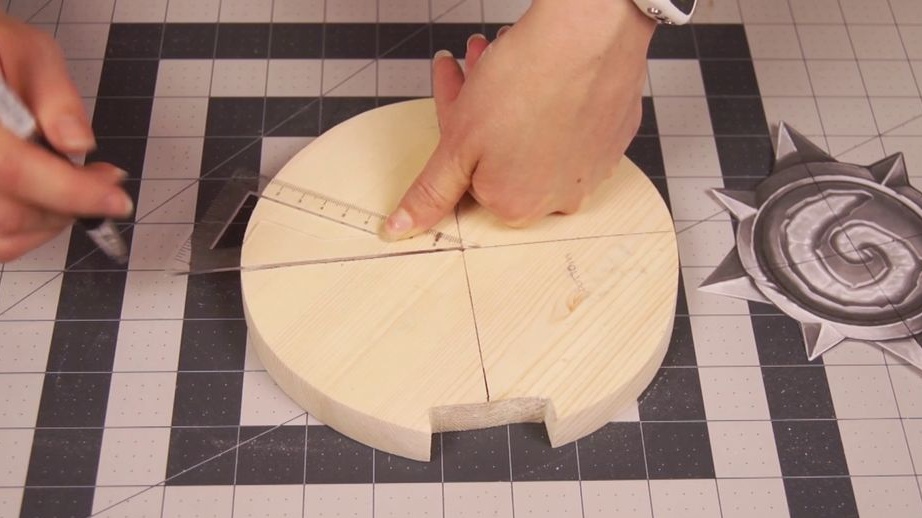
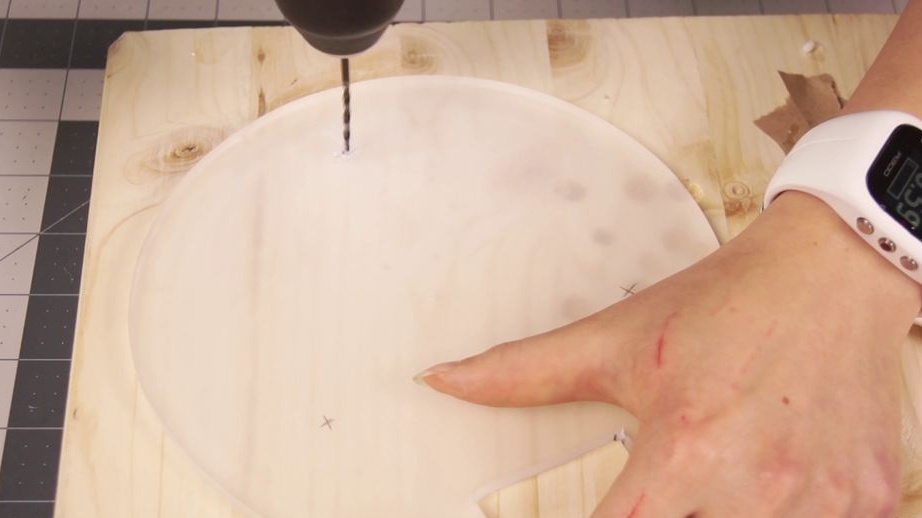
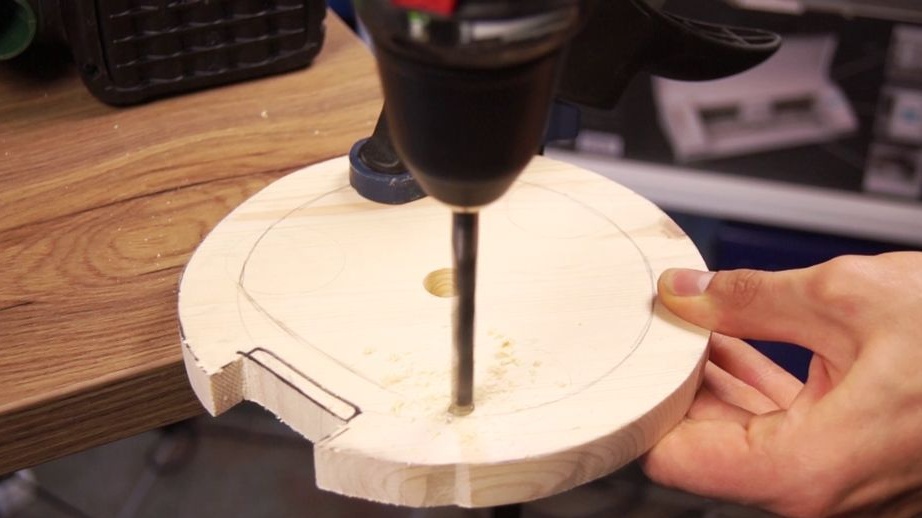
A hole is drilled in the center of all parts of the base. Using the hole, the master centers the parts of the base.


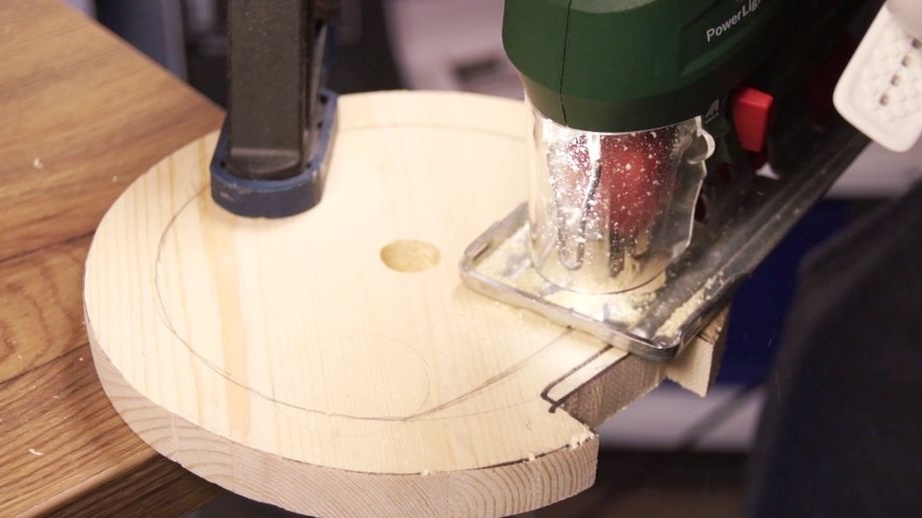
Cuts a stand groove in the wooden parts of the base.

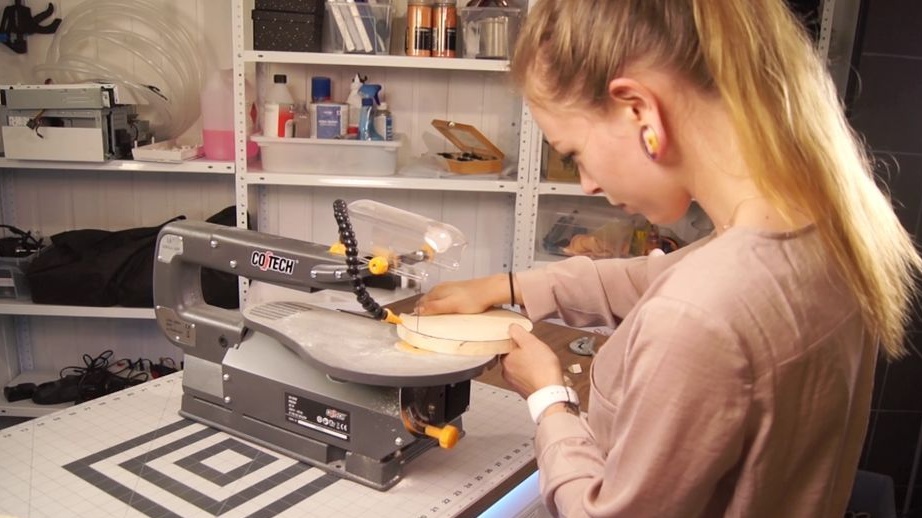
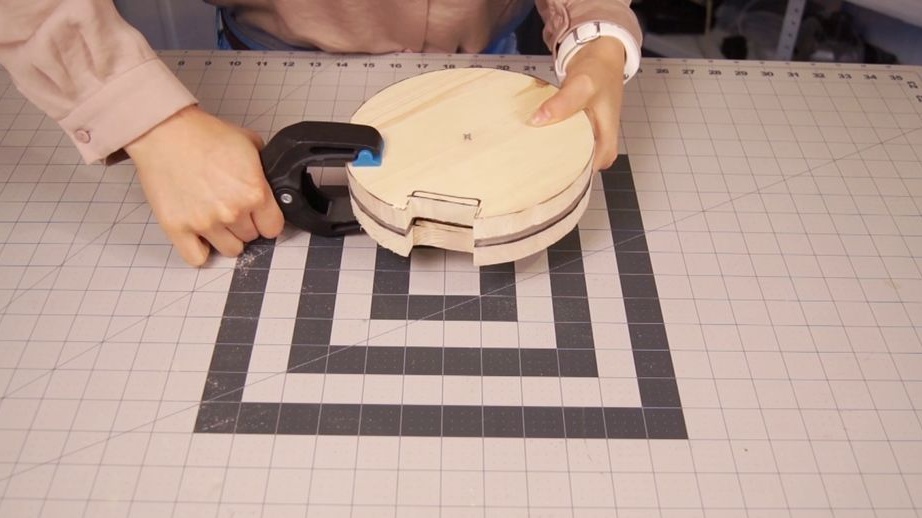
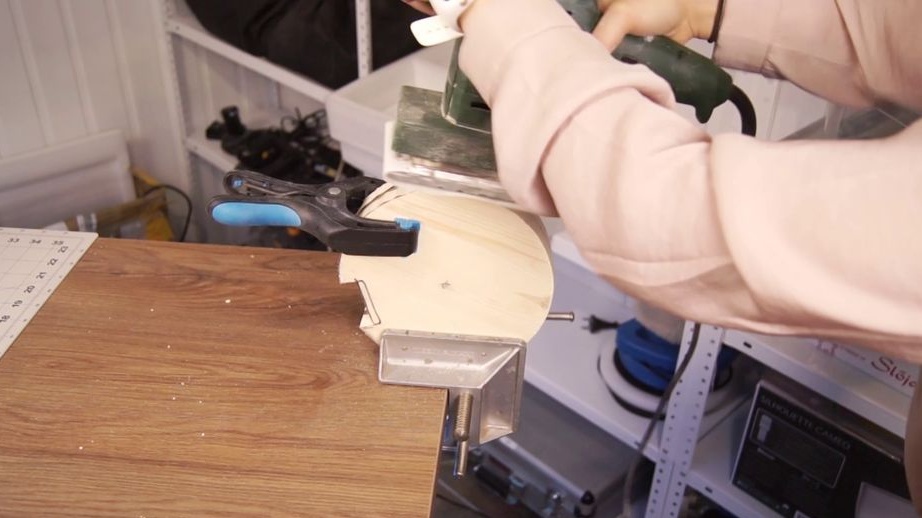
Clamps the base with clamps and processes around the circumference.
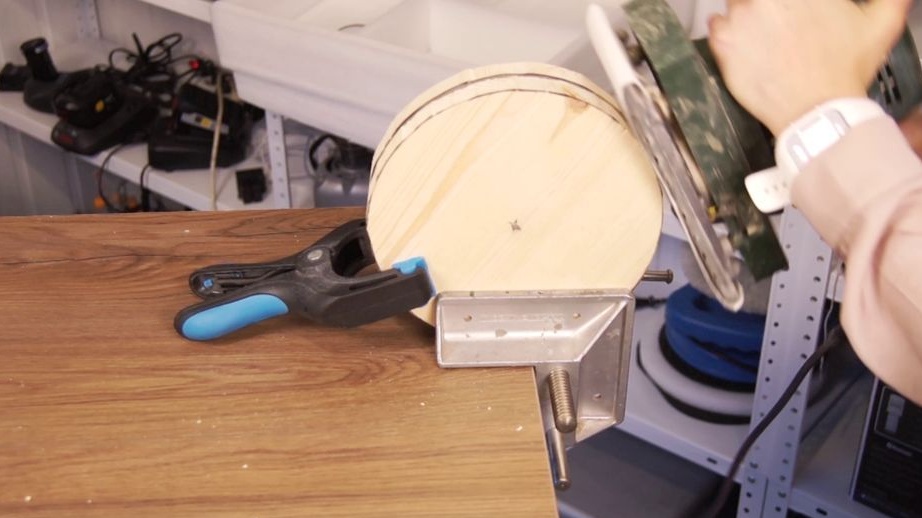
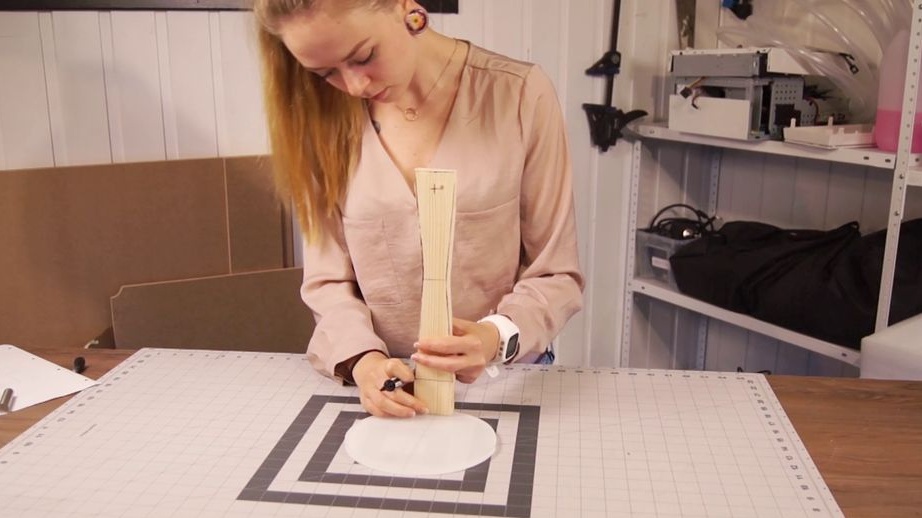
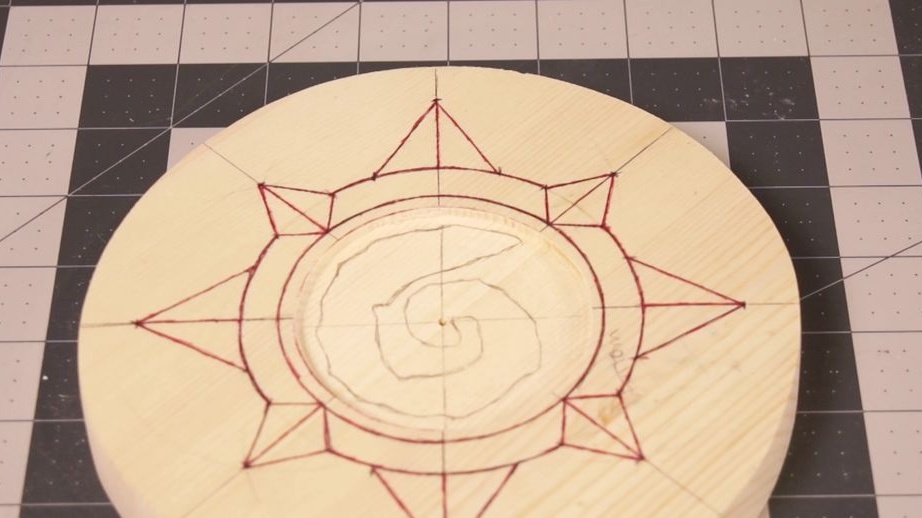
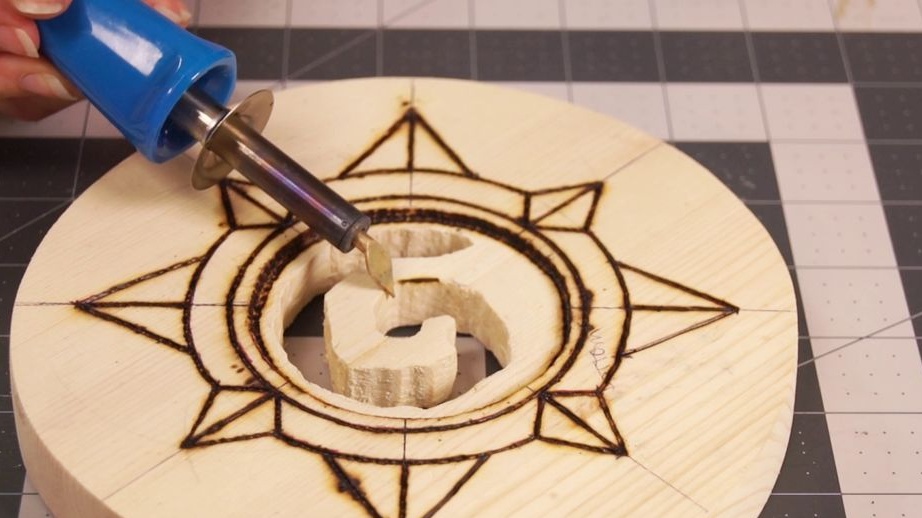
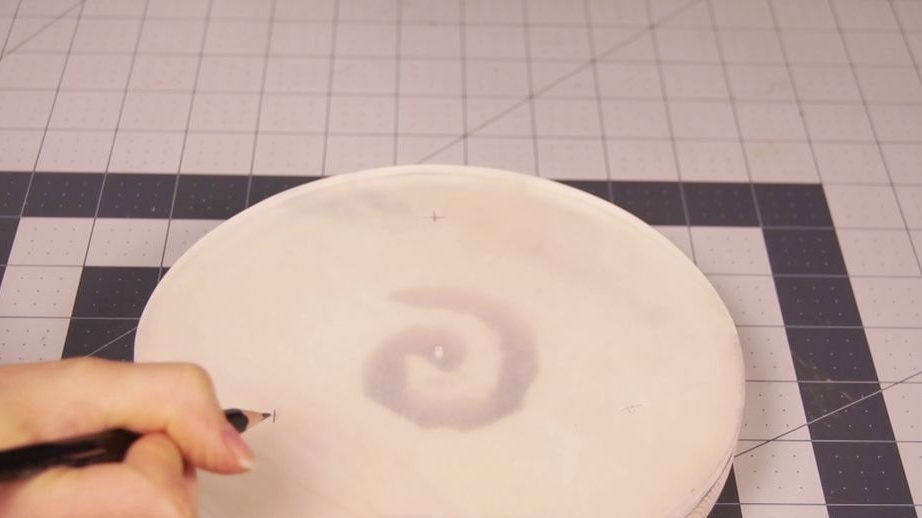
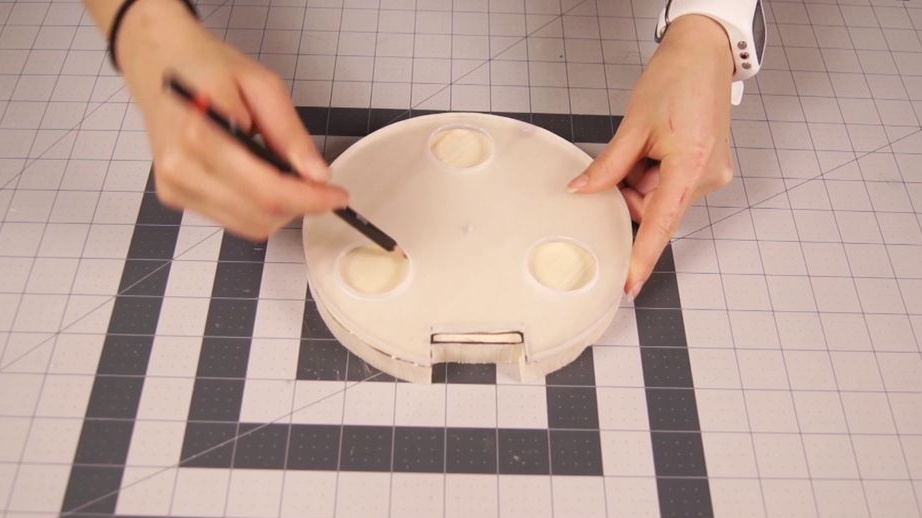
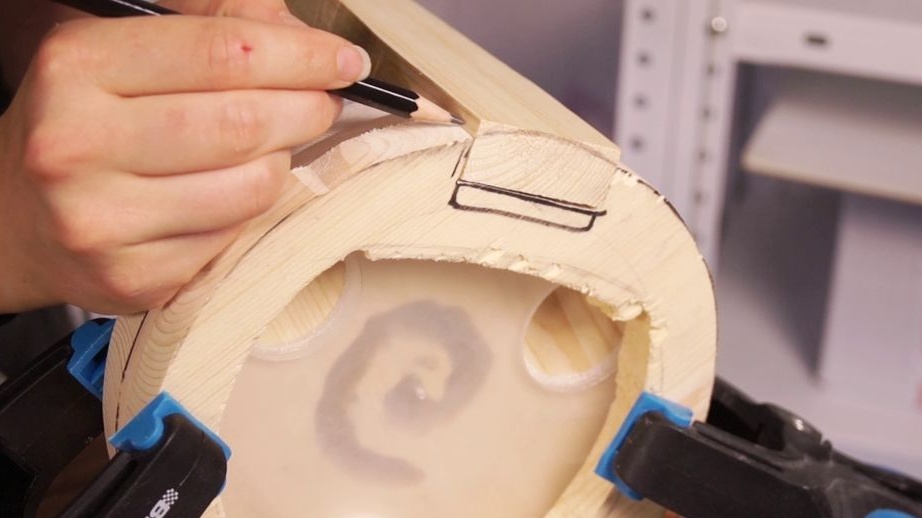
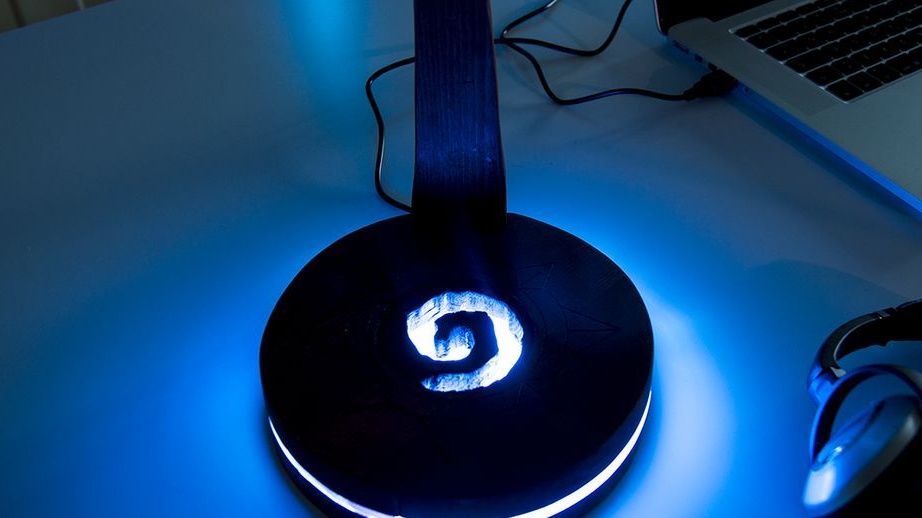
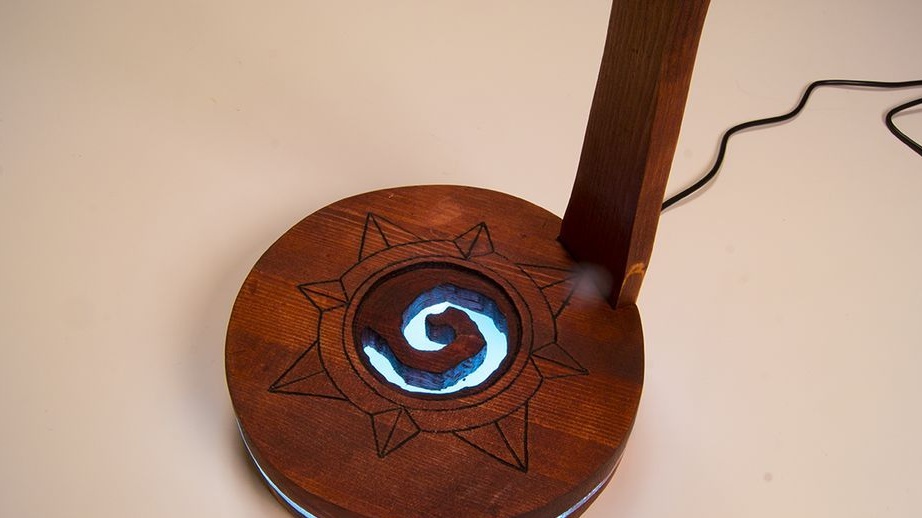
Step Three: Logo
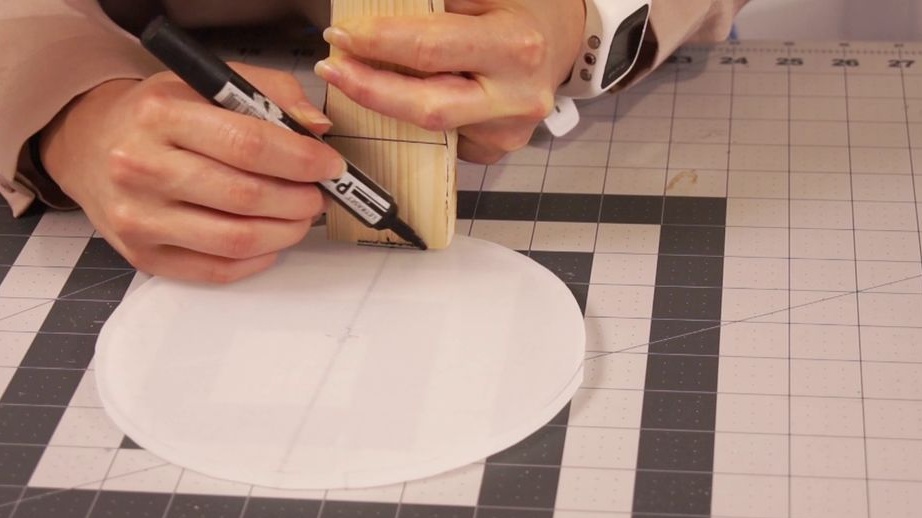
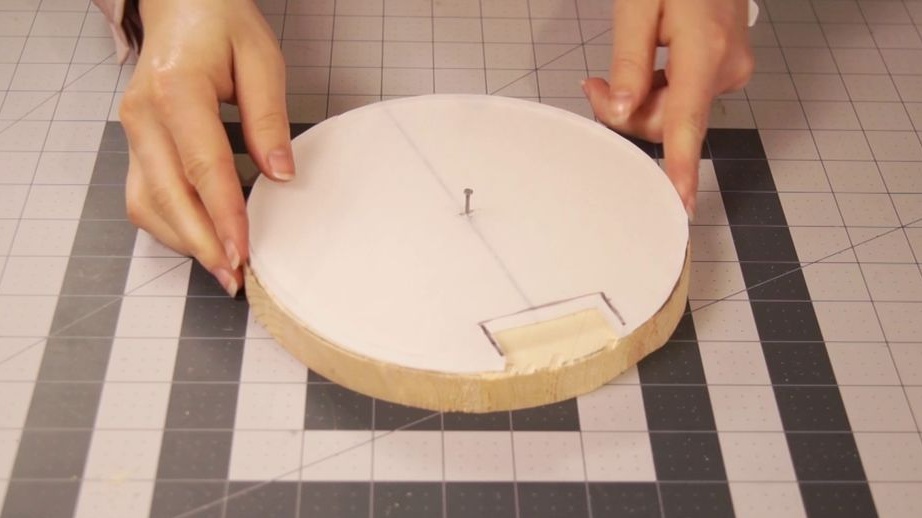
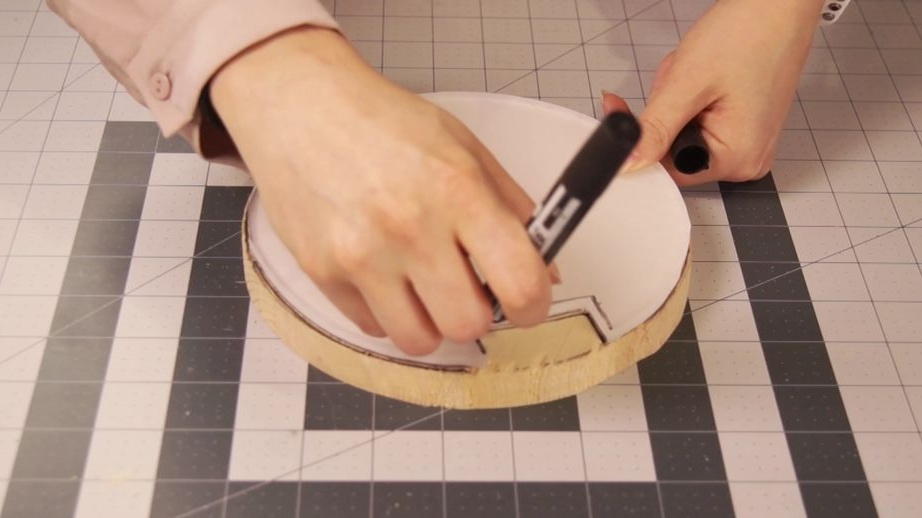
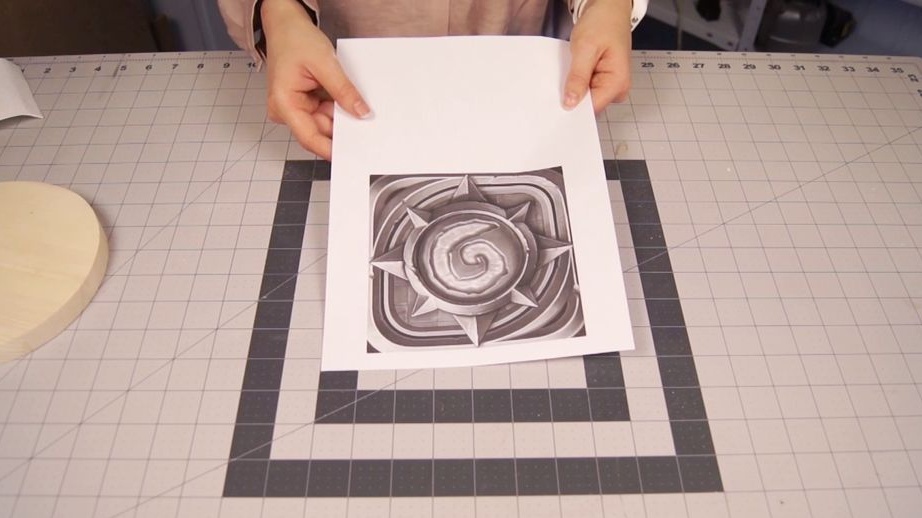
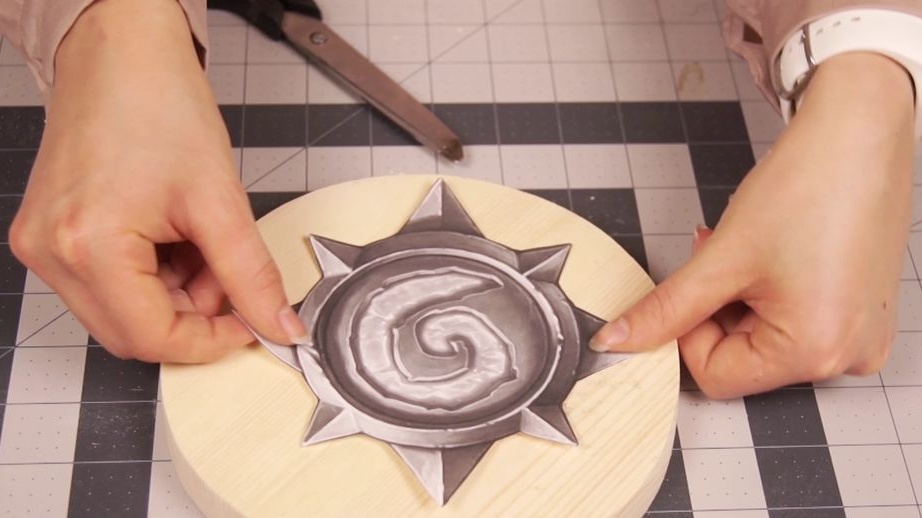
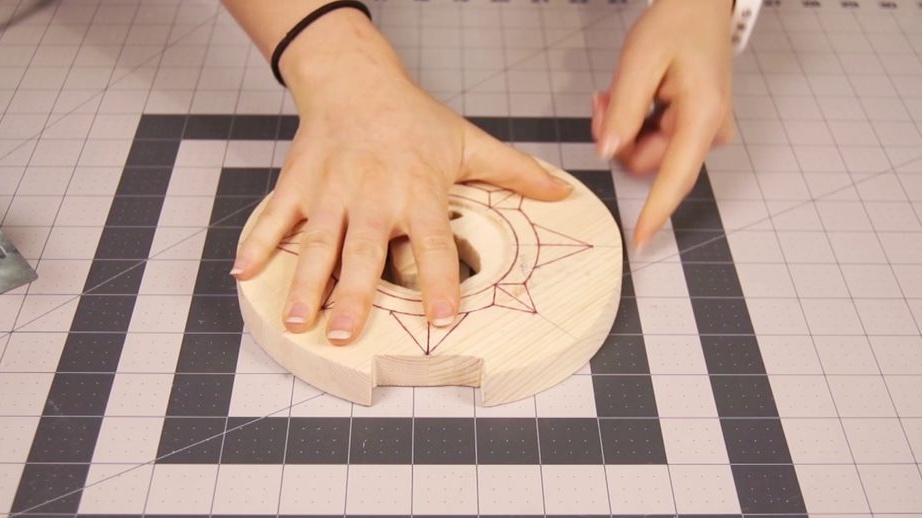
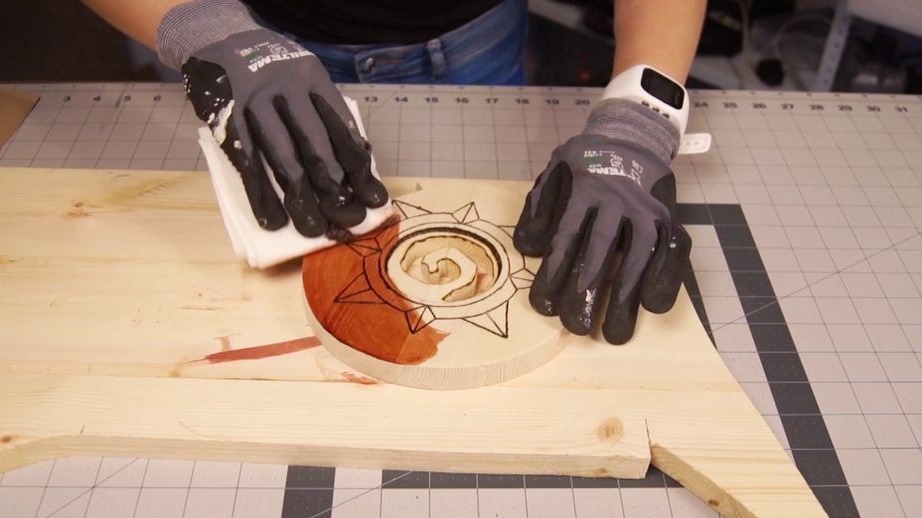
Prints logo on paper. Carries the logo to the base.
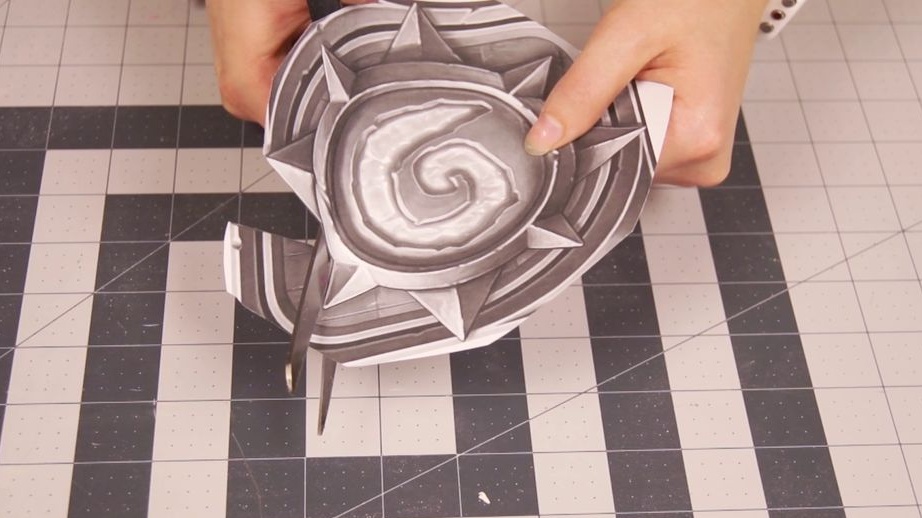
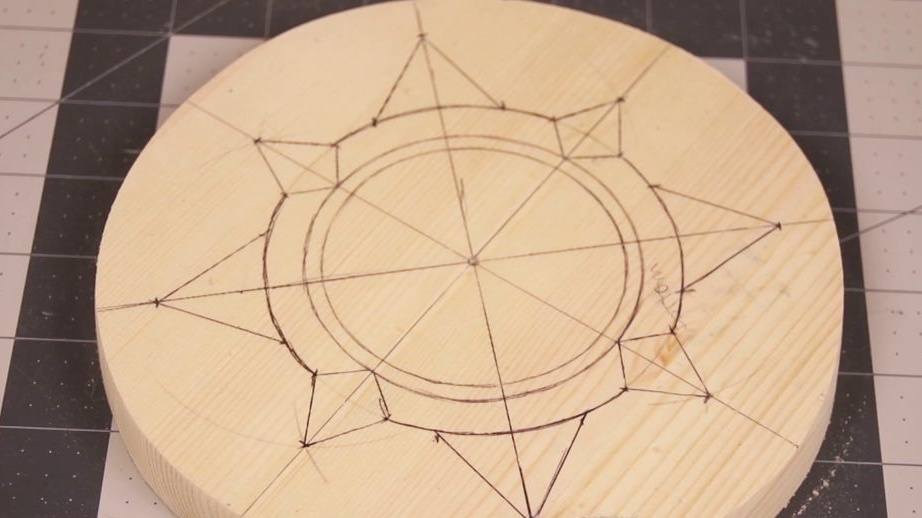
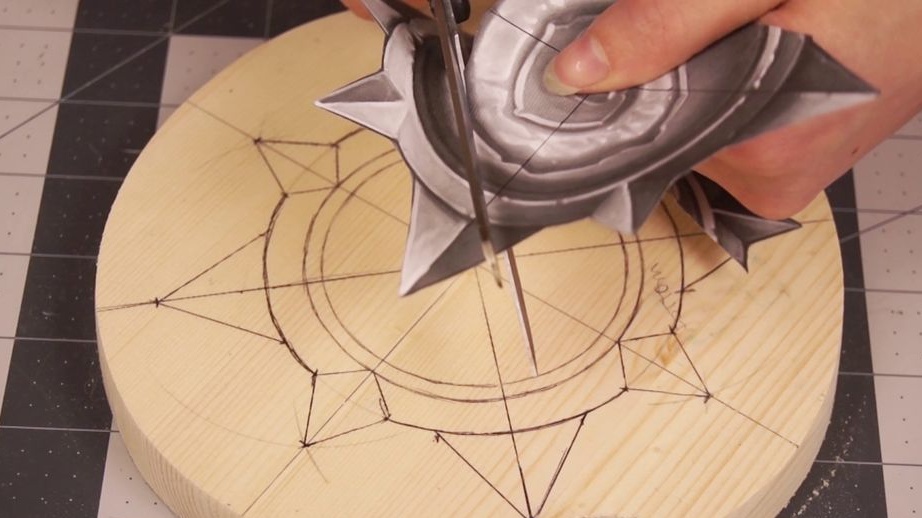
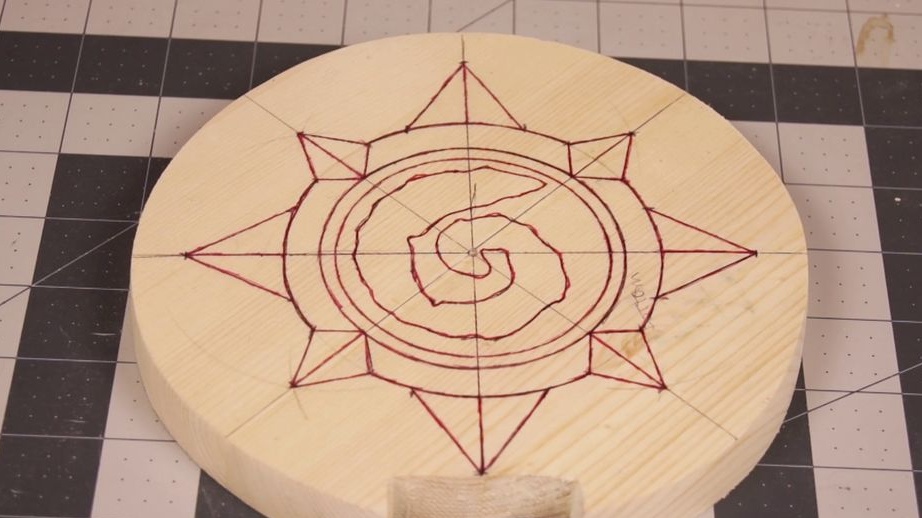
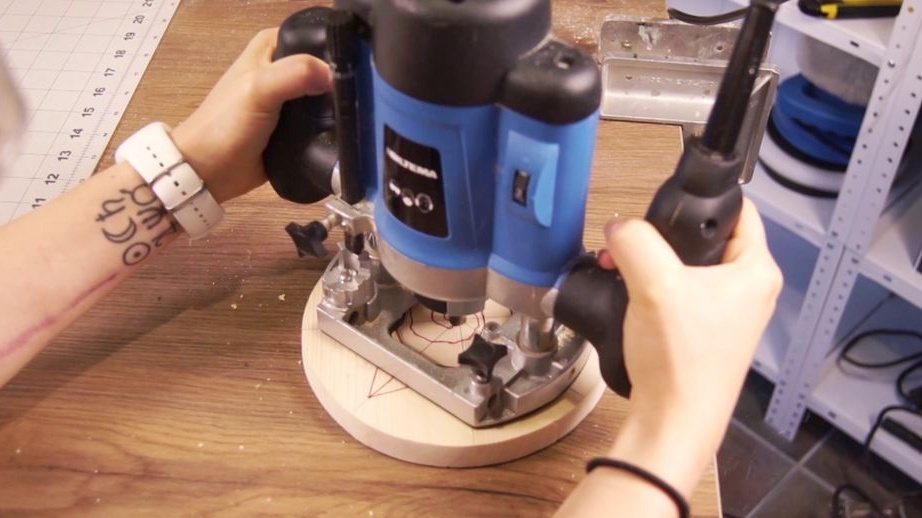
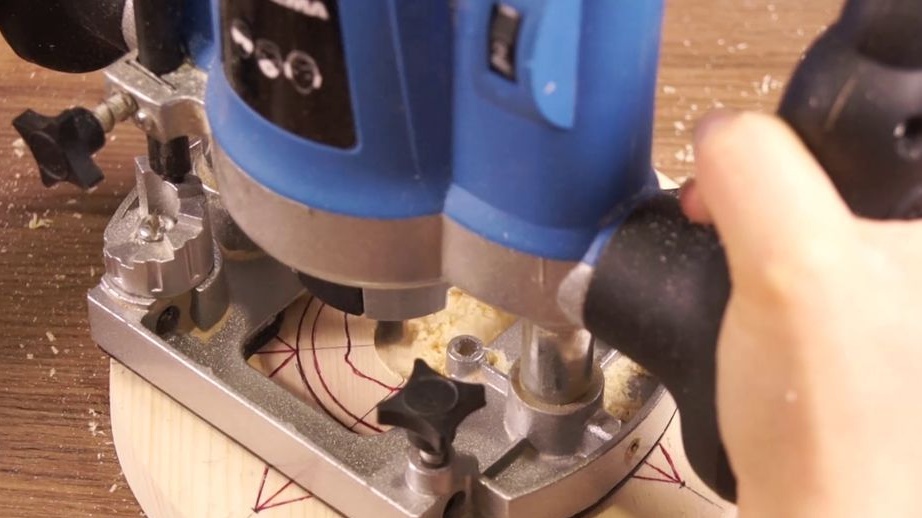
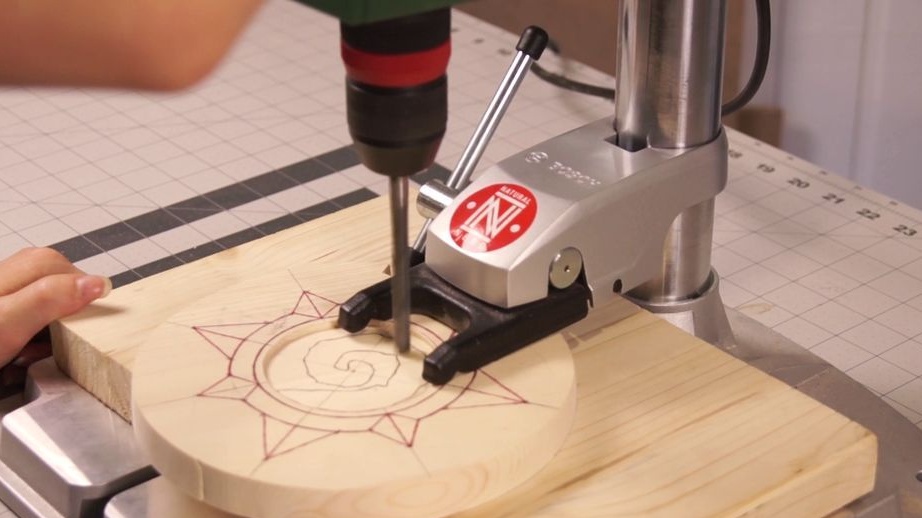
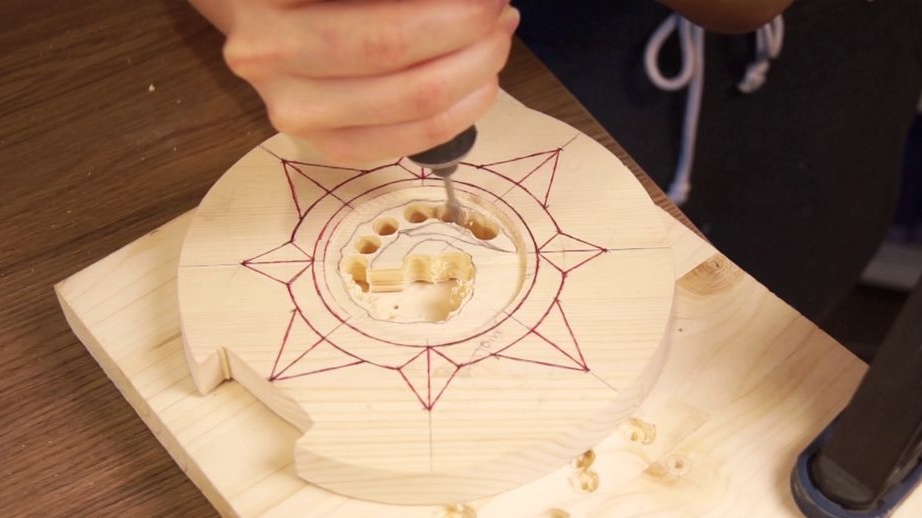
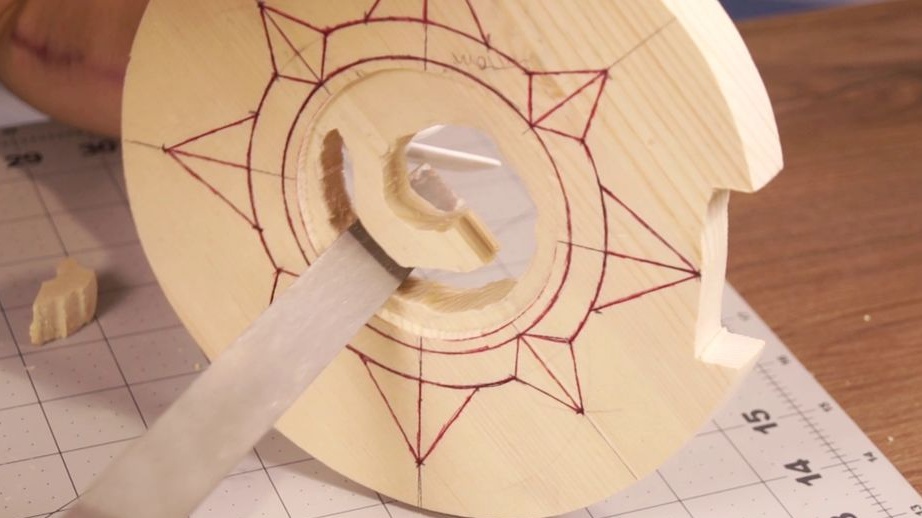
The cutter cuts out the center of the logo.
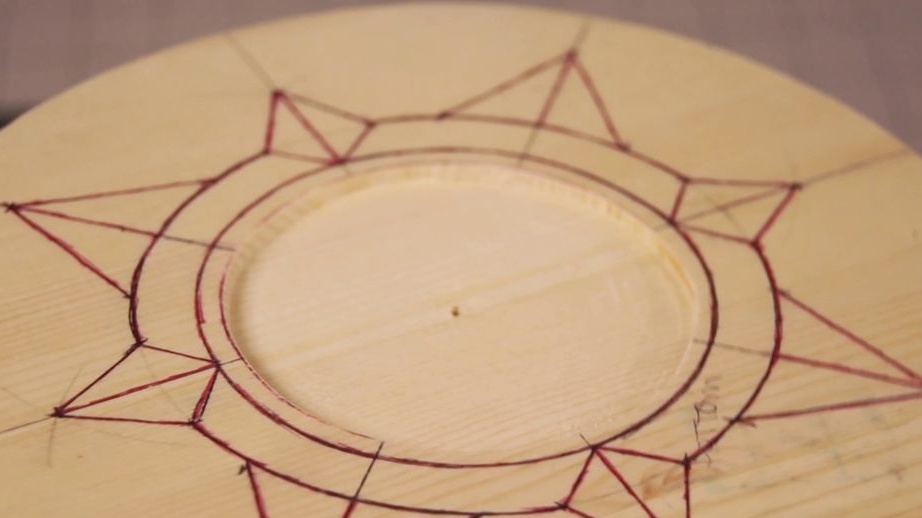
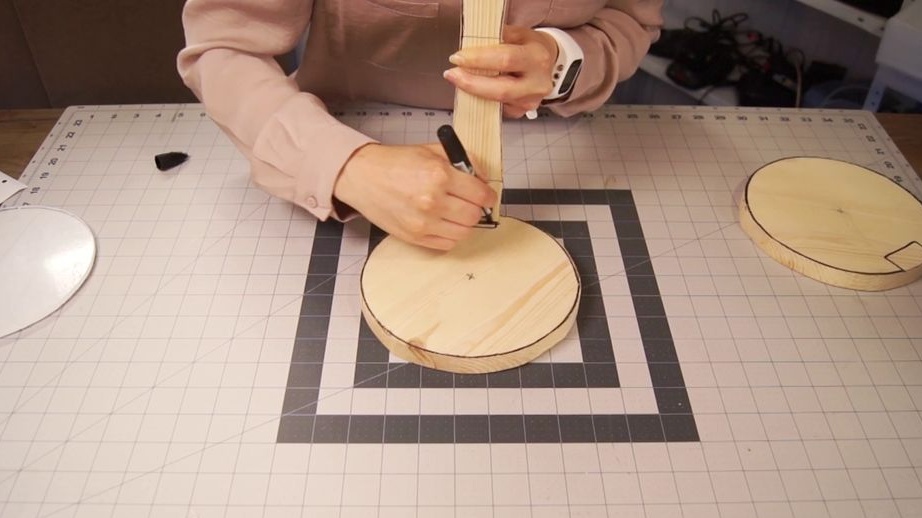
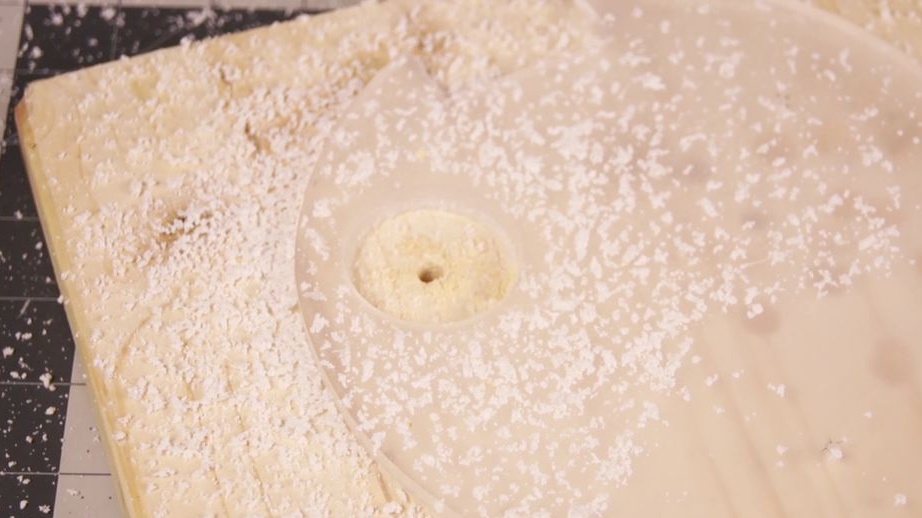
Moves the drawing to the center and drills.
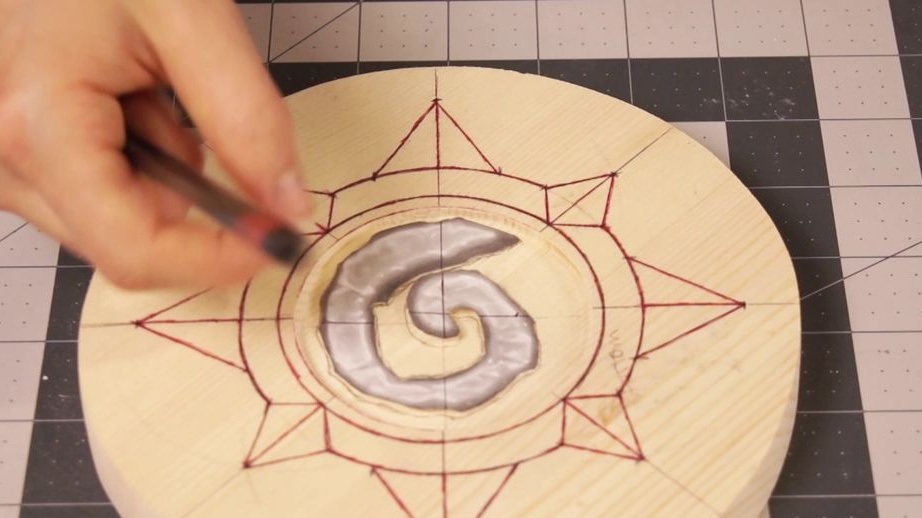
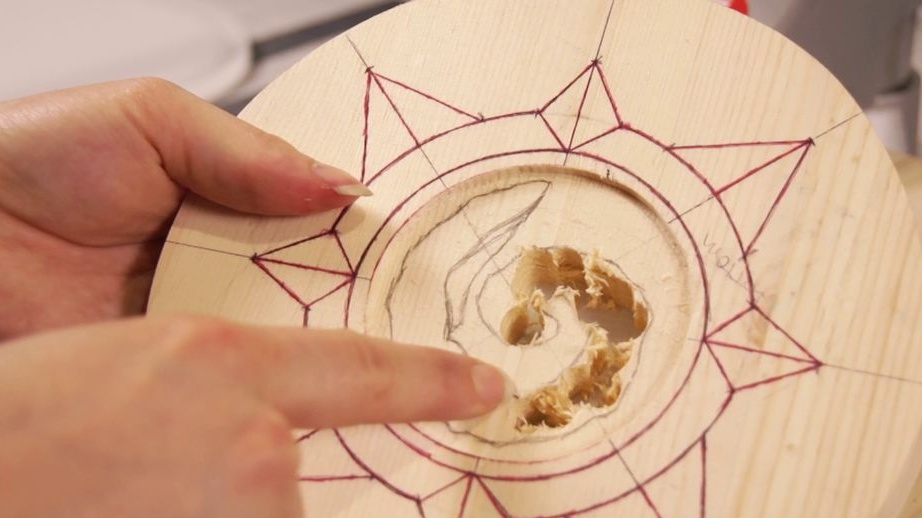
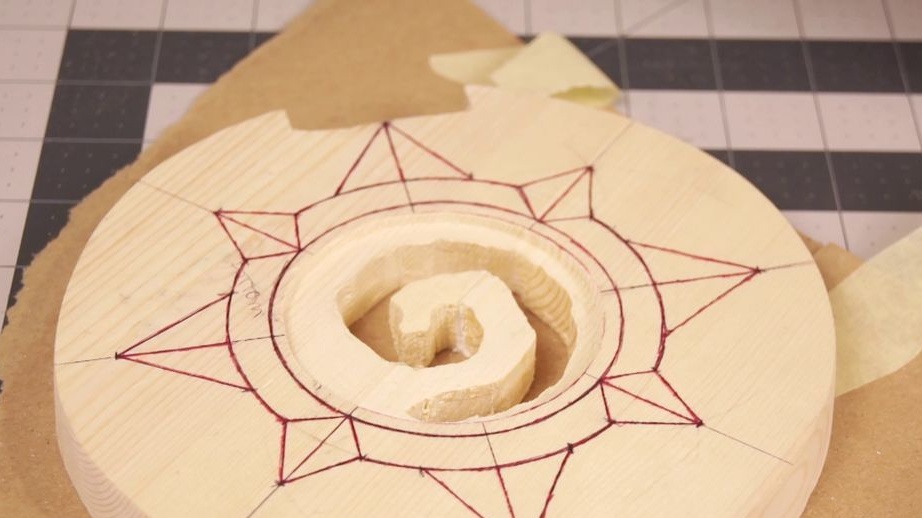
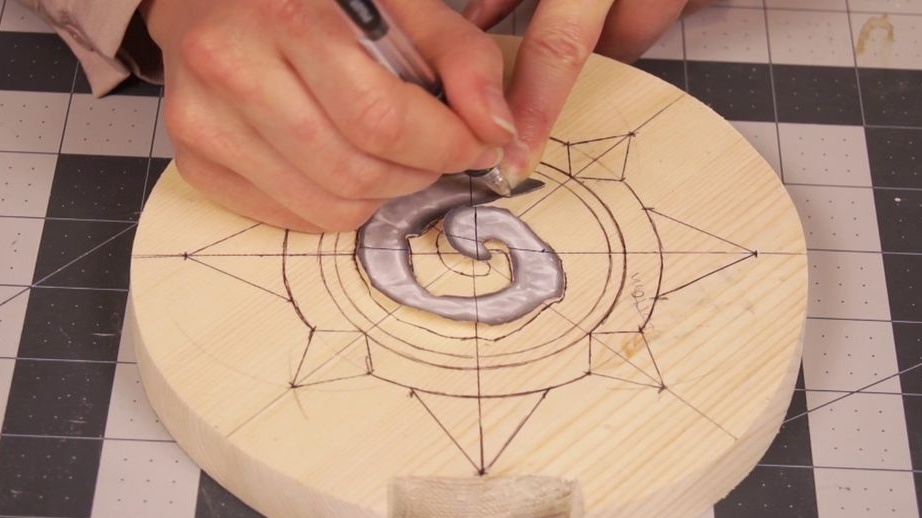
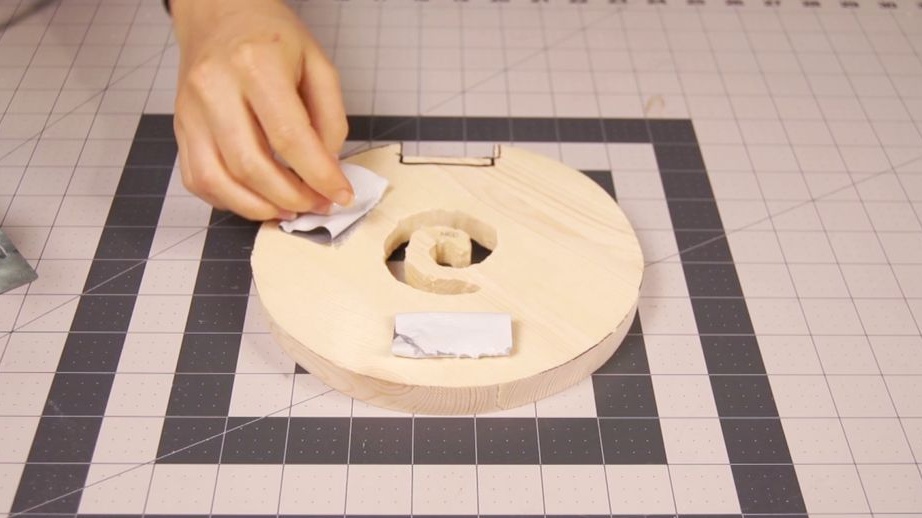
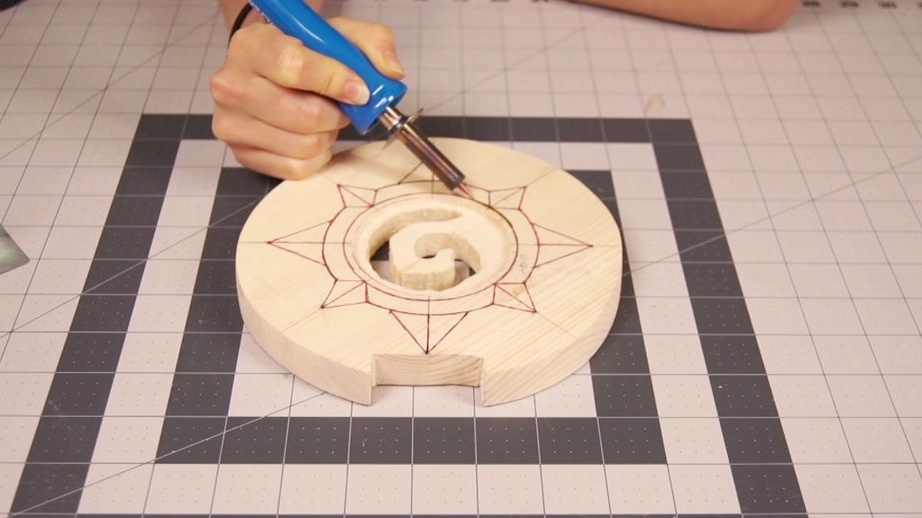
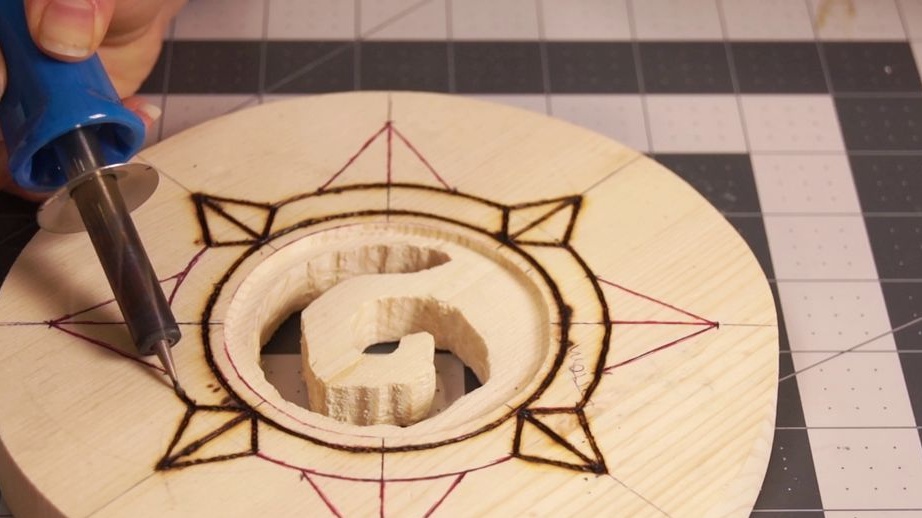
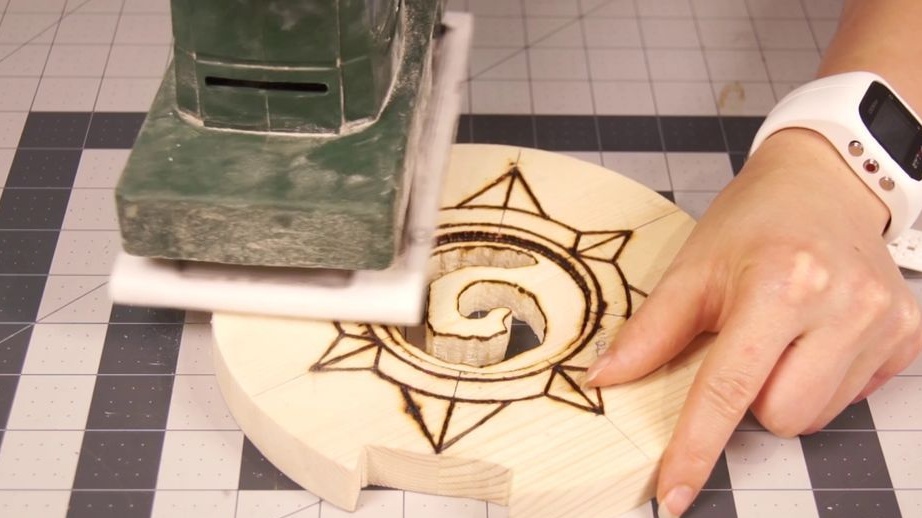
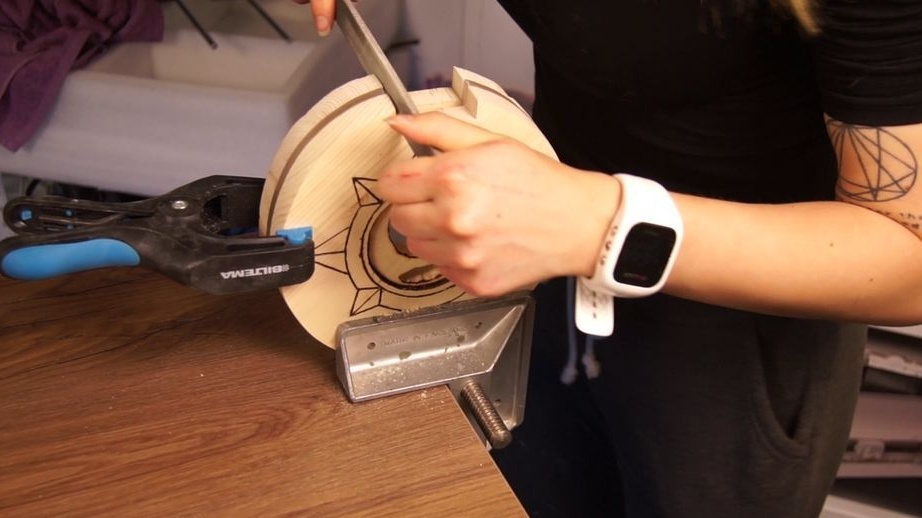
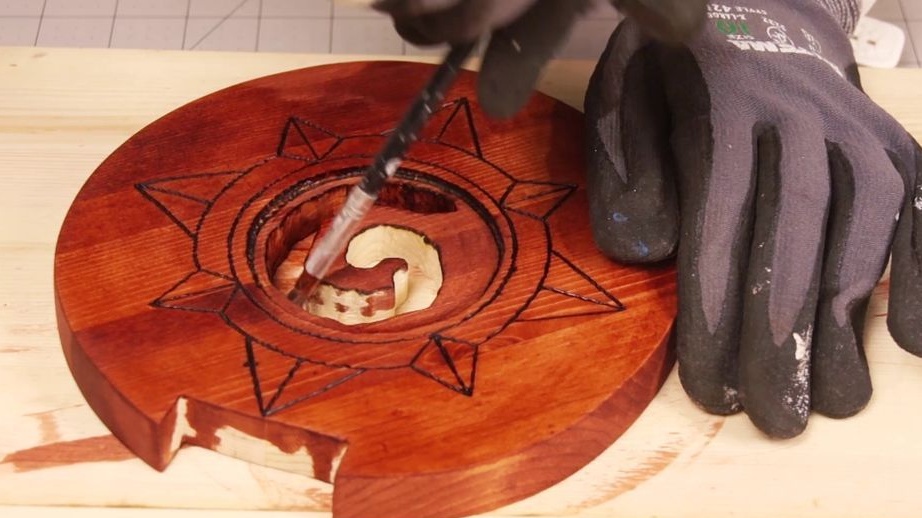
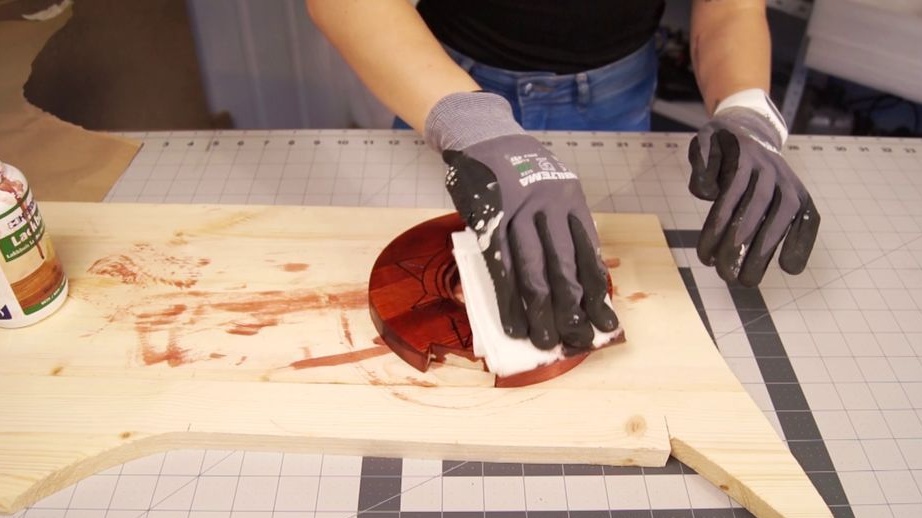
Burns out a pyrographic drawing. Grinds the surface.

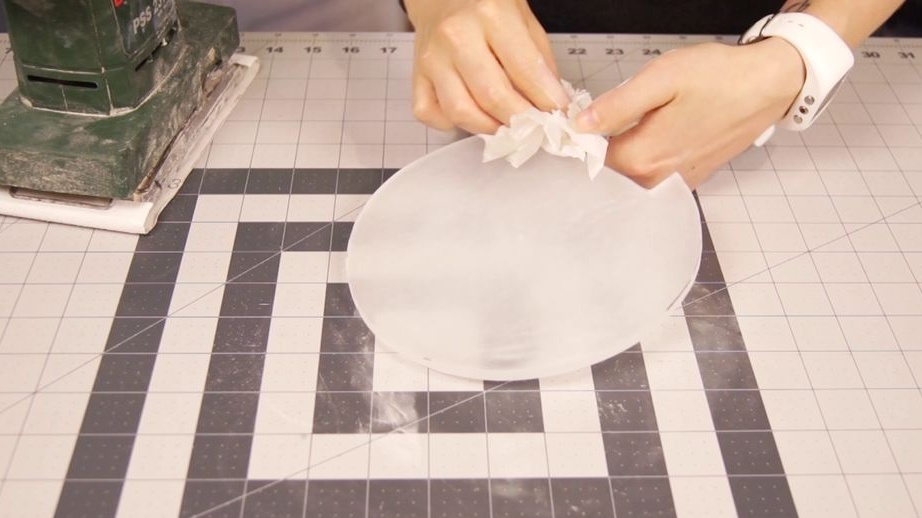
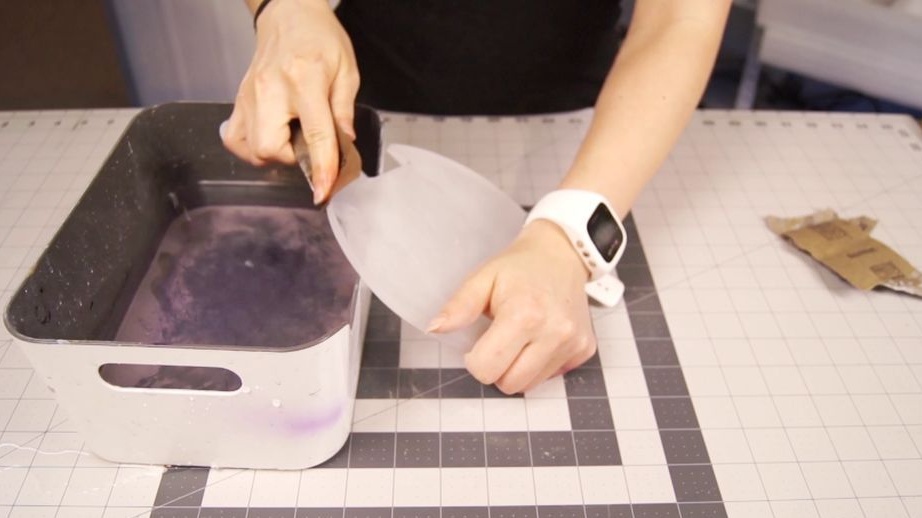
Step Four: Diffuser
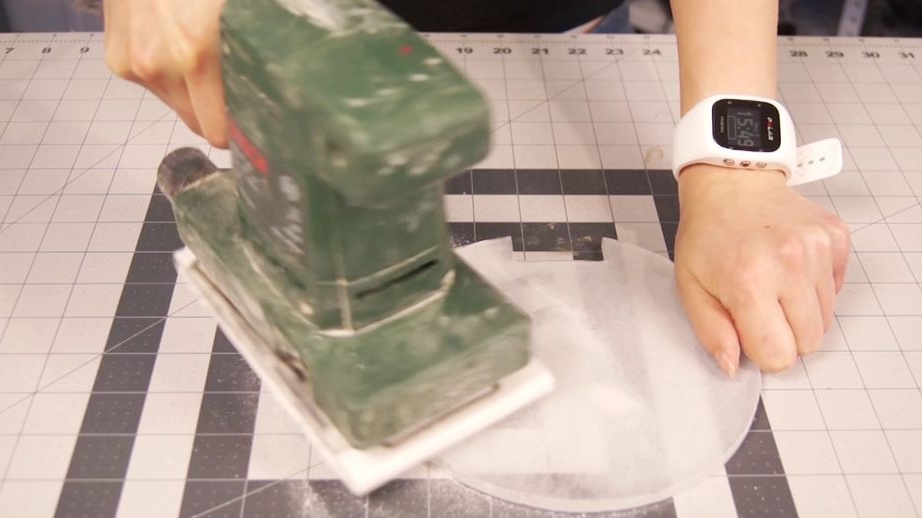
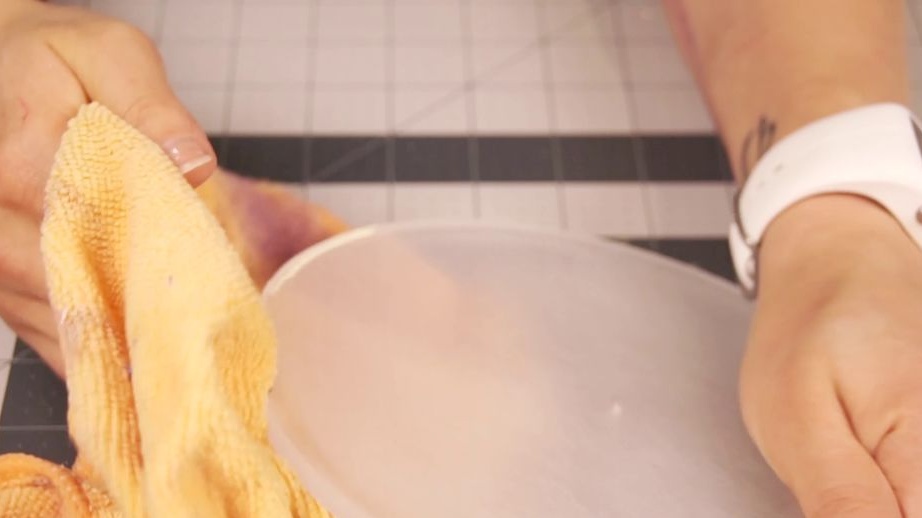
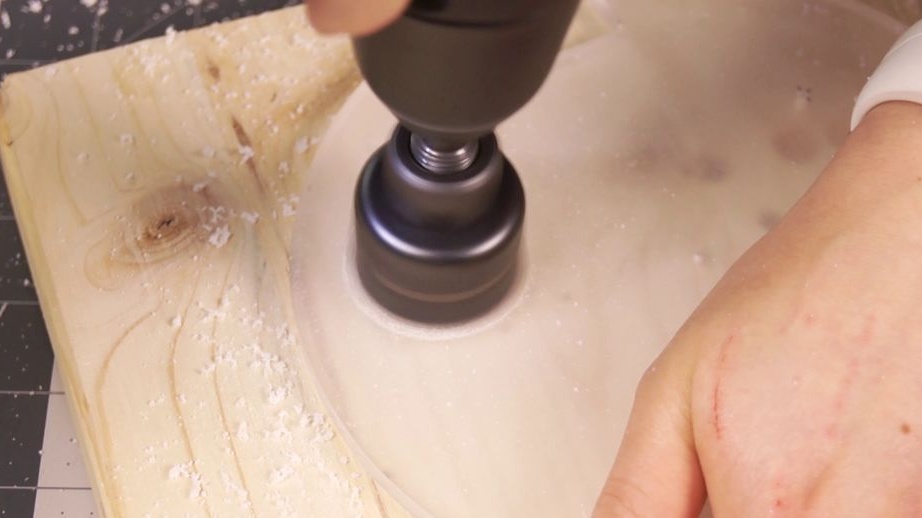
Removes a protective film from acrylic and polishes the surface.
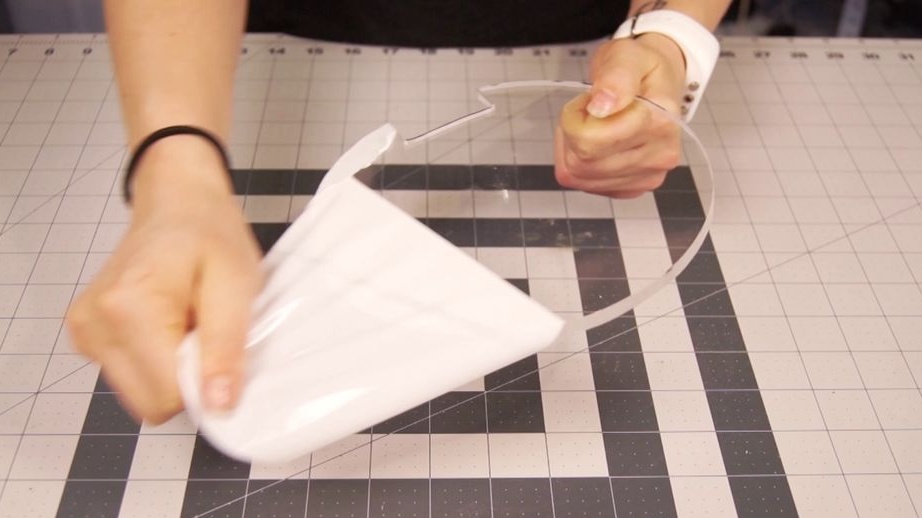
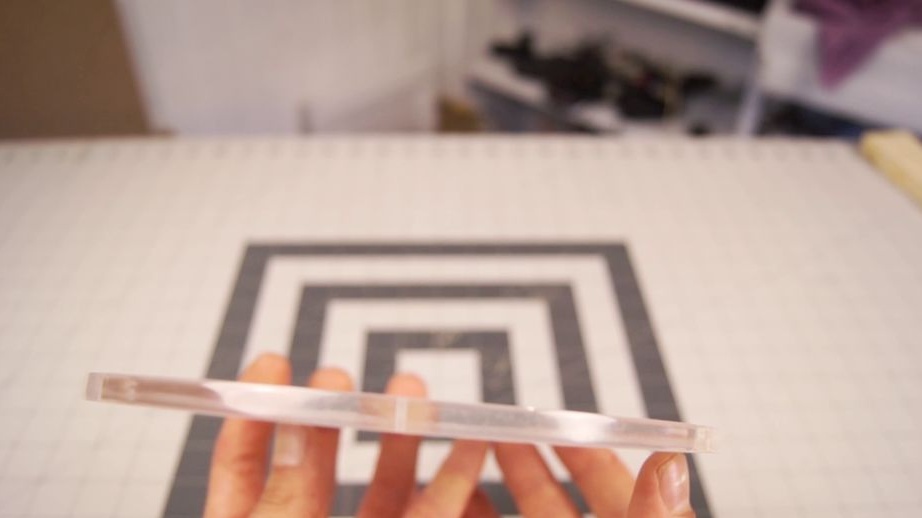
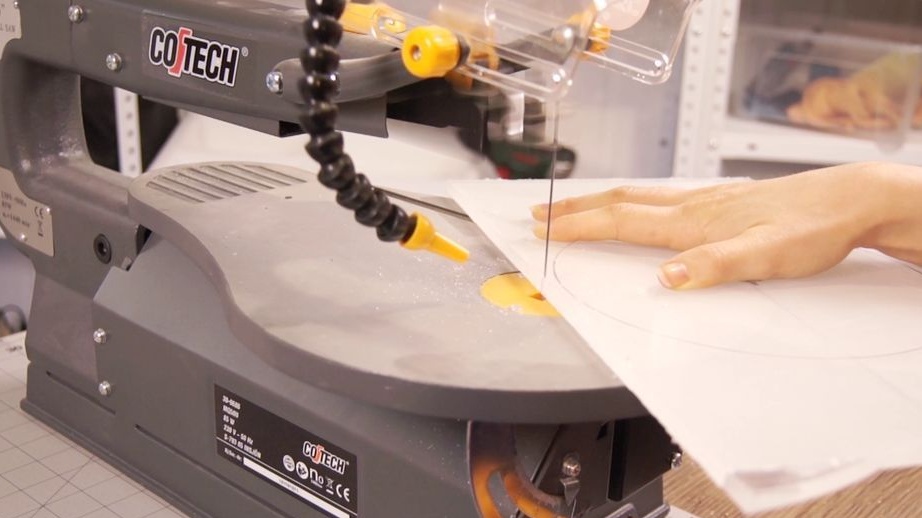
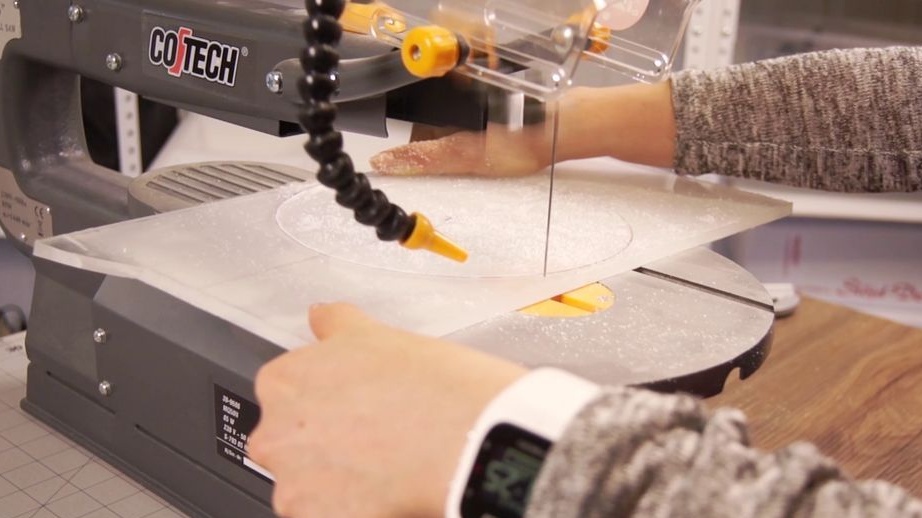
Cuts holes in acrylic.
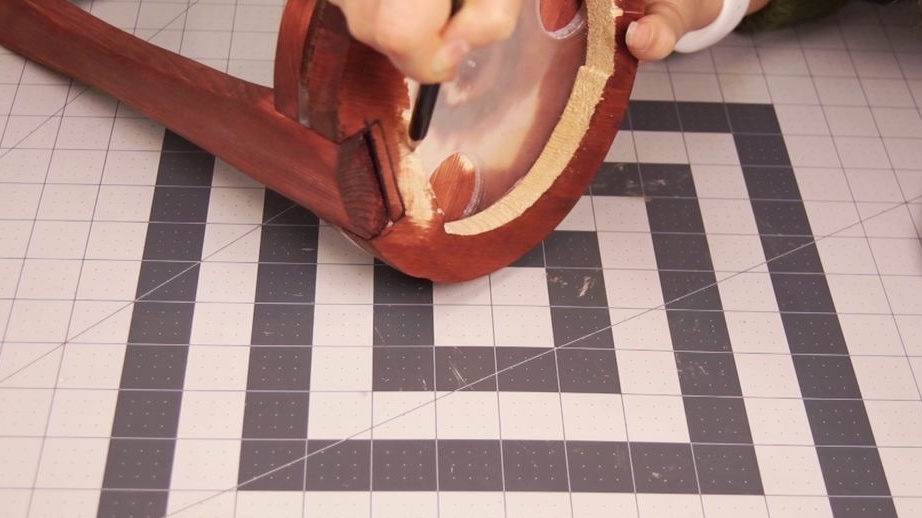
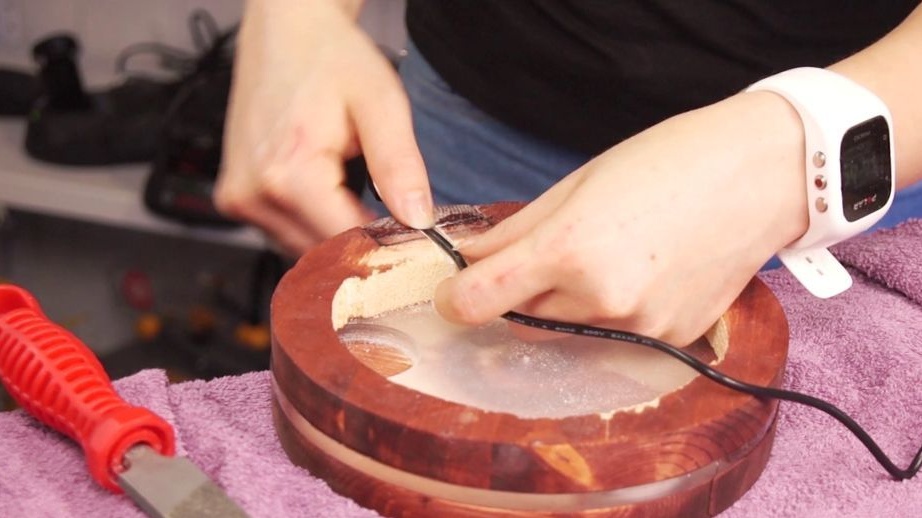
Step Five: The bottom of the base
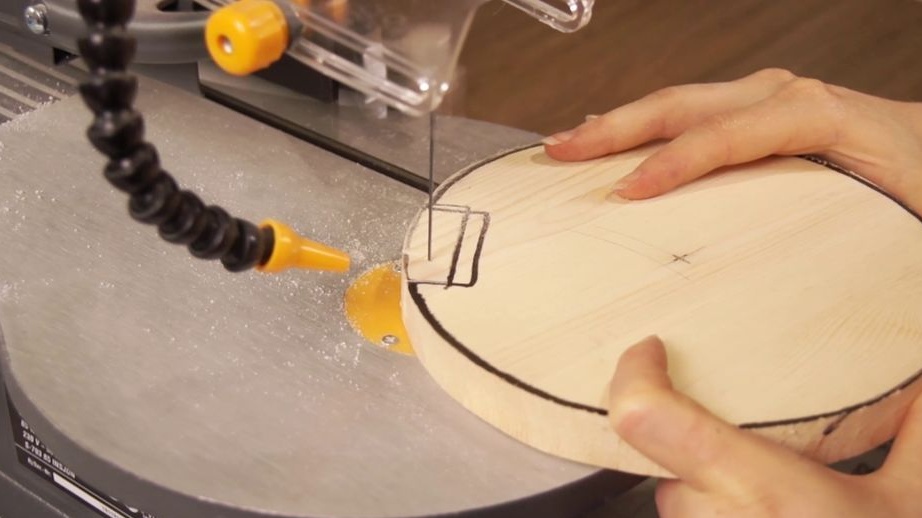
Carves a niche for LEDs in the bottom board.
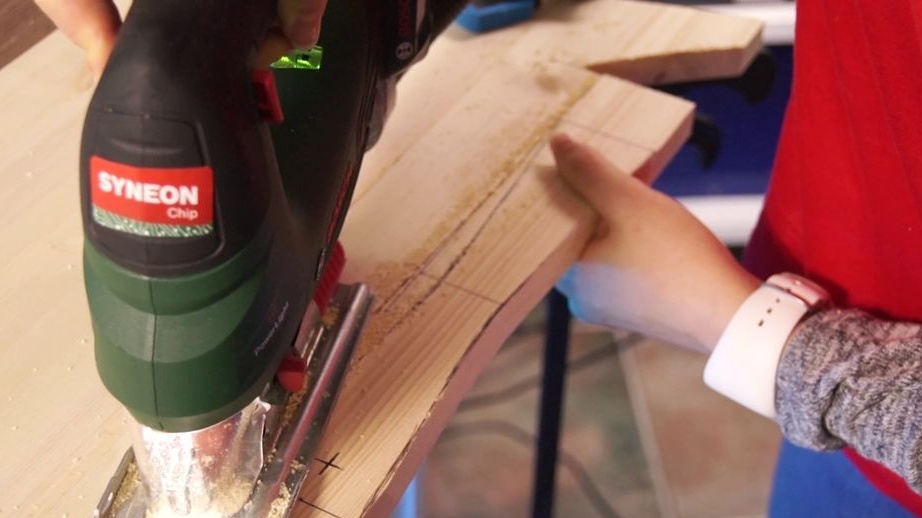
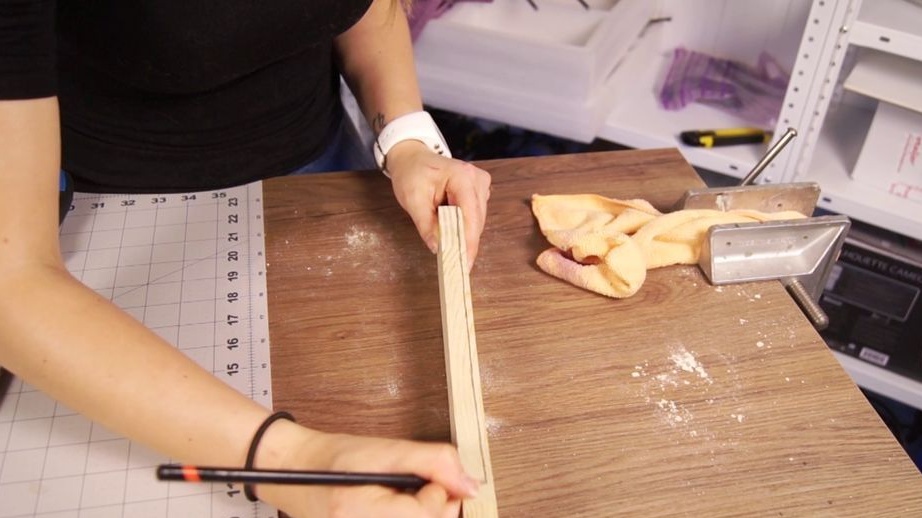
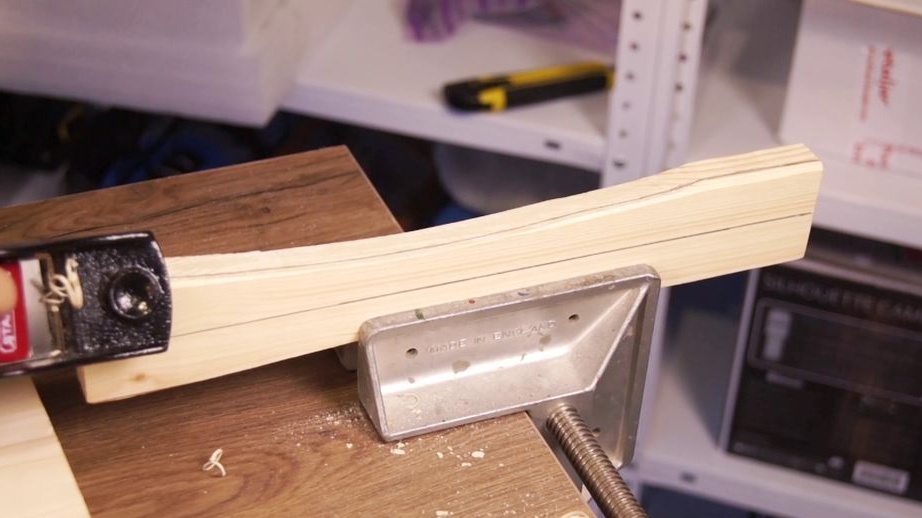
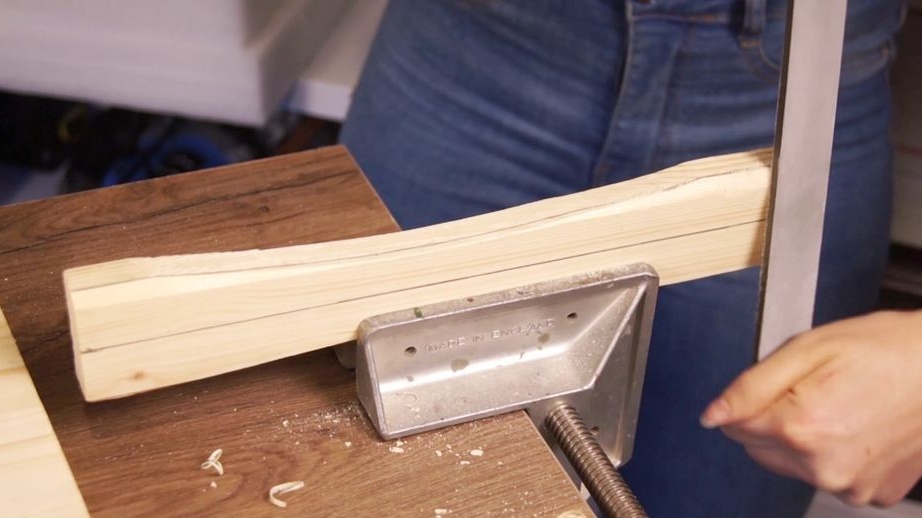
Step Six: Stand
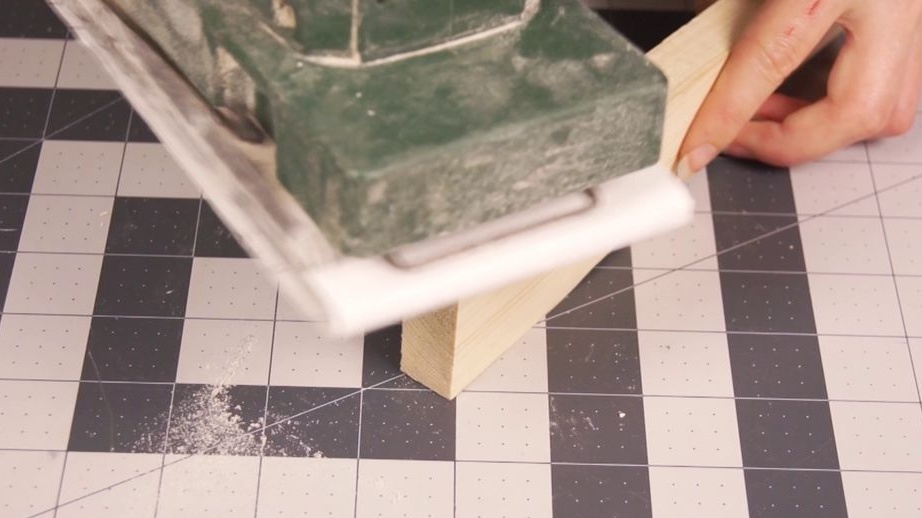
Cuts and grinds the rack.


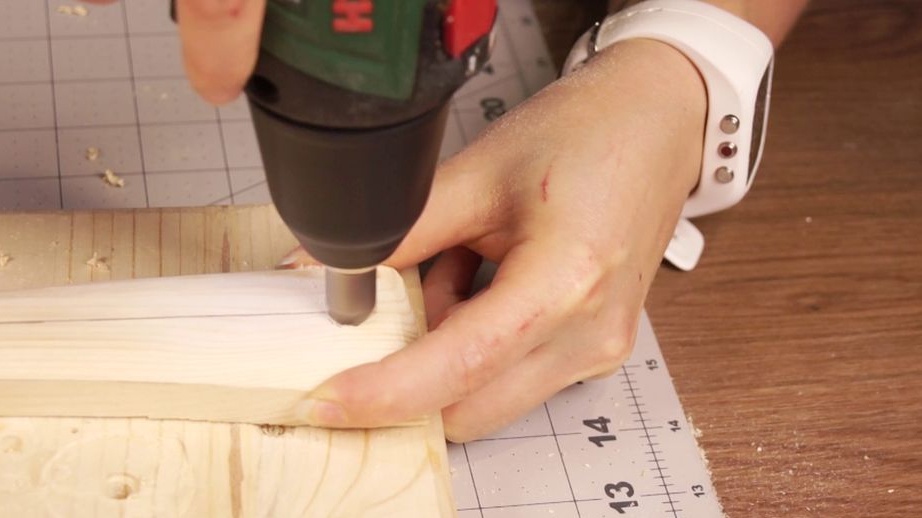
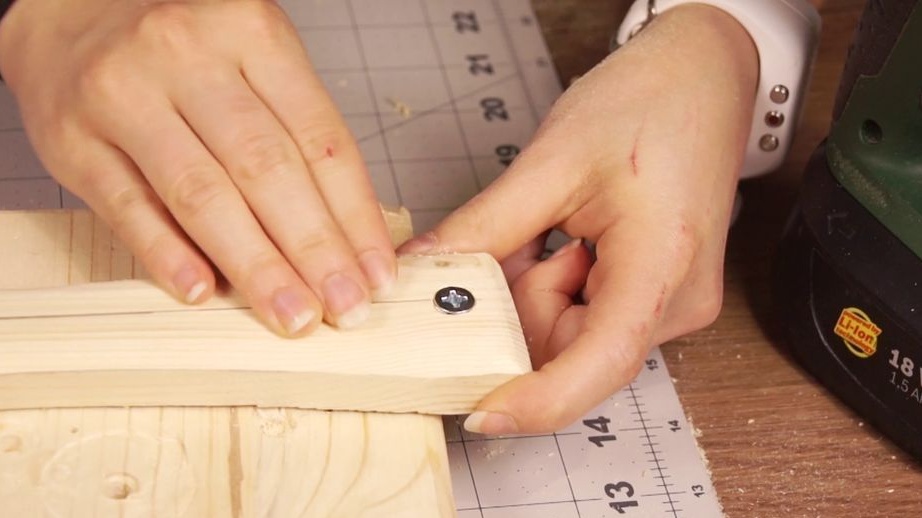
Drills a hole for installing a suspension.
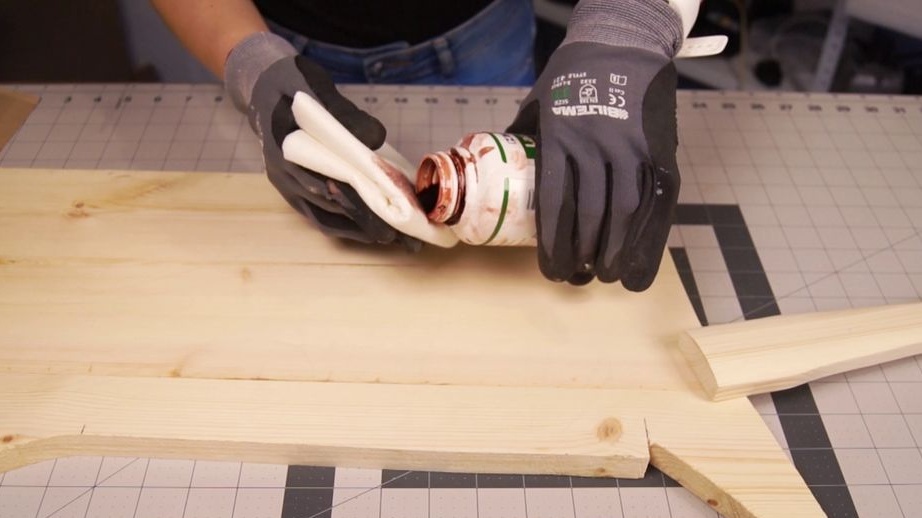
Seventh step: stain
Covers the base with a stain in two layers.
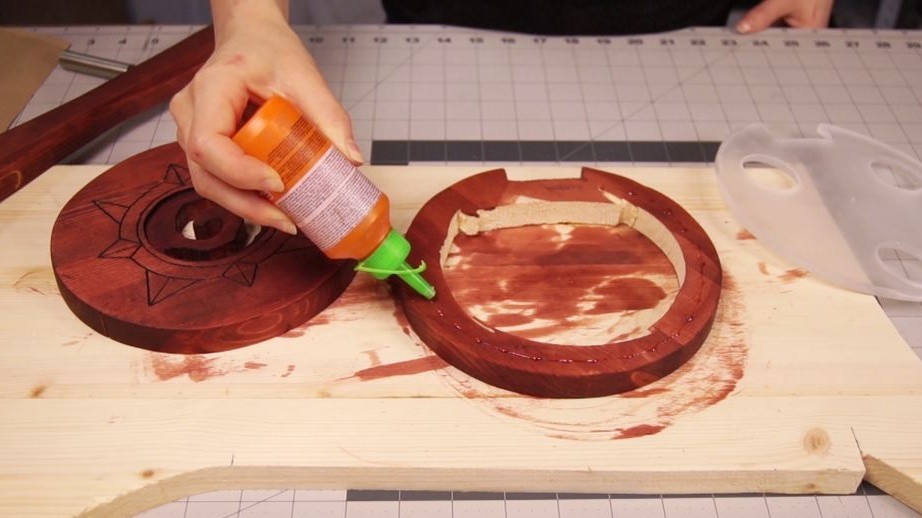
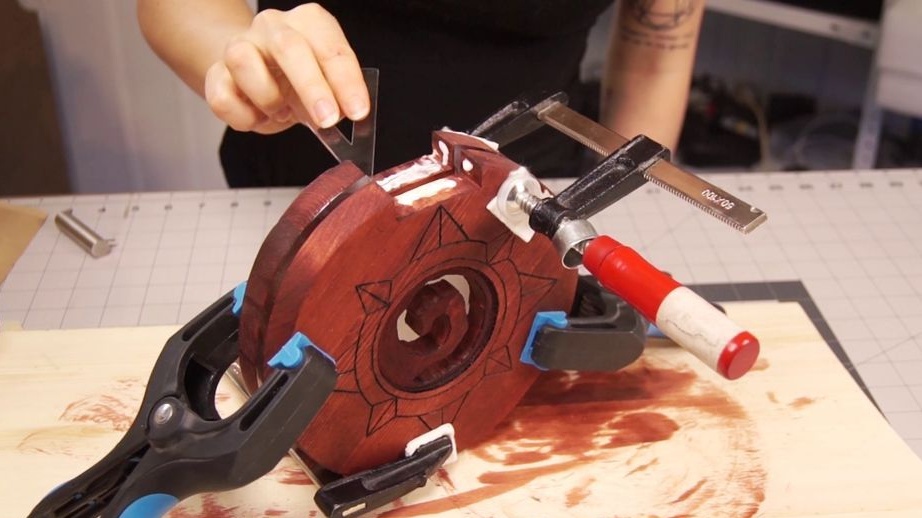
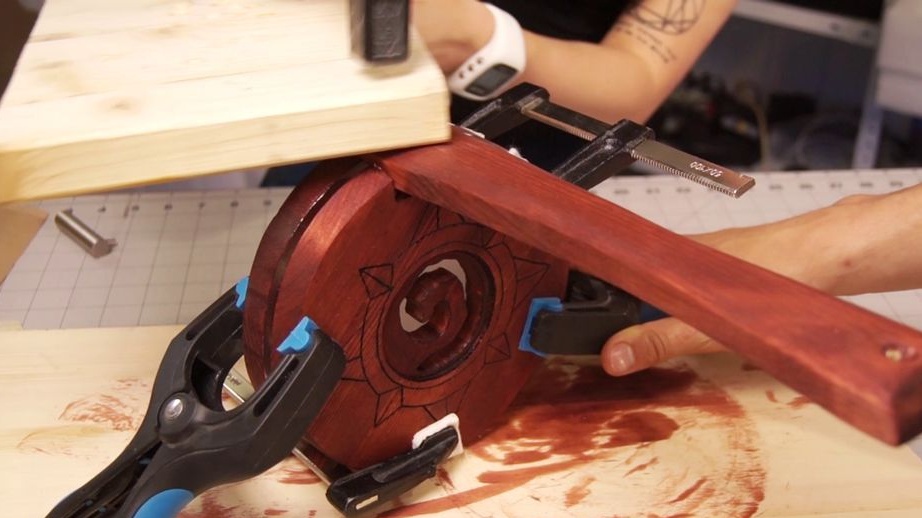
Step Eight: Bonding Parts
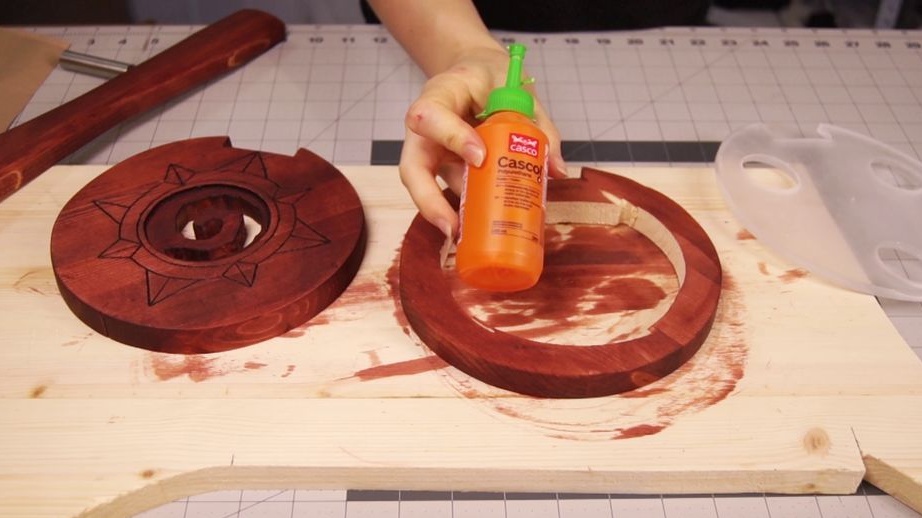
The master glues the base with polyurethane adhesive.
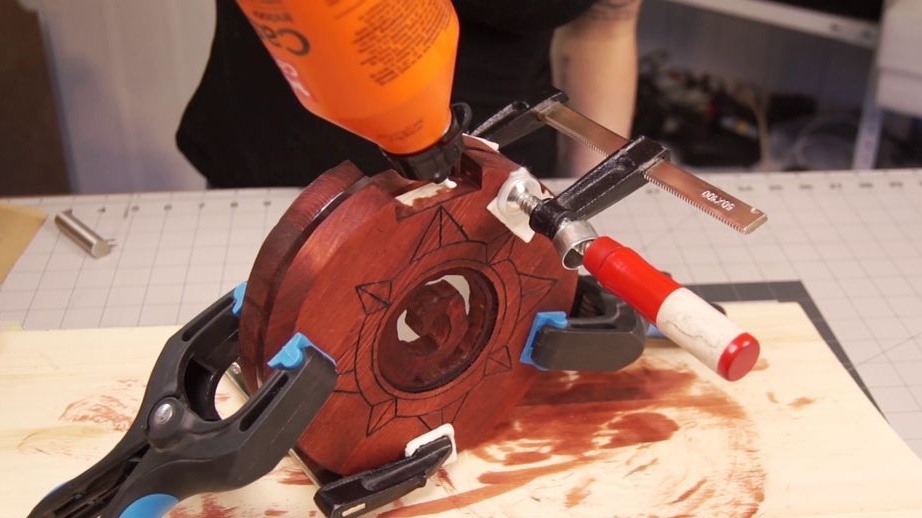
Sticks the stand with wood glue. Clamps with clamps.
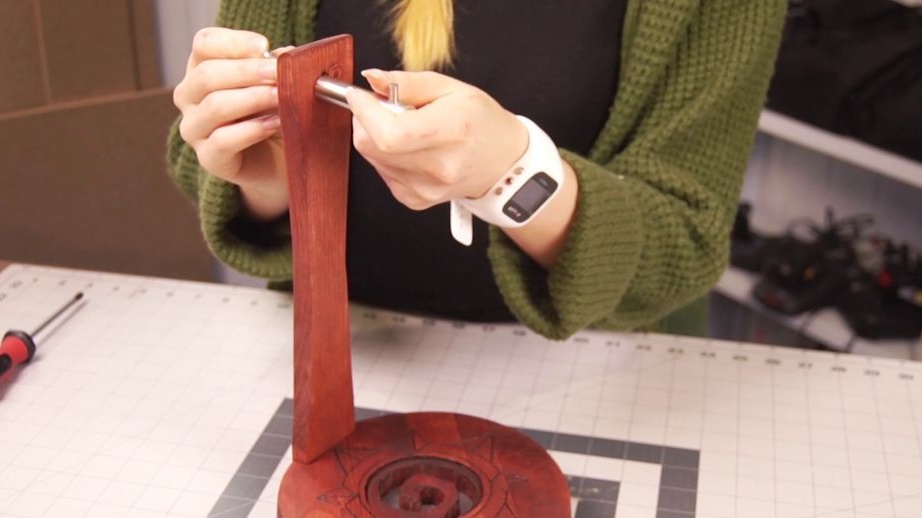
Step Nine: Suspension
Screws the suspension.
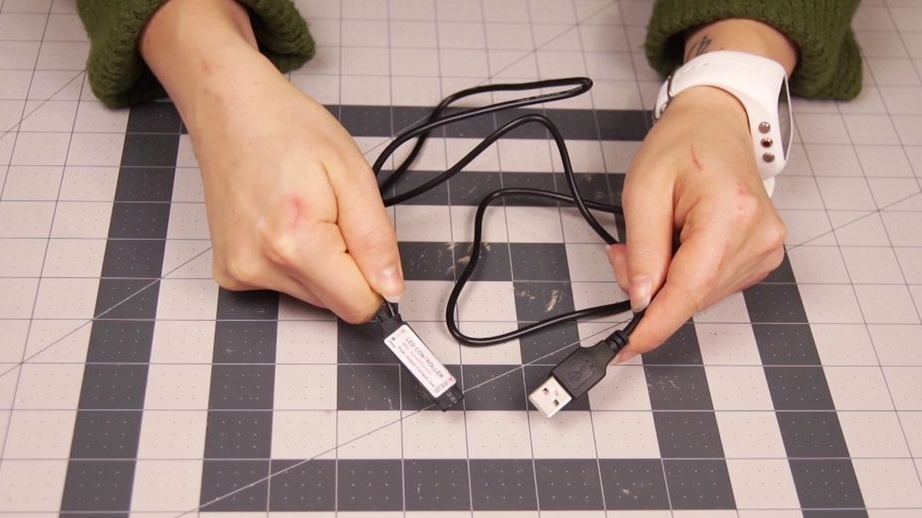
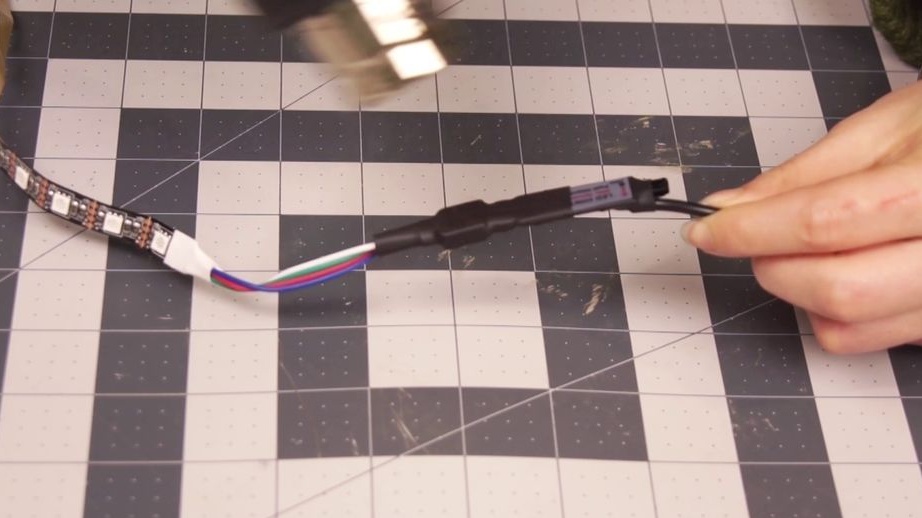
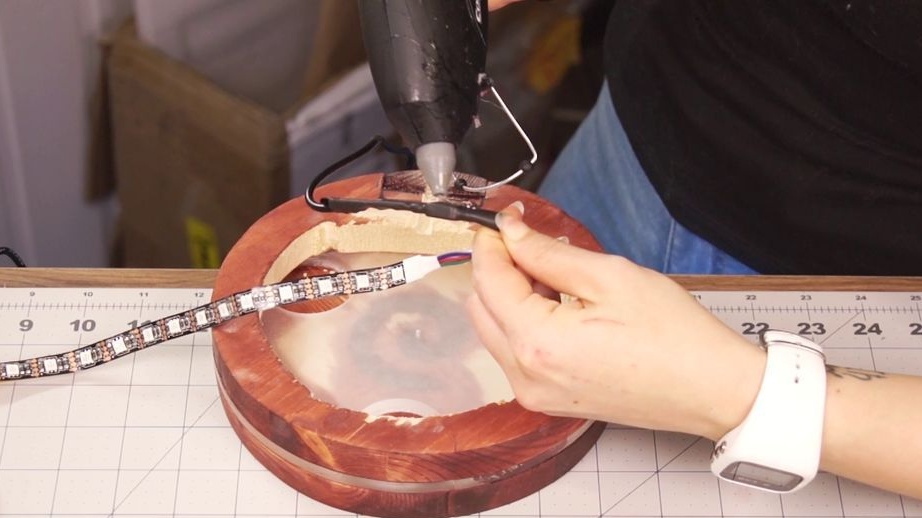
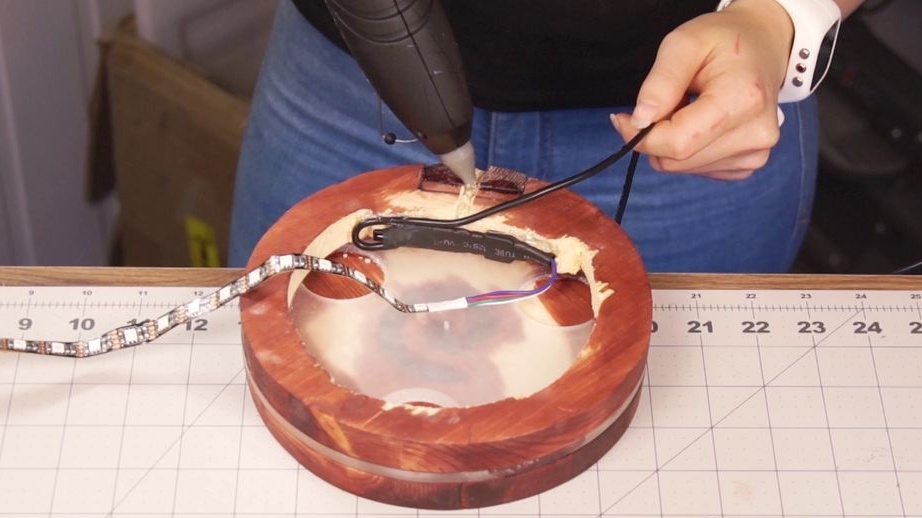
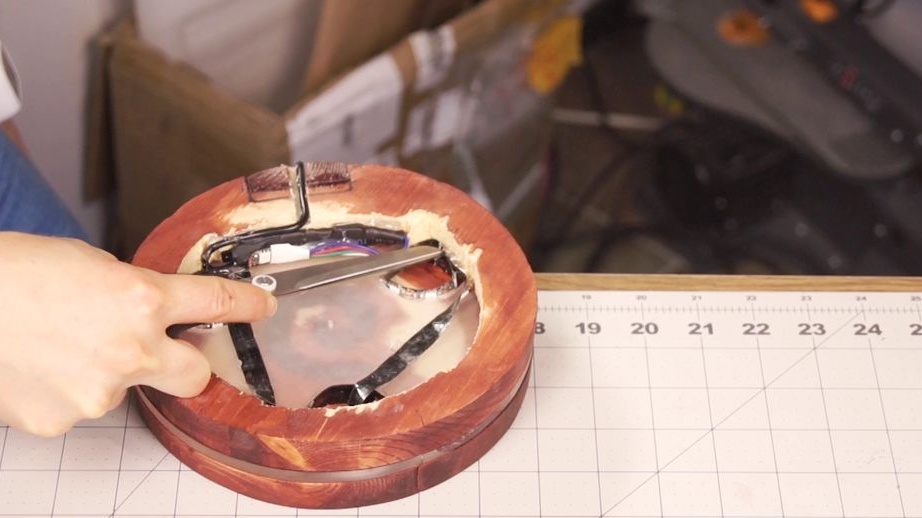
Step Ten: LEDs
Connects an LED strip with a USB adapter.
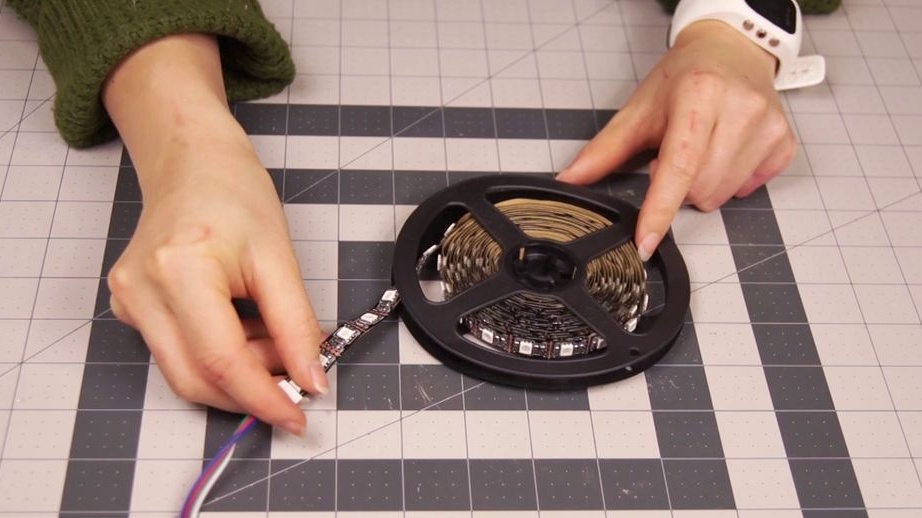
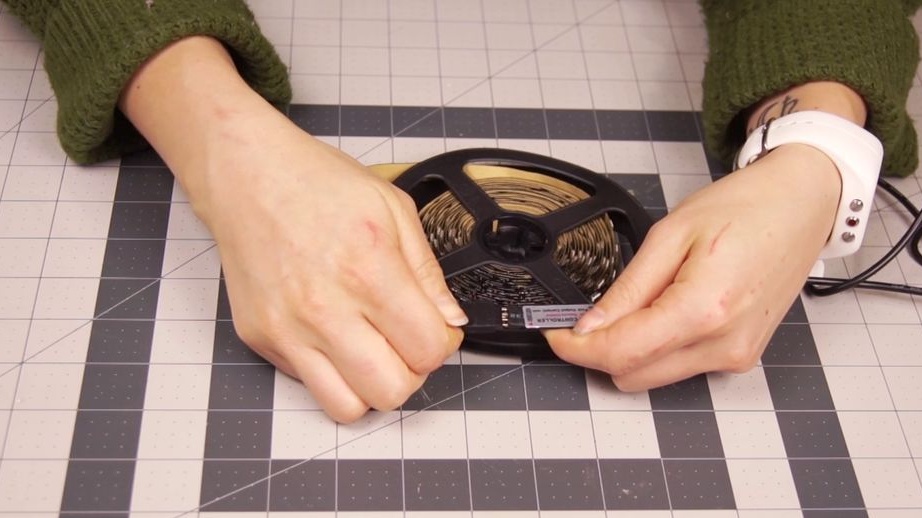
Installs the tape at the bottom of the base.

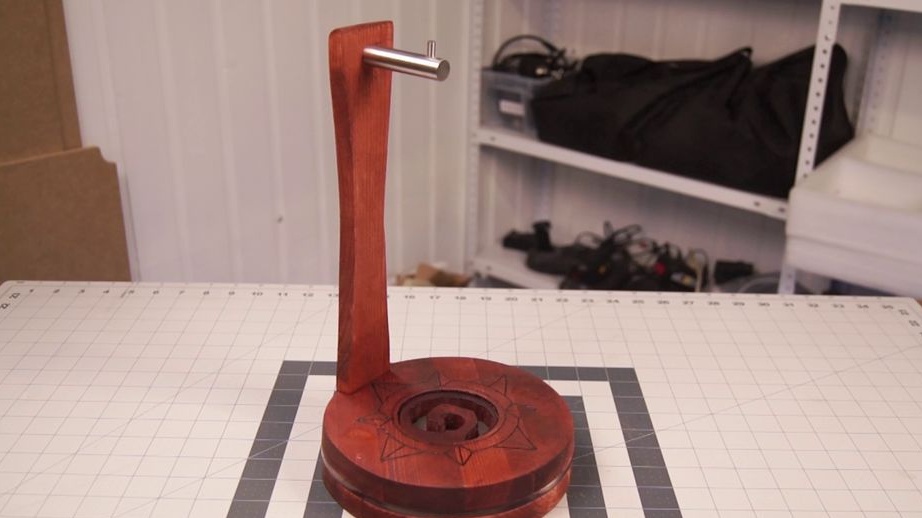
The headphone stand is ready.


The entire process of making the stand can be seen in the video.