Spot welding is a very convenient thing in the household. With this device, you can easily and quickly weld sheet metal, attach contacts to batteries and much more. Welding occurs due to two electrodes, which when closed at the point of contact form such a high temperature that even steel melts.
In this manual, we will look at how to make a small spot welding machine. It is small in size, all the elements fit inside the computer power supply. The electrodes of the author are installed in such a way that during welding two points are formed at once. Everything is collected quite simply, and the materials are easily accessible.
As a basis, a transformer is used, as well as a timer module. When you press the start button of the device, the timer turns on the welding for a short time, and the result is a welding point. If you wish, you can adjust the device for any period of time, if the metal is thick, the timer can be adjusted for a longer time. So let's get started.
Materials and tools used by the author:
Material List:
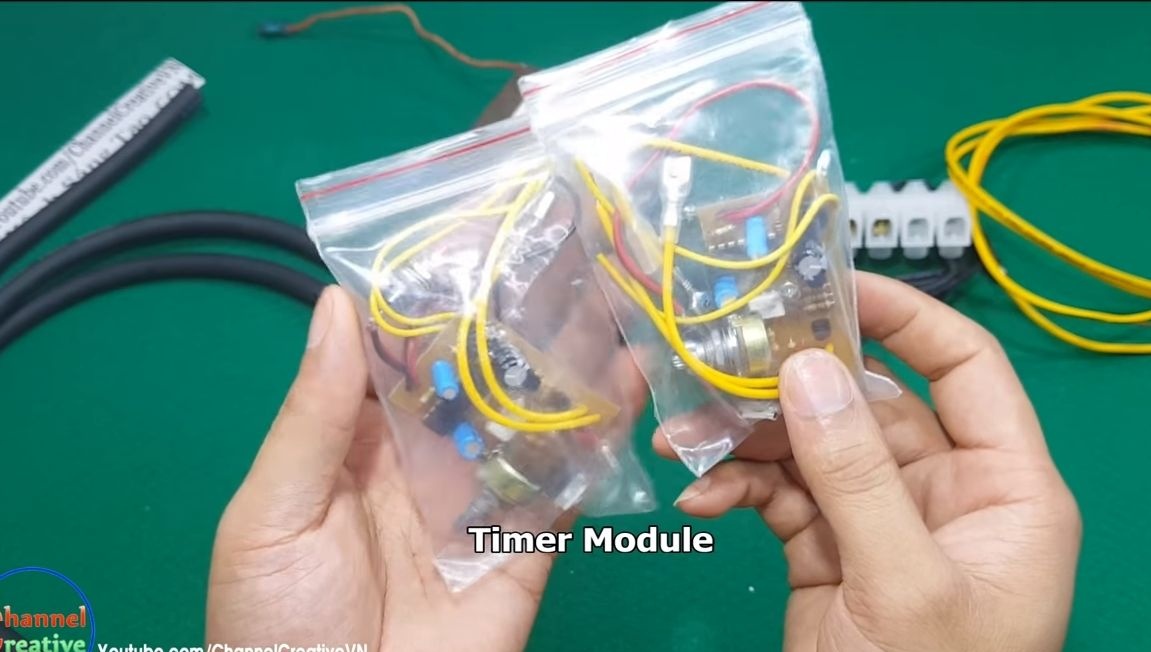
- timer module;
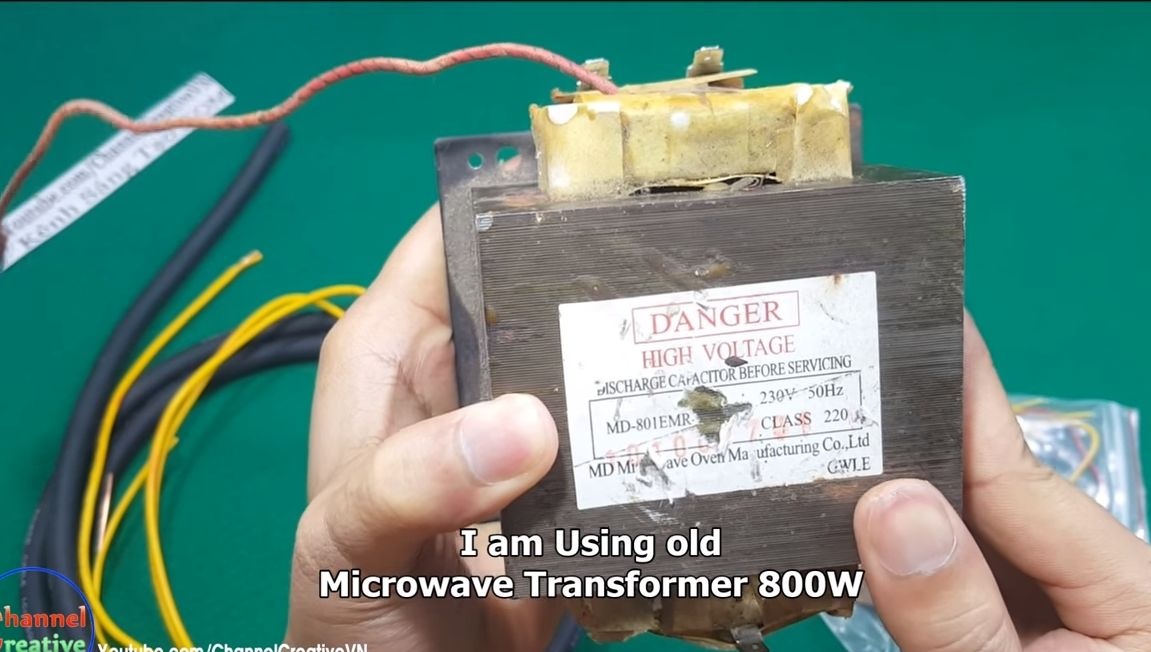
- a transformer (the author has 800 watts);
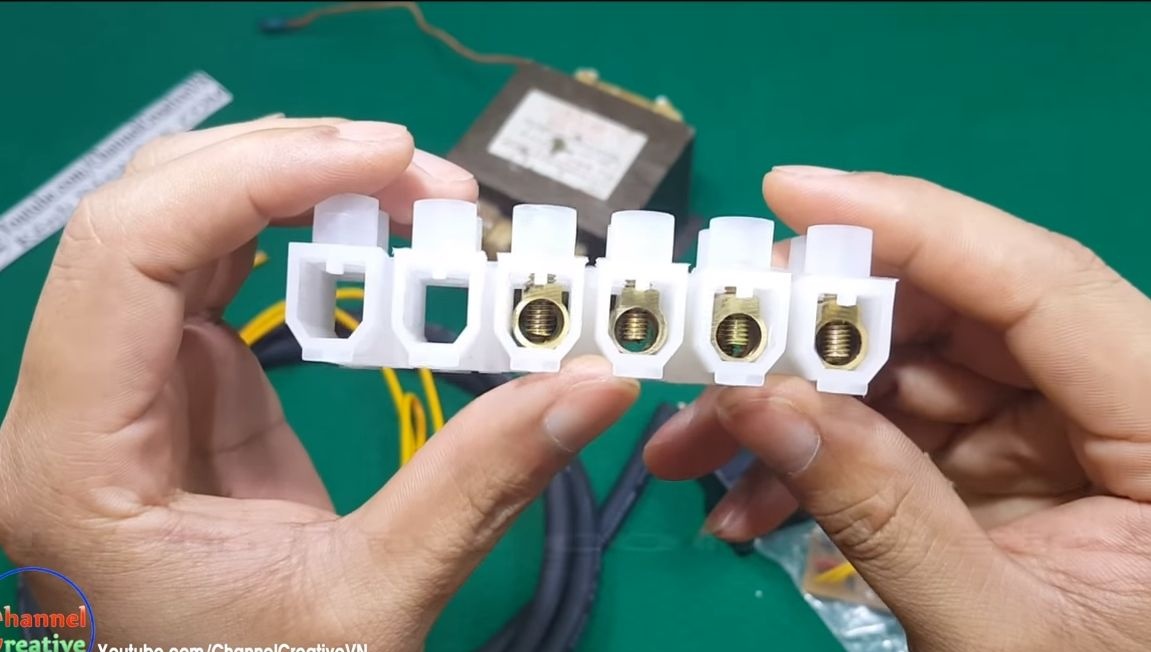
- screw clamps for wires;
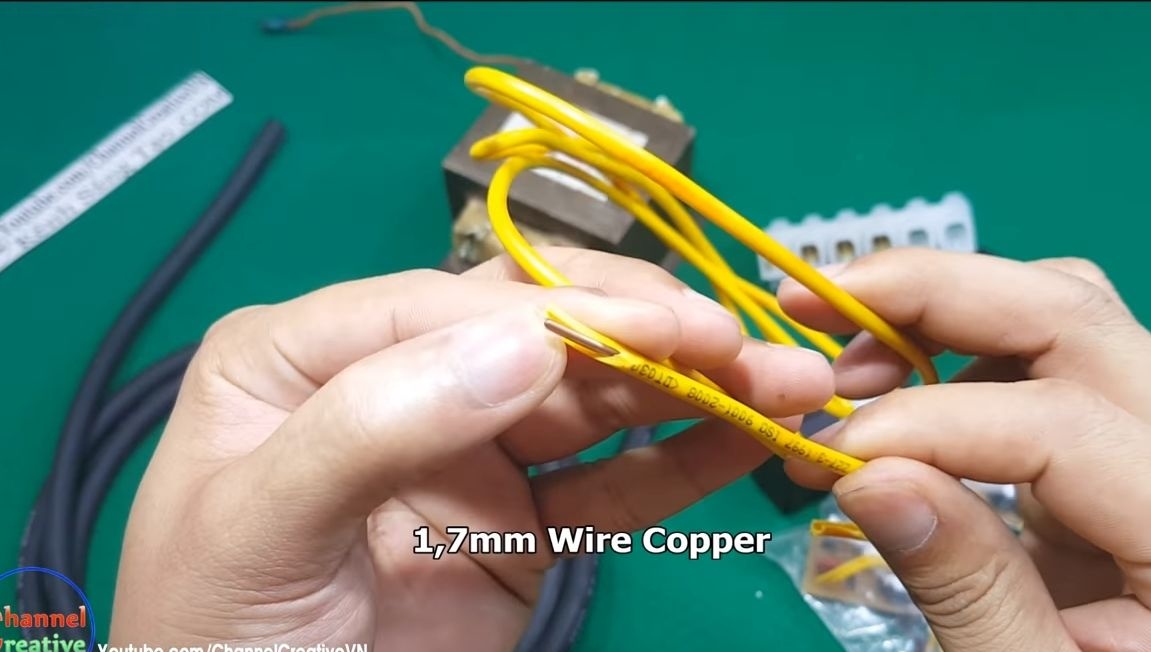
- copper wire 1.7 mm thick;
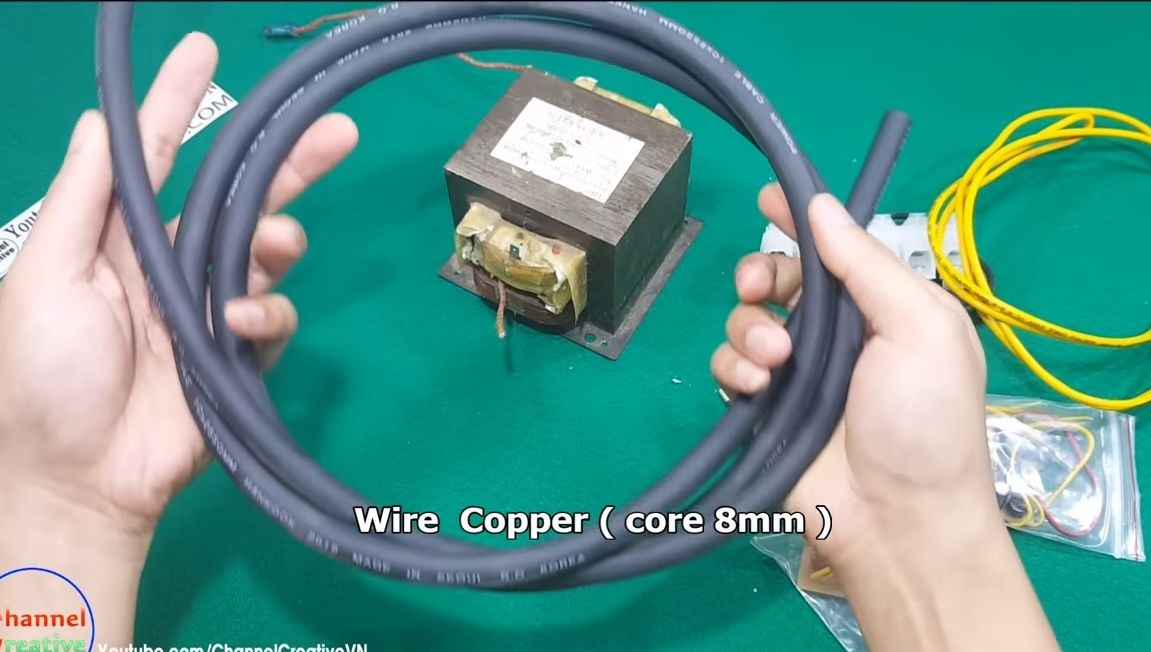
- power wire (8 mm);
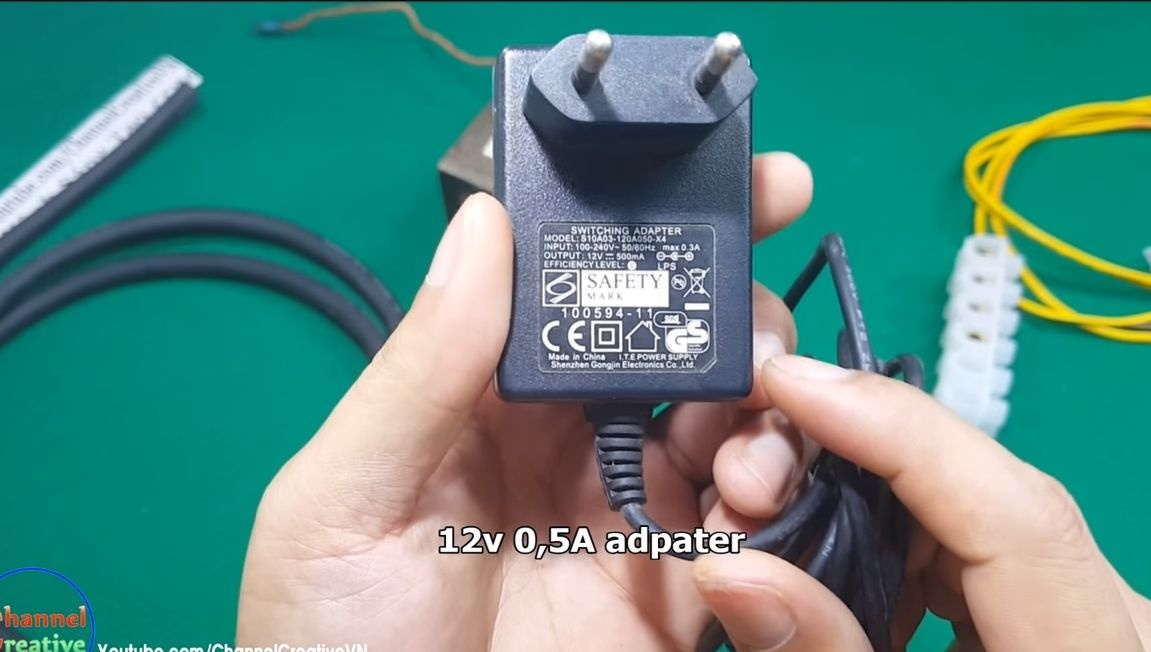
- power supply for 12V, 0.5A;
- switch;
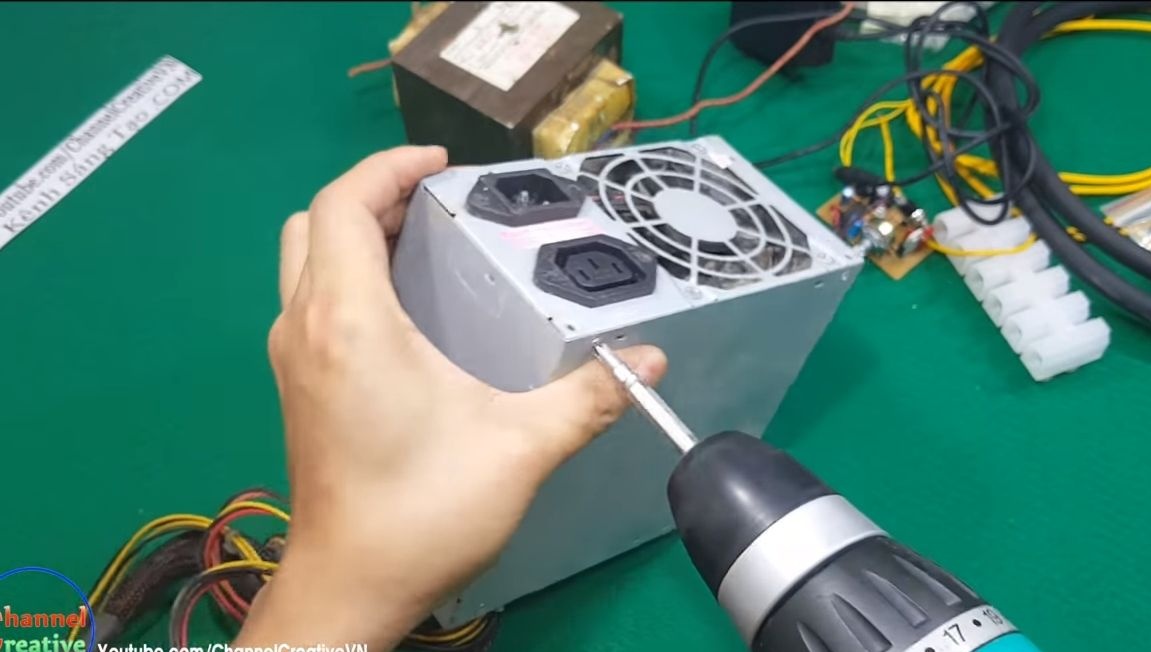
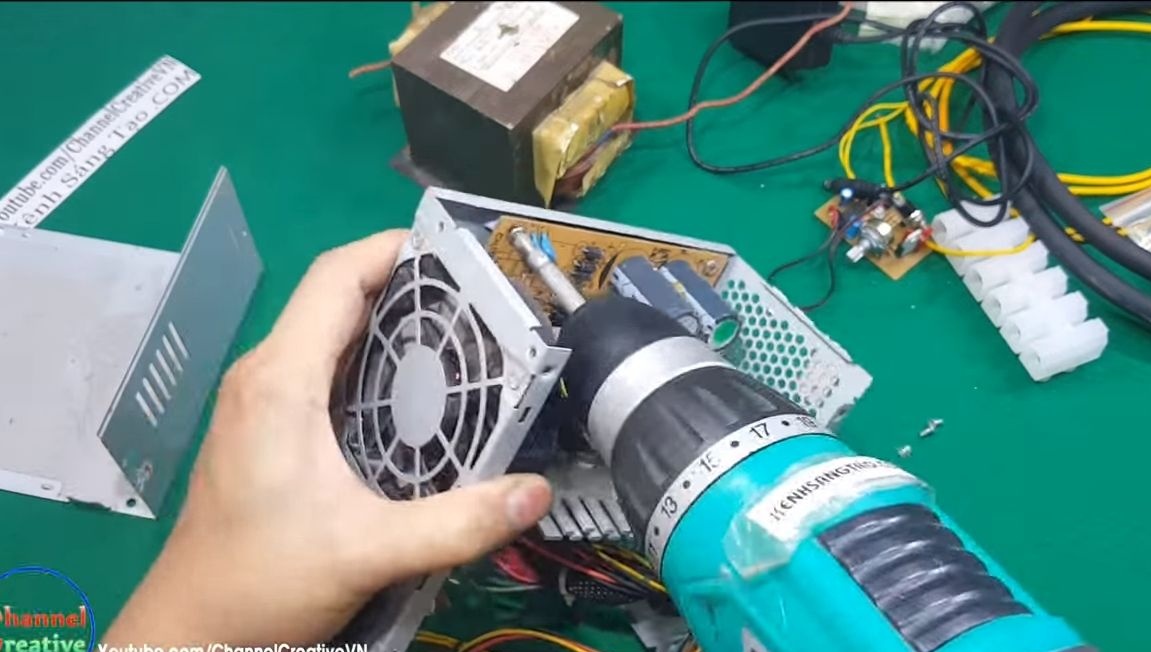
- old power supply from the computer;
- heat shrink;
- fixing corners;
- wooden block;
- spring;
- plastic clamps;
- cogs with nuts and other little things.
Toolbar:
-
- rivet gun;
- dremel;
- screwdrivers;
- pliers;
- nippers;
-
-
- hammer.
Welding machine manufacturing process:
Step one. Case preparation
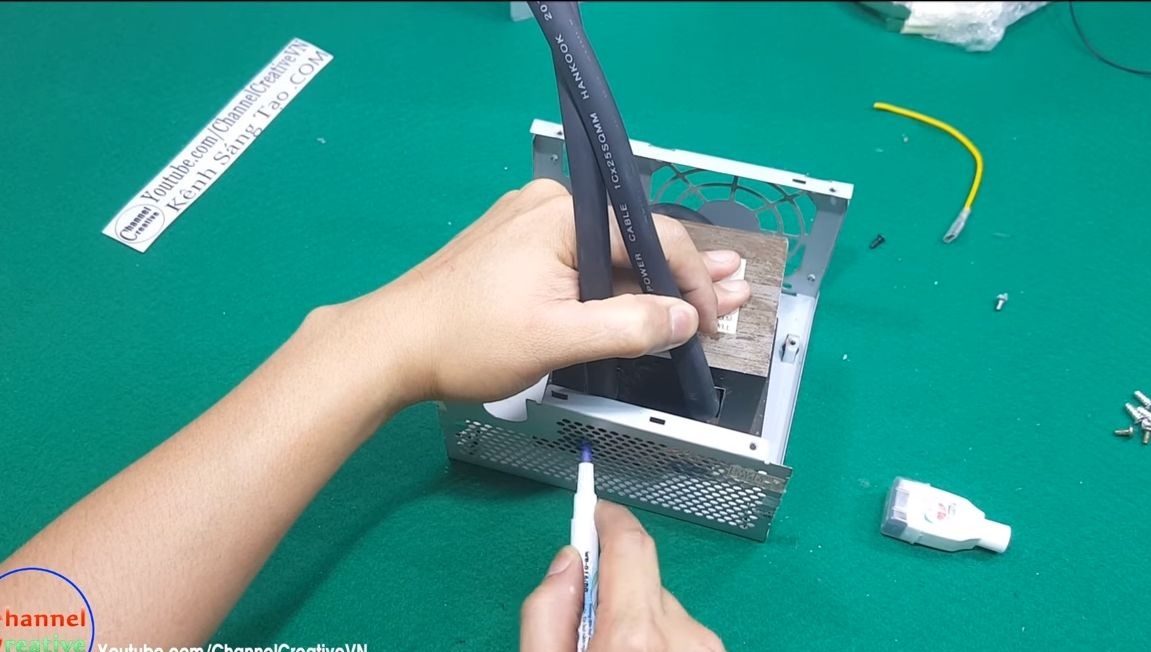
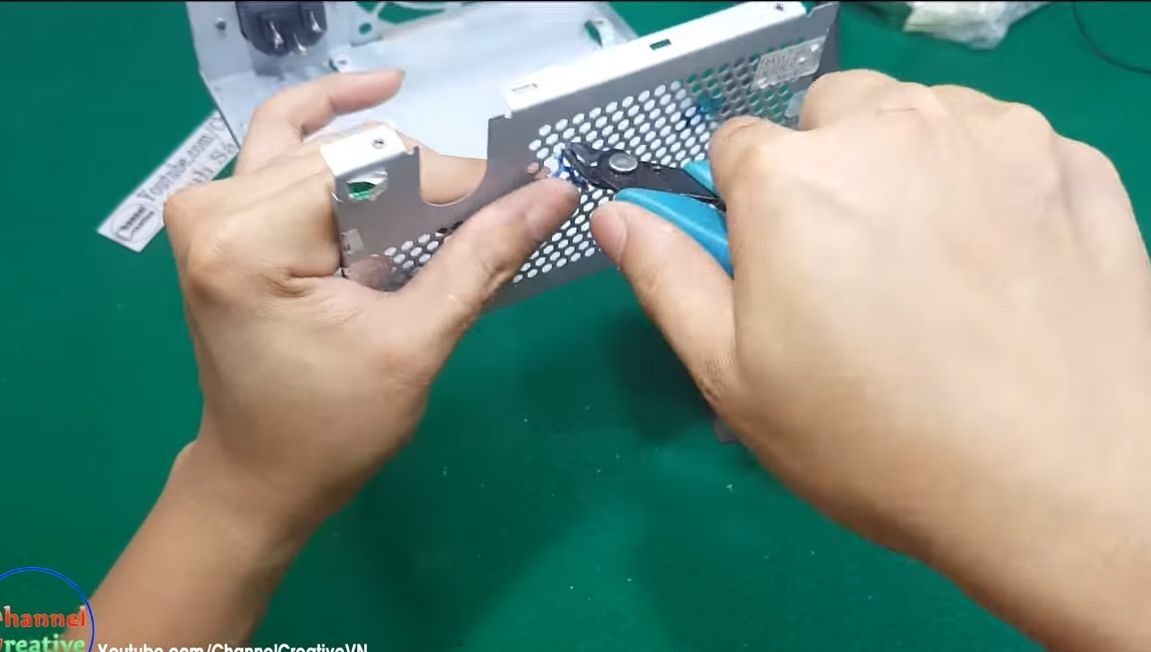
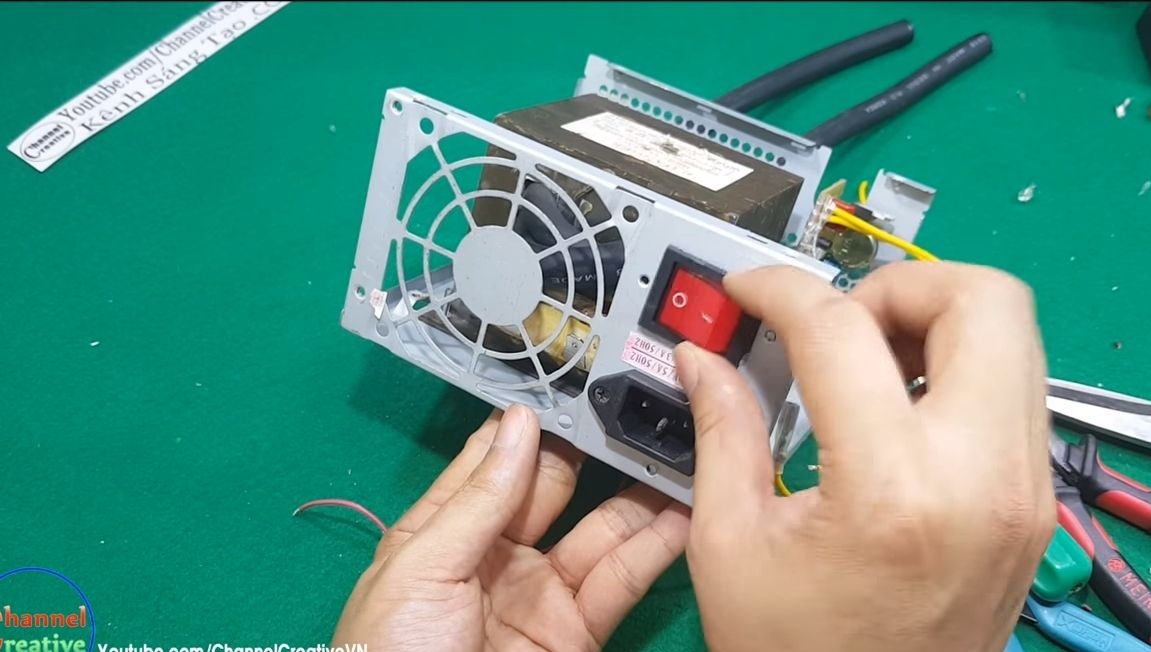
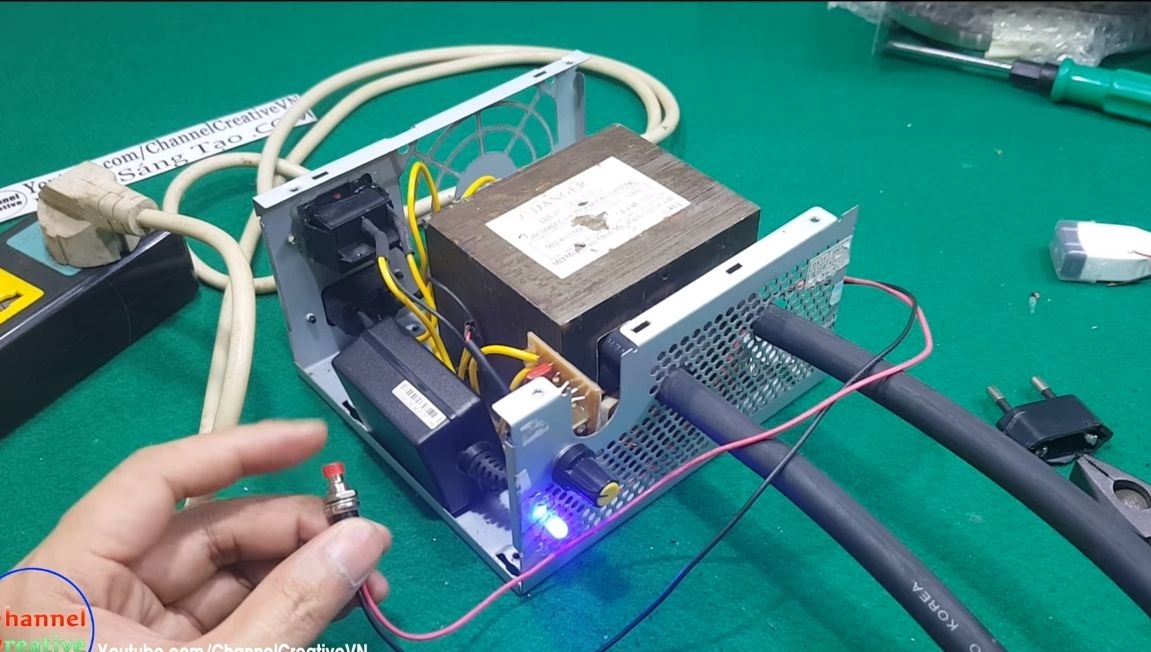
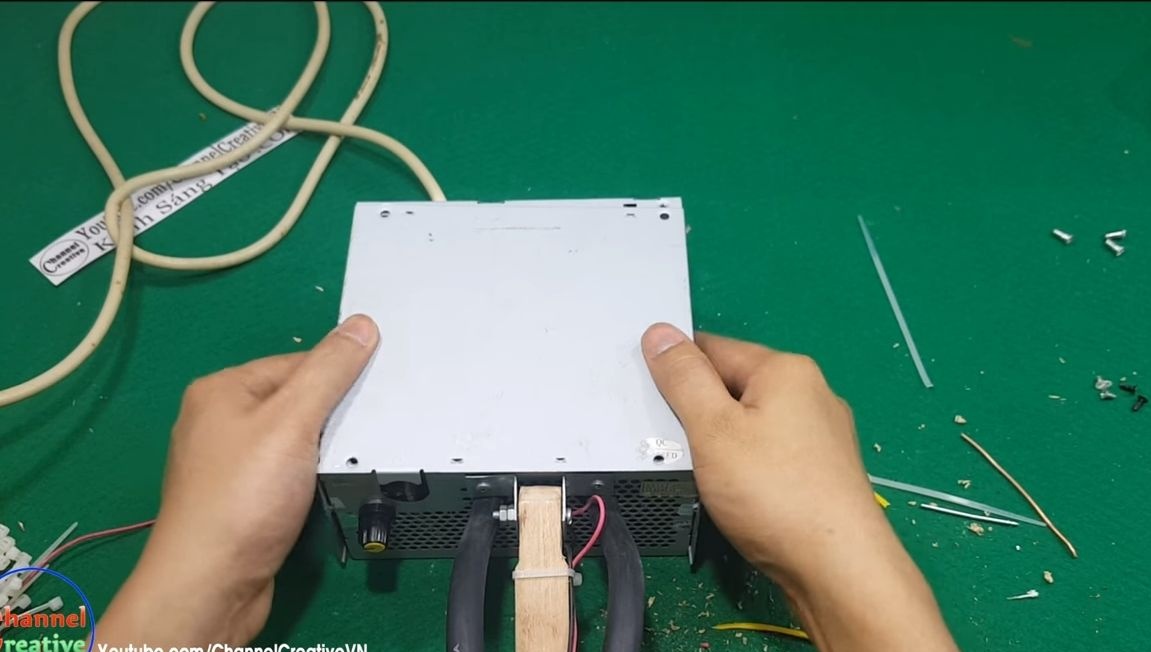
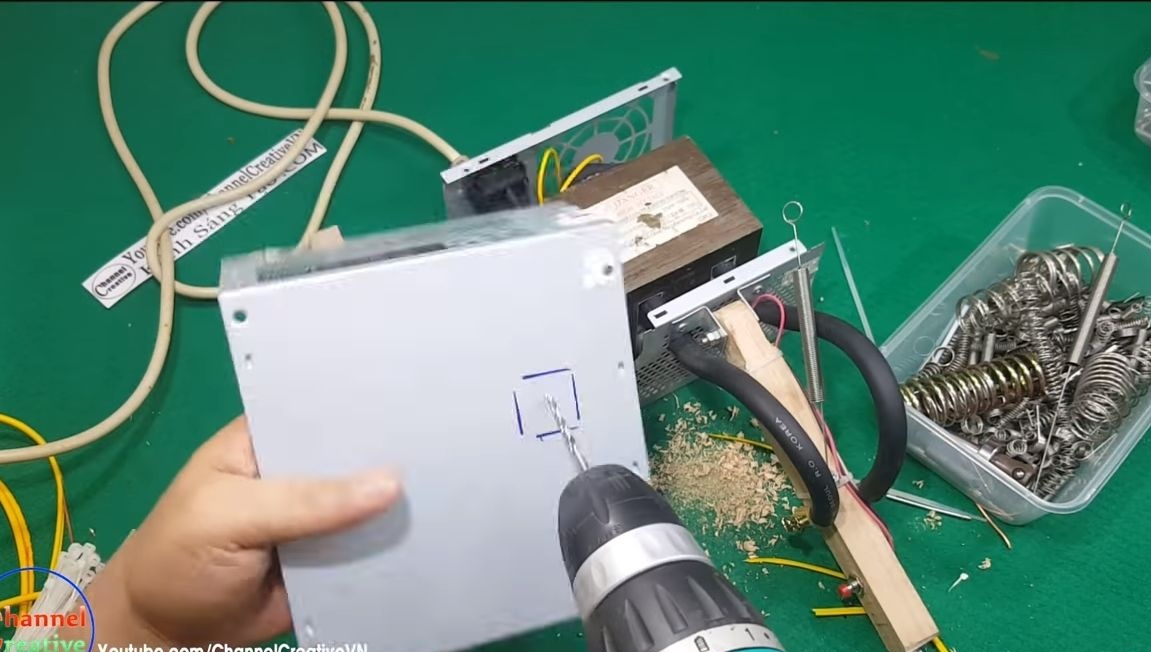
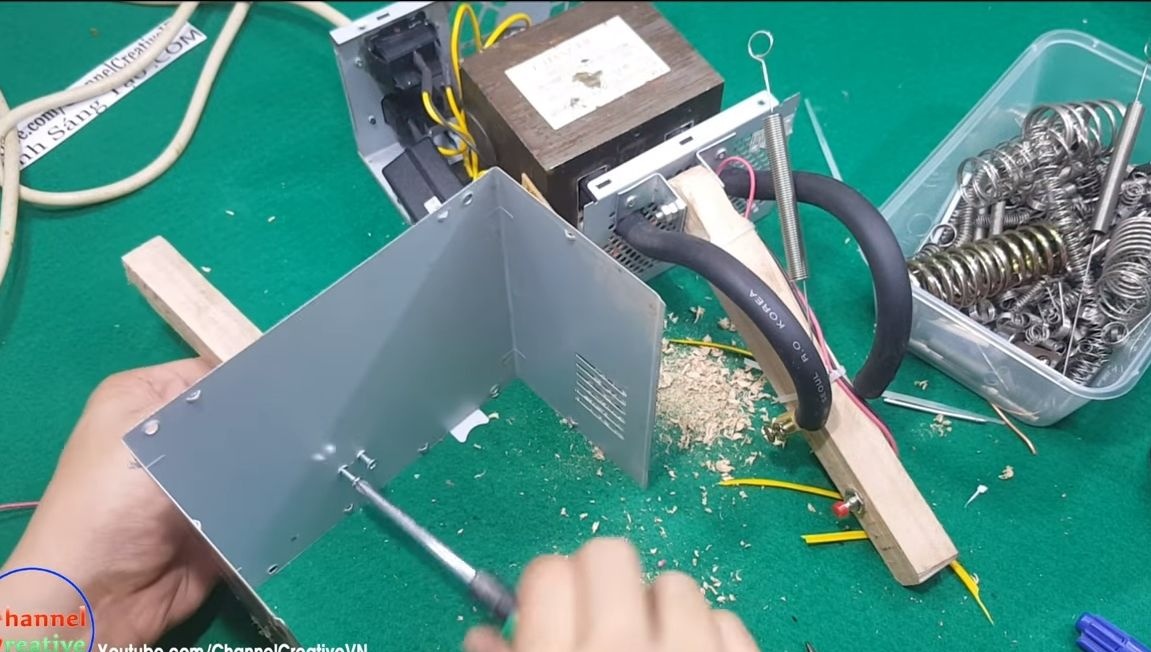
As a case, the author used an old computer power supply. We disassemble it all and extract all the contents. You will need to leave only one "outlet", with the help of it will supply power.
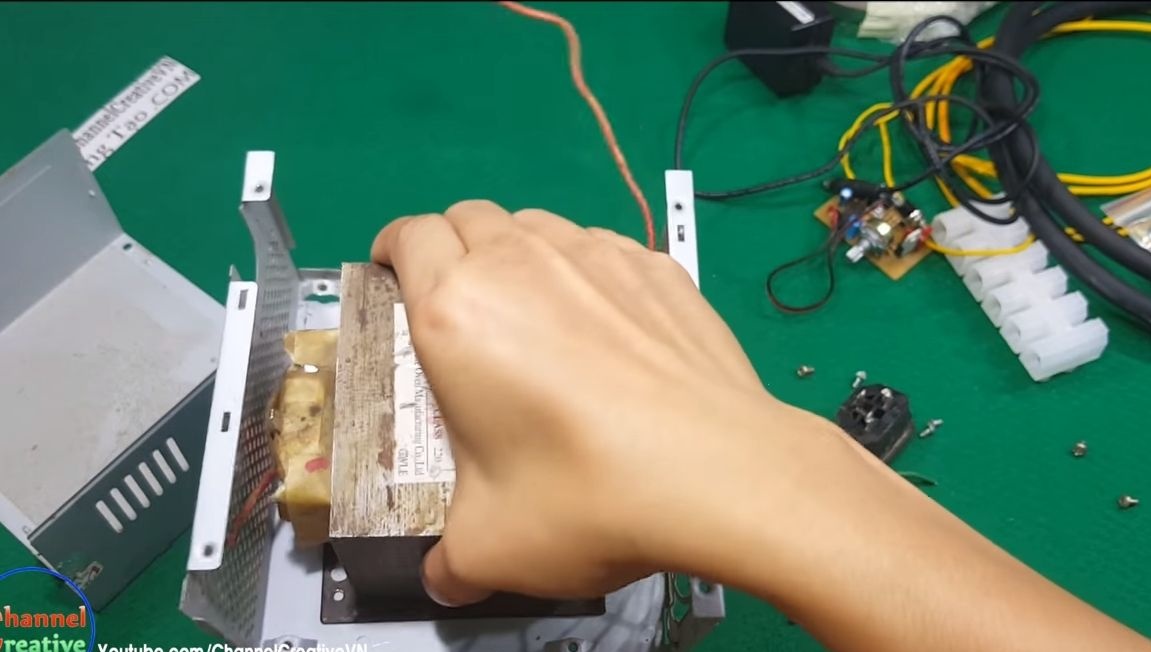
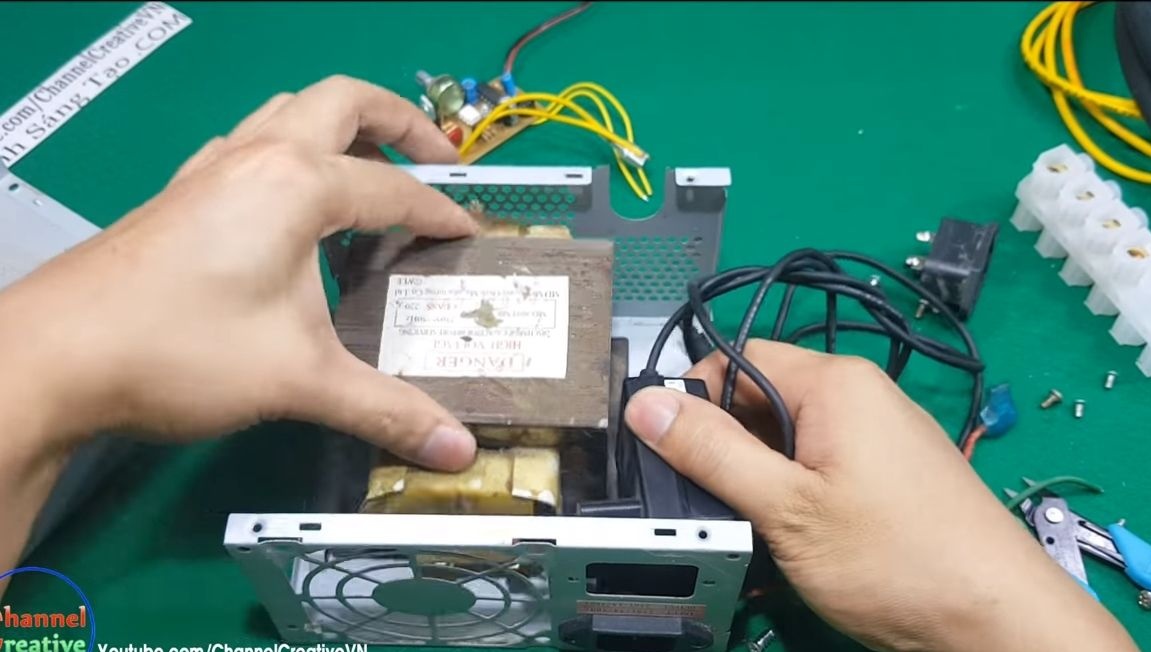
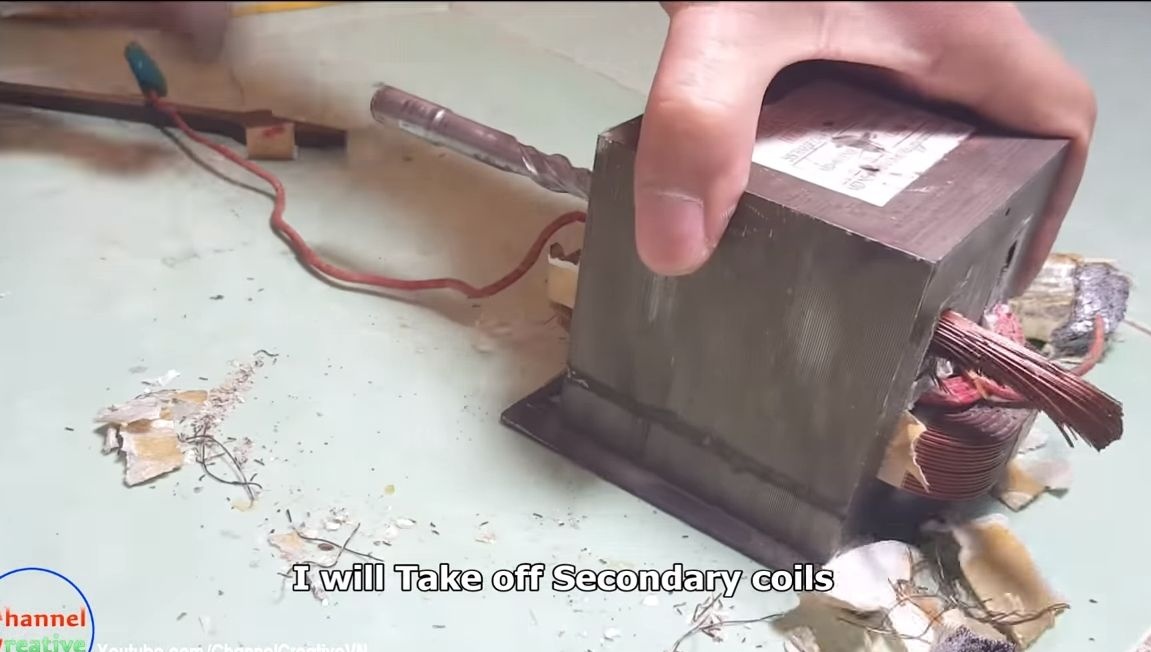
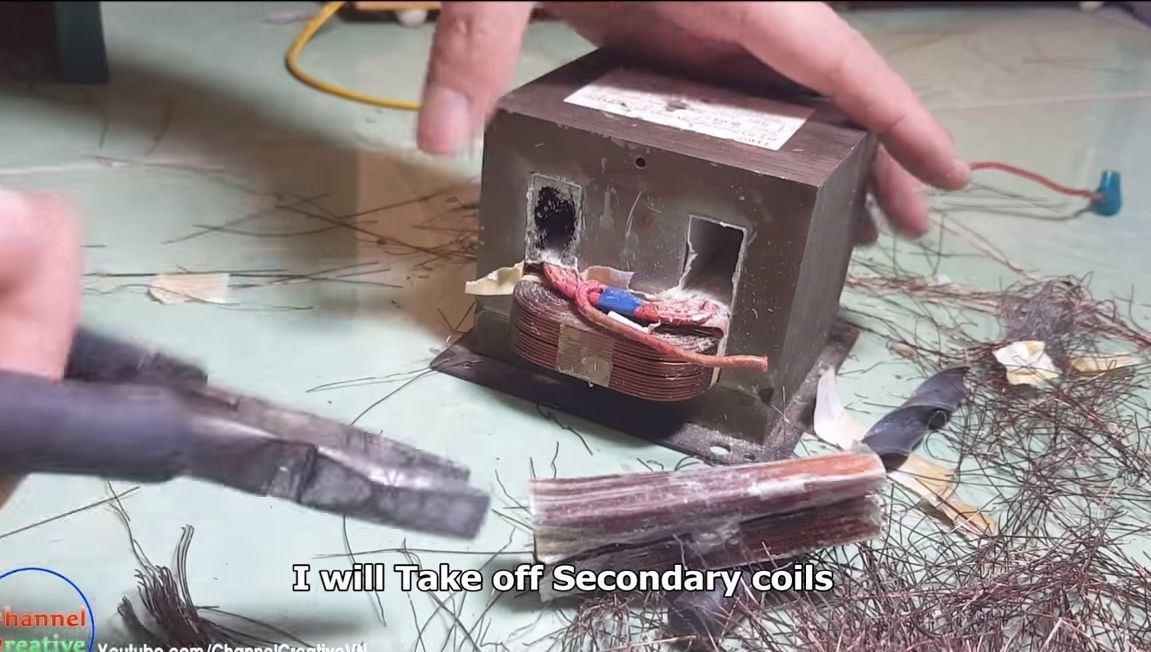
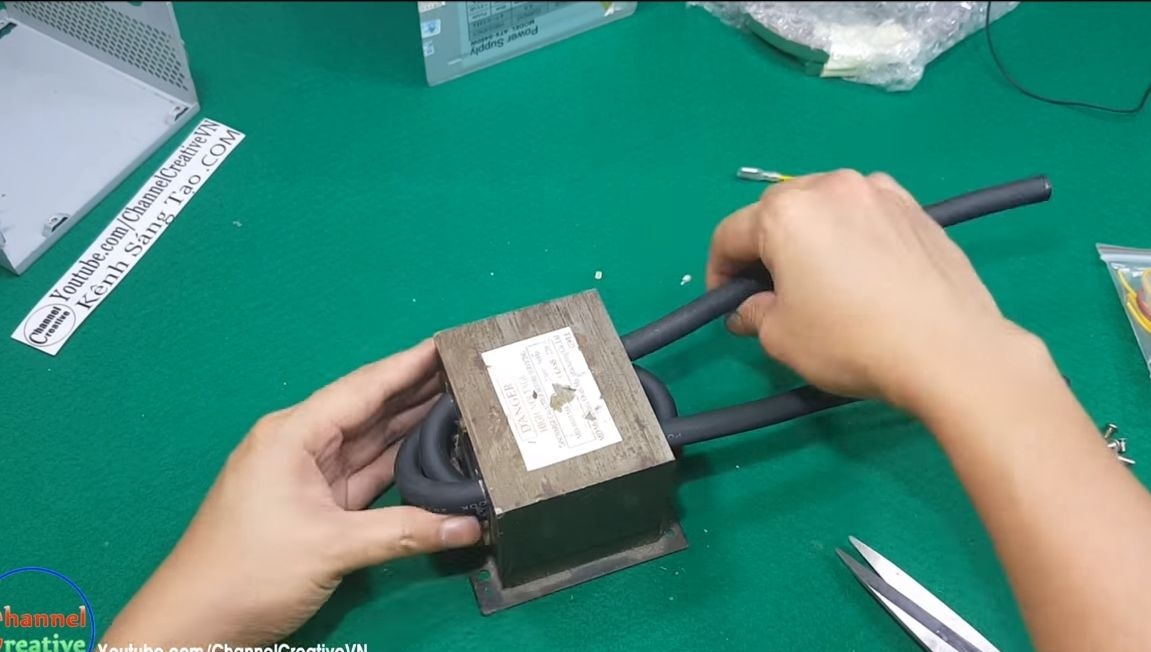
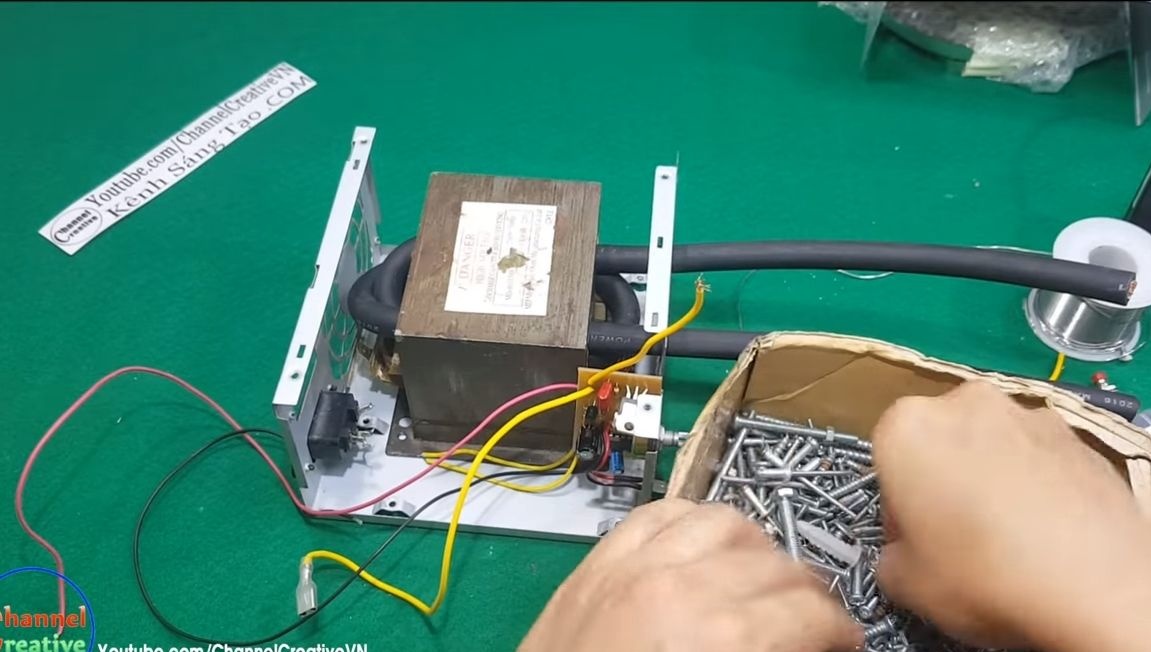
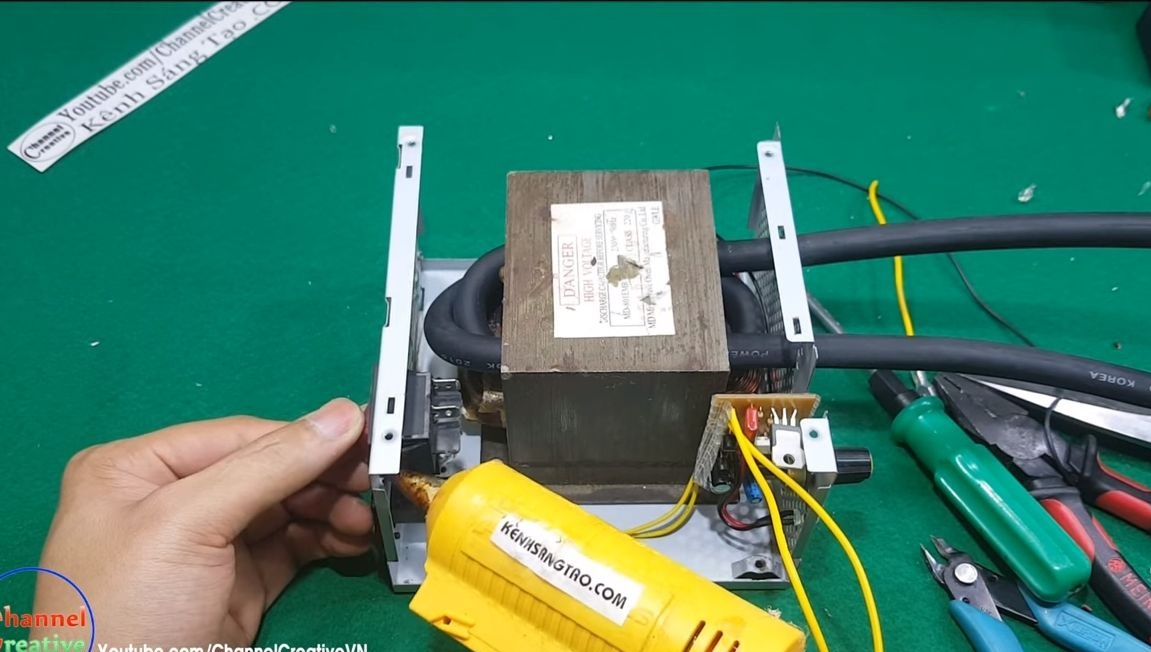
Step Two We prepare the transformer
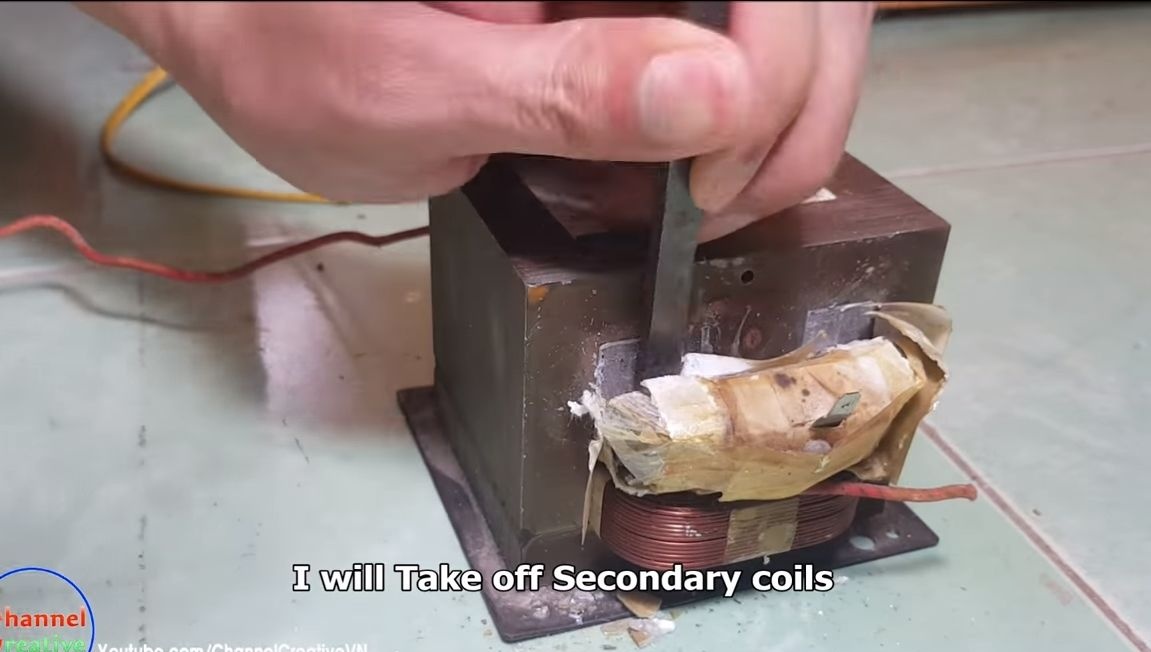
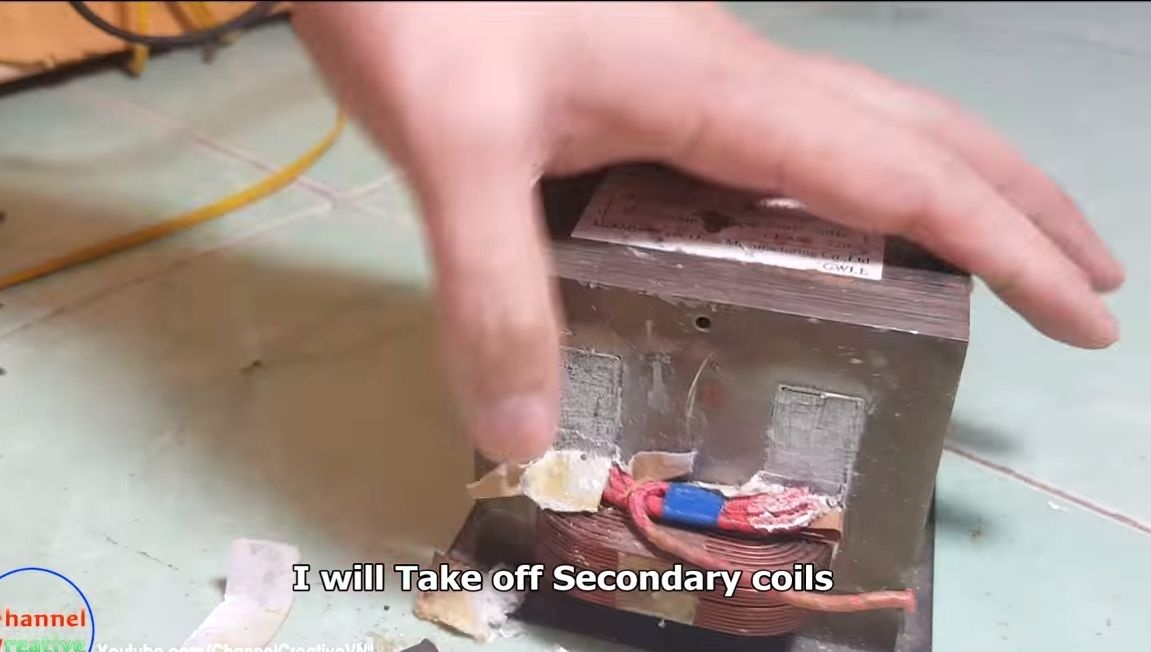
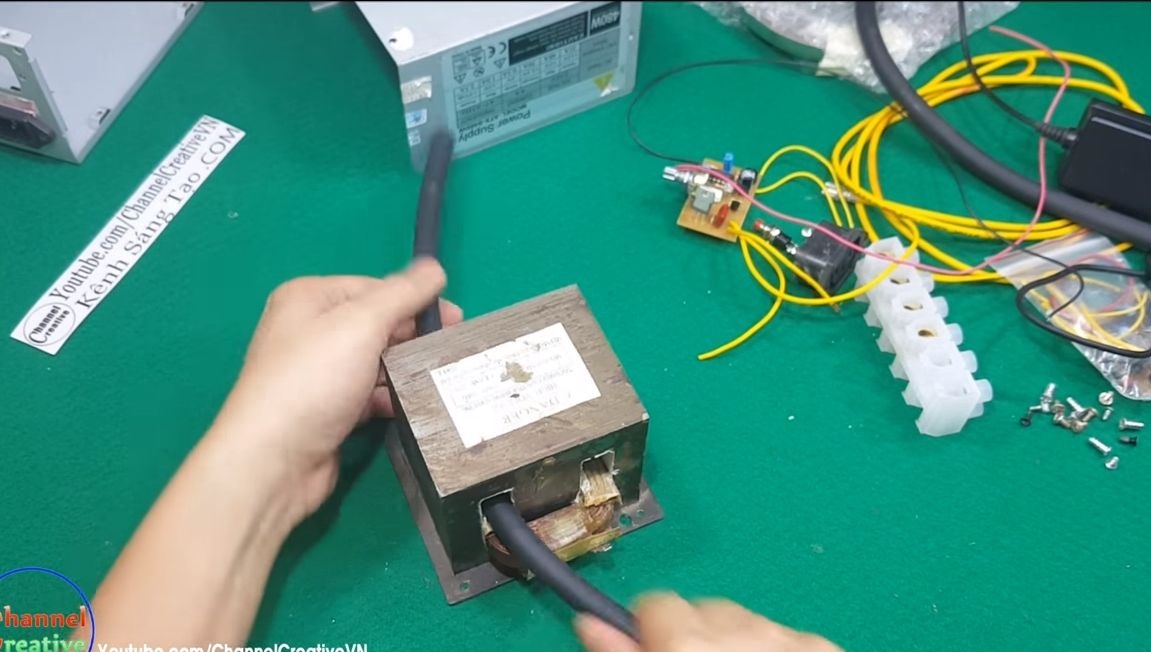
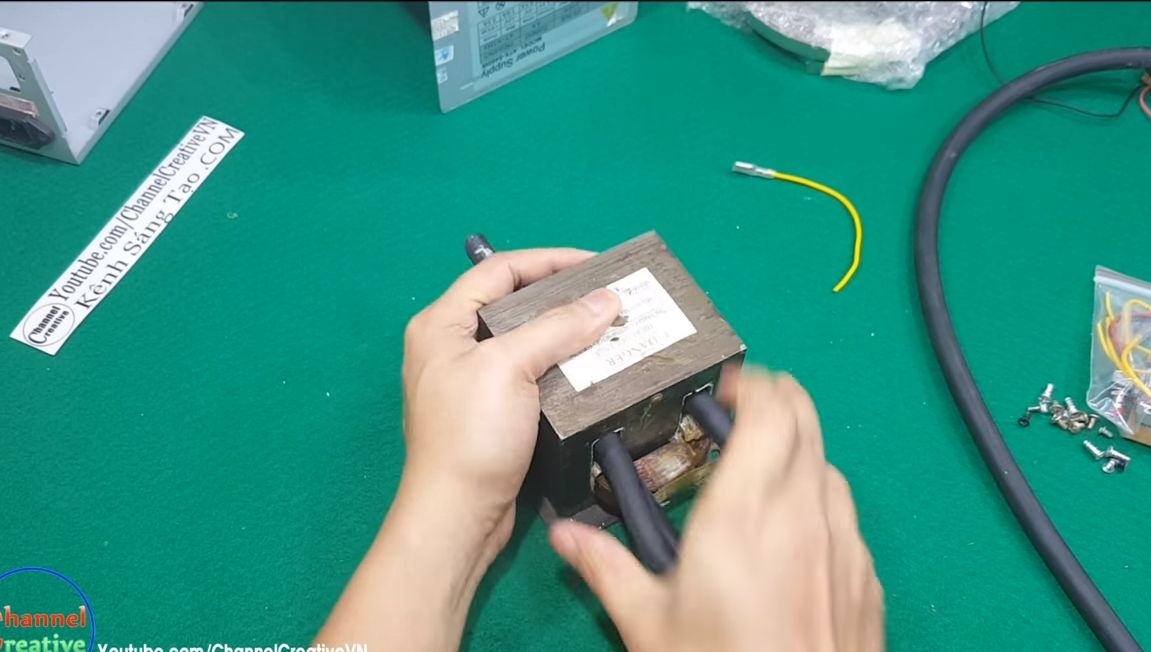
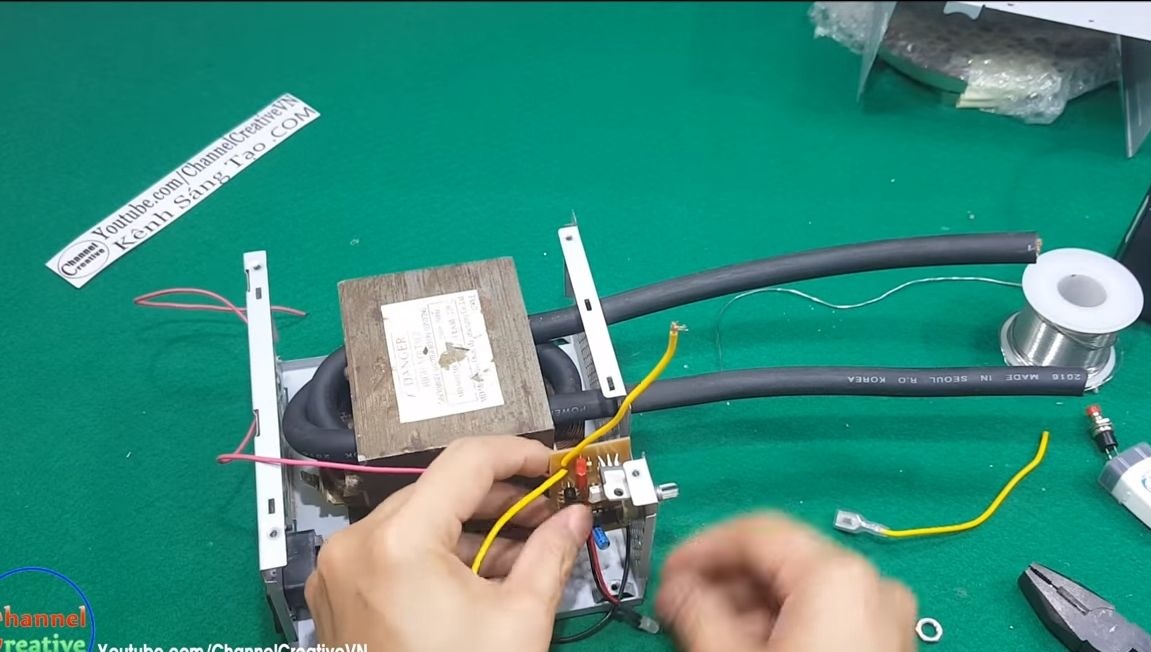
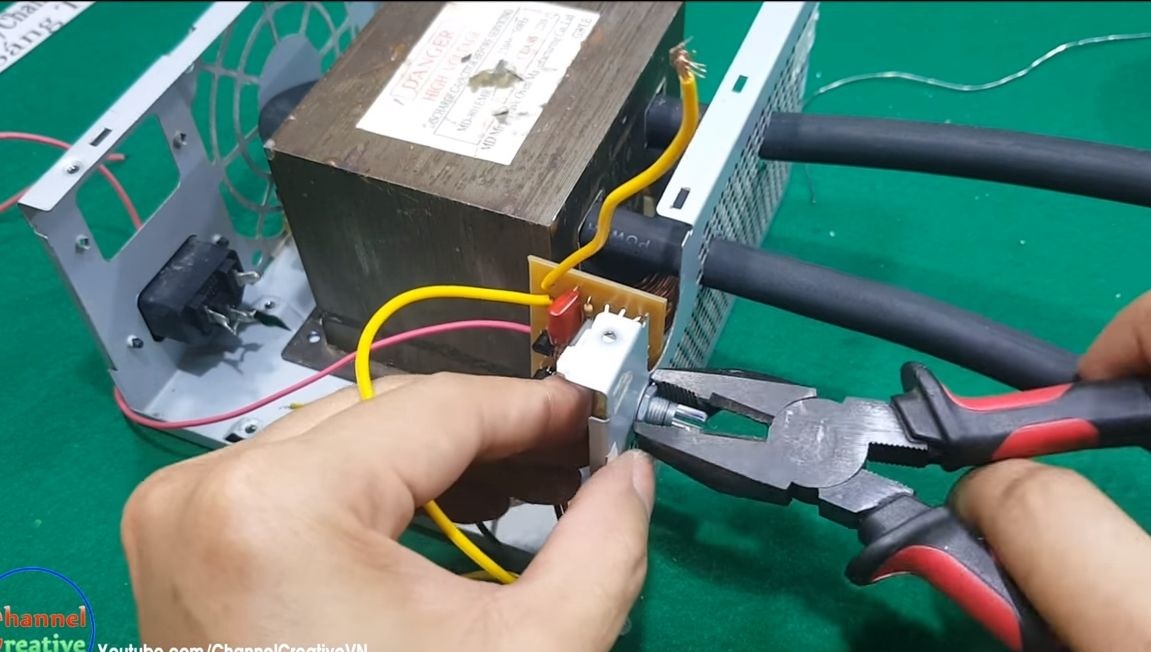
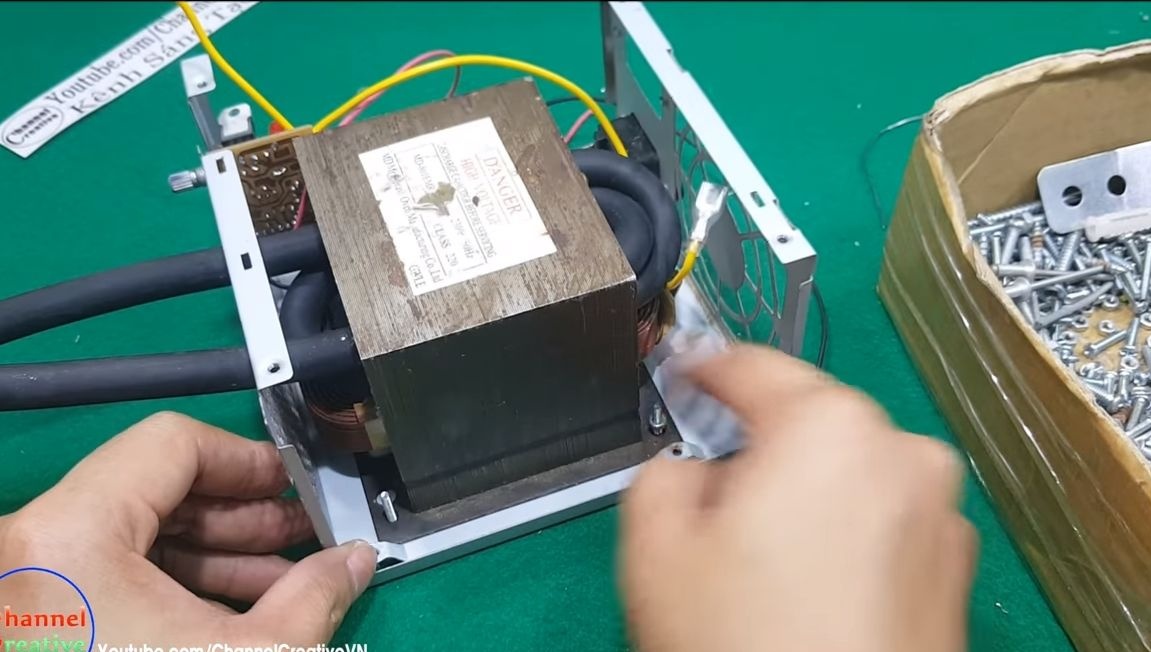
The existing transformer needs to be redone to get a large number of amperes. To do this, remove the secondary winding. Instead, we put a new winding, as it uses an 8 mm wire (like a wire from a welding machine). How to install the wire, see the photo.
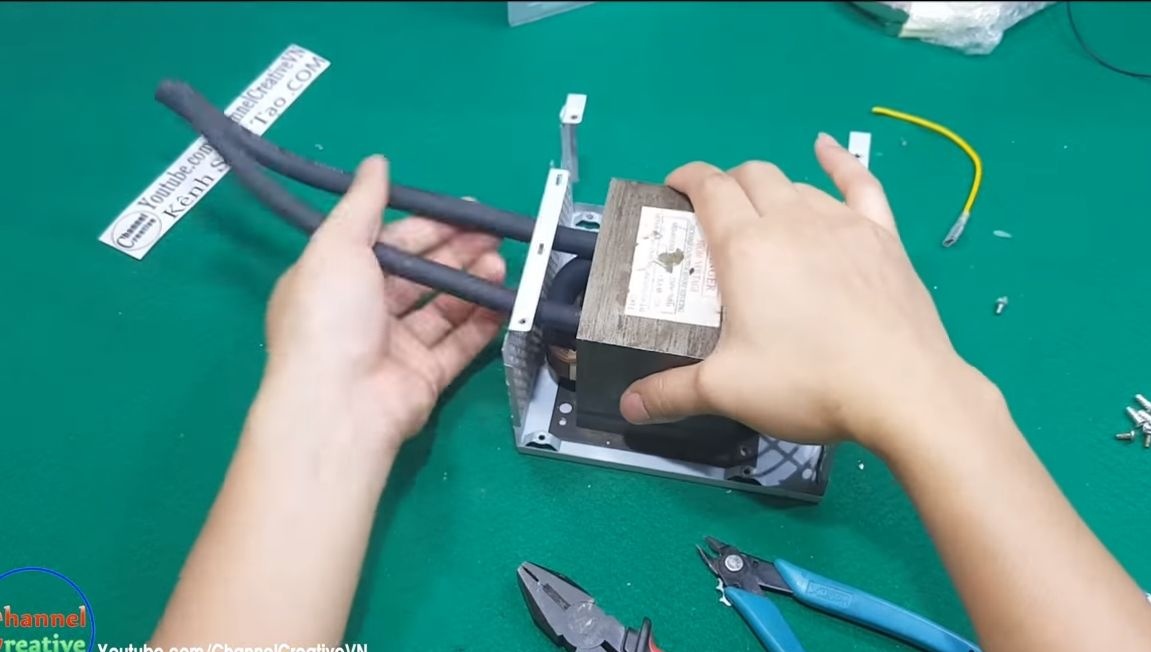
Step Three Install the transformer and timer module
We will mount the transformer using screws with nuts, drill holes for them in the right places. We also have to output power wires, for this we make holes in the case.
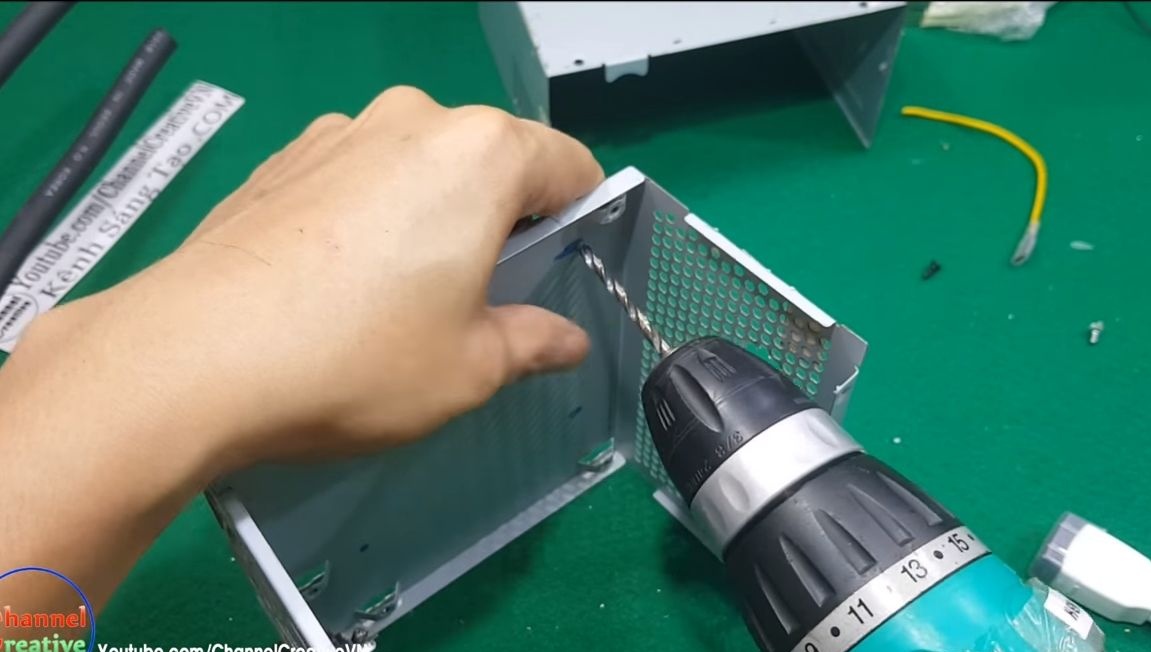
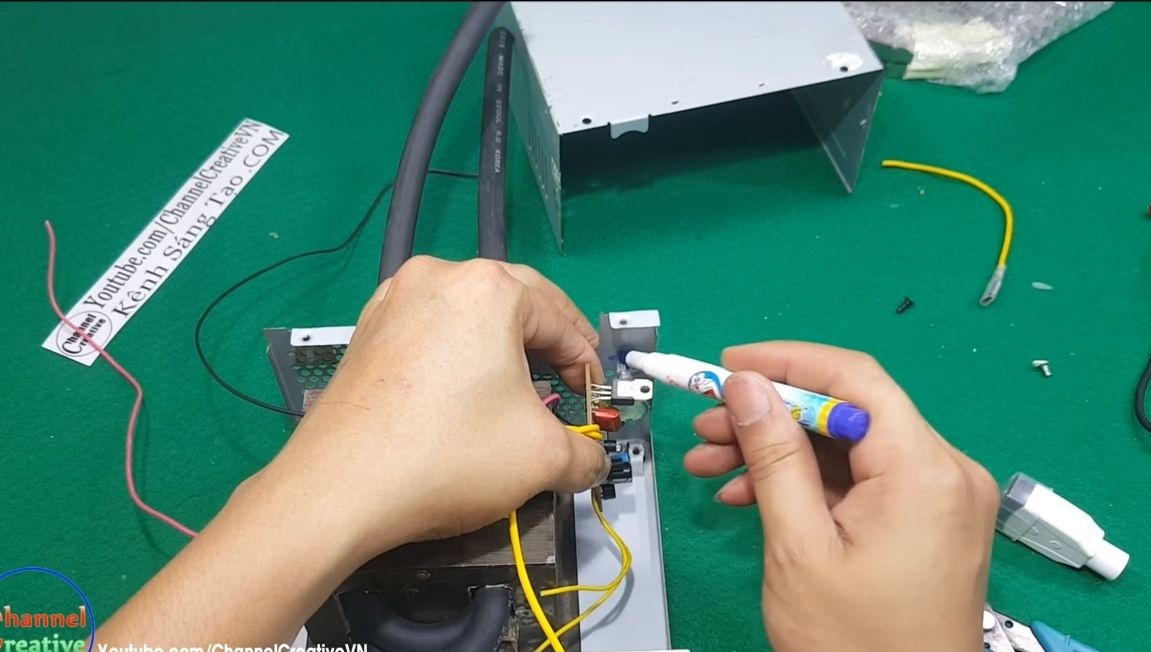

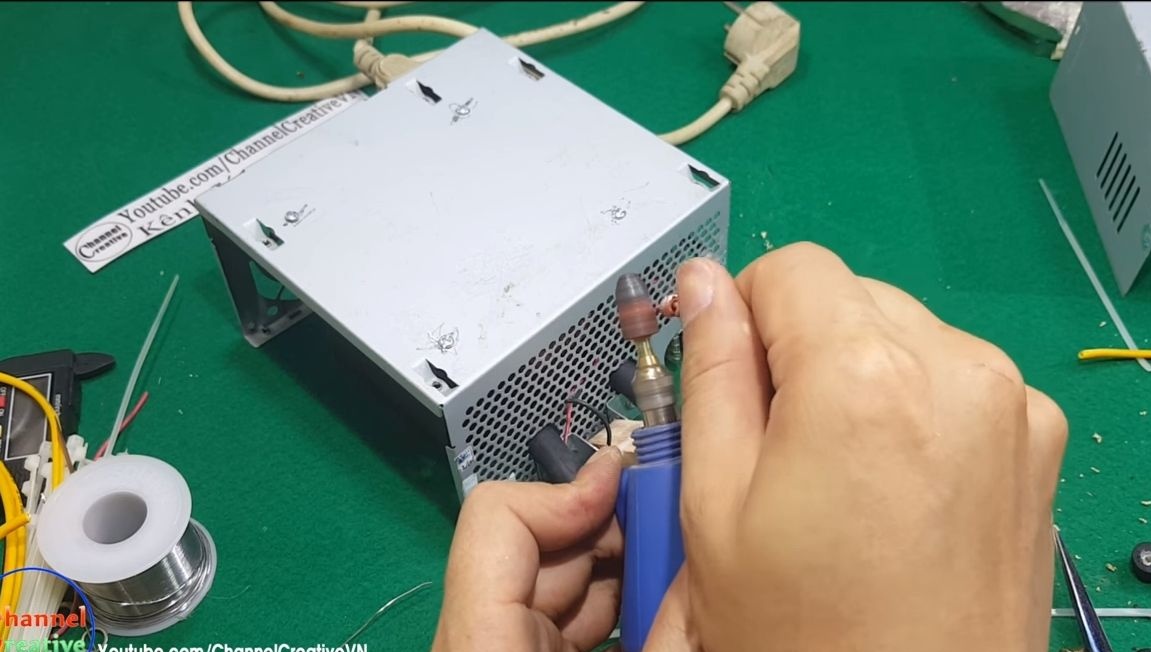
When the transformer is installed, proceed to the installation of the timer module. He has an adjustment knob, with the help of it and a nut the module is attached to the body. We drill a hole and fasten the module. Just in case, seal open contacts with adhesive tape to prevent shorting.
At the end, install the switch, the author mounts it in the place where the outlet used to be. We fix the switch inside using hot glue.

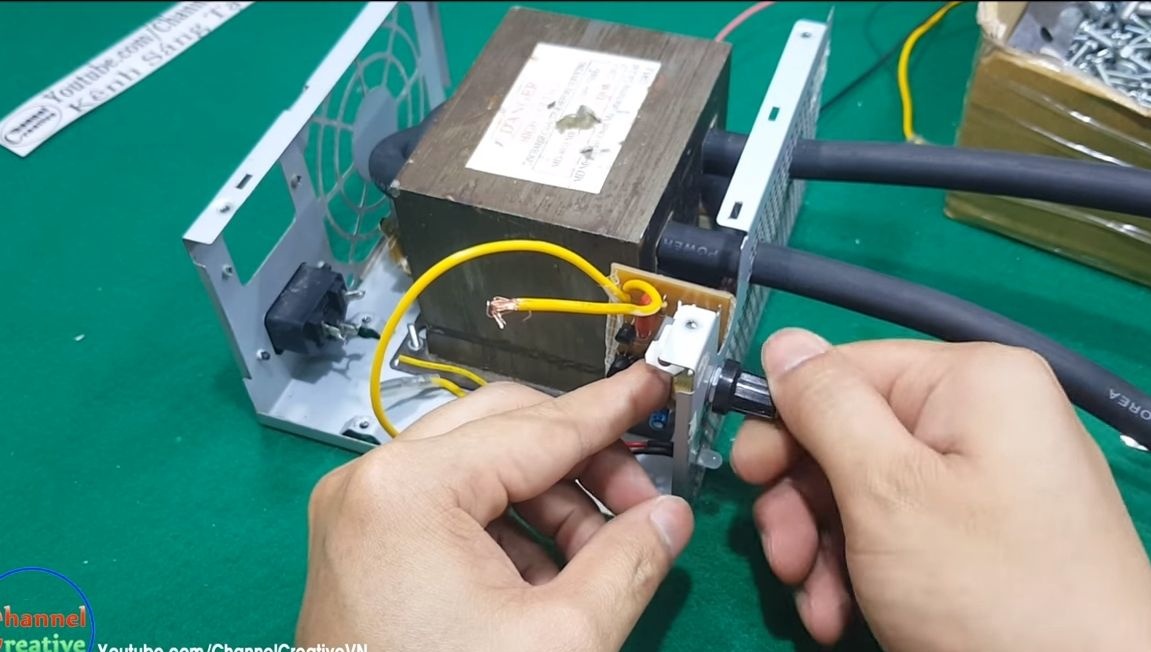
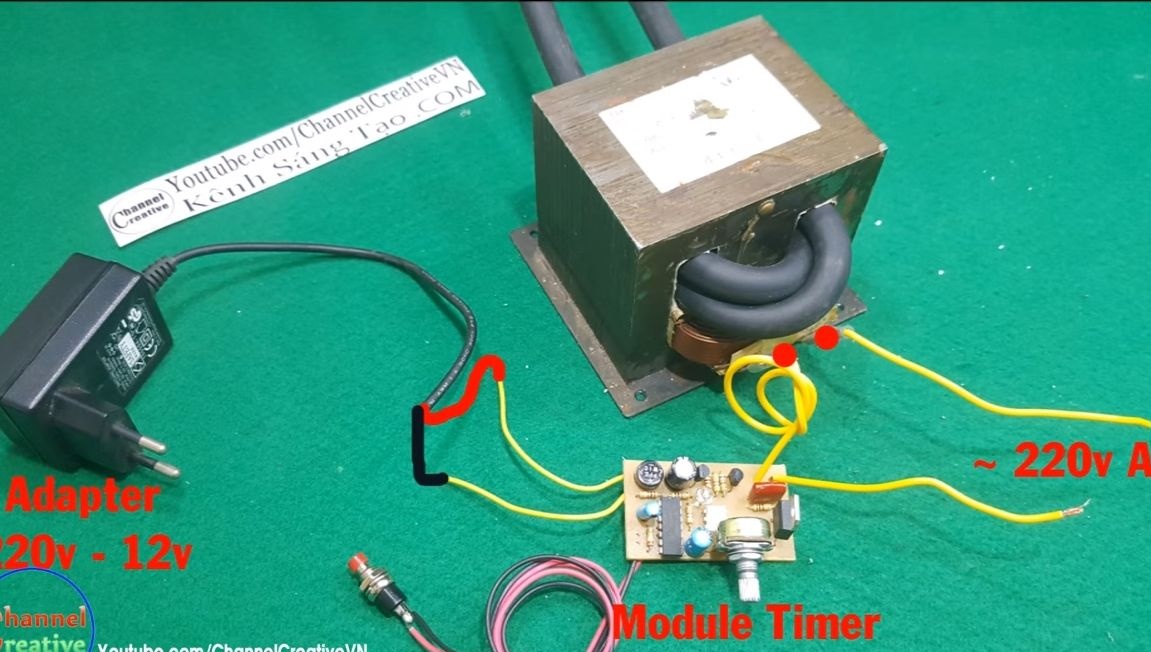
Step Four Putting together a circuit
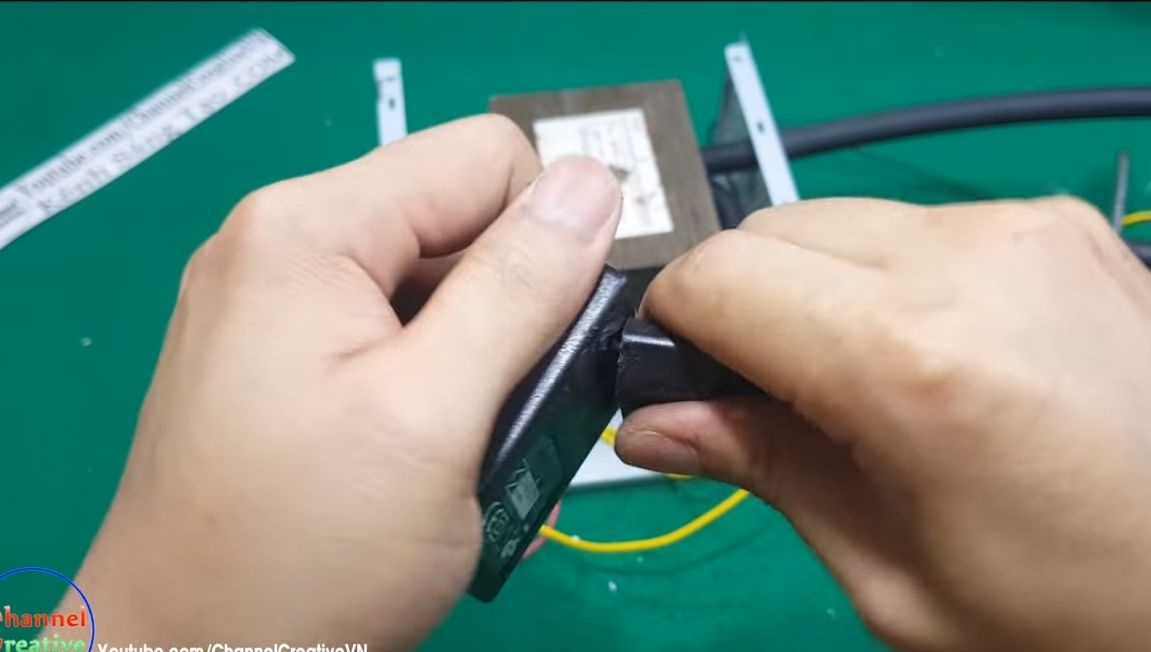
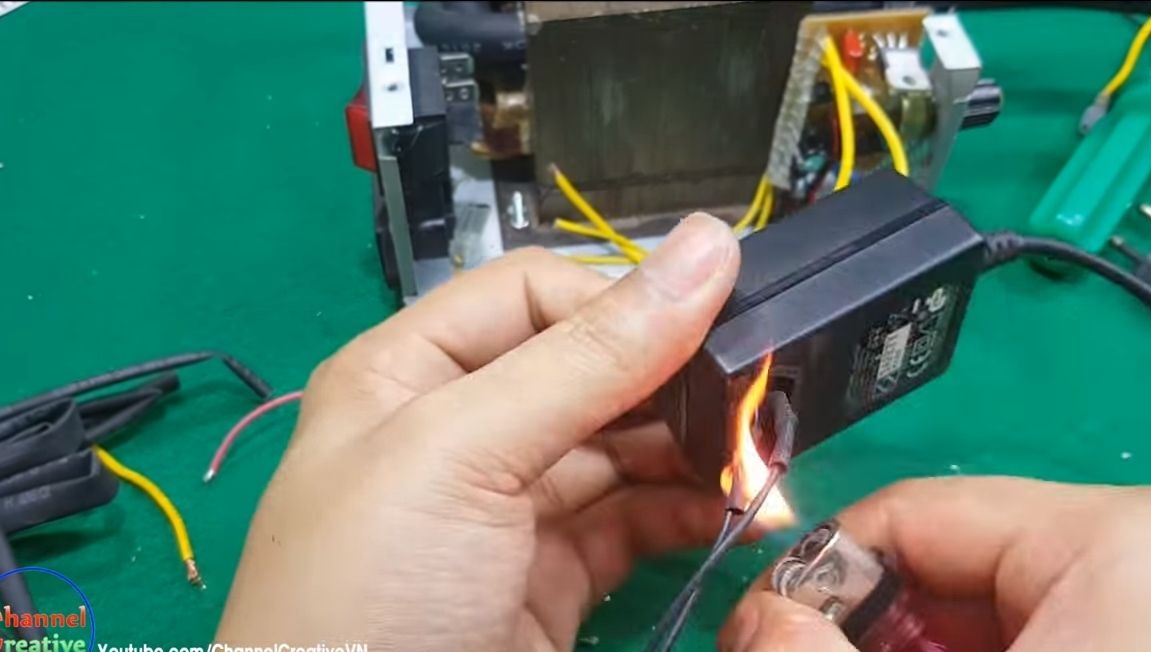
How to connect everything is visible in the photo. The transformer is connected to the network into the gap through a timer, it will turn on the transformer for a predetermined time after pressing the button. The timer needs 12V power, for this we need to install a power supply inside the case. The author cuts off the plug from the power supply for easy installation, solders the wires and isolates the solder points with heat shrink. The power supply can be fixed with hot glue so that it does not hang inside.
Well, then we collect everything as in the diagram.

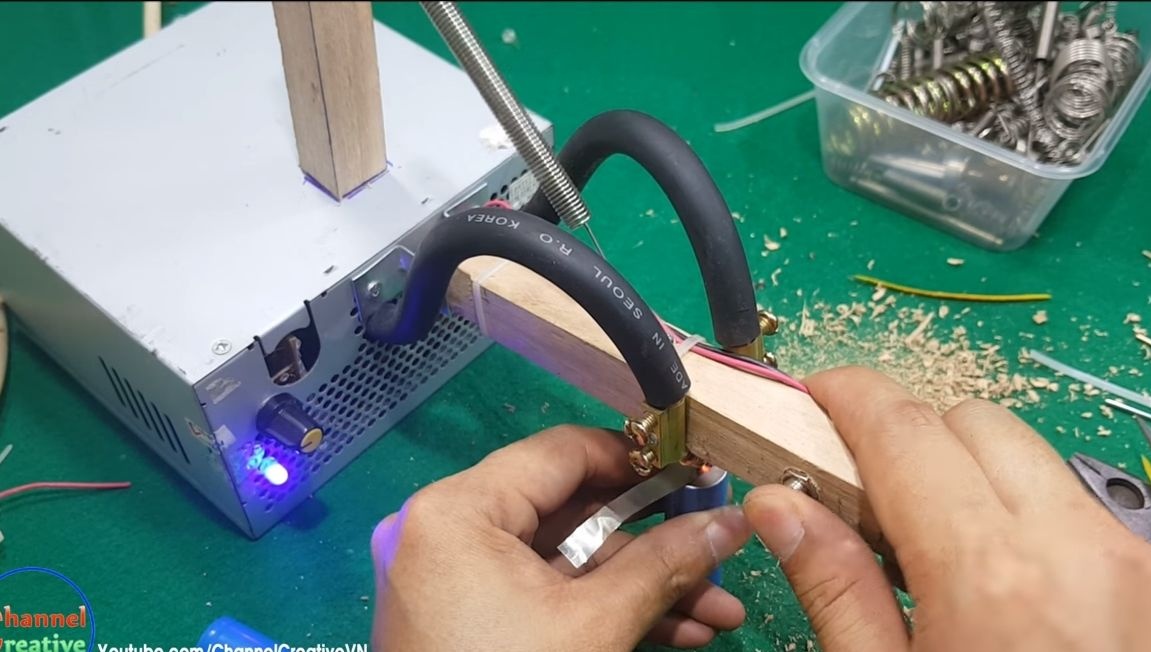
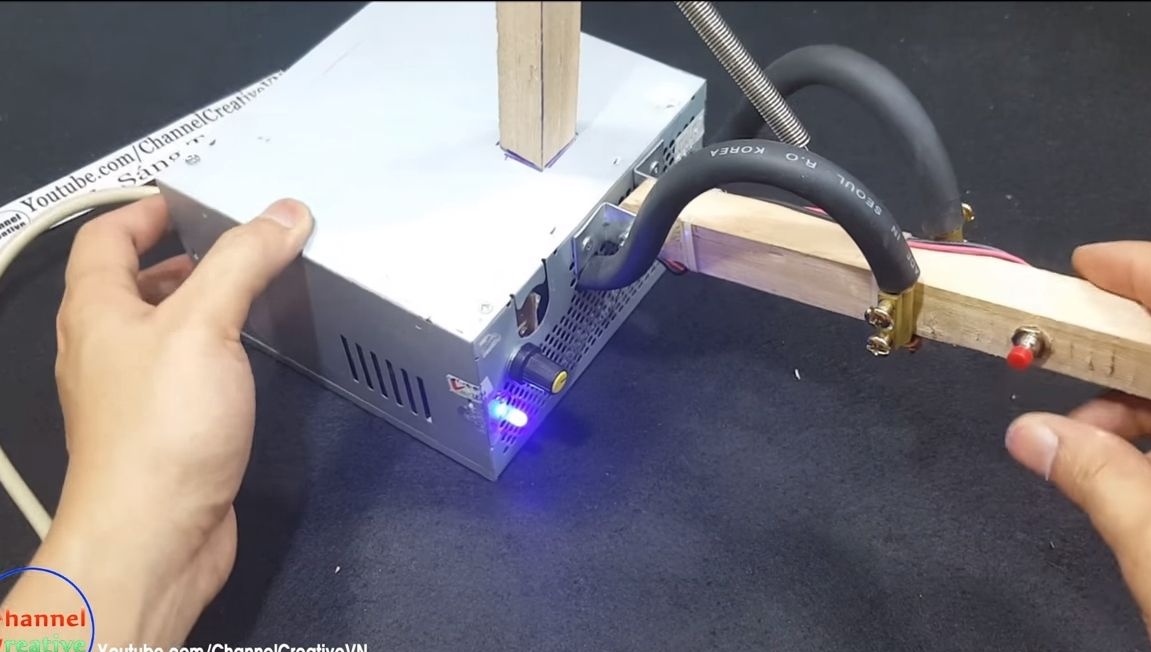
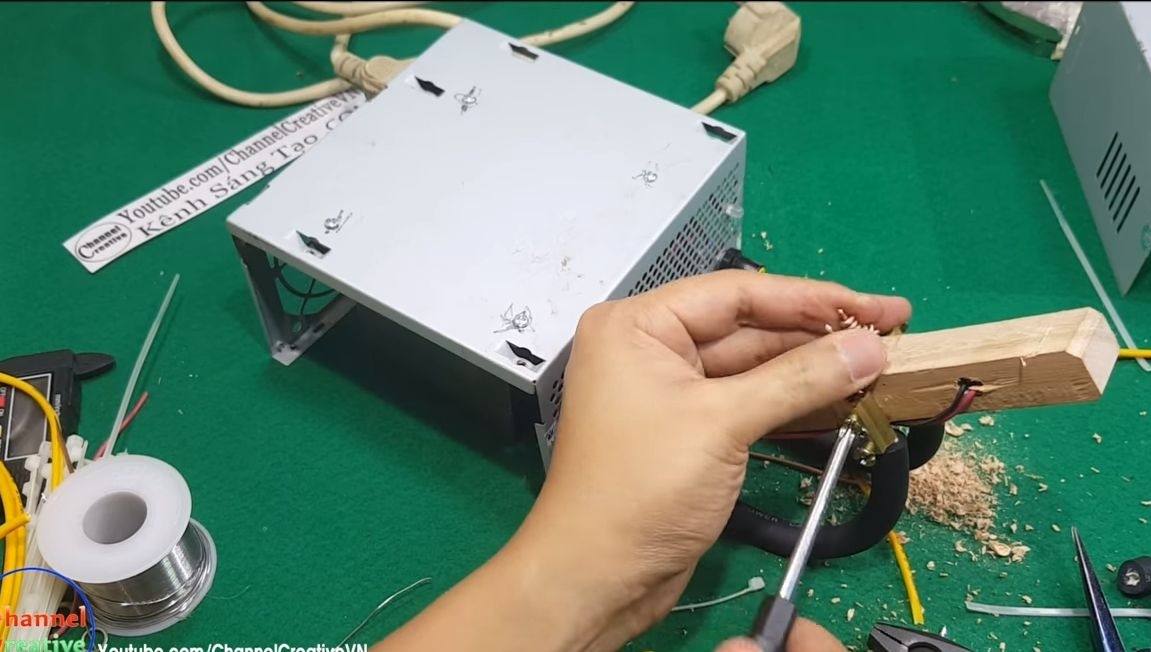
Step Five Installation of the working "hand"
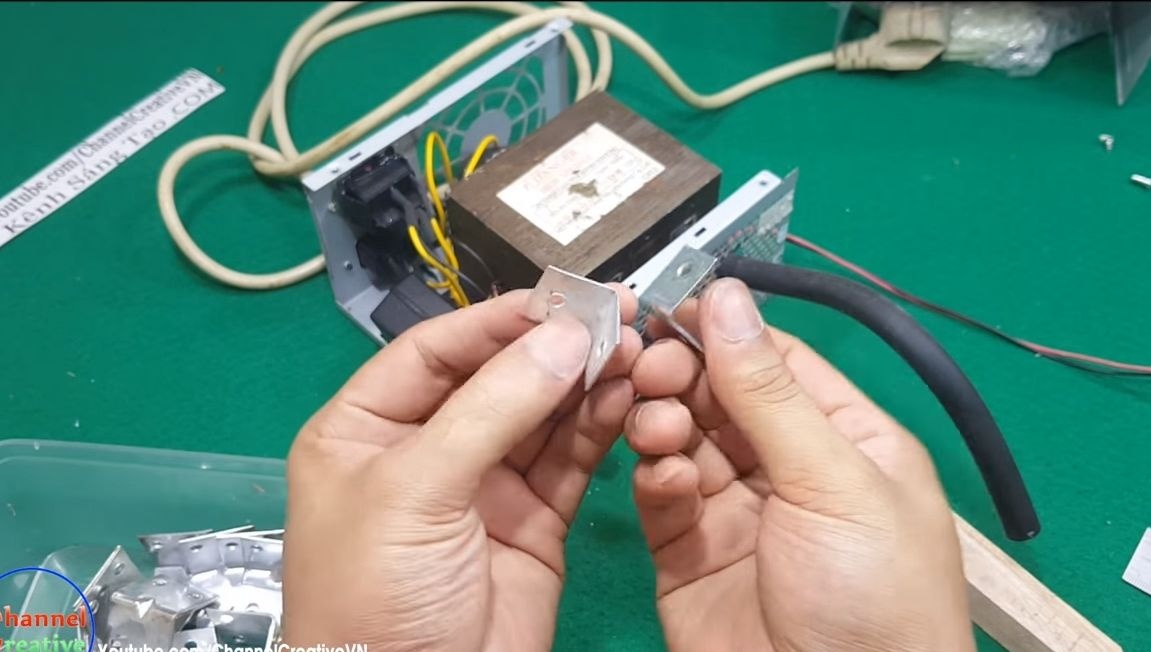
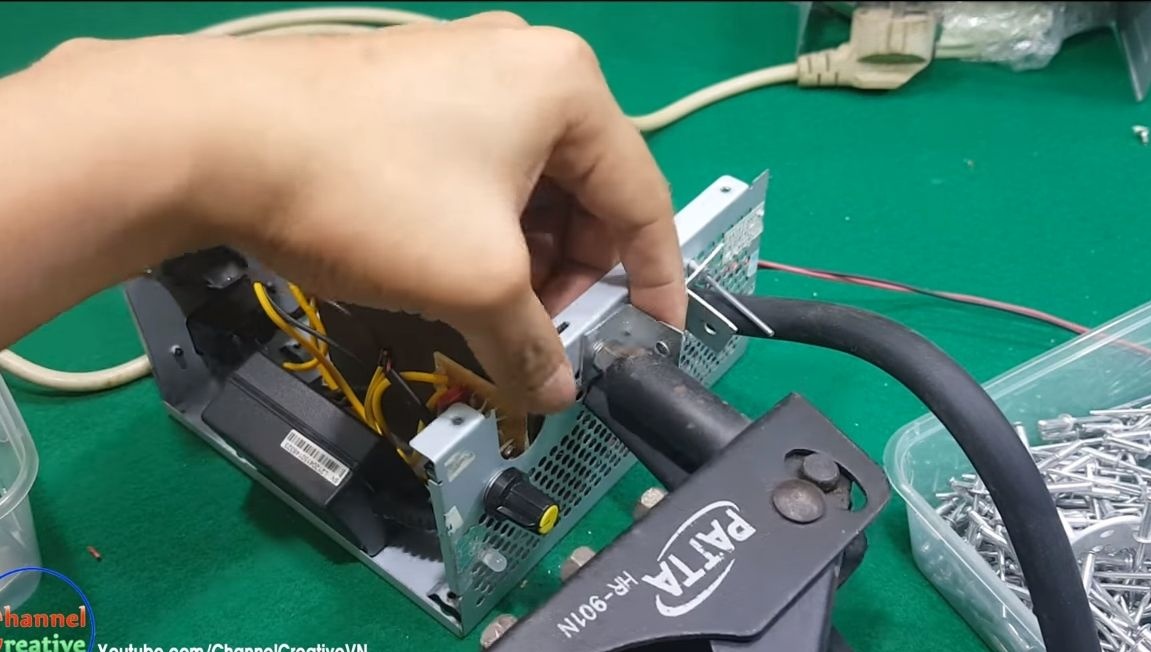
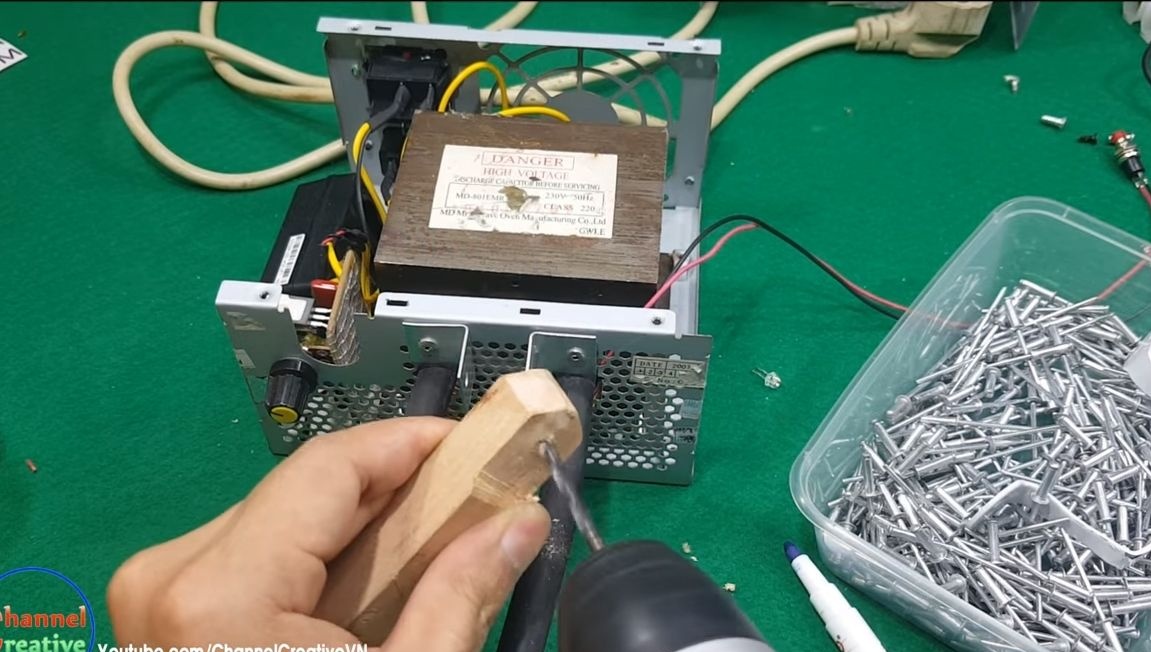
A lever is attached to the device, on which electrodes and a power button are installed. For the manufacture of this part, we take a non-thick bar, as well as two corners. We drill a hole for attaching the lever to the corners. The corners themselves are attached to the body with rivets. Well, then we fasten the lever with the screw and nut.


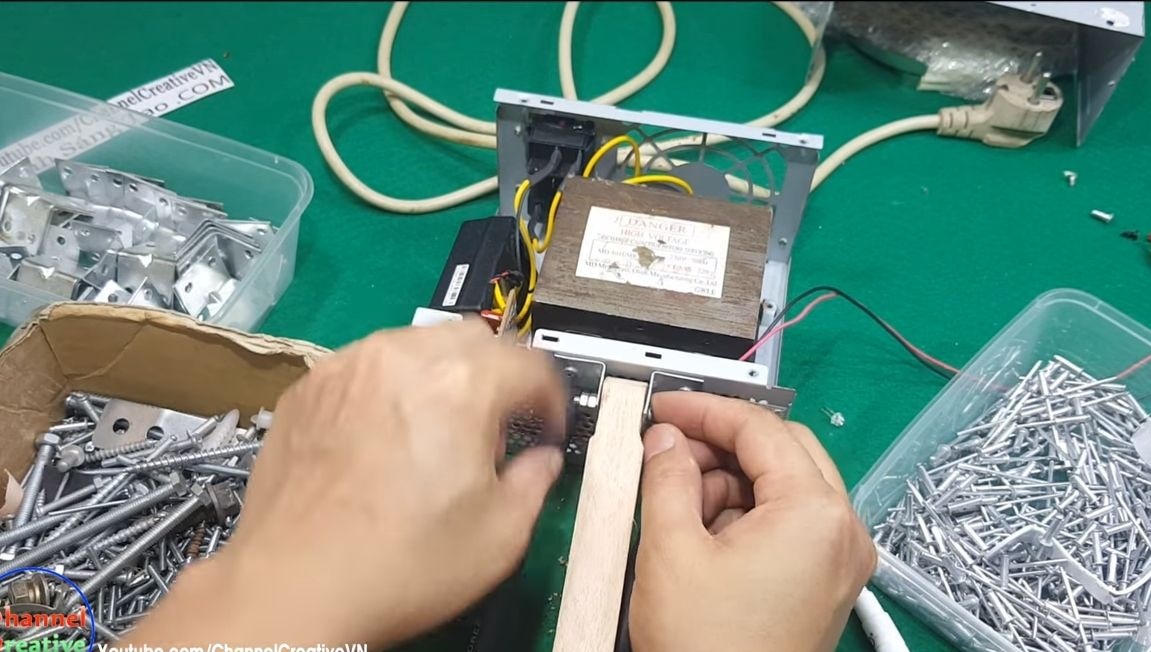
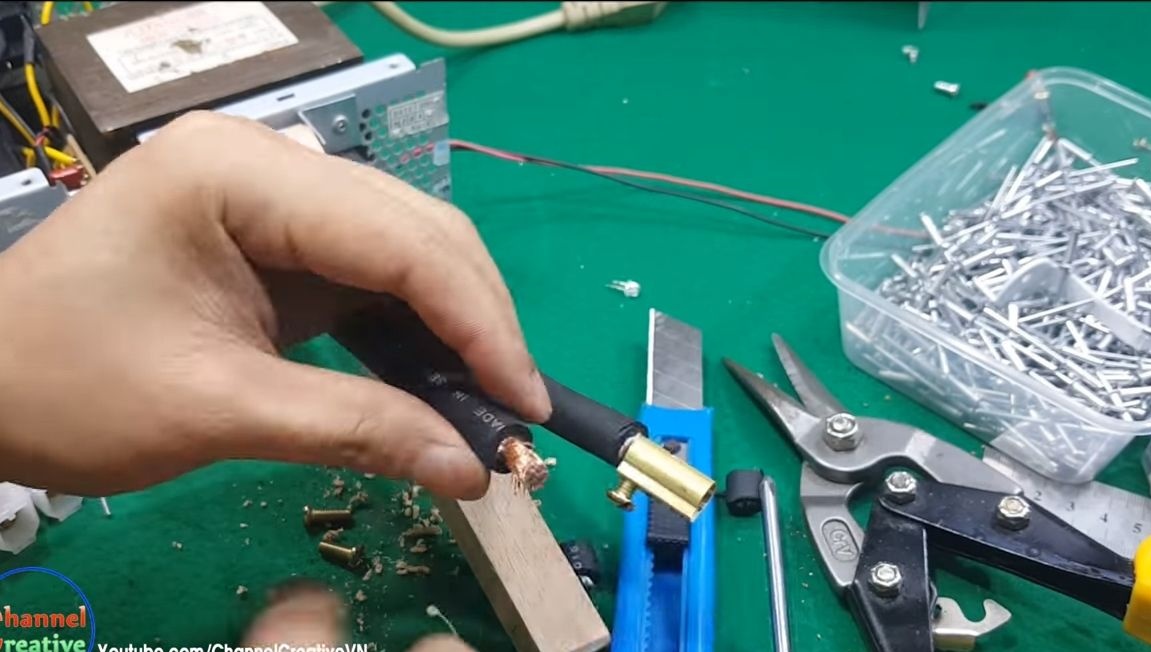
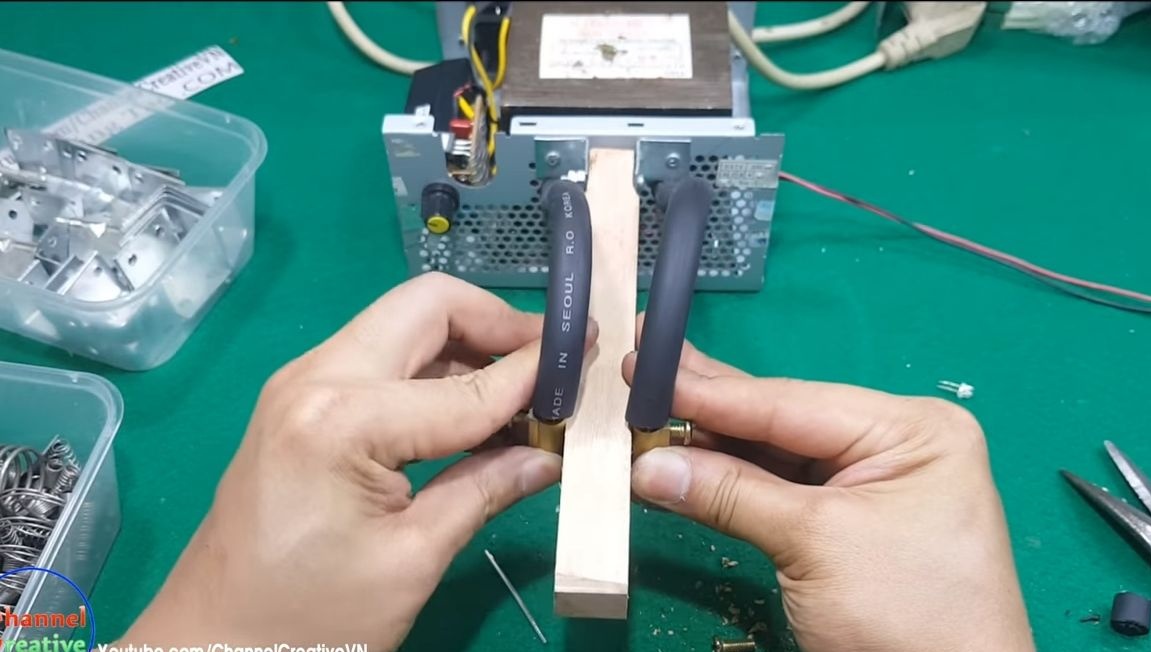
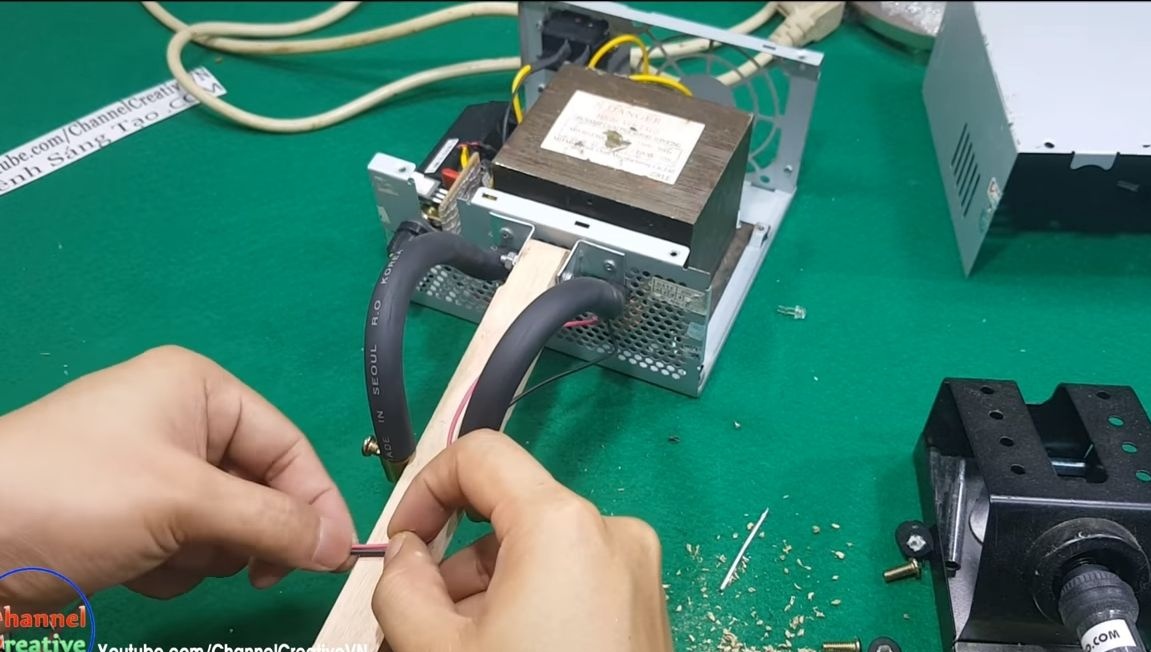
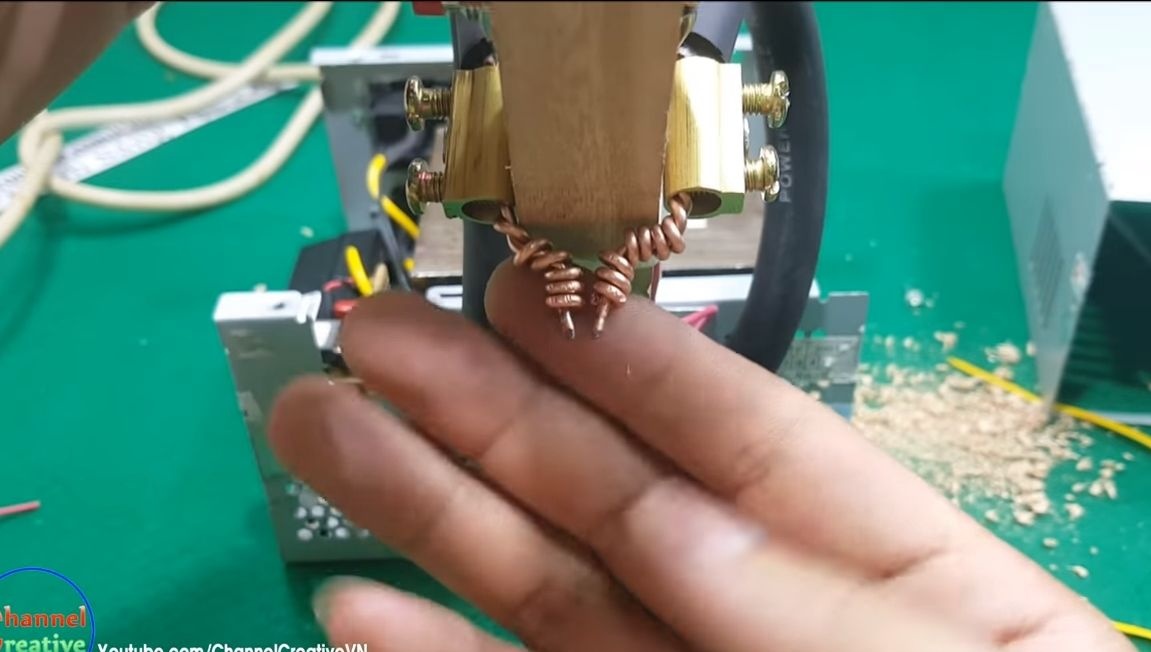
Now you can fix the ends of the power wires. For this, you will need screw clamps. We install them on the ends of the wires, and then fasten the clamps themselves using screws to the lever.
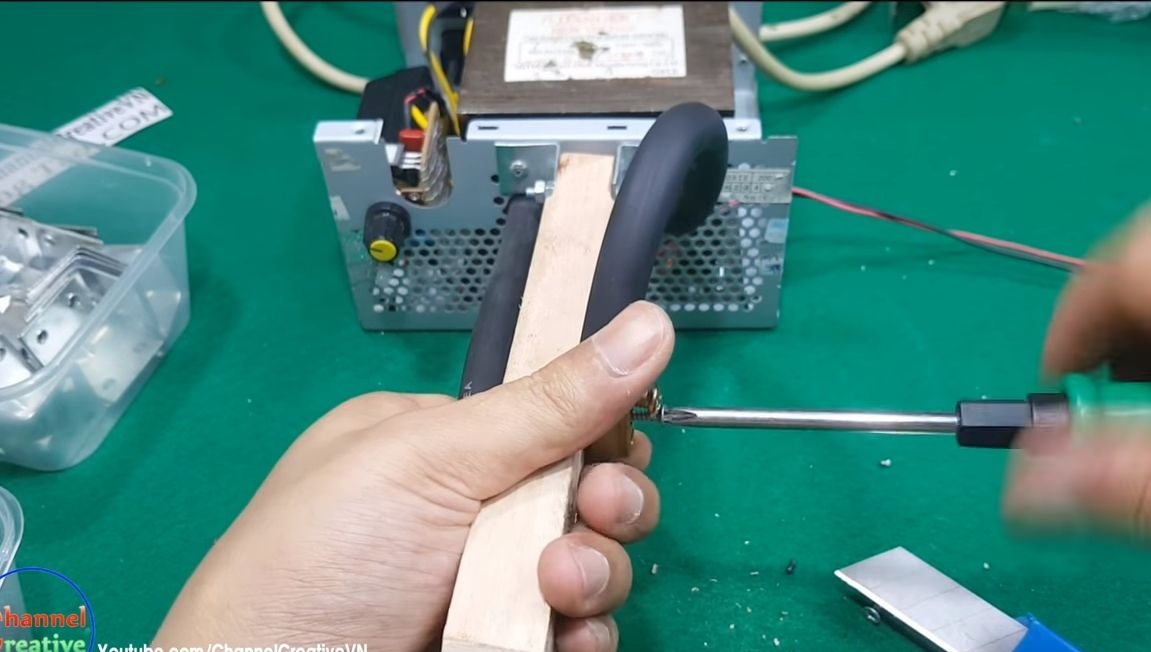
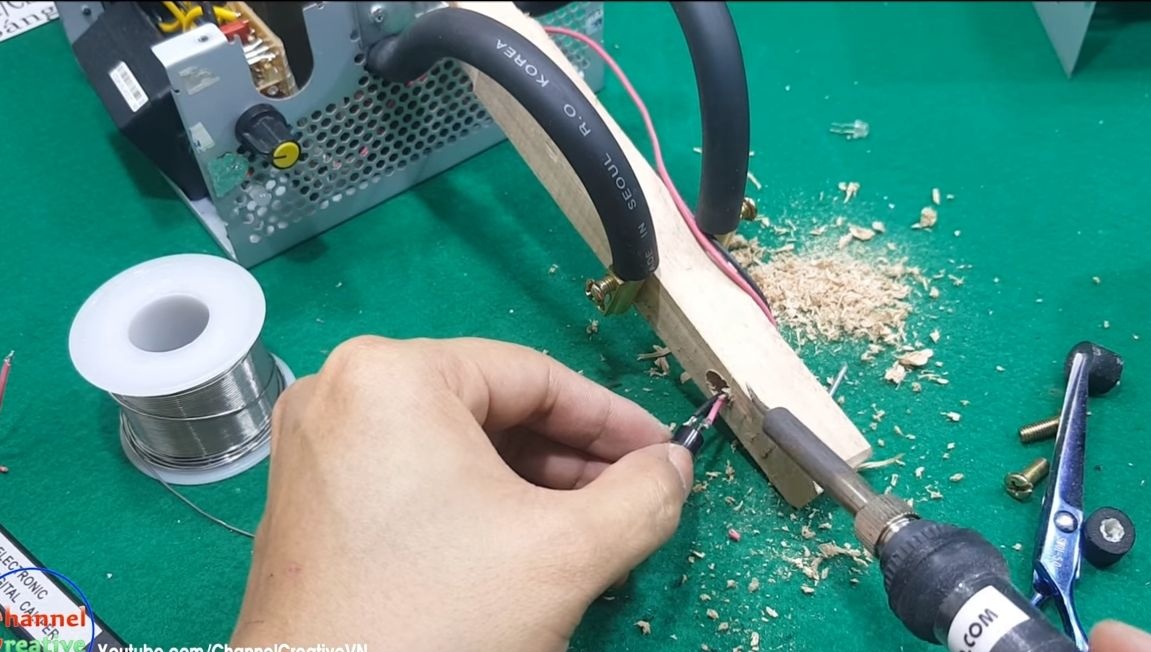
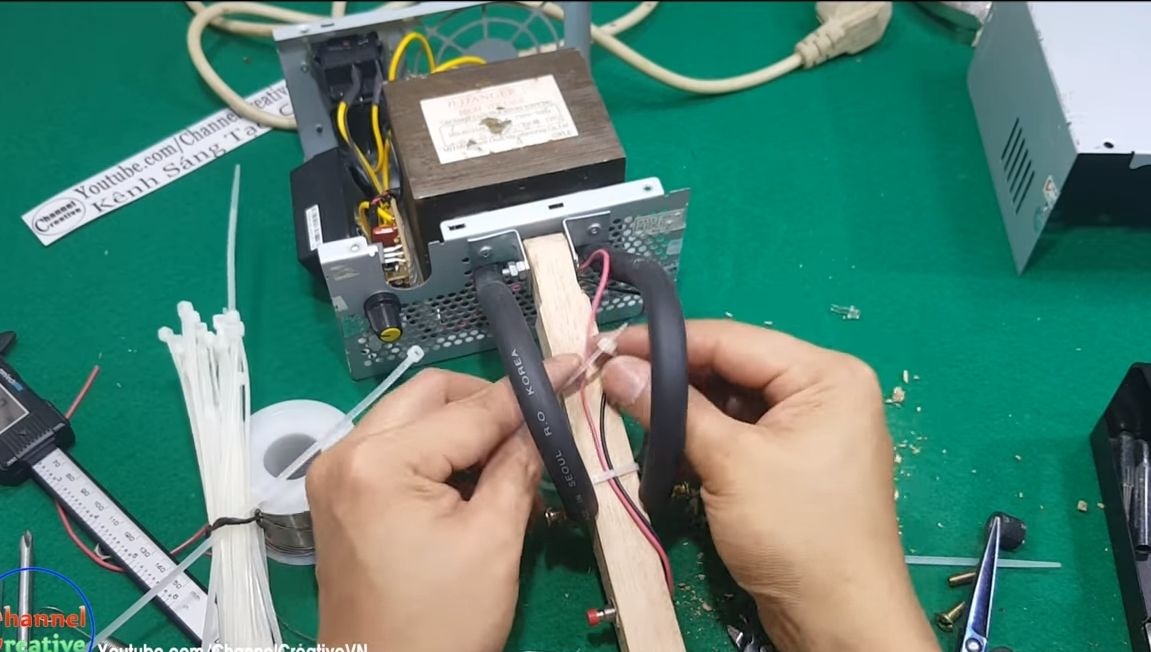
You also need to install the start button on the end of the lever. Under it, drill a hole in the lever and install it on hot glue or in another way. And so that the wires do not hang out, we fix them with plastic ties.
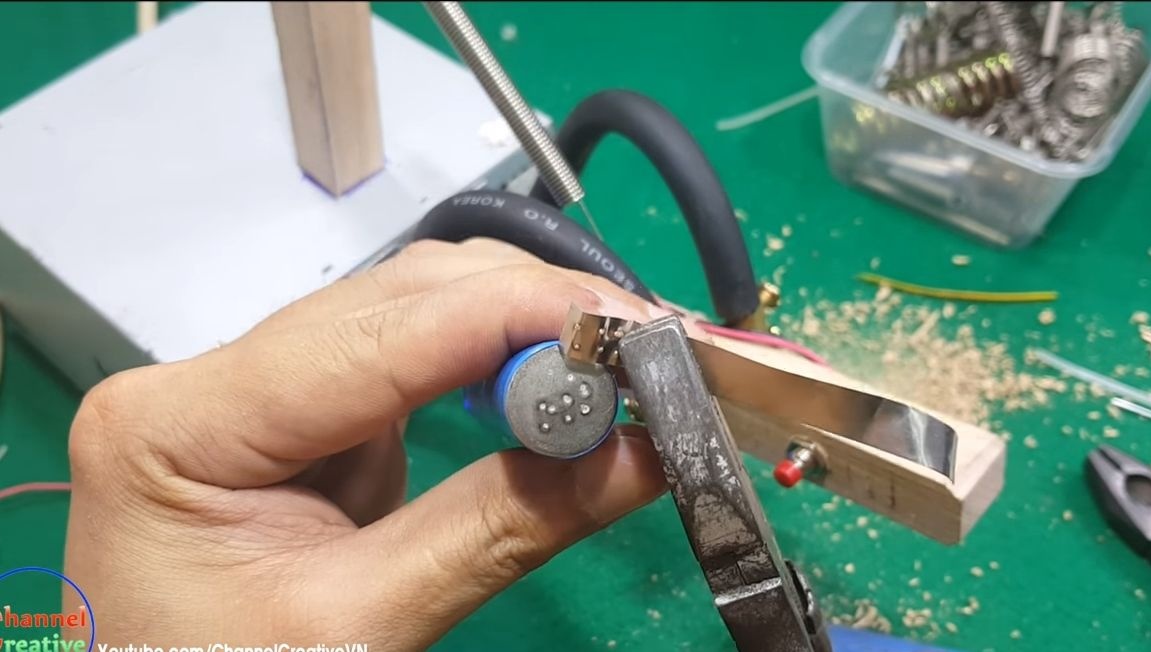
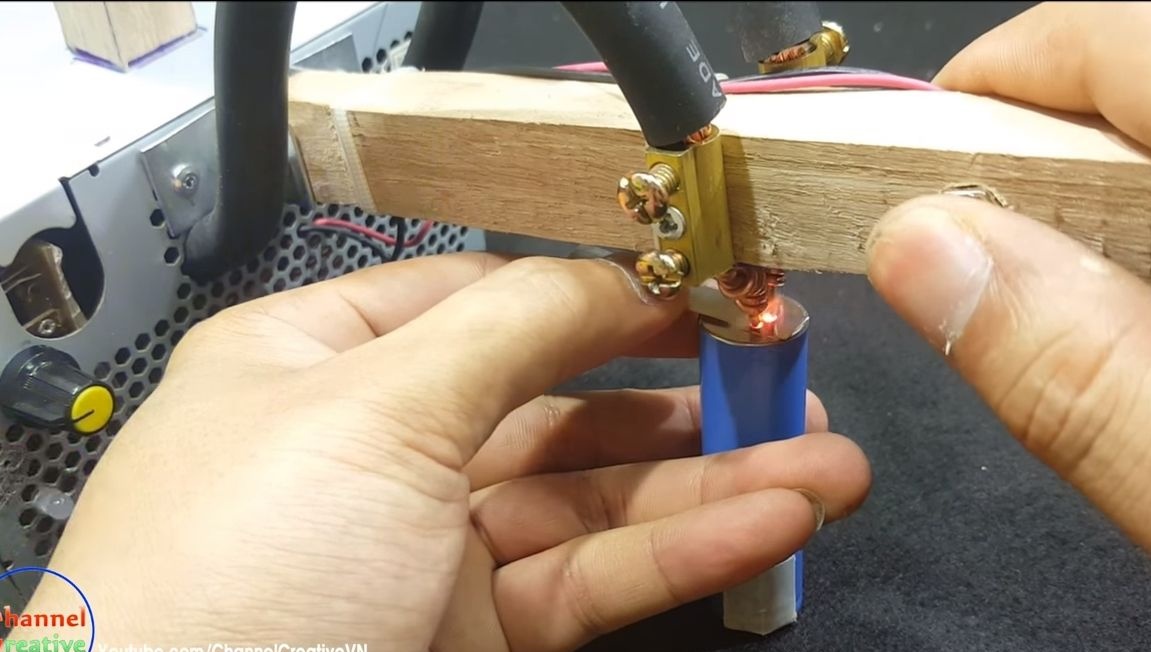
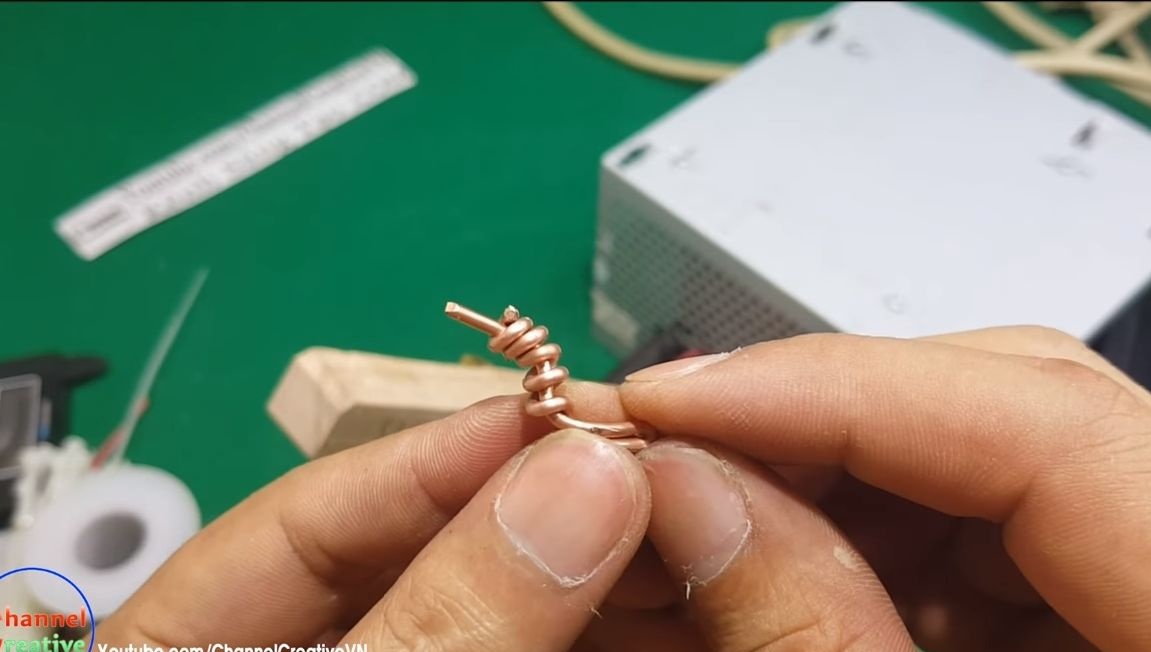
All that remains for you is to make electrodes. For their manufacture, the author used a wire 1.7 mm thick. The electrodes need to be twisted like the wine in the photo. The author sharpens the ends of the wires with the help of a dremel.
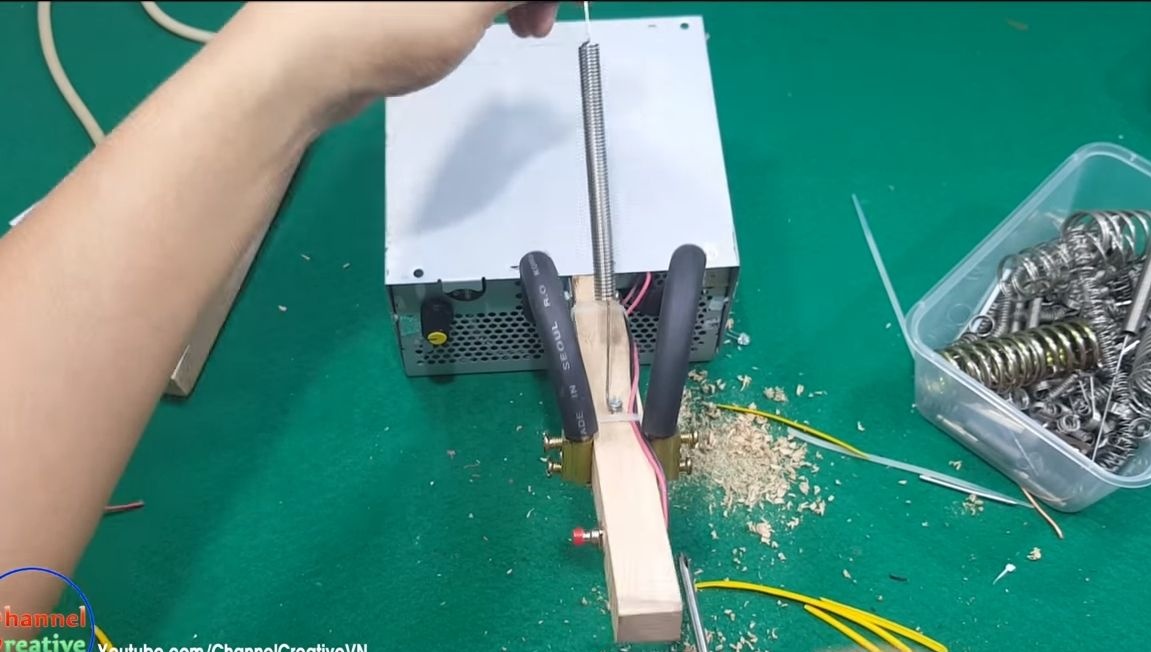
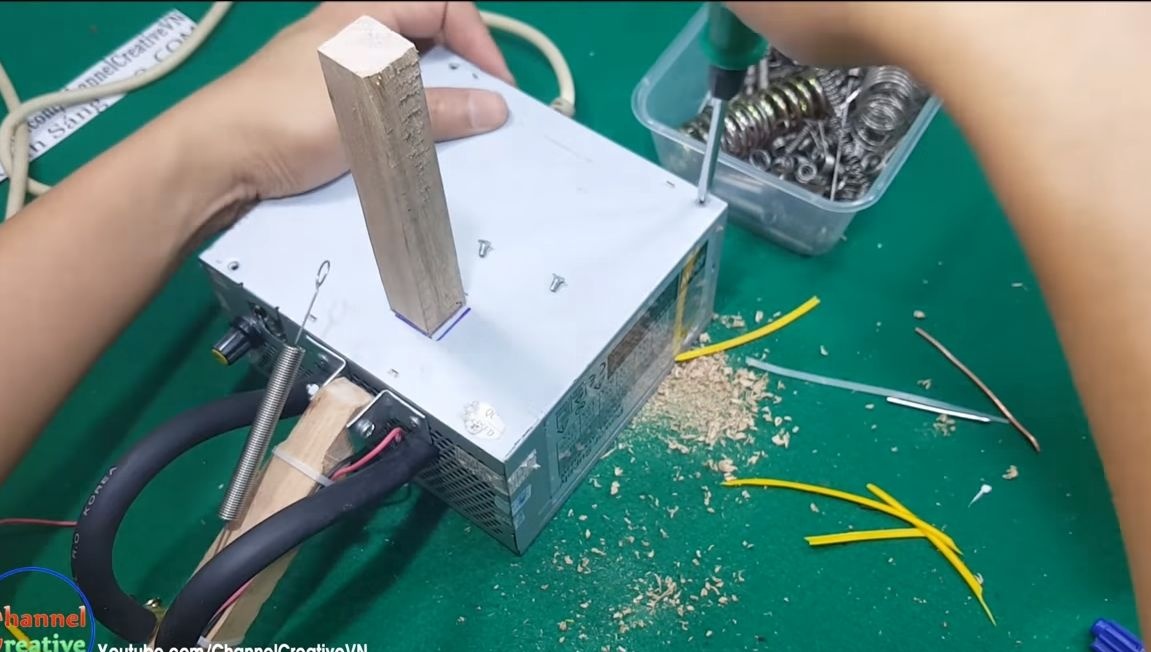
In order for the working lever to return to its original position, it must be fixed to the spring. For the spring, you will need to make a mast, then you will need a bar. We fasten the bar with screws, and then we fasten the spring in the same way.
Step Six The device is ready, we are testing!
First of all, you need to adjust the timer so that it starts at the right time. If this parameter is large, the metal will burn, and if it is too small, the steel will not weld well.
As a demonstration, the author quite successfully welds the contacts to the battery using the device. Thin steel plates also weld perfectly. The device turned out convenient, simple and worth the effort. That's all, good luck!