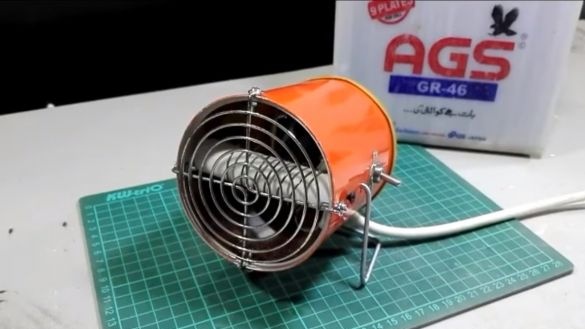
Are you cold? Don't know how to keep warm? There is an exit! I bring to your attention, which works from a voltage of 12V! Now you will not be left without heat anywhere. This device is especially useful in carif a full-time oven does not work very efficiently. In addition, the “electric furnace” can be turned on immediately and after a couple of seconds it will generate heat, and to warm up the car from the engine, you need to warm up the engine for some more time, and during this time you can blow out.
not much different from a heat fan, just a gun delivers warm air more purposefully, it is more convenient for it to heat various objects and so on. Going to homemade very easy, all materials are easily accessible, and few tools are needed. So let's get started!
Materials and tools used by the author:
Material List:
- a can of canned food, paint and the like (suitable diameter);
- a fan from the computer to 12V;
- steel wire;
- cogs with nuts;
- a protective lattice for the computer fan;
- heating wire (nichrome or the like);
- gypsum;
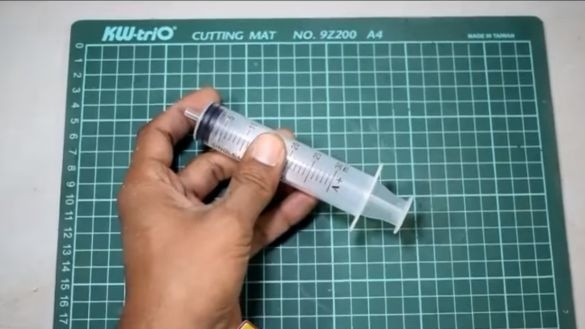
- a syringe for 30 cubic meters;
- switch;
- cable.
Tool List:
- soldering iron:
- scissors;
- drill with drills;
- a screwdriver.
The process of manufacturing a heat gun:
Step one. We make a heating element
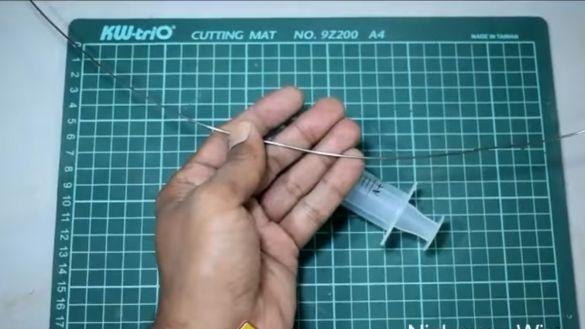
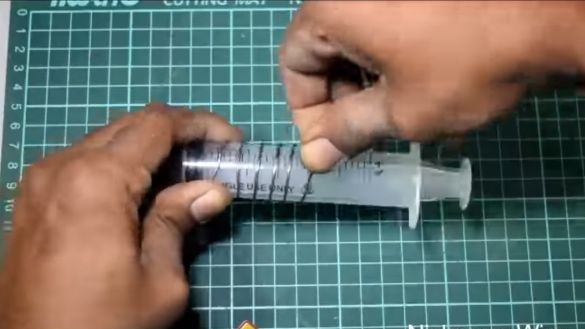
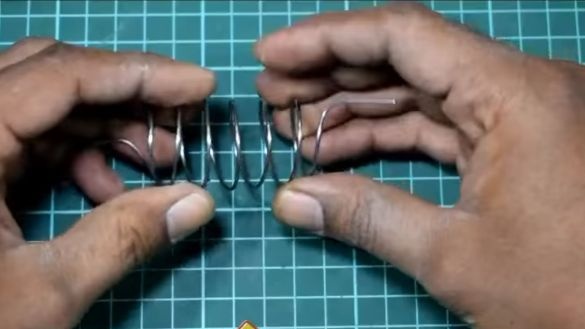
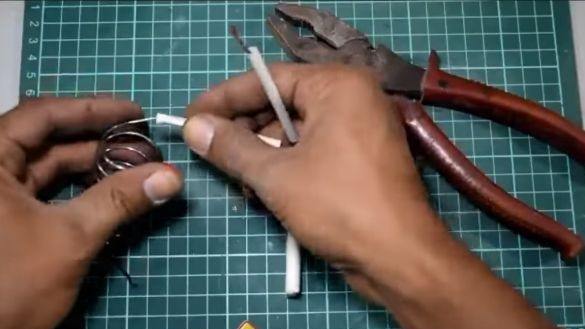
First, we make a heating element, it is made classically, in the form of a spiral. The author uses nichrome 1.8 mm thick and 61 cm long as a wire, based on the inscription in the video. You need to wind the spiral on a syringe, it is strategically important!
Step Two We make the core of the heating element
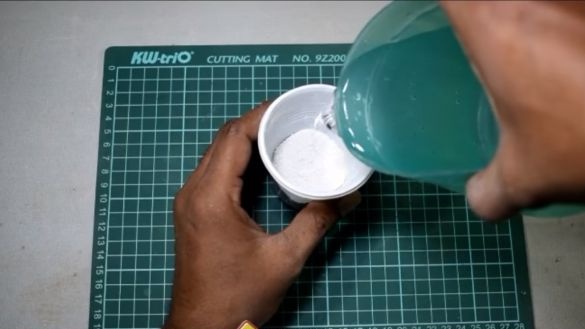
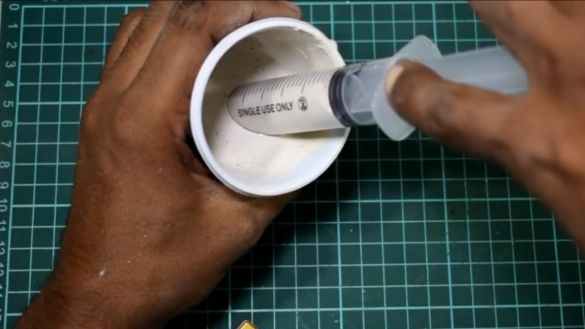
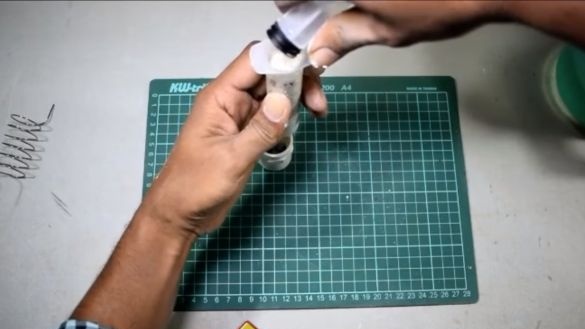
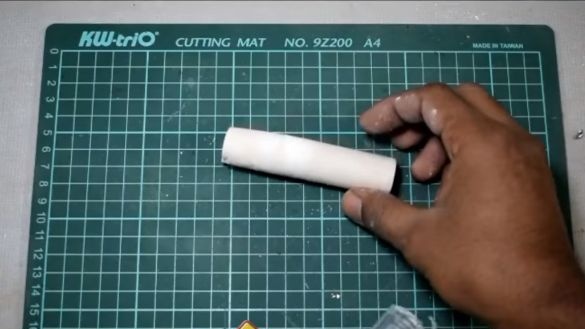
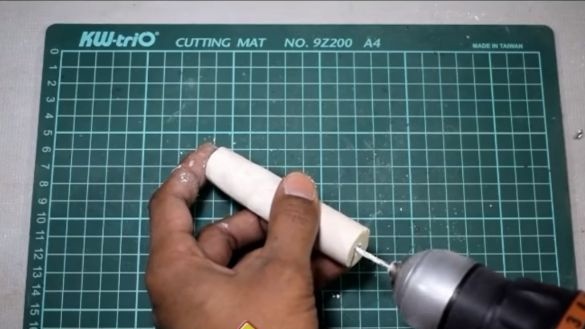
You have probably noticed that spiral heating elements are often located on special non-combustible cores, they are made of various materials. The author decided to make a core of gypsum. We dilute the gypsum with water to a liquid state, and then we collect inside the syringe, on which we previously wound the heating element. Put a needle on the syringe so that the solution does not leak.
Now you need to pull out the piston and fix the syringe in an upright position, as a result, the gypsum will dry out, and we will get an excellent core.
Step Three We prepare the case
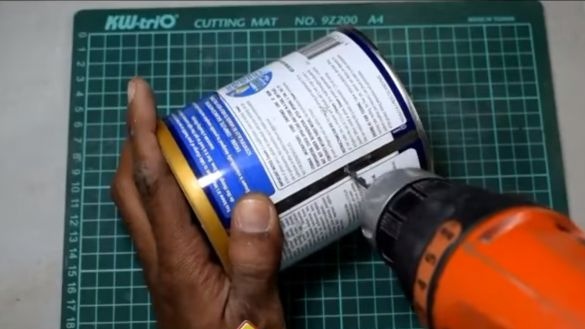
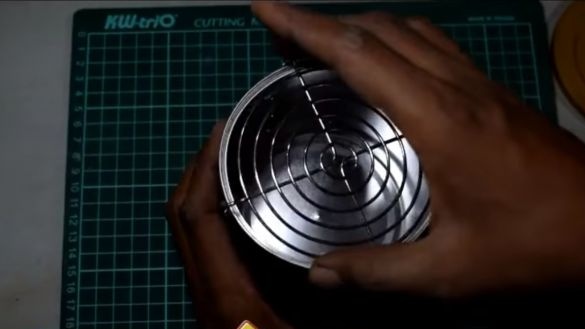
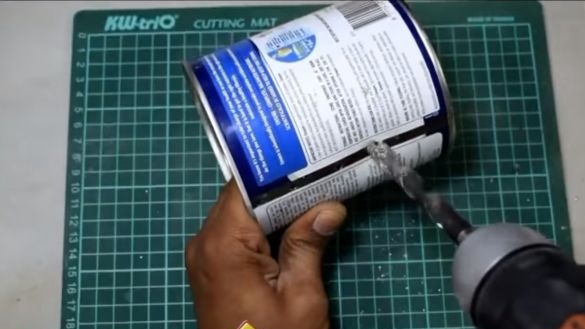
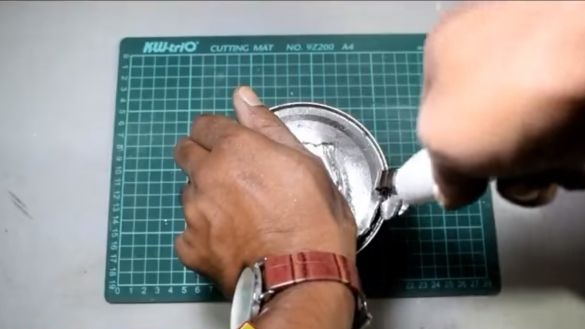
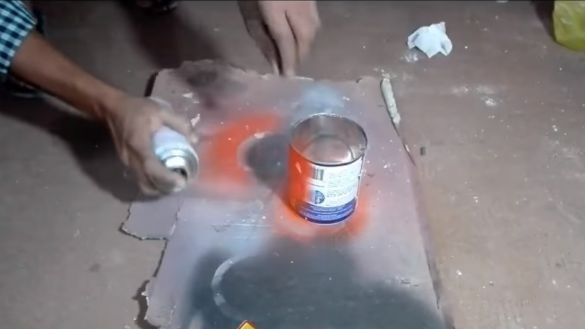
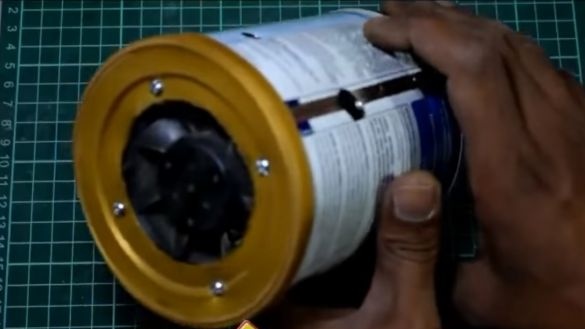
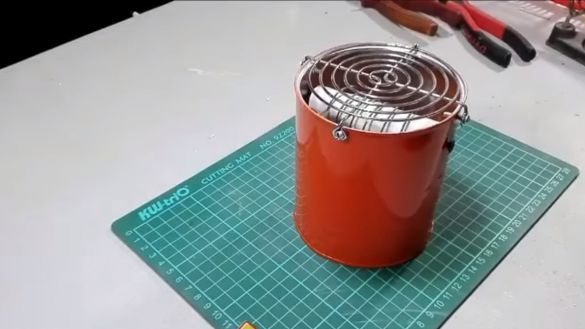
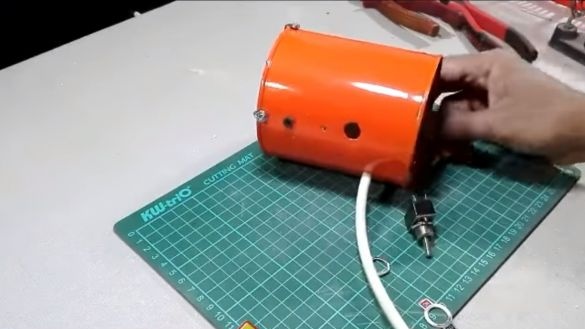
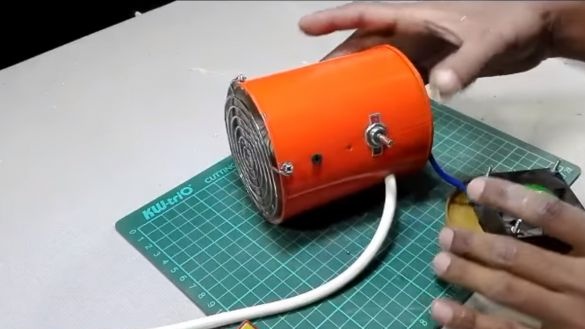
As a case, a jar of canned food of a suitable diameter is suitable. The author chose such a size that it was convenient to fix the protective lattice that he had on the bank. Drill all the mounting holes in the jar, and then cut out the bottom using a can opener.Use sharp-nose pliers to clamp the sharp edges inward so as not to get injured during work. If you wish, you can paint the case.
Step Four Install the fan
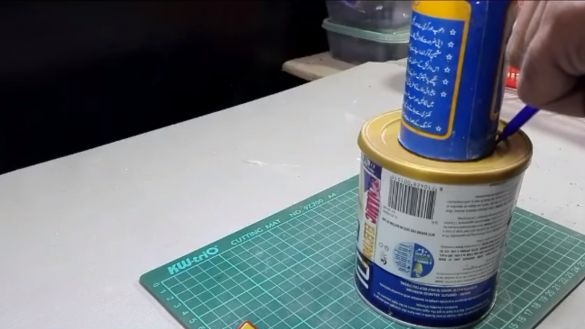
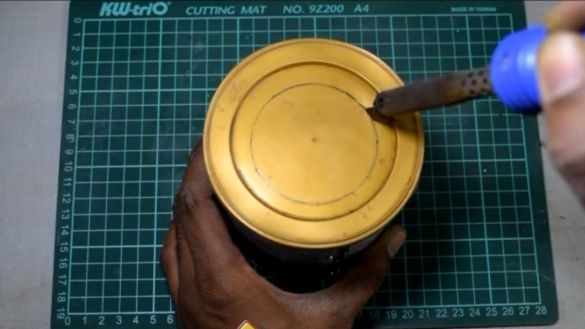
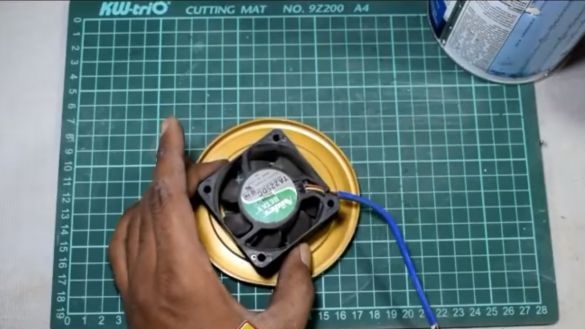
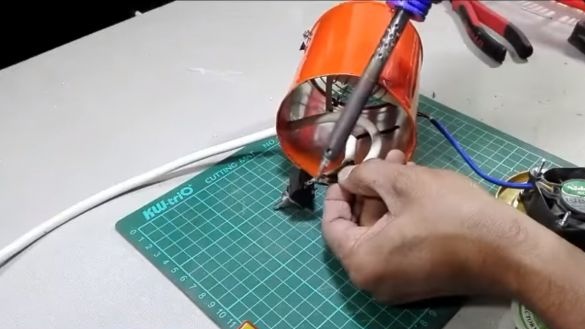
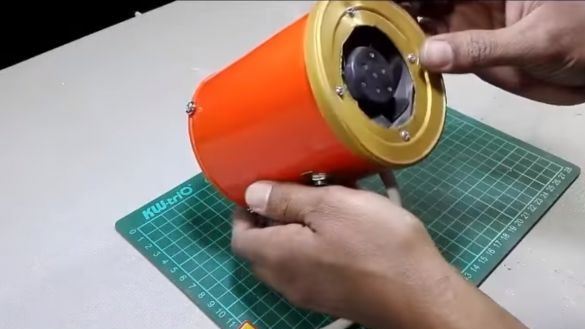
We proceed to the installation of the fan. The author had a nylon cap that fits perfectly on the can. In it, clearly in the center, you need to make a hole of such a diameter so that you can install a fan. The author cuts a hole using a soldering iron, this is the easiest method.
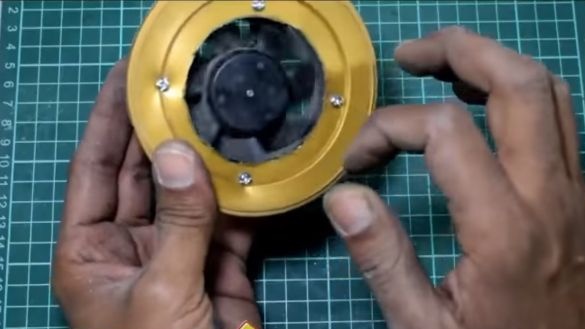
Well, now the fan can be mounted, but do not mix it up and set it so that it works by blowing air in. We fix the fan using screws with nuts. Now you just have to put the lid on the jar.
Step Five Preparation and installation of the heating element
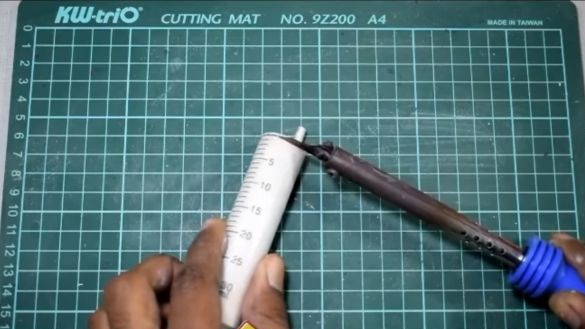
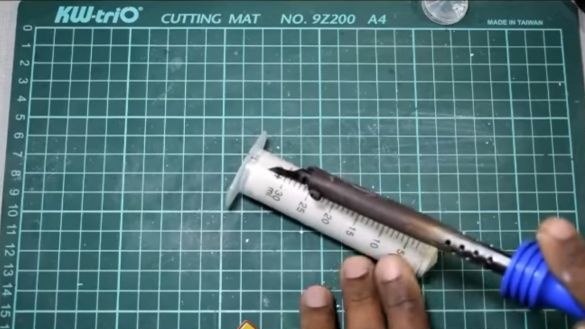
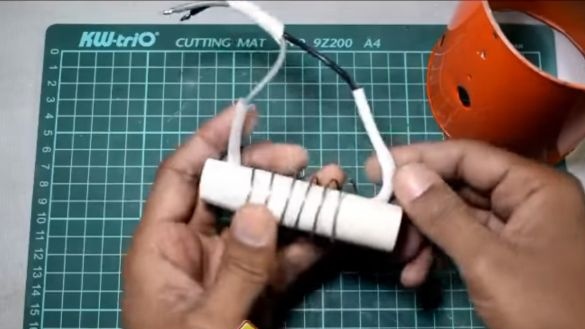
Take the syringe into which we previously filled the plaster. With the help of a soldering iron and a special nozzle in the form of a knife, the author carefully cuts the syringe and removes the rod from gypsum from it. Along the core, you need to carefully drill a hole, if it is not completely frozen, then it will be easy to do.
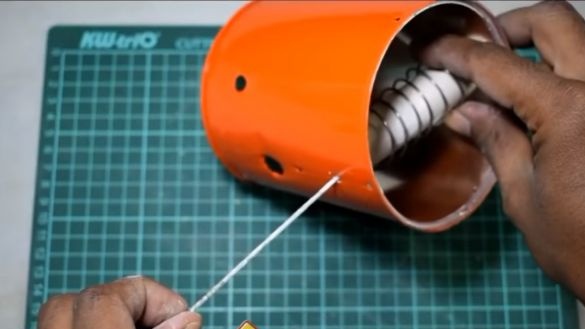
Still prepare a piece of wire, with the help of it the heating element will be mounted inside the gun. It is better to fix it with a bolt and nut, so you tighten the structure securely.
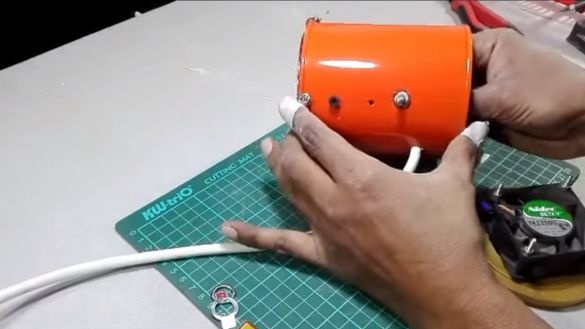
We put a spiral on the core, and connect wires to the ends of the spiral. Here you will need to twist the wires in half so that they are less heated. We attach power wires to the ends of the spiral, it is desirable to fix them on bolts with nuts, so there will be a more reliable contact. But here you need to come up with a more reliable connection, since when heated, the copper wire will burn out and soon the contact will be broken. Install the heating element inside and pull out the cable.
Remember that the device consumes a lot of current, so the cable should be selected taking into account this feature.
Step Six Final gun assembly
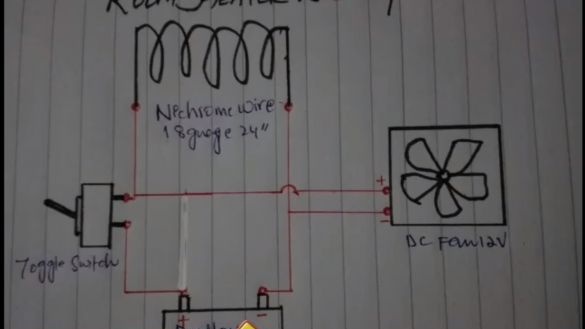
On the case you have to fix the switch, and also solder the wires to it. For those who do not understand where to connect, there is a simple scheme. The fan is switched on in parallel with the heating element.
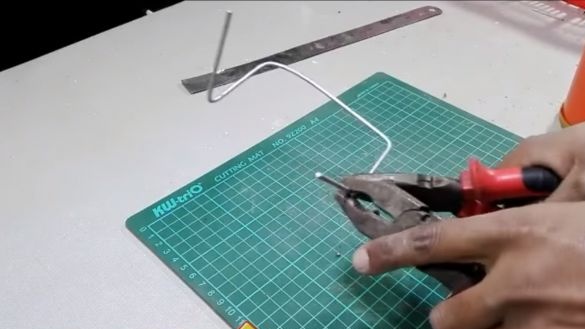
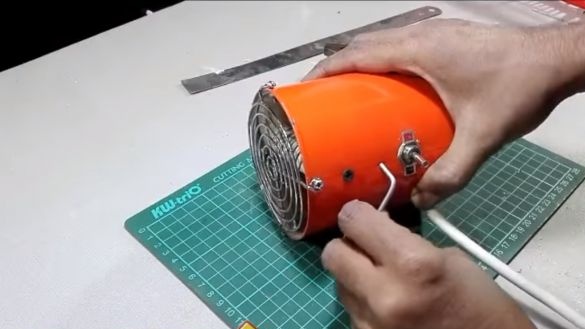
It is also important for you to make the legs for the heat gun so that it stands confidently. The author makes the legs of steel wire. Just bend to the desired profile and install in the holes in the case. If you will use a gun in a car, you will need to make a more reliable bracket so that the gun does not fall and burn the car when driving.
Seventh step. Testing
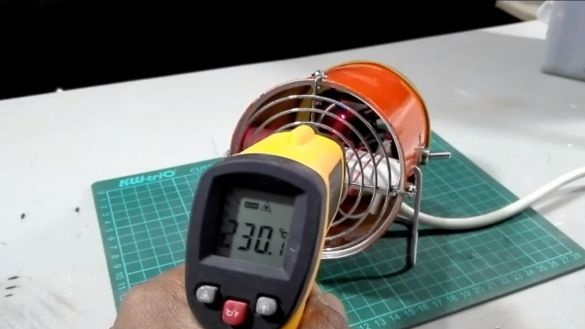
That's all, the device is ready to use! We connect the 12V battery and measure the temperature of the outgoing air. At the author, it rises to 230 degrees Celsius or more, pretty good indicators, is not it?
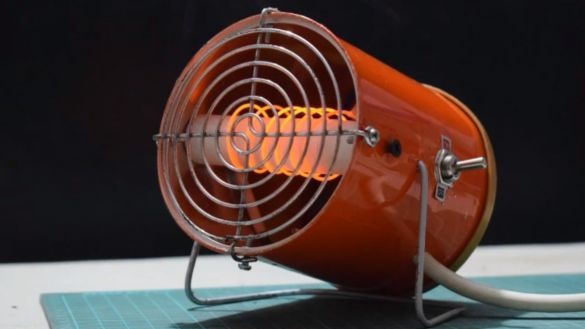
In conclusion, it should be noted that such a strong heating of the spiral will quickly disable it, so it is better that the heating element is dark red during operation, then the gun will serve more. It is also important to make sure that the device turns off when it overheats, otherwise, if the fan fails, the spiral will quickly burn out and a fire may occur. That's all, good luck, take care!

