

I'll start in order. My mistress always closes a lot home blanks. There are compotes, pickles and mushrooms, pickled and all kinds of salads ... And of course, jam. Previously, for this purpose, “roll-up” cans were mainly used, now, this type of lid is used only on large, three-liter cans. Banks of the same small size are replaced by those that are closed with screw caps of the twist-off type. All purchased products, such as green peas, etc., are now also usually closed with such covers ...
..Closing such covers is one sheer pleasure! No key is needed here! But, open ... After all, they are closing hot! And after cooling, the volume of the product inside decreases and "vacuumization" takes place - a vacuum forms inside and the lid "sticks" to the bank.
... Of course, you can just slightly bend the edge of the lid with a knife and let the air in. (On this site, I remember, there is even a description of the special fixtures for such a process). But here, with jams, this method does not always justify itself. After all, when pouring hot jam in a jar, it necessarily falls on the edges. The hostess, of course, before closing, will wipe the "neck" of the jar ... but, in fact, it will wipe, and not wash !!! )))). And the lid drawn by the "vacuum" will not only be pulled, but also glued !! And often, having slightly bent the edge, the problem cannot be solved - the plastisol pad remains glued with jam dried during storage and does not let in air. We have to bend harder, deforming the lid. And such a cover is no longer suitable for subsequent use ...
..Therefore, I decided to make a key that would help open such covers ... (Without crookedly, I admit that I wouldn’t do it for myself. Somehow, I would open a can and so ... But that’s why we love our women –– for their “sweet powerlessness.”)))). But because I was tired of the order that I was constantly asked to open a can !!
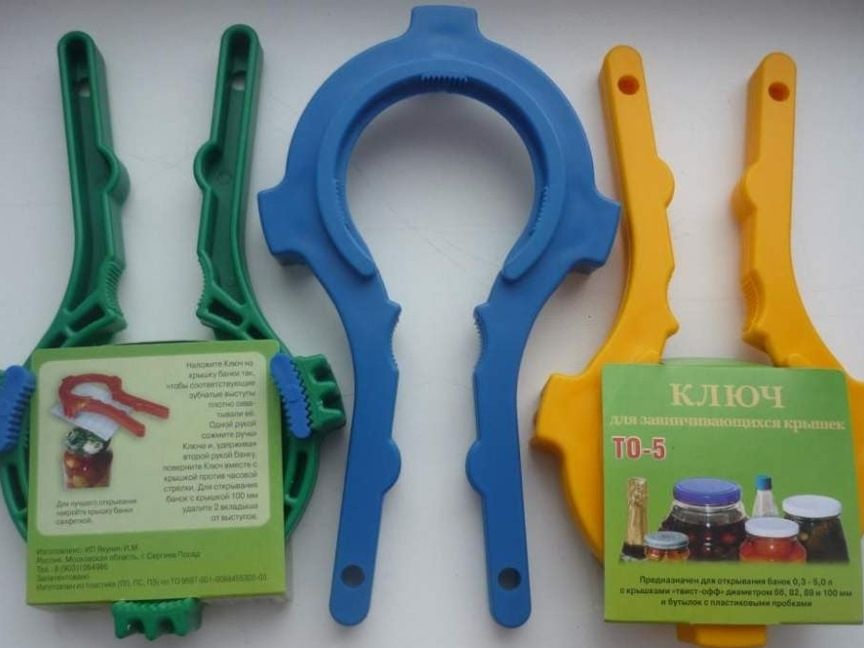
... Initially, at the prompting of a colleague at work, I "solved the problem" by purchasing a "factory-made" key Here is this (photo from the Internet):
He solved the problem for a couple of months, although he slipped sometimes.But today, just as soon as I went to the basement workshop to work “for the soul”, they again “pulled” me to open the can !!! It turned out that the "store plastic" broke for a long time! And this time I decided to make a home-made strong "device", which will last for a long time !!! ))))
I knew the general features of the future design for a long time. I once did something similar in a hurry. (True, a little for other purposes!))). It was back in those days when there were no oil change centers, and I myself changed it in the car. Whoever did this knows how difficult it is sometimes to unscrew an old oil filter! So something happened to me somehow - the filter didn’t want to turn away. IN the garage the old timing belt was lying. I wrapped them in a filter, and the belt itself, in the place where it was folded, was fastened tightly with electrical tape to a wooden block. It turned out something like this:
Only that belt was toothed, and the electrical tape - blue !!! )))).
With this device, I easily unscrewed the filter. Acted something like this:
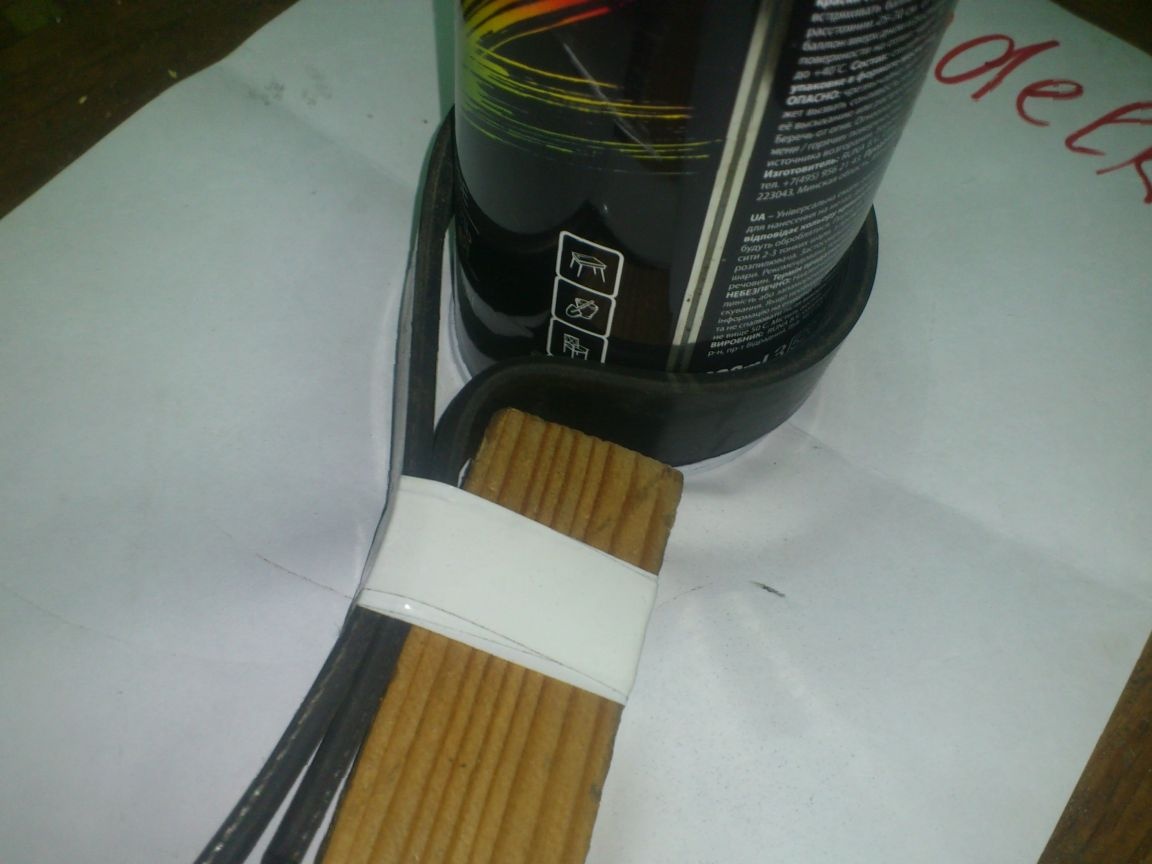
Only instead of a spray of paint there was a filter, and the electrical tape, I repeat, BLUE !! )))))
And even though I did this adapt for a one-time use, it lain in my mounting hole for many years, and facilitated the work many times!
So now I decided "not to invent bike", and do" on the thumb. "
But the kitchen is the kitchen. There is no room for wood. And so I decided to do it on the same principle, but without a tree ....
So I needed:
1. Flat (multi-ribbed) drive belt from a car.
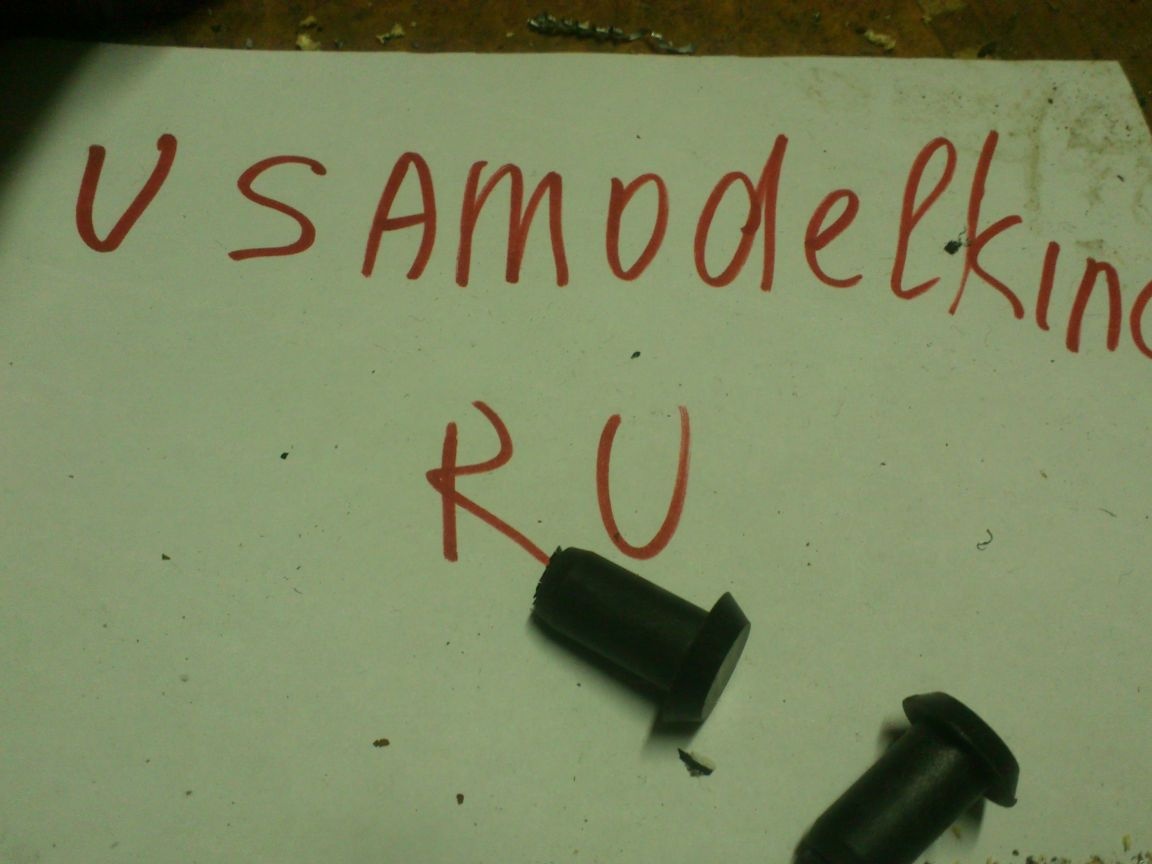
2. Trimming railing ("furniture") chrome pipe with a diameter of 16 mm.
3. Plastic plug for this pipe.
4. Extraction rivets.
5. Shrink cambric (optional).
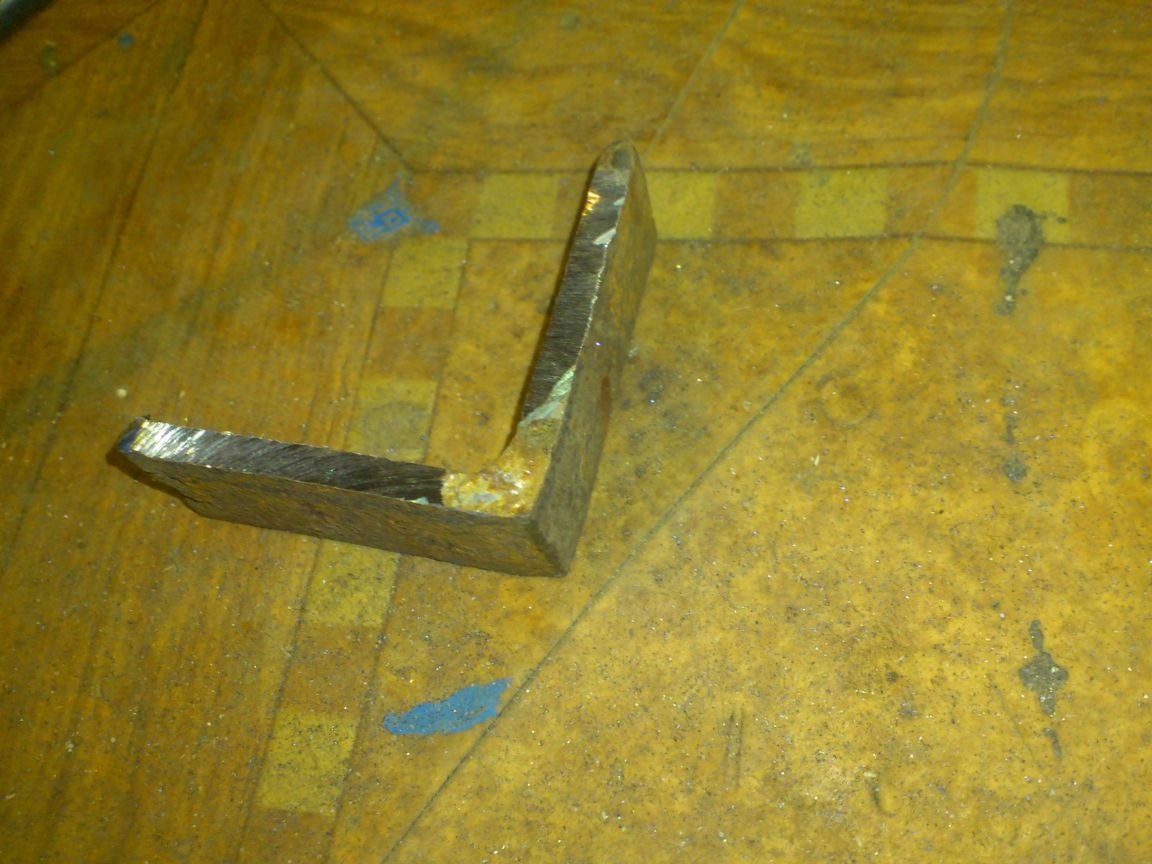
6. Scrap steel angle 45 to 45 mm. (This came to hand)))).
Set of tools - minimal: angle grinder, drill, riveter, hammer, technical hair dryer (if thermocambric is used. Which is not necessary).
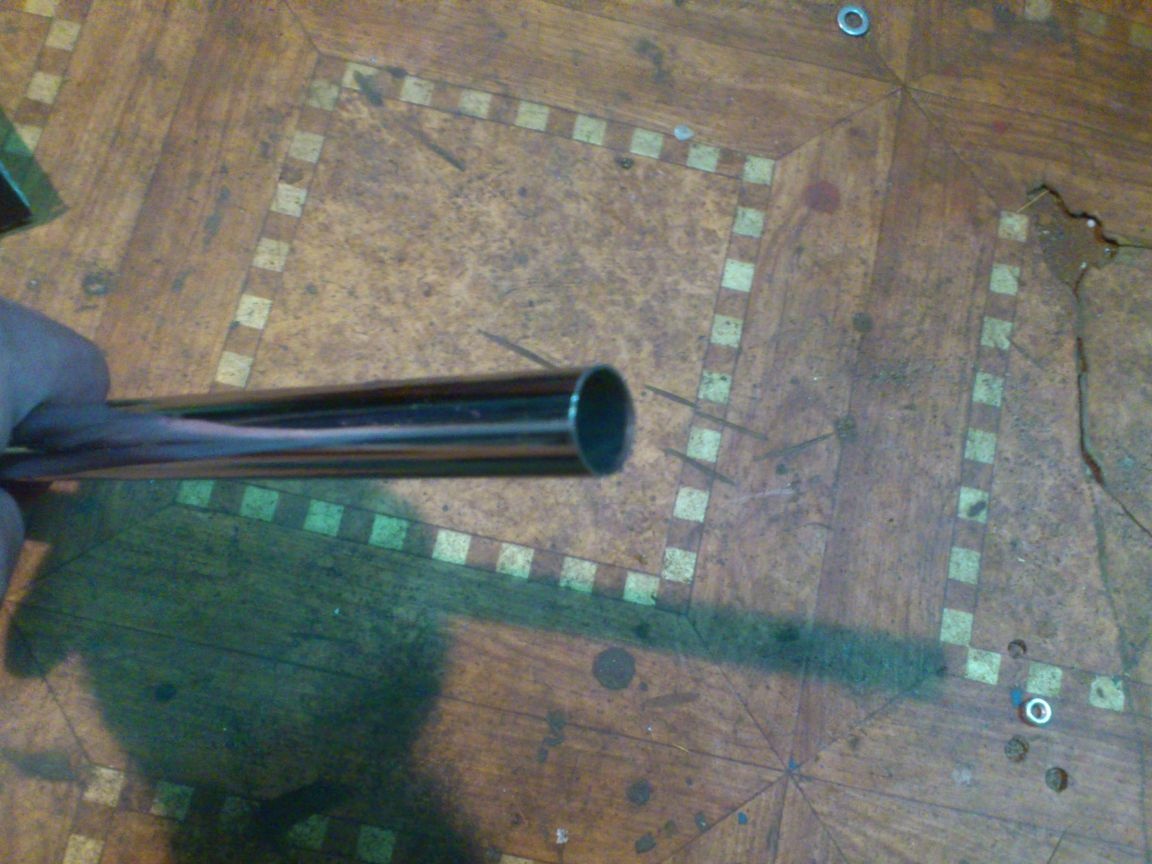
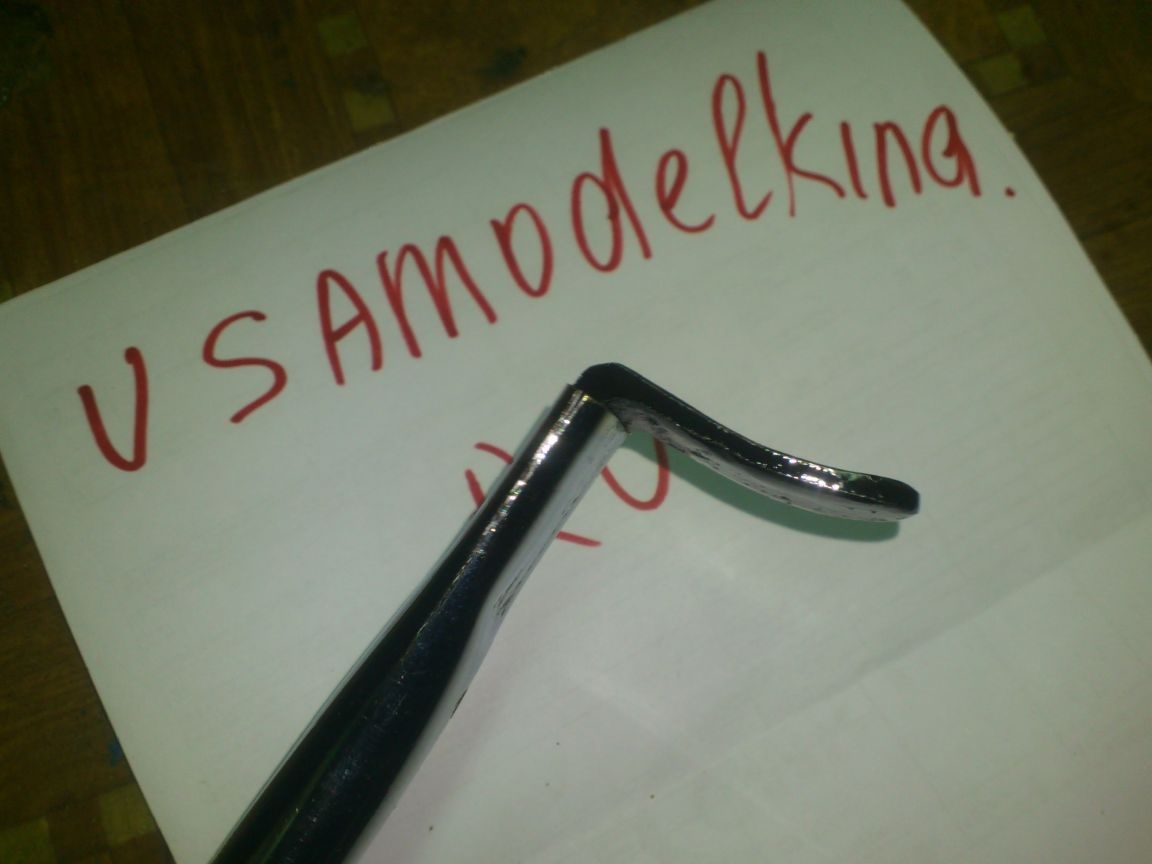
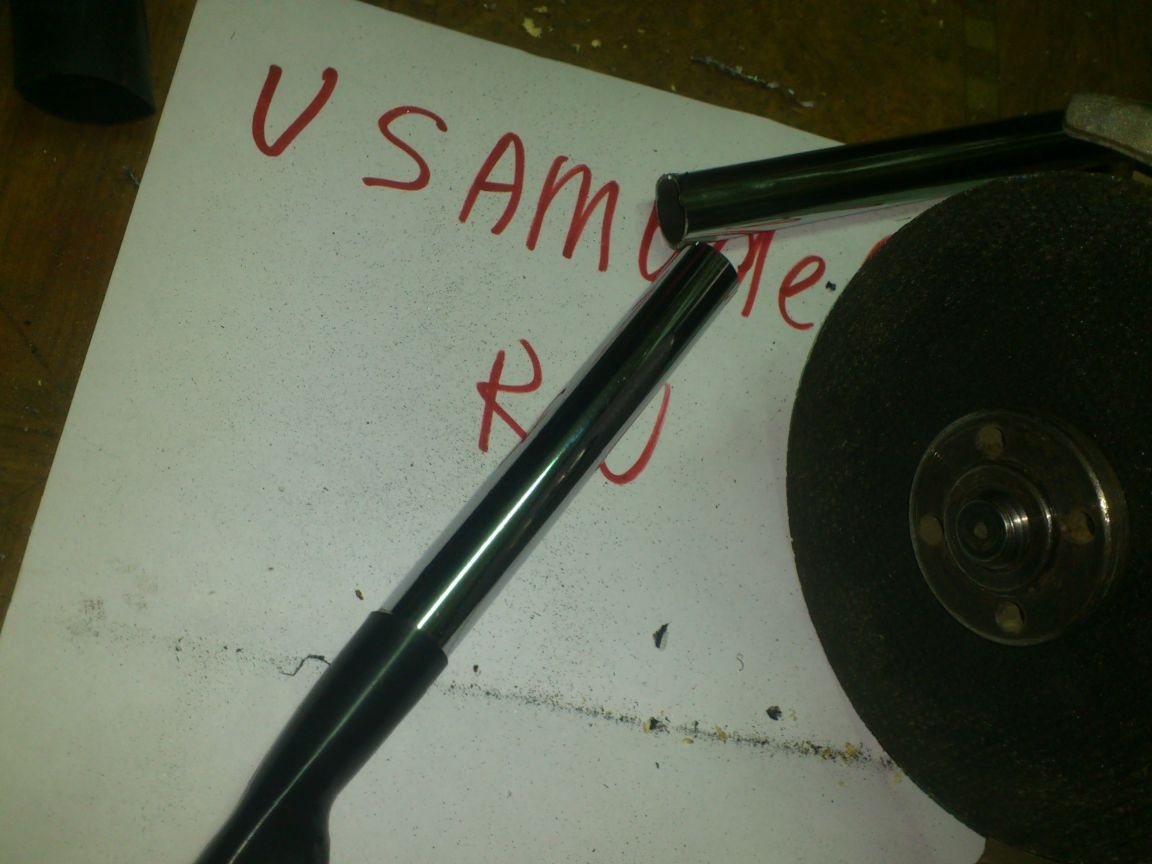
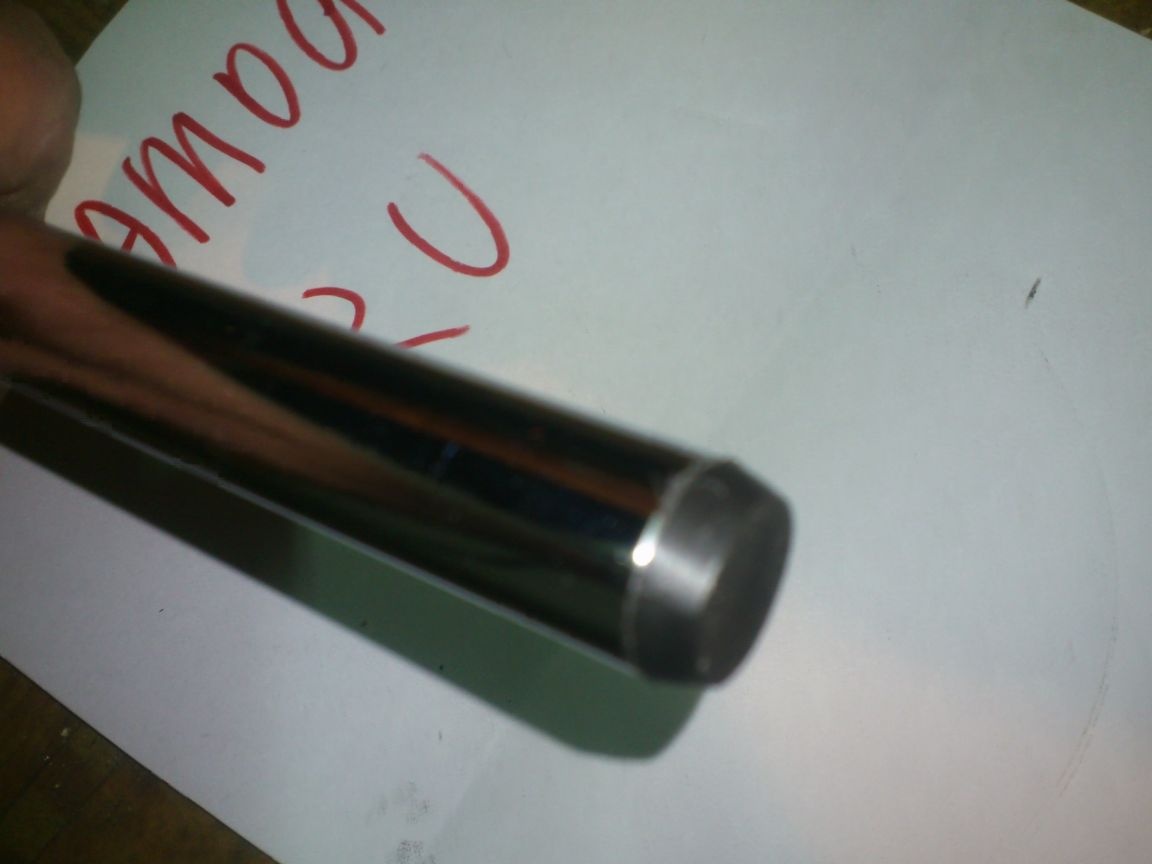
First of all, I started making the handle. I decided to make it out of a cropped chrome tube. I often use it in my homemade, so I always have the trim:
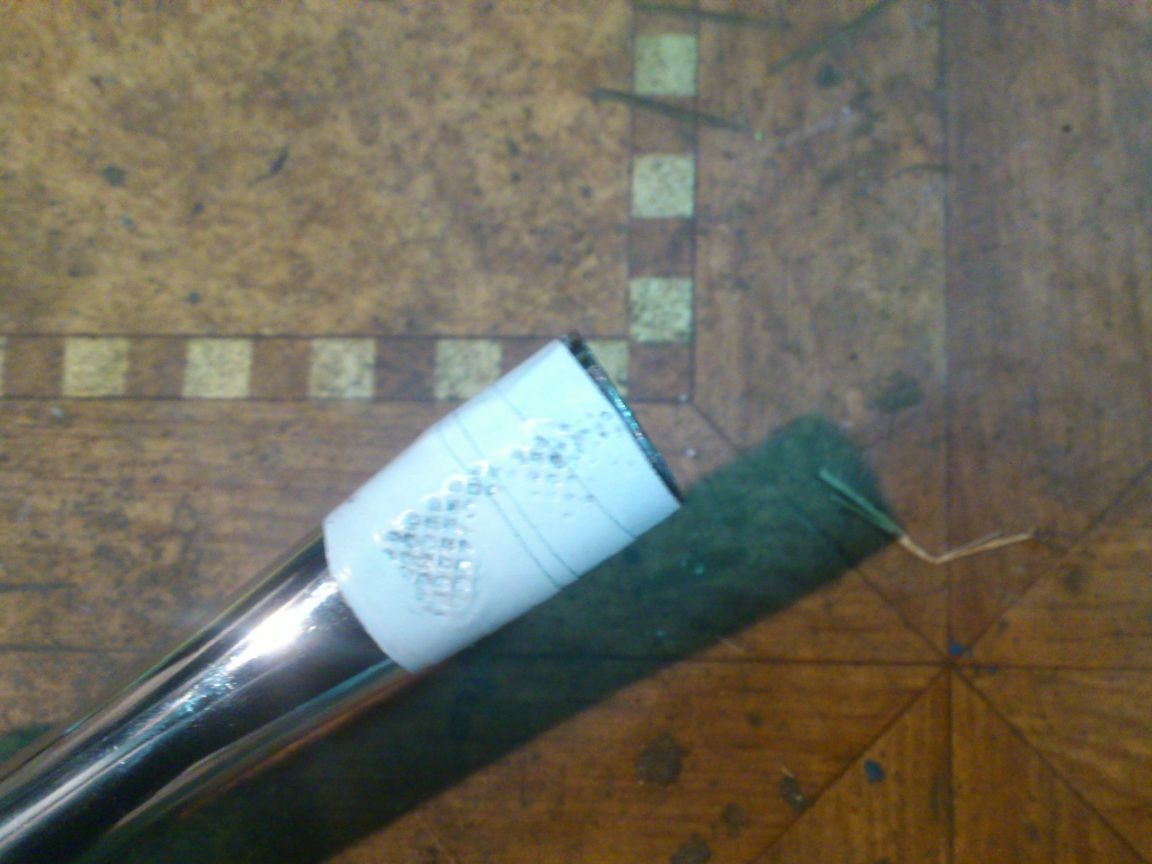
I flattened its edge in a vice, pre-wrapped with electrical tape, so as not to "pokotsat" ... (As it turned out later - in vain.)))):
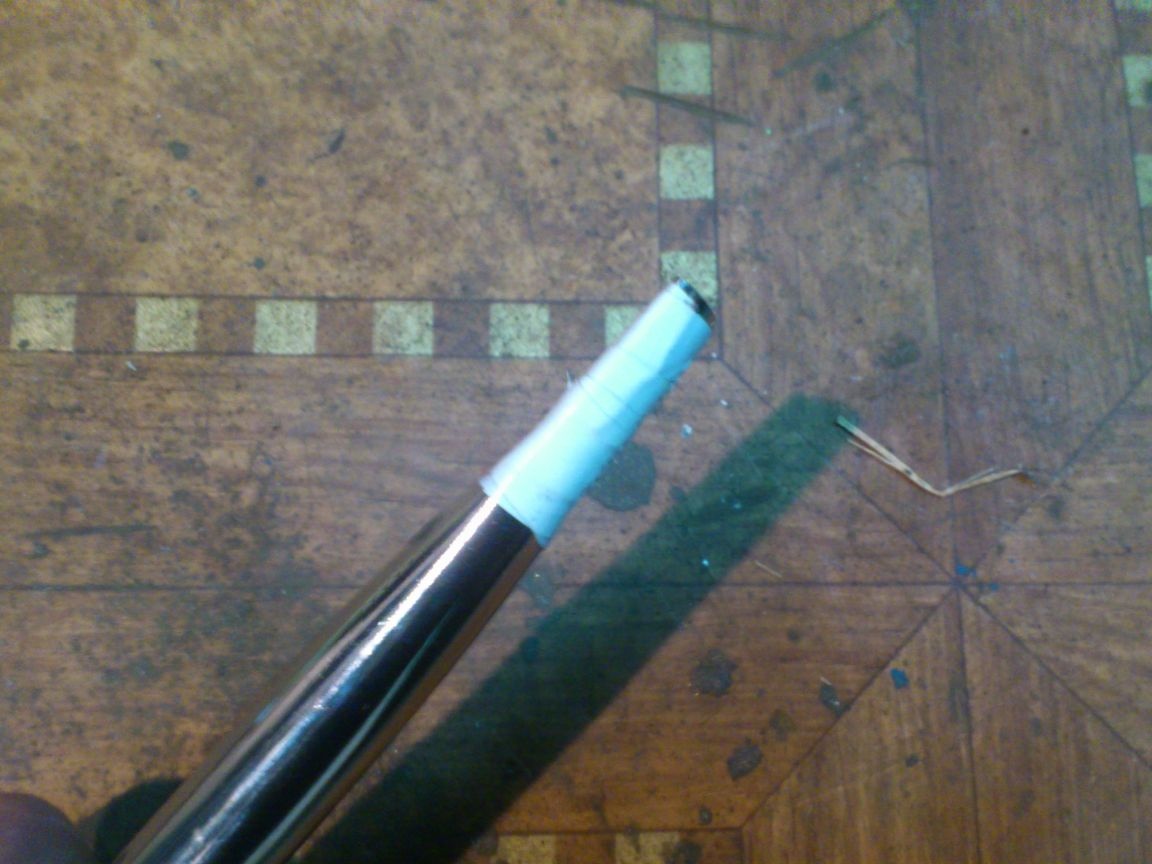
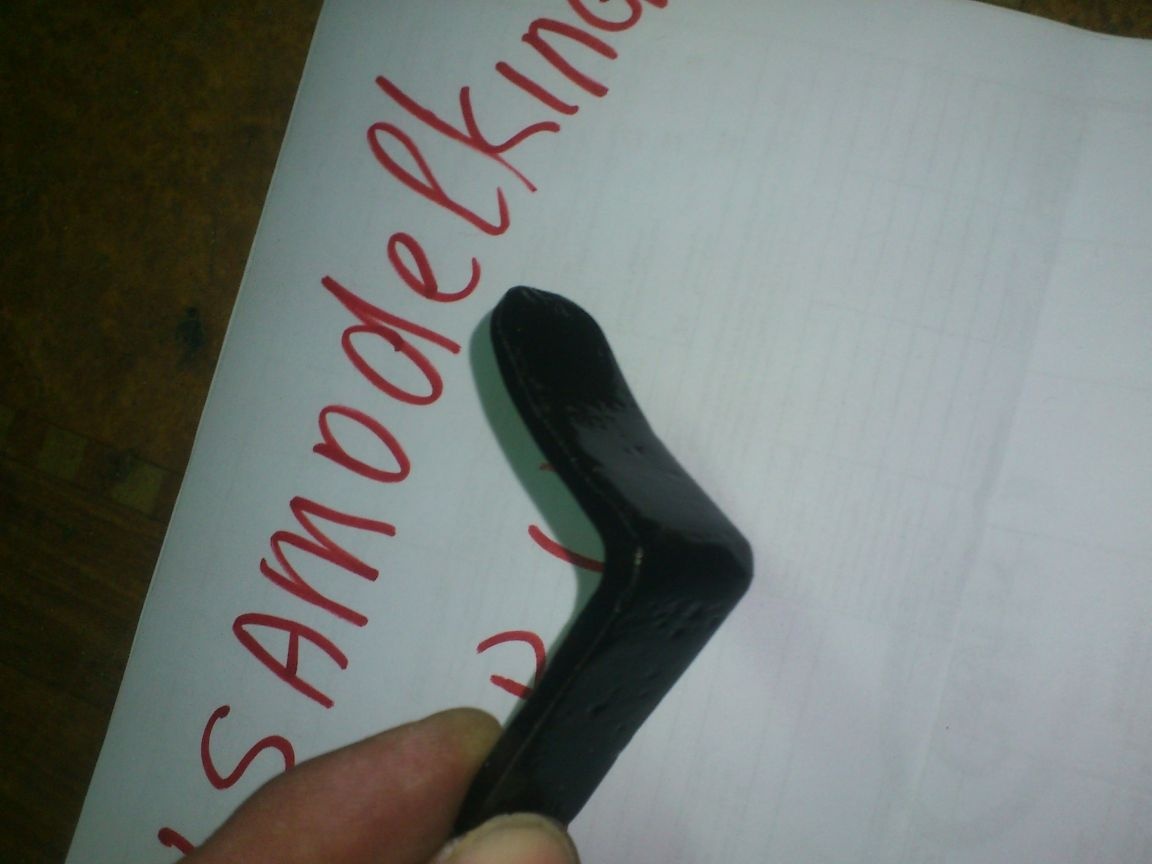
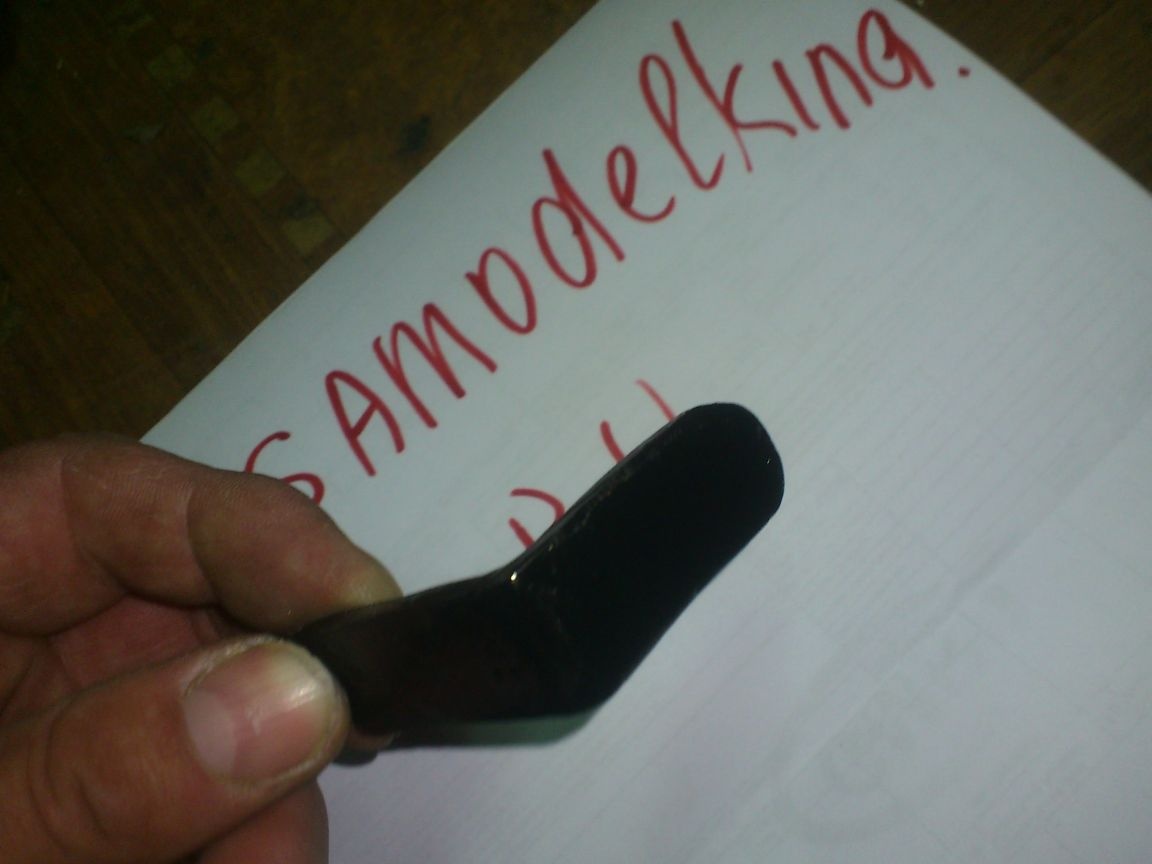
Since the diameter of the tube is small (and in a flattened state, it is even smaller), and its end is not able to provide the necessary stop, I decided to provide it with an additional stop-lever. I made this part from an equal-angle corner with a shelf of 45 mm. (It’s possible and less. It’s just that such a piece was lying in plain sight and the first to come to hand!))))
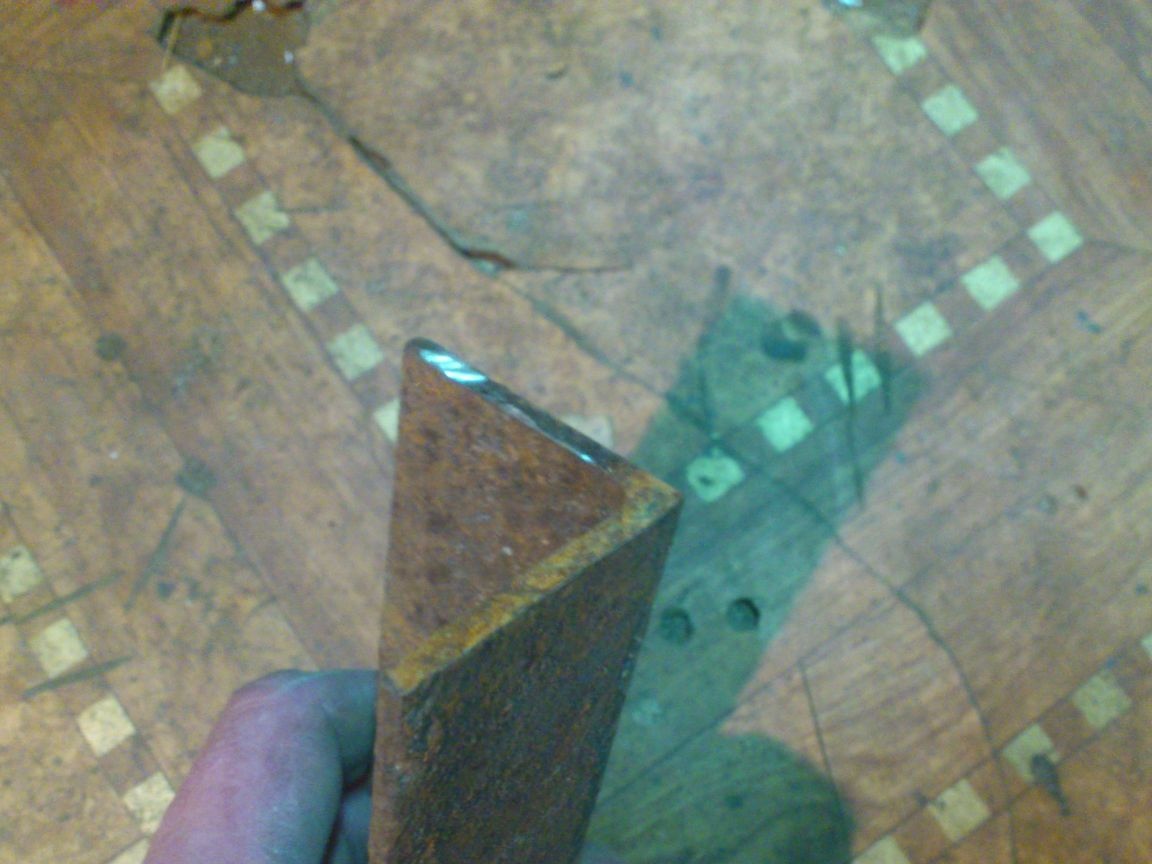
It was from him that I cut off a piece of the width I needed:
What exactly is the width? ... But here is this:
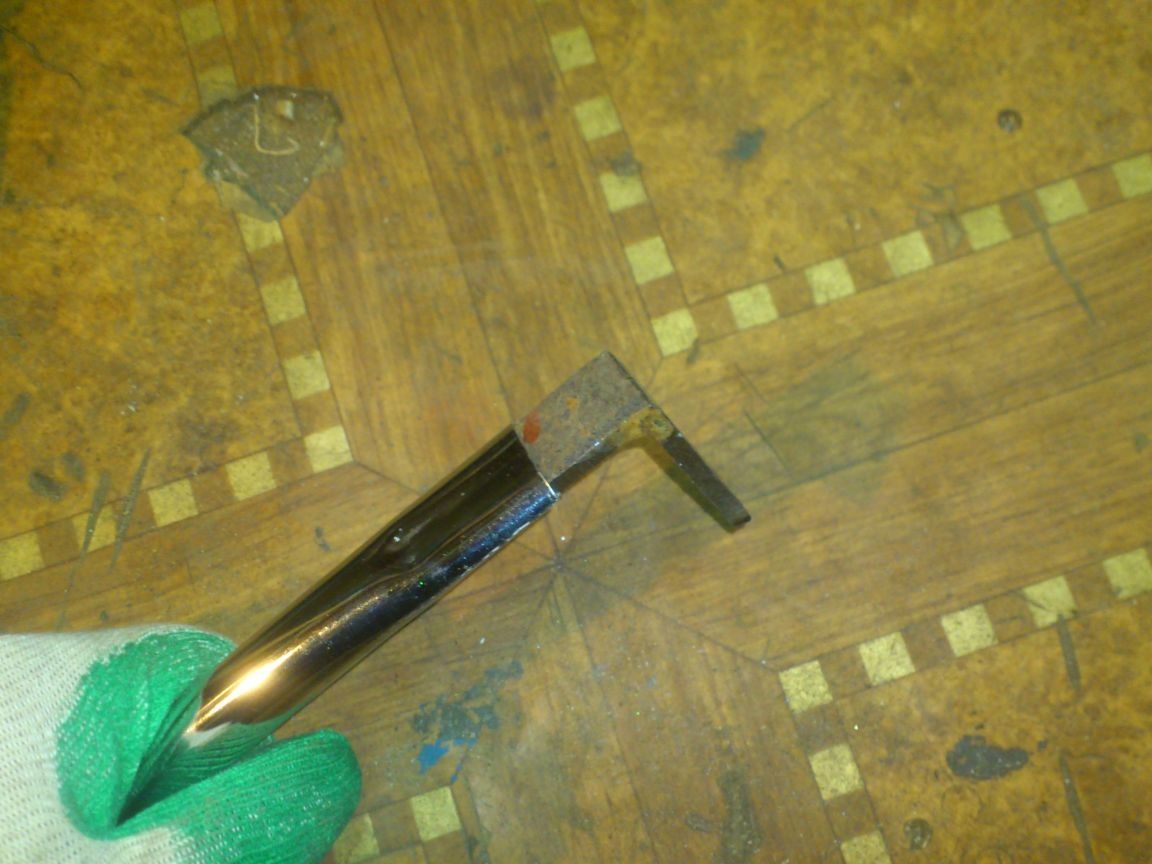
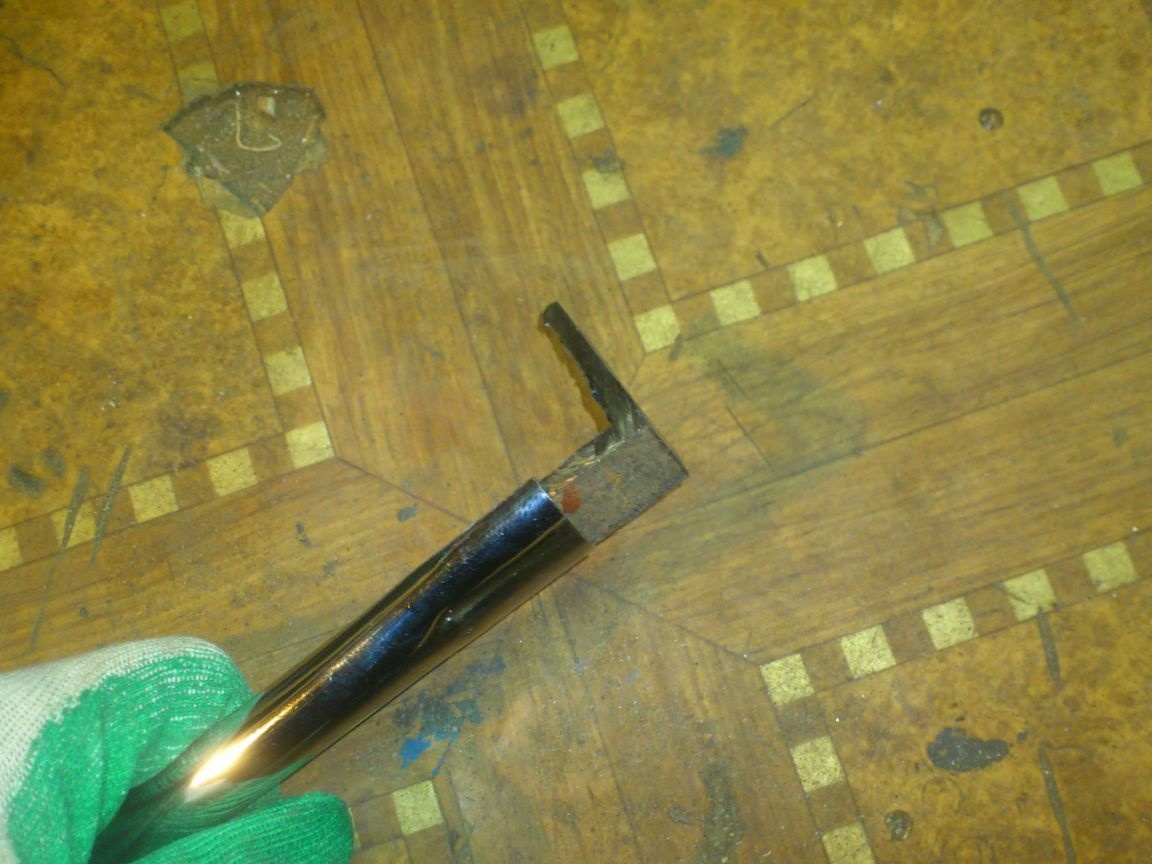
Then, with the help of a hammer, he slightly bent one of the shelves:
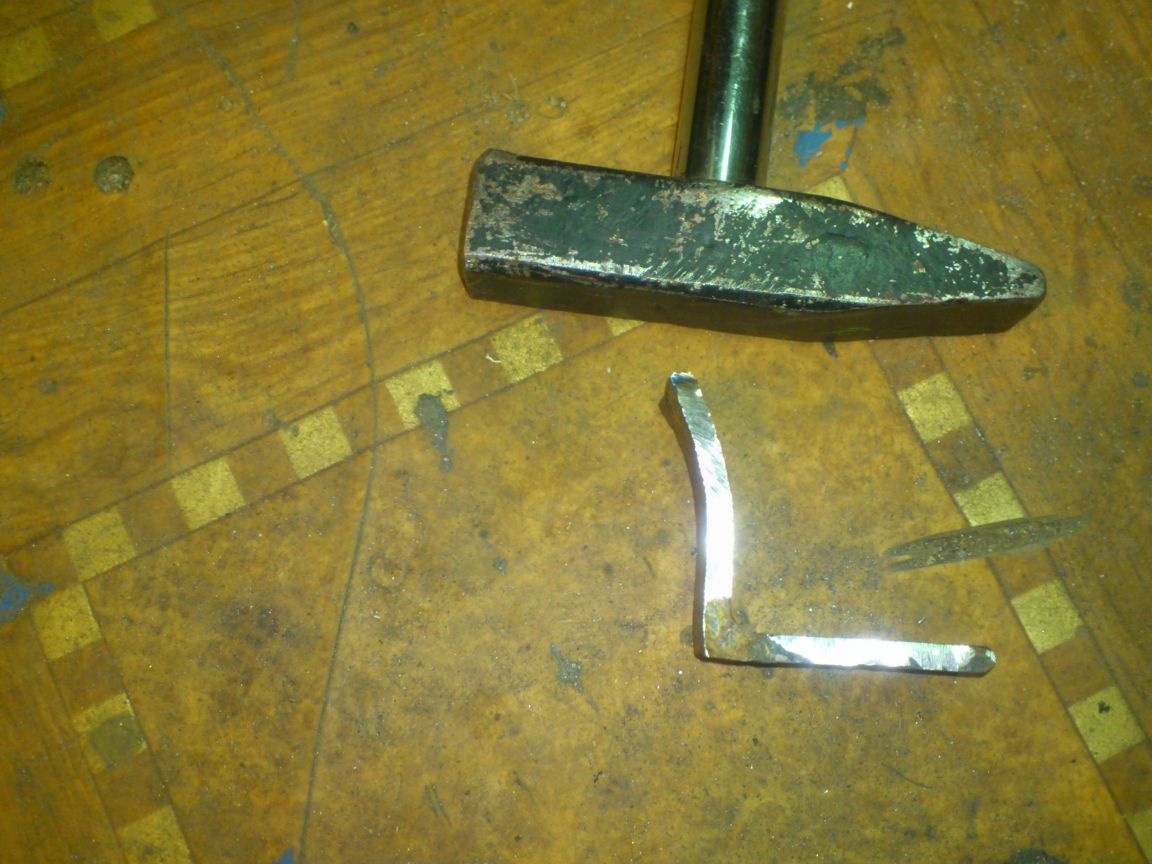
For how many bent ??? ... But for so much here:
(When doing homework, I often do without drawings and measurements, but simply use the “applied method.” This is when I attached it and looked at what size is needed!)))))
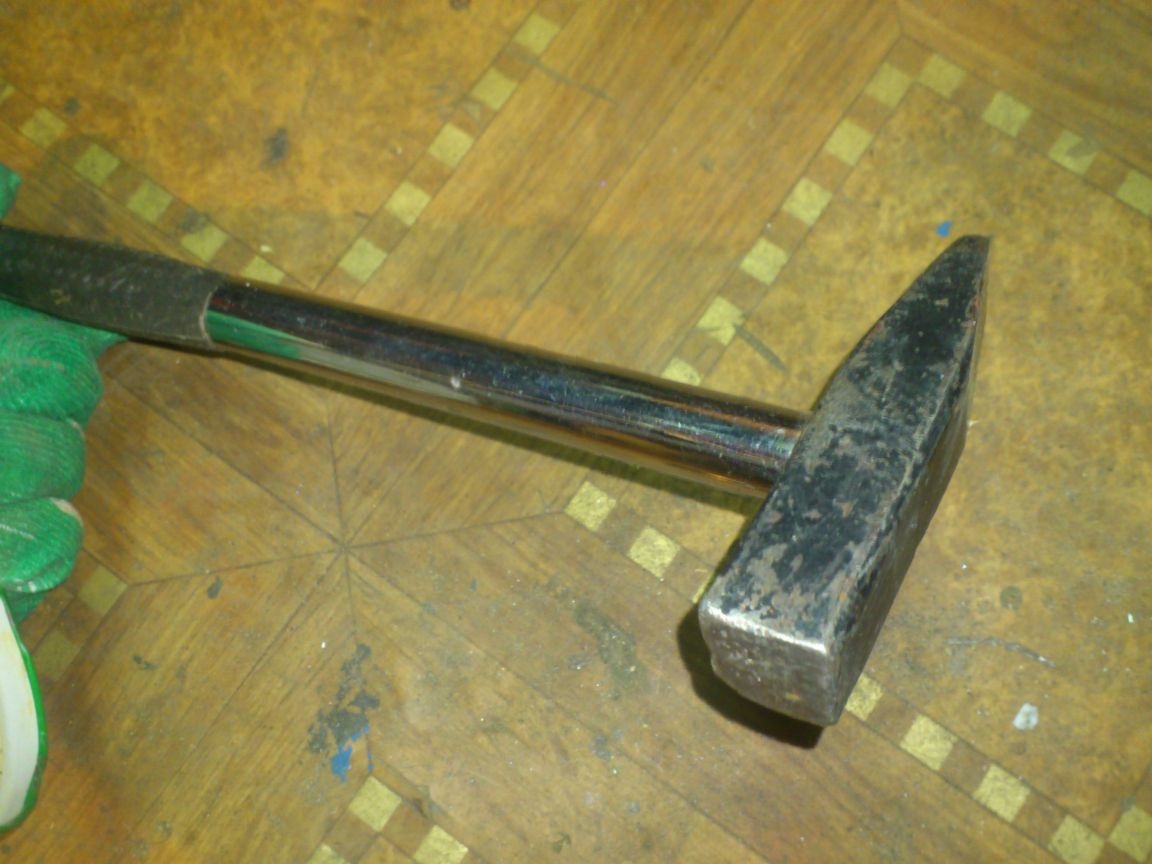
(Now, by the way, I noticed that this hammer was also once made by myself. I cut it out of a square and welded the armature, on which I pulled the handle from some old broken Chinese wrench ... Pay attention - between the handle and the head of the hammer all dressed the same, my beloved, railing tube))))))
Well, God be with him, with a hammer ... Let's continue ...
I worked the corner with an emery-petal circle and painted from a spray can. (At the same time, in order to speed up the drying process of enamel by several times, I heated the workpiece with a hairdryer to a hot state, and gently heated the can “in a water bath.” (Submerging it several times in boiling water and shaking it intensively between immersions). So the enamel dries instantly! )
And, nevertheless, some time is required for drying, and so far I have been engaged in the manufacture of the loop.
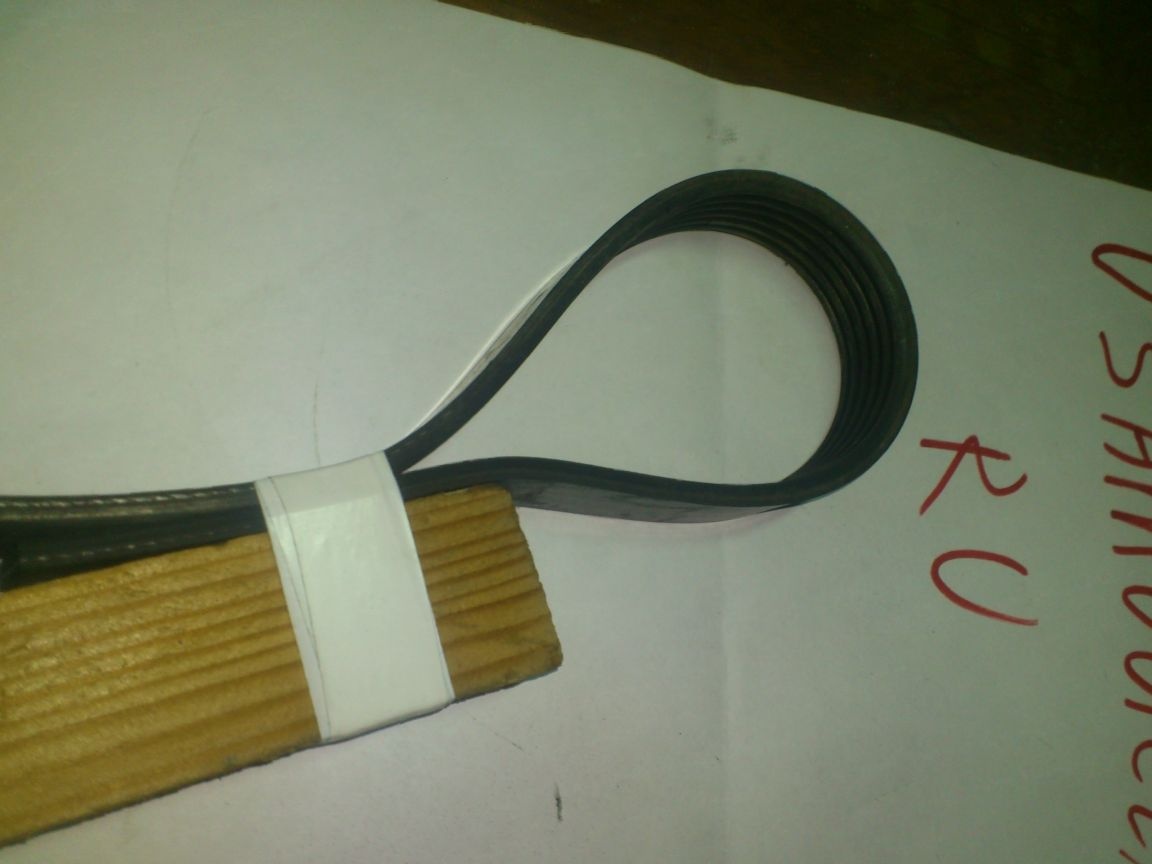
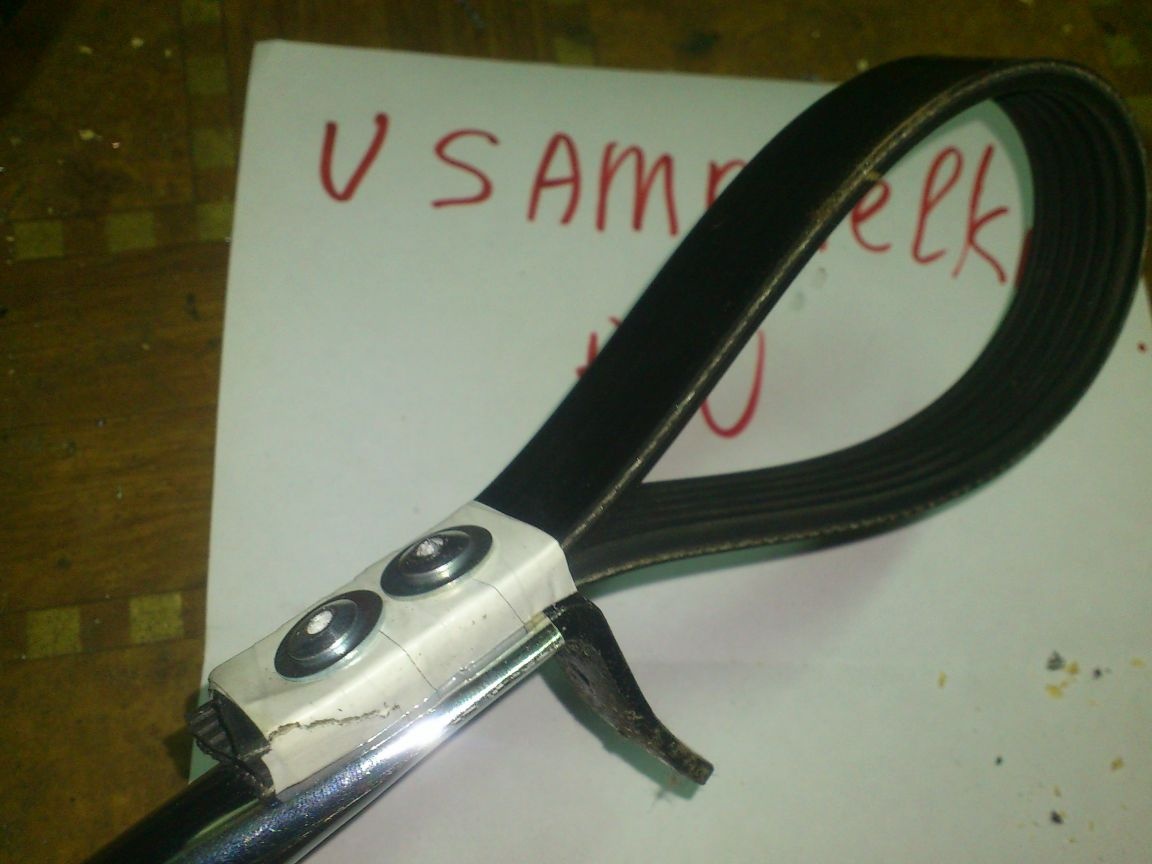
I was lying about such a multi-ribbed drive belt from a car:
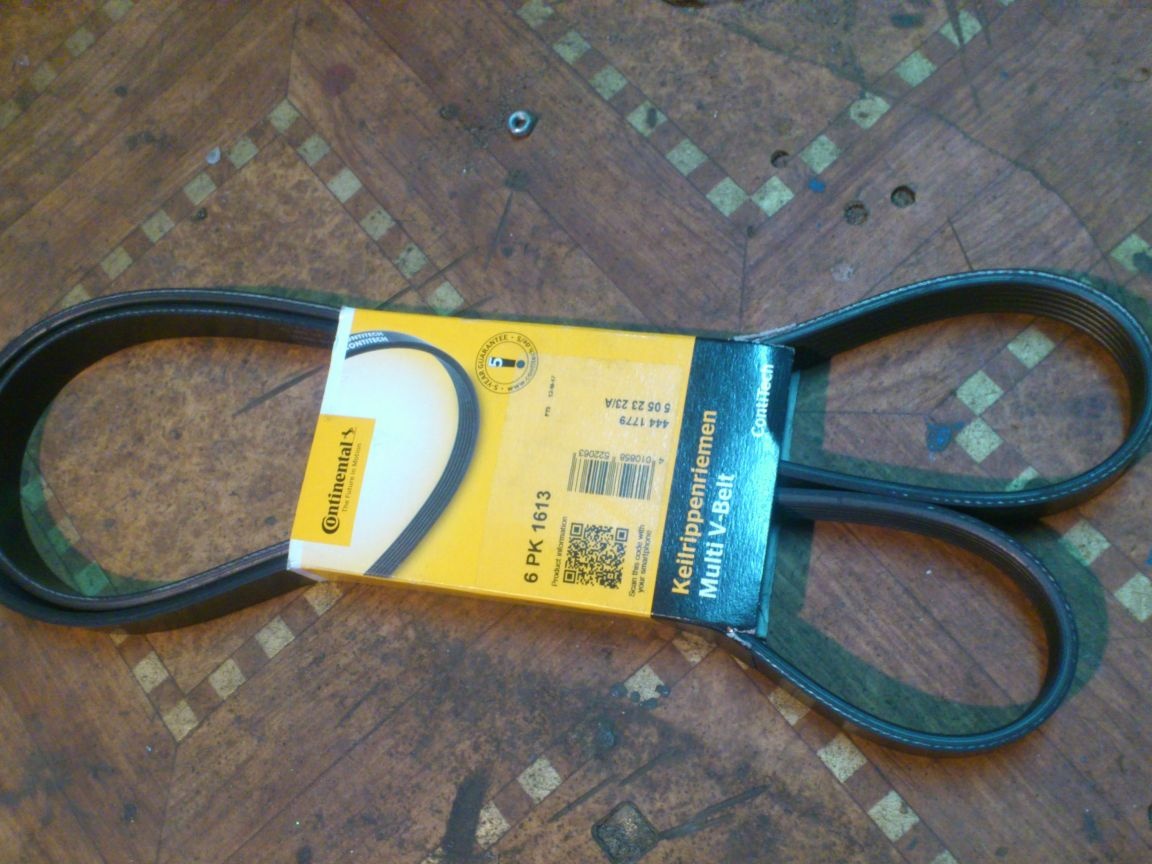
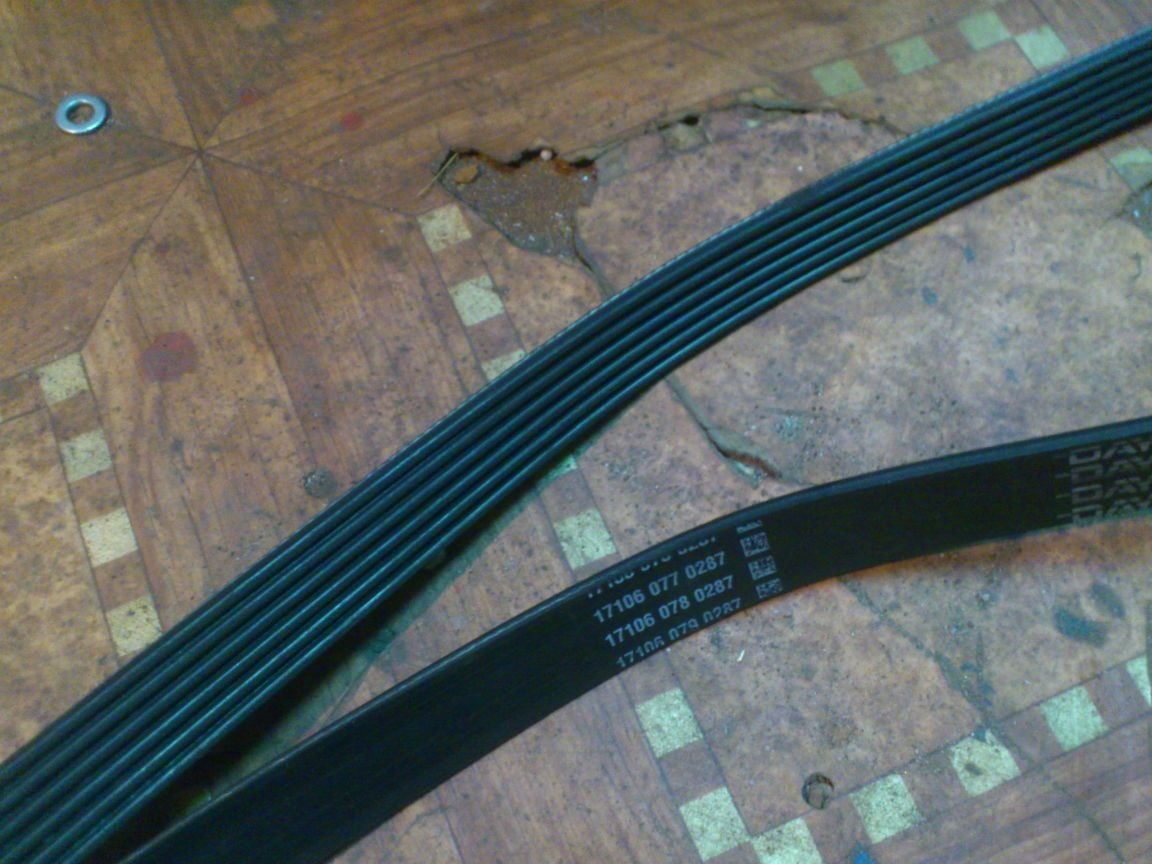
The belt, of course, is not new. Simply, the car mechanic who changed it put a removed belt into the packaging. (They always do that). From him I cut a piece of the desired length.

Which one? ... Yes, this one)))):
I washed the obtained section from technical dirt with a paste for washing hands. Then also dishwashing liquid ...
After that, I tightly wound it with electrical tape. (Again, there was no blue ... Sorry! It would be stronger))))
By this time, the enamel has dried on my corner:

I inserted it into the flattened end of the tube:
And drilled two holes with a drill, with a diameter of 5 mm:
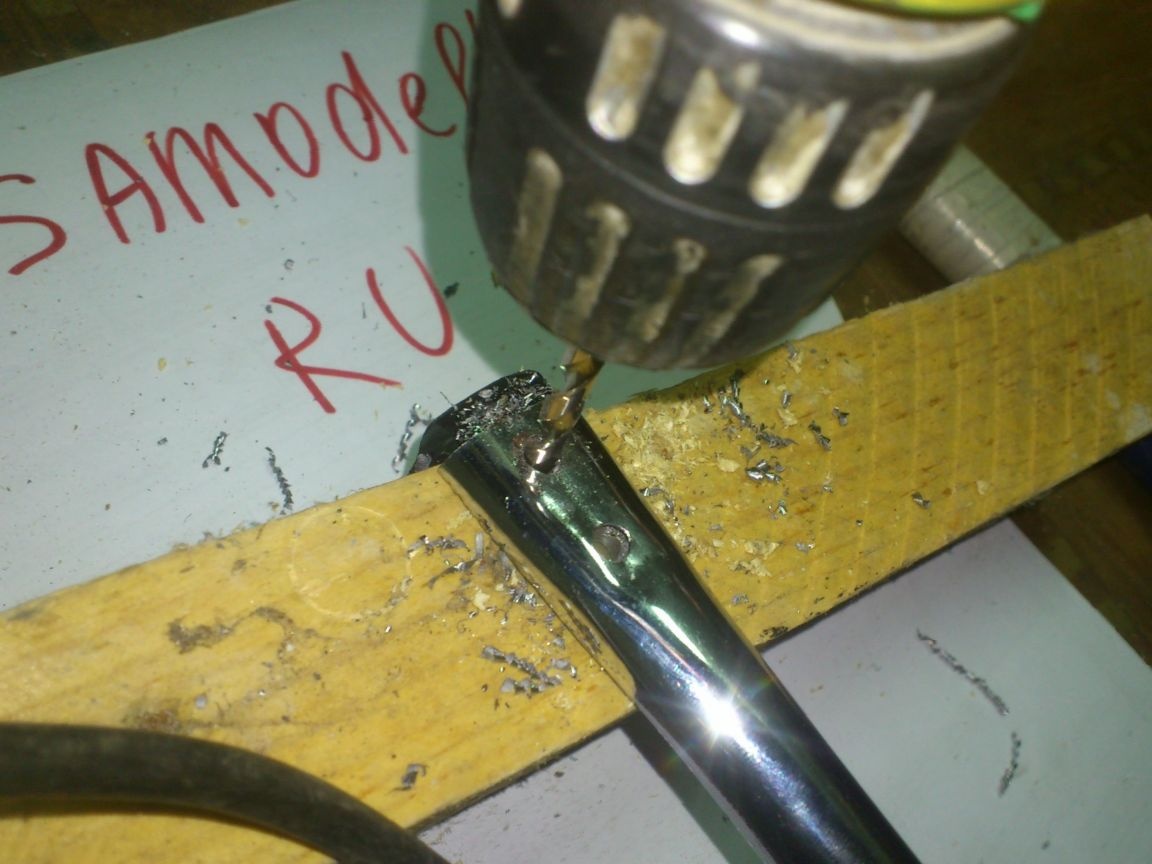
I drilled a hole in the belt with the same drill:
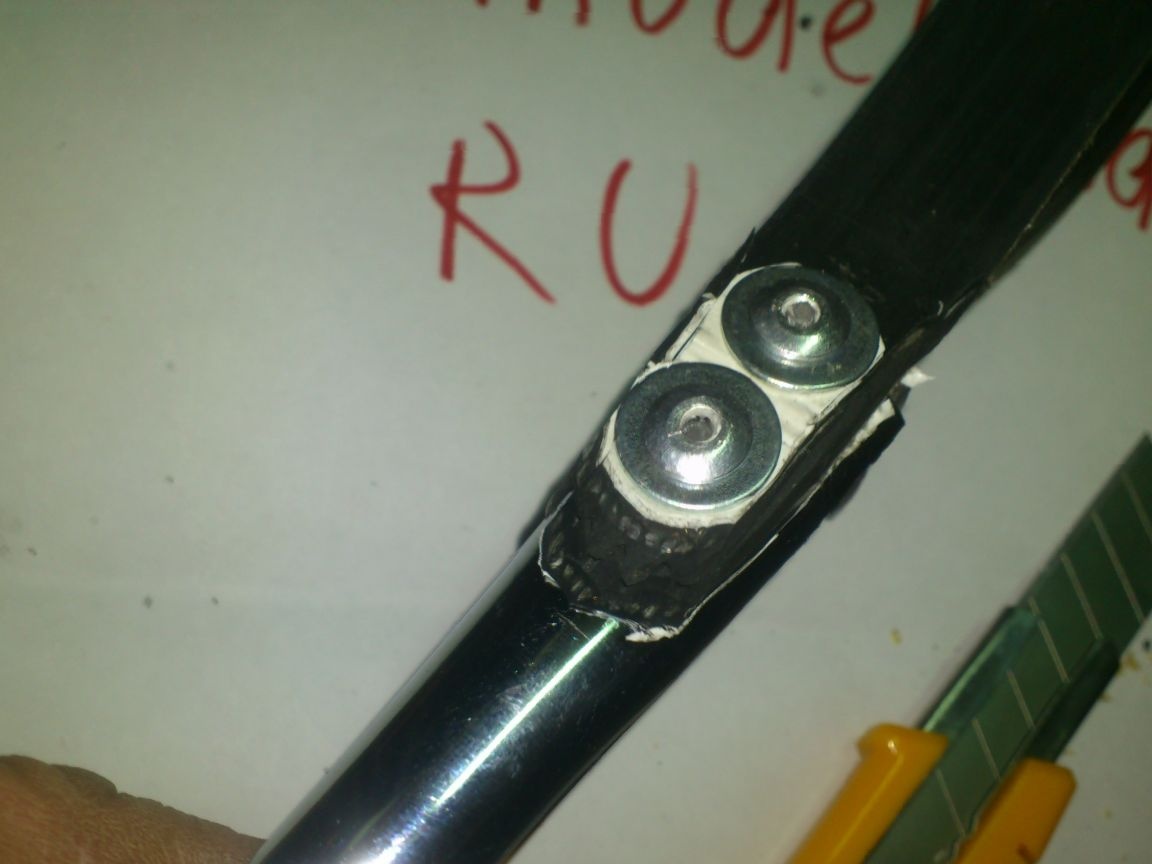
Using exhaust rivets of a suitable length, I fastened the belt to the handle. I did it as follows: first riveted one rivet. After that, he leveled the belt, drilled another hole in it, and secured it with a second rivet. At the same time, under the rivet hats, for a more reliable fastening of the belt, I put the enlarged M5 washers that were in my stocks:
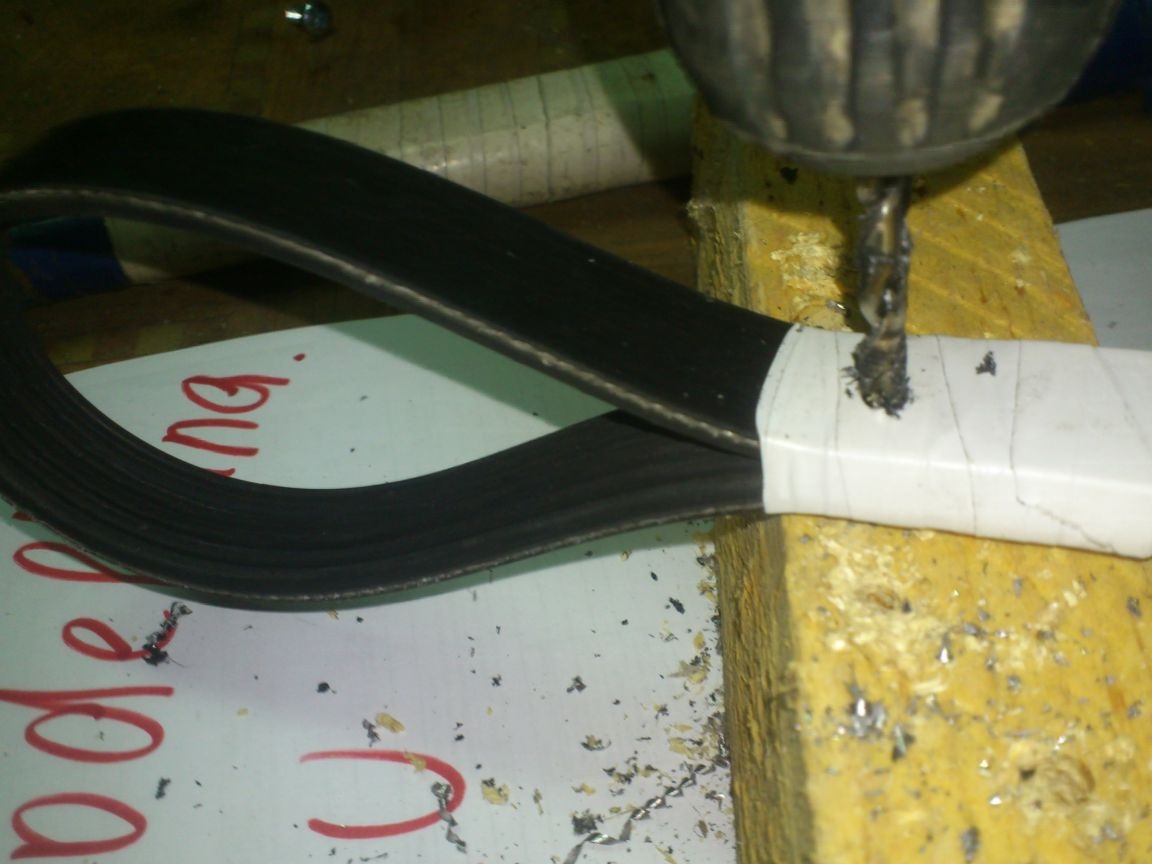
And at this stage, I really did not like the appearance of this mount ...))) .. I decided to solve this problem with the help of large diameter shrink cambric, which I also had stocks of. First, I cut and rounded off all the protruding parts of the belt with a technical knife:
I cut a piece of the required length from the cambric. (Defined it, again, by the "applied method"))))

I put it on the design:

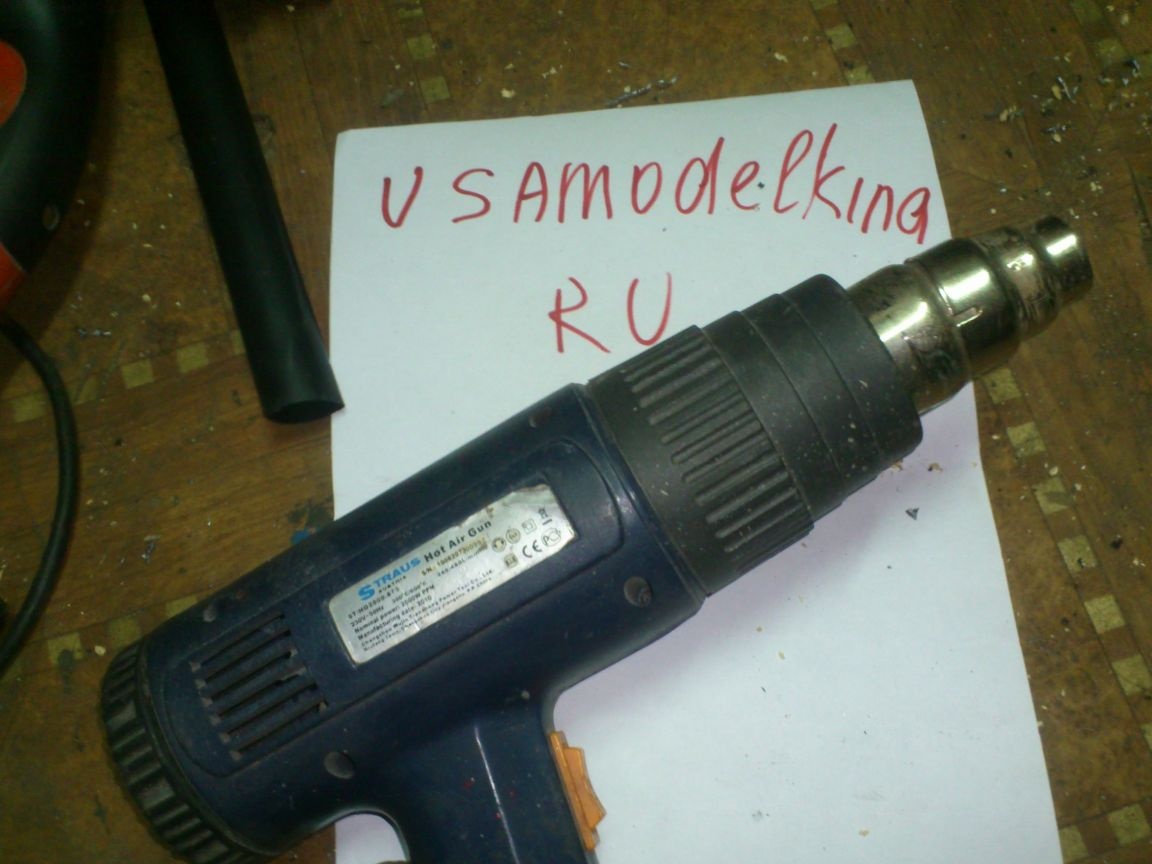
And planted with a technical hairdryer:

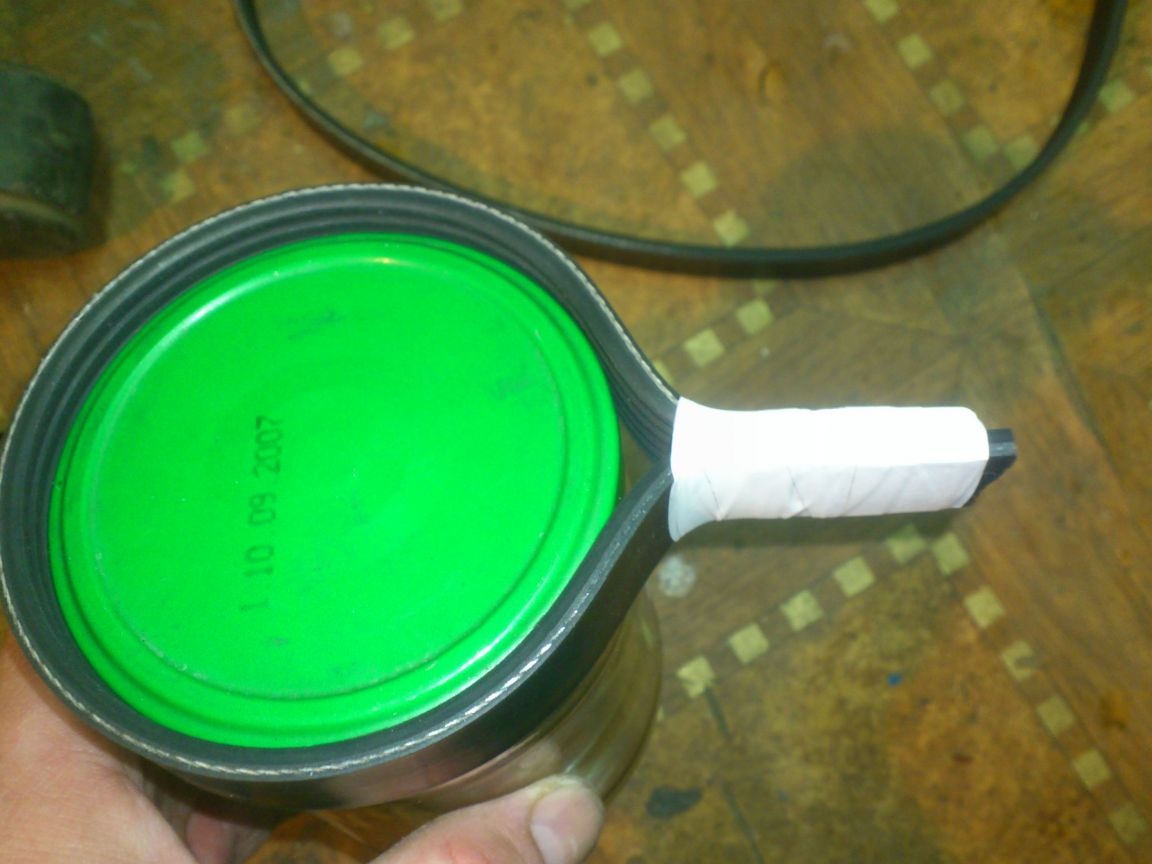
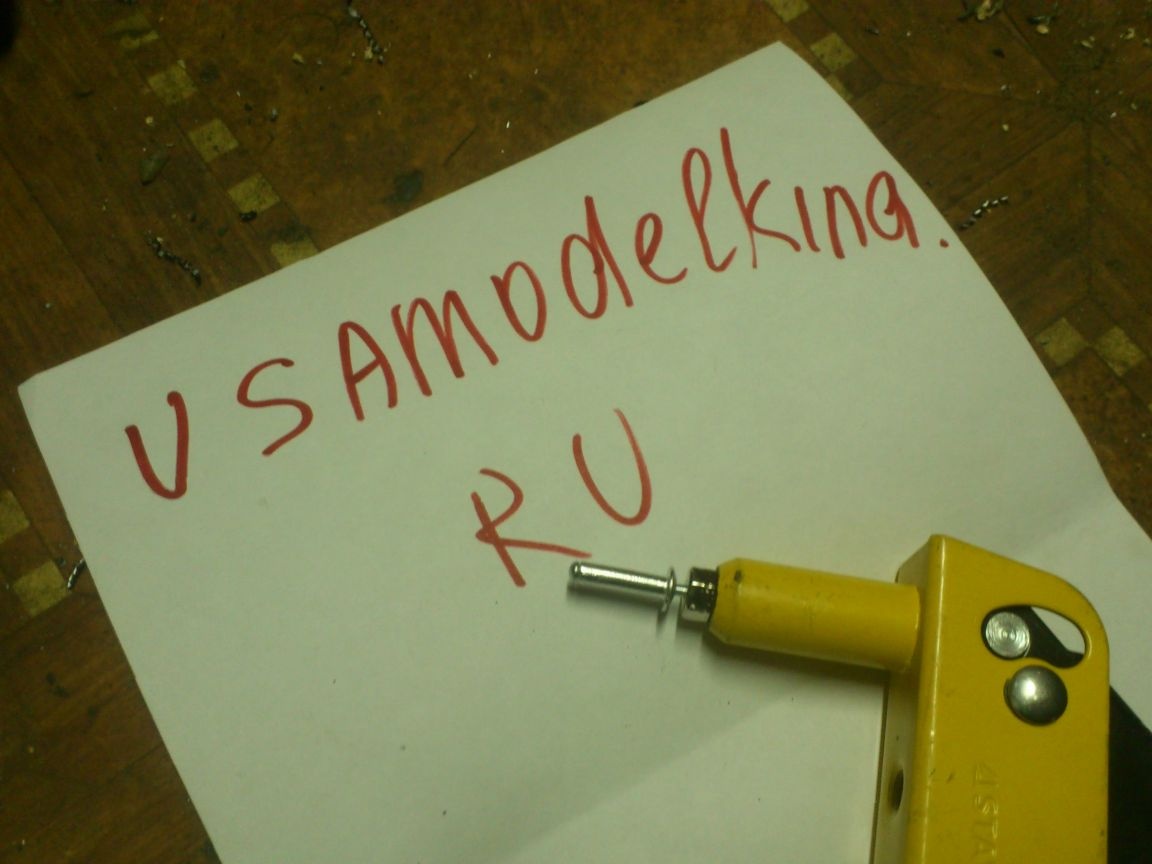
It remains to "cultivate" the end of the handle. I had these plastic plugs in stock:
I cut off the excess (Again, having estimated about how much should be left)))):
And he scored a plug at the end:
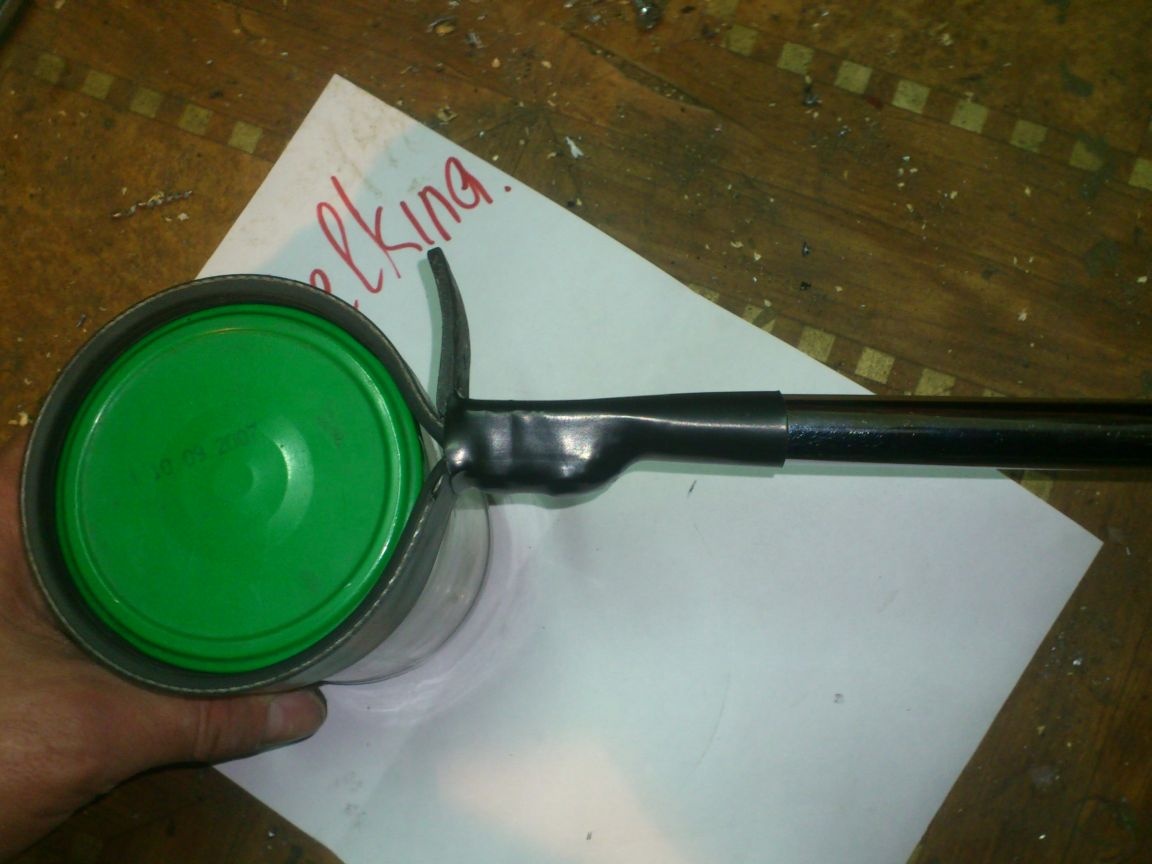
All!!! The key is ready !!!

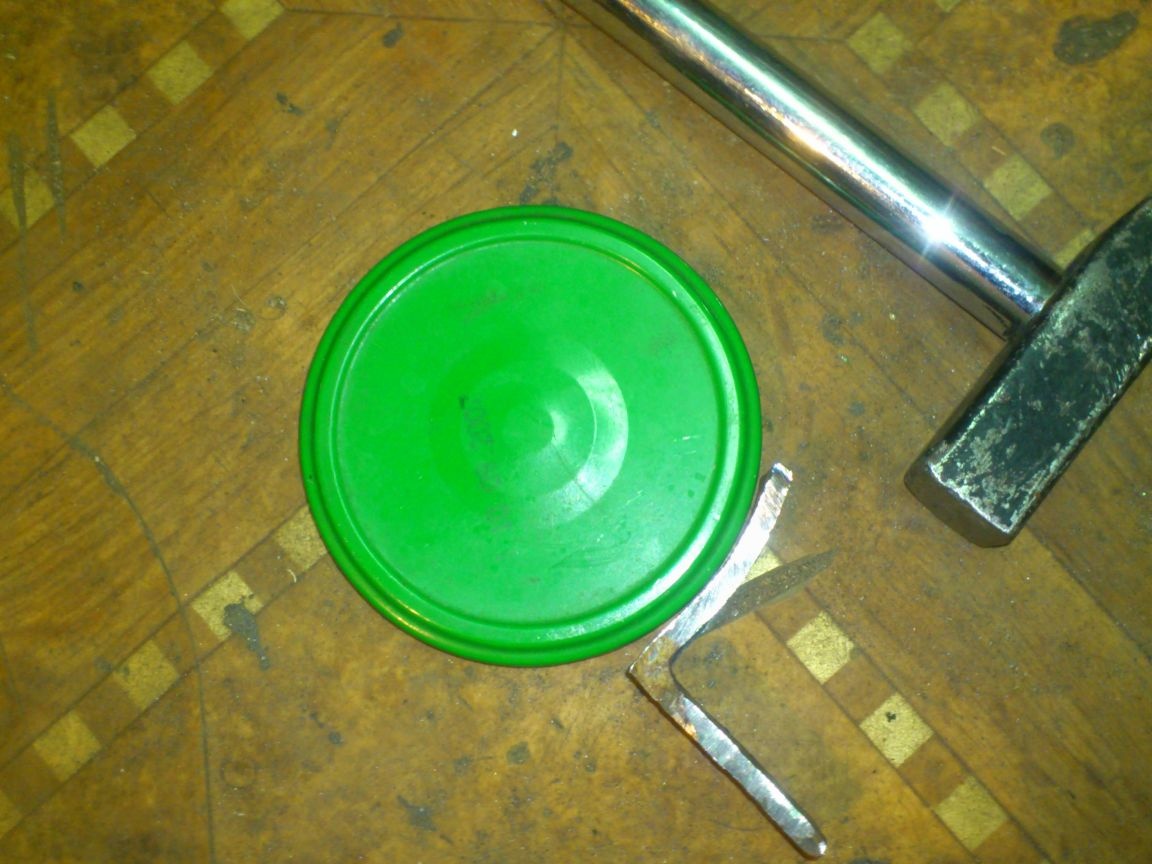
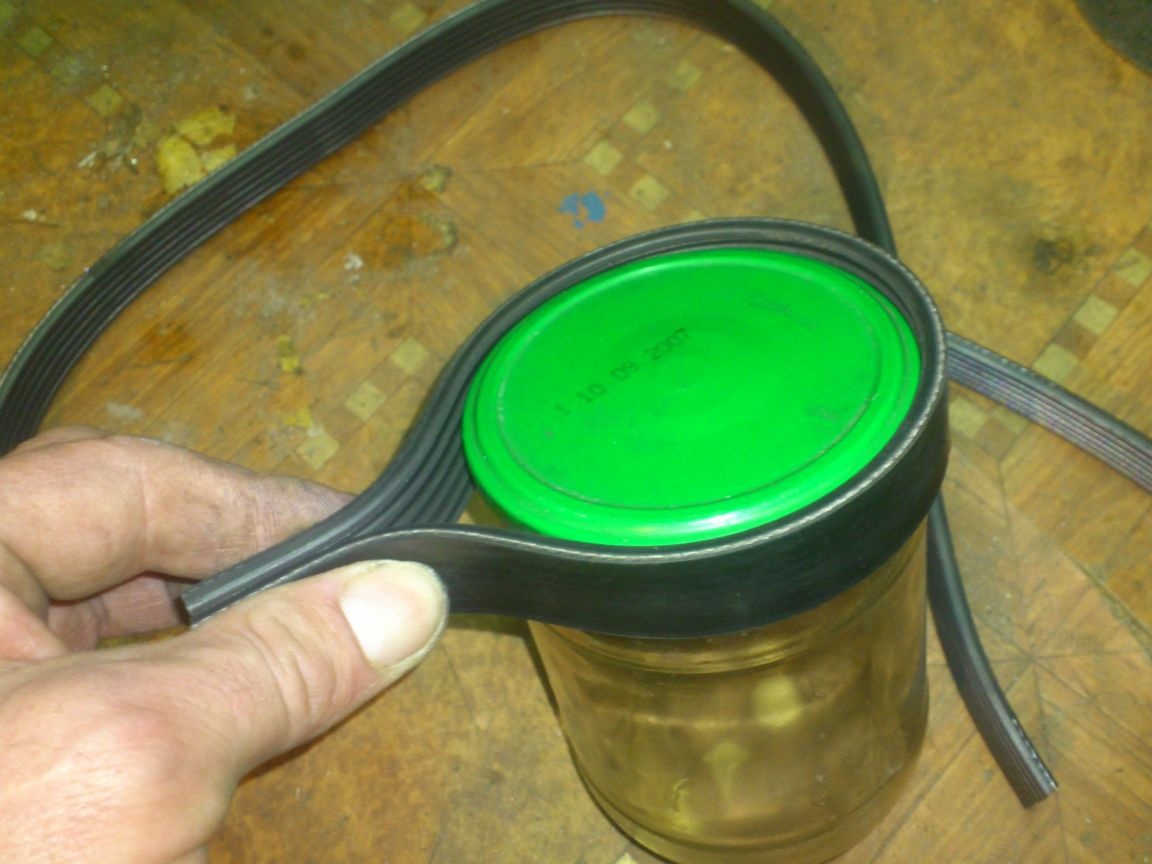
I think, looking at the photo below, the principle of its action is clear. If you move the handle "in the direction of unscrewing the lid", the stop lever will press the belt tightly against the lid and prevent it from slipping. (Since I was alone, I could not photograph the key “in a tense state.” I held the camera with my second hand).
Tests have shown that the V-ribbed belt is very convenient in this design. Thanks to its internal longitudinal grooves, the edge of the cover is very well positioned exactly along the width of the inner plane of the belt, parallel to its edge. It does not slide up or down even under the weight of the handle, as seen in the photo.
Of course, some covers are tightened very tight. Perhaps, over time, you will have to make a similar design for holding and cans. But it will be more difficult to make it - firstly, the lever should be larger, and the belt, respectively, wider (so as not to push the glass jar). Secondly, cans, even under the same lid standard, come in different diameters. And, therefore, you need to make the belt size adjustable. So, while I wait, I will observe the reaction of my women ... Perhaps this is enough to not be pulled every time I need to open a can ....