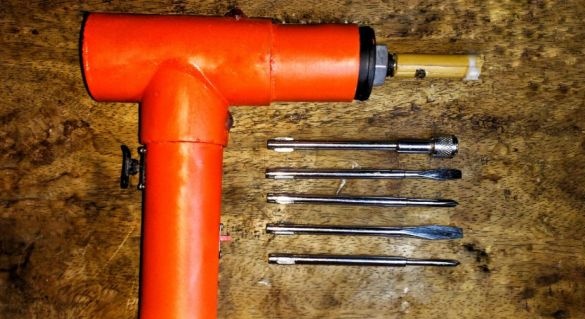
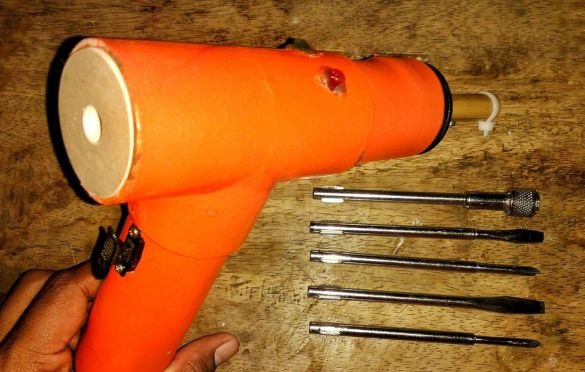
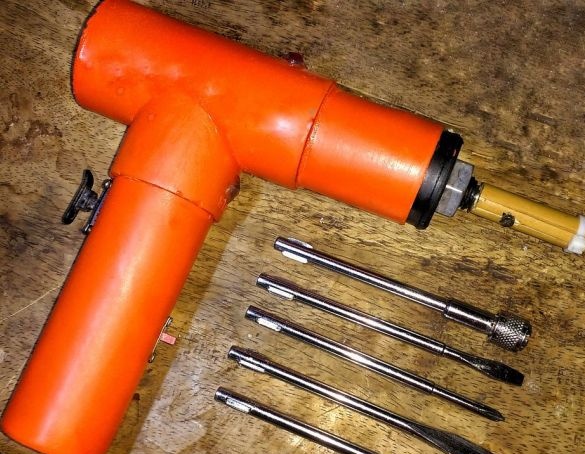
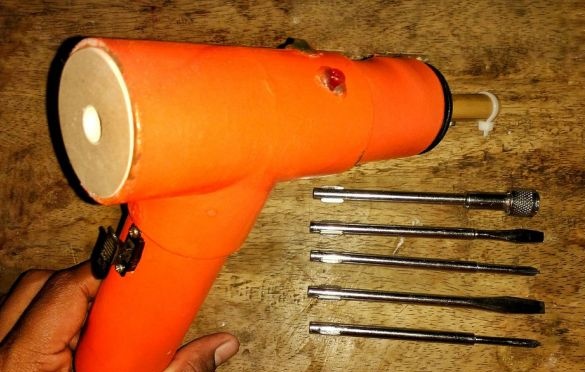
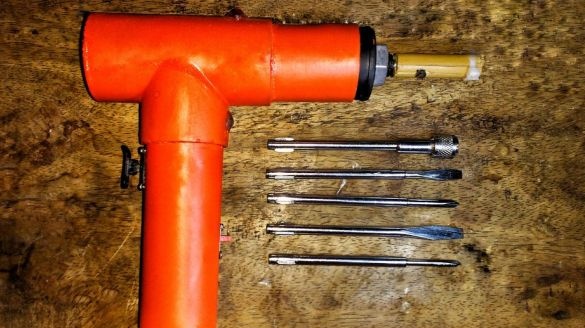
An easy-to-make electric screwdriver was made by the Master. To make it, he needed the following
Materials and tools:
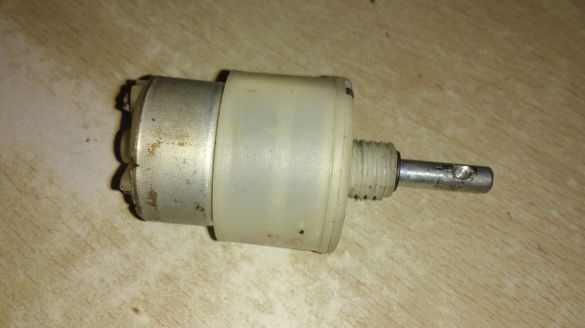
-Motor reducer 60 rpm;
- PVC pipe;
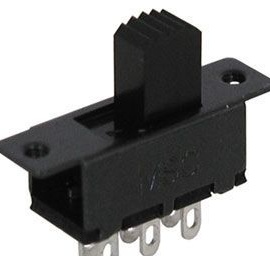
-Switches;
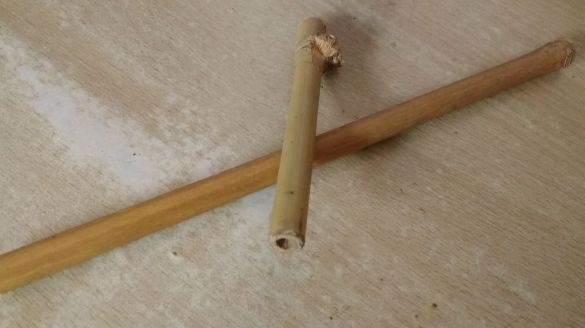
-Bamboo stick;
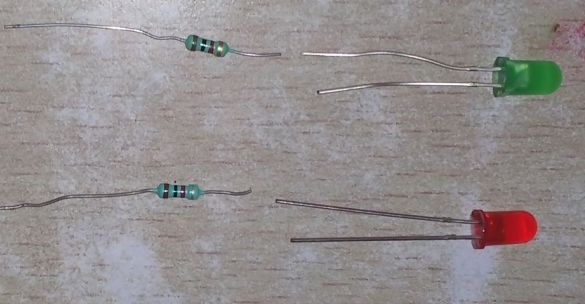
-LEDs;
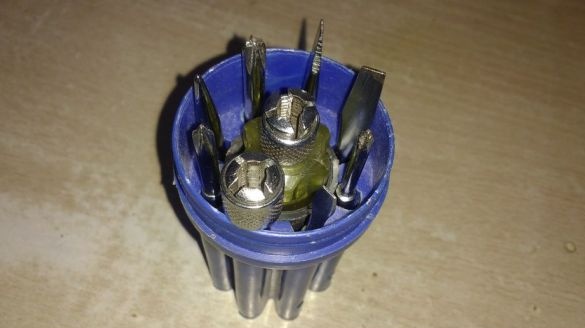
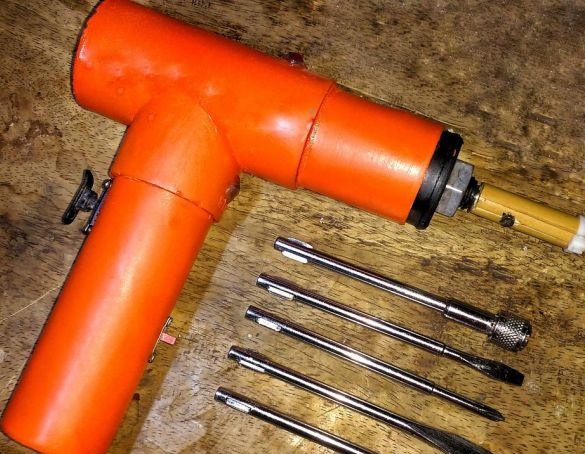
-Set of screwdrivers;
-Resistors 100 Ohm;
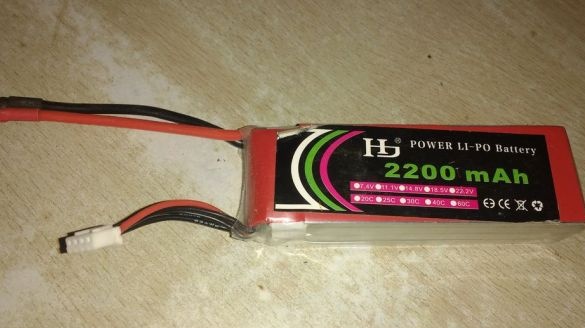
-Battery;
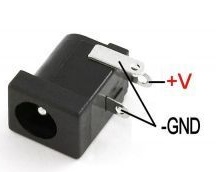
-Connector;
-Glue gun;
-Glue;
- Spray can with paint;
-Fasteners;
-Wire;
-Plywood;
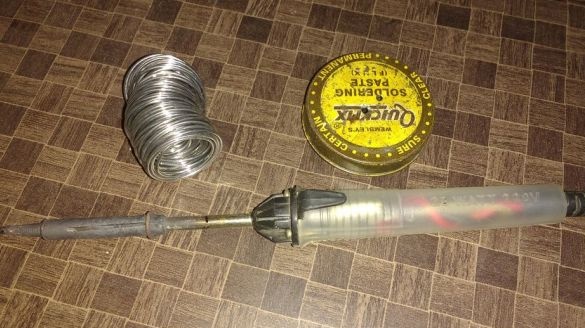
-Soldering iron;
-Marker;
-Knife;
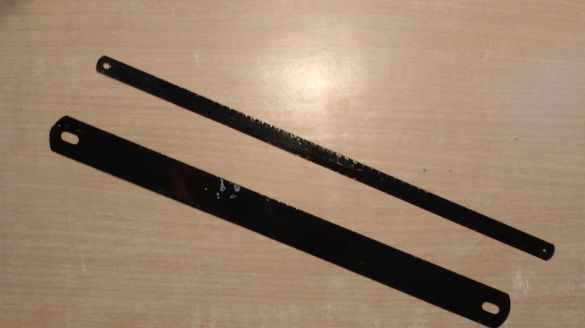
-Hacksaw;
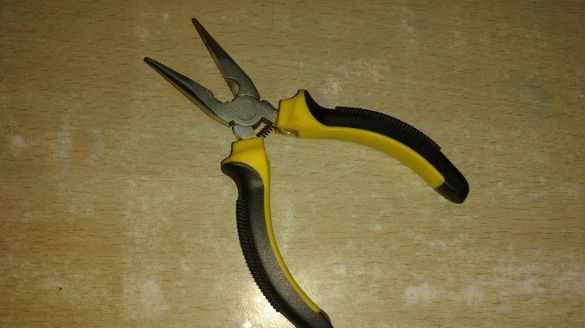
-Nippers;
-Heat-shrink tubing;
-Screwdriver;
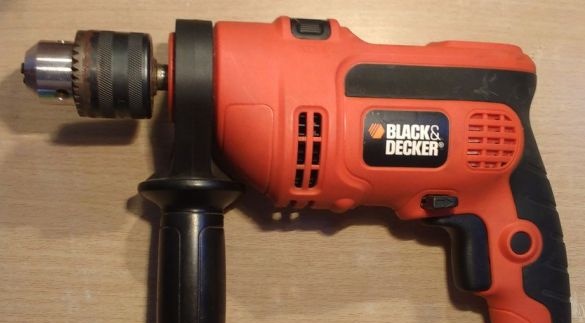
-Drill;
-Crown on wood;
- Velcro;
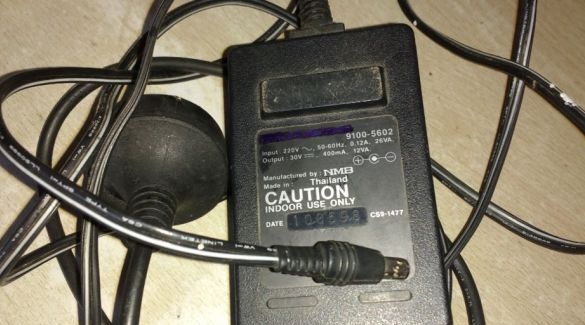
-Power Supply;
Step One: The Case
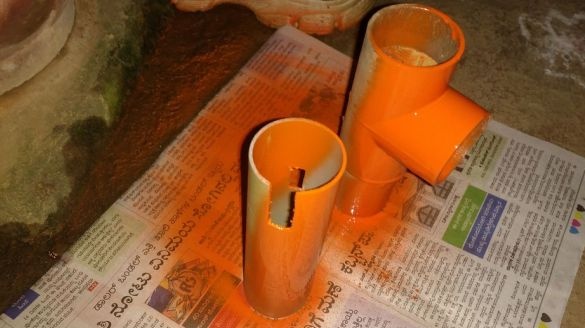
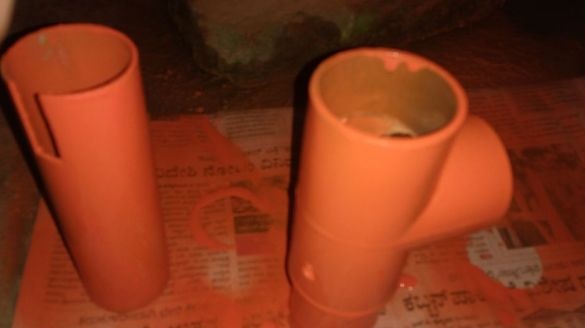
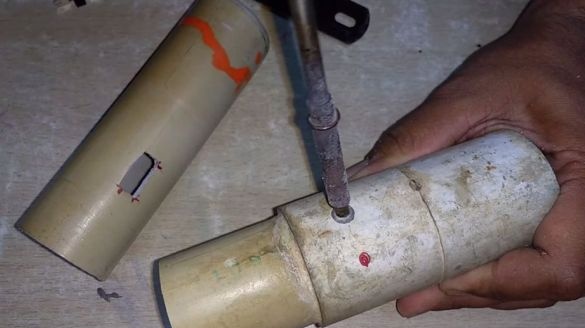
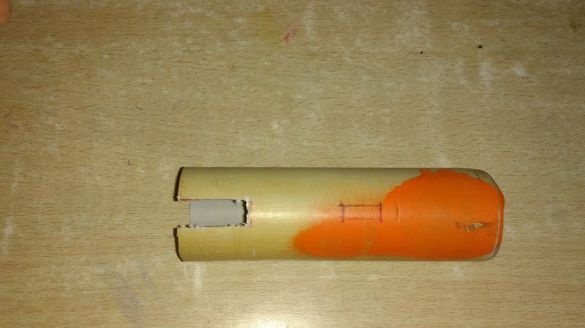
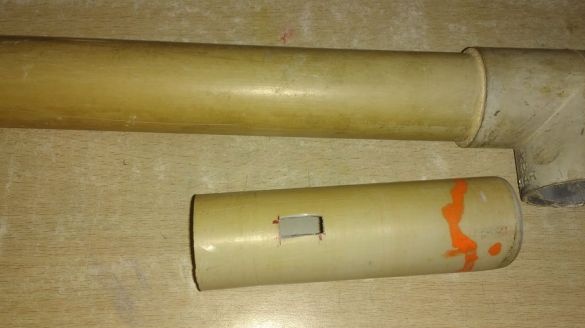
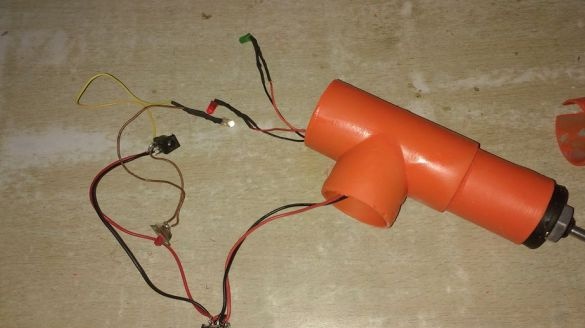
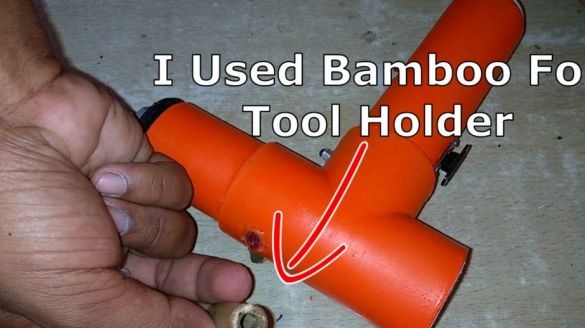
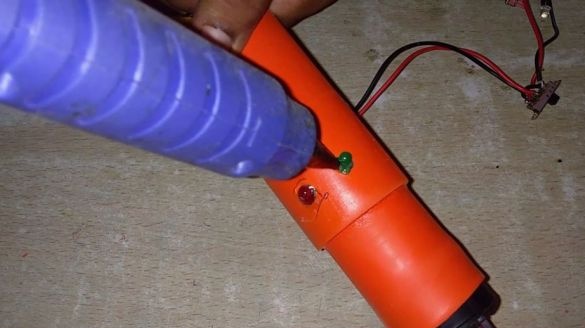
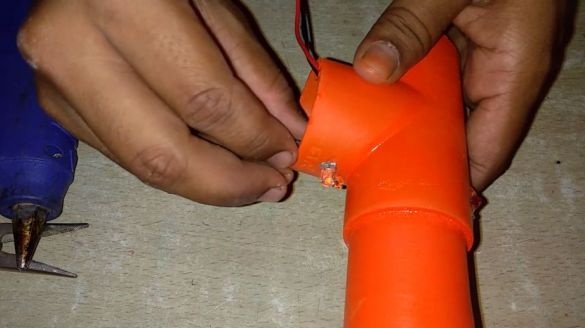
The master makes a screwdriver case from an old PVC pipe. One pipe is straight, a tee is installed on the second. A soldering iron burns holes for LEDs and switches. It also makes cuts with a hacksaw blade. Then he sanders the surface and paints.
Step two: the electrical part
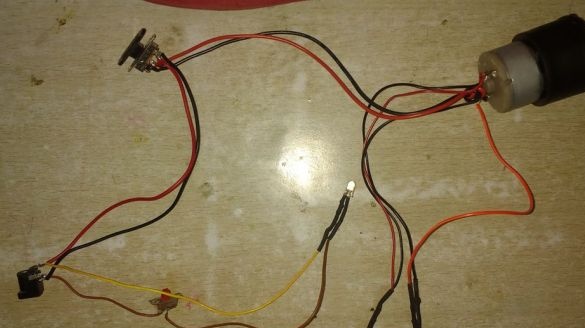
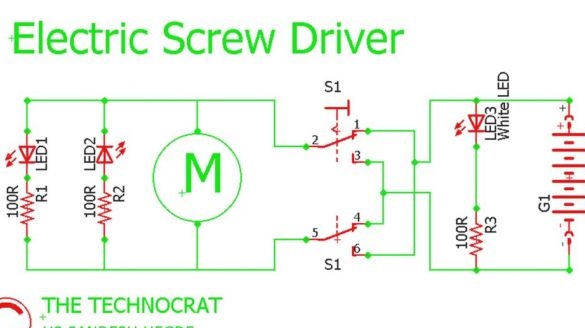
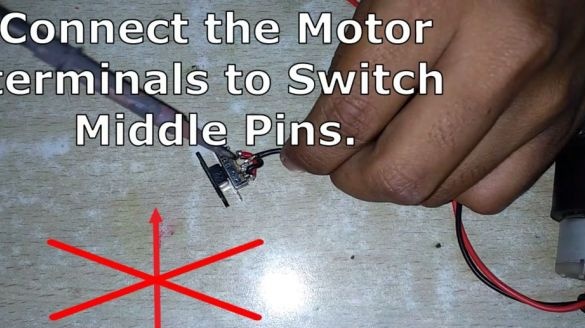
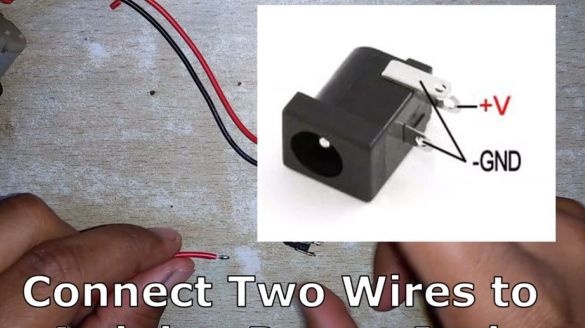
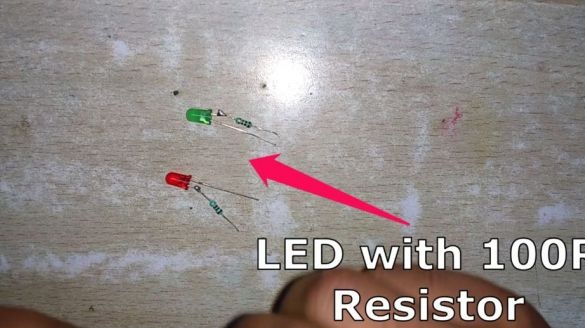
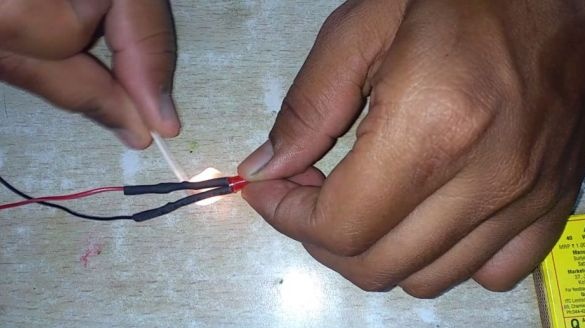
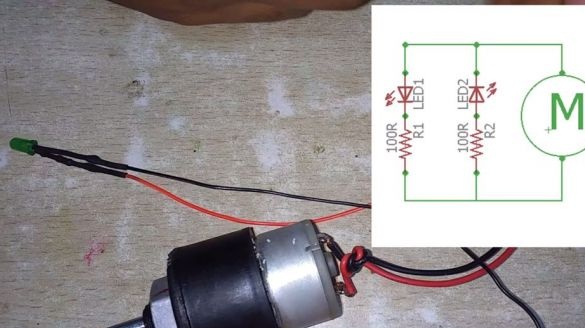
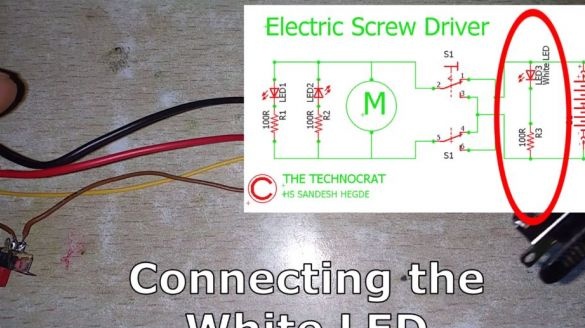
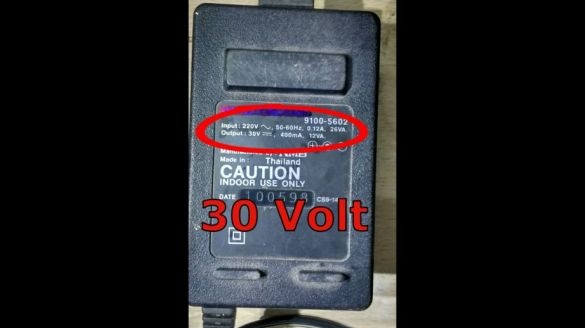
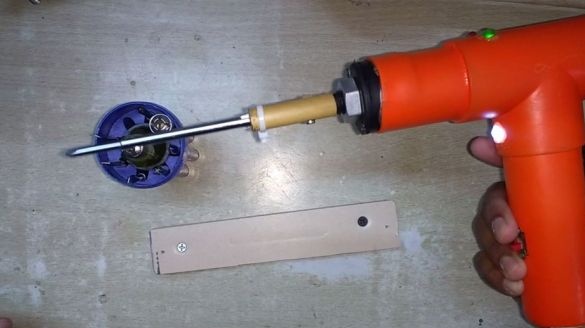
Assembles a circuit. An electric screwdriver works both from the battery and from the power supply. Using the on / off switch, the direction of rotation of the engine is changed. Depending on the direction of rotation, a red or green LED lights up. The white LED is used for backlighting.
Step Three: Build
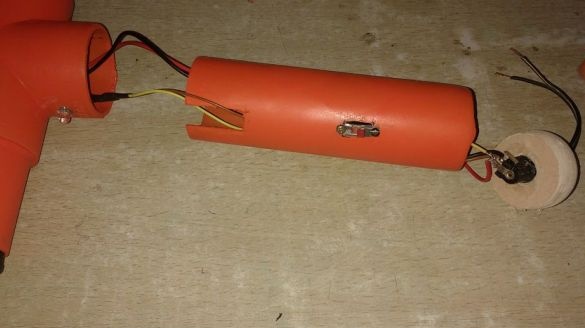
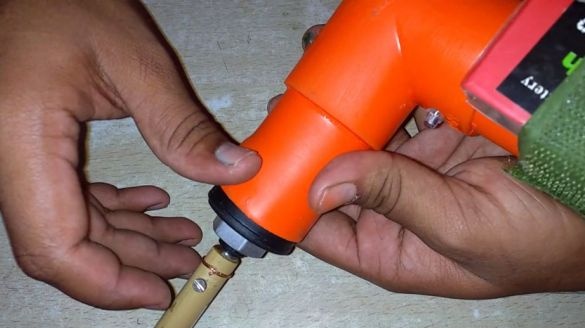
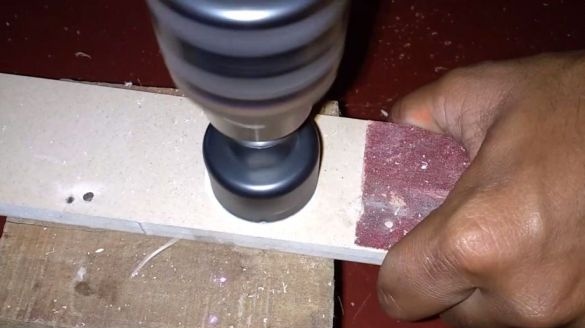
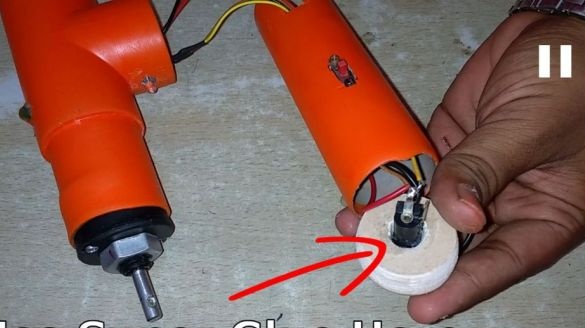
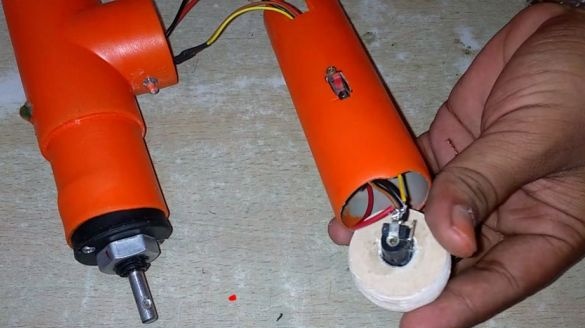
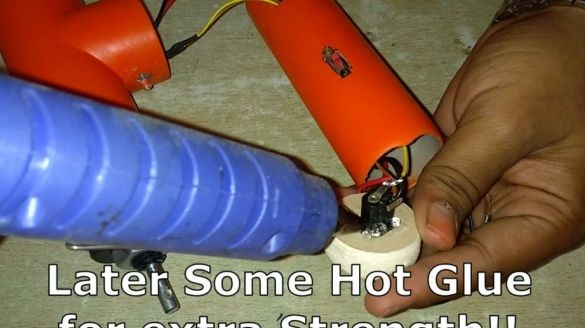
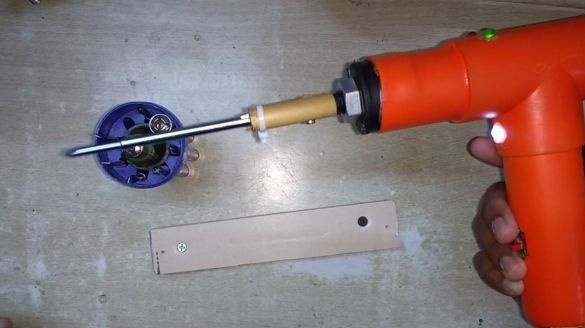
Cuts out the plugs. Installs the engine in the pipe. All wires are hidden in the pipe. Fixes LEDs, connector and switches. Installs stubs. Installs and fixes a bamboo stick on the motor shaft. A screwdriver will be installed on the other end of the wand. In the future, the master plans to replace the bamboo stick with an aluminum tube.
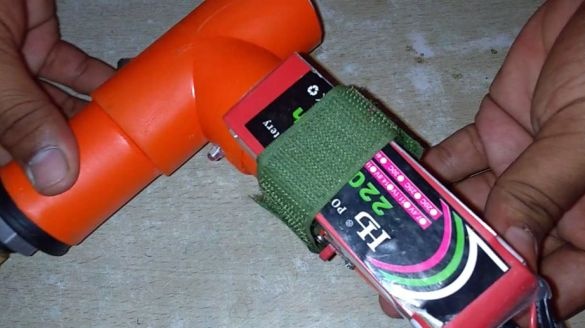
Fasten the battery to the handle with Velcro. If necessary, instead of the battery, you can connect the power supply.
An electric screwdriver is ready.
The whole process of making a screwdriver can be seen in the video.

