
- a very necessary thing in the household, they can chop wood, meat, defend themselves from enemies, and also perform many work during construction. is the oldest and most useful tool that people ever came up with.
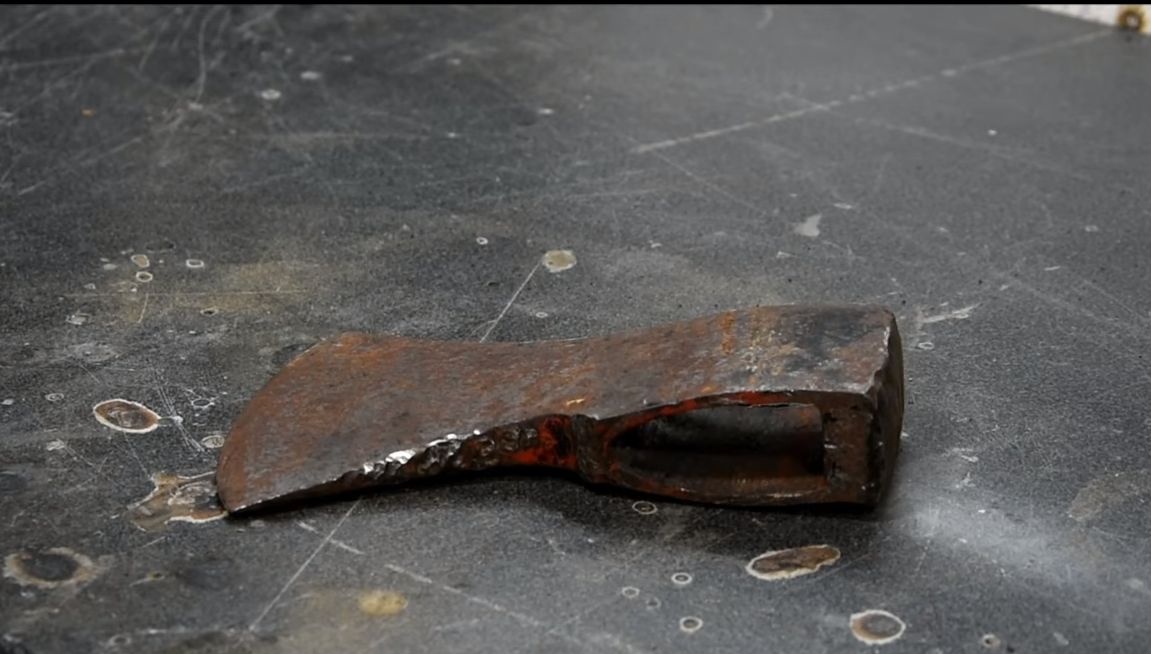
Typically, axes last quite a long time if handled with care, but one way or another, time takes its toll and the ax breaks down. The most common cause of breakdown is the failure of the ax, as it is made of wood. And the ax itself begins to rust over time, it will form nicks on the blade, cracks and so on.
In this manual, we will look at how do it yourself restore old ax. We will learn how to make an ax, install it on an ax, and so on. In this way, you can restore not only axes, but also splitters for splitting firewood.
Materials and tools used by the author:
Material List:
- old ax;
- wood board (oak, ash, maple, birch, etc.)
- epoxy glue with dye (optional);
- stain, oil (etc. for processing ax).
Tool List:
-, jigsaw (or the like);
- a planer;
- sandpaper of different grain size;
- vise;
- a grinder with grinding nozzles;
- ruler;
- pencil and marker.
Ax recovery process:
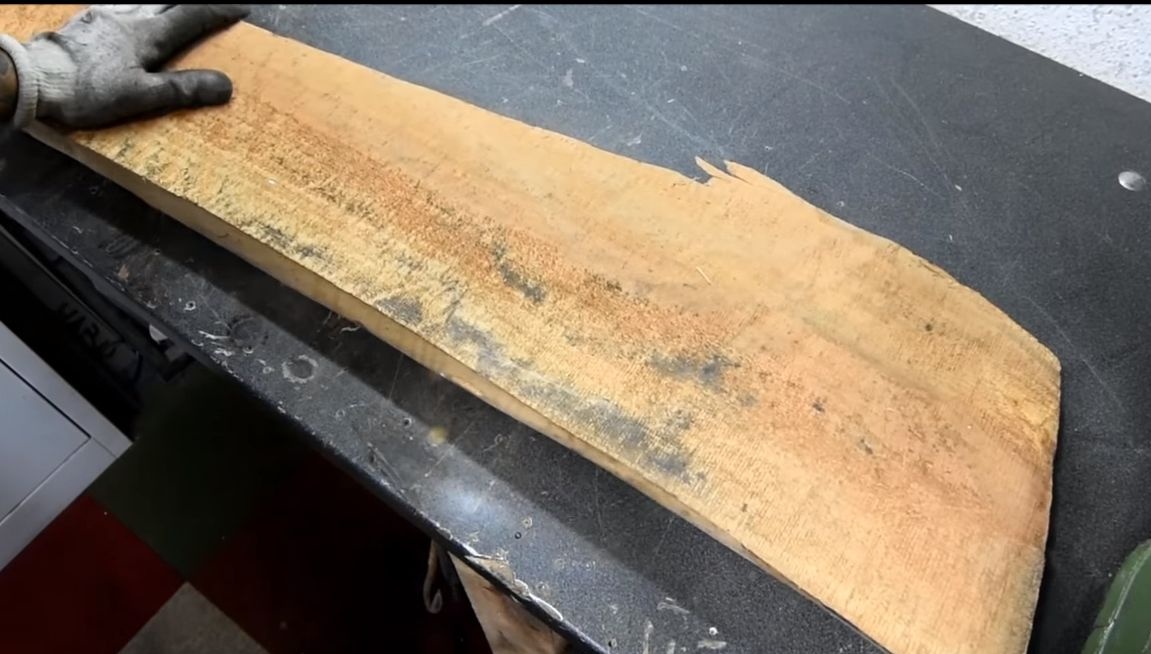
Step one. Choosing wood for hatchet
The hatchet can be made from various species of wood, it can be maple, oak, beech, linden or even birch. Of course, the advantages remain with hard rocks, such axes serve for many years, and also look great. But they also have drawbacks, axes made of hard rock are often brittle, and an ax breaks in half if force is not calculated.
As for soft wood species, for example, such as linden or birch, axes are also actively made from them. Although they serve for a relatively short time, they are very easy to manufacture, even hand tools can be used here.
The best option is maple. This wood is durable, and also has some "spring", which allows the ax not to break. Hazelnut is also great, breaking such an ax will be extremely problematic. In addition, these types of wood have an excellent appearance.
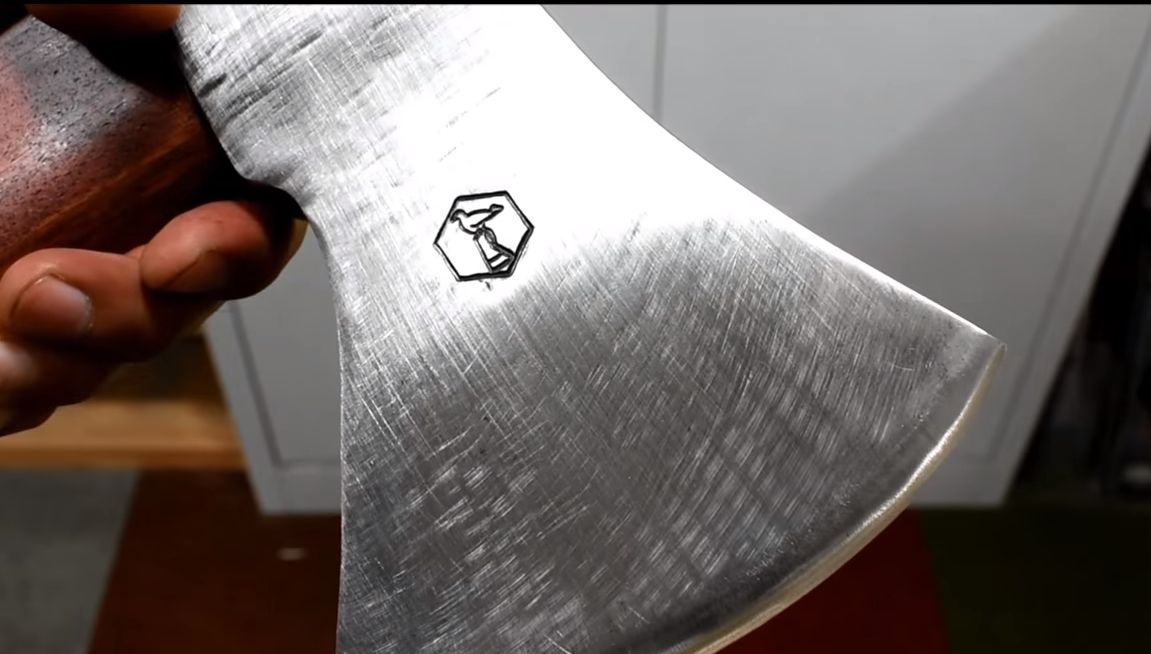
Step Two Grinding an ax
Let's start with the preparation of the ax, that is, its metal part. Time does its job and shells, rust, chips and other defects can appear on the metal.Sometimes an ax can easily crack, then it can be brewed with a large electrode with an overestimated current to melt the metal well.
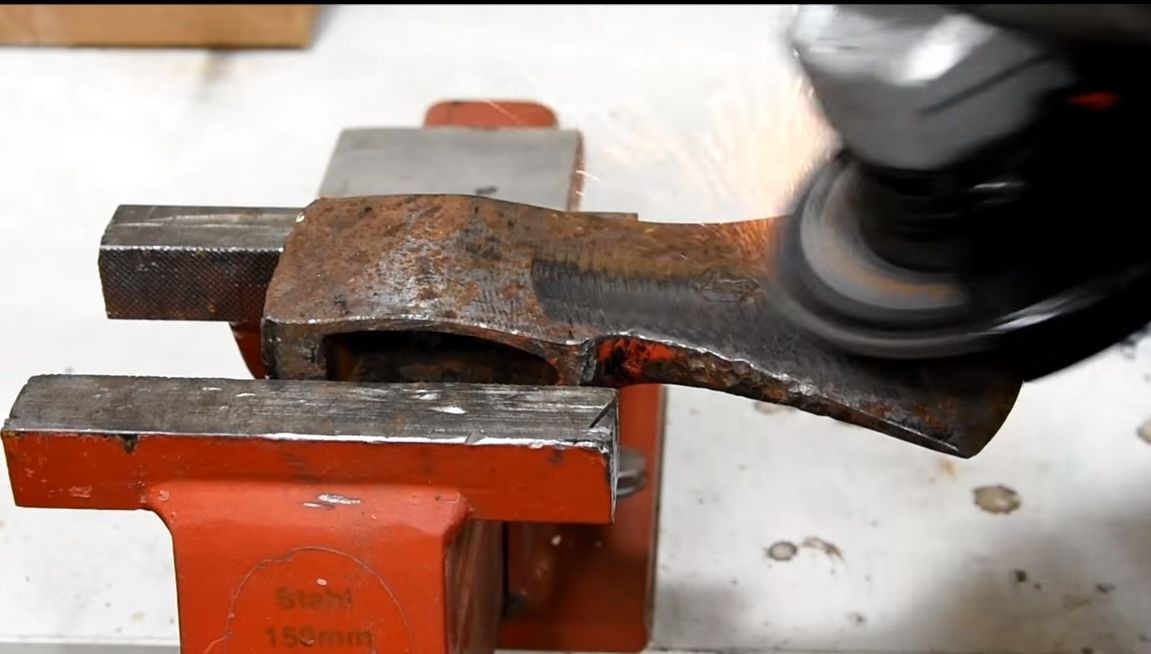
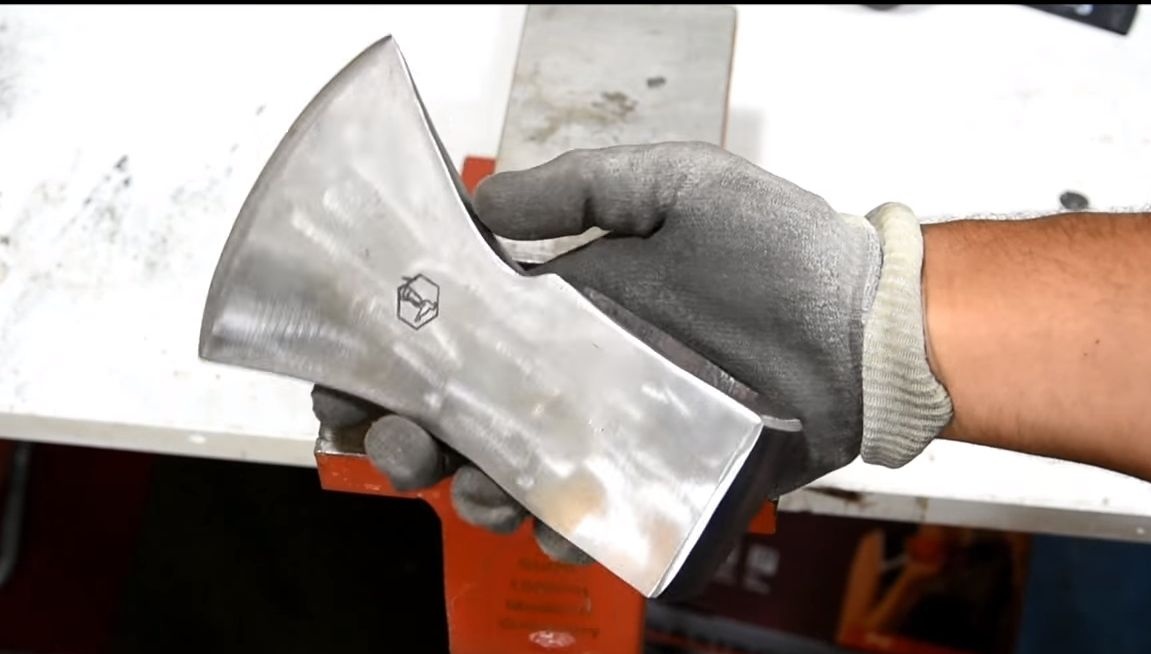
The author carefully polishes the surface with a grinder. As a result, the ax is almost smooth and shiny. Also remember to trim and sharpen the blade. Although full sharpening is best done at the very end, so as not to cut yourself with an ax when working.
Step Three Draw a hatchet profile and cut
For the manufacture of hatchets, a wood plate or bar of suitable thickness is suitable. The author draws an ax in the eye, he already has an eye on this matter. The ax does not have to be like everyone else, show imagination, imagine with which handle your ax will be convenient and draw.
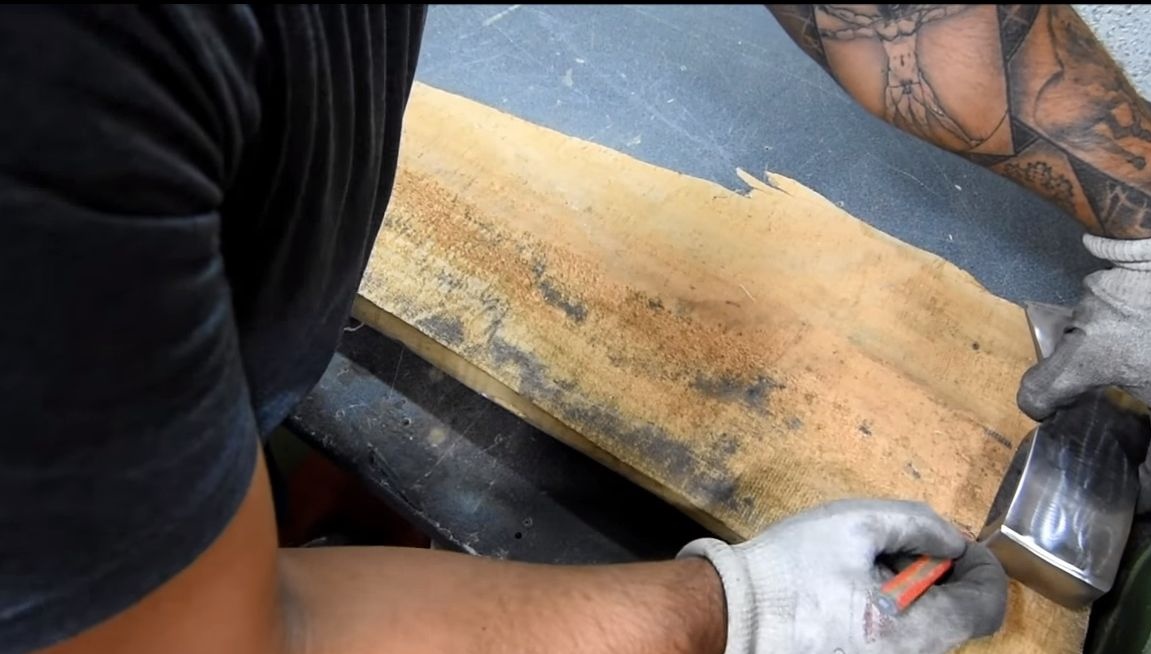
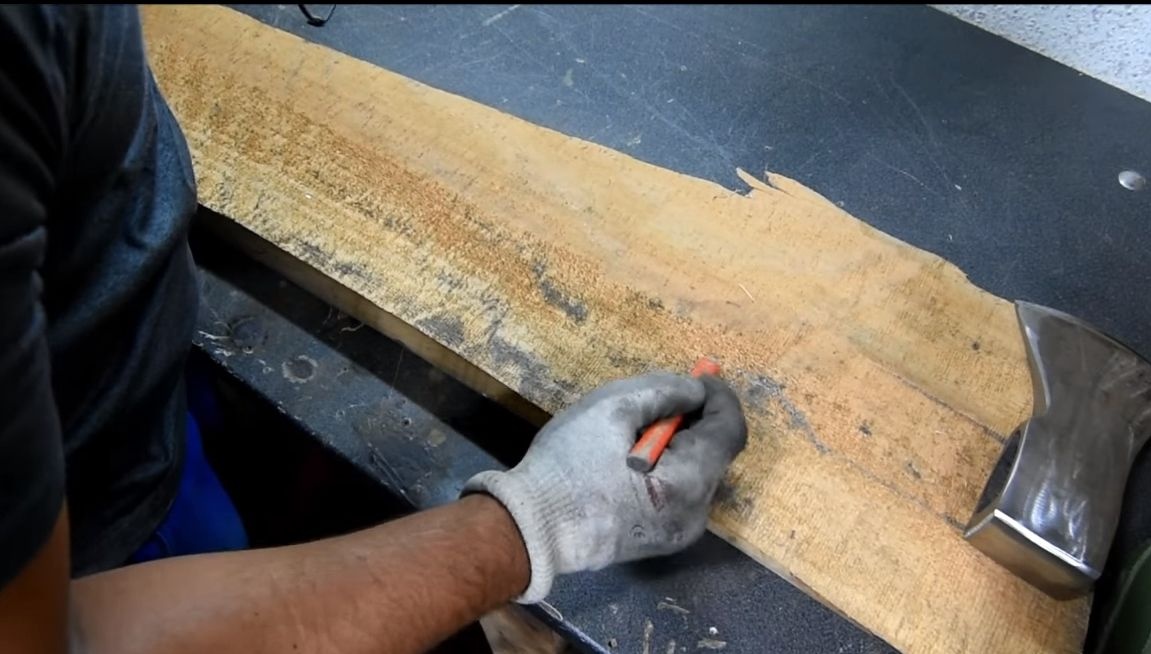

The only thing that the author measures when applying the profile is the length of the handle. The longer the handle is, the stronger you can swing and hit the hemp. To the same, the farther the place of impact from you, the safer.
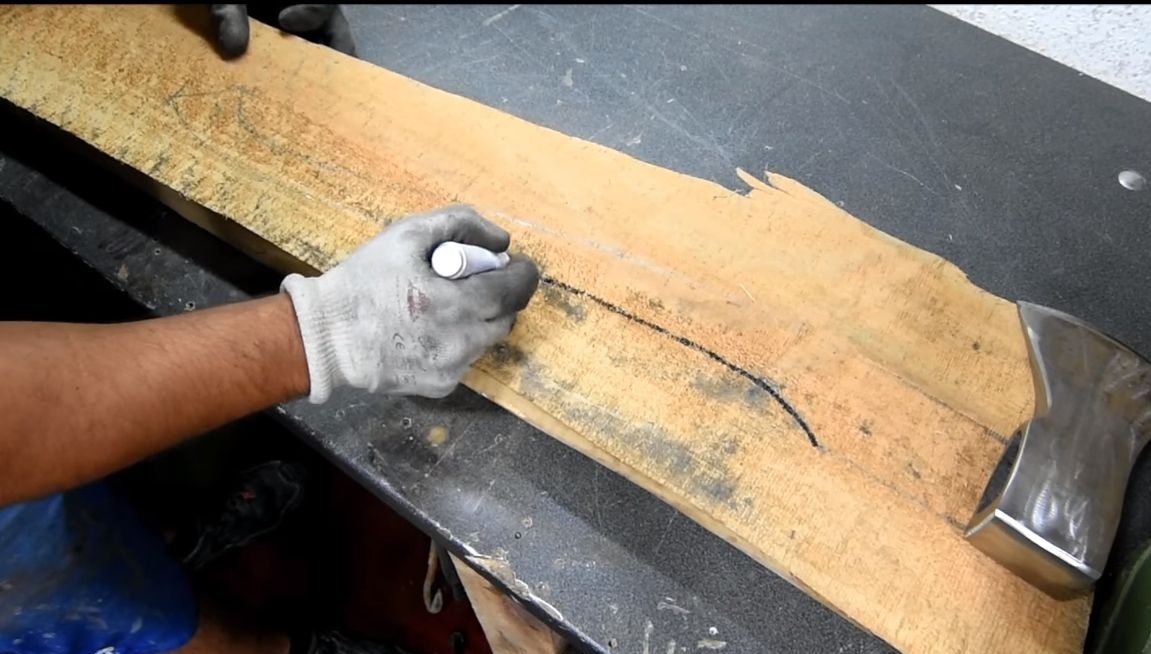
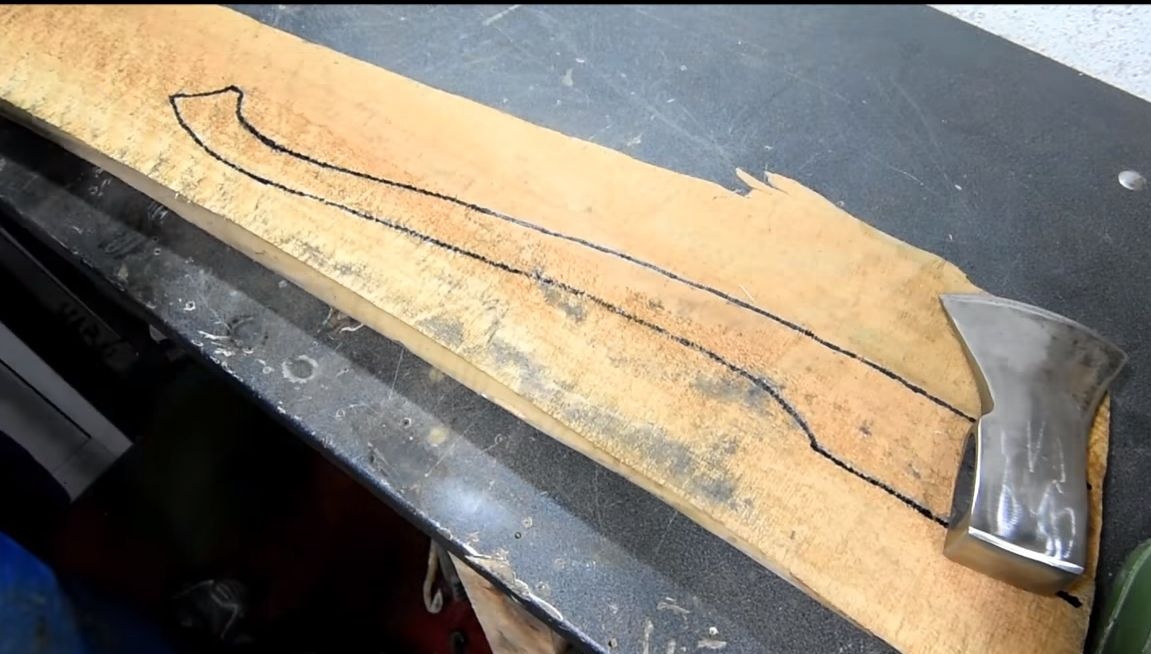
First, draw carefully with a pencil so that you can fix it, and then draw a contour with a marker.
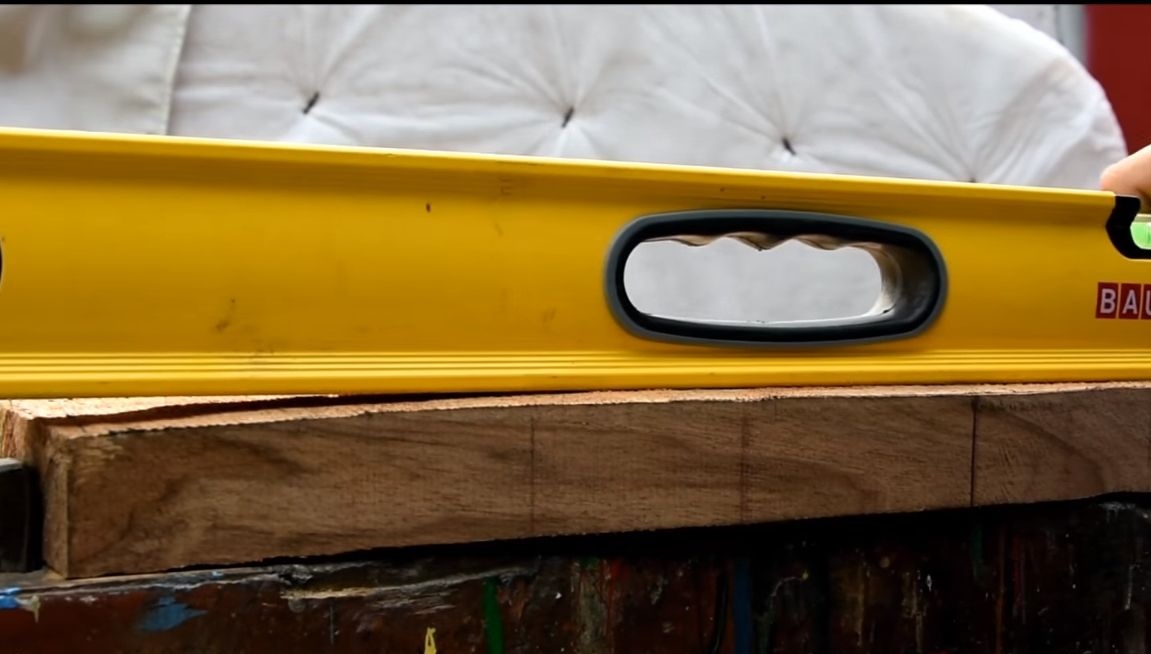
Step Four Align the plane
If it turned out that the cut ax has a curvature, it needs to be trimmed. For these purposes, the author works as a planer.
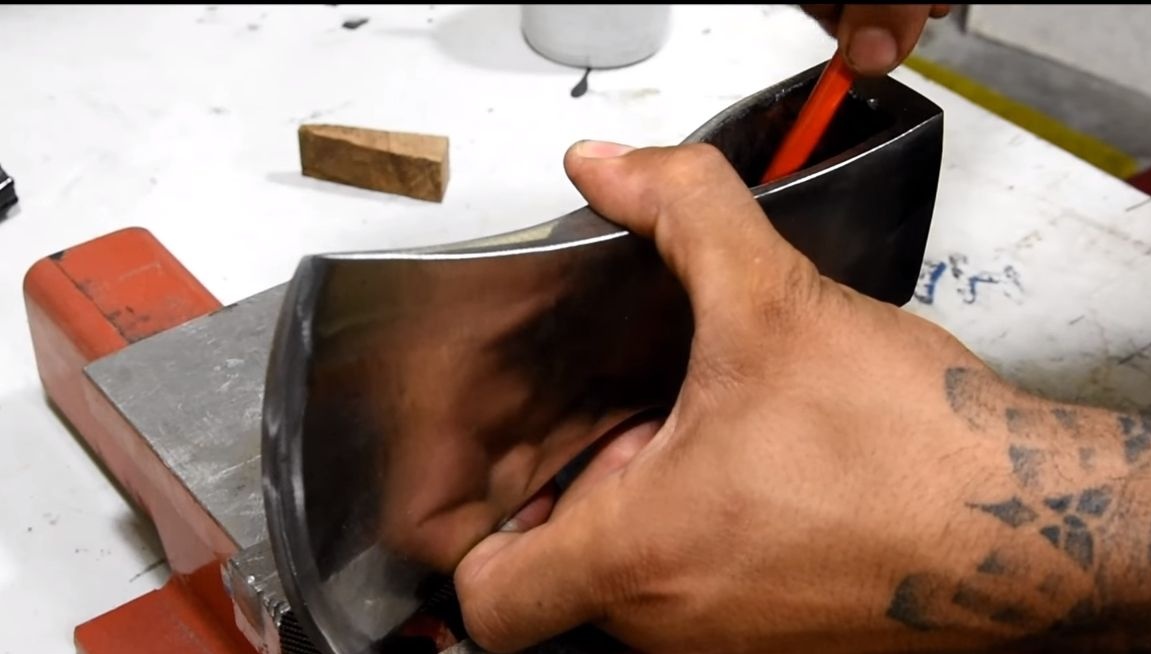
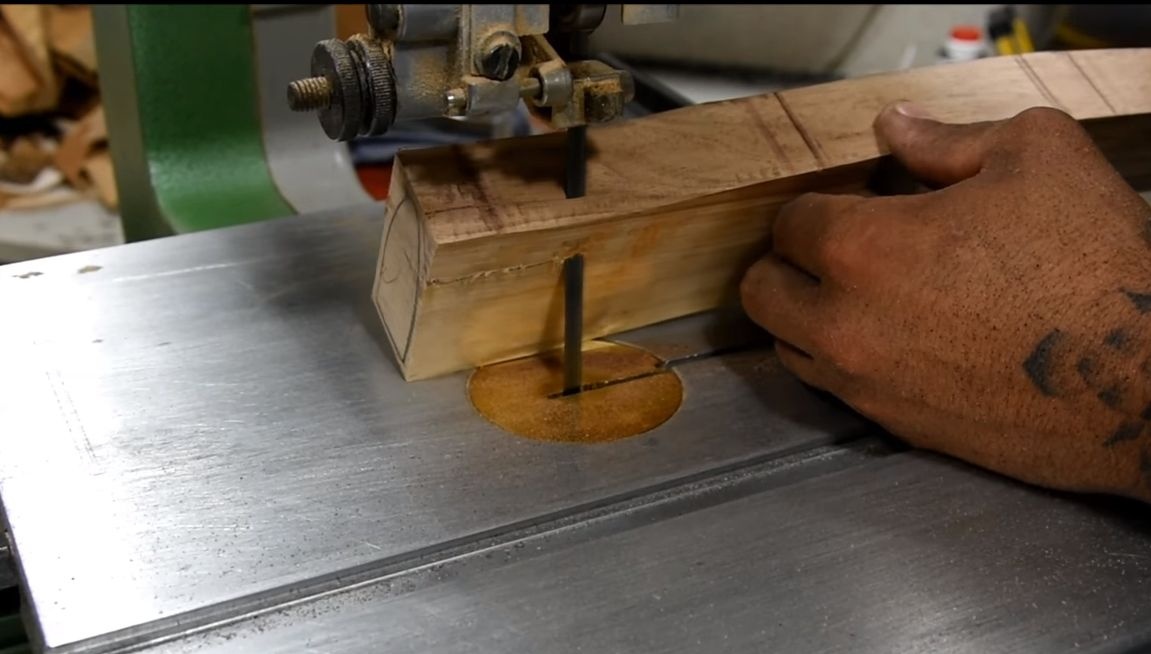
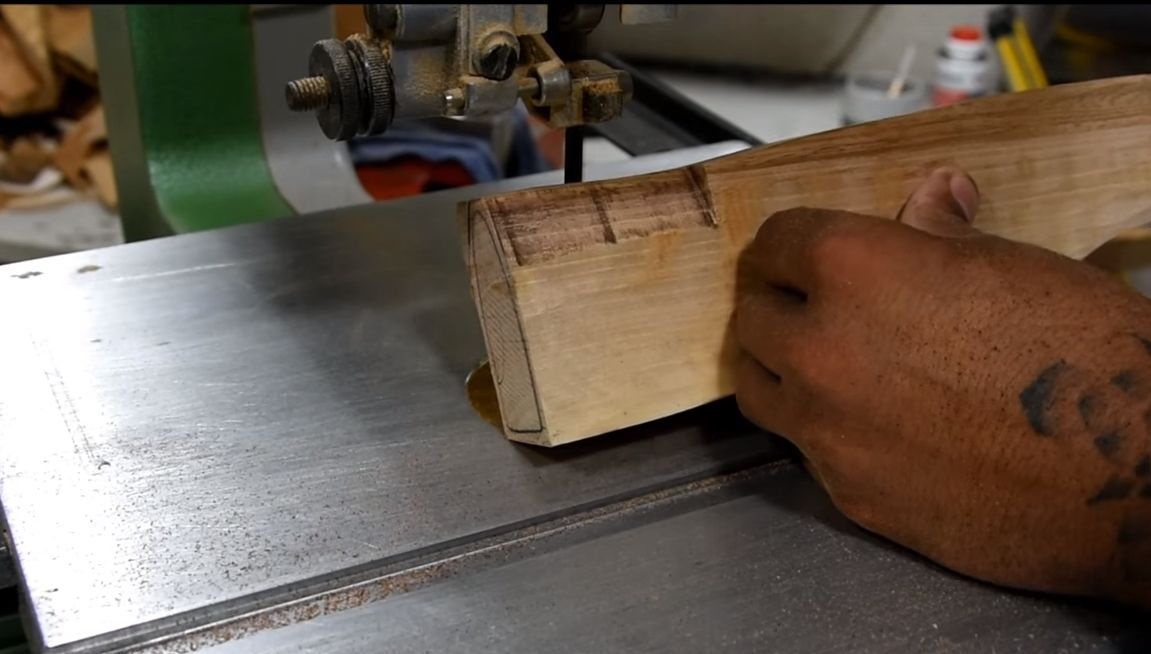
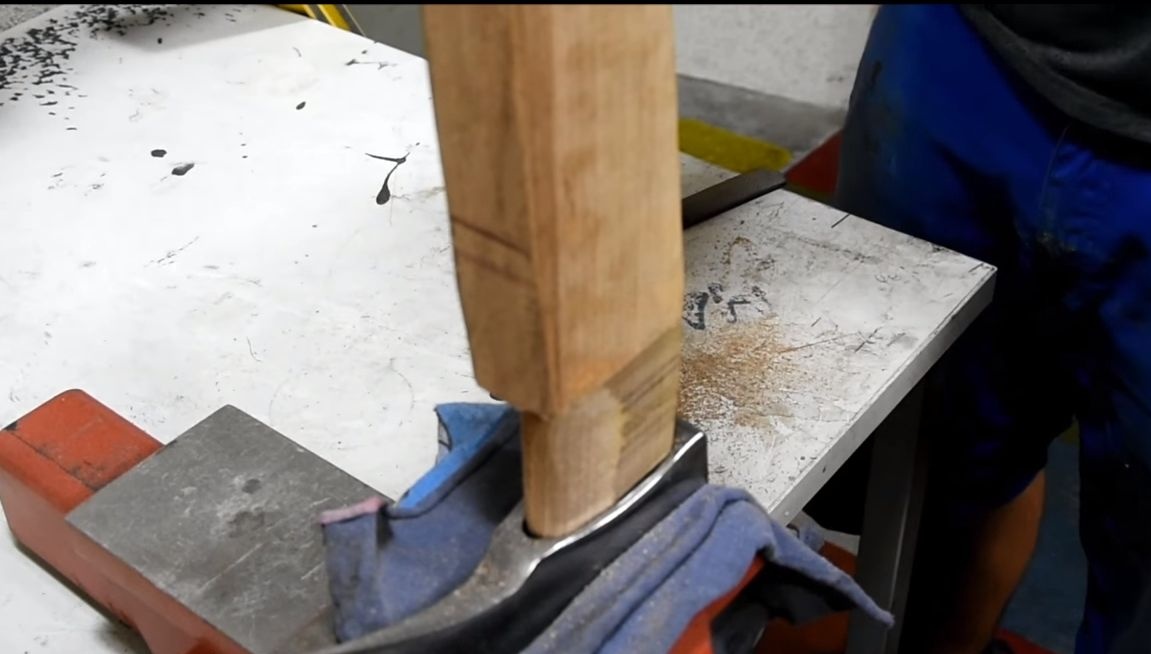
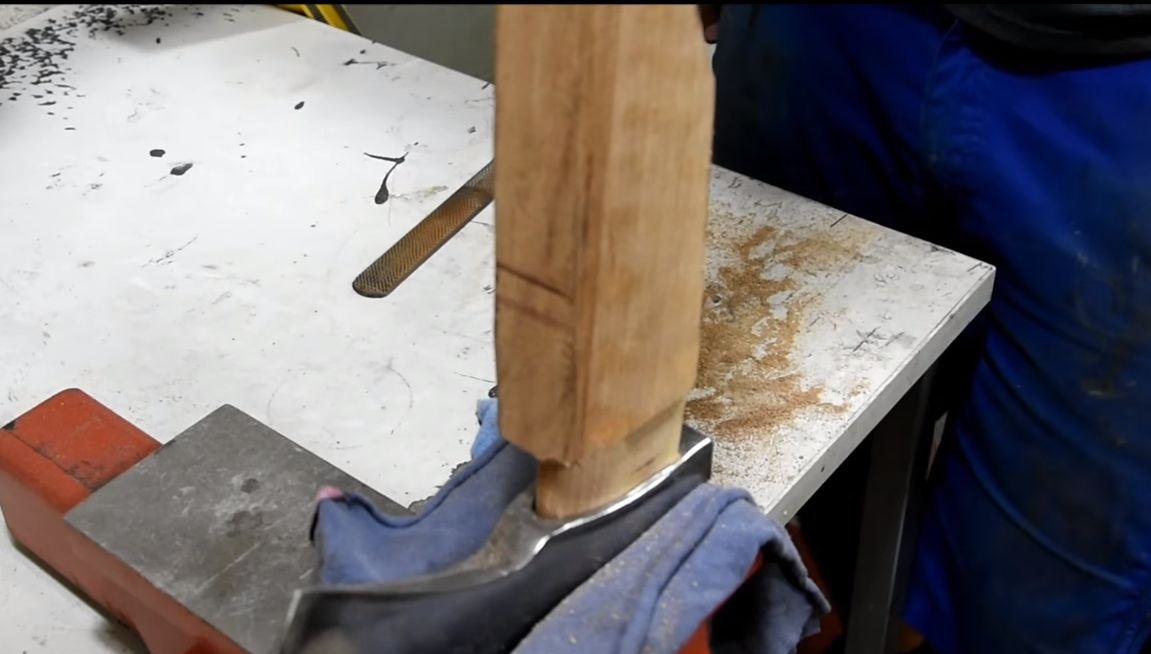
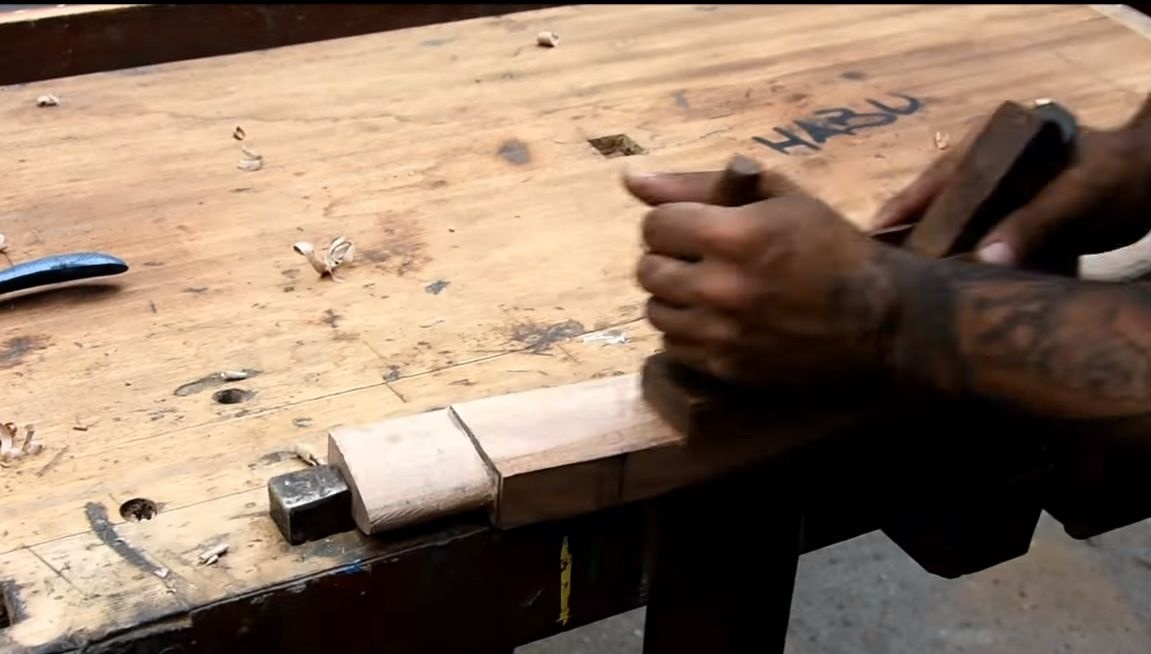
Step Five We form the side that is inserted into the ax
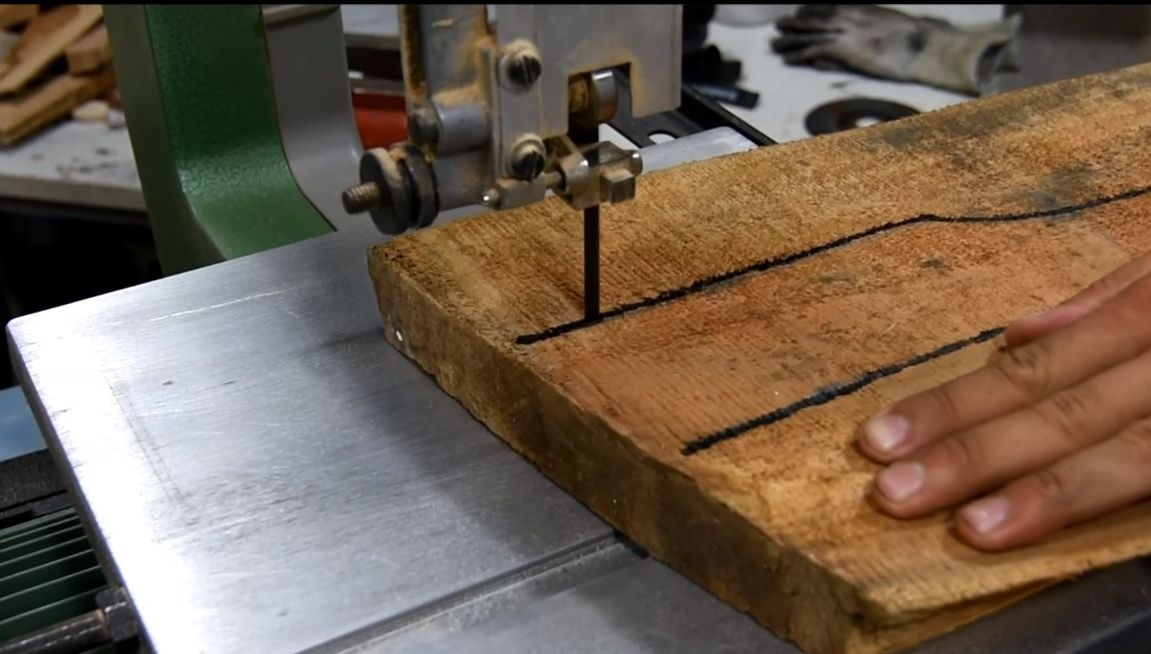
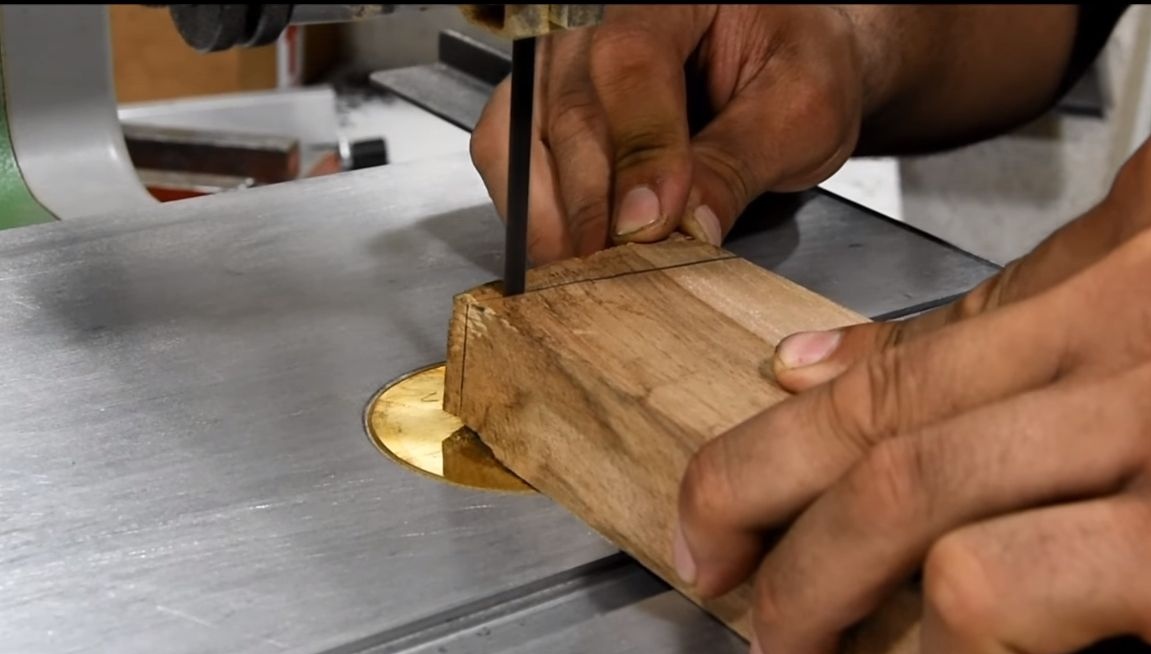
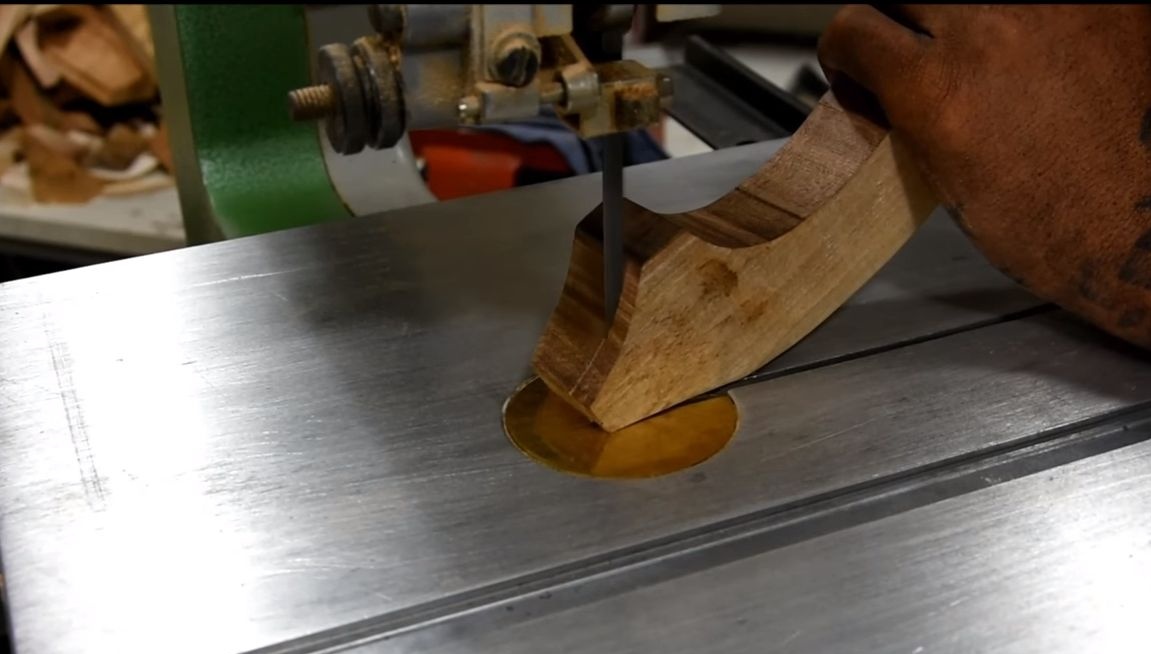
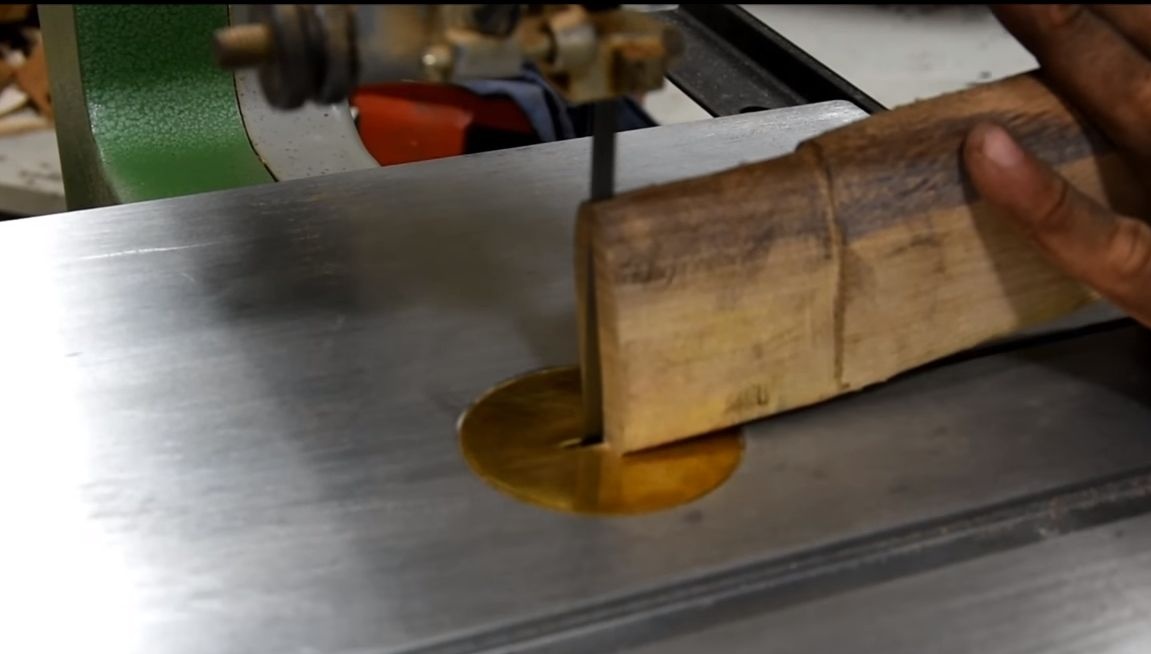
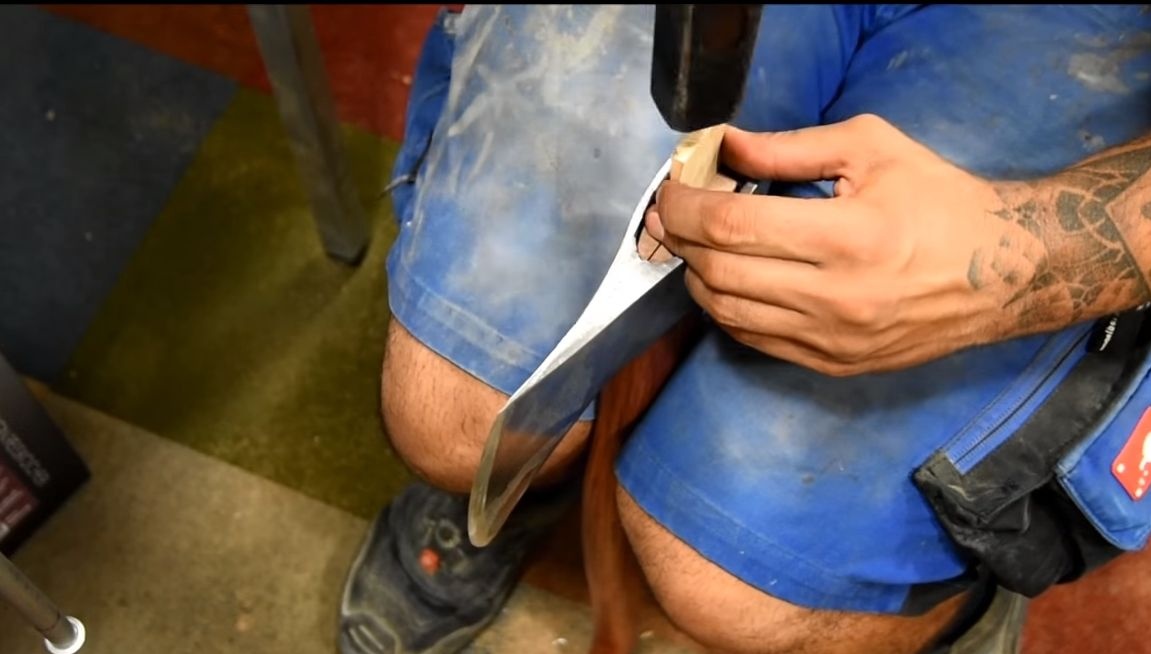
Clamp the ax in a vice in an upright position. We put an ax to the end and circle the inside with a pencil. As a result, we get the profile to be manufactured. The author shapes it using a tape cutting machine, this is the easiest option. If you work the old fashioned way, then this task can be dealt with using a sharp knife for woodworking. In length, the author makes this part such that it does not go into the ax a little to the end.
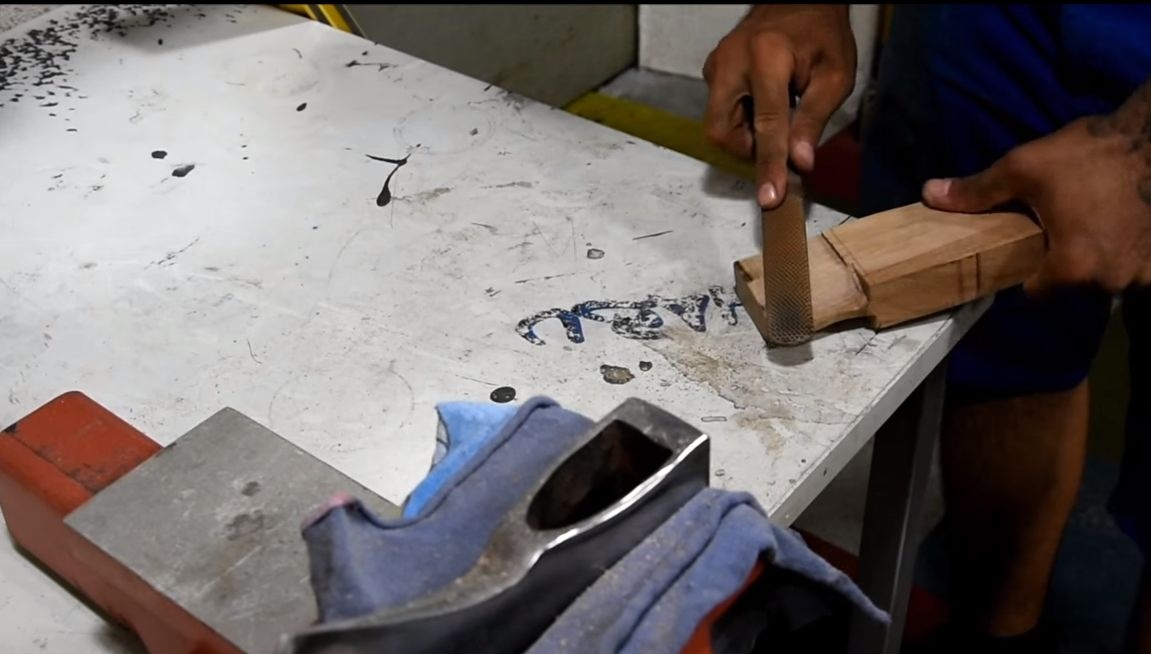
In the end, there is manual processing, then you need a rasp. With it, we perfectly fit the ax under the ax. The hatchet should go as tightly as possible, without gaps, then the ax will not go loose, and will serve for a long time.
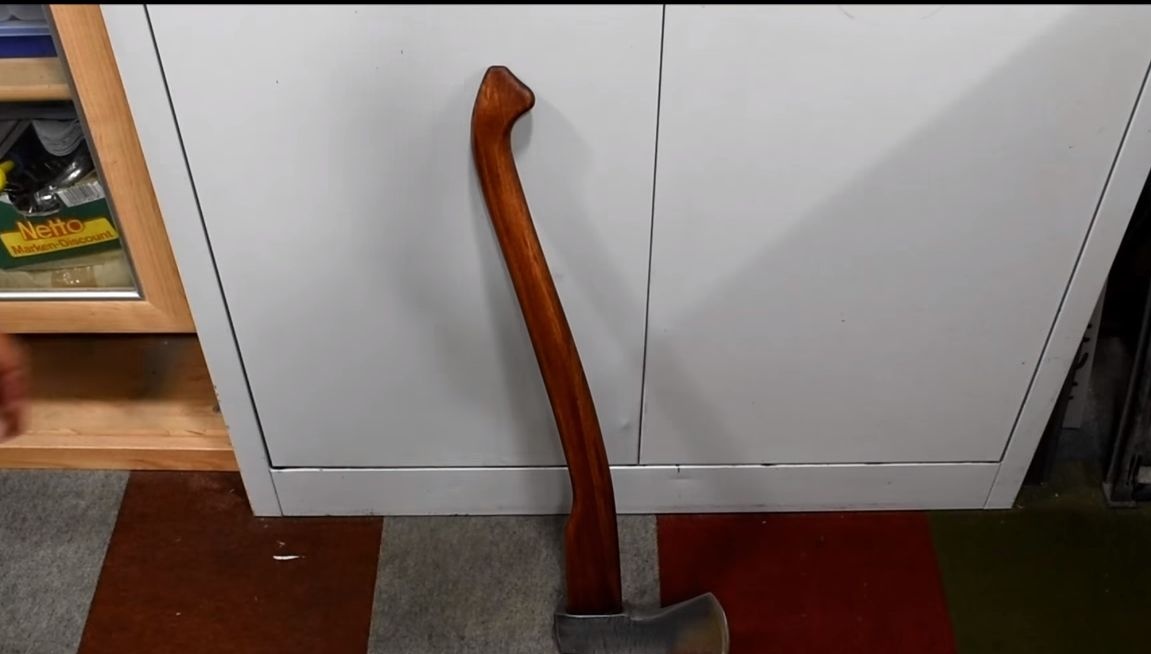
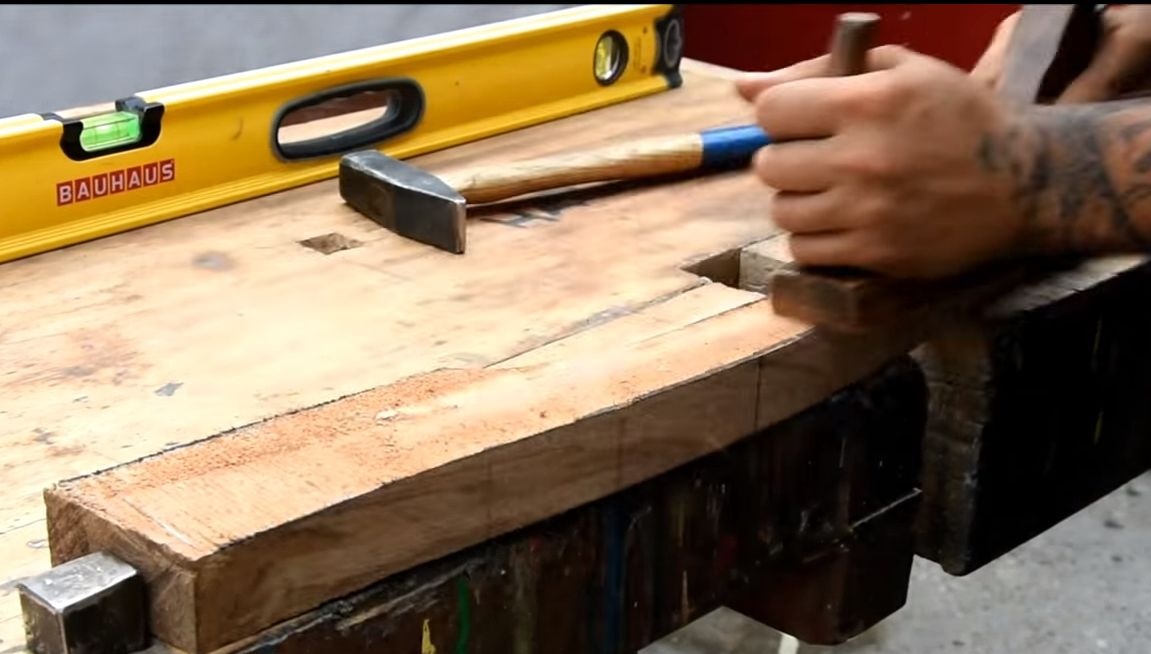
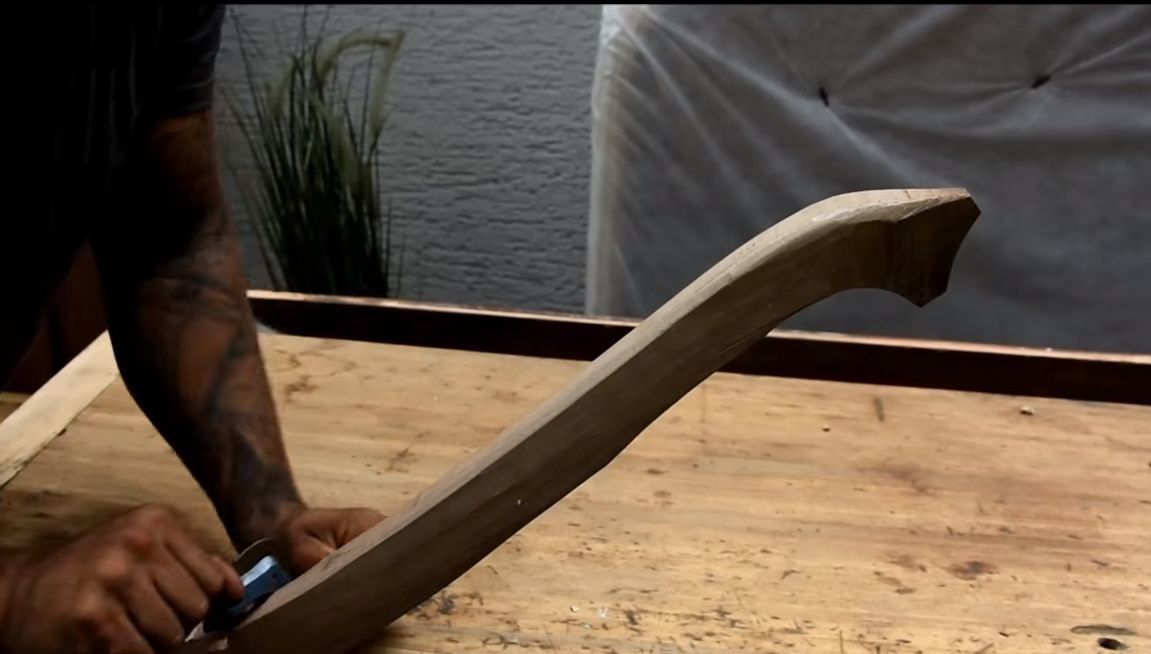
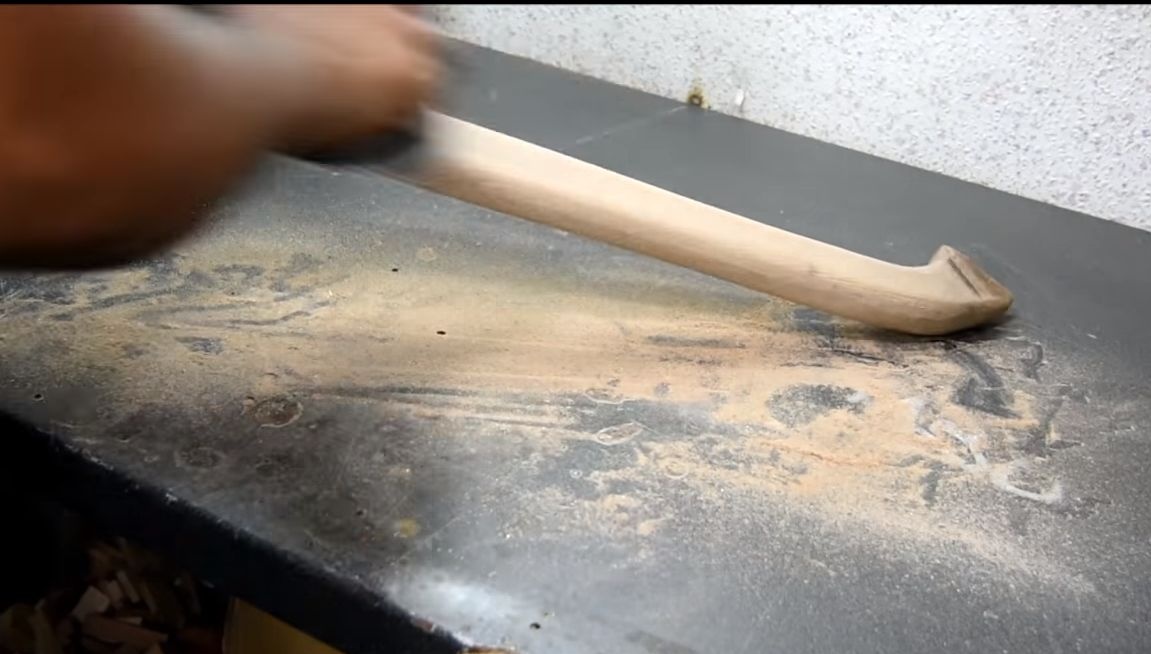
Step Six We form the finished ax profile
Using knives, a planer and other tools, form the desired shape of the handle, smooth the corners so that the ax is comfortable to hold in your hands.
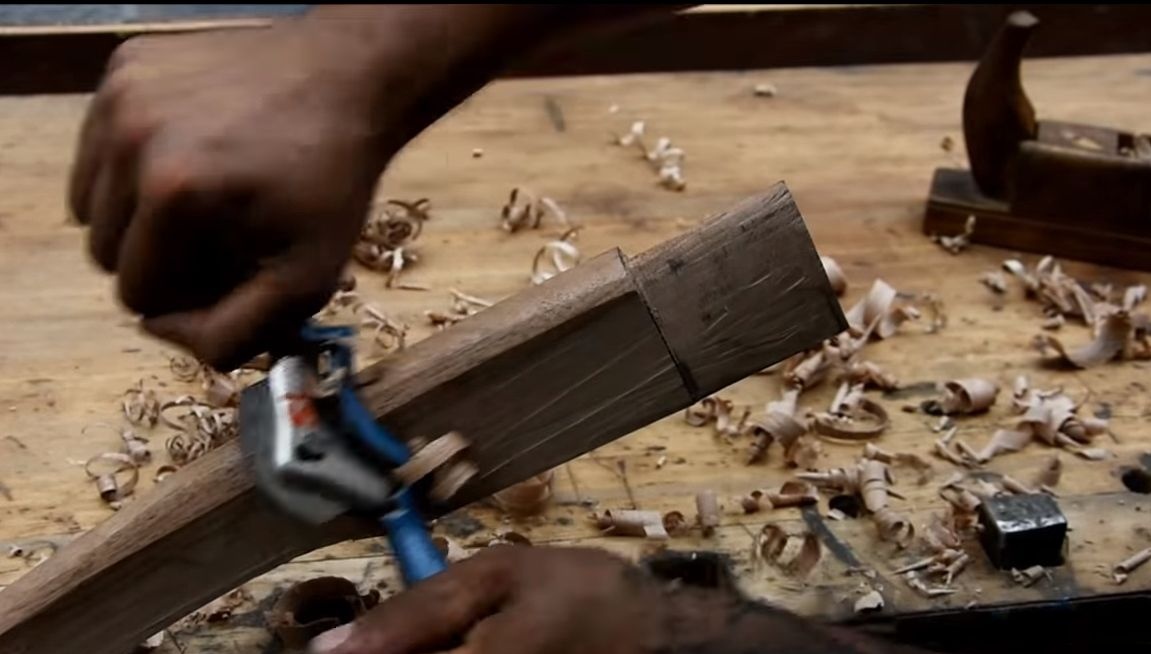
You also need to cut a slit for the wedge in the ax. This can be done using a conventional hacksaw for metal, holding the ax in a vice. In order not to damage the wood with a vice, wrap a hatchet with a rag.
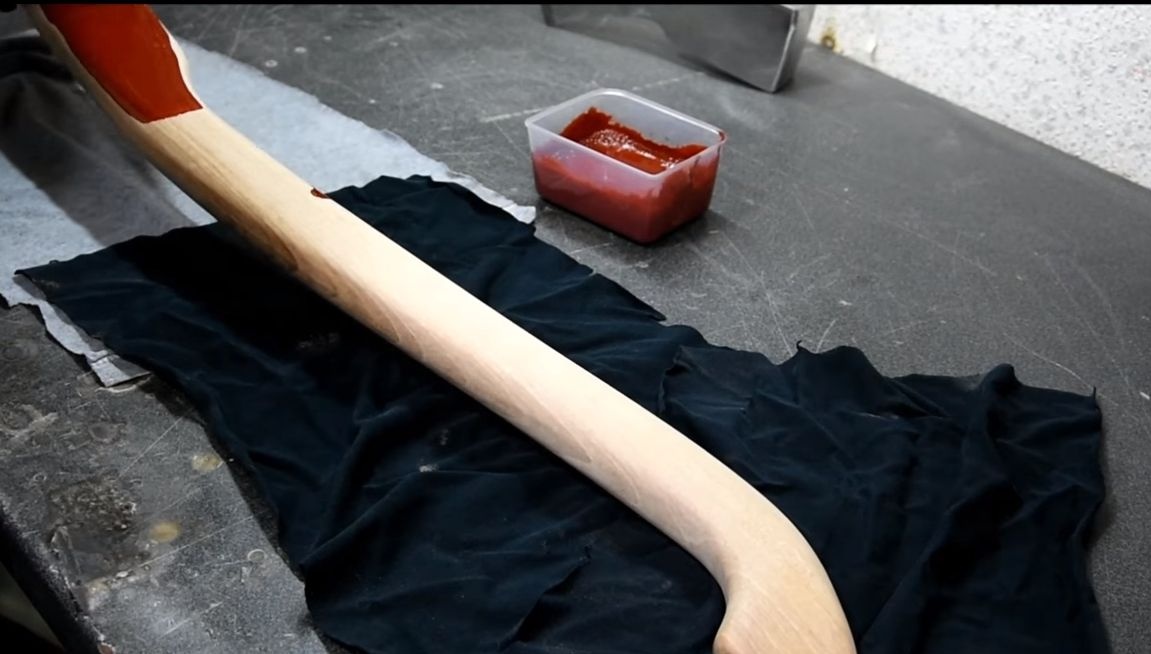
Seventh step. Fine processing ax
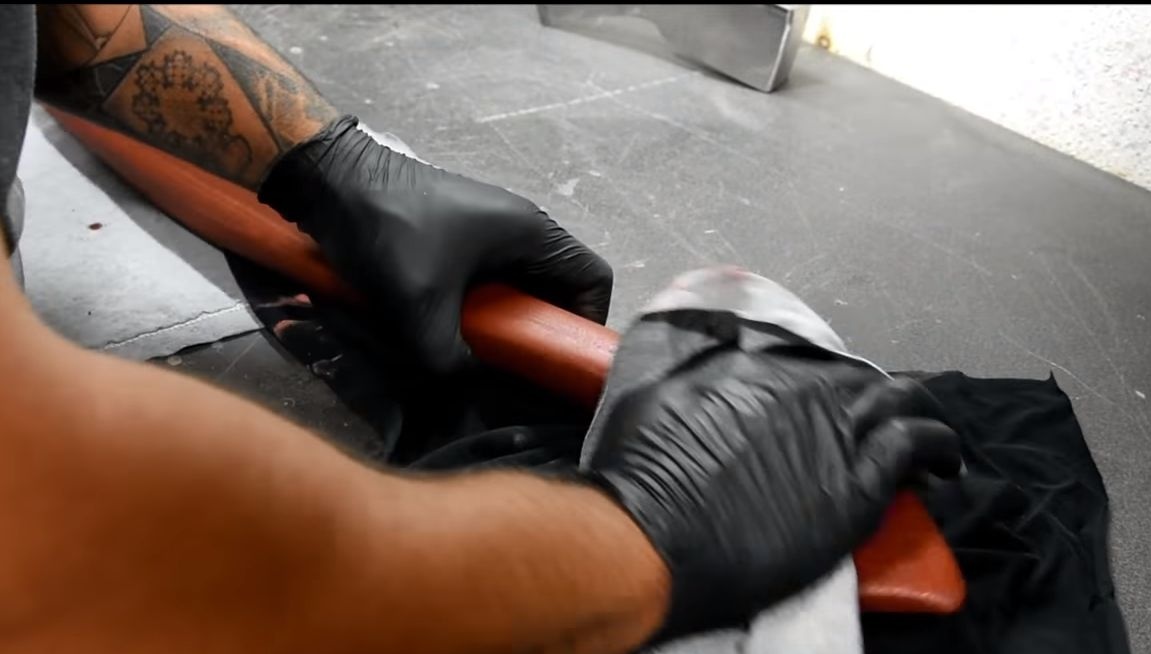
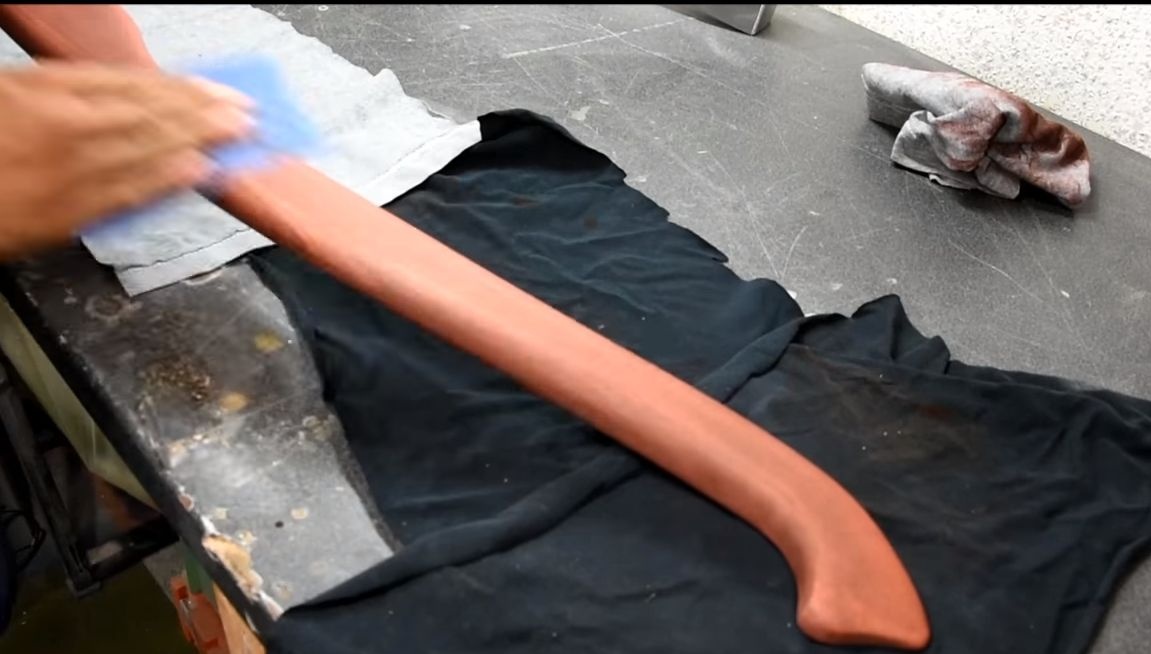
This step is not necessary at all, it is needed if you want your ax to look perfect. We take sandpaper and carefully grind the ax to a smooth state. Next, you need a stain if you want to give the ax color. Instead of stain, you can use special wood oil.
We apply dye, wait until it dries, and then with the help of fine sandpaper we grind the ax again. With this approach, the tree can be lightened a little.

Step Eight. Putting an ax together
Now you have to fix the ax on the ax. Carefully inspect the hole of the ax, often it is made in the form of a cone. This is necessary so that the ax holds firmly after wedging. To install such an ax on an ax you need a more expanded part up.

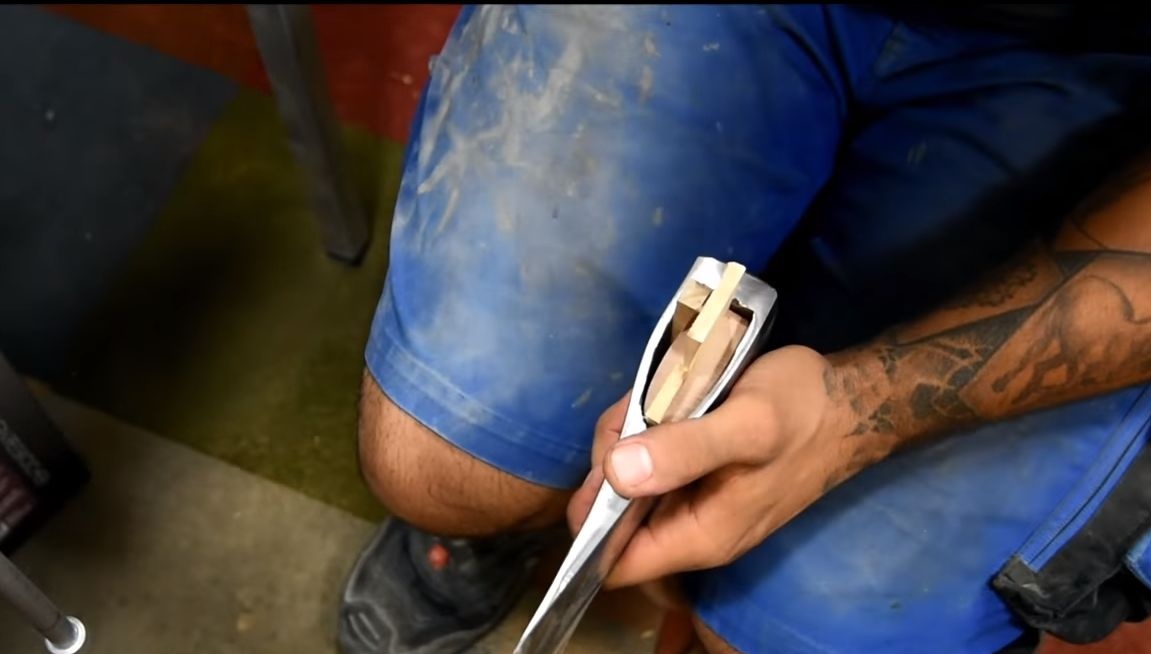
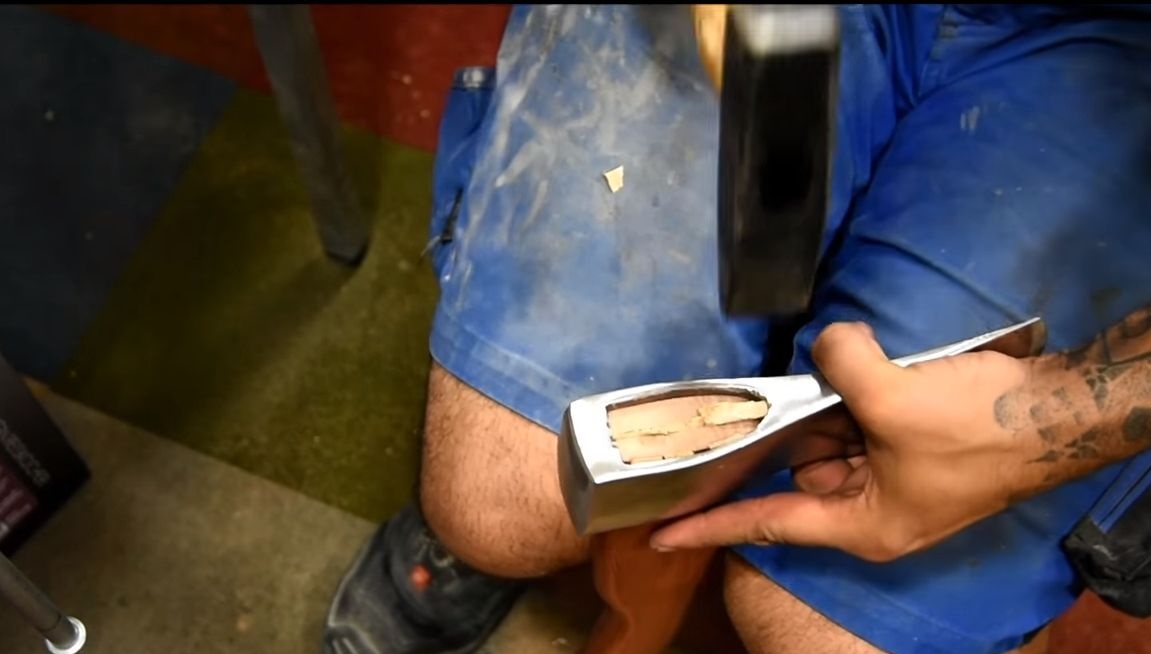
A good hatchet should go into the ax with a minimum clearance, as a result, after wedging, a very reliable fastening is obtained. The author got a very large gap between the ax and the ax, as a result, it was decided to hammer a couple more wedges on one side. This is a bad approach and you won’t work with such an ax for a long time, it’s only suitable for an exhibition.
If you want to secure the ax as securely as possible, apply PVA glue to it before installation, and preferably epoxy glue.
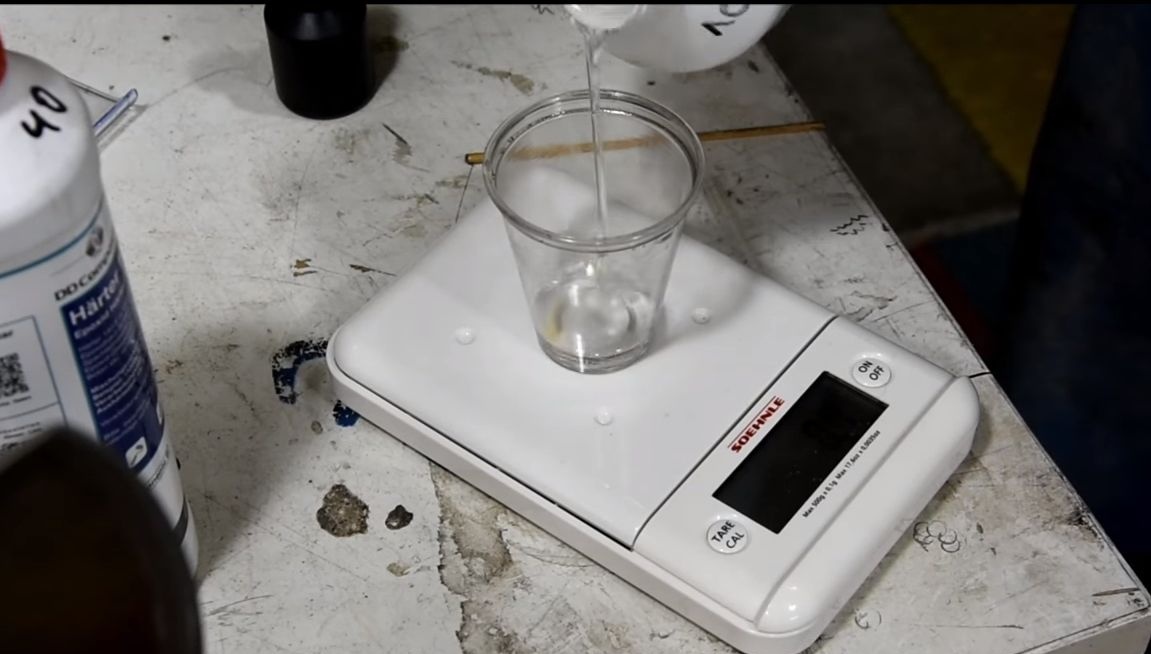
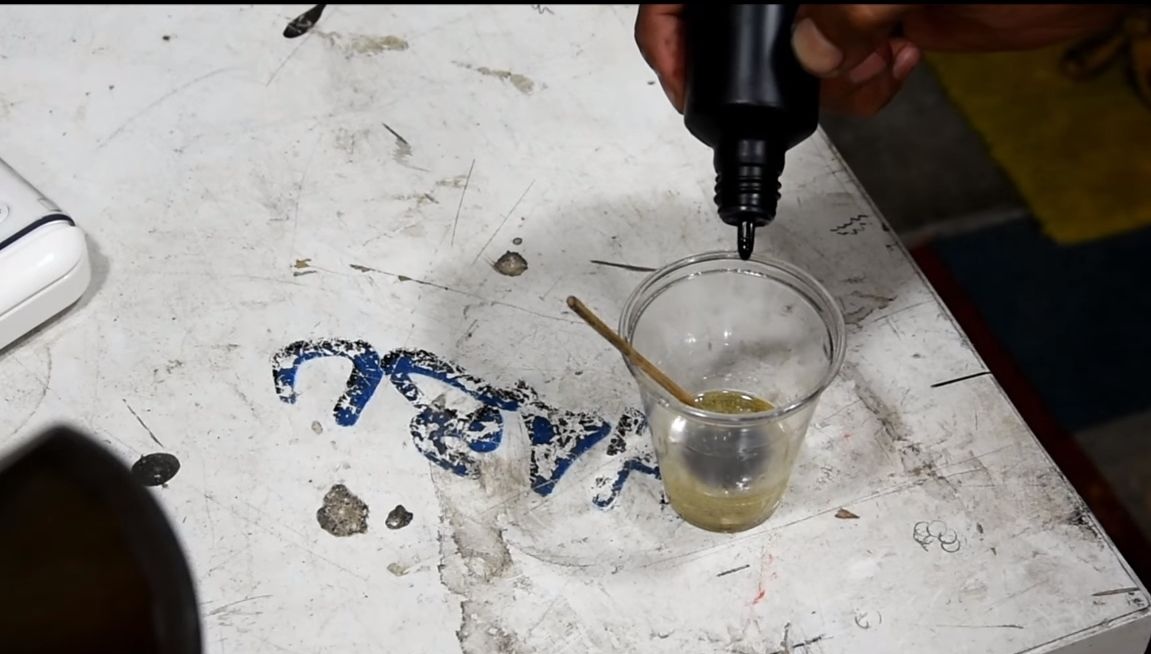
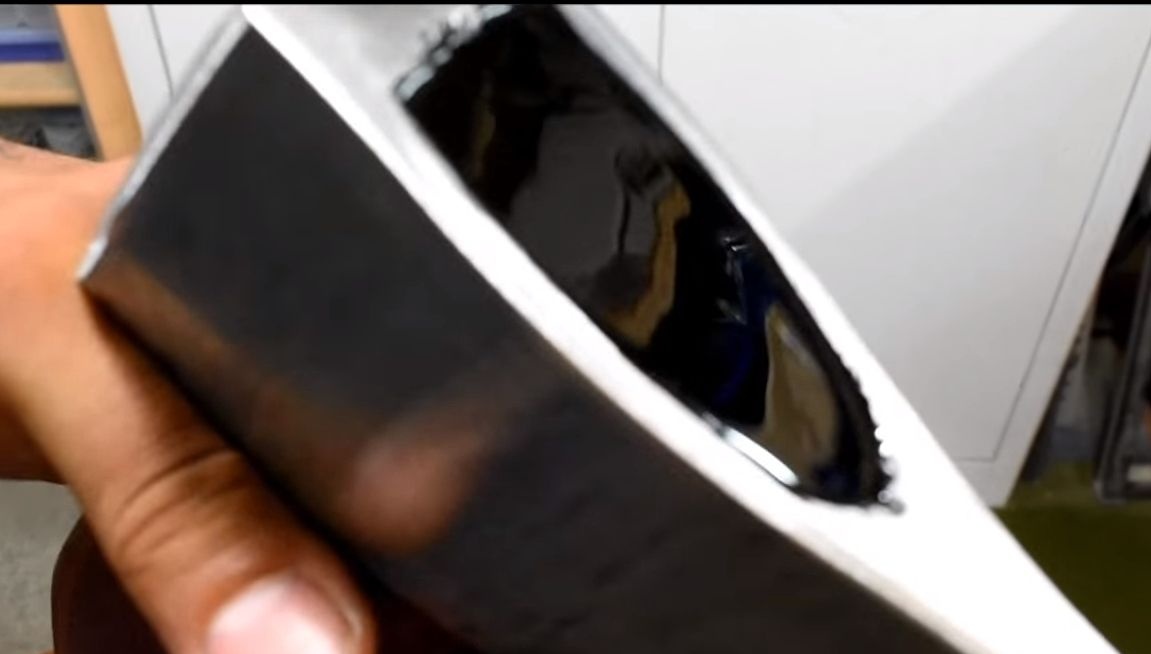
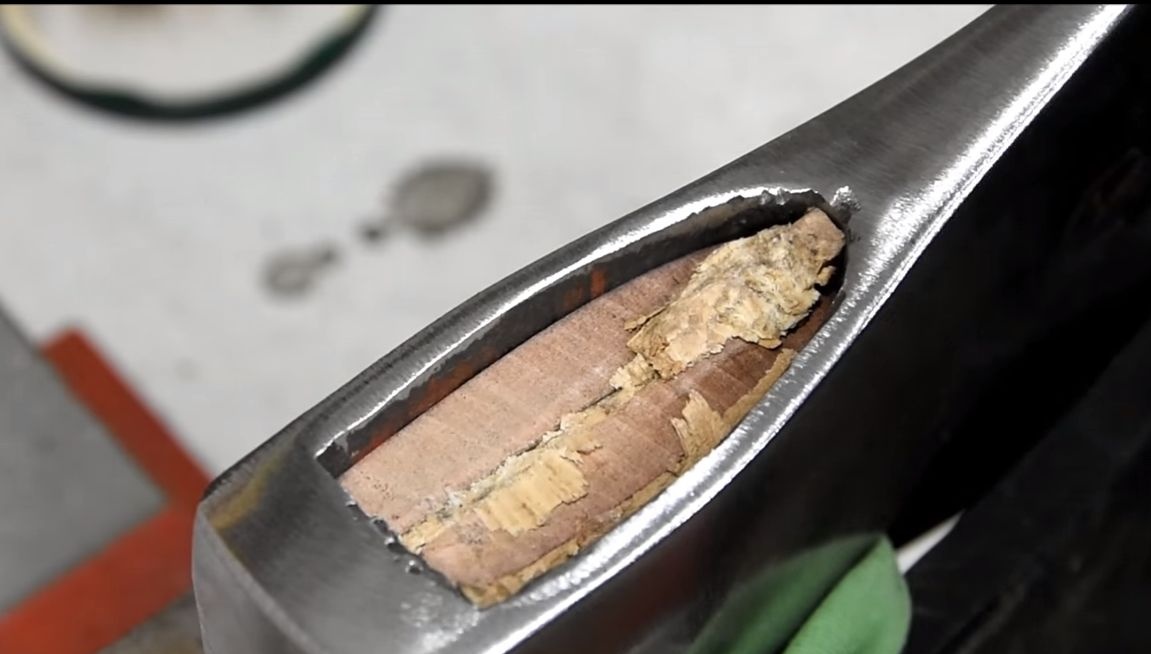
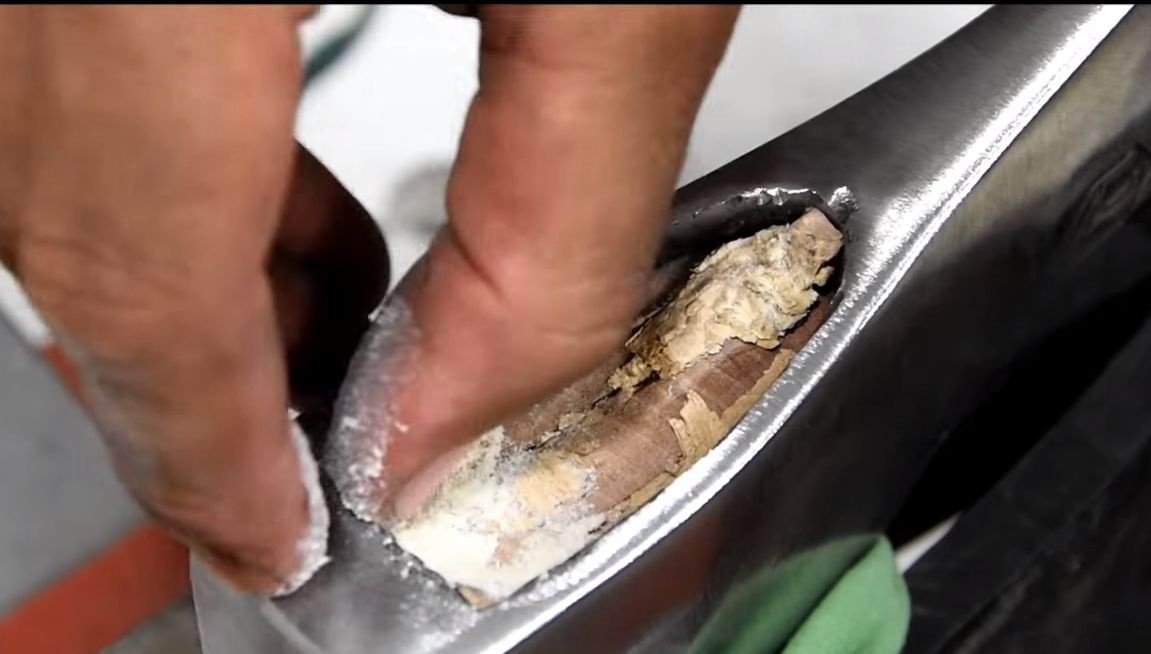
After assembling the ax, the author decided to pour on top of the place where the wedge is clogged with epoxy.I could not understand the meaning of this action, it is more of an aesthetic moment than a practical one. We dilute the epoxy adhesive with the hardener using a scale, and then add the liquid dye of the desired color.
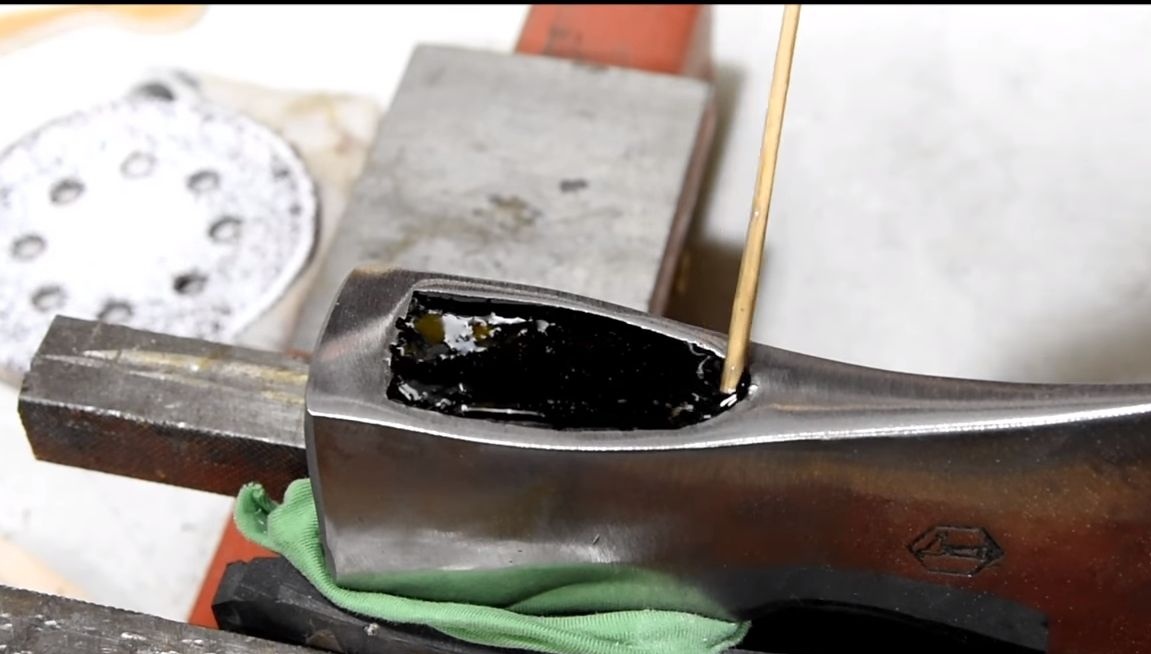
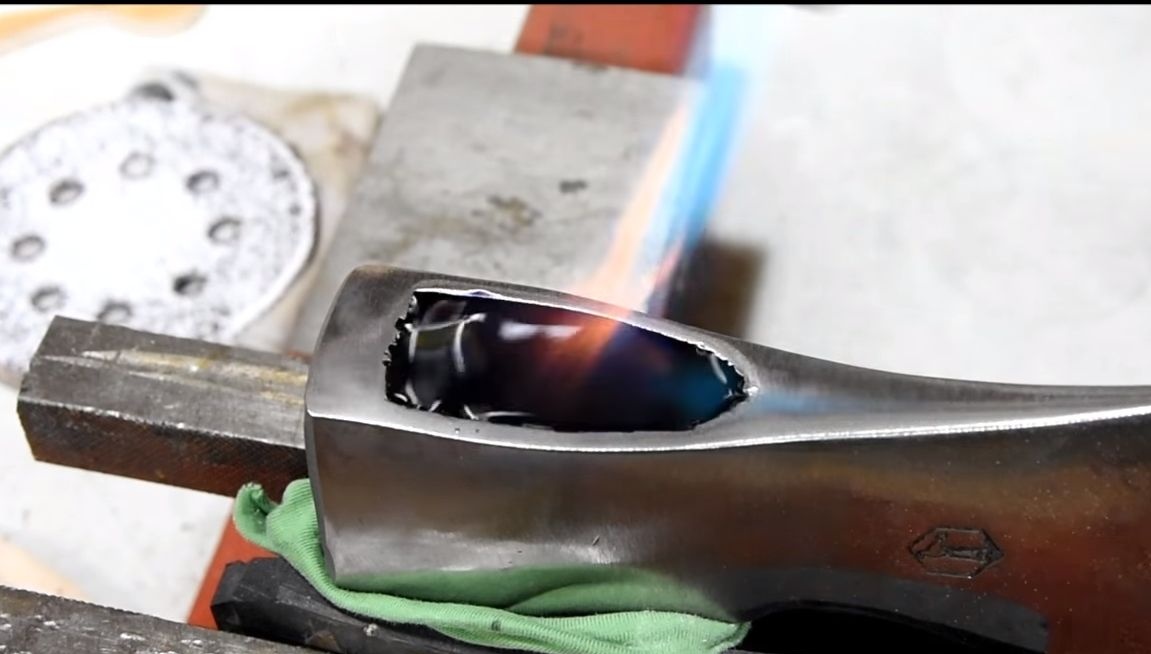
Before pouring the resin, the author clogs the cracks with small sawdust so that the resin does not leak. Pour the resin, and then heat it with a burner so that it becomes as fluid as possible and fills the entire space.
Step Nine. Final processing
This step is also optional, but useful. As we know, a tree absorbs moisture well, and it destroys it quite actively. However, many of us lowered the ax into the water so that the tree was saturated with moisture, swelled, and the ax was firmly fixed in the ax. But if the hatchet is of high quality, then this will not be needed.

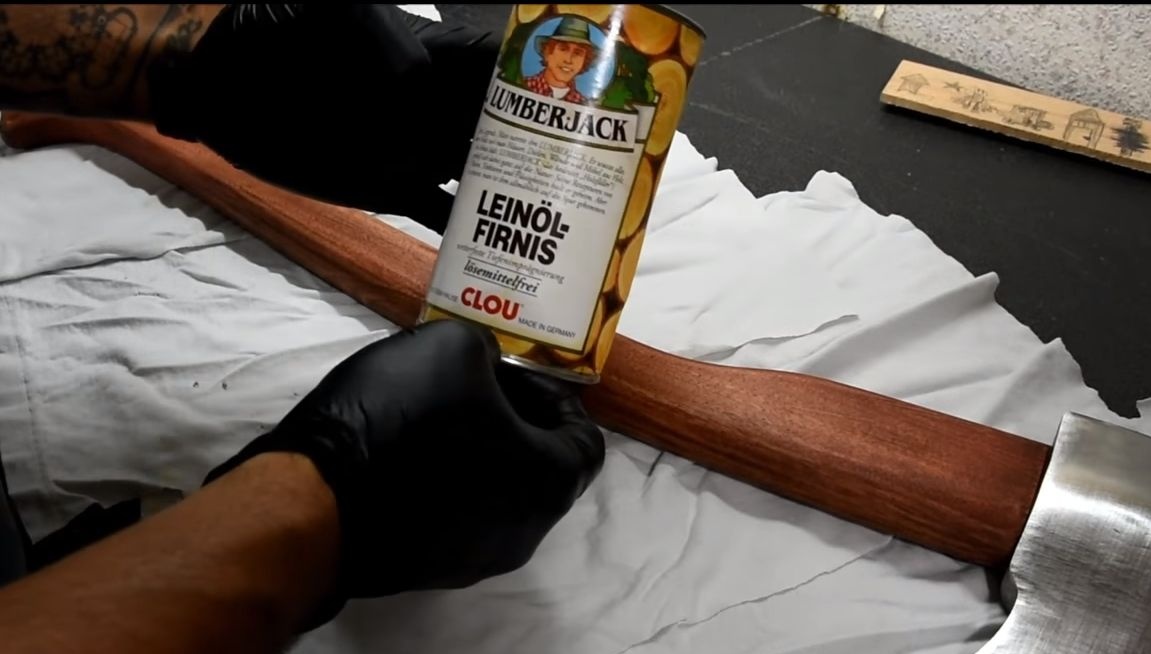
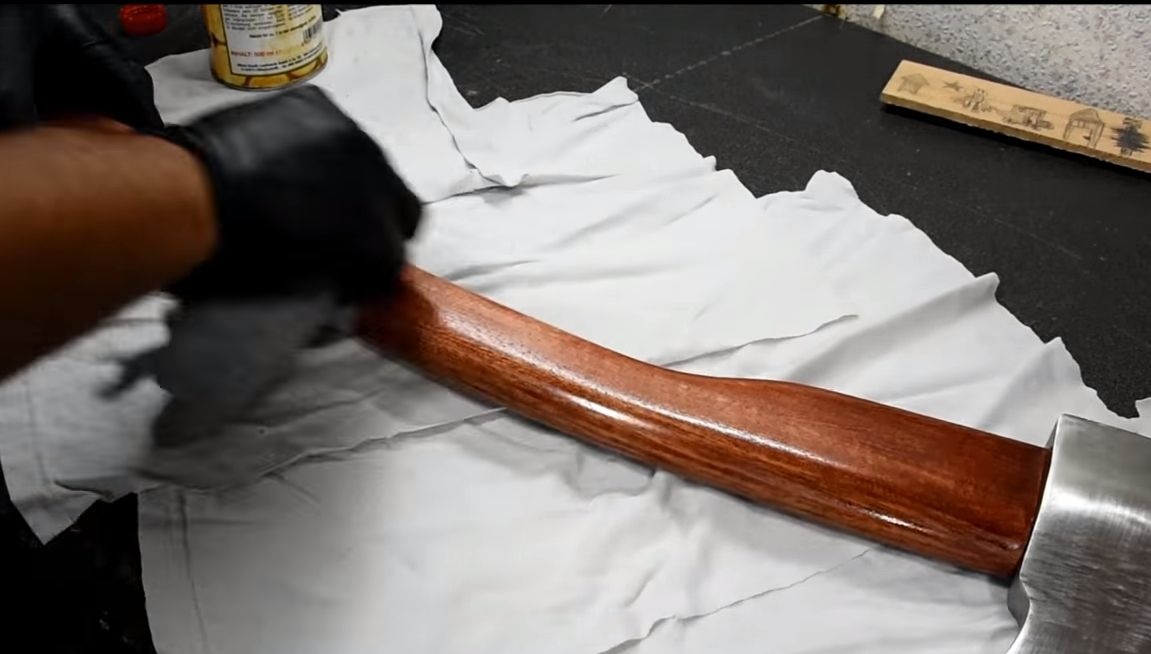
If you decide to protect the tree from water, soak it with oil, this is the best treatment for wood. The oil penetrates inside and then dries up, eventually reliably protects the tree from water. Flaxseed oil is suitable, and, according to the master, Danish is excellent. Do not use mineral oils, as well as sunflower and the like, as they simply may not dry out.
Lacquer is also suitable for processing, but note that this coating is rather slippery and the ax may not be comfortable to hold, especially when wearing gloves.
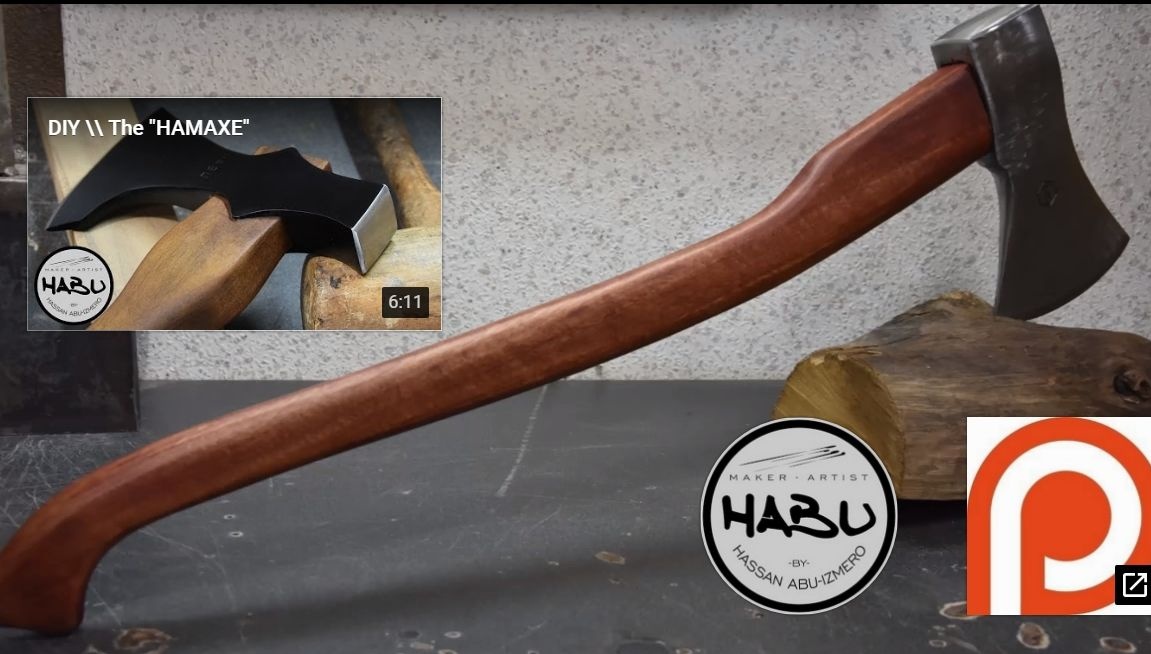
Now, all you need to do is sharpen your ax well. He is ready for testing! If you plan not to use the ax for a long time, apply oil to the metal part so that the ax does not rust. Good luck and take care!