
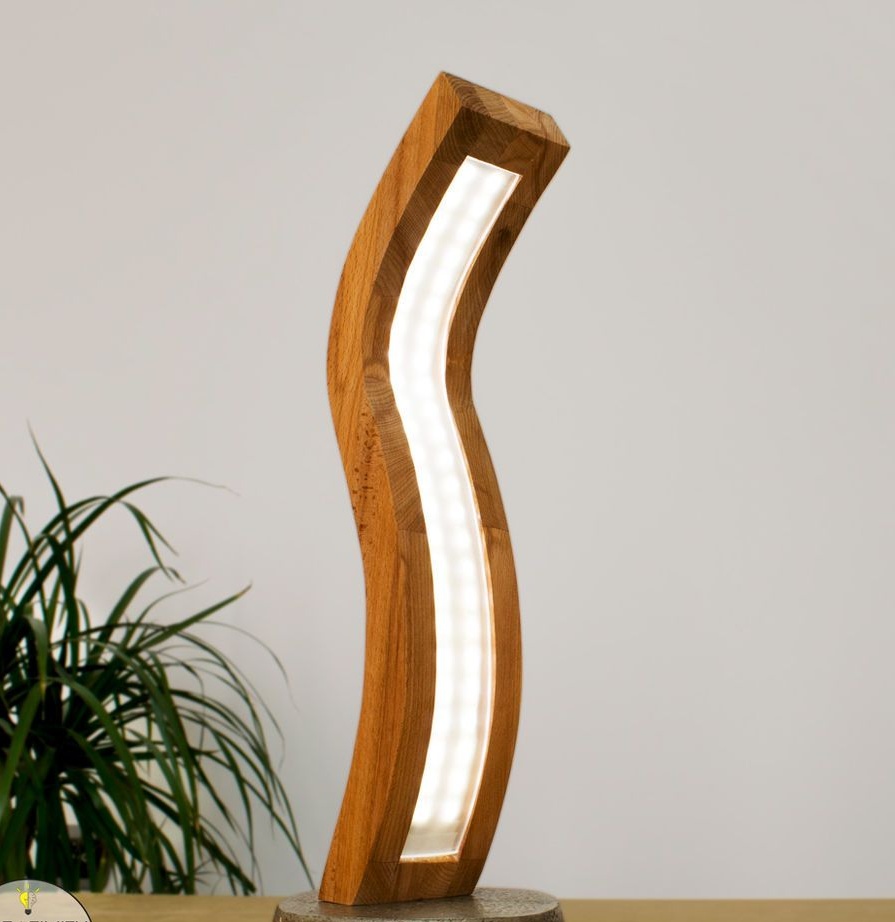
In this article, the Master will teach us how to make an LED lamp with a curved wooden case and a concrete base. To make the lamp, the master needed the following
Tools and materials:
-Beech;
-Acrylic;
-12V power supply;
-Power button;
-Shellac;
-LED Strip Light;
- Paint tape;
-Silicon lining (legs);
- Joiner's glue;
Epoxy resin;
-Electric jigsaw;
-A circular saw;
- Cordless drill;
-Grinder;
- Sanding block manual;
-Sandpaper;
-Soldering iron;
-Metal ruler;
-Pencil;
-File;
-Drill;
-Plastic container;
-Vegetable oil;
-Sand;
-Cement;
-Water;
- Clamps;
-Gas-burner;
-Heat resistant gloves;
-Fasteners;
-Knife;
-Screwdriver;
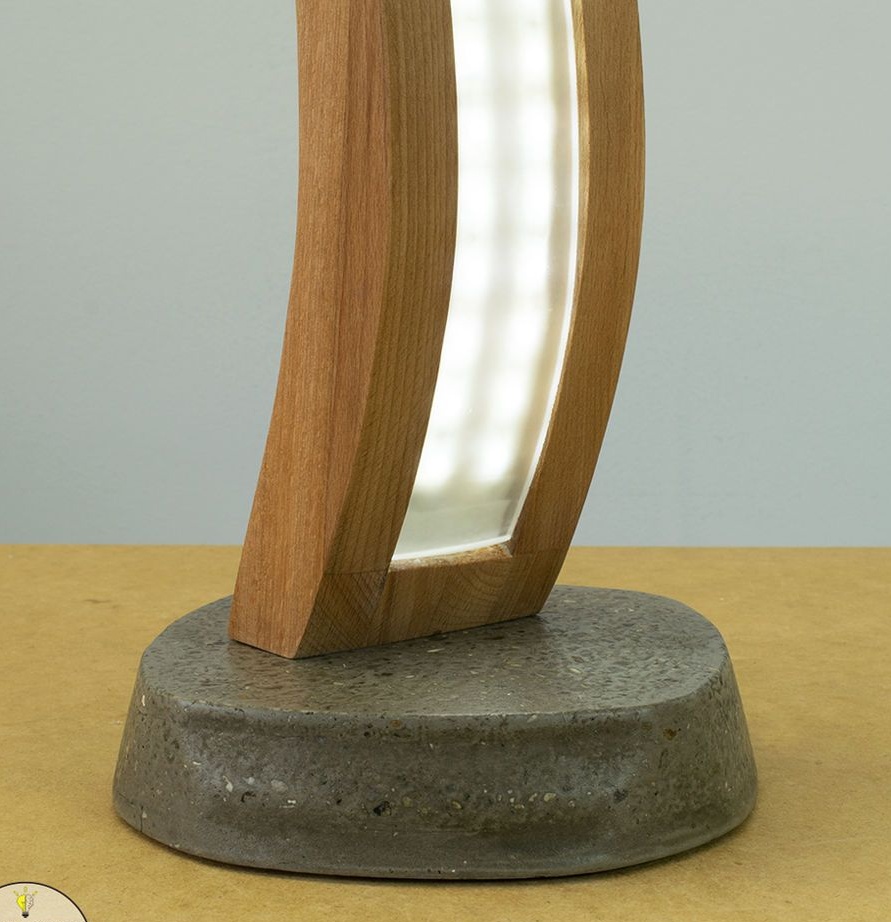
Step One: Concrete Base
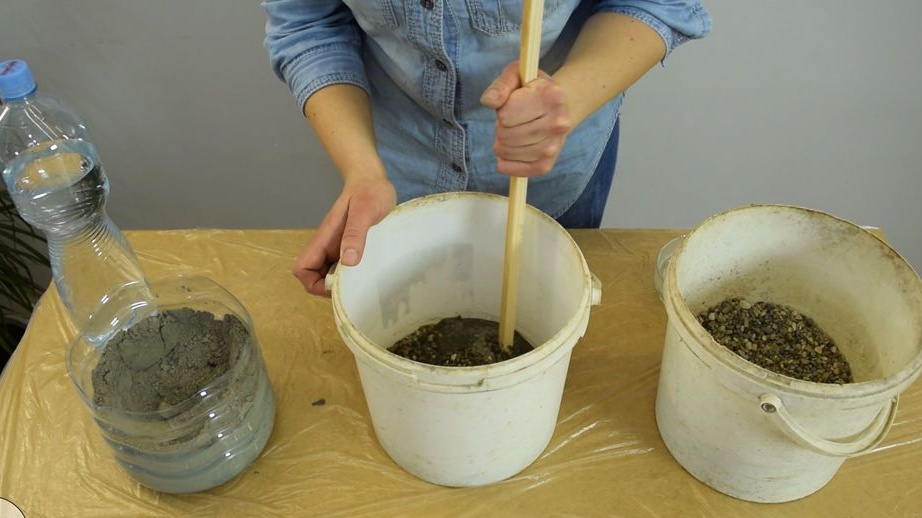
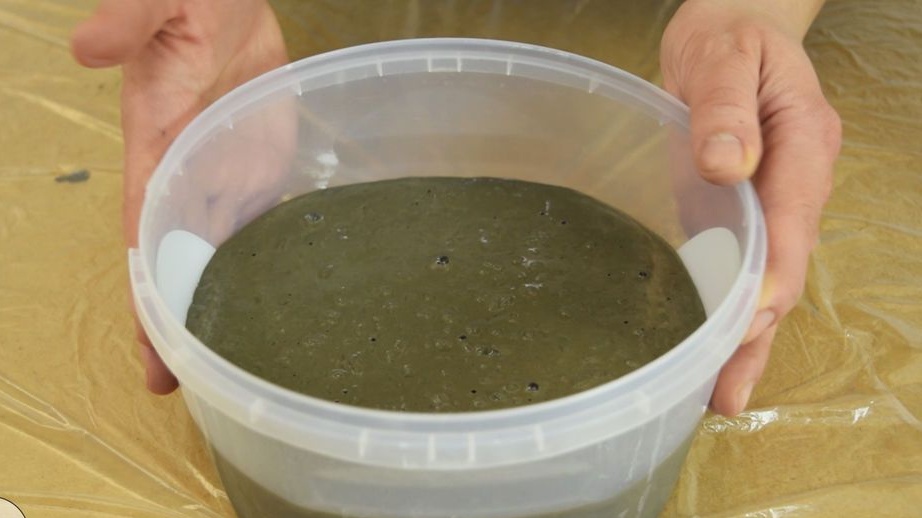
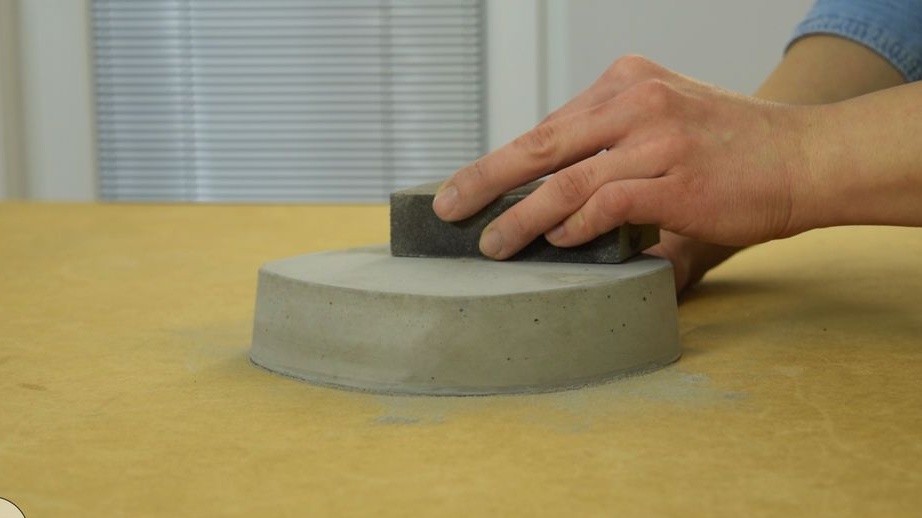
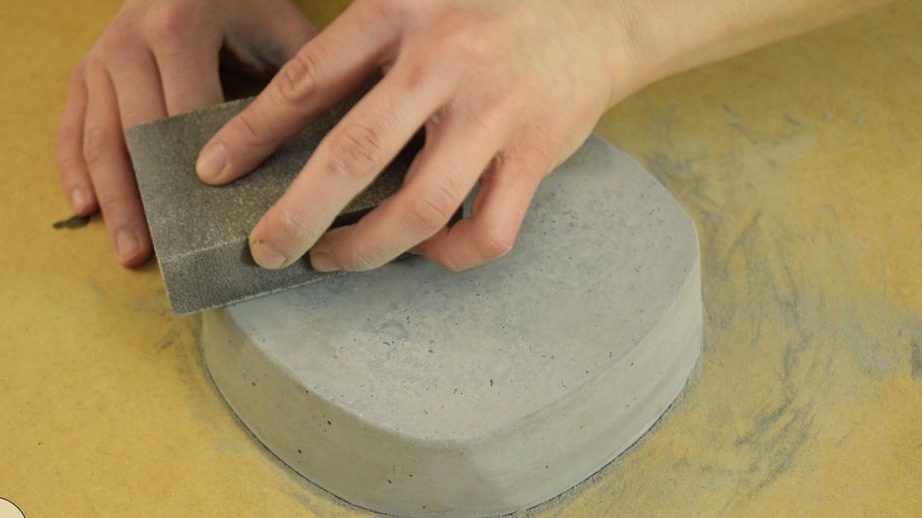
For a more interesting texture, the master advises taking sifted sand with a lot of shells. Lubricates the mold with vegetable oil. Mixes cement with sand 1: 1. Adds water. The layer of the mixture is 3 cm. After adding to the form, it is necessary to compact the solution with vibration (shaking from side to side manually). After 2 days, after the concrete has hardened, it removes the base. It processes the surface of the base 220 with sandpaper.
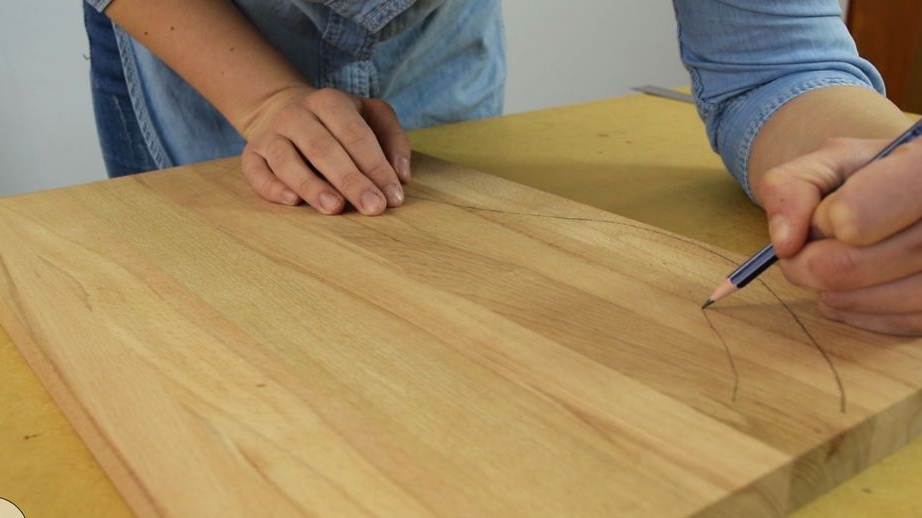
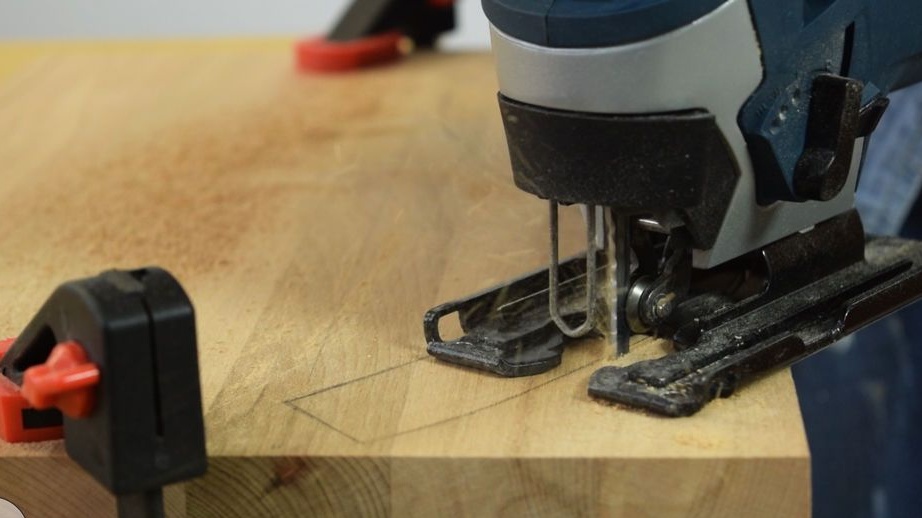
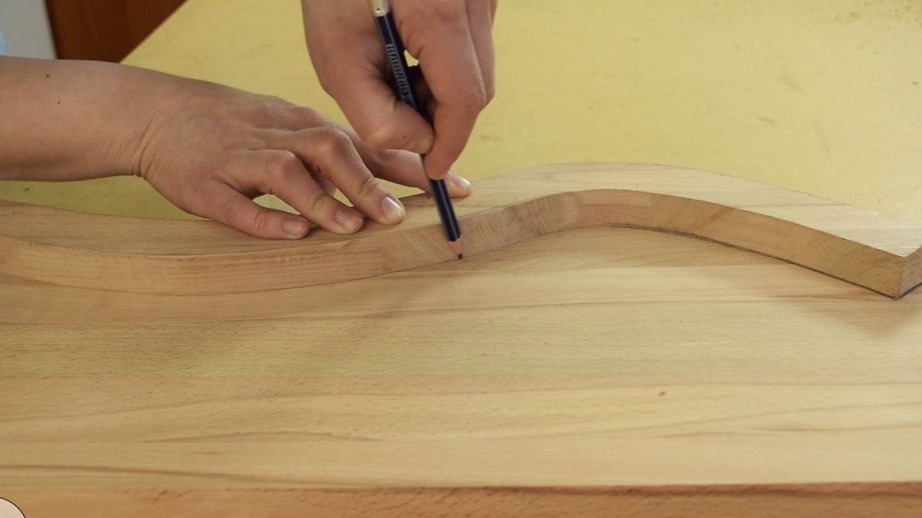
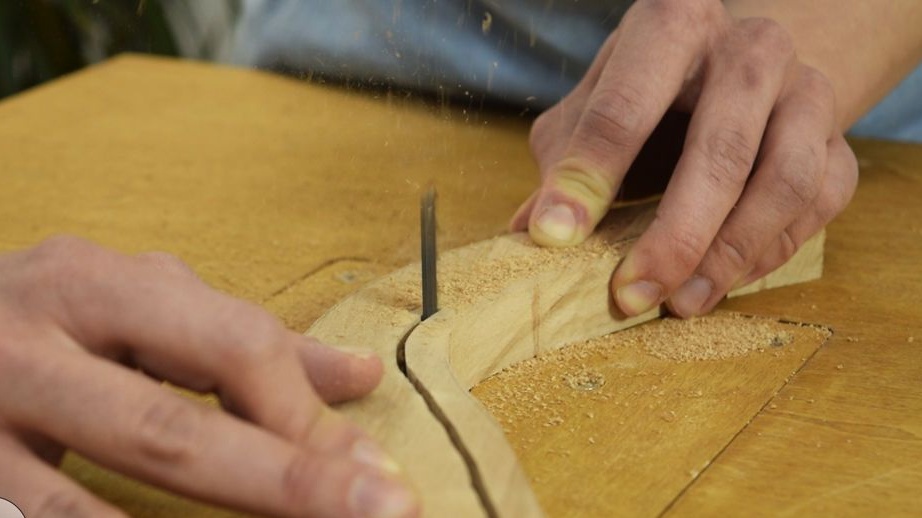
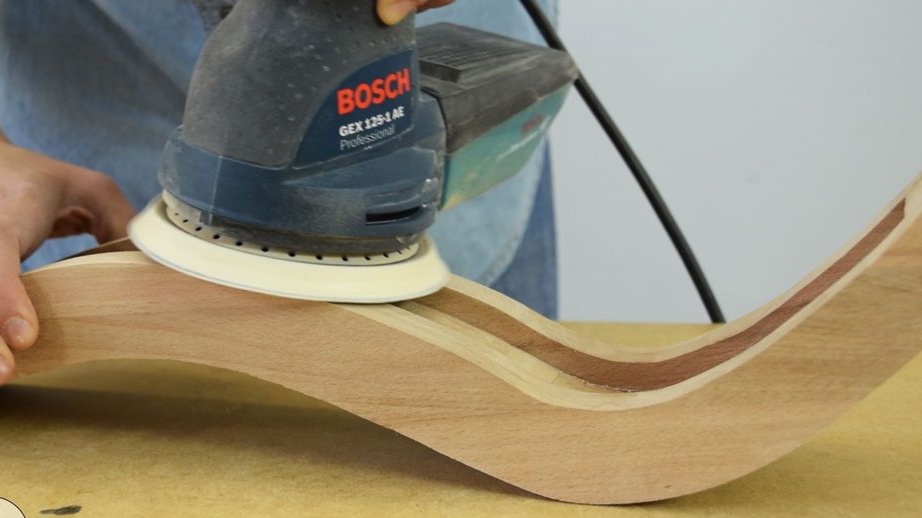
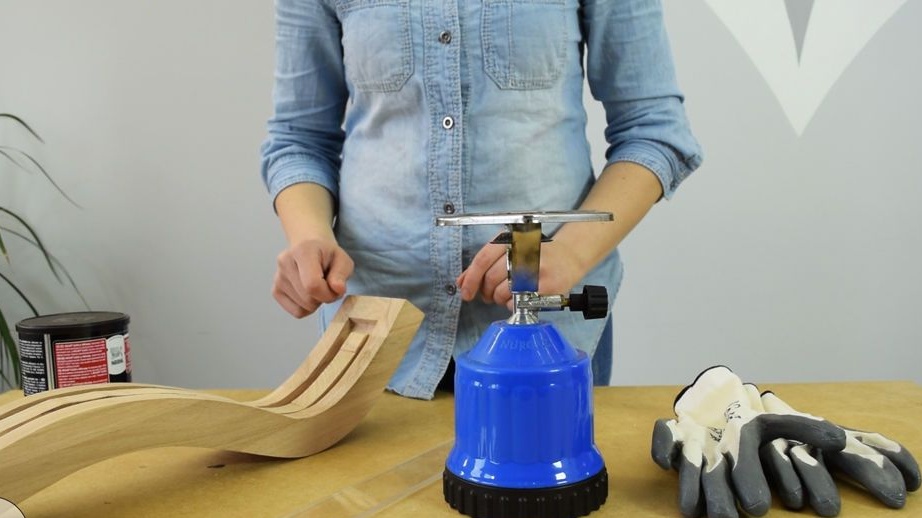
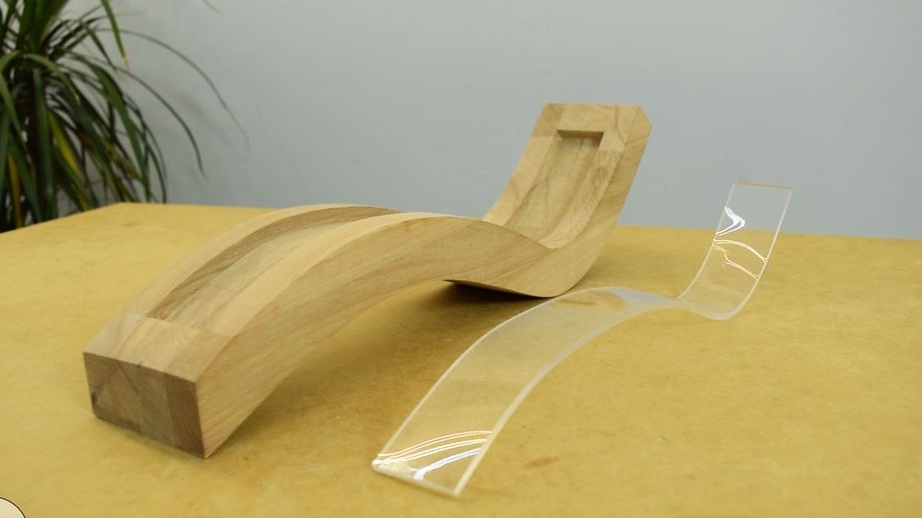
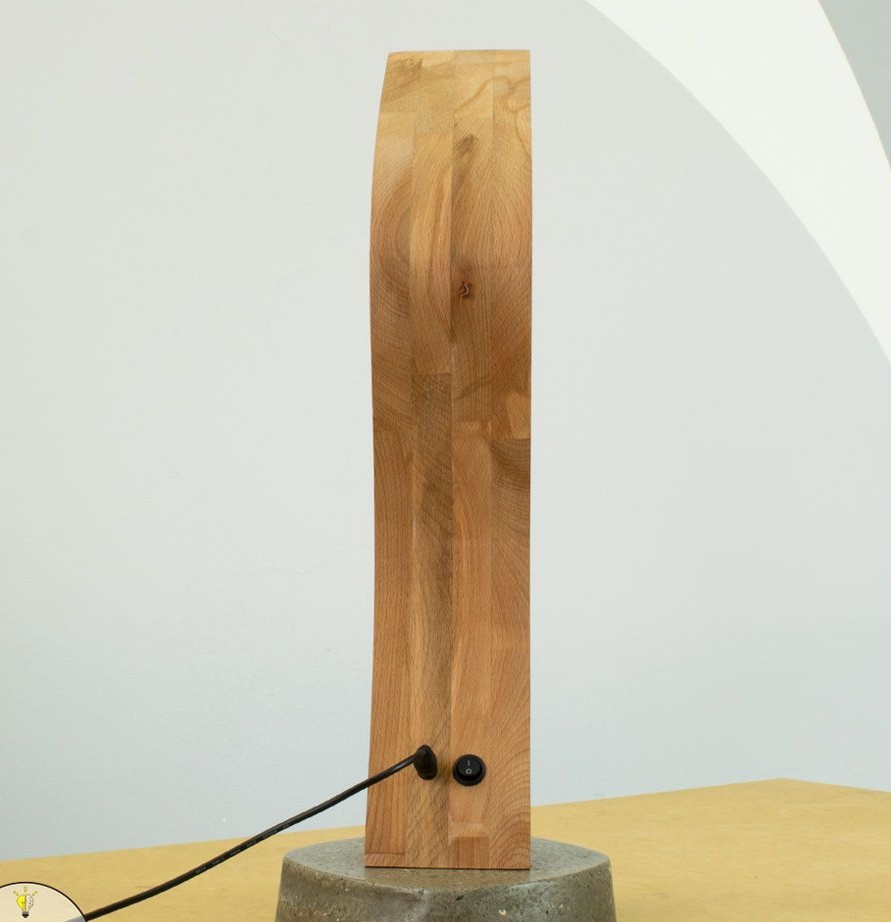
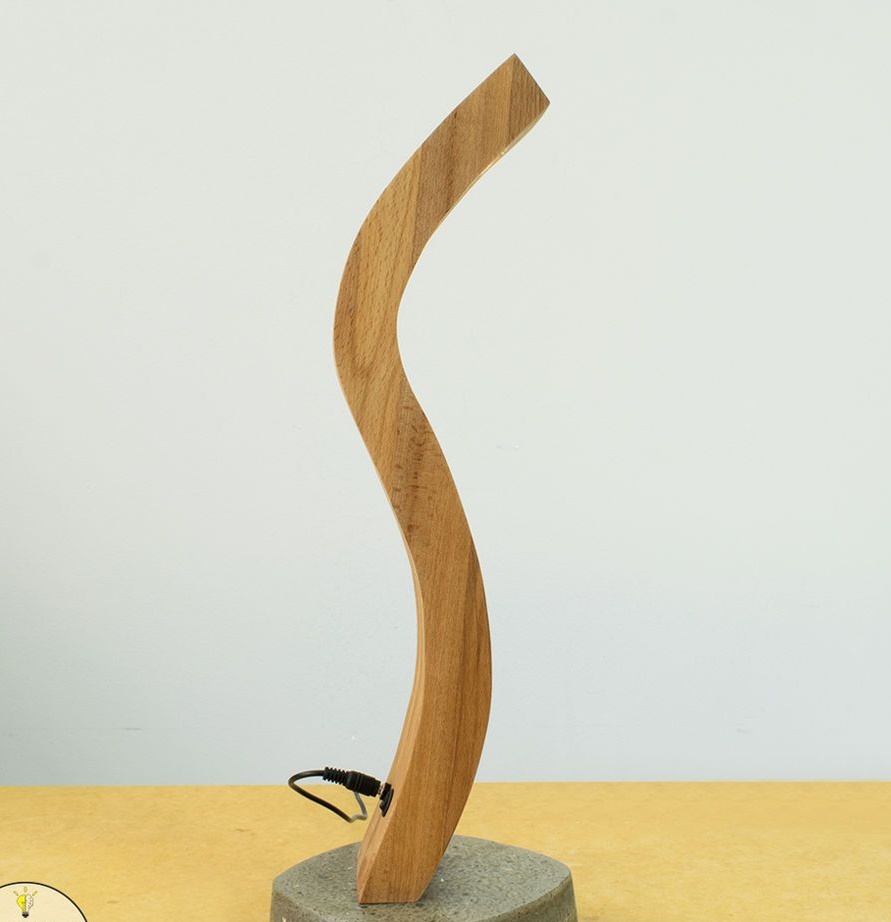
Step Two: Case
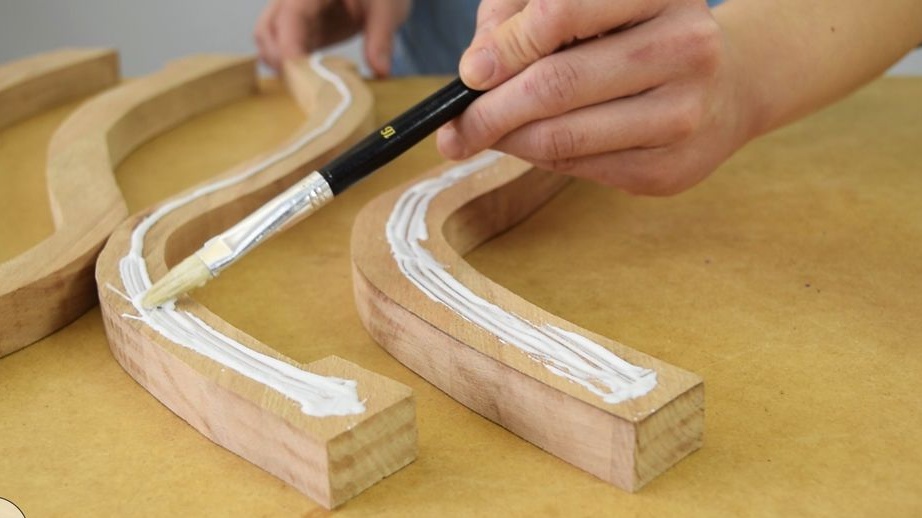
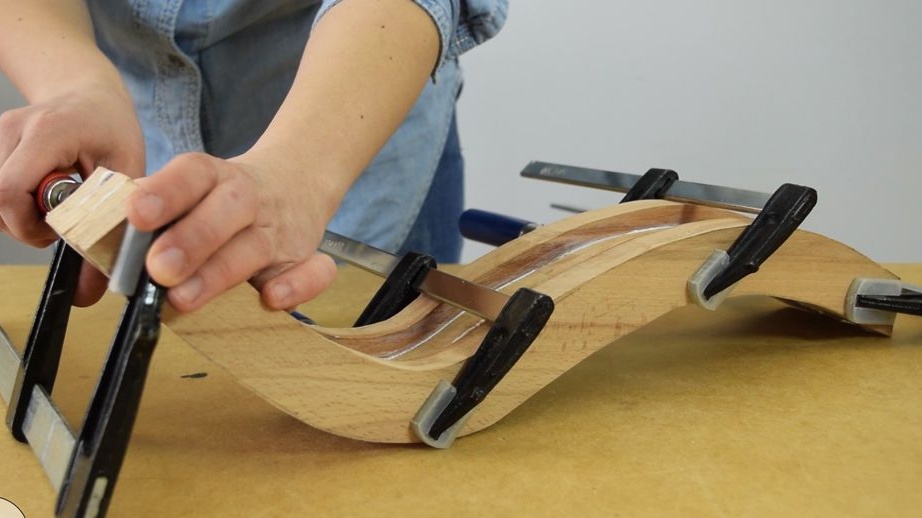
The lamp housing consists of four parts. On a beech board draws four identical curved shapes. Cuts parts of the body. Then, stepping back from above and from below, cuts out, at two preparations, strips on 1 cm wide.

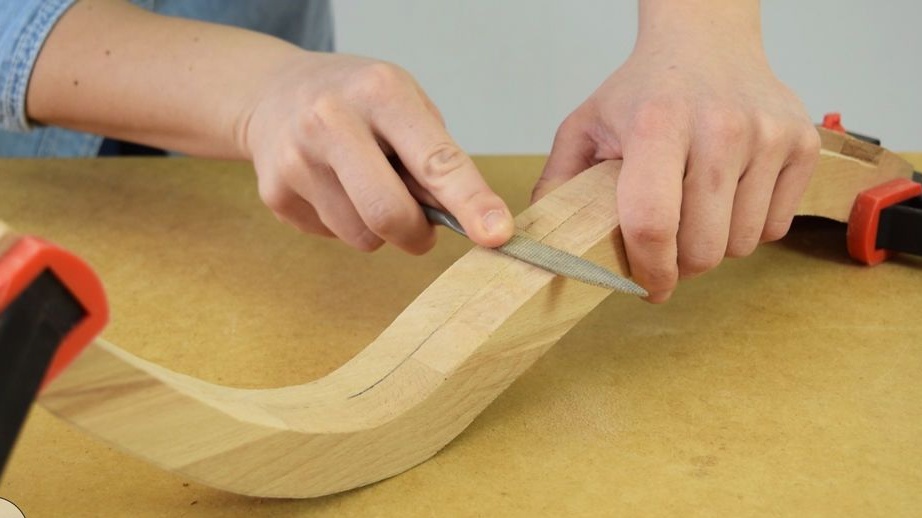
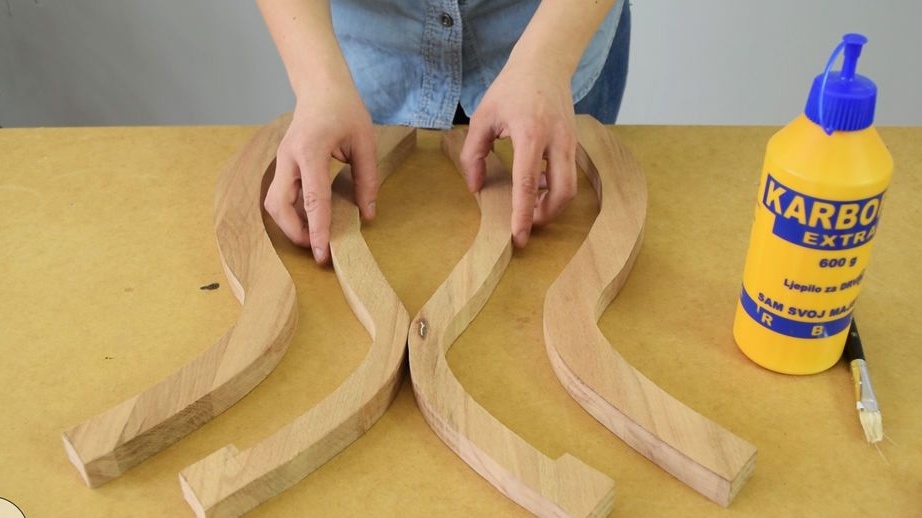
Step Three: Assembly
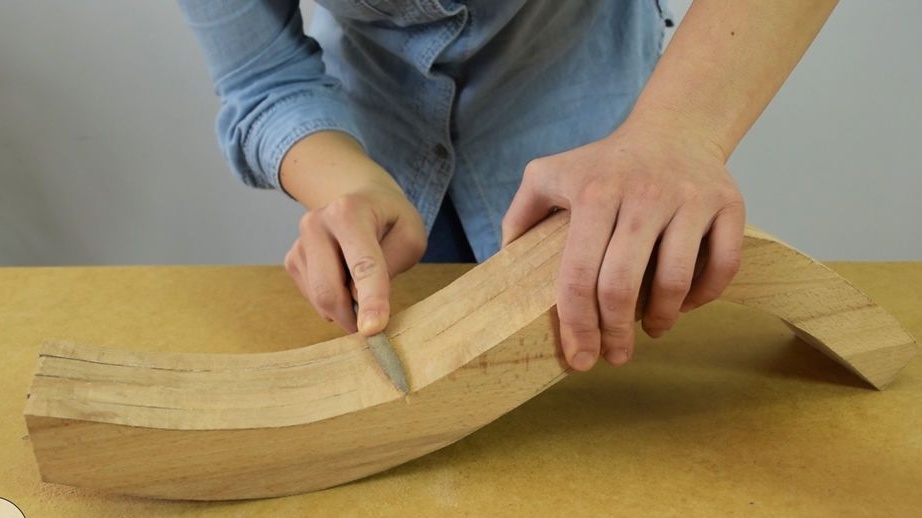
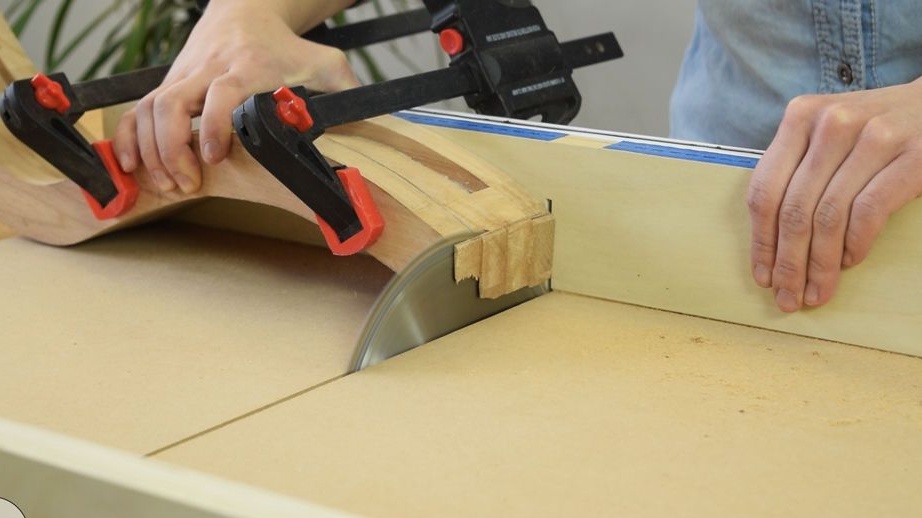
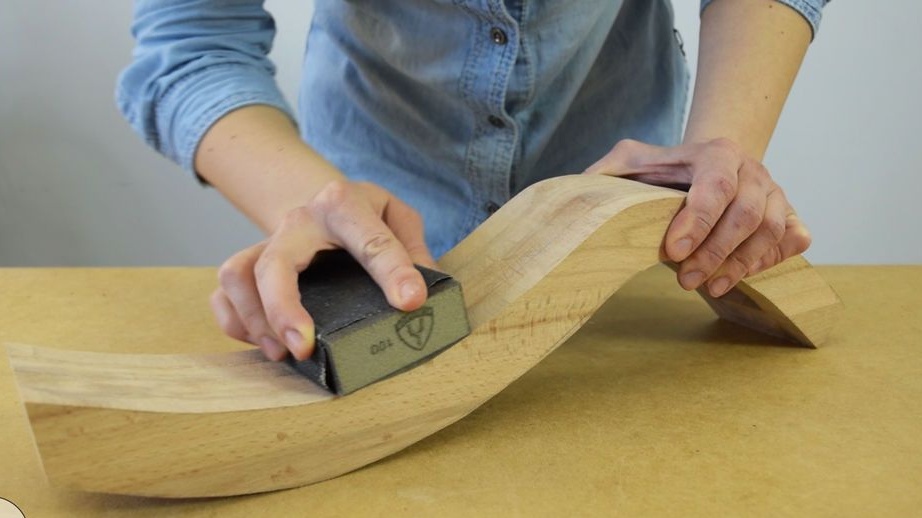
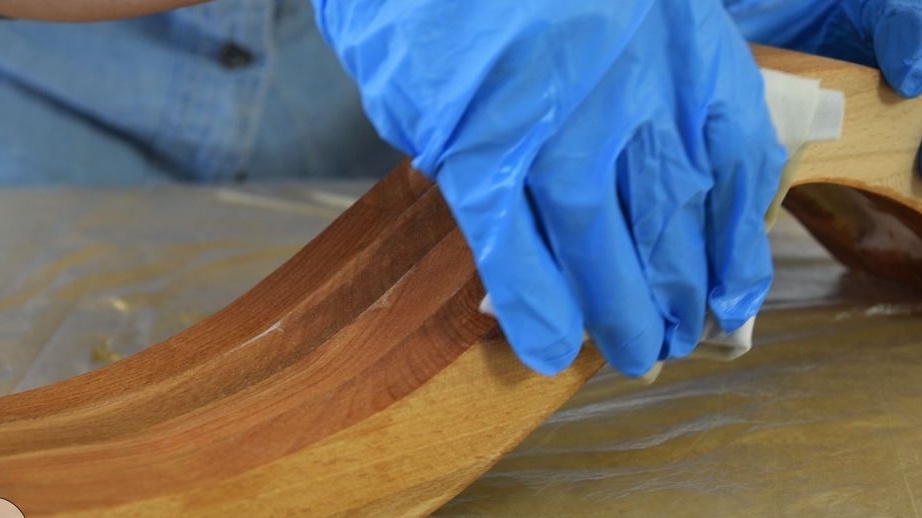
Now you need to glue four blanks. Between two blanks, with protrusions at the edges, glues two other blanks. Before drying, fix with clamps. After gluing the case, processes it with a file, and then polishes it.
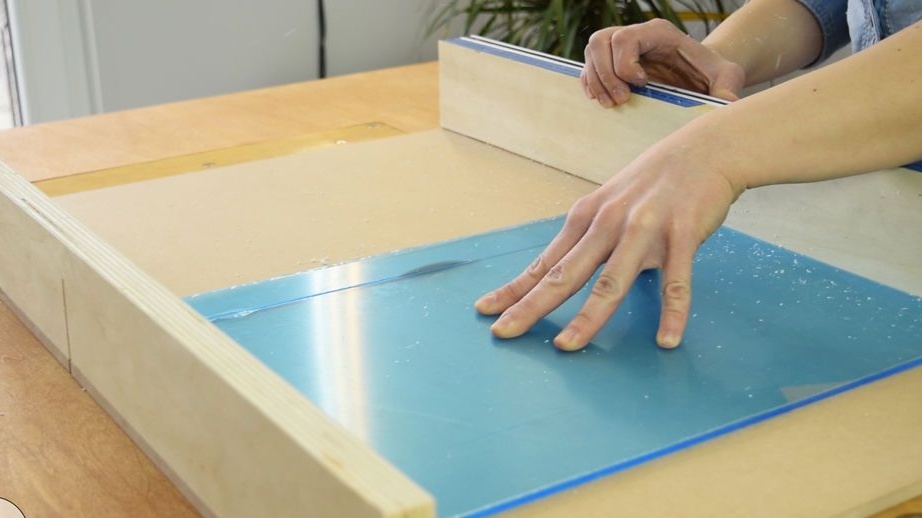
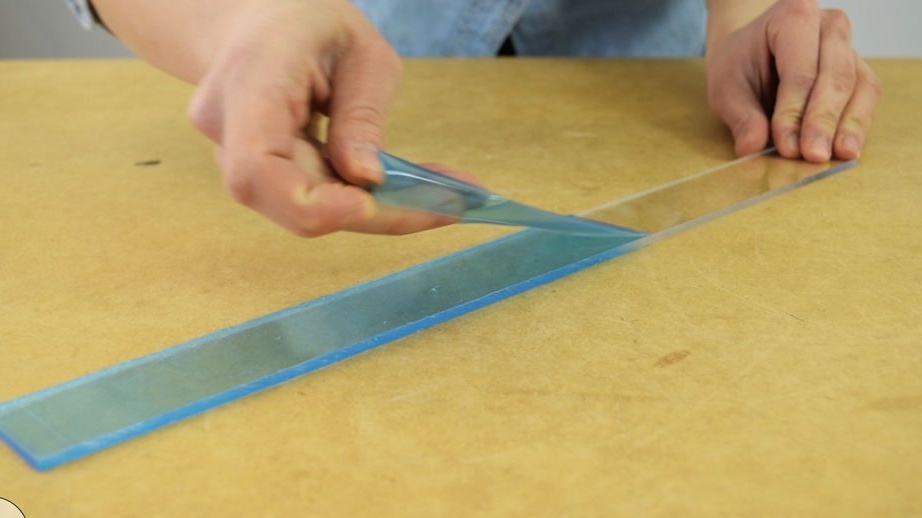
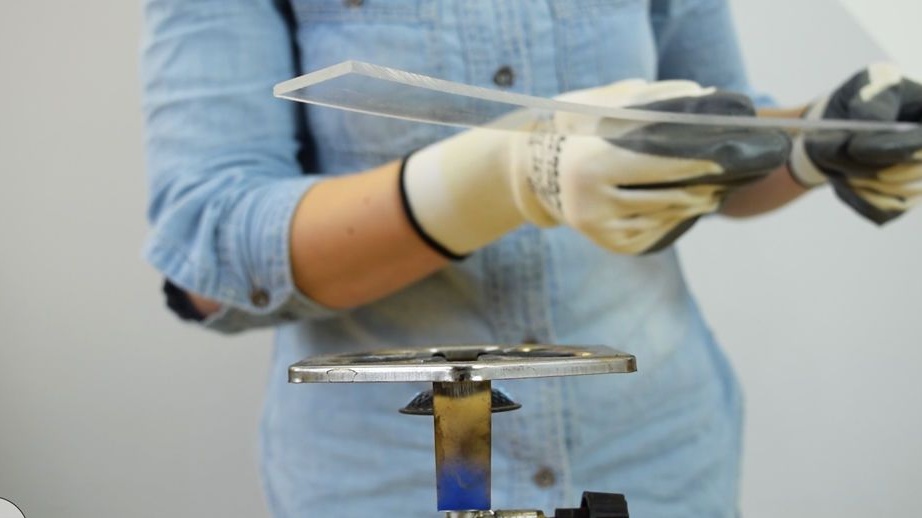
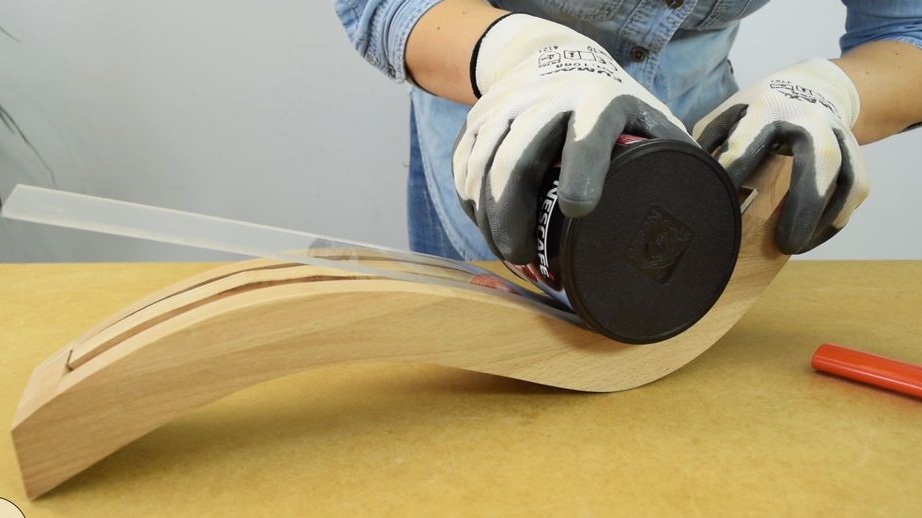
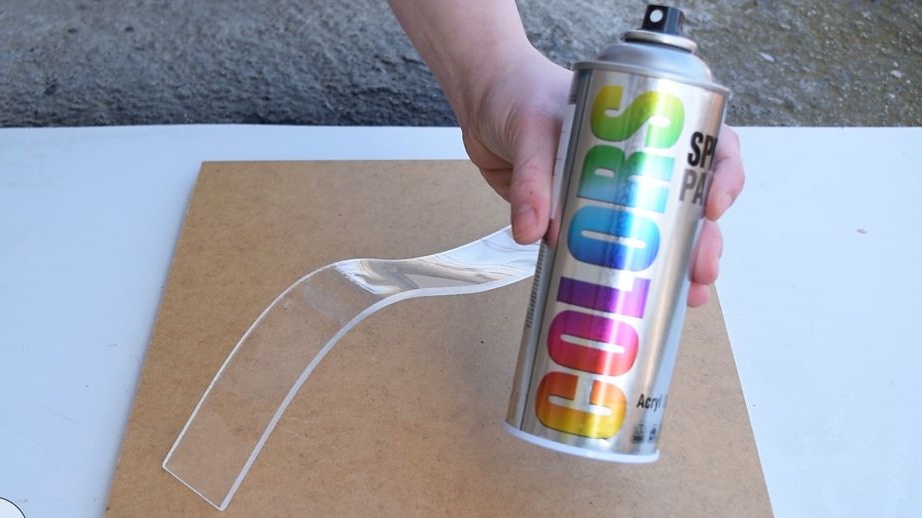
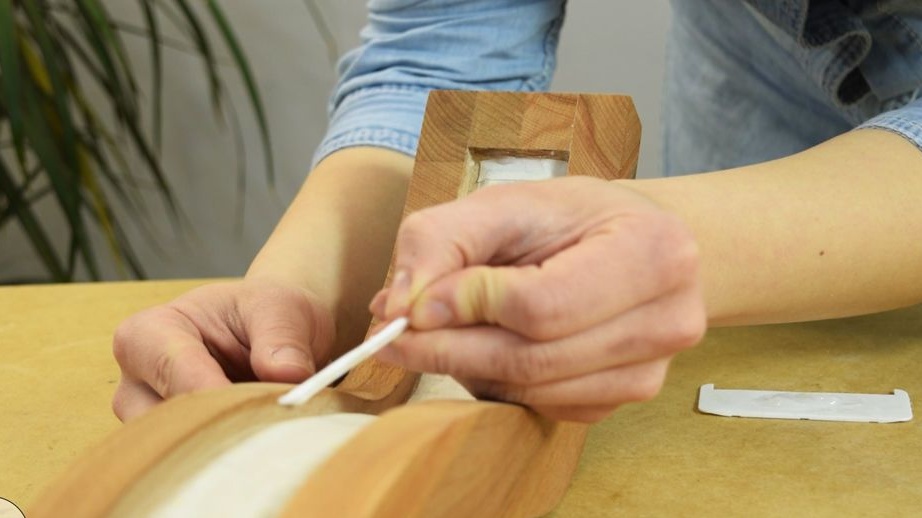
Step Four: Acrylic
Now you need to make a diffuser in the shape of a lamp. Cut a strip of acrylic to the size of the inner niche of the lamp. Removes protective film. Softens acrylic holding it at a height of 15 cm above the flame
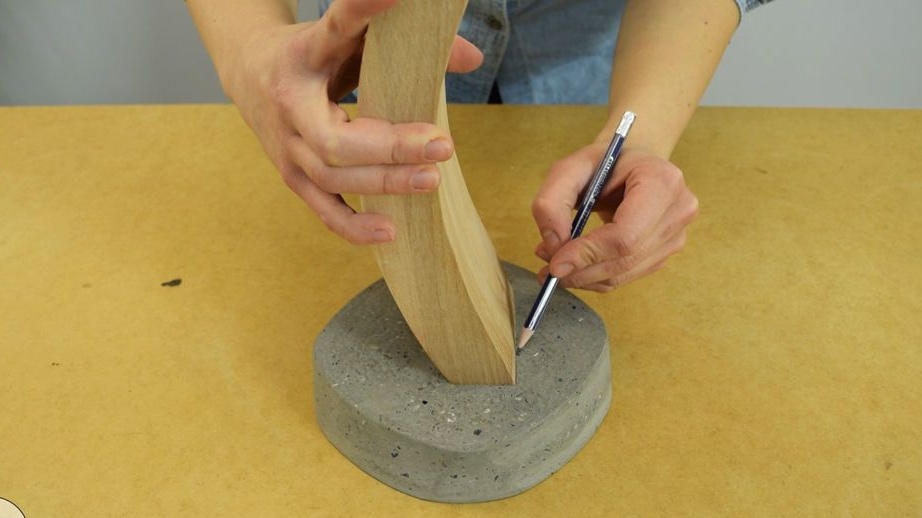
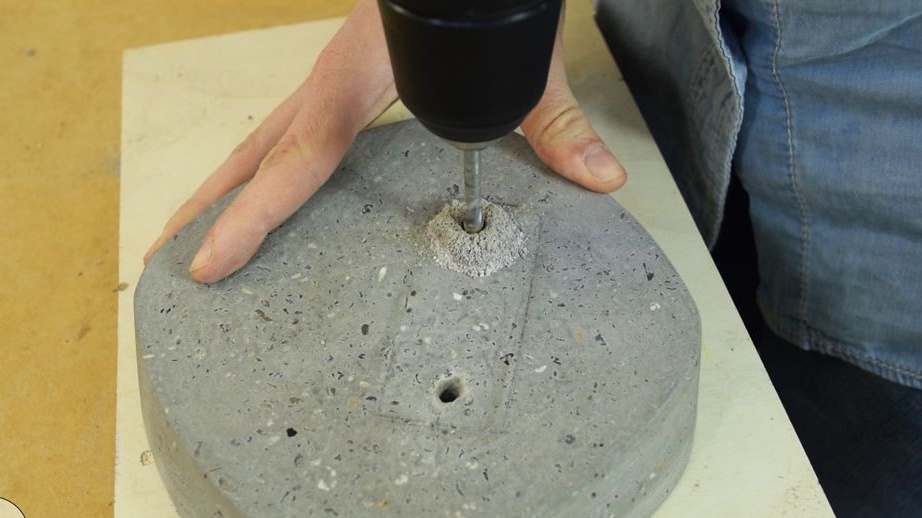
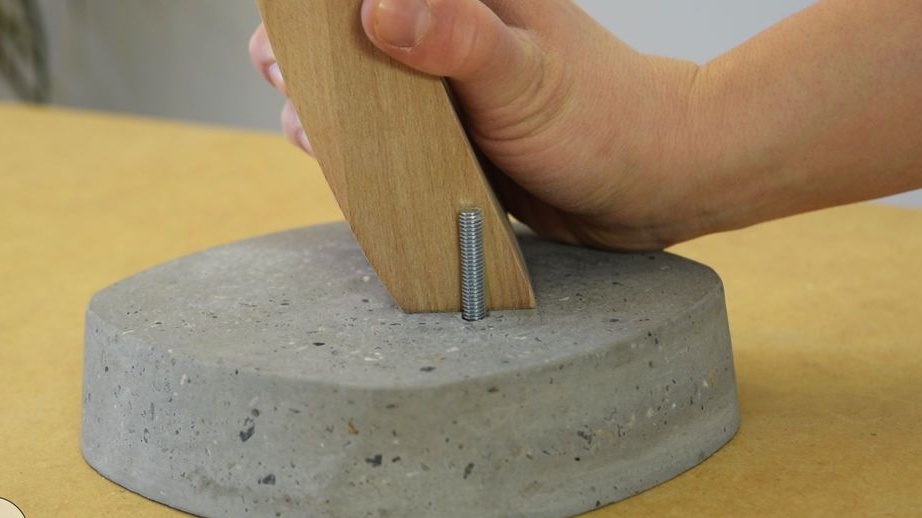
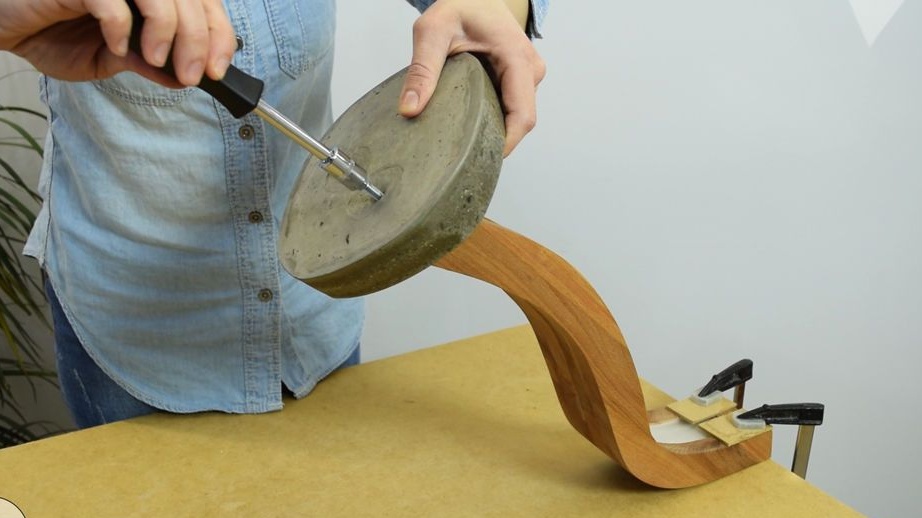
Step Five: Mount
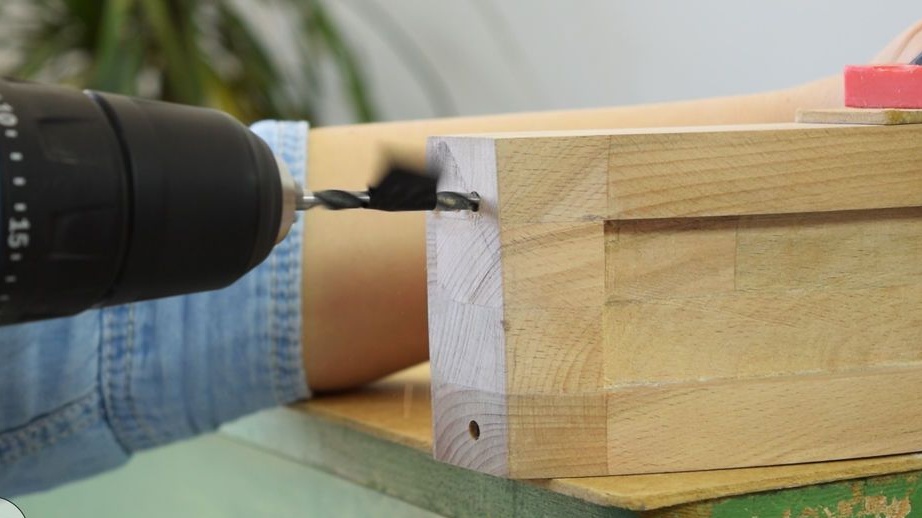
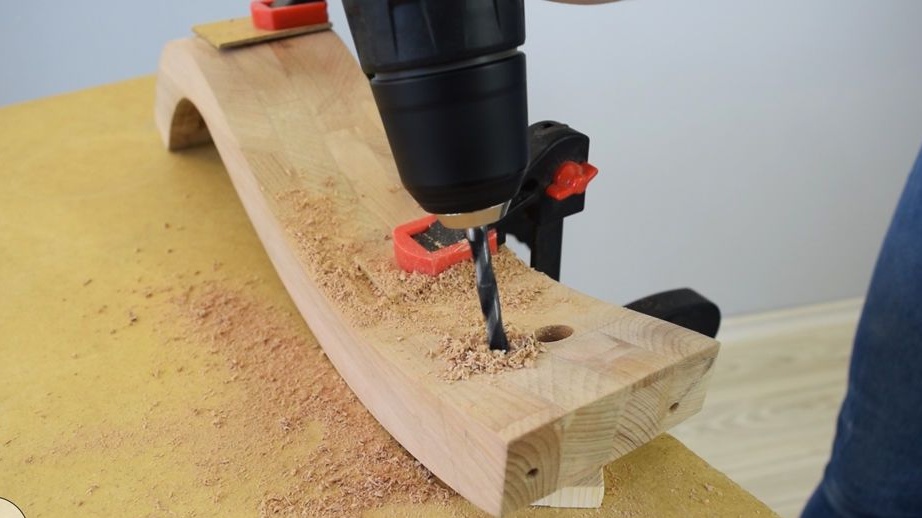
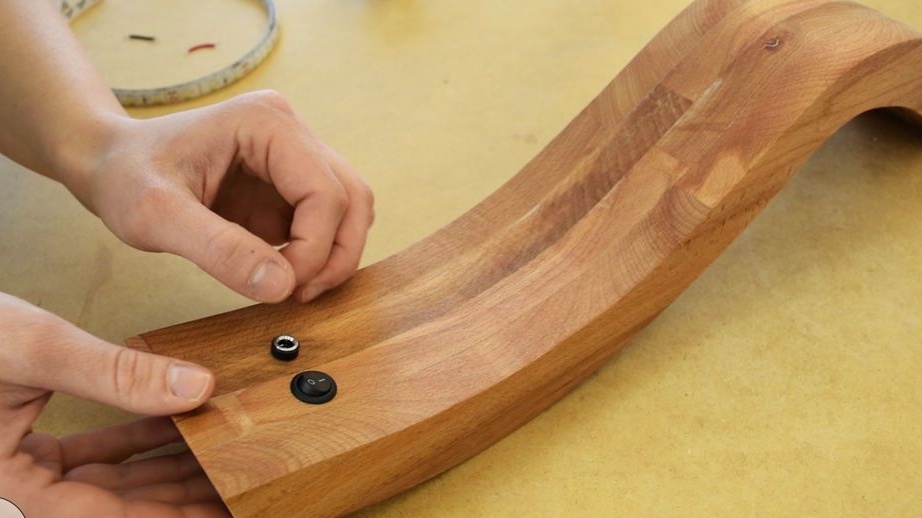
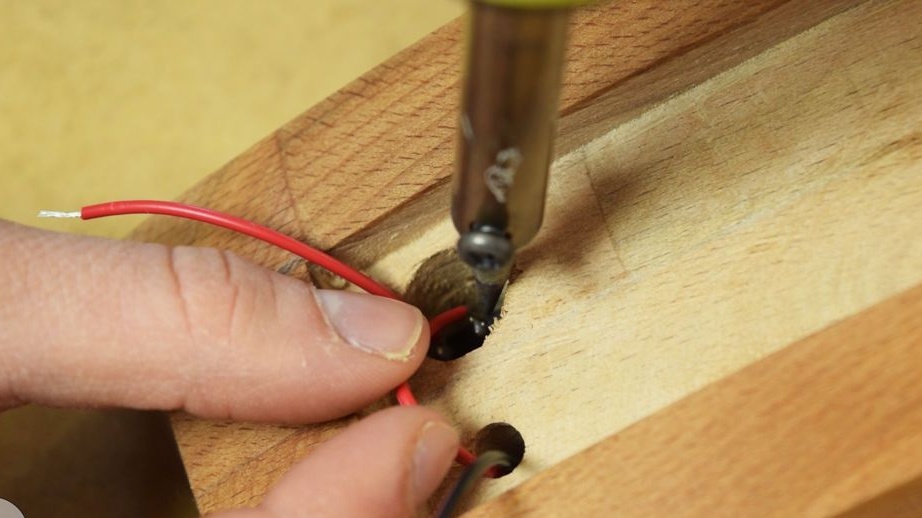
The housing will be attached to the base with two bolts. Installs the housing on the base and outlines. At the base, drills two holes for the bolts. Coaxially drills holes in the housing. Makes two holes for the switch and plug in the lower back of the case.
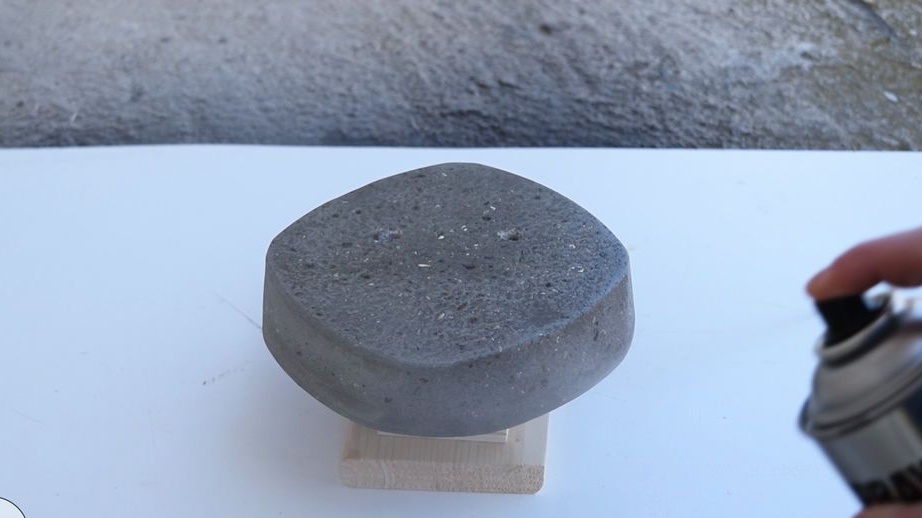
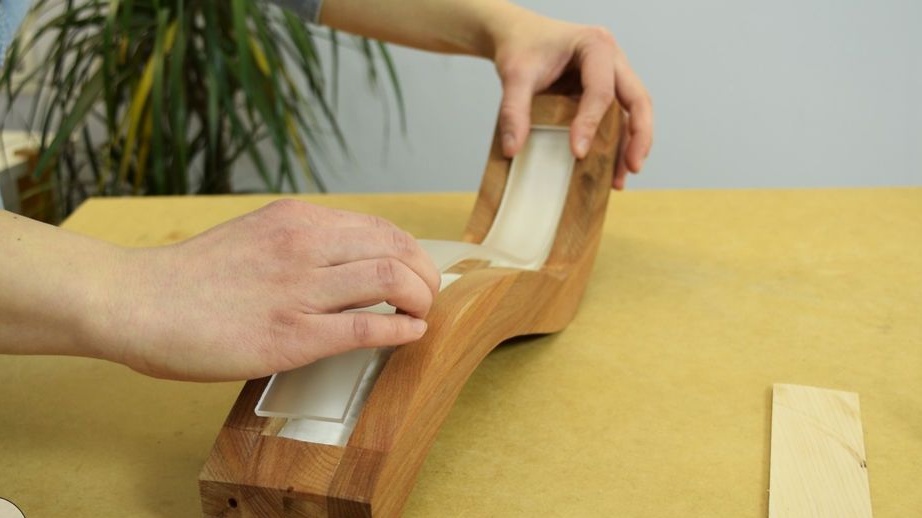
Step Six: Cover
Applies concrete to the base. The shell is covered with shellac. Clear acrylic is applied to acrylic.
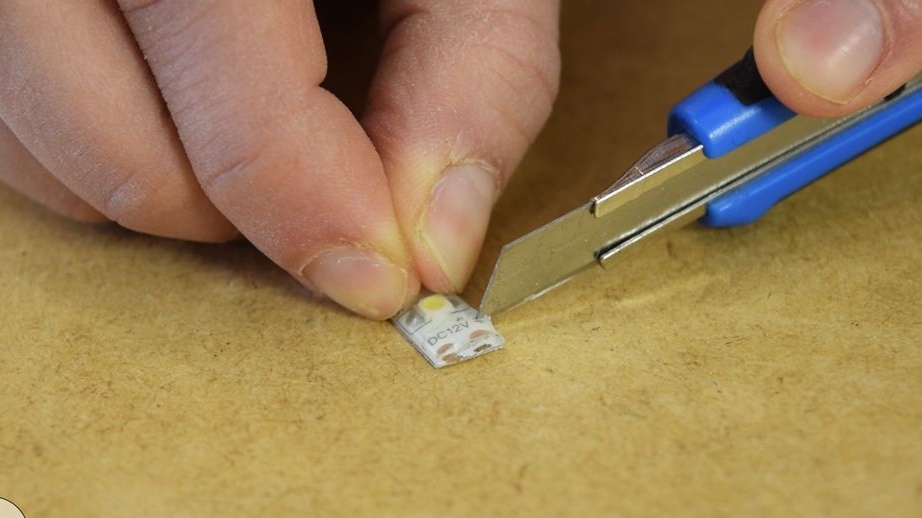
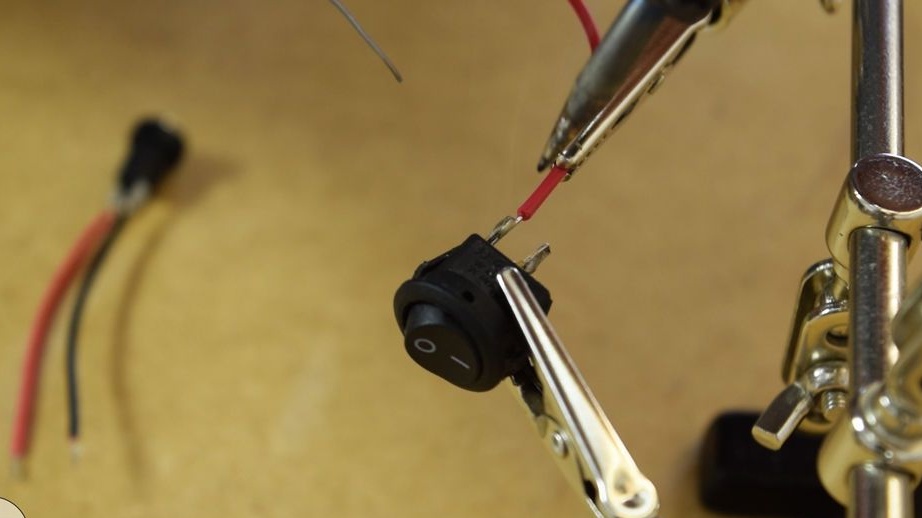
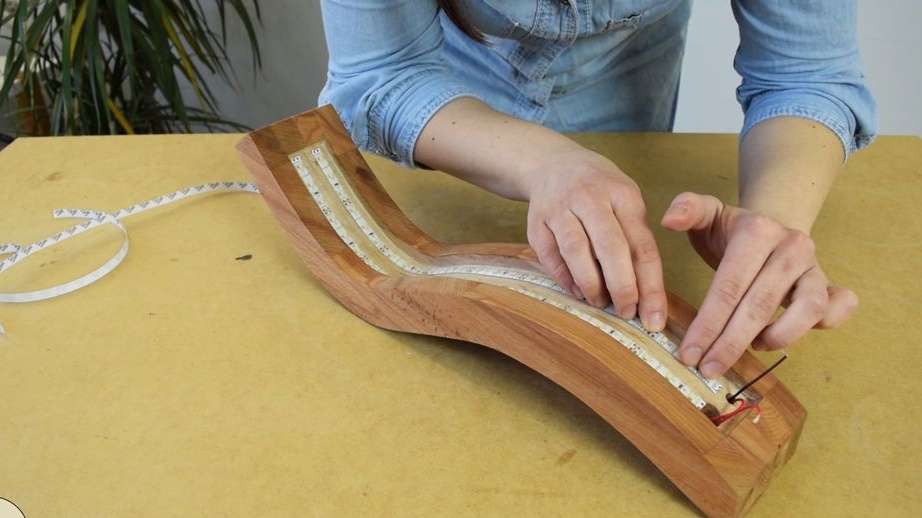
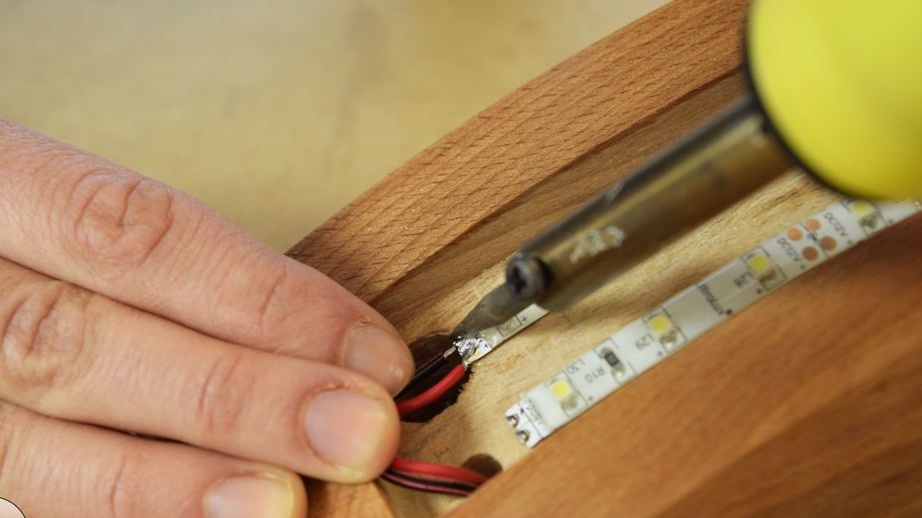
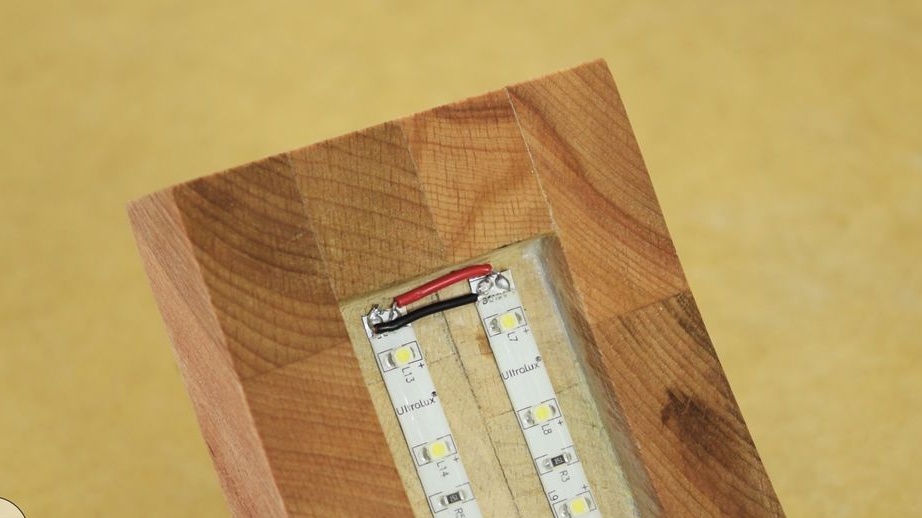
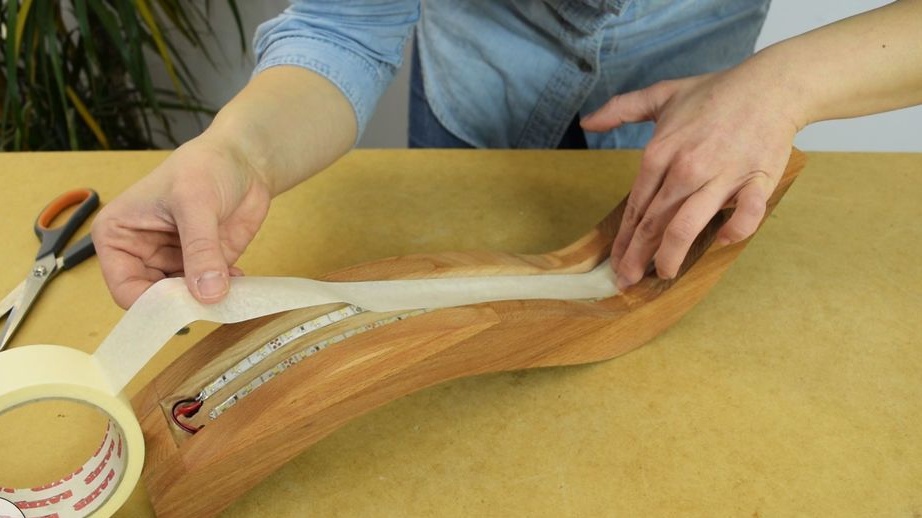
Seventh step: LED strip
Adheres LED strip. Solder the wires. Sets the switch and connector.

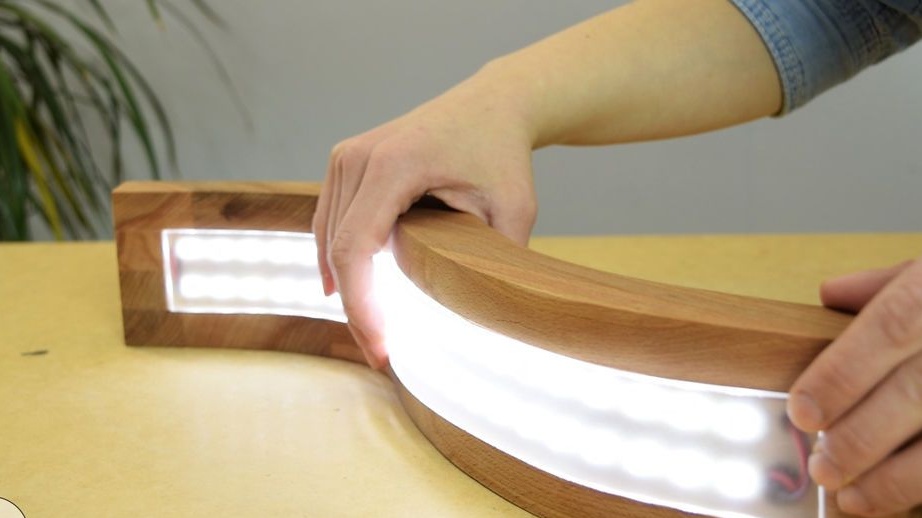
Step Eight: Build
Checks the operation of the LEDs. Then over the tape sticks masking tape. This will hide the LEDs and wires. Epoxy sticks an acrylic strip. Screws the housing to the base. Glue silicone pads to the bottom of the base.
LED lamp is ready.
The entire process of manufacturing the lamp can be seen in the video.