Almost all children love various toys that can shoot with various objects, for example, corks from plastic bottles.
In this article, Matthias, the author of the YouTube channel Matthias Wandel, will tell you how he made two such models from the available materials.
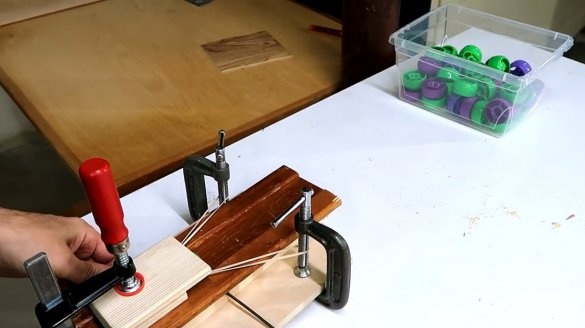
Of course, the projectile energy of such toys will be very small. And the shells themselves can be made not only of plastic corks, but also of wine.
Materials
- sheet plywood
- Wooden blocks
- Office gum
- PVA glue
- Wood screws.
Instruments, used by the author.
—
— Adjustable grooved dado saw blades
— Electric jigsaw
- Drilling machine
— Band-saw
- Belt sander
— Clamps
- Square, knife
Manufacturing process.
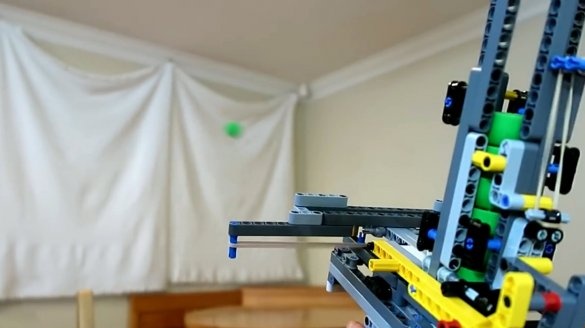
The author spied on this idea from his friends, who collected it from Lego.
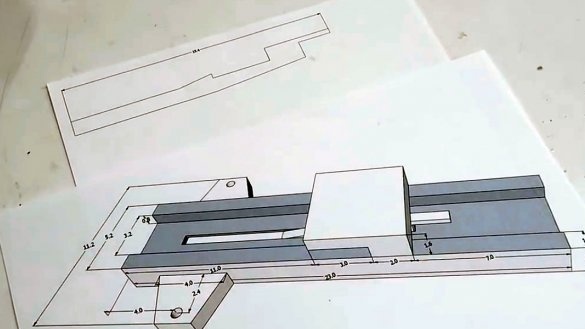
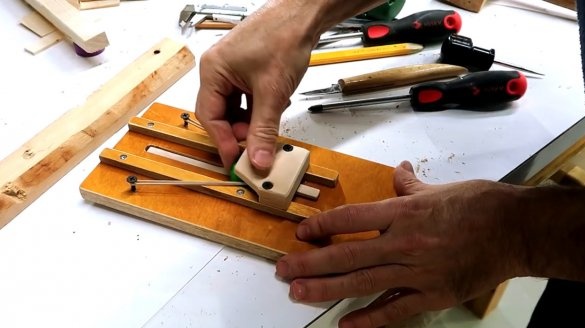
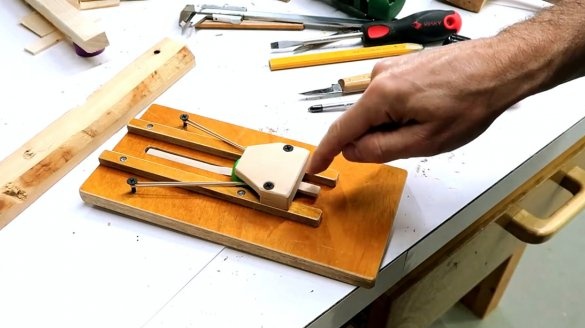
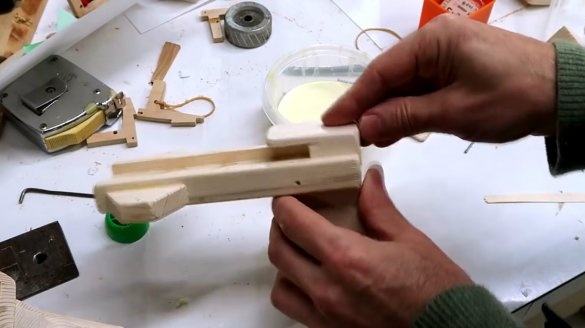
As the first test sample, Matthias decided to do something similar to a catapult.
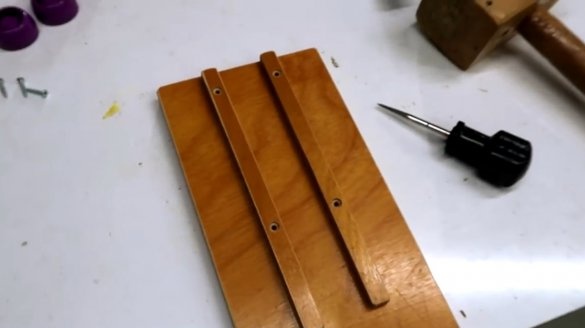
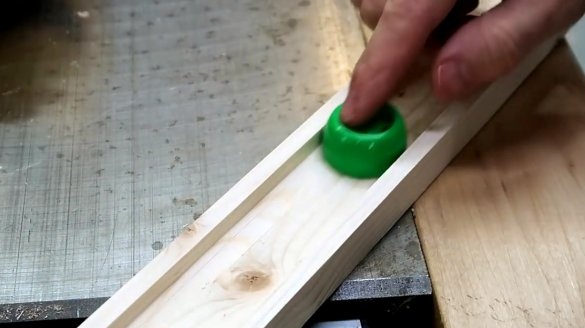
Due to the varnished surface of the plywood, plastic shells will glide very well along it, two guides are also needed.
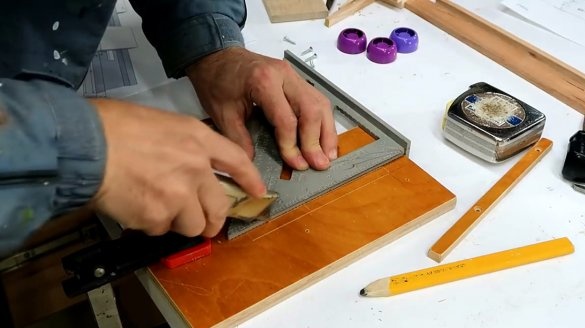
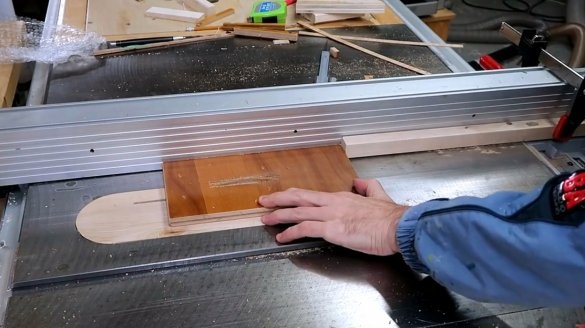
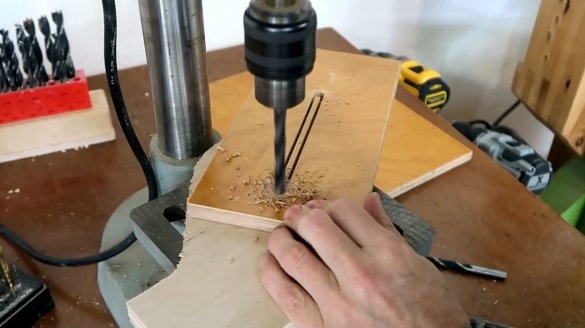
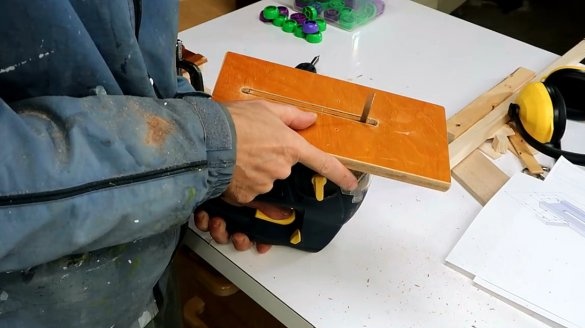
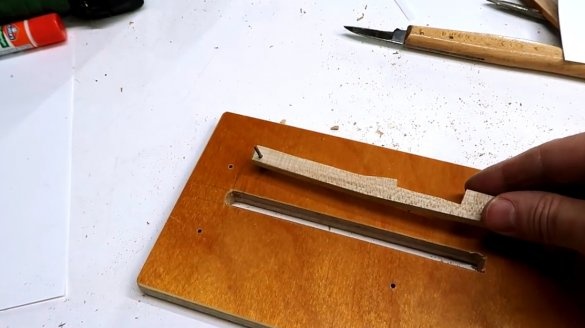
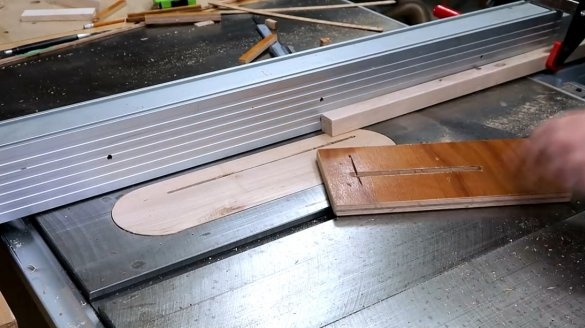
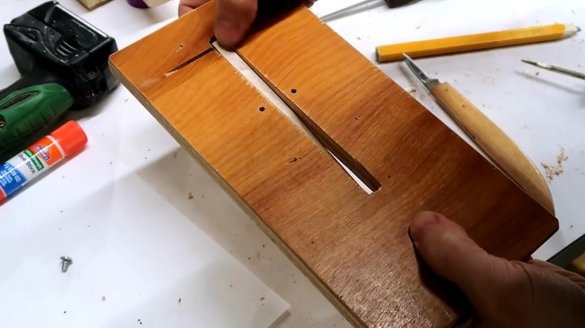
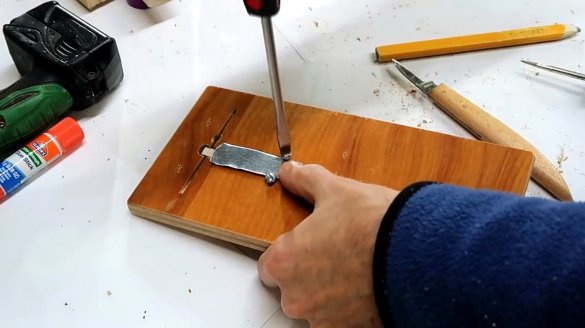
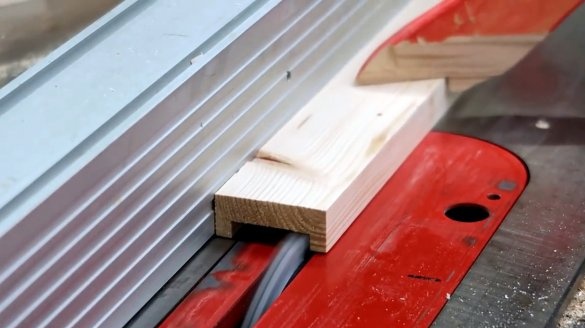
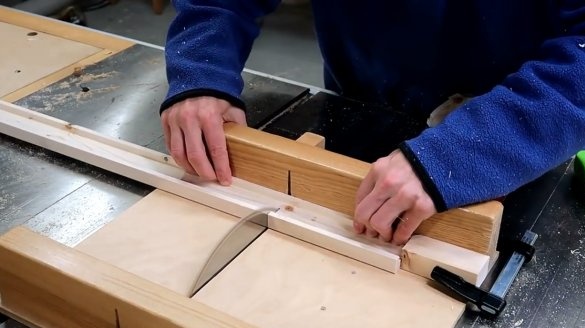
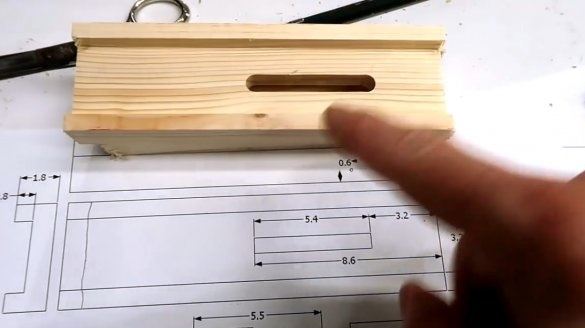
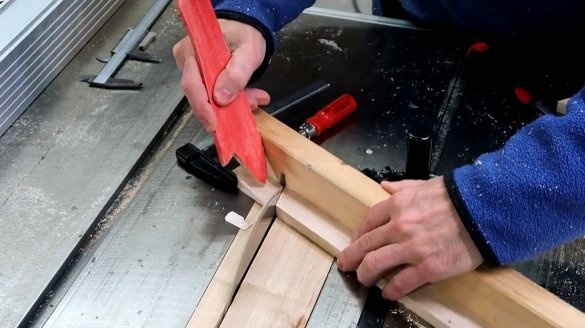
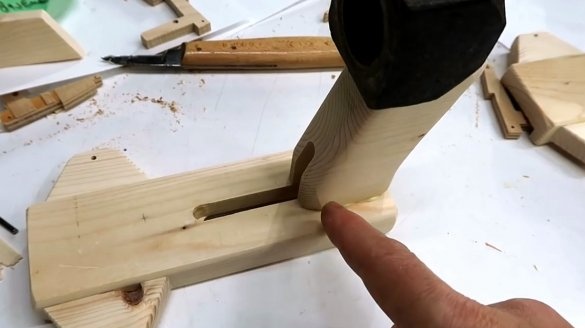
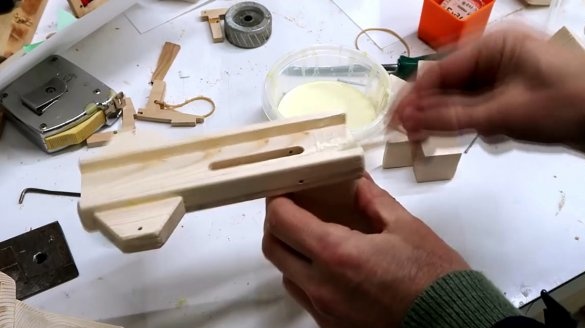
Next, you need to cut out the groove for the trigger with a latch at the base.
The circular saw did not cut the edges of the slot, I had to modify them.
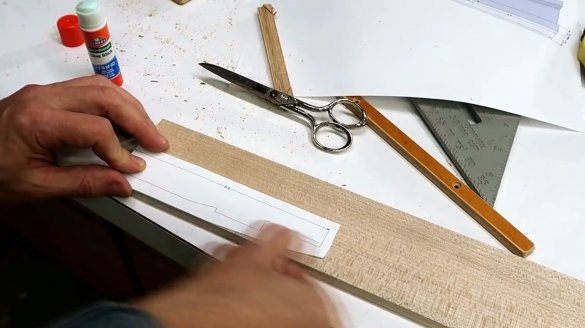
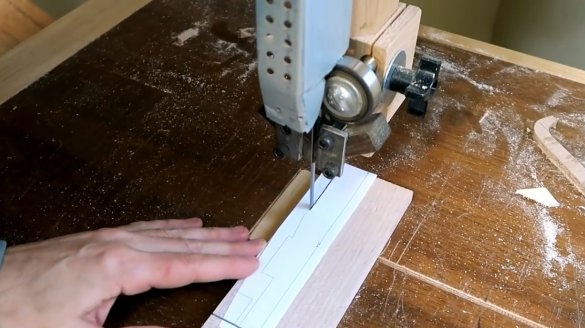
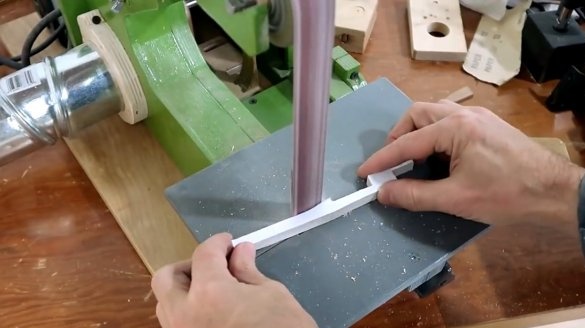
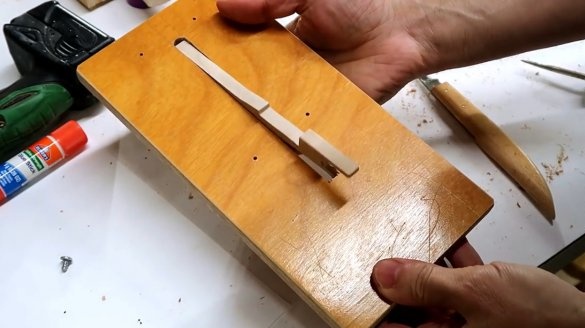
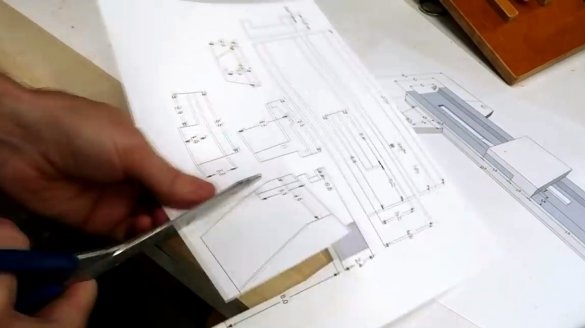
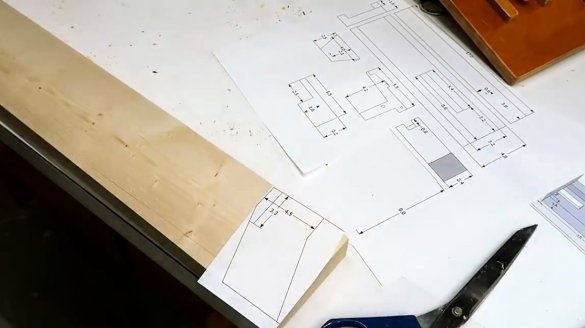
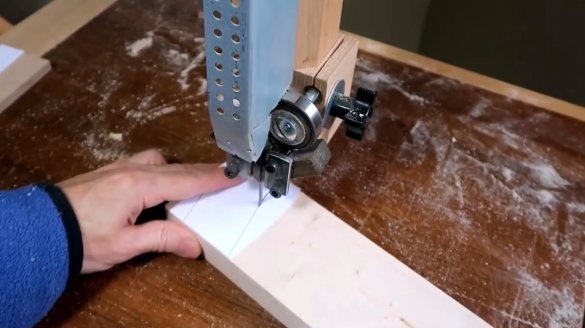
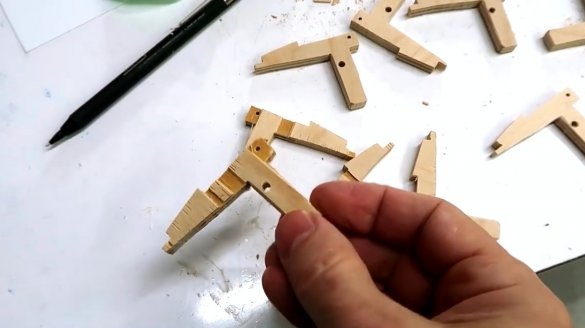
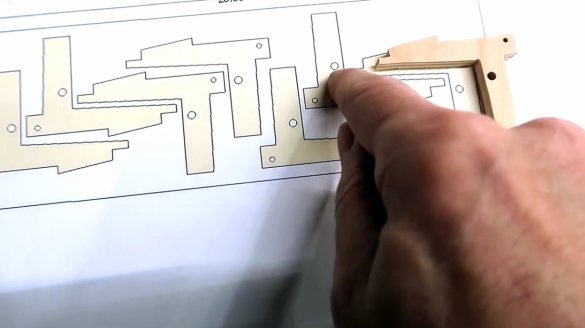
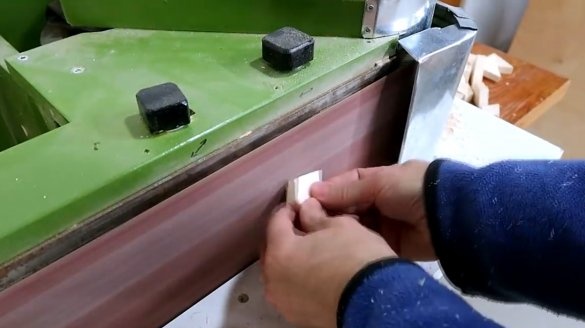
He sticks a template for the hook on the workpiece, and cuts it out. The edges of the workpiece are ground.
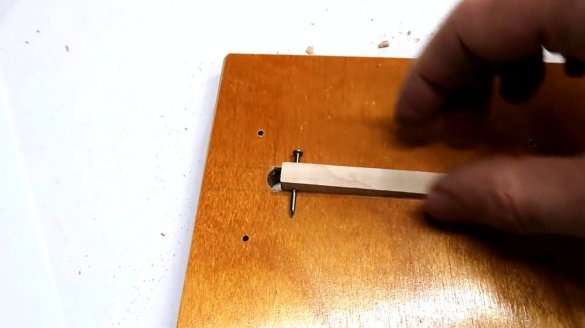
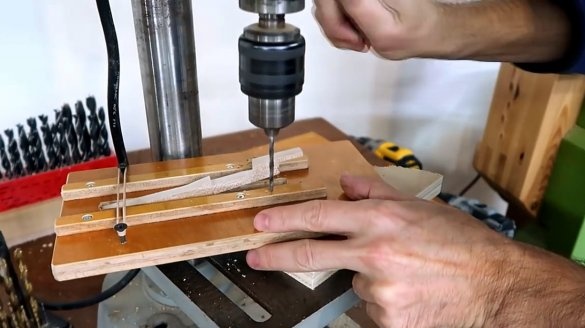
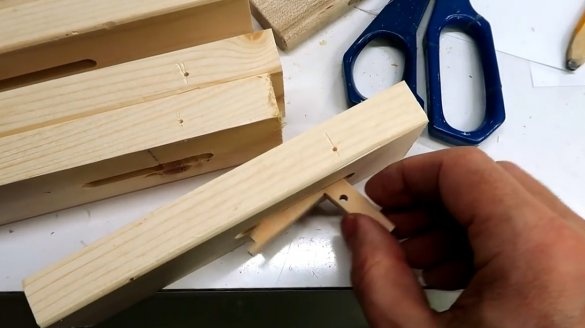
In order for the hook to hold, you will need to make a small axis from the clove, and a groove for it at the base.
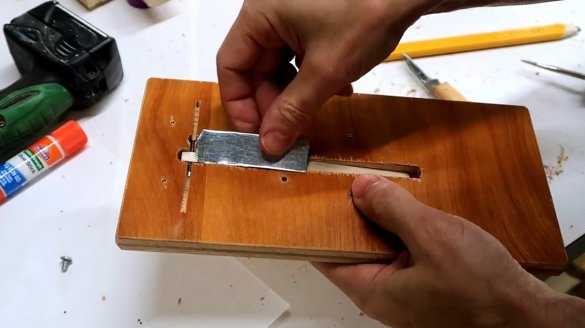
On the reverse side of the base, the master screwed a piece of cloth from a hacksaw, it will play the role of a spring.
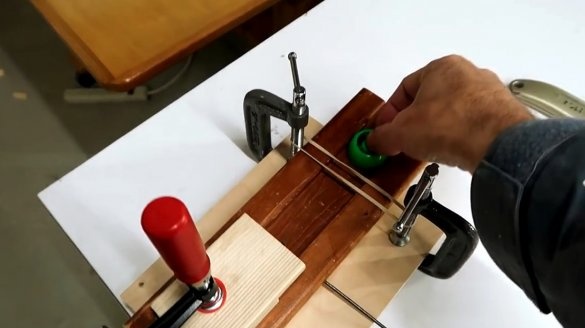
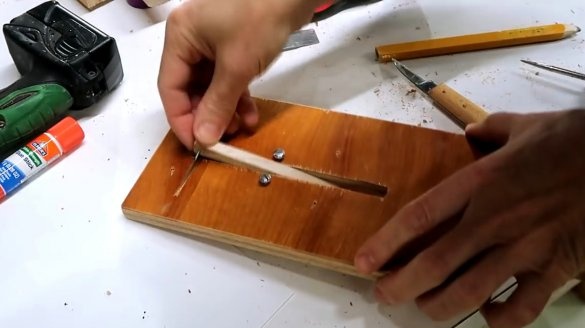
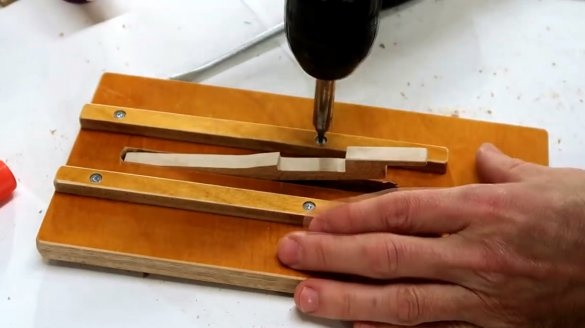
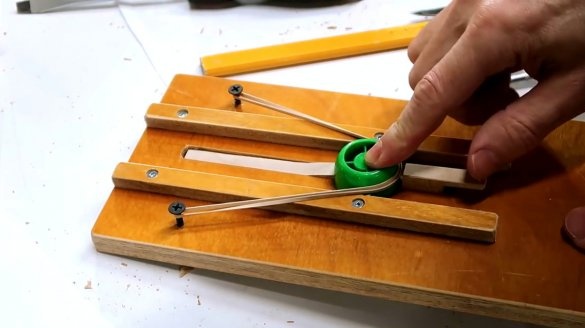
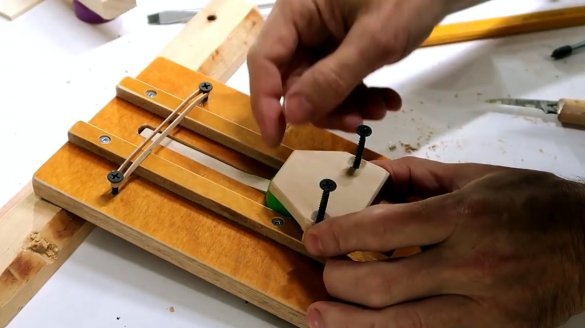
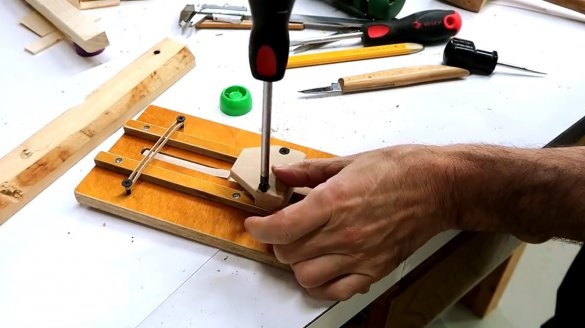
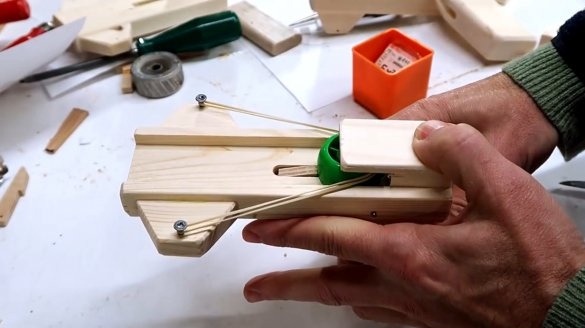
Now you can attach the guides to the base, and pull the elastic between the two screws.
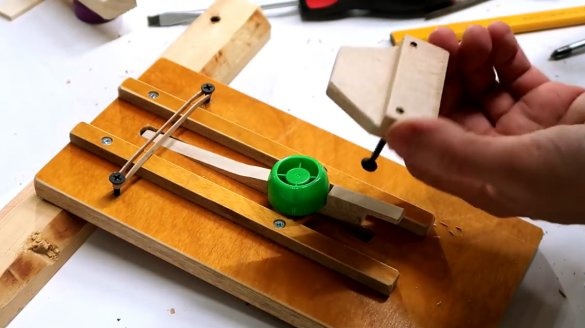
In the back, you will need a small pressure unit, which will not allow the projectile to move up.
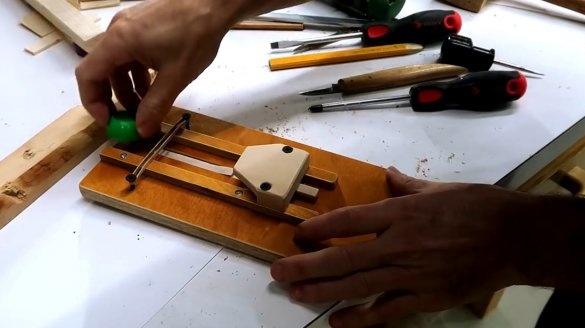
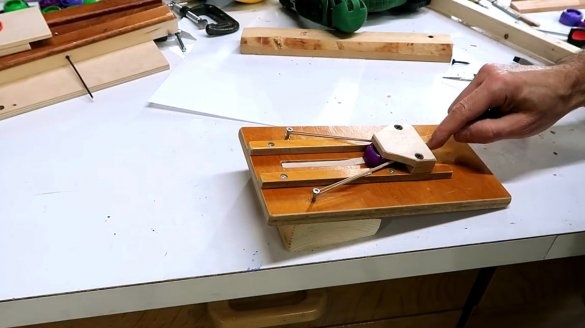
Almost everything is ready, the mechanism works.
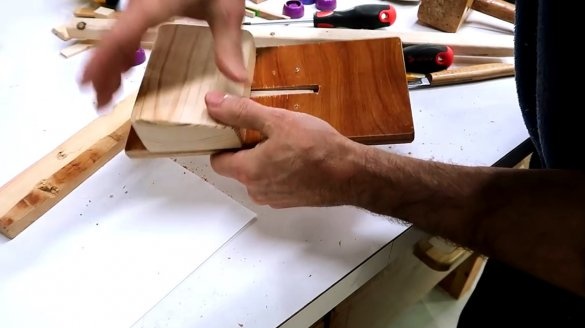
However, it is not convenient to shoot in a straight line, and the master raises the front of the catapult, attaching such a block to it. The first option is ready.
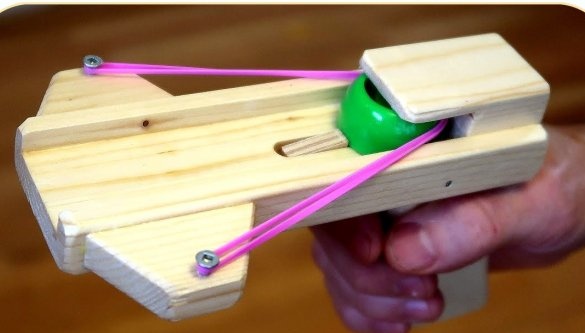
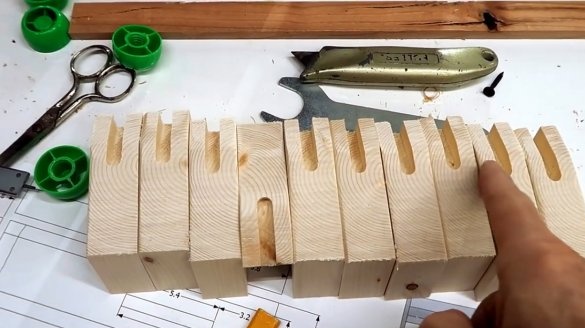
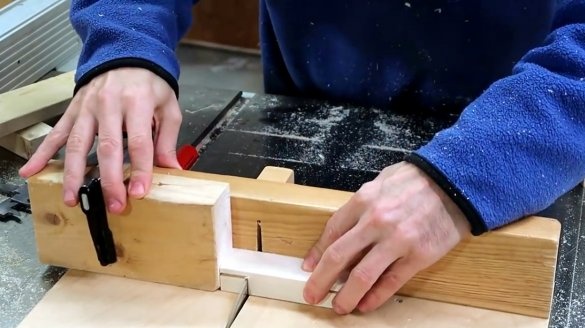
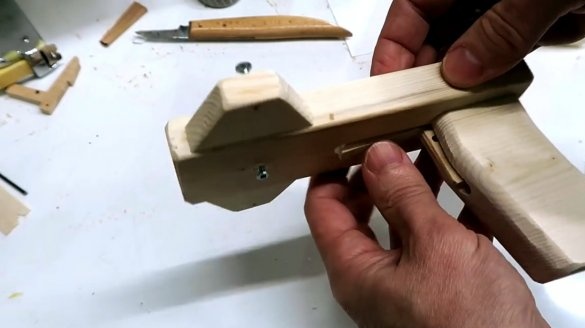
Now the author wants to make a gun already. To do this, he cuts several planks, and makes a groove in them equal in width to the diameter of the corks.
The blanks are cut into parts of the required length, and a handle is also made.
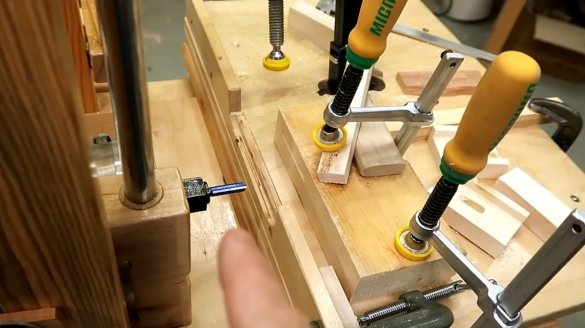
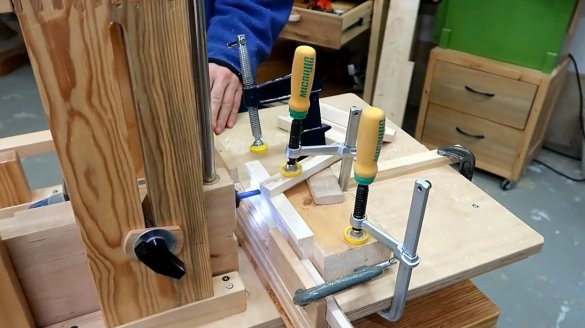
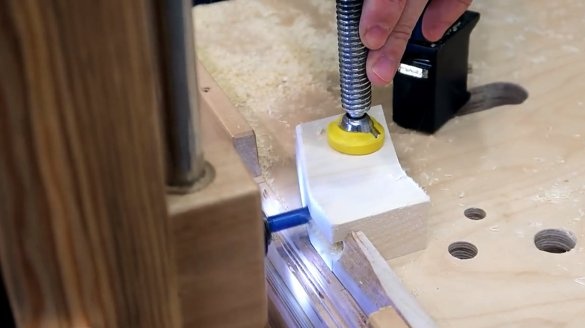
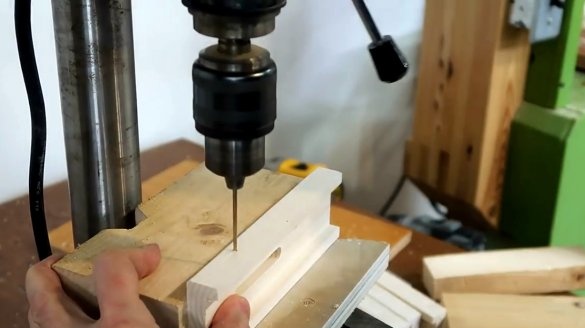
In the guide you need to make a groove for the trigger, the author performed this with the help of a milling cutter.
From the remnants of plywood, he made the triggers themselves, a small emphasis is provided in their front part.
In the handles, the seat for the trigger is milled.
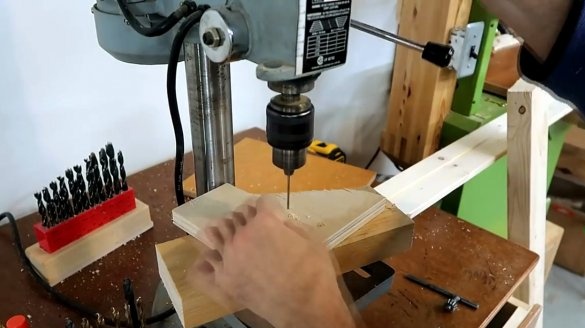
A hole is drilled in the housing for the axis, which will hold the hook.
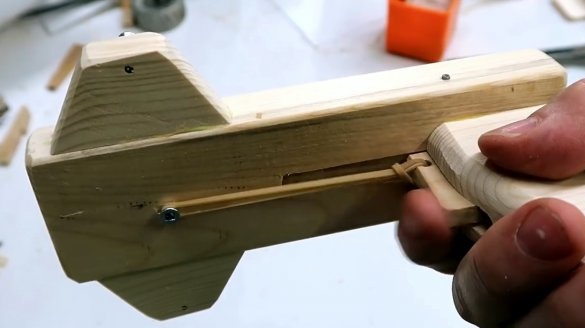
Now two side strips are cut and ground, to which the elastic will be attached.
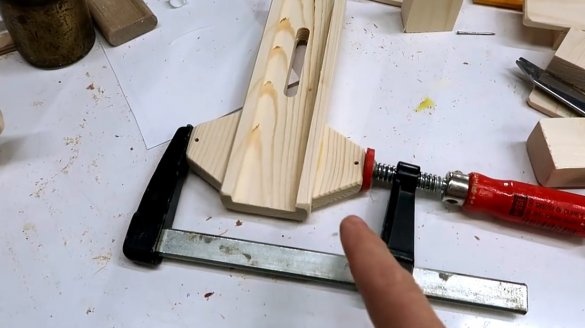
Pilot holes for screws are drilled around the edges, and the three parts obtained are glued to the body.
An elastic band is attached to the hook for its tension.
Yes, it remains to glue the upper clamping unit.
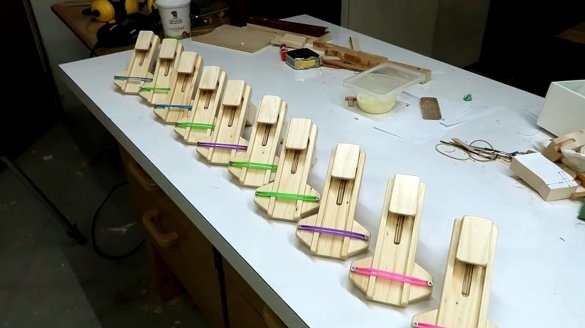
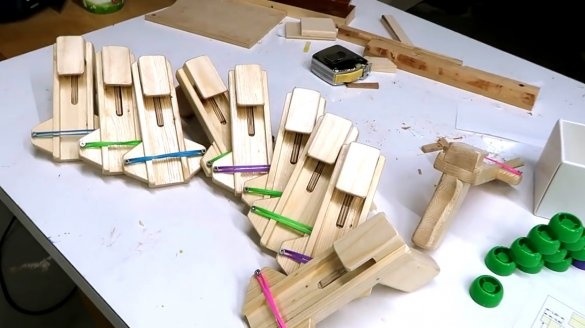
The author tried, and now the whole kid in the yard will be well armed! Yes, and adults will also get it!
I thank the author for the interesting idea of rubber arrows!
All good mood, good luck, and interesting ideas!
Author video can be found here.

