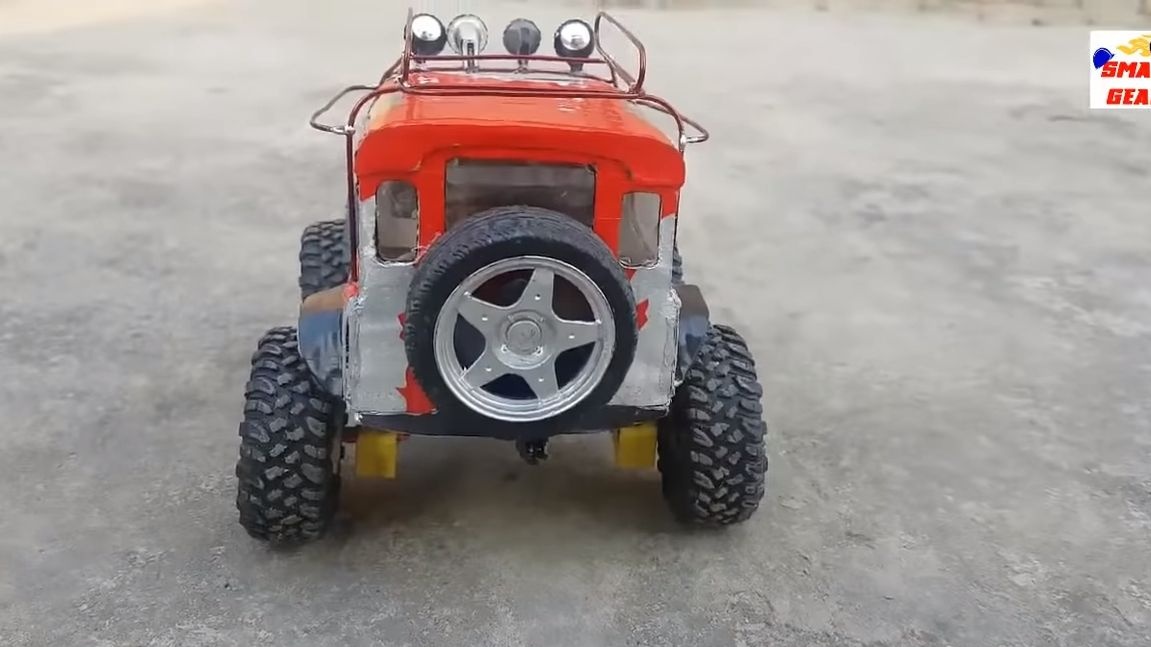
As some fans of SUVs say, “Be careful, overtaking from above is possible!” This time we will try to collect do it yourself simple SUV on the radio. Everything is collected quite simply, and the materials are used easily accessible.
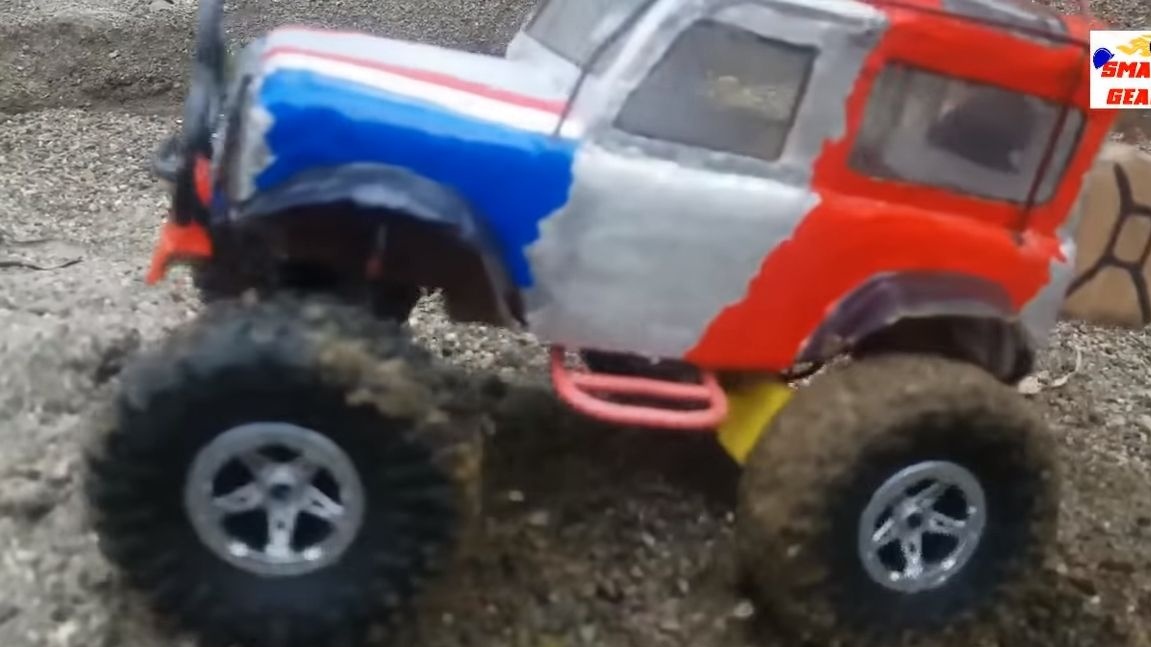
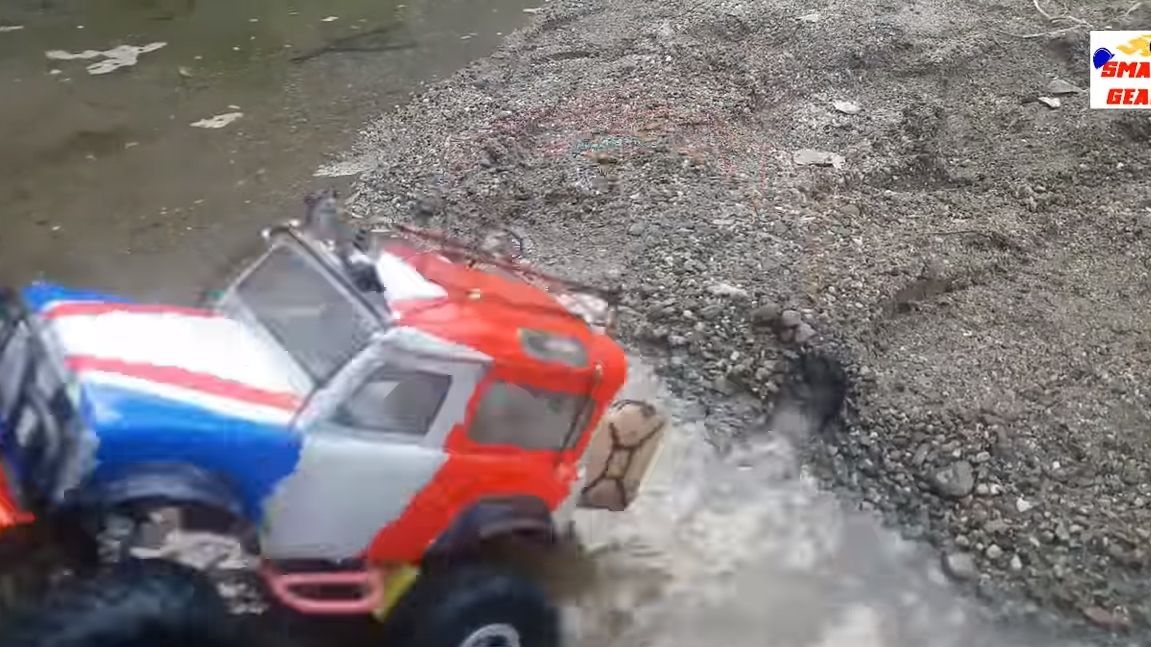
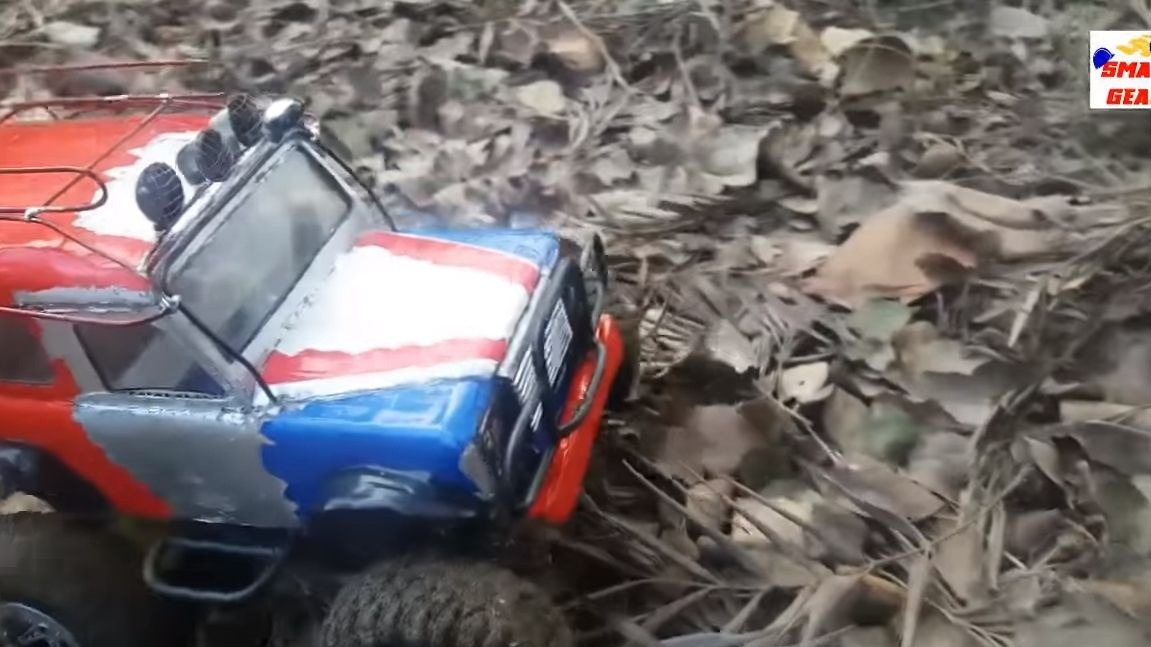
The considered SUV has only rear-wheel drive, but thanks to the large clearance and aggressive tread, the machine easily overcomes various obstacles, including puddles, dirt, leaves and more.
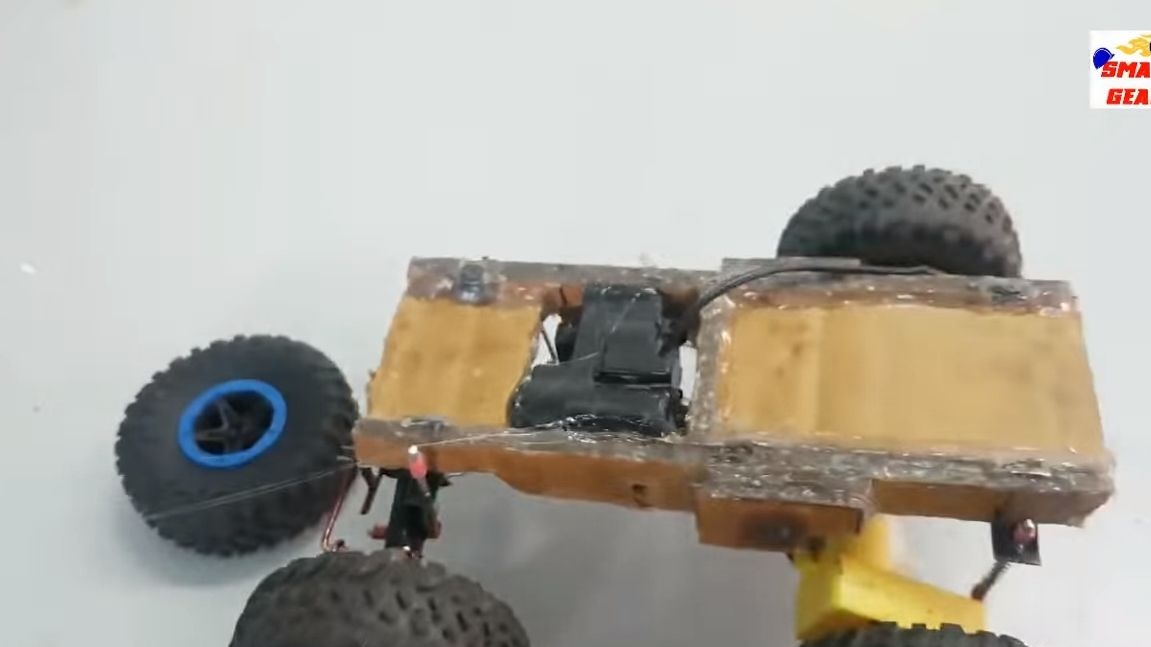
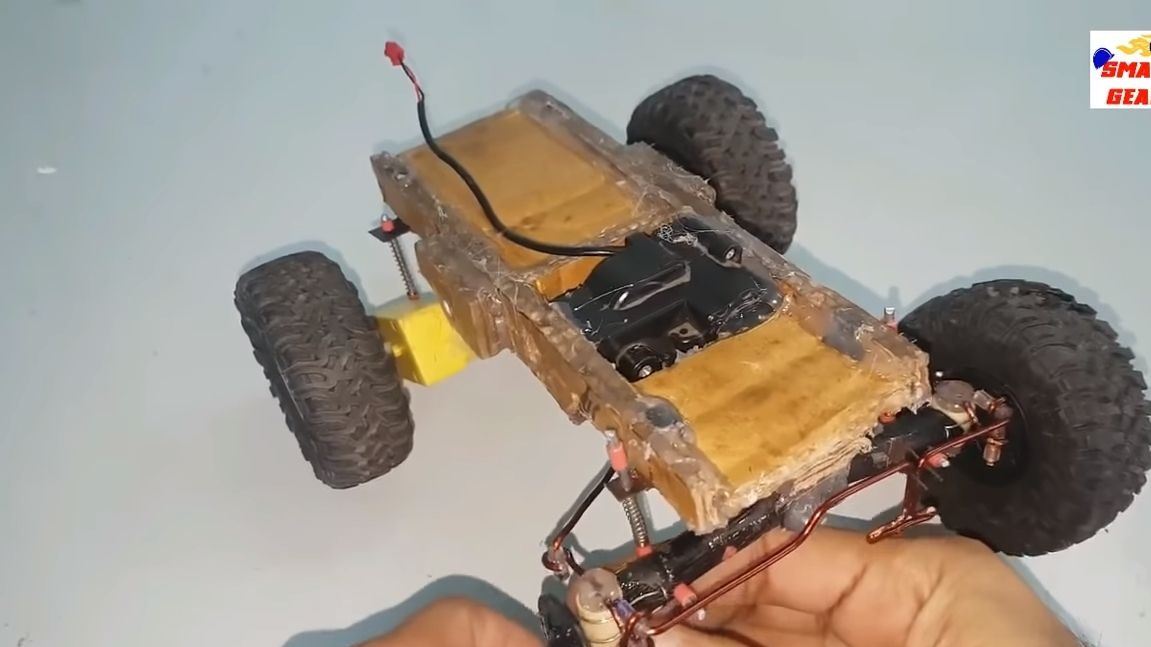
We have a frame SUV, shock absorbers are installed both on the front axle and on the rear axle, this allows you to distribute the load when driving off-road, and also increases stability. Another interesting point is the independent rear suspension. We will do the machine by analogy with the famous Land Rover SUV.
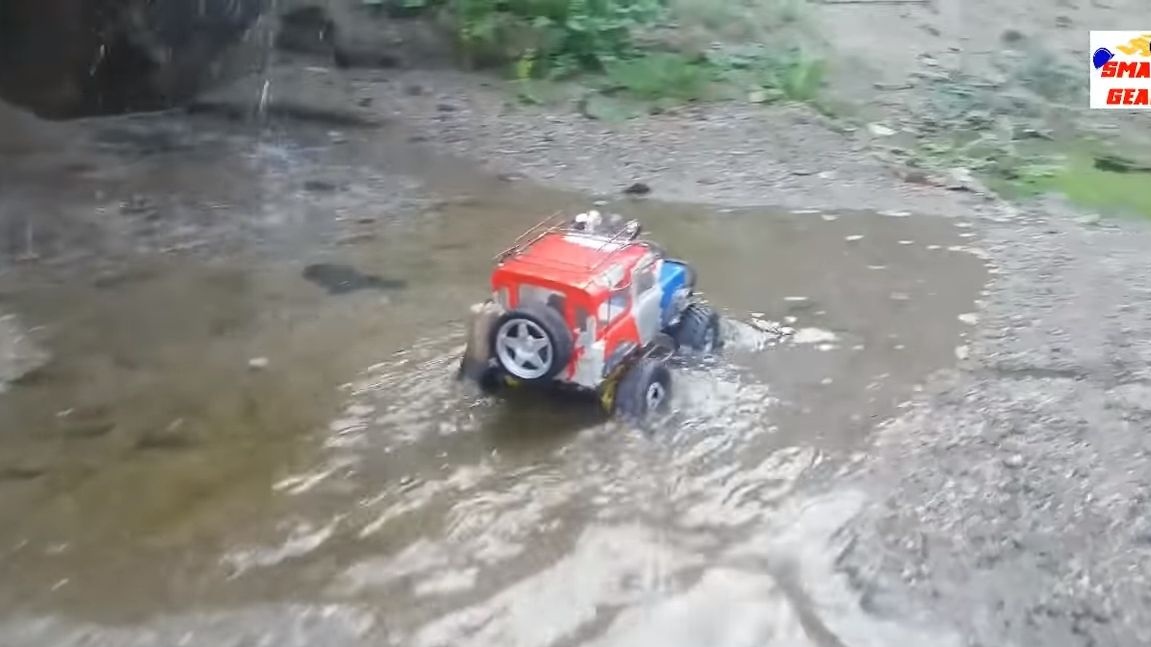
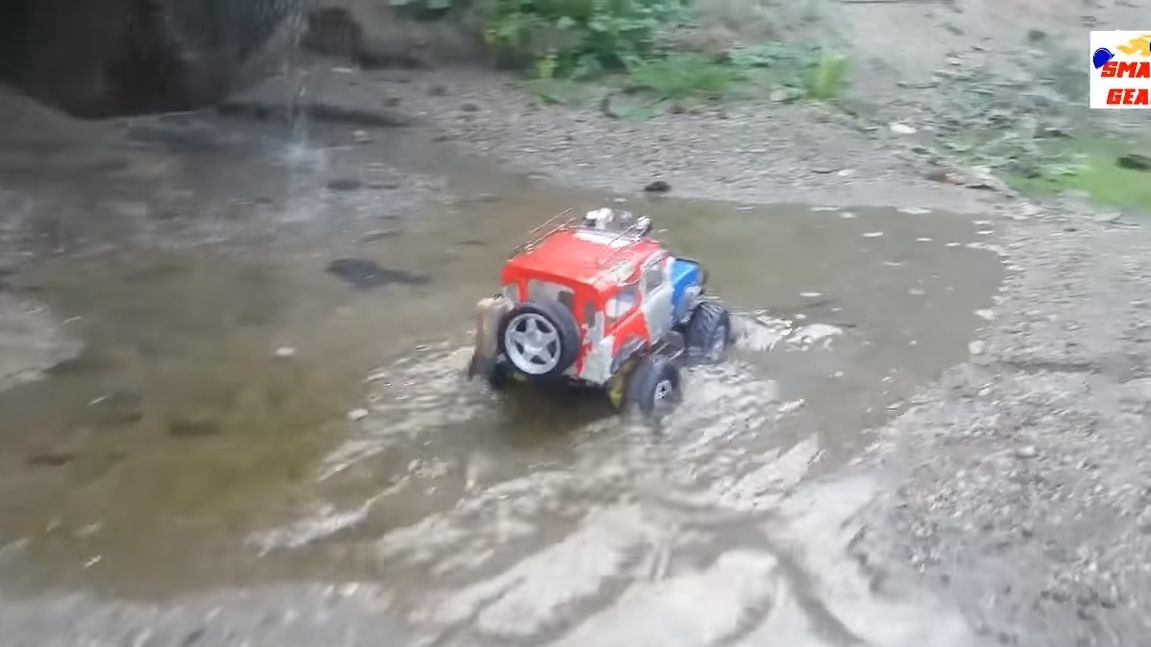
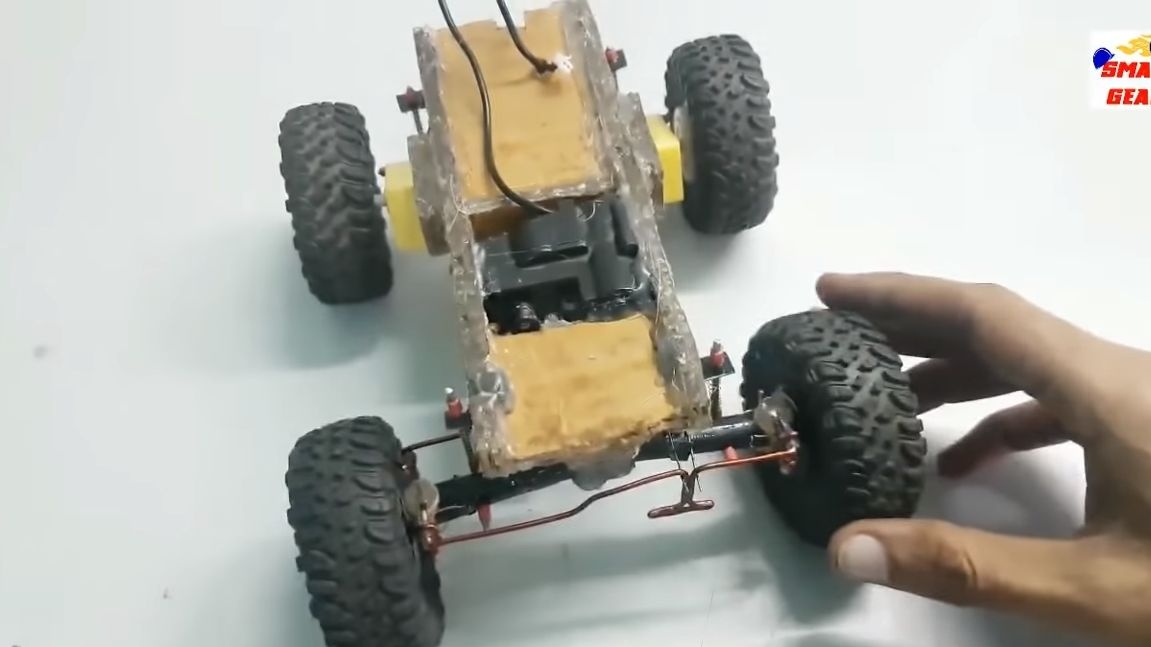
The frame is assembled from cardboard, which is subsequently hardened with hot glue. Thanks to glue, the rigidity of the frame increases and the machine does not fall apart if the cardboard gets wet. The author demonstrates the reliability of the design, driving such a machine through puddles, streams and so on. For additional protection, the frame can be glued with film, painted or something like that. You can also use plastic and other better materials than cardboard. The steering is driven by a small servomotor, and each rear wheel is driven by a separate engine through a gearbox. So, we begin assembly.
Materials and tools used by the author:
Material List:
- ;
- (XL932R4);
- 4 wheels;
-
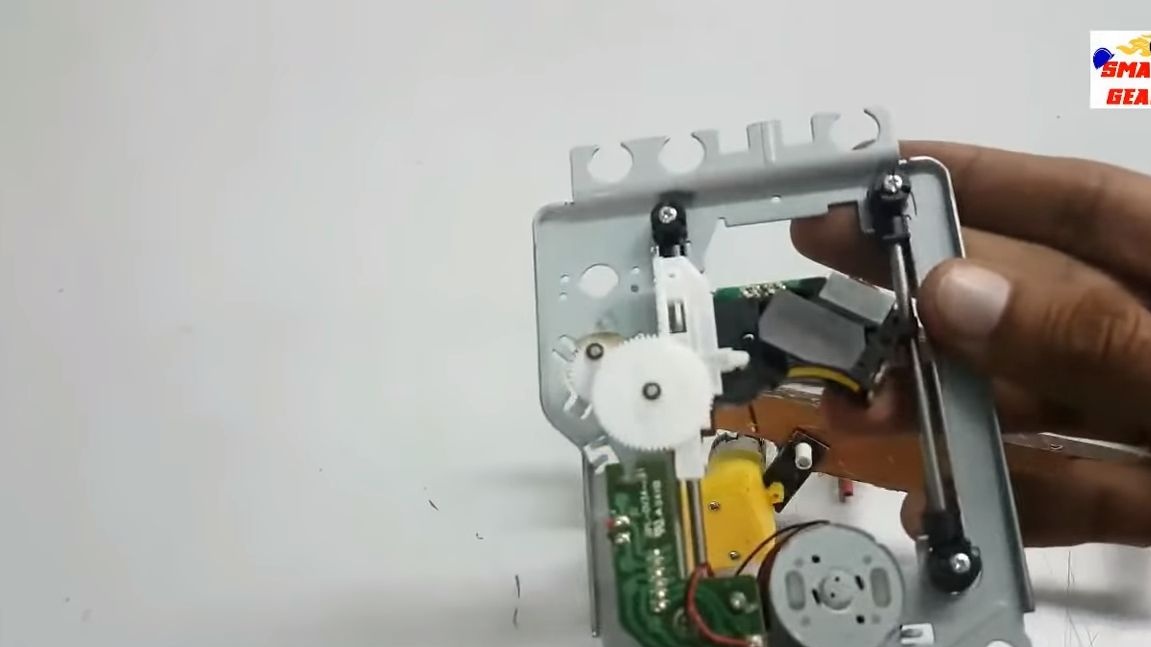
- spare parts from old drives;
- cardboard;
- plastic tubes (ampoules from pens);
- springs;
- wire;
- old marker;
- battery;
- cardboard, plastic from bottles, etc. (for making the case).
Tool List:
- soldering iron;
- glue gun;
- scissors;
- pliers;
- pliers;
- paint and brush.
SUV manufacturing process:
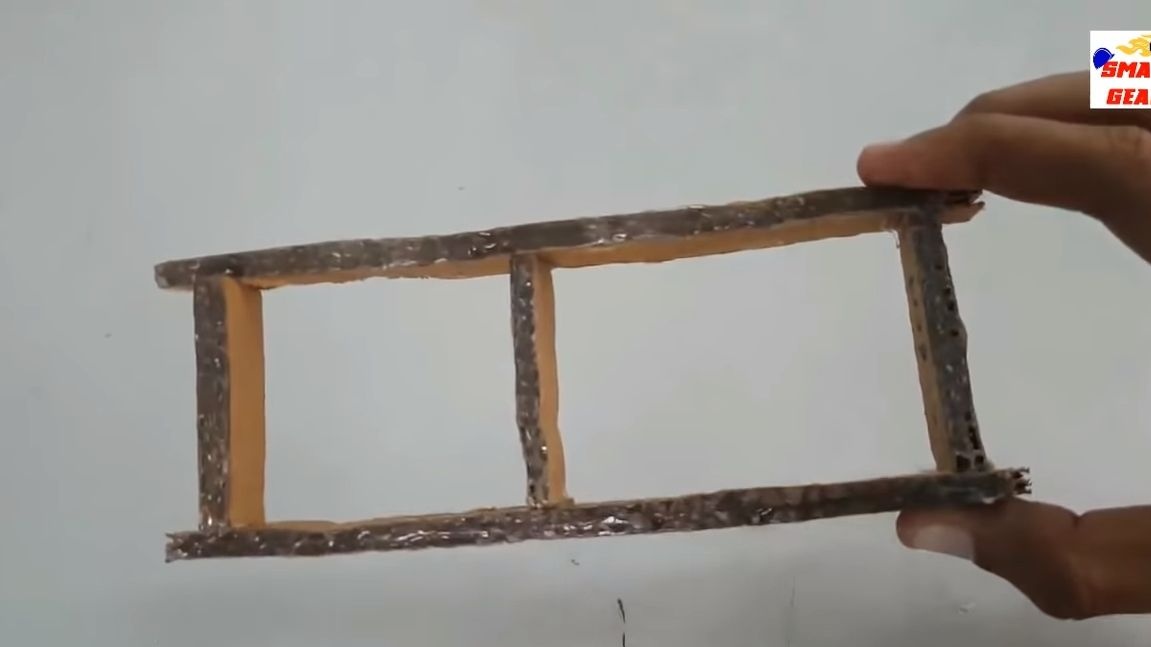
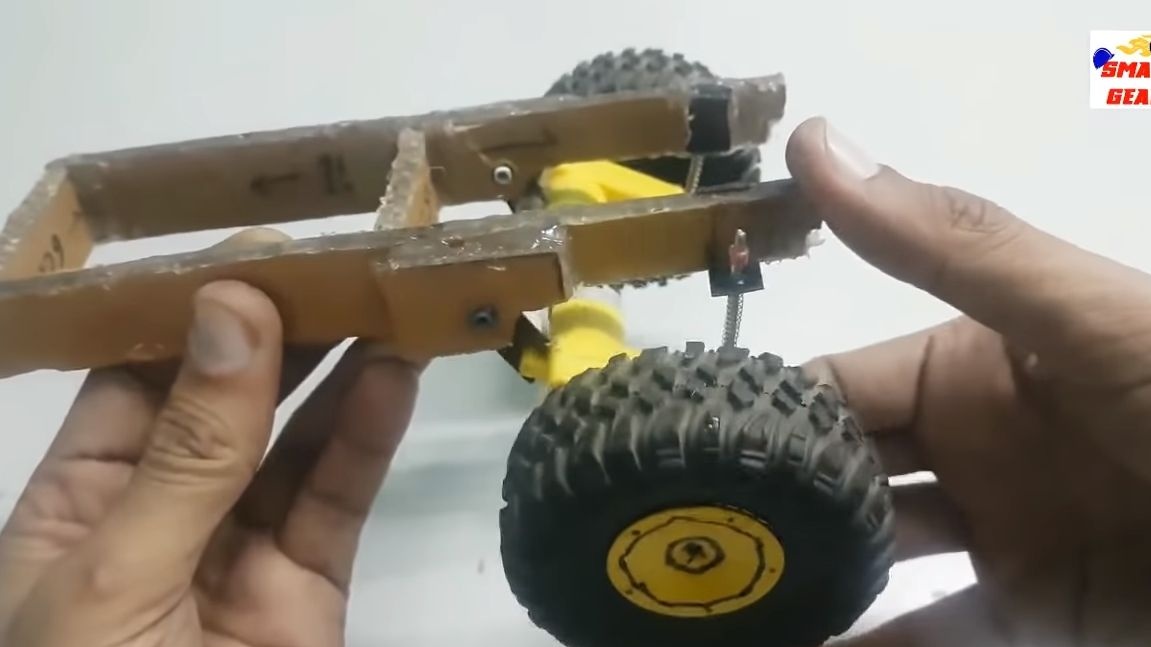
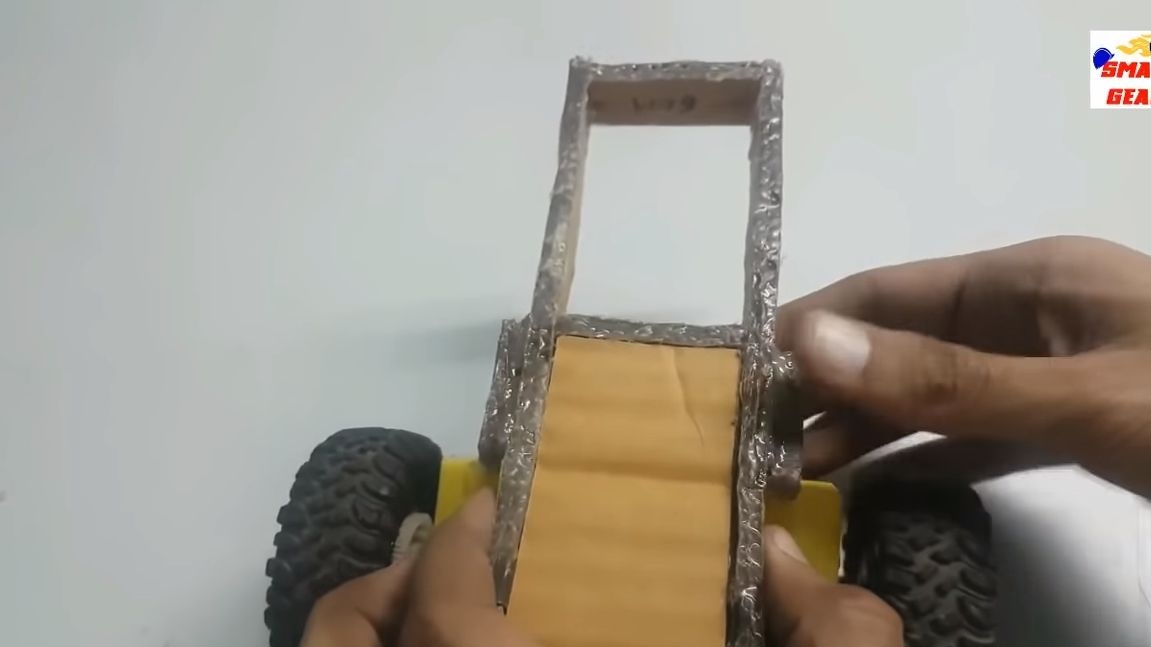
Step one. We make a frame
The author makes the frame out of cardboard, additionally strengthening it with hot glue. As a result, we get the frame not so much from cardboard as from hardened hot glue, which allows it to withstand heavy loads, including wetting. It would be nice to additionally paint the cardboard with waterproof paint or apply PVA glue to it, this will protect the material from moisture. How everything is going, look at the photo, there is nothing complicated here.
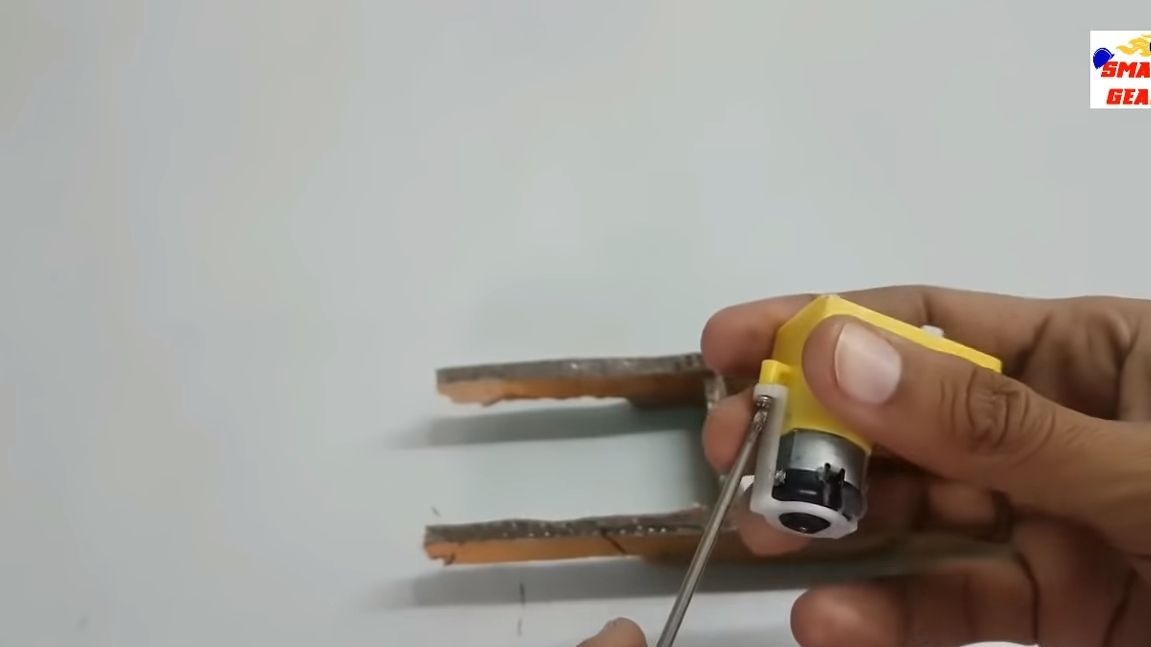
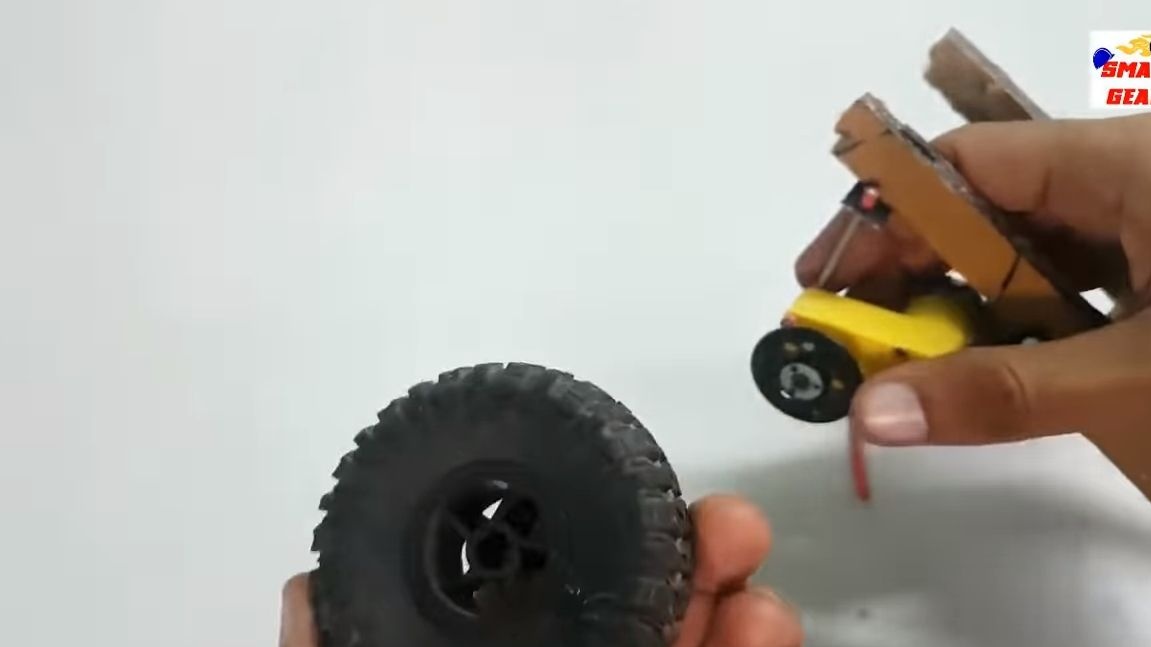
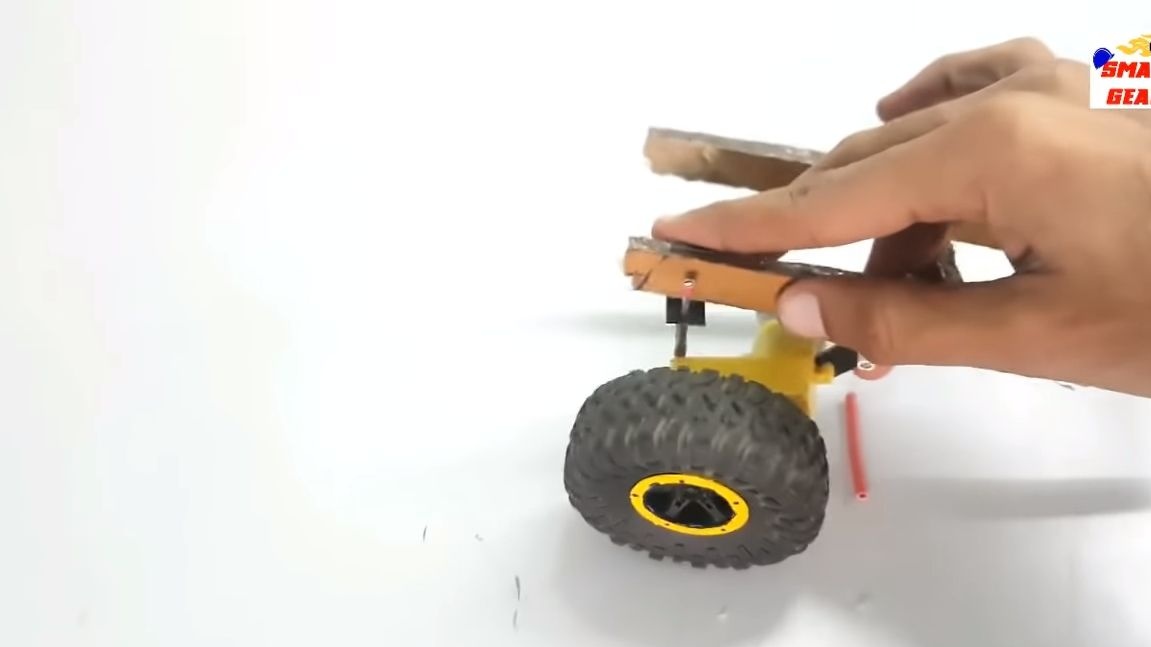
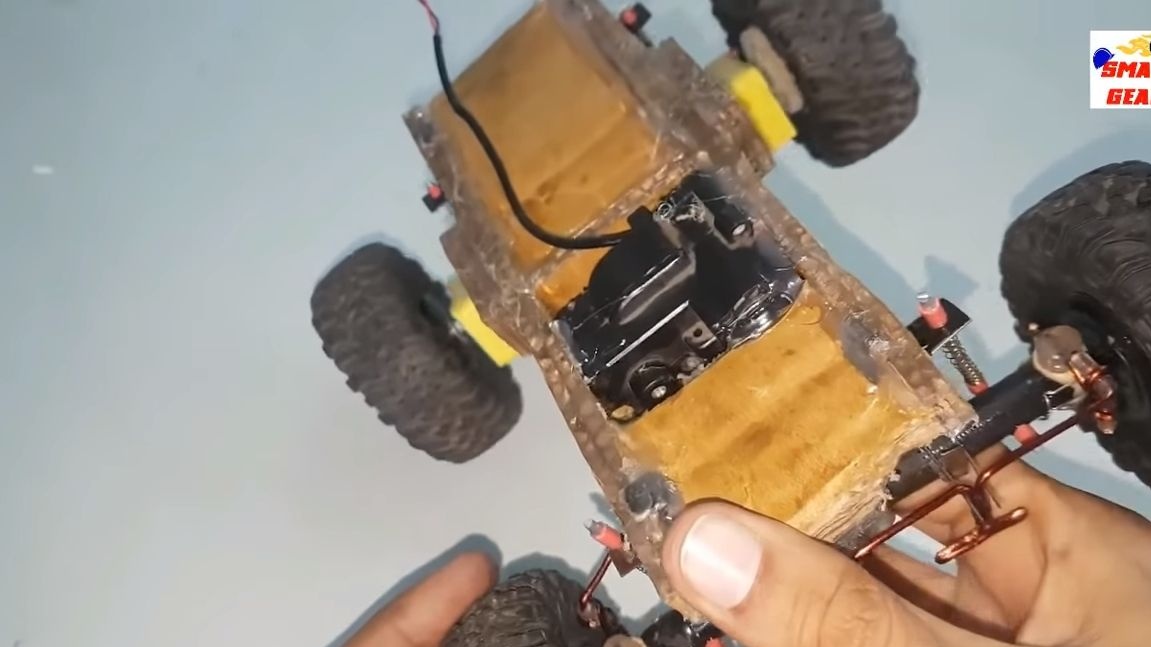
Step Two Install the rear suspension
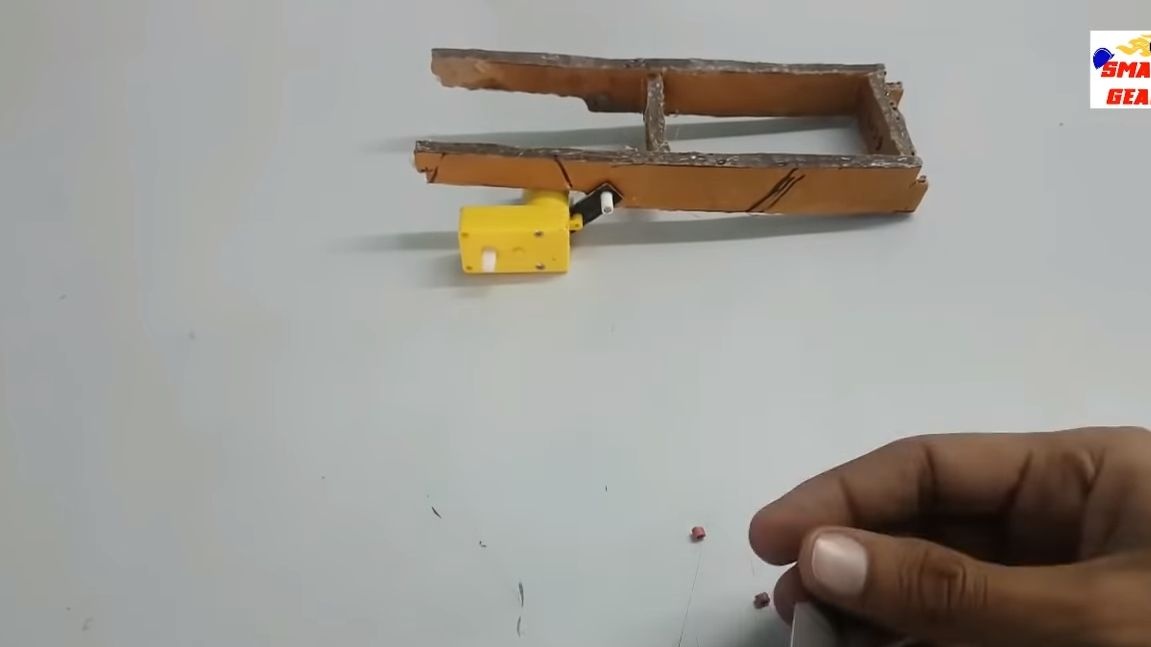
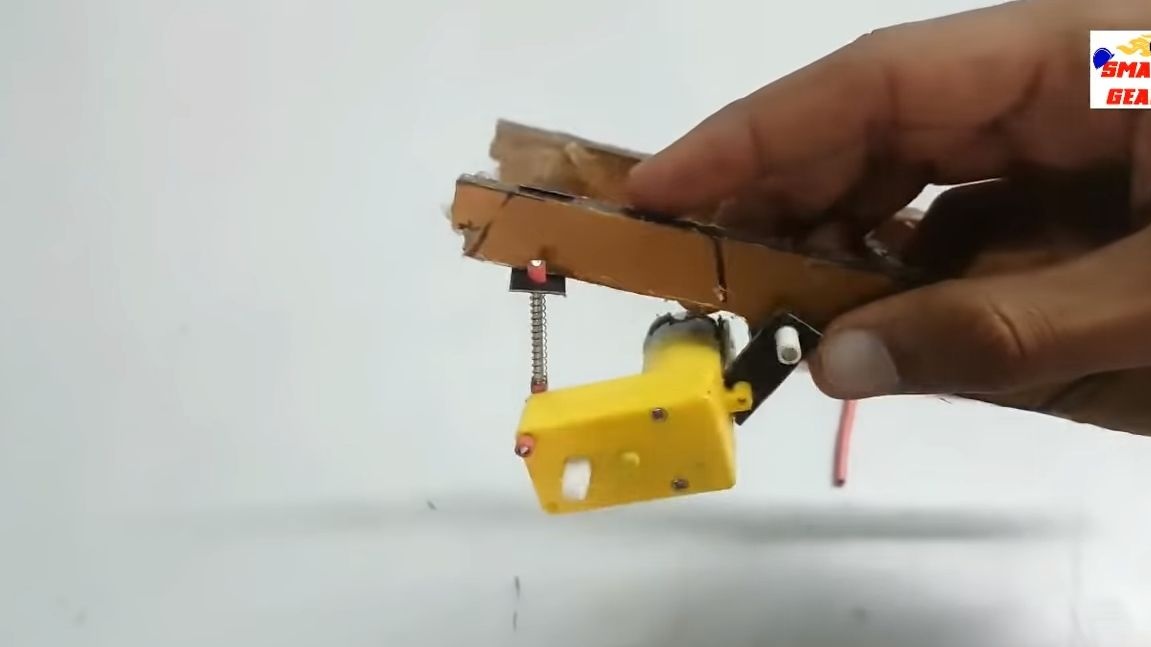
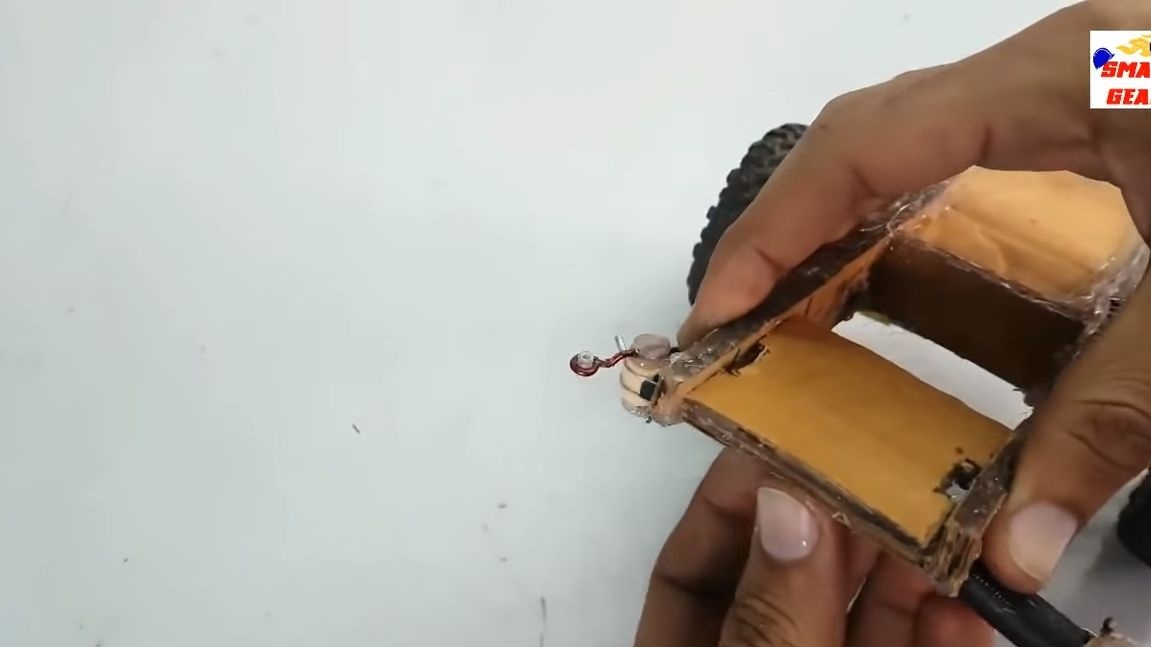
The rear suspension is independent, as is the front.That is, the wheels rise and fall independently of each other. This solution increases stability and cross. All we need to do is install two gearboxes with motors. We fix the gearboxes pivotally, they must move up / down on the frame. Next, you will need to make shock absorbers. Here you need a wire, you can aluminum, as well as springs. It will be necessary to glue some support to the frame on which the shock absorber can be fixed, more precisely, it will be a guide for its rod.
Now you can install the wheels. As a hub for wheels, the author decided to use the parts that hold the disks in the drives. Glue the hubs to the wheels with hot glue. That's it, the rear suspension is assembled!

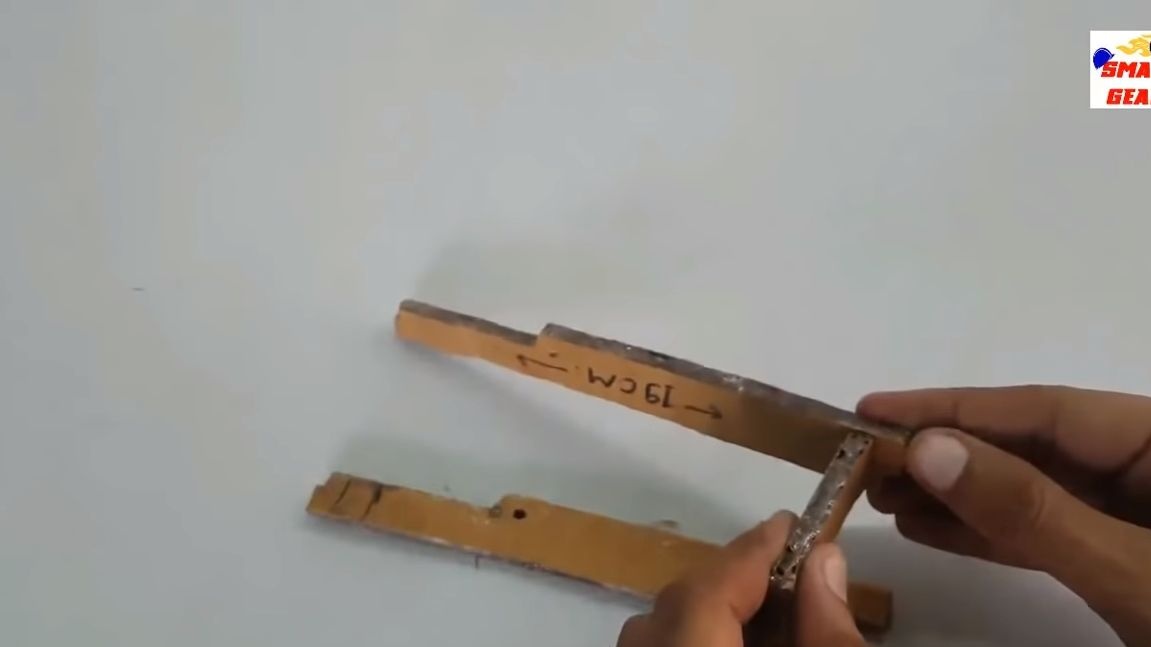
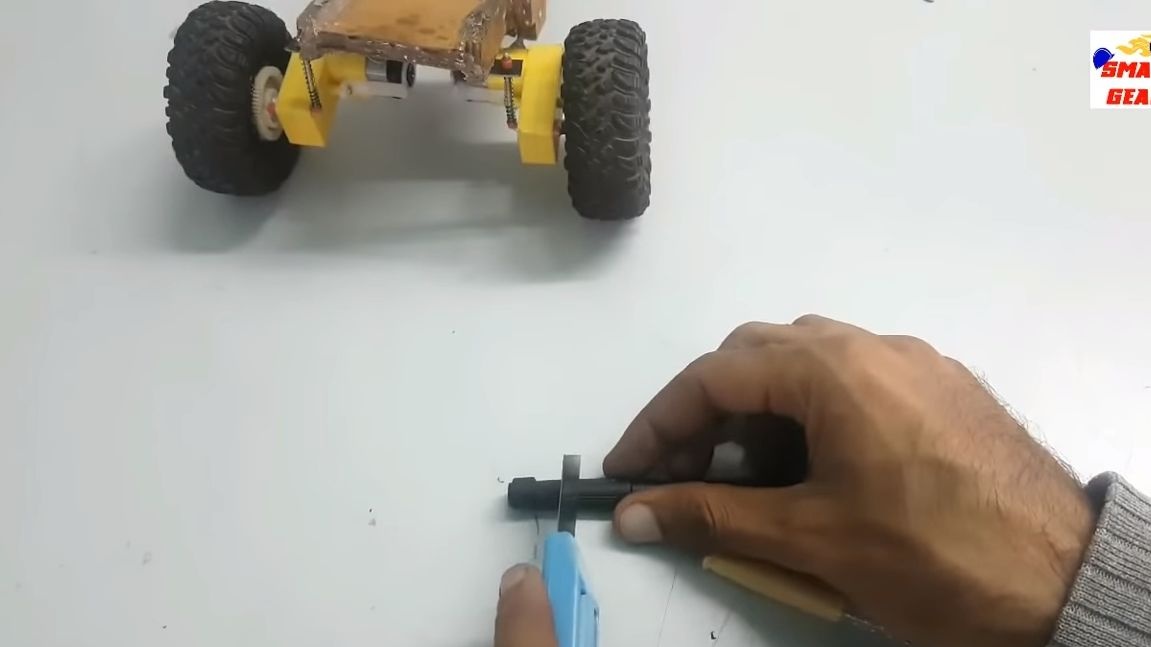
Step Three Front axle manufacturing
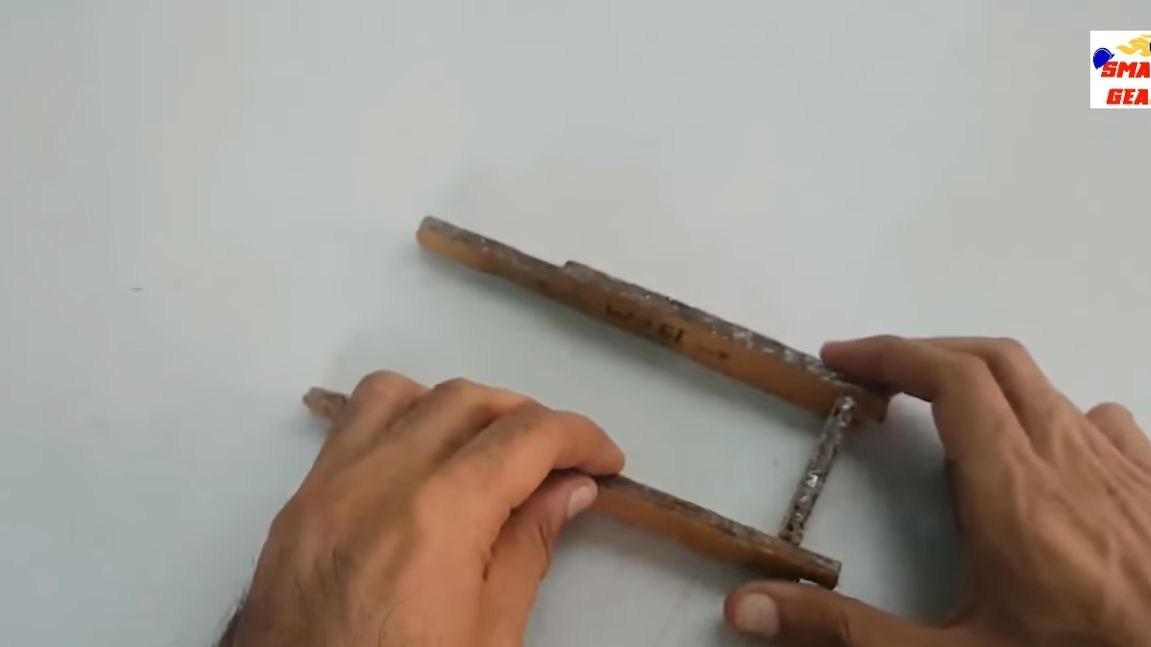
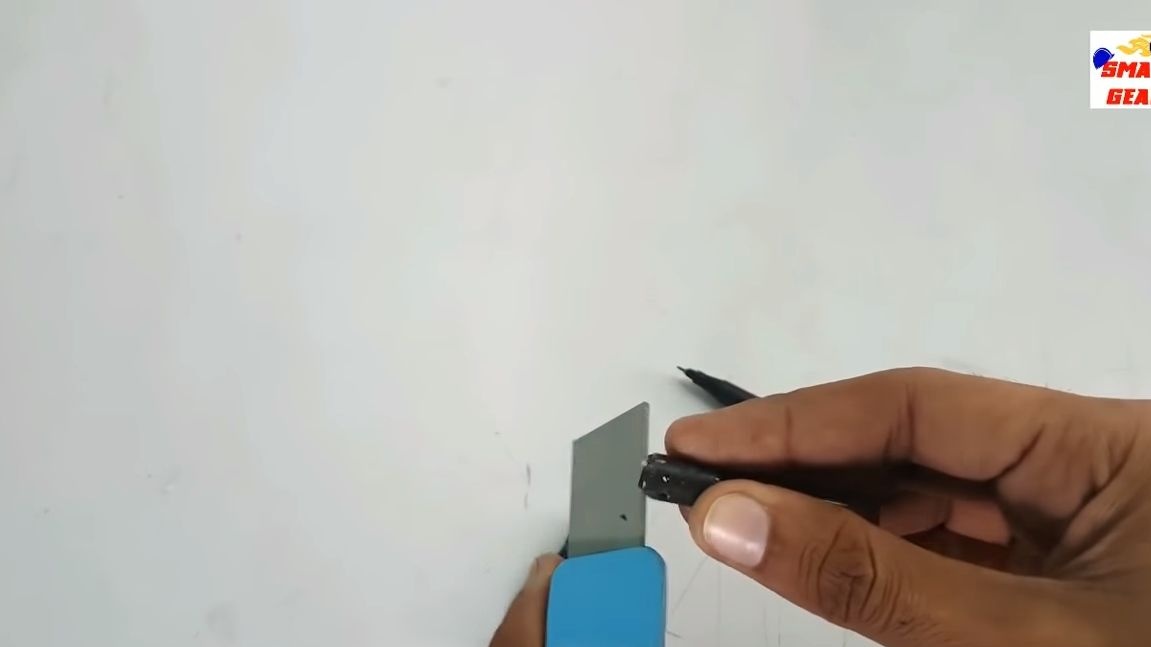
The front axle is made quite difficult, but its design is very similar to those used in real SUVs. As a basis, we use the body of the marker, cut it into two parts. As planned, the front axle should "break" when loading in the center, so it needs to be connected articulated.
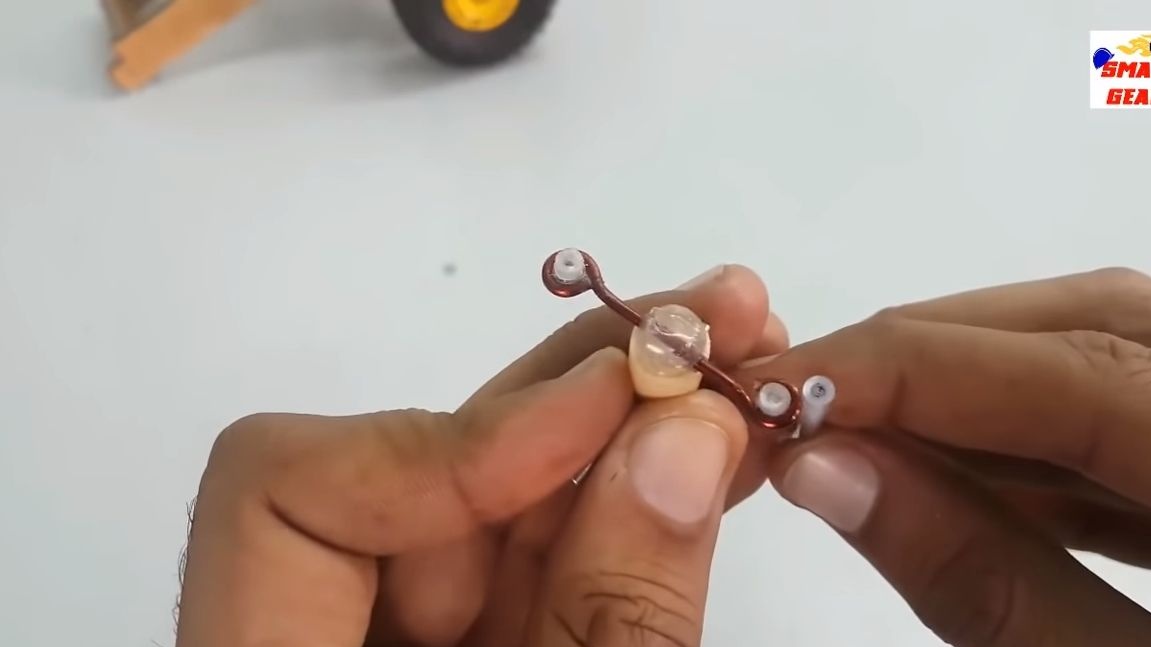
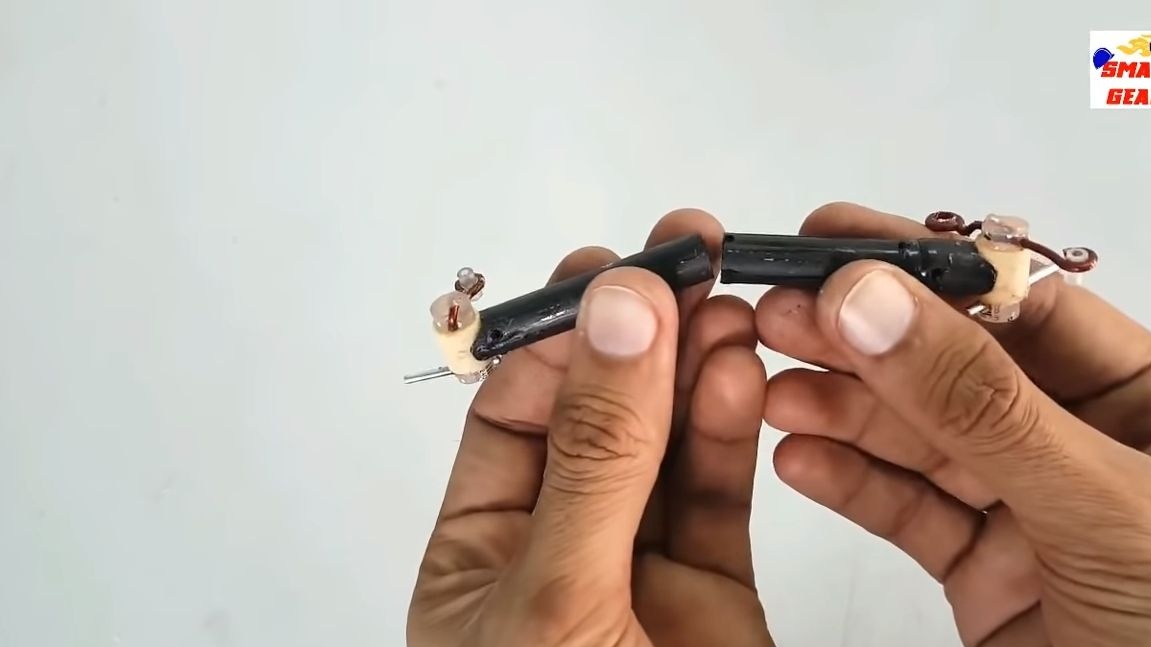
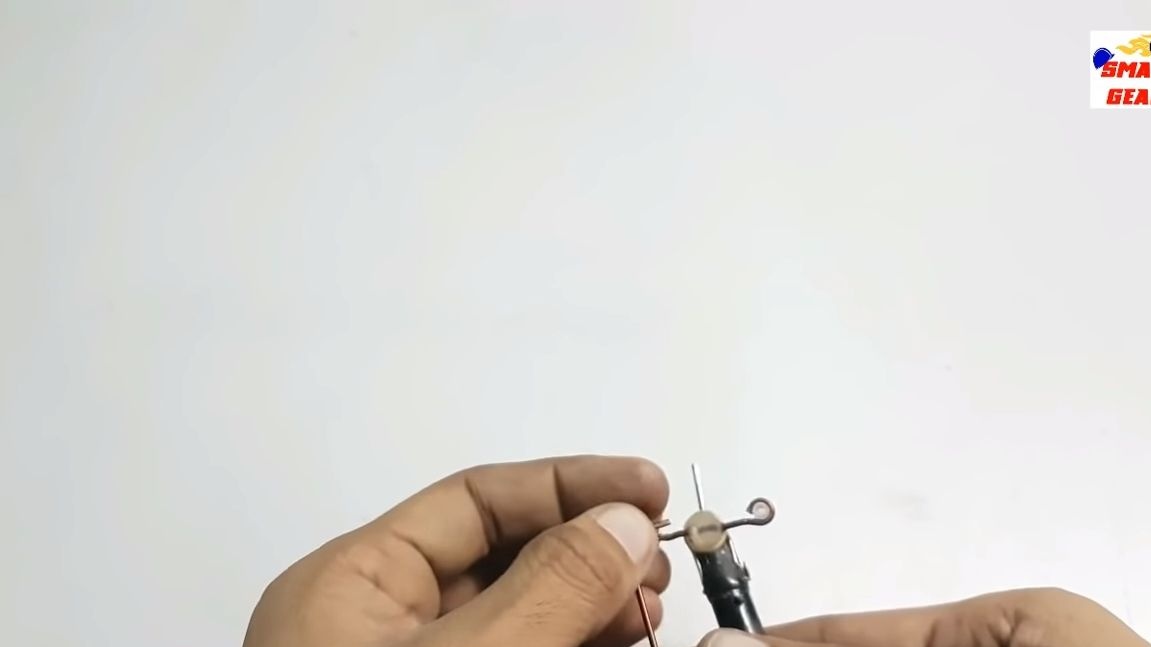
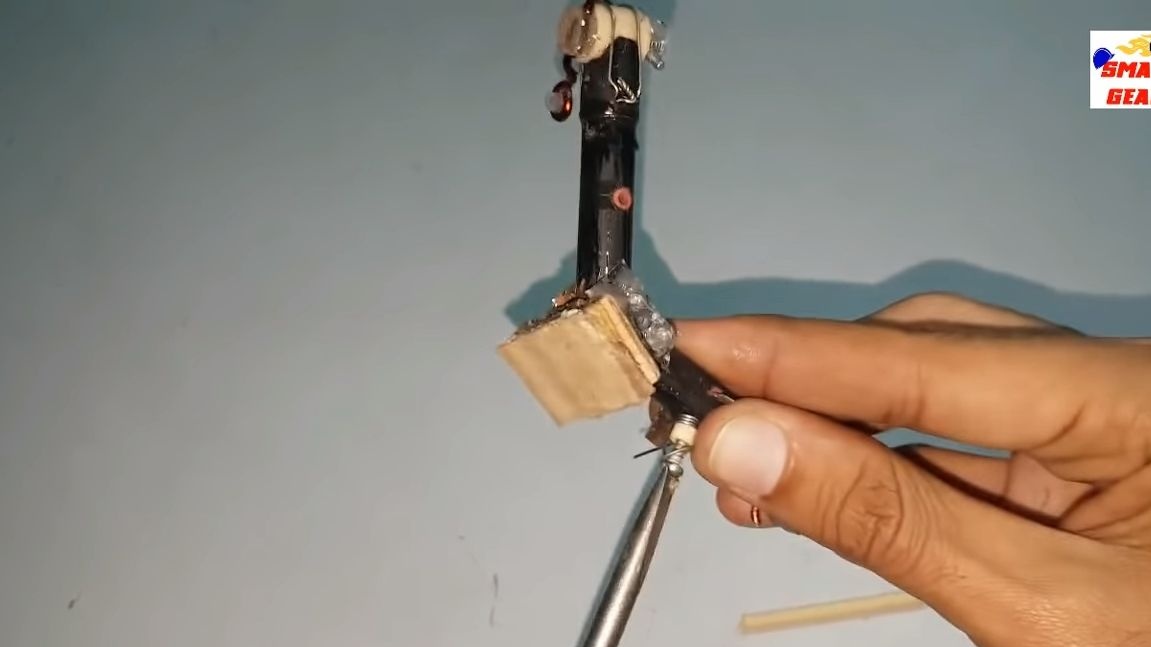
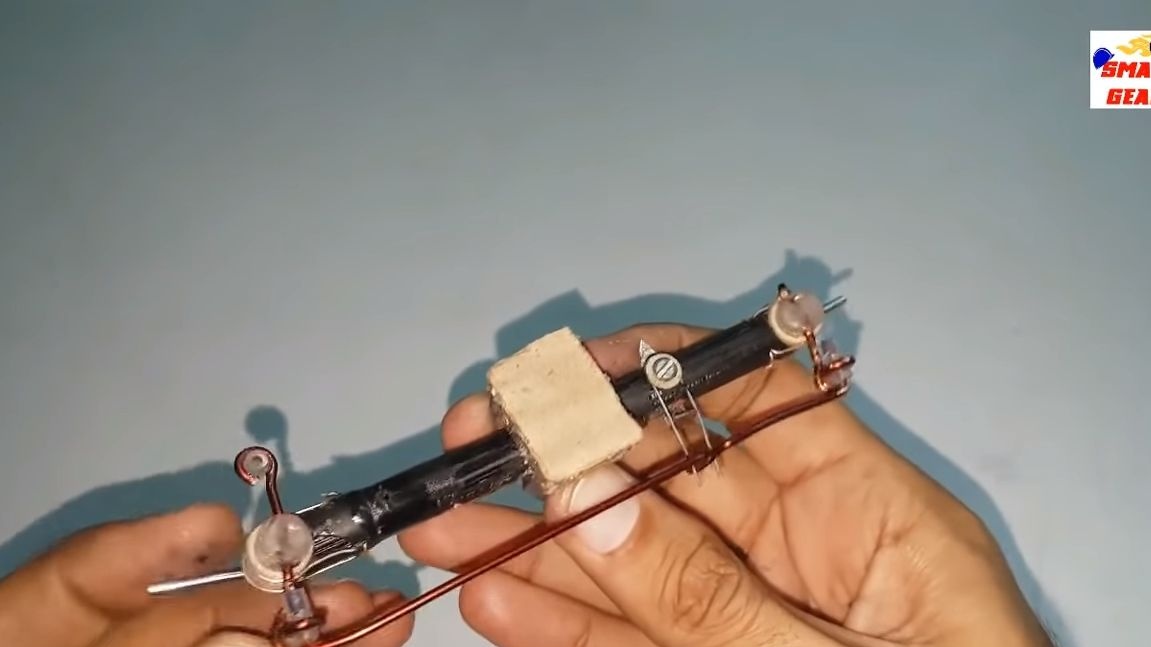
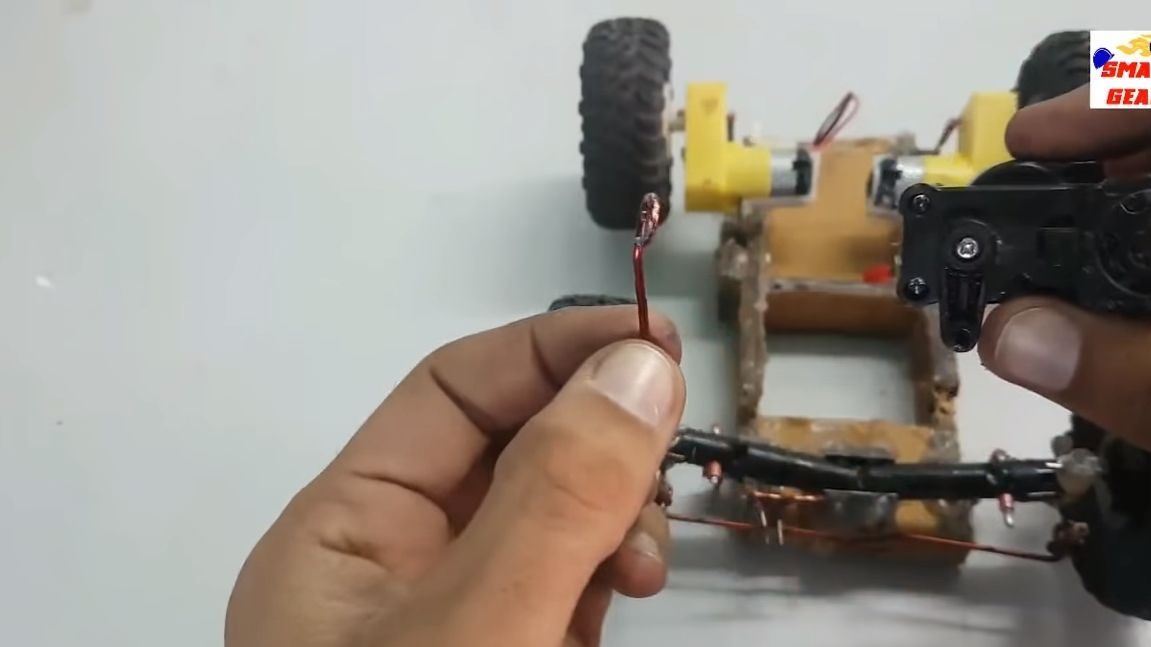
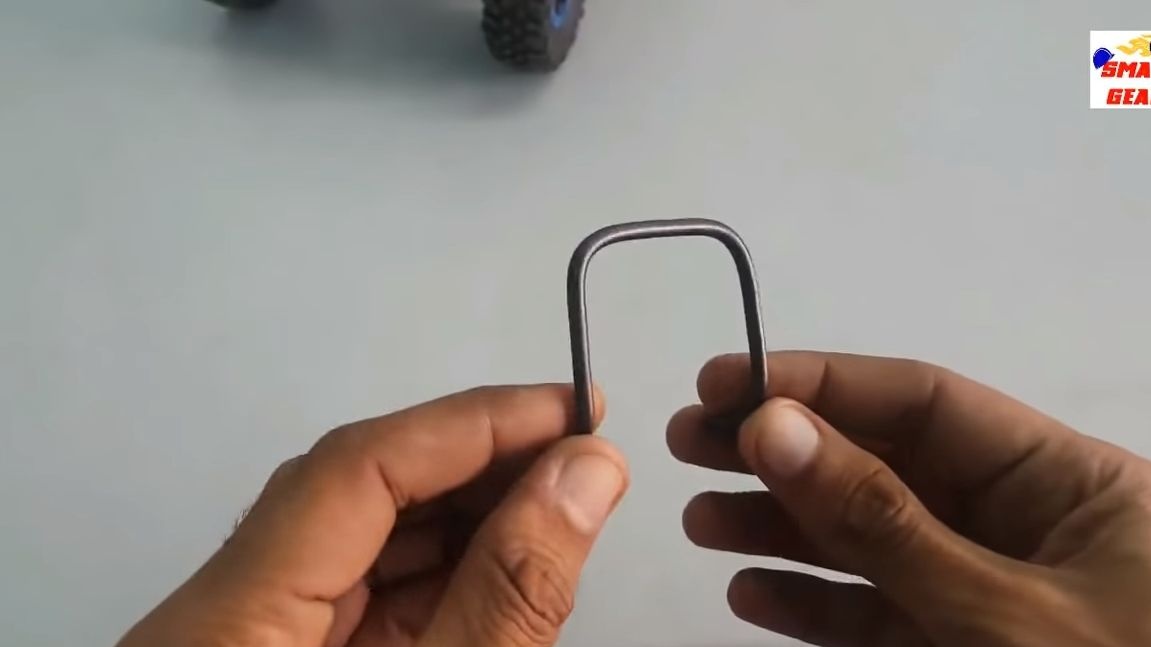
At the ends of the front axle, we install "steering knuckles", which will turn the wheels. To make them, you will need wire, empty ampoules from pens and other little things. We need to connect the knuckles with a lever so that they can be rotated synchronously. To make the lever you need a wire. In the center of the lever, make a loop, as in the photo. It is needed in order to connect a spring to the steering. As a result, when you do not hold the turn key, the wheels will automatically align in a straight line.
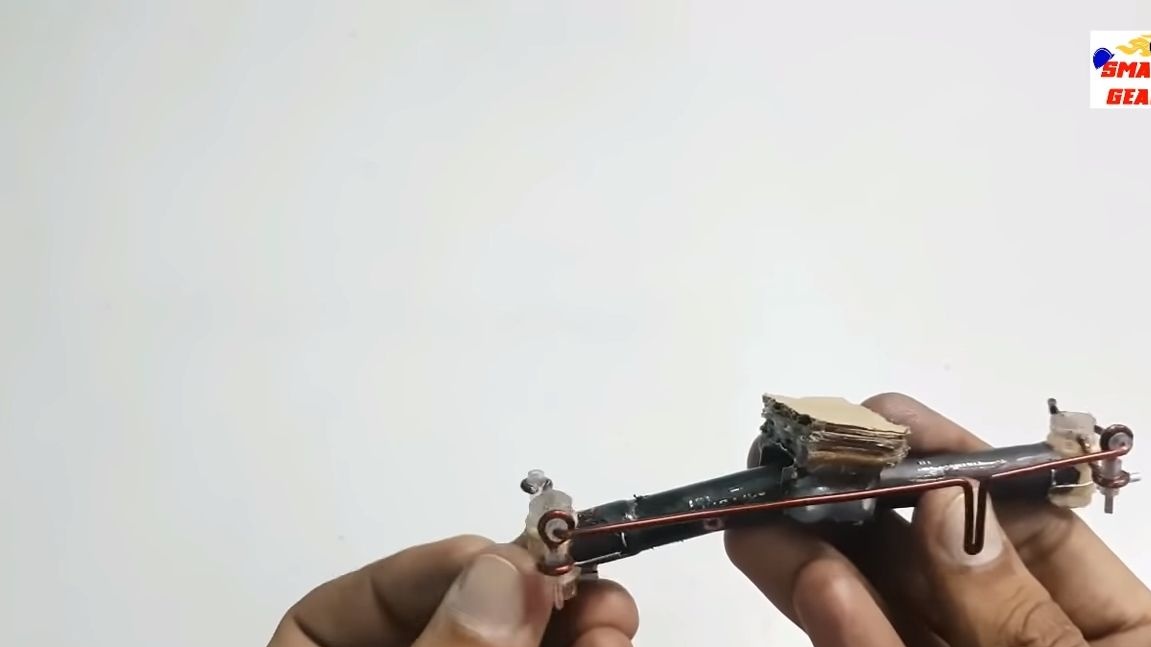
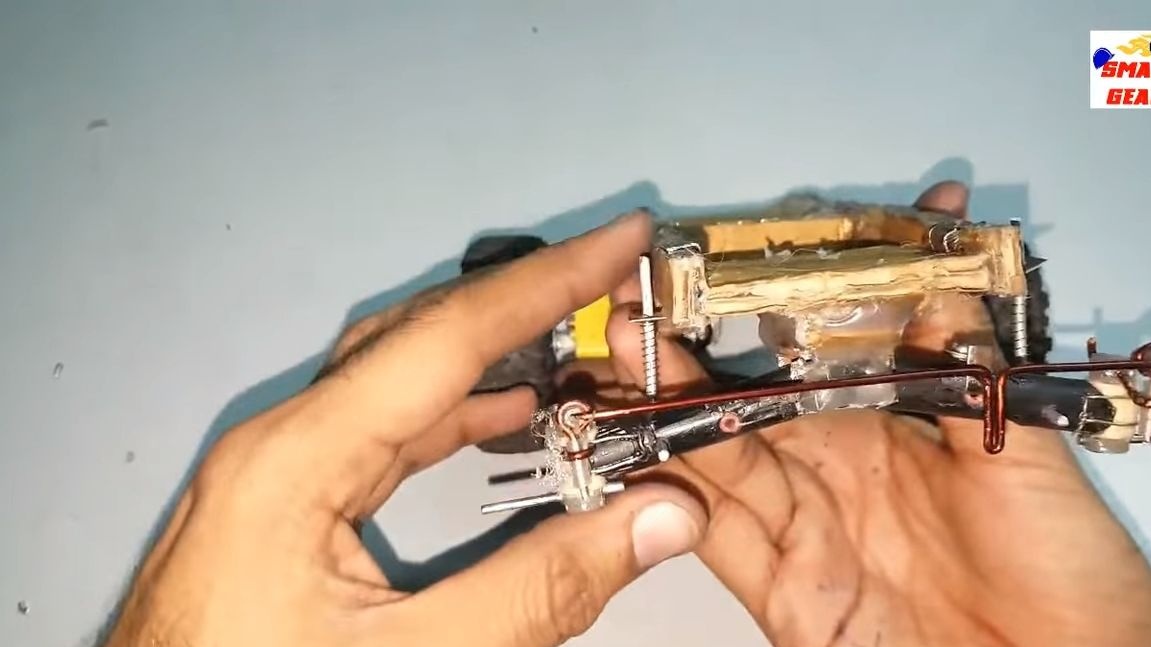
When the front axle is ready, we attach it to the frame. Each wheel has a separate shock absorber, as well as behind the car. We make shock absorbers from springs and wire.
Step Four Install the servomotor
Servomotor in car controls the front wheels, that is, this is our steering wheel. Fix the engine in a place prepared in advance using a good amount of hot glue. As a result, you will only need to connect the engine to the steering system. For this, the steering lever will be needed, we do it ourselves from the wire.
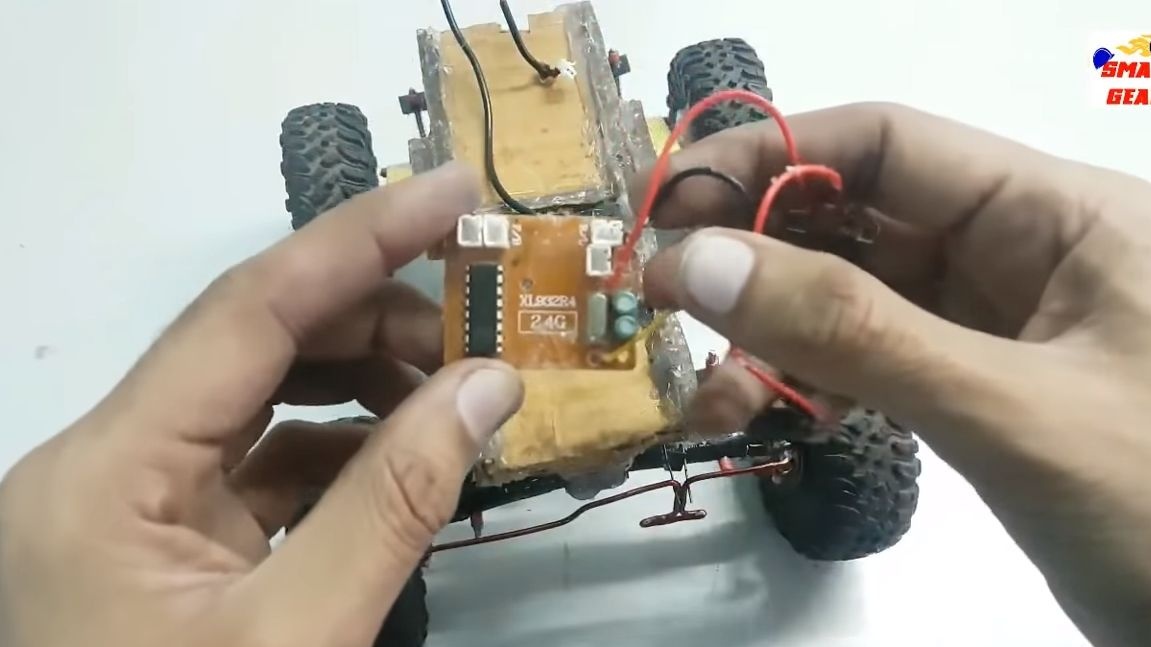
Step Five Set the filling
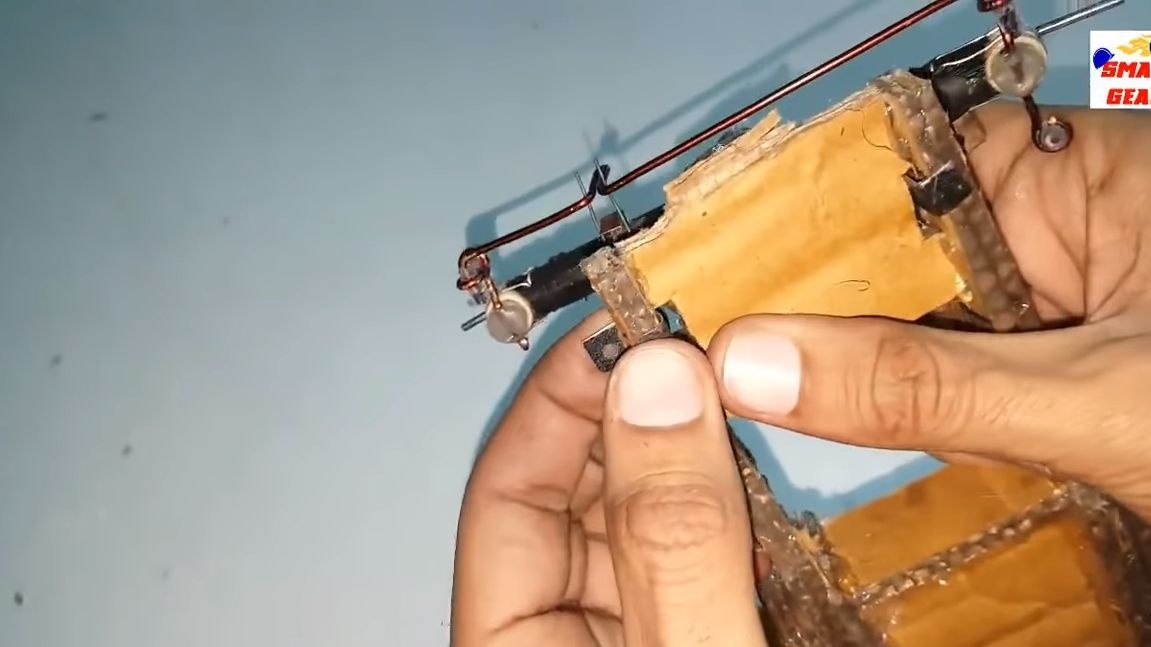
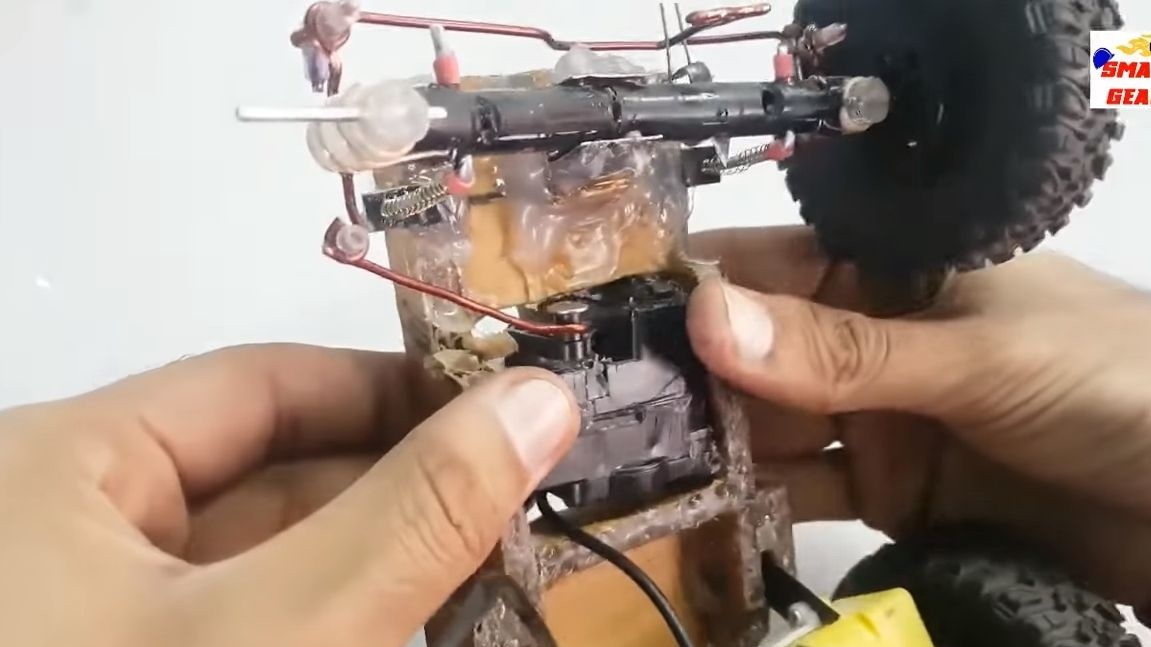
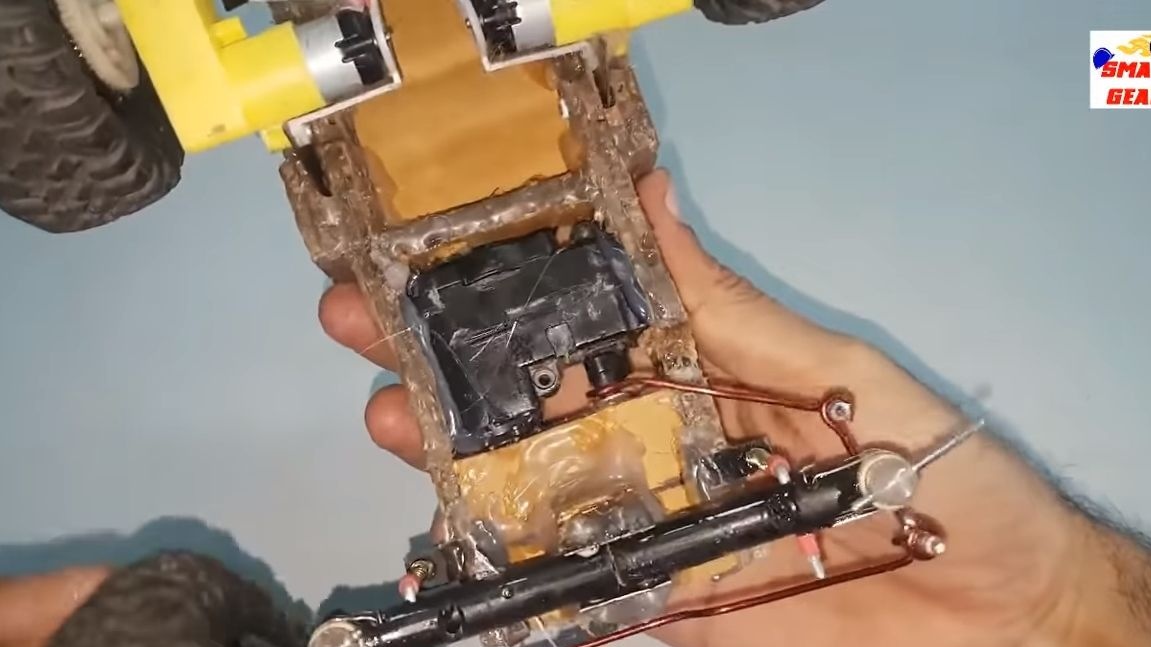
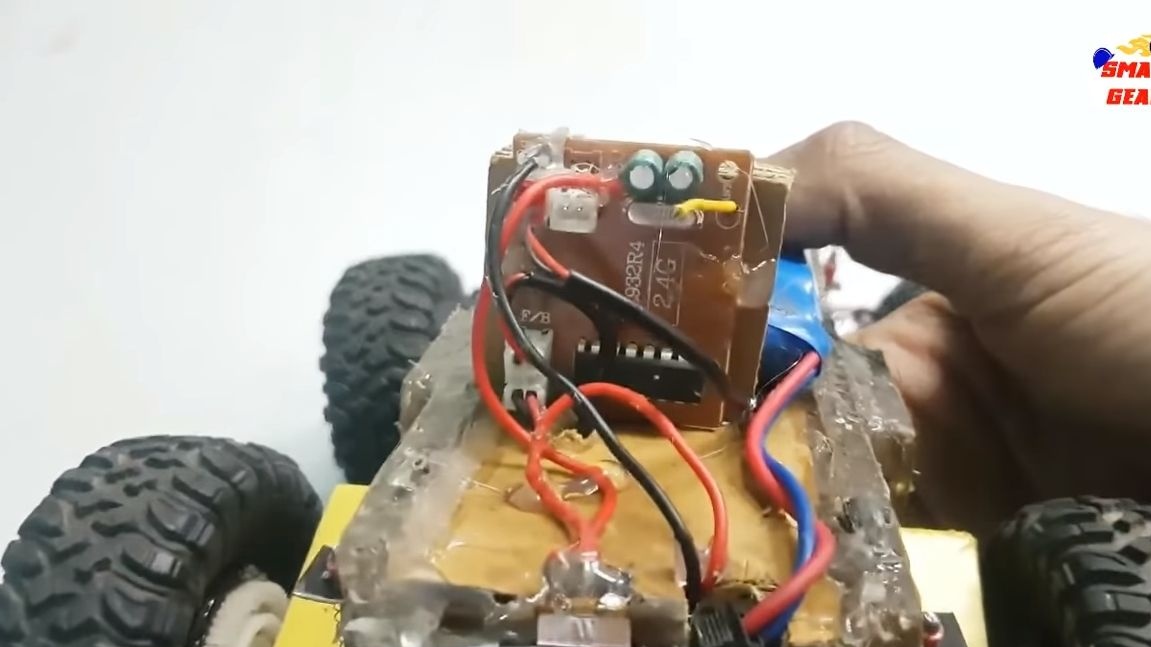
Now you can install a controller on the base, which will allow you to control the machine by radio. The controller must have 2 or 3 outputs so that the drive motors and servomotor can be connected. The controller is fixed to the base securely, the author first glued a cardboard gasket to its base. It is highly advisable to protect the controller from water in any way possible. You can assemble a simple case for it.
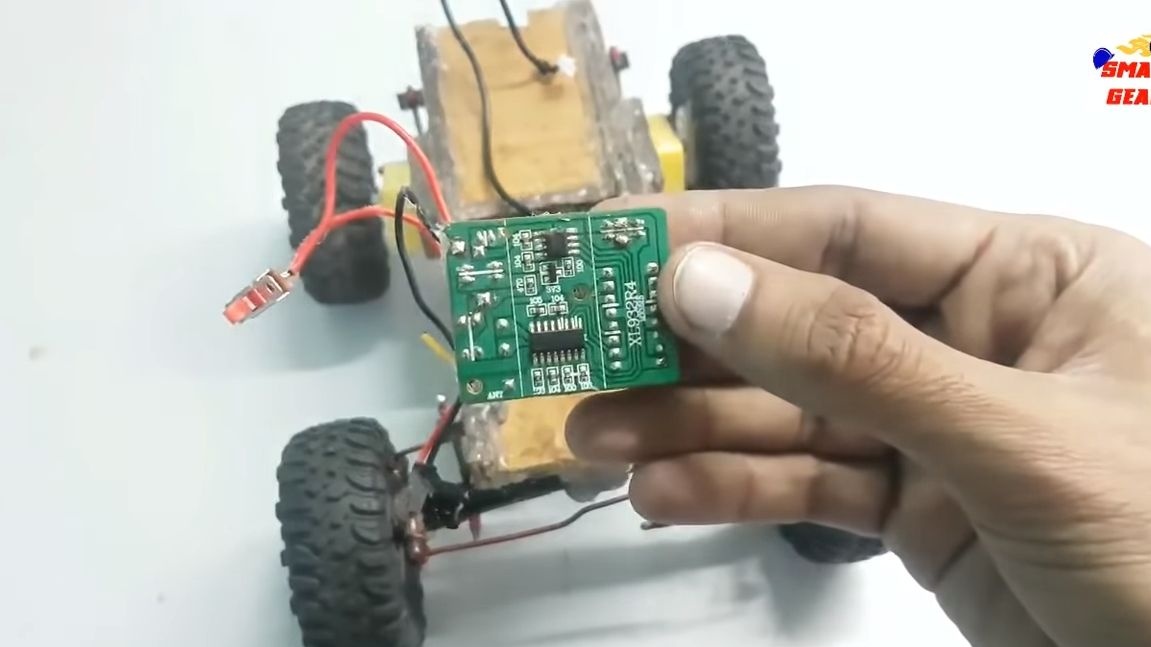
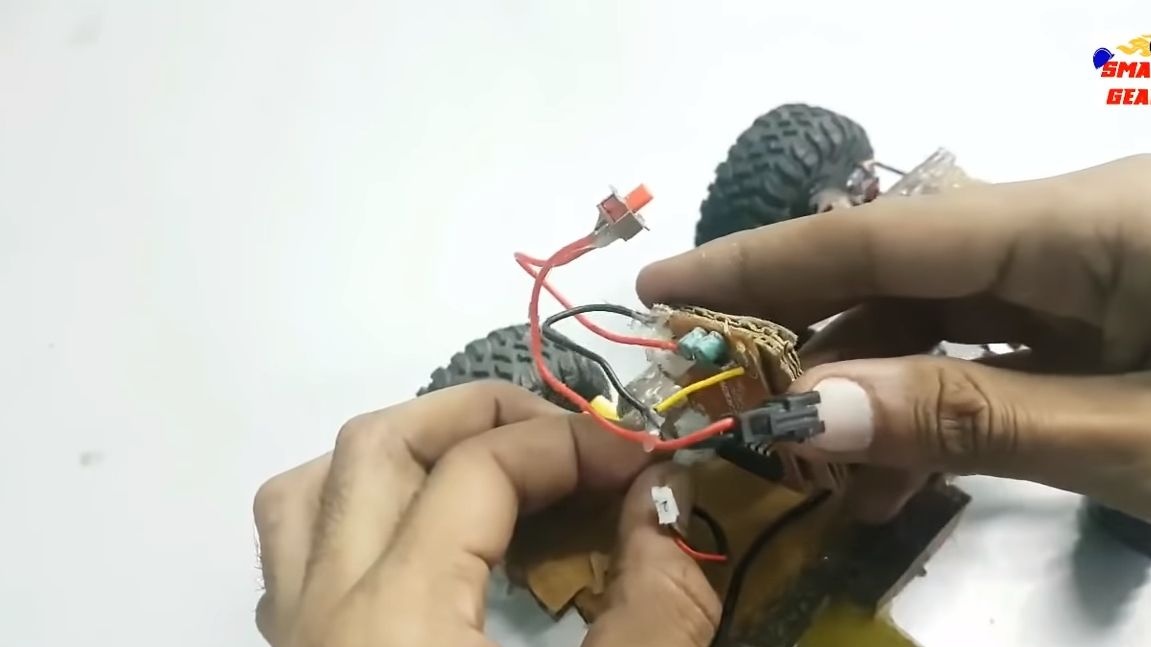

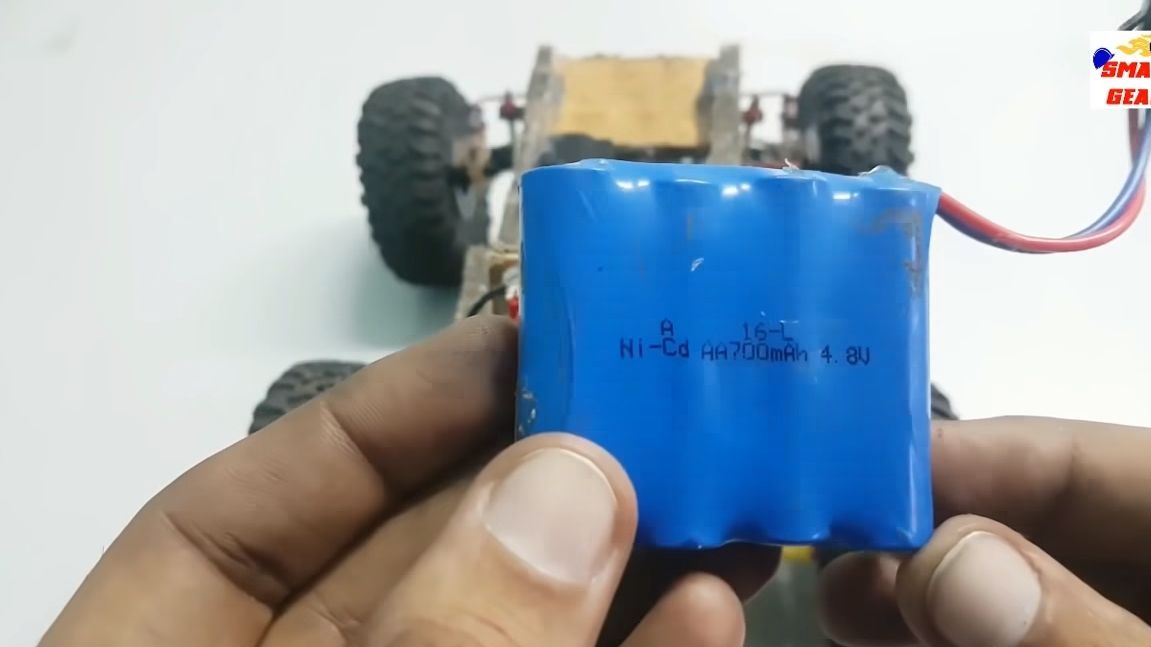
Next, install and connect the battery to the controller. Depending on the type of battery, you can make it removable or arrange a charging slot on a typewriter. We put a switch between the controller and the battery, this will save the charge when the machine is not used. Well, or you can turn it off if something goes wrong. The author installs a 700 mAh battery on his brainchild.
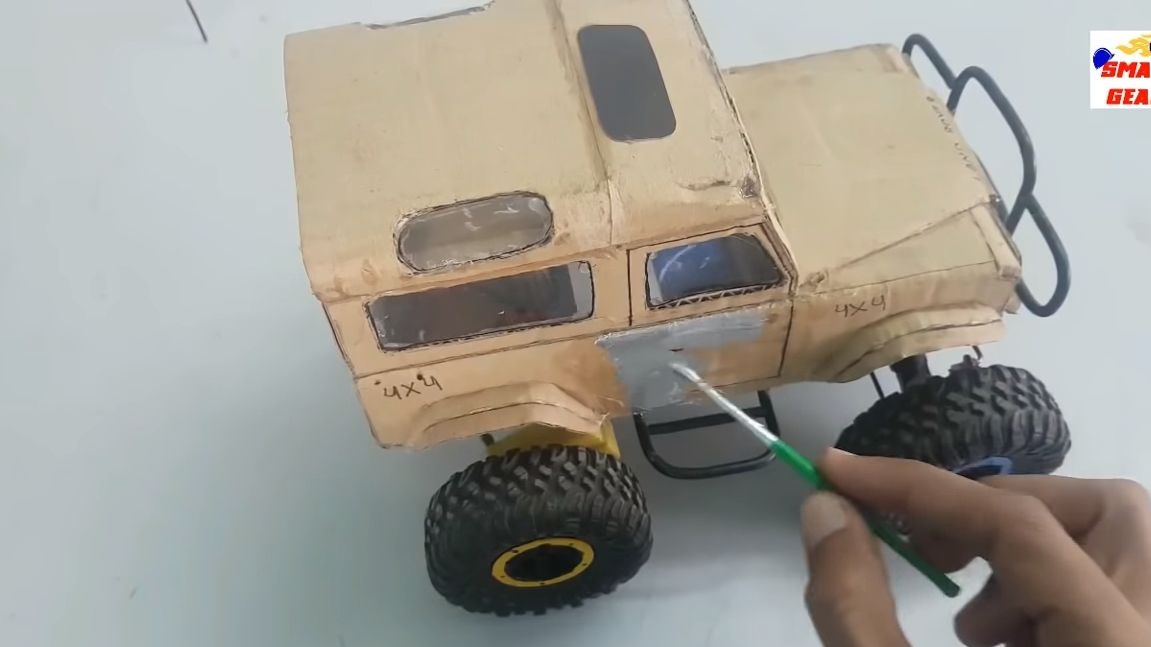
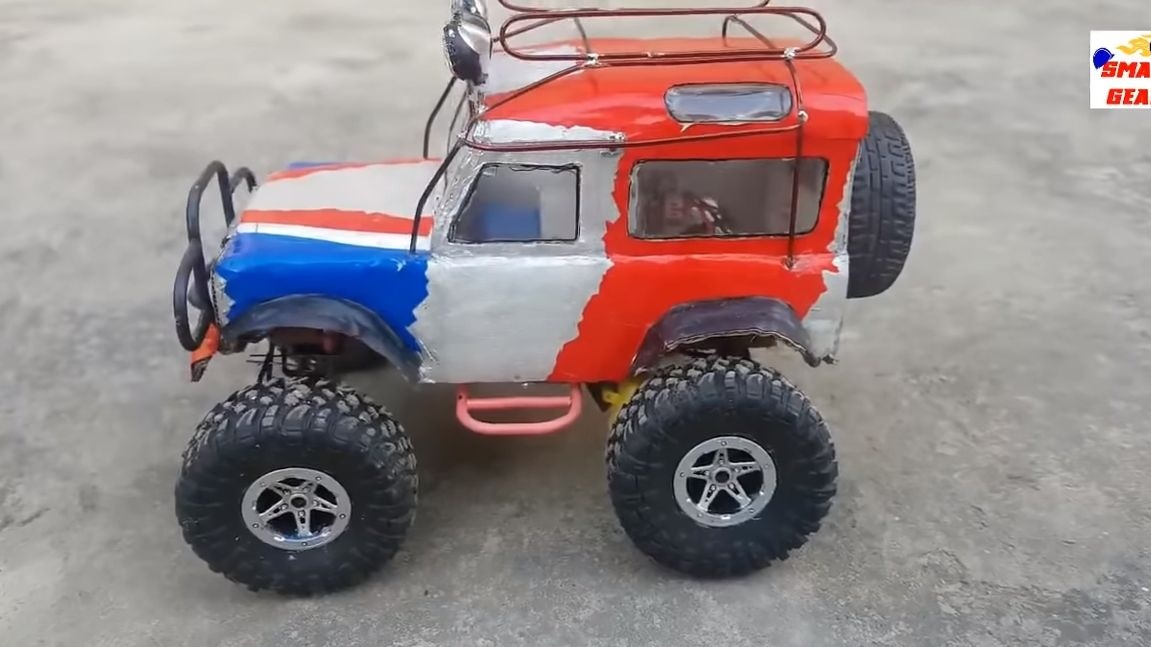
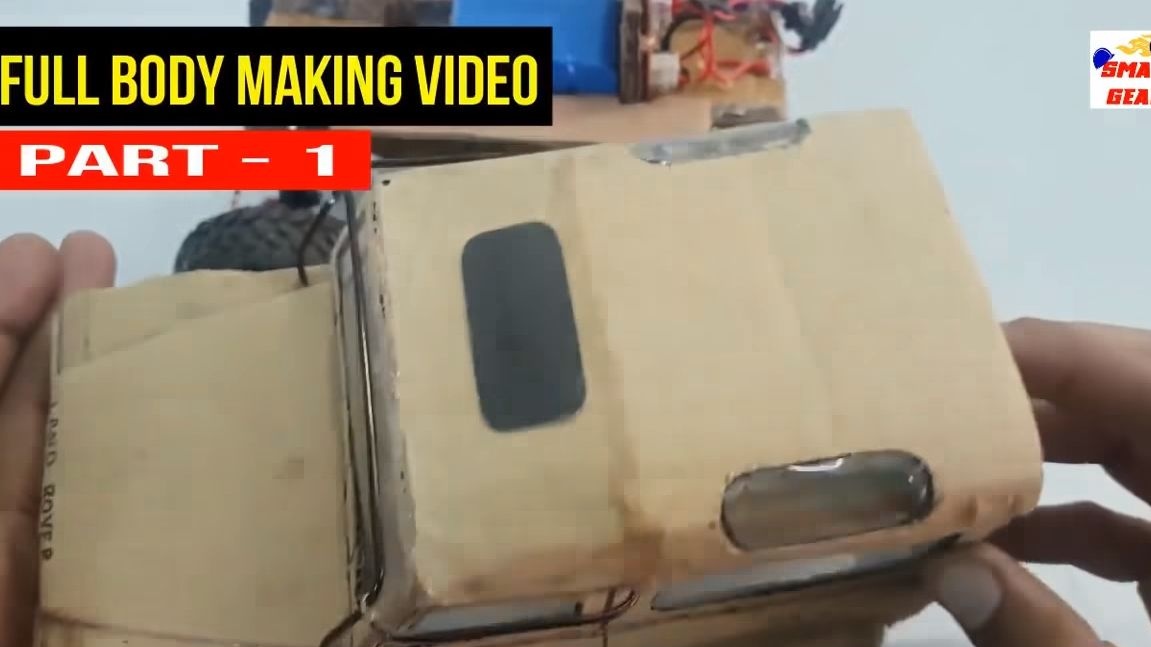
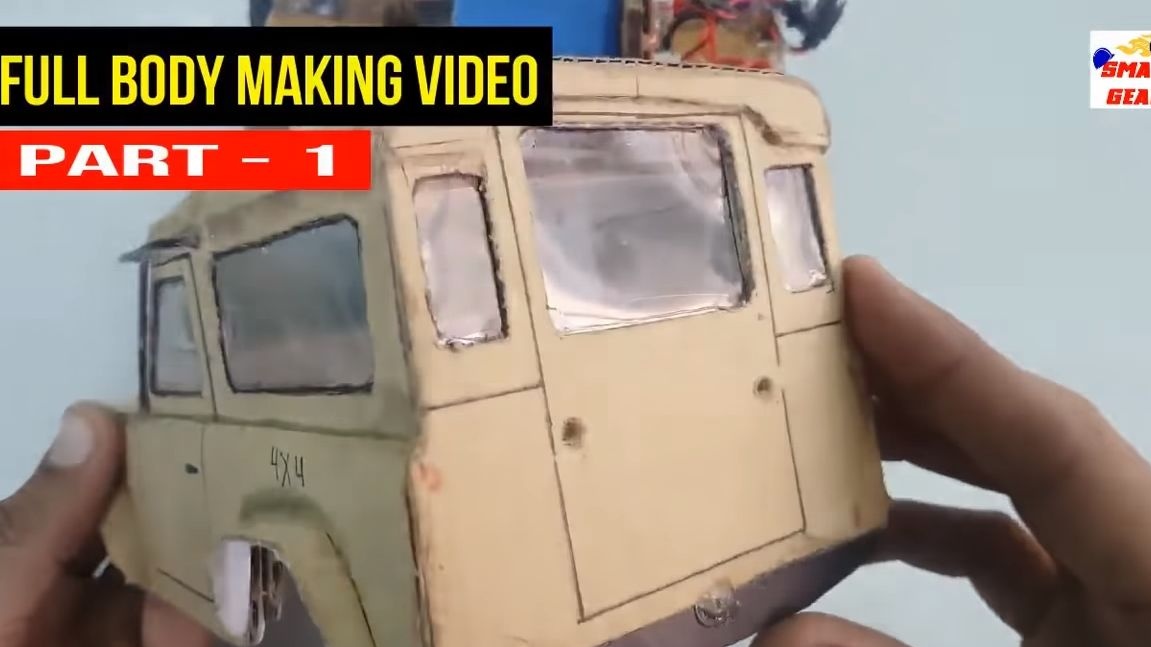
Step Six We make and install the body
The body can be made of cardboard or other suitable material. You can come up with a design of your choice. As for glasses, as you can use a film, or you can cut glass from plastic bottles. If you wish, you can equip your brainchild with headlights and other devices.
Seventh step. Finalization of the body
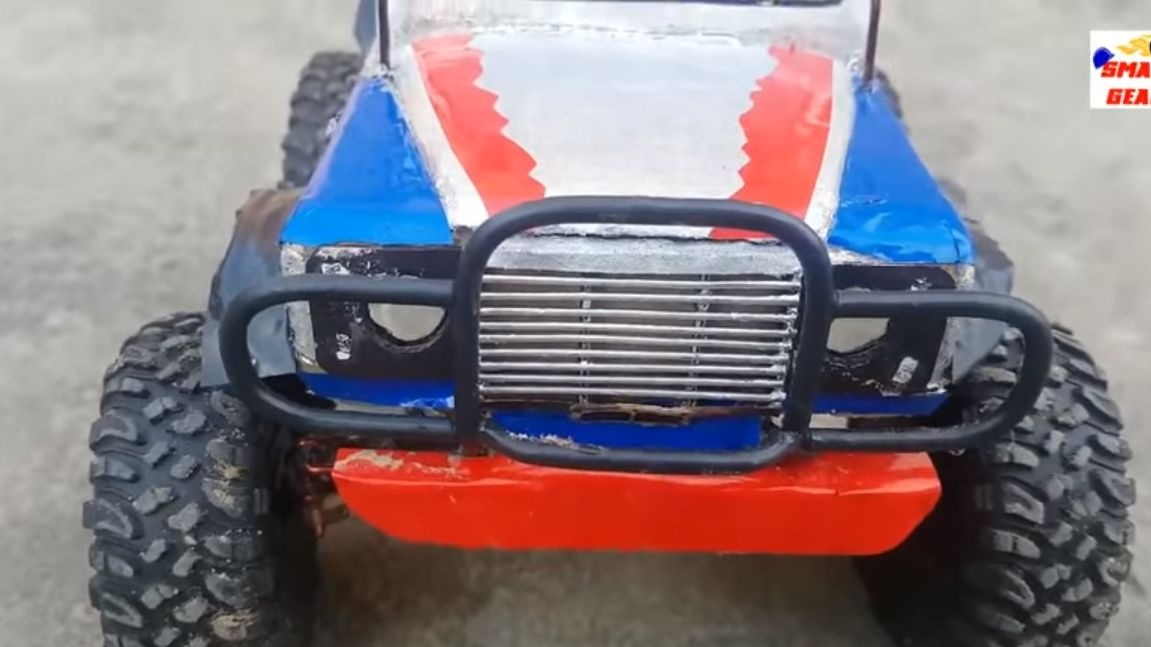
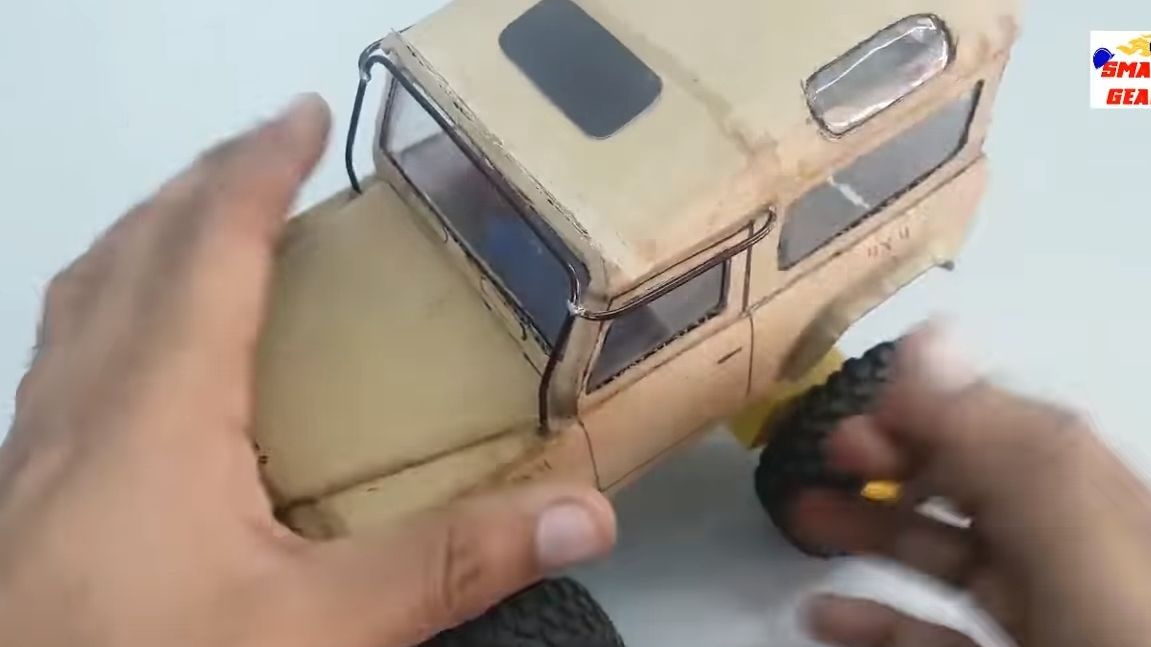
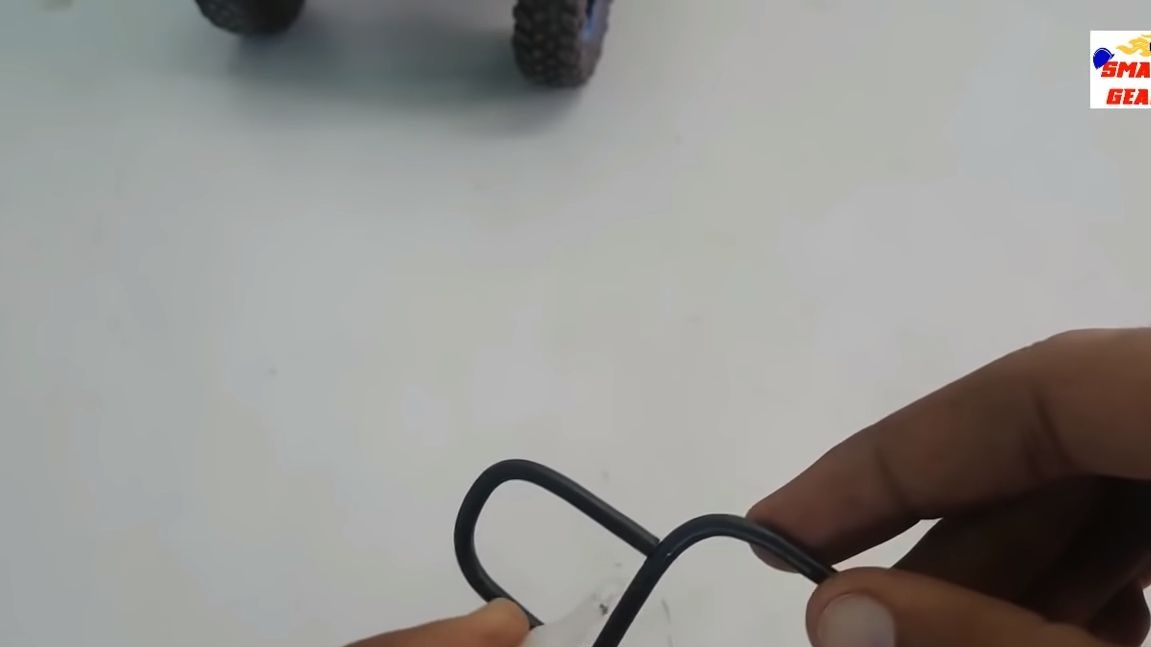
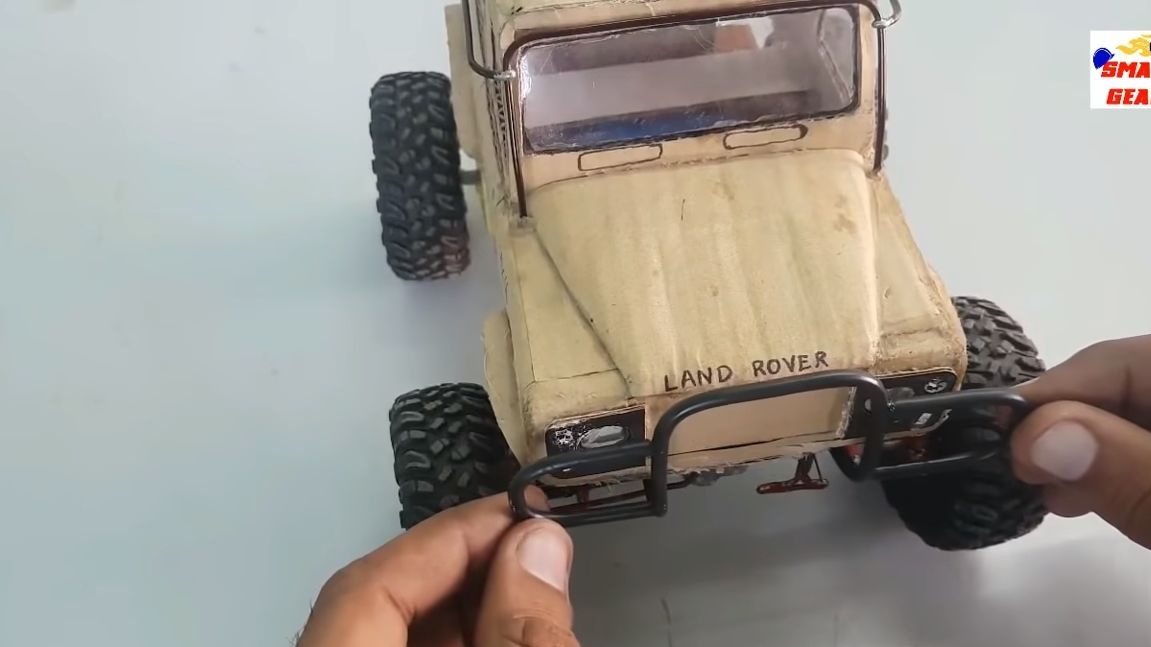
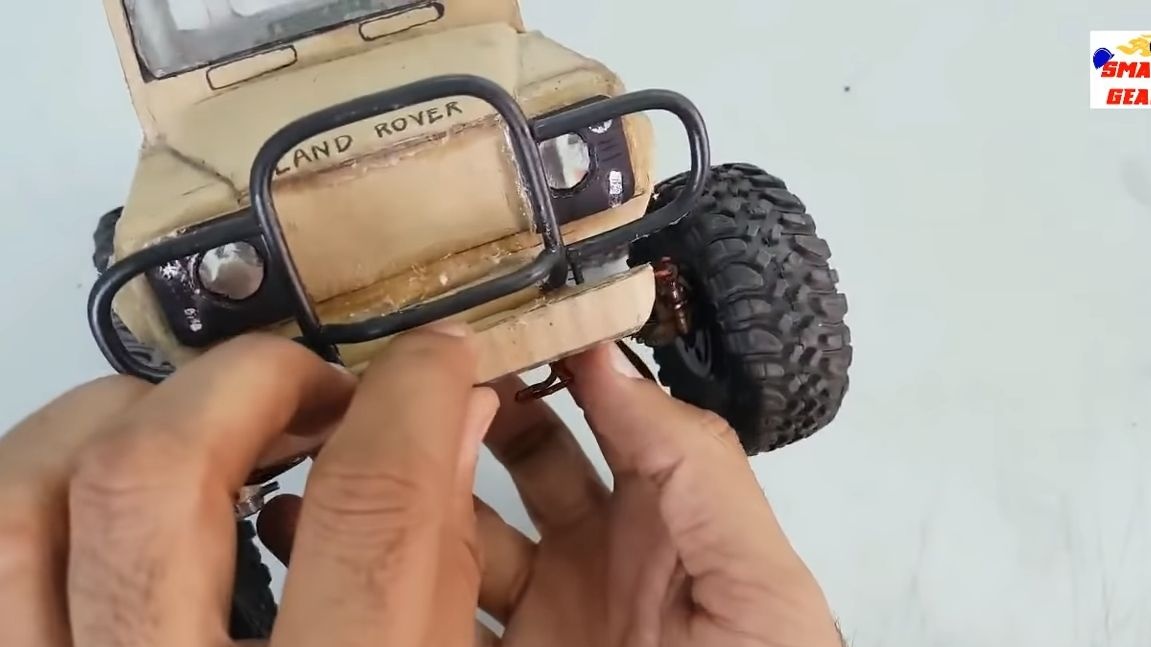
The author decided to equip the body with bumpers, because any real SUV should have them. They can be bent out of a thick aluminum wire, and then glued. If desired, the parts are painted in any color.
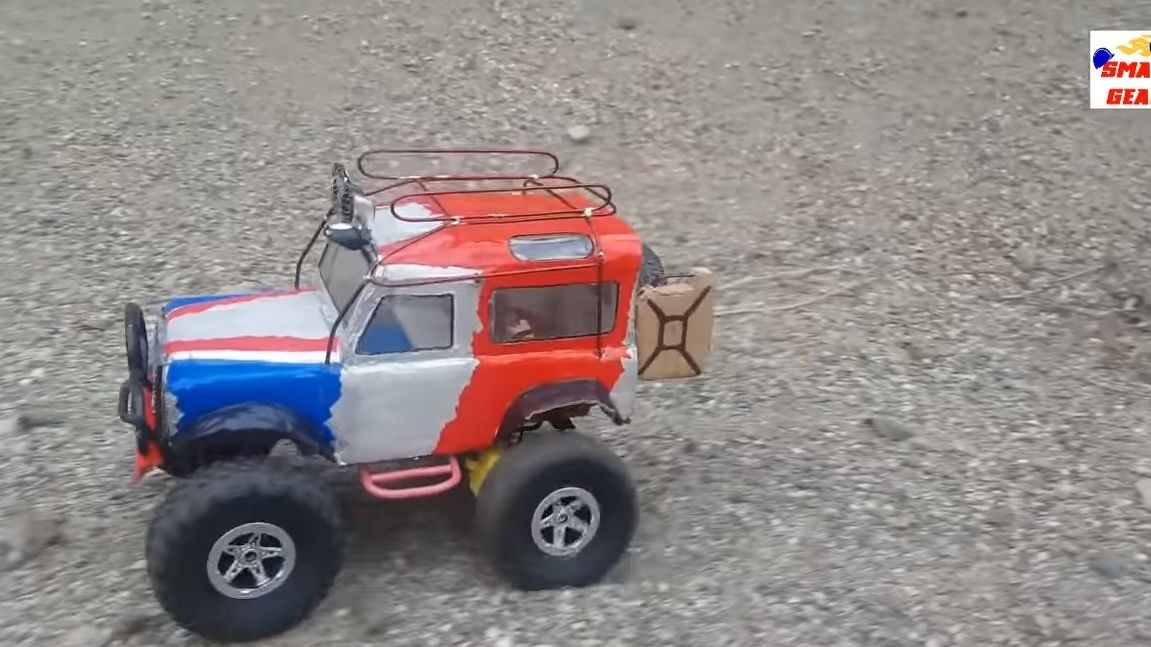
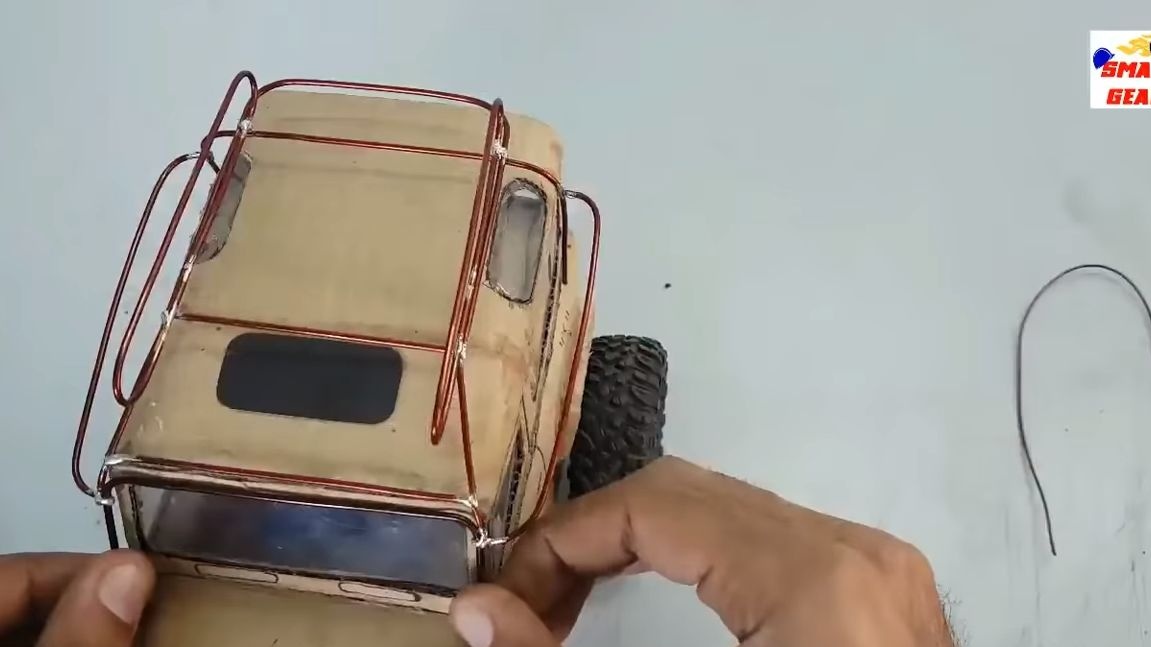
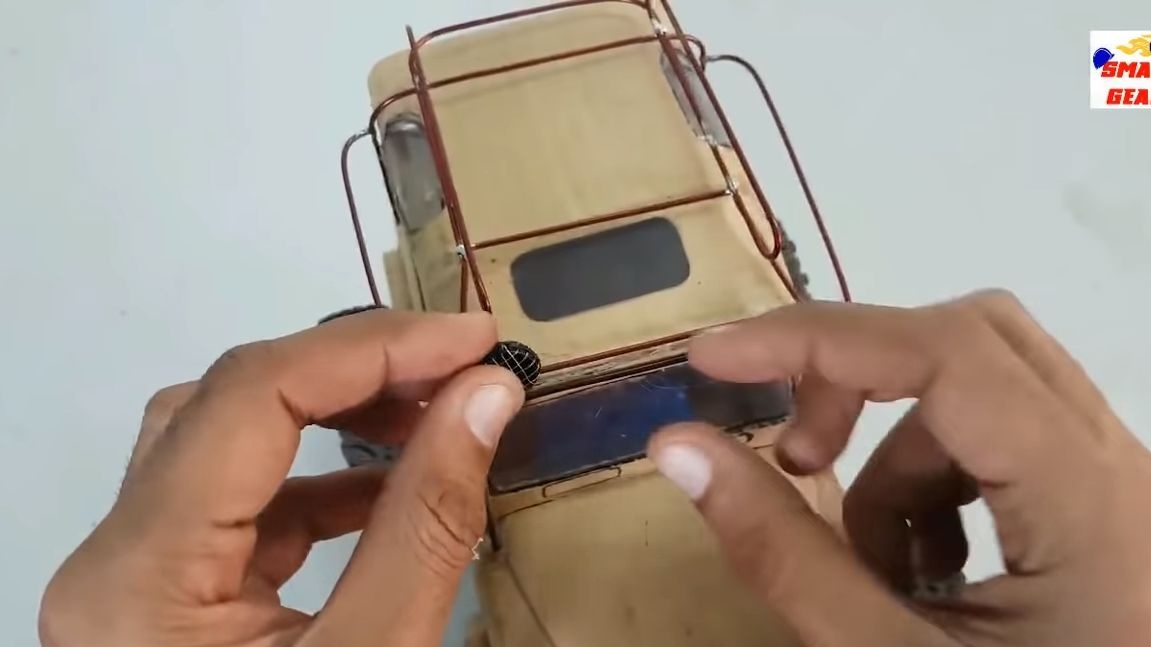
Also, the jeep should have a trunk, so that you can transport a boat, tent equipment and more. The author collects the trunk from copper wire by soldering.
And finally, spotlights, where without them? Their author decided to make from old headphones, installing a metal mesh on top. But if you wish, you can make the searchlights real by disassembling the headphone housing and installing small LEDs inside.
Also, be sure to install a spare tire and an additional fuel canister in the back of the car!
At the end, we paint the body in any colors at our discretion. It is advisable to use oil or other moisture resistant paint. Painting is easiest to do with a brush. That's all, now your SUV is ready for testing! In the author’s video, he showed himself very well, overcoming streams, dirt, fallen leaves, thickets of grass and much more. Despite the lack of front-wheel drive, the machine has a perfectly acceptable cross.
Despite the fact that the author successfully travels on water, it is better to avoid this, since both the frame and the body will be deformed from it. If so hard to use the machine, it will not last long.
That's all, good luck and inspiration in making homemade!