
Winter fishing is nearing, and this homemade fit perfectly. To do your favorite thing with great comfort and not pay attention to cold weather, a homemade heated vest will help. The basis was the Joule-Lenz law and the possibility of carbon tape.
A carbon tape can serve as a conductor with a low resistance, which means that when the current passes through this tape, it will quickly and strongly heat up according to the Joule-Lenz law. It was on the use of these facts that the idea of creating a heated vest was based.
Materials:
carbon tape 4 meters
durable fabric
pins
fabric tape
-8 textile fasteners
-12V battery
copper wires
Description of the manufacture of a heated winter vest.
Step One: Laying the tape on the fabric.
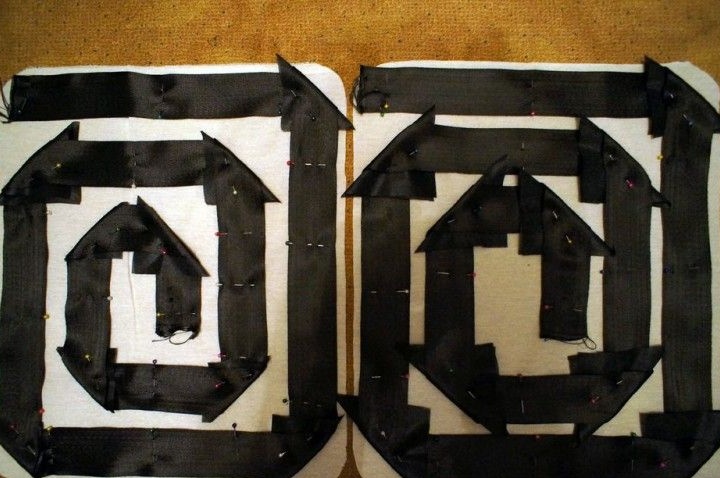
It was quite important for the author to create a heated clothing system, which could be divided into modules for more convenient use with a large number of clothing options. Thus, it was decided to make a pair of heating panels that will be exactly the same and which will be easy to use individually or, if necessary, combine into a single heated vest.
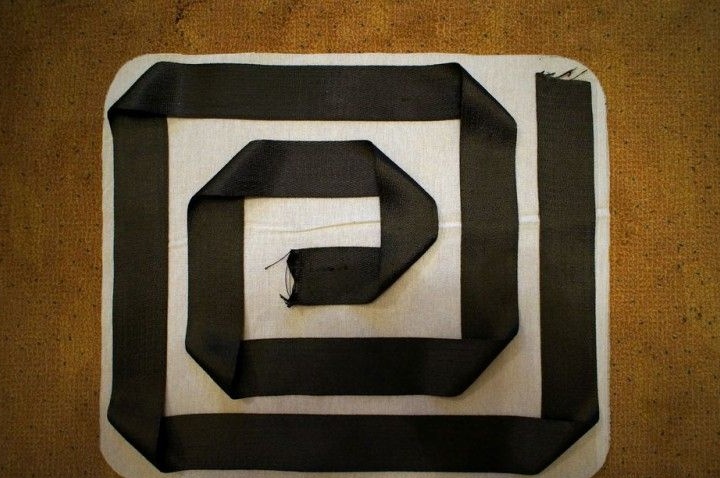
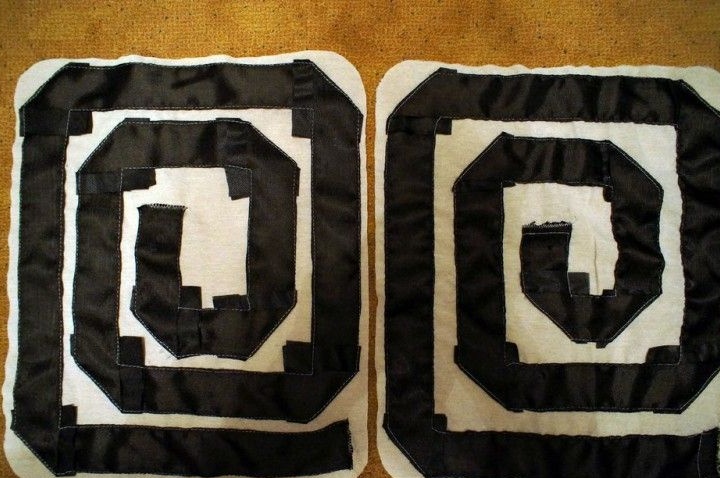
Two tapes were taken, each of which was about 2 meters long. The tape must be laid in a spiral, as shown in the photograph. Due to this distribution of the tape, the clothes will warm evenly. The size of the heating panel is selected depending on the size of your clothes. The author took two pieces of fabric 34 by 42 cm in size, on which he laid a carbon tape.
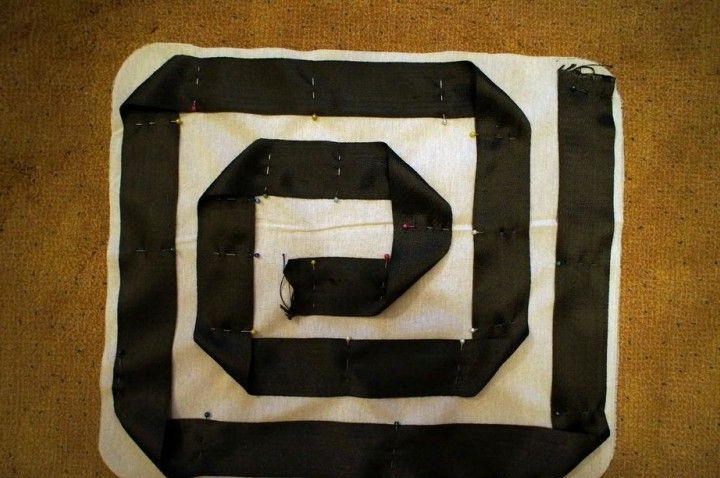
Having fastened the tape with pins, the author walked along the edges with a sewing machine, reliably fixing the position of the tape on the fabric.
Step Two: Select a Connection.
Next, the author began to create an electrical circuit for heating the tape.
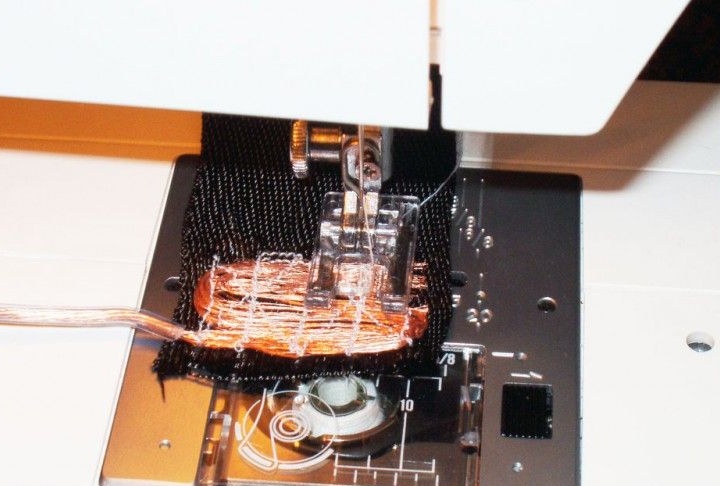
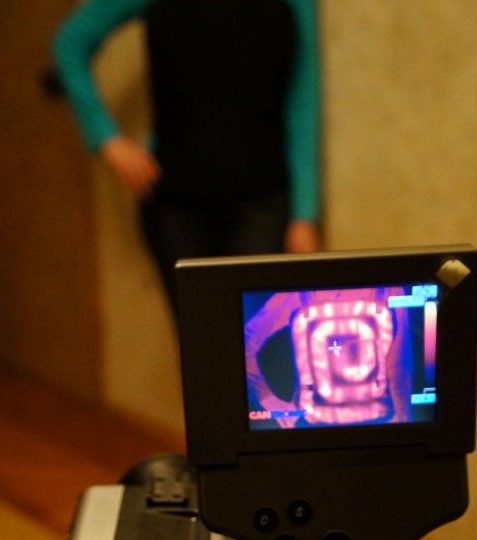
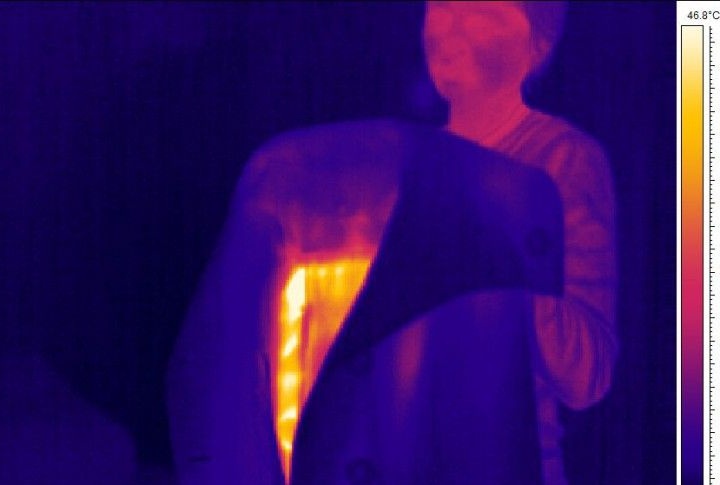
You can attach the wire to the tape in different ways. You can simply wrap the contact wire around the tape, but then the contact point will be noticeably hotter than the rest of the carbon tape surface. To avoid this, another method of fastening was chosen, namely, the author simply sewed the wires to the tape using a sewing machine. As you can see from the images of the thermal imager, the right wound contact is hotter than the tape itself, and the left one is vice versa colder.

Step Three: Attach the wires.

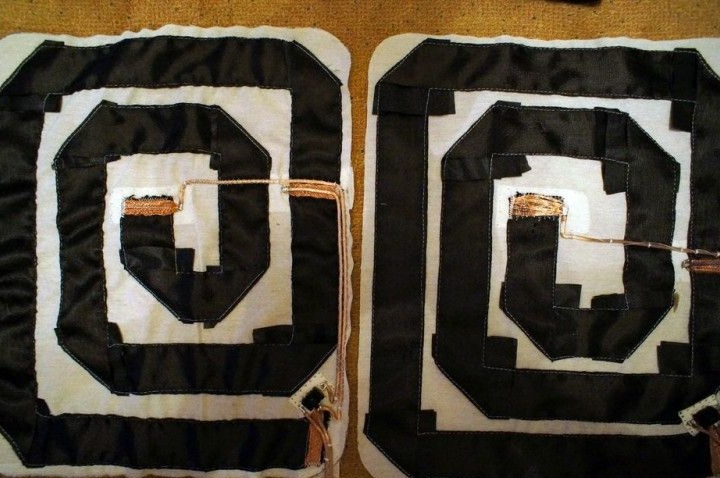
Then you need to connect the wires to the contact points of the carbon tape. Since the vest system must function separately, a separate power supply circuit is connected to each of the future heating plates.
Since the contact points can be hotter than the tape itself, it is necessary to take a sufficiently large contact area and minimize this factor. At the same time, the fastening of the wires to the contacts of the tape should remain flexible and durable. To ensure the flexibility of the contacts, the author decided to sew the wires as shown in the previous step.
Step Four: Assembling Modules
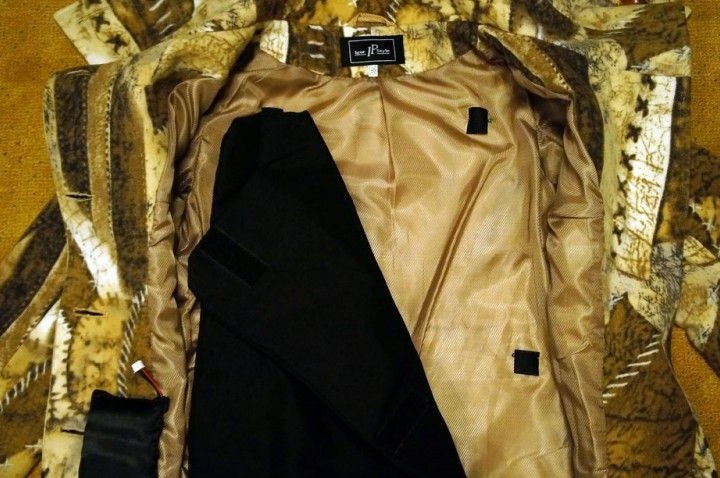
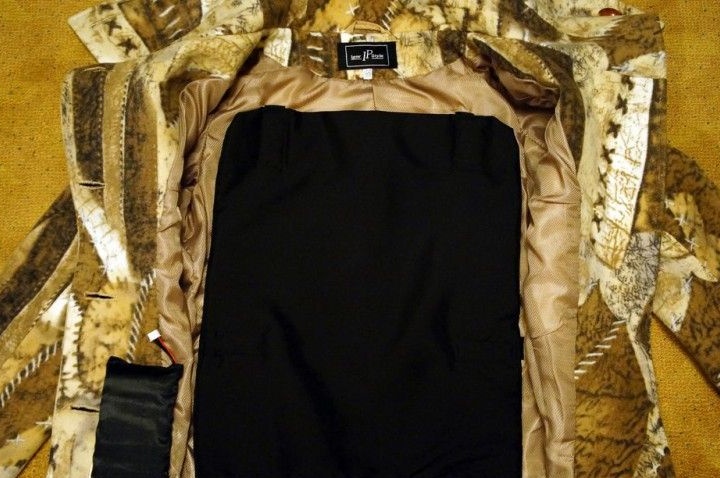
After creating the power circuit, the tapes are sewn on top with another layer of fabric, so that only contact wires are visible.

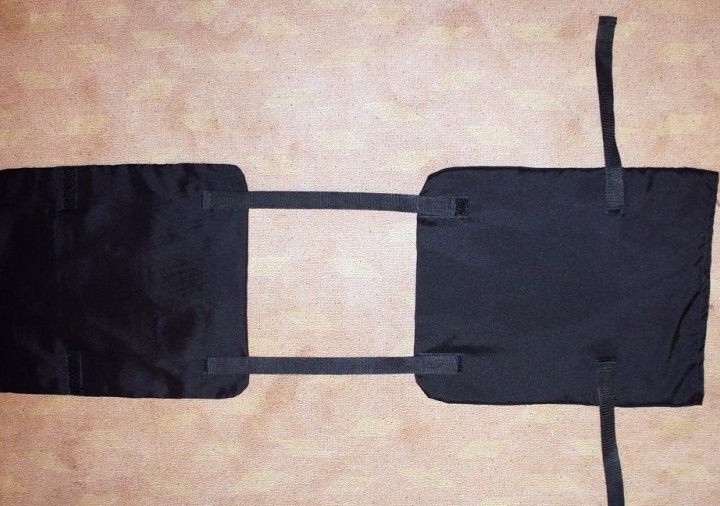
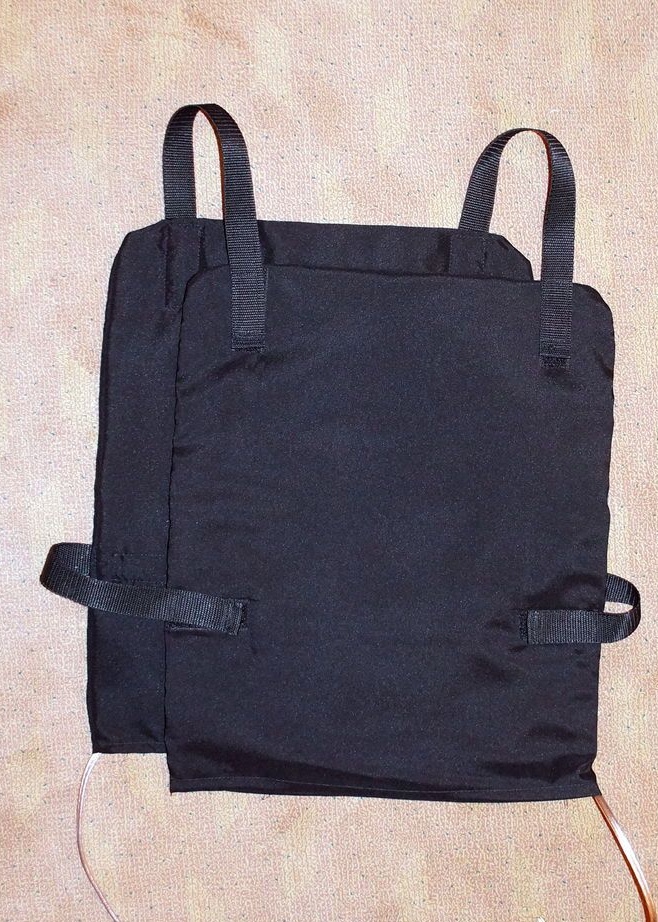
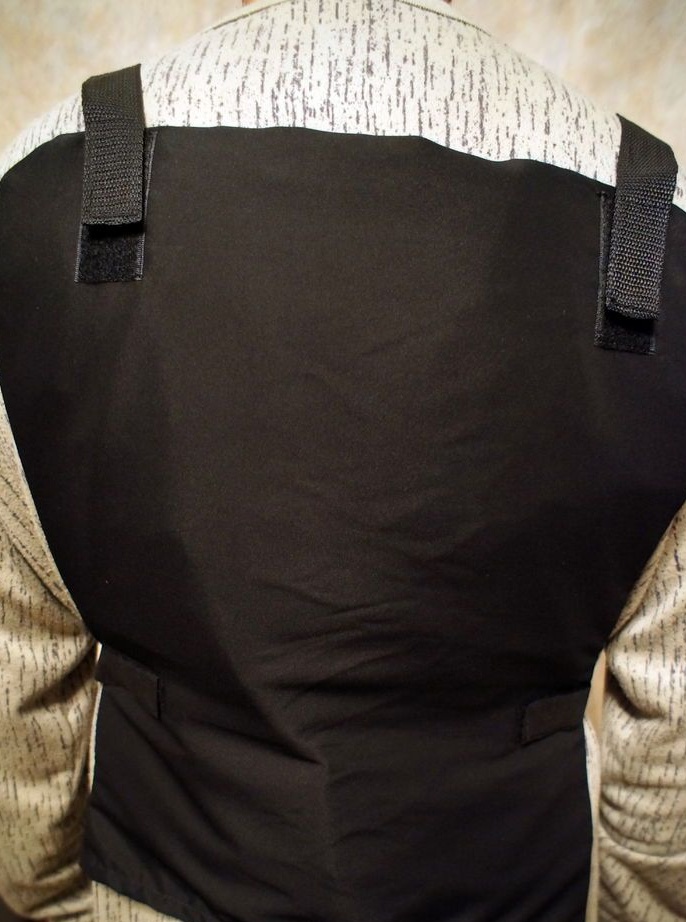
In order to be able to combine the heating plates into a single vest, the author decided to use a fastening system on straps and Velcro. For this, four Velcro was sewn on each of the two panels, as shown in the photographs. 4 straps of sufficient length were also made. If necessary, the straps are attached to Velcro and firmly connect the plates into a single whole.
When combined, the heating device resembles a bulletproof vest, but is quite light, thin and soft.
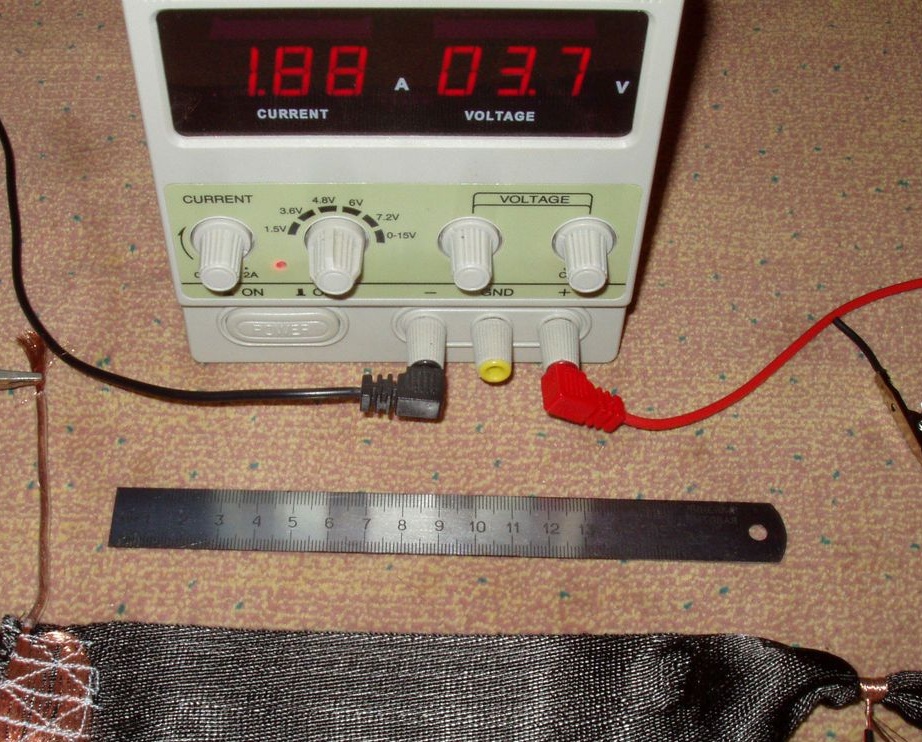
Thus, in each of the panels the tapes are connected in parallel and have the possibility of independent inclusion. The whole system is powered by a battery with a voltage of 12 V and a current of about 3 A.
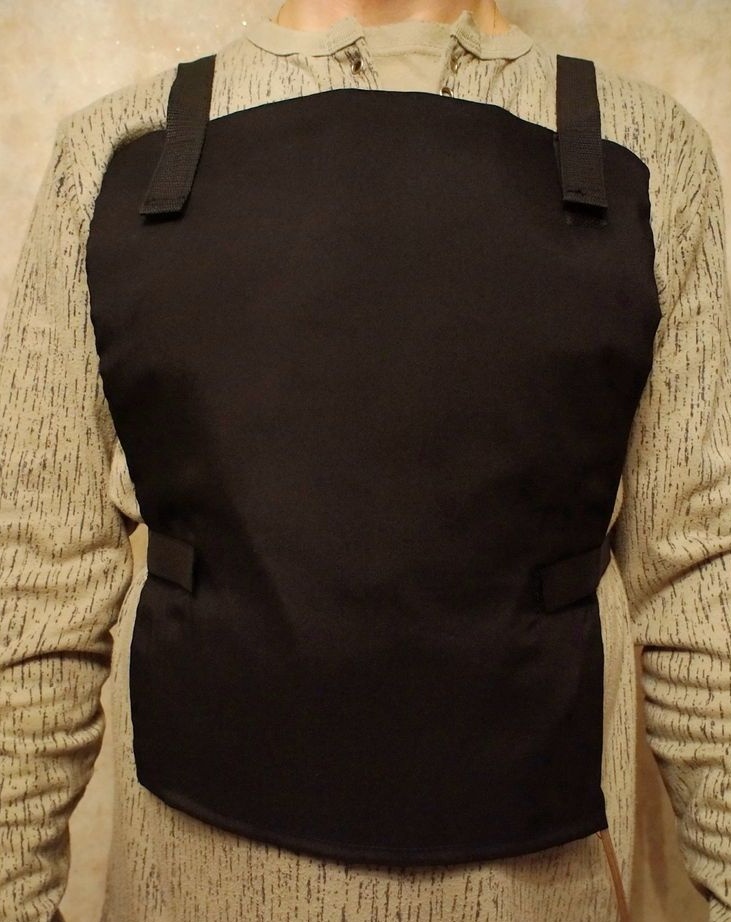
Step Five: Testing a modular system.
In addition, thanks to the use of such a fastening design, the vest can be easily customized for different people, just adjust the length of the straps used.
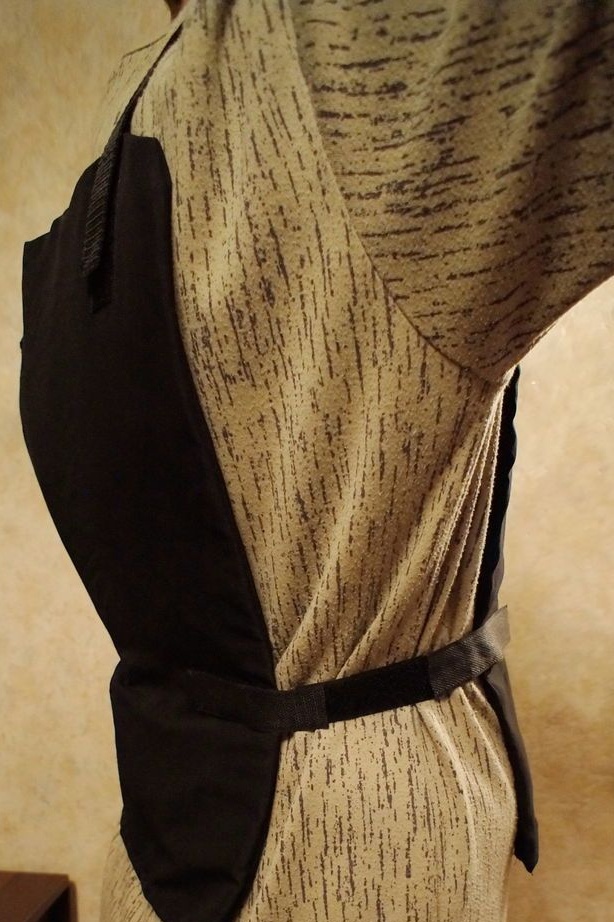
Step Six: Testing individual heating modules.
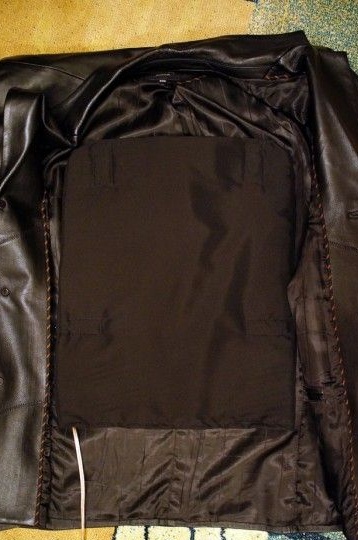
As you can see, each of the panels can easily be detached and used individually on any type of clothing.

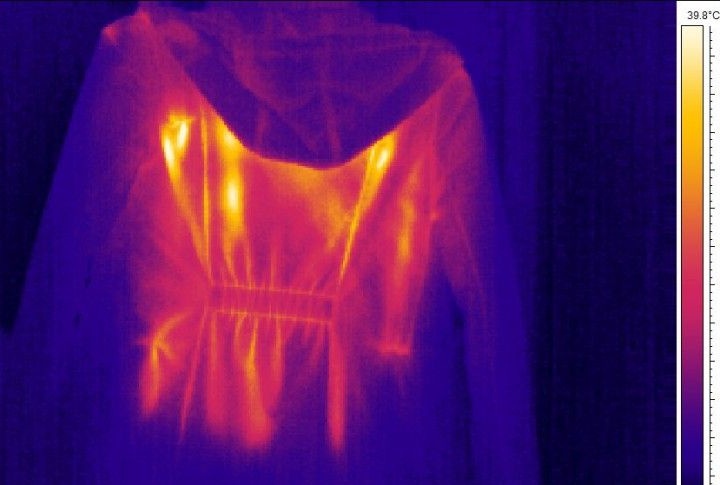
In addition to being used in clothing, modules can also be used to heat the seats in the car. According to the parameters of the tape used, the battery for 3 ampere hours is enough to provide about an hour of continuous operation of the heating vest. This may not seem enough, but it is important to understand that each of the heating plates is capable of heating up to a temperature of 40 degrees in just one minute, which means that turning on the device for a short time is enough to warm up, after which it can be turned off and so on. This will significantly increase the margin of operation of the device.
For ease of use, you can make a semblance of a discharge vest or belt, in the pockets of which batteries will be placed, then the use of the vest will be even more mobile and independent.