
From PVC pipes, in addition to their main purpose, you can do a lot of useful and necessary things. And you can connect pipes in different ways. One way to connect will be discussed in this article. Such a connection will be useful, for example, in the manufacture of a beach canopy frame or for connecting the legs of a picnic table. Quickly assemble and quickly disassemble the main advantage of this compound.
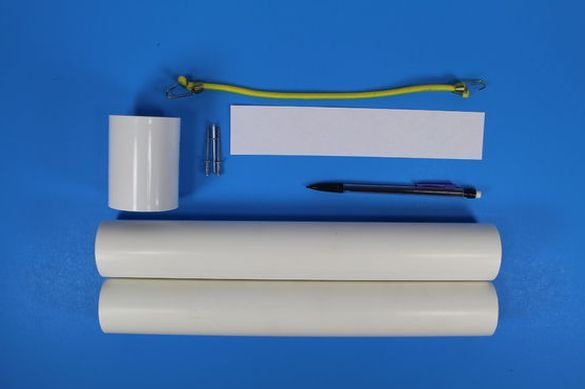
Tools and materials:
PVC pipes and coupling must be of the same diameter
-2 PVC pipes;
- PVC coupling;
-2 rivets;
- Glue for PVC pipes;
-Sandpaper;
-Drill;
-Drill;
-Hacksaw;
-Pencil;
-Insulating tape;
-Roulette;
-Paint;
Step one: stick the clutch
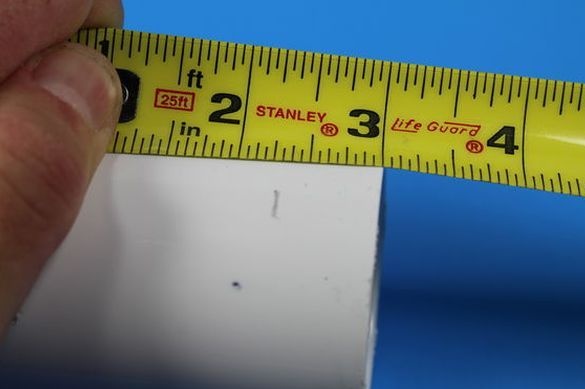
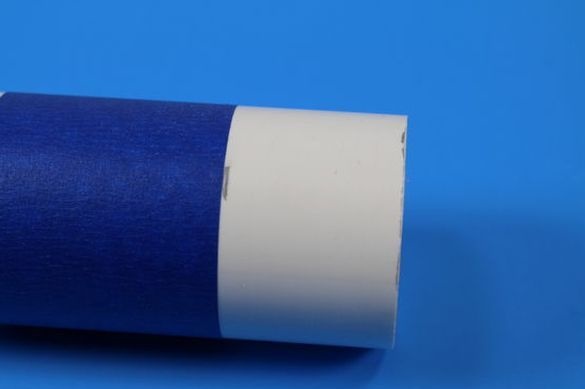
By the first step, the author glues the sleeve to one of the pipes. Measures the depth of the coupling, from edge to inner edge. Measures on the pipe the same distance. Around the circumference of the pipe, behind the marked place, sticks electrical tape. This will protect the plastic from glue. Cleans the mounting location of the coupling.
Glues the coupling to the pipe according to the instructions (according to the author, if a waterproof seam is not needed, then the primer can not be applied). Removes electrical tape.

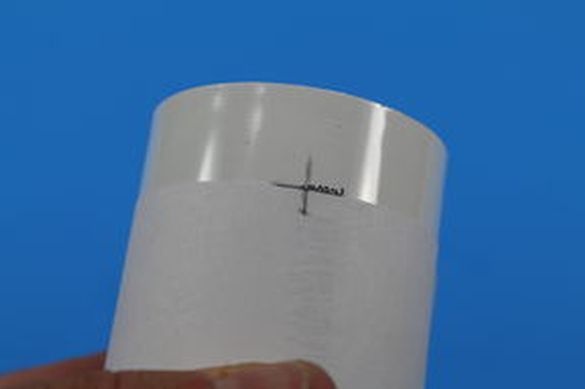
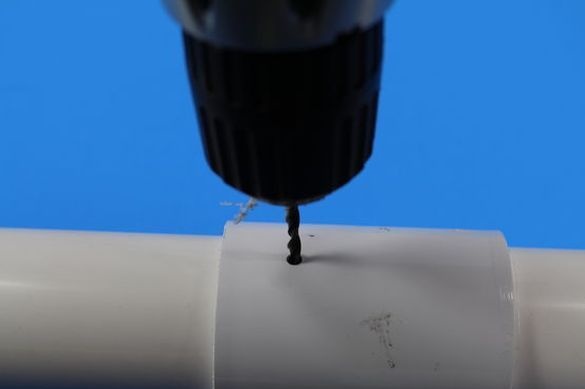
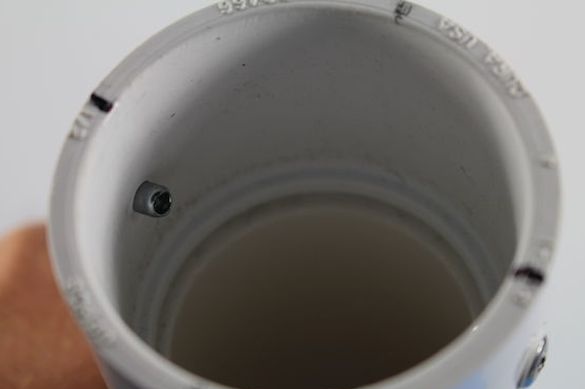
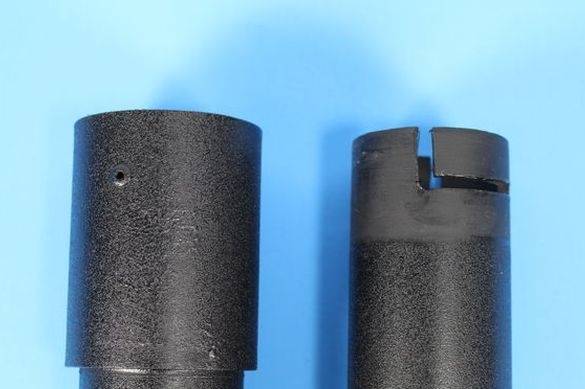
Step Two: Hole
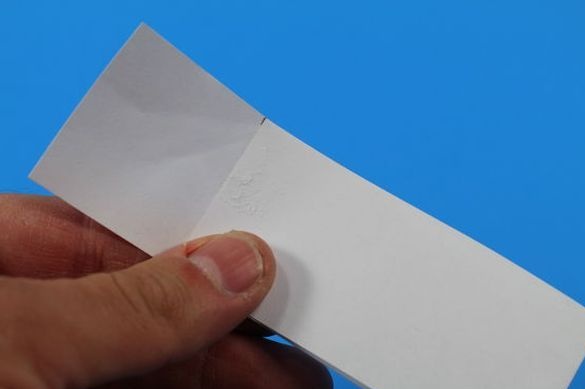
Now works with the second pipe and the free part of the coupling. It is necessary to drill two holes in the coupling, opposite each other and four holes in the pipe. Notes, from the edge, 1 \ 2 part of half of the coupling. Wraps a strip of paper around the pipe. Marks the junction of the paper. Folds the strip in half. Applies the edge of the strip to the marked point. Marks a point on the other side. Folds a strip of paper in half again. Applying the edges of the paper to the dots, makes two more marks. Now the coupling is divided, in dots, into four parts. Inserts a PVC pipe into the sleeve. Drill holes in two, opposite each other, marked points. The diameter of the hole must be such that the rivet fits tightly into it. Turns the pipe 1 \ 4 relative to the coupling. Drills, through a hole in the coupling, two more holes in the pipe.
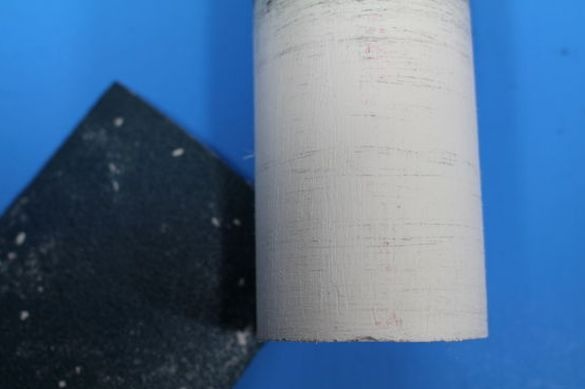
Step Three: Fit
In order for the PVC pipe to freely enter the coupling, the author cleans its edge with sandpaper. Removes a layer of plastic, fitting the pipe under the sleeve.
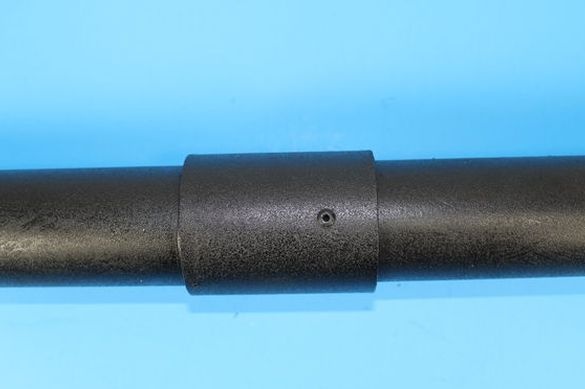
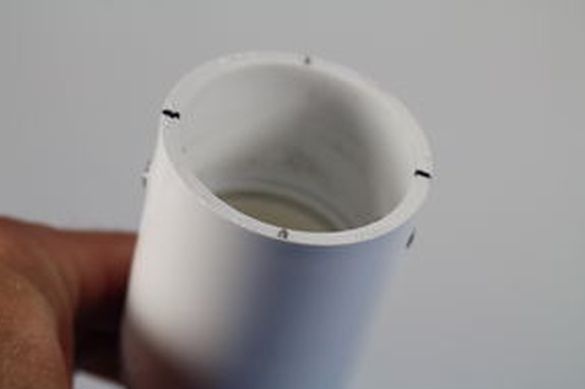
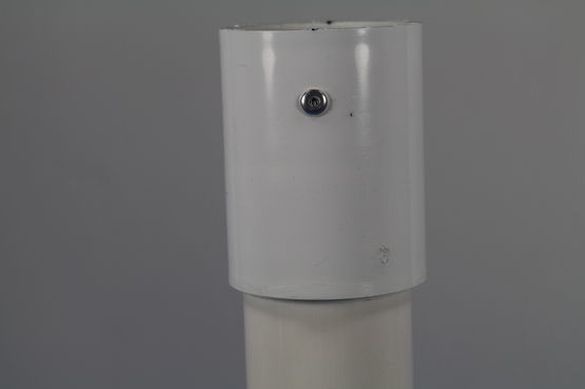
Step Four: Pin
Rivets are installed on the holes in the coupling, on both sides. They will play the role of pins.
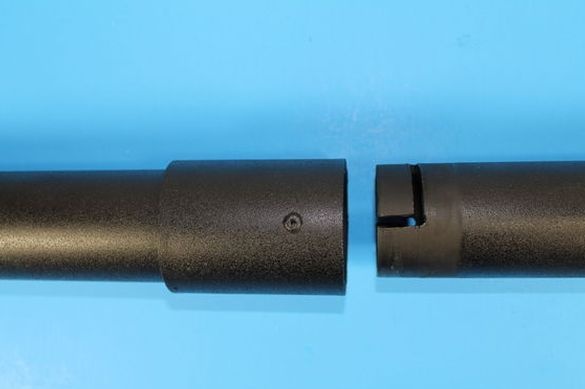
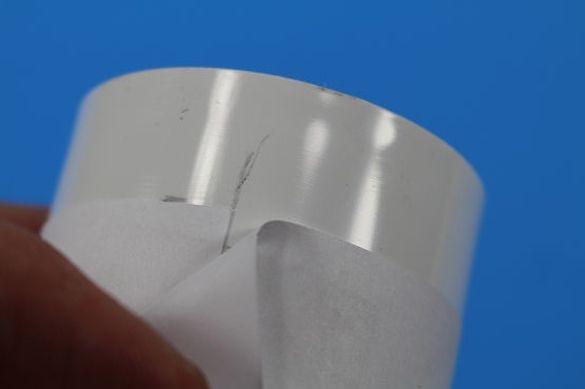
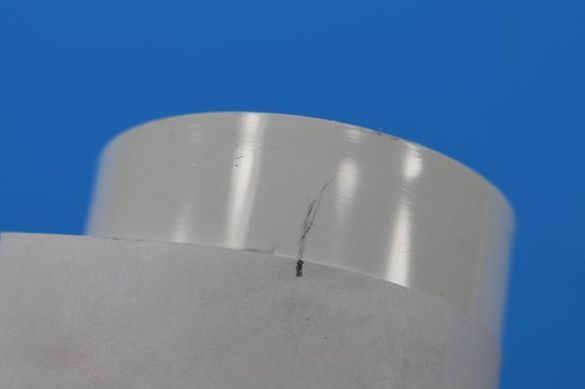
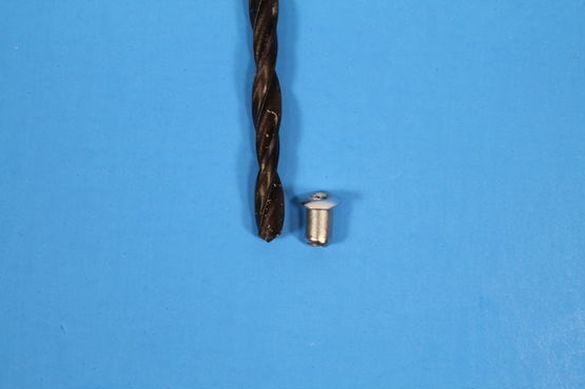
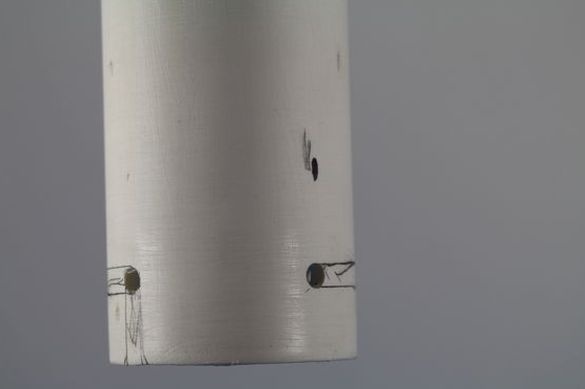
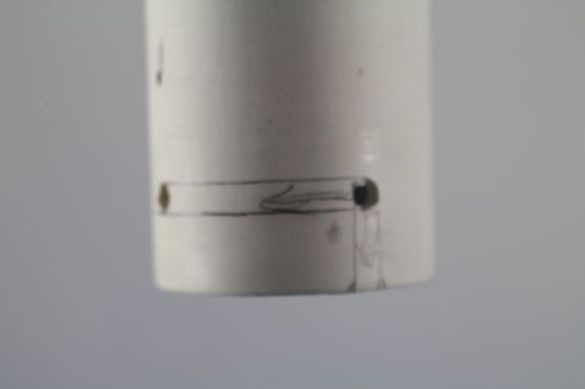
Step Four: Guide
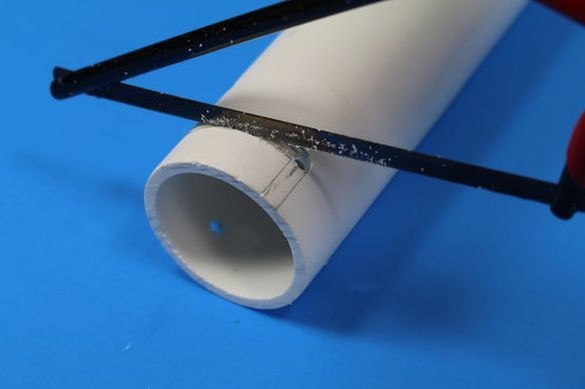
Now you need to cut out the guides for the pins in the pipe. Drills holes in the pipe with a large drill. Draws the contour of the guide, as in the photo. Cuts, along the contour, the guide.
Step Five: Painting
Stains the surface.
Now you can insert the pipe into the coupling, rotate along the guides and fix the connection securely.