Hello to fans of knocking on red-hot pieces of iron, I propose to consider the instructions for making a small forged hatchet. The blade of this ax is made of durable carbon steel O1 or its analogue. Such an ax is sharpened to the state of the blade, it is convenient for them to grab something, sharpen, chop branches and so on. The ax is made by forging, consists of two parts, but the design as a result is solid. If the project interests you, I propose to study it in more detail!
Materials and tools used by the author:
Material List:
- sheet metal;
- a plate of steel O1 or similar for an ax blade;
- a wooden bar for the handle;
- carpentry or similar glue;
- oil for wood impregnation.
Tool List:
- borax, forge, anvil, hammer;
- grinder;
- welding machine;
- belt sander;
- a hacksaw and other tools for wood;
- a drill or a drilling machine.
Manufacturing process homemade:
Step one. We make an ax
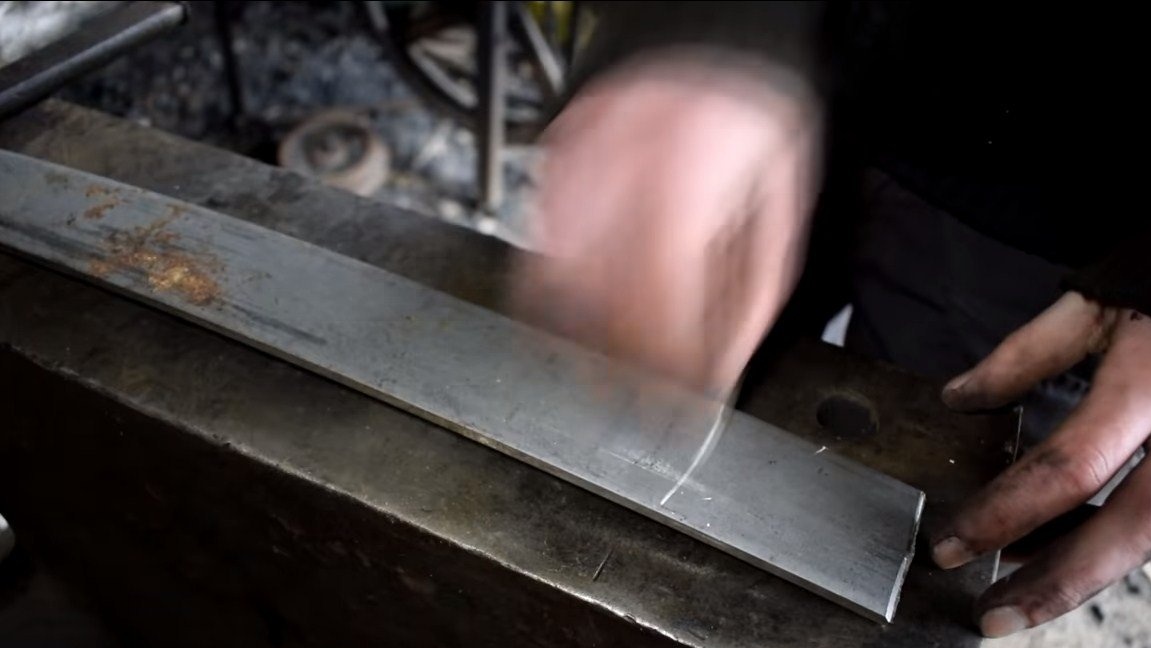
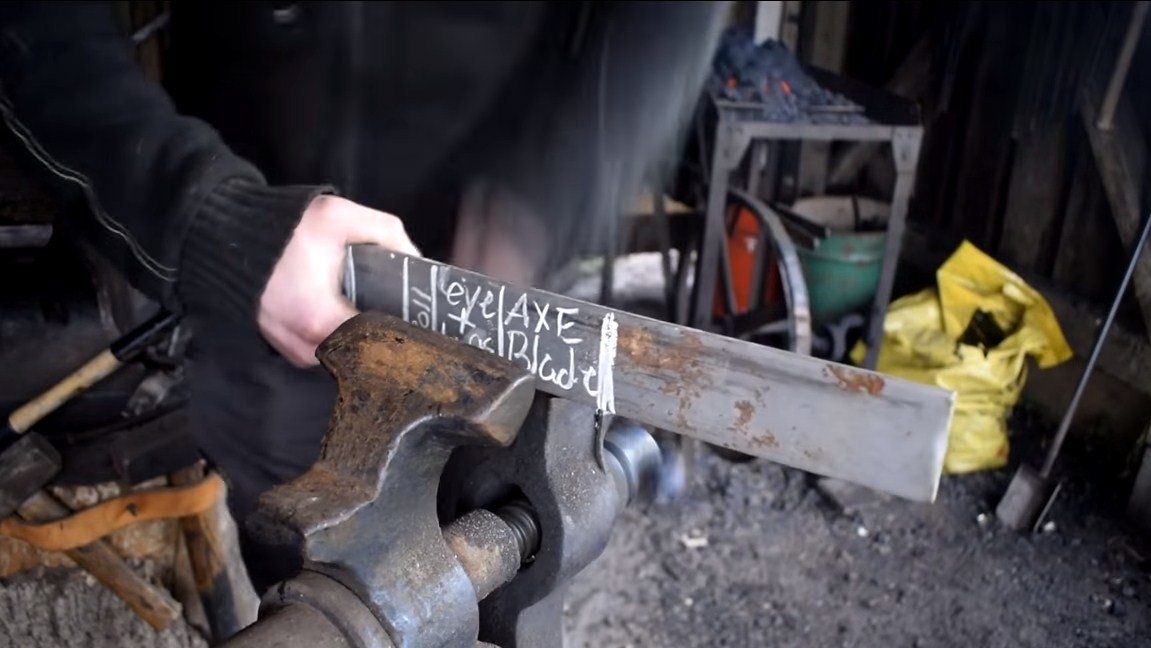
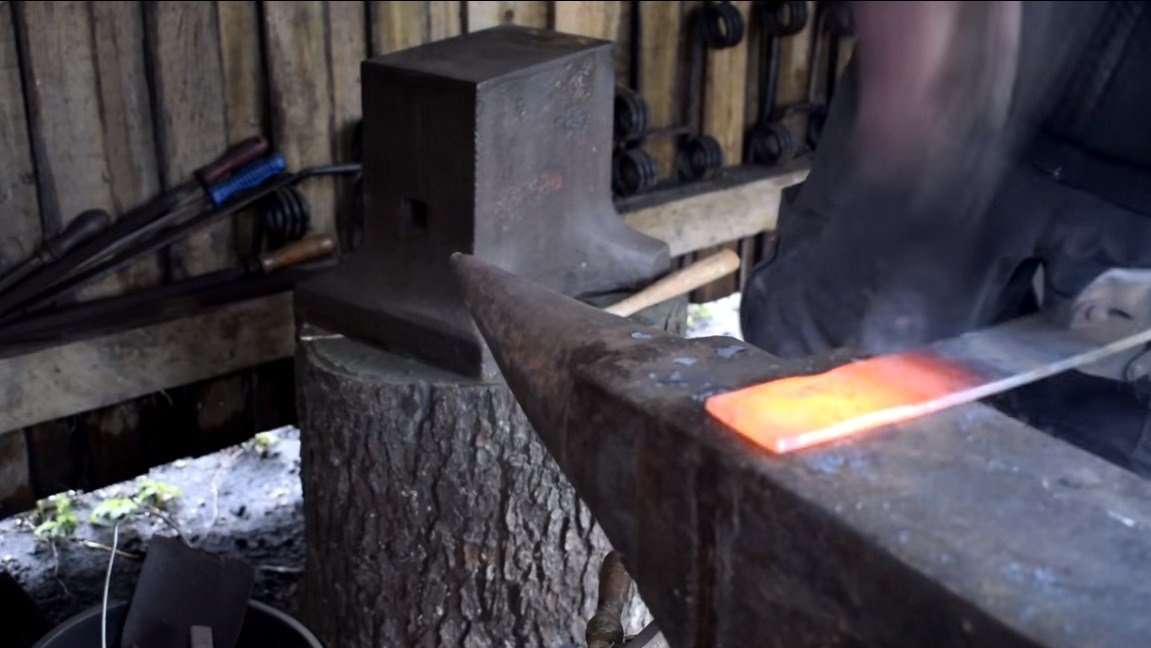
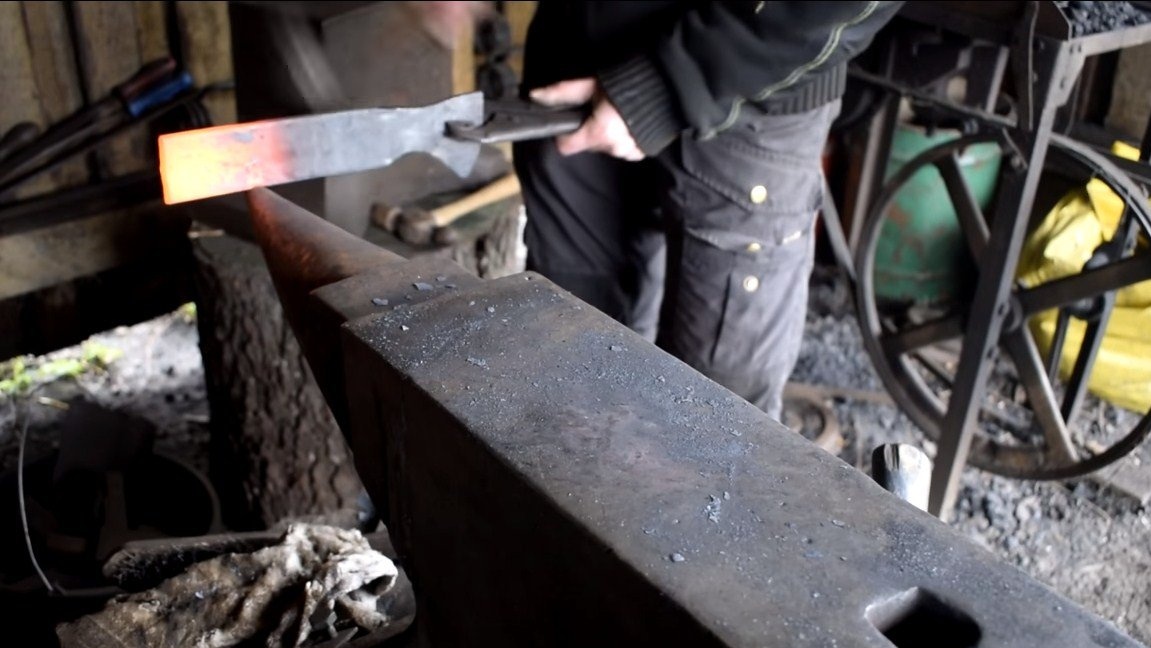
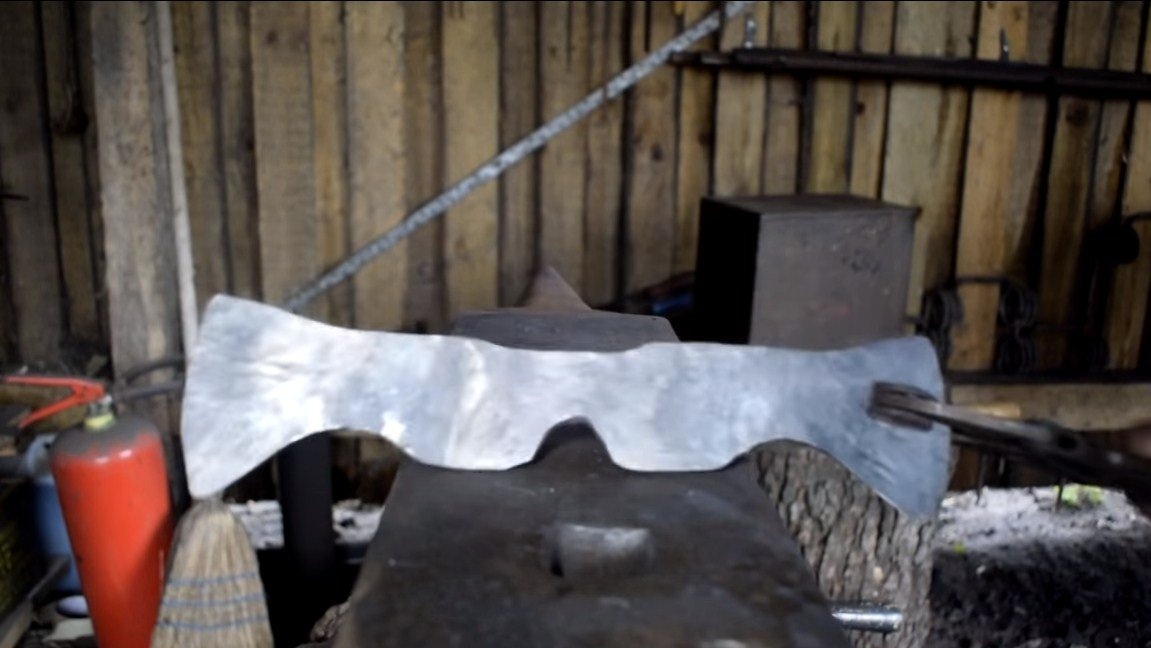
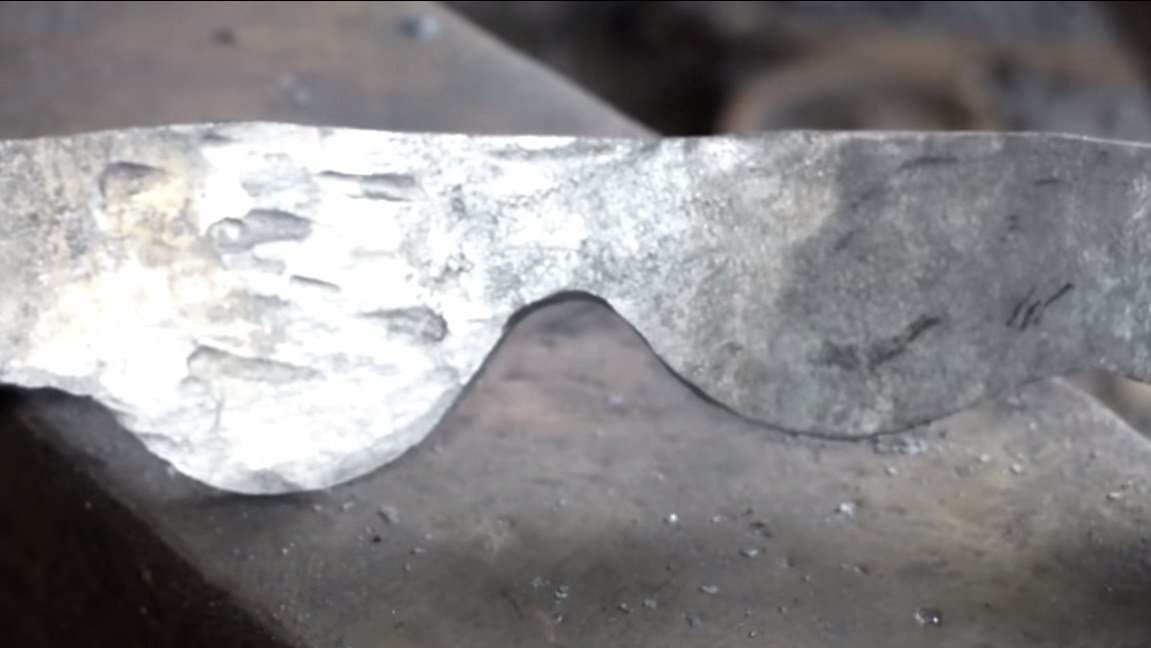
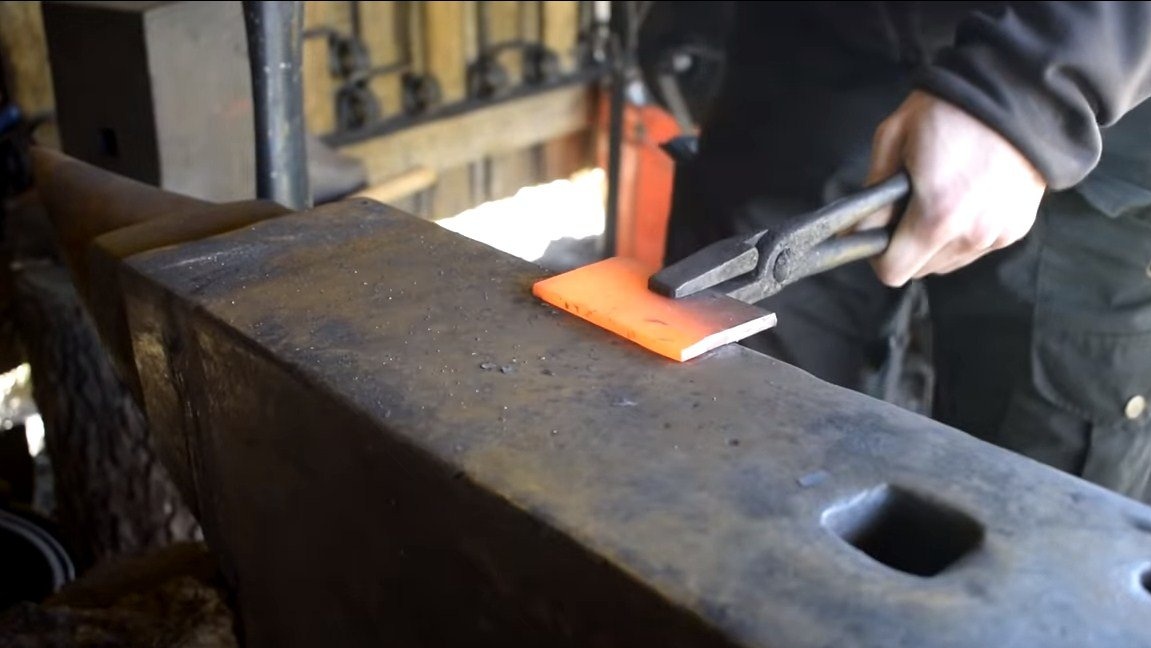
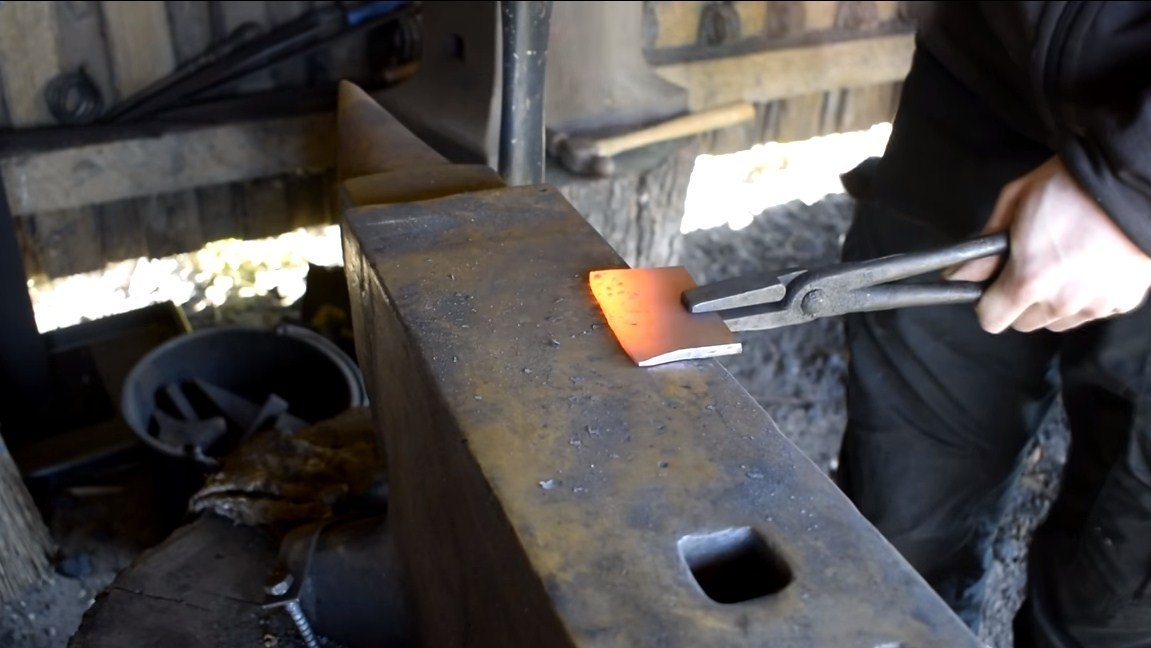
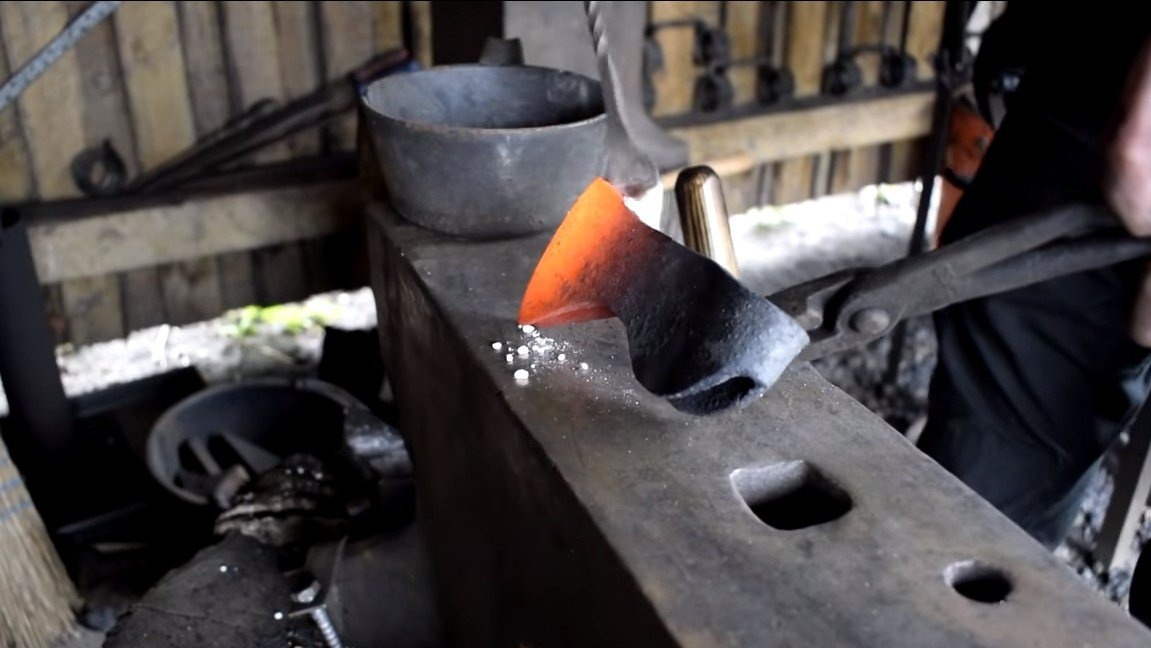
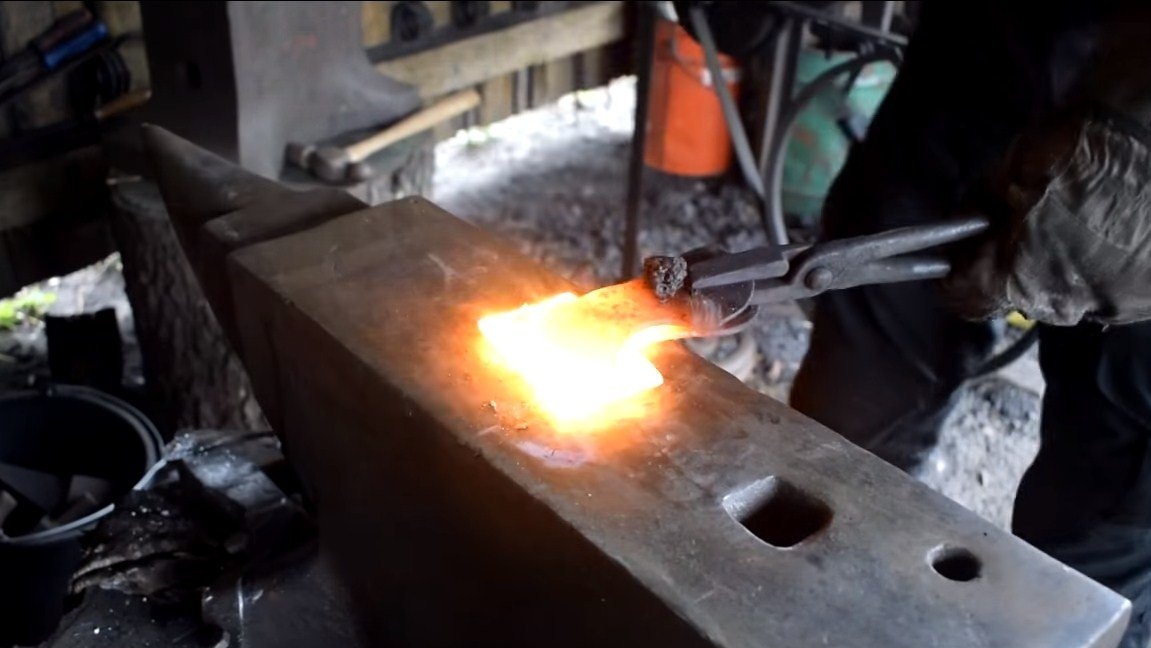
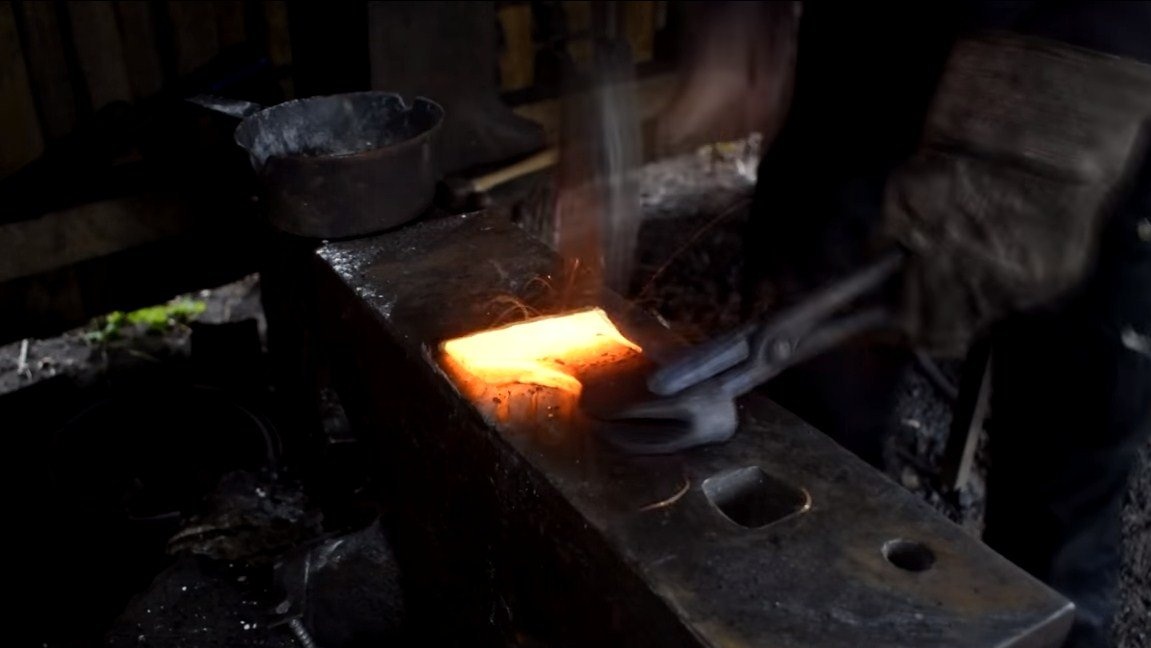
Let's make an ax, or rather, its metal part. This process consists of several stages. To begin with, we will directly produce the base of the ax, it is solid and costs two halves, then the product is folded in half and we get an ax. As a workpiece, we use a piece of iron plate of suitable length. You can use ordinary iron, not steel. Well, then we heat it, we work on the anvil, both halves should turn out as identical as possible.
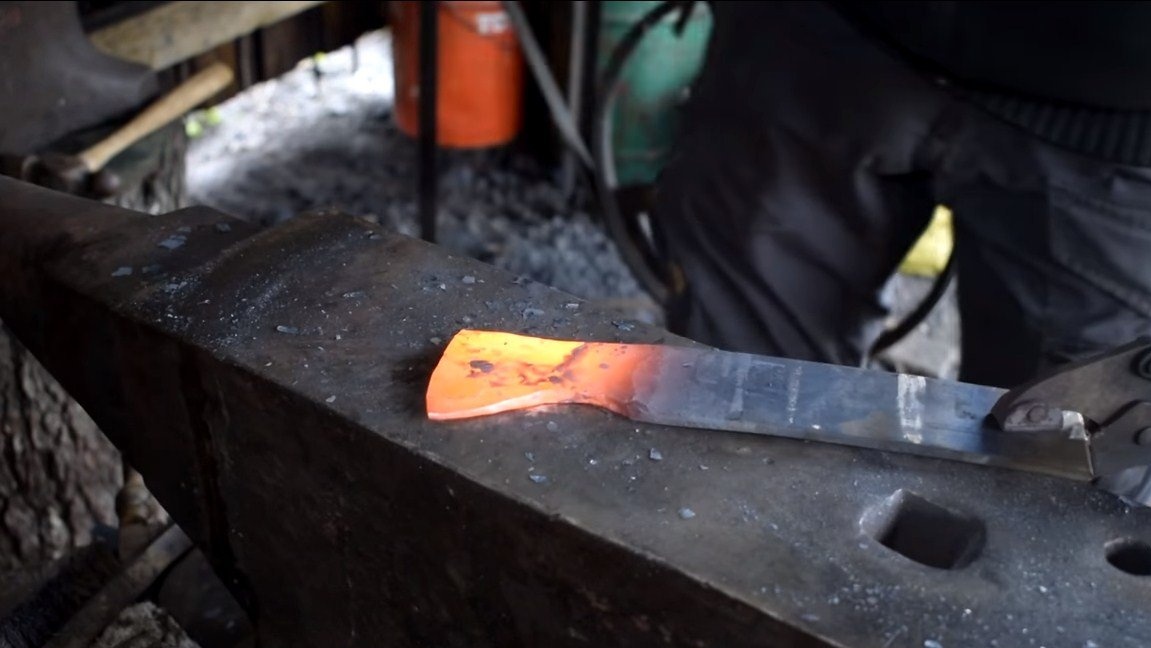
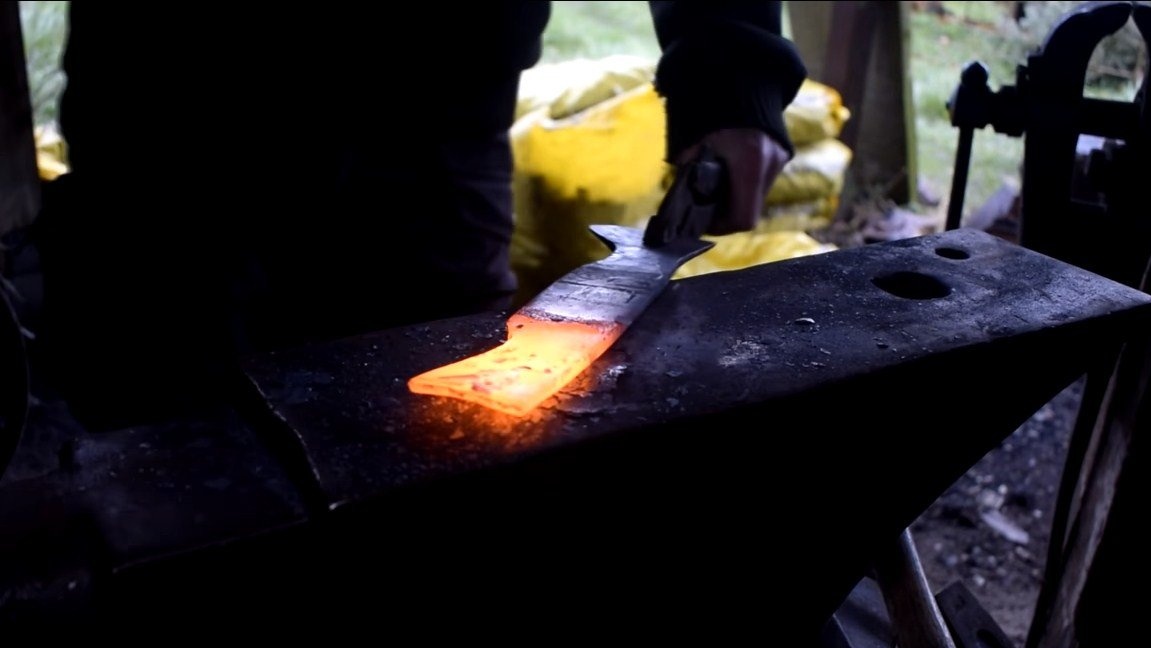
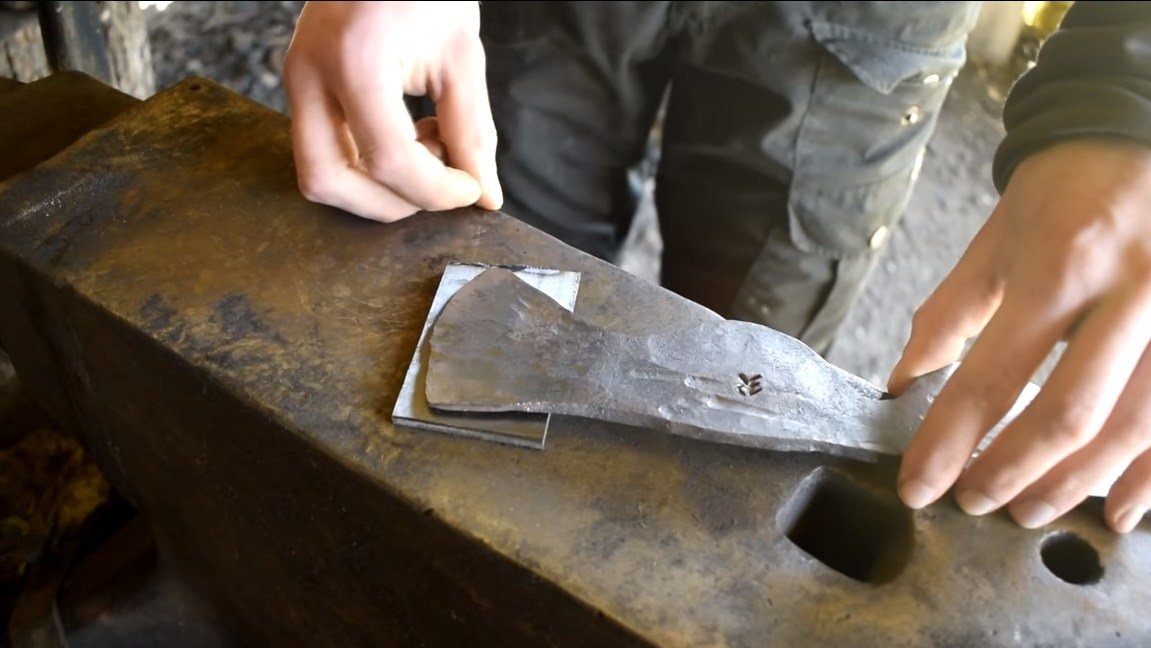
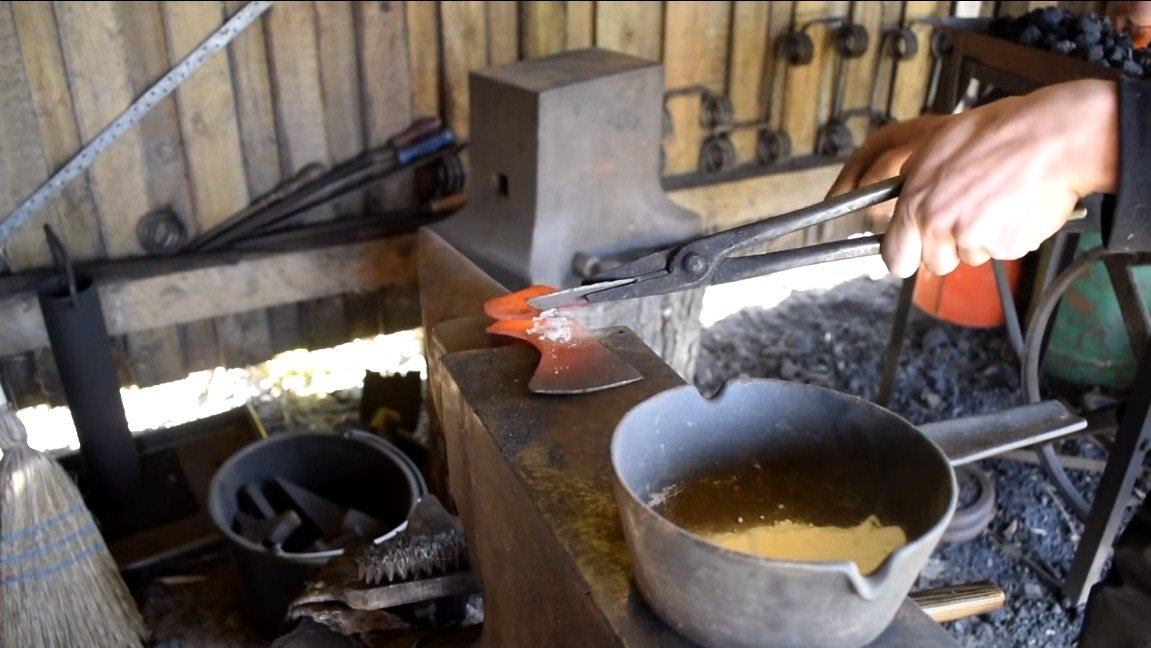
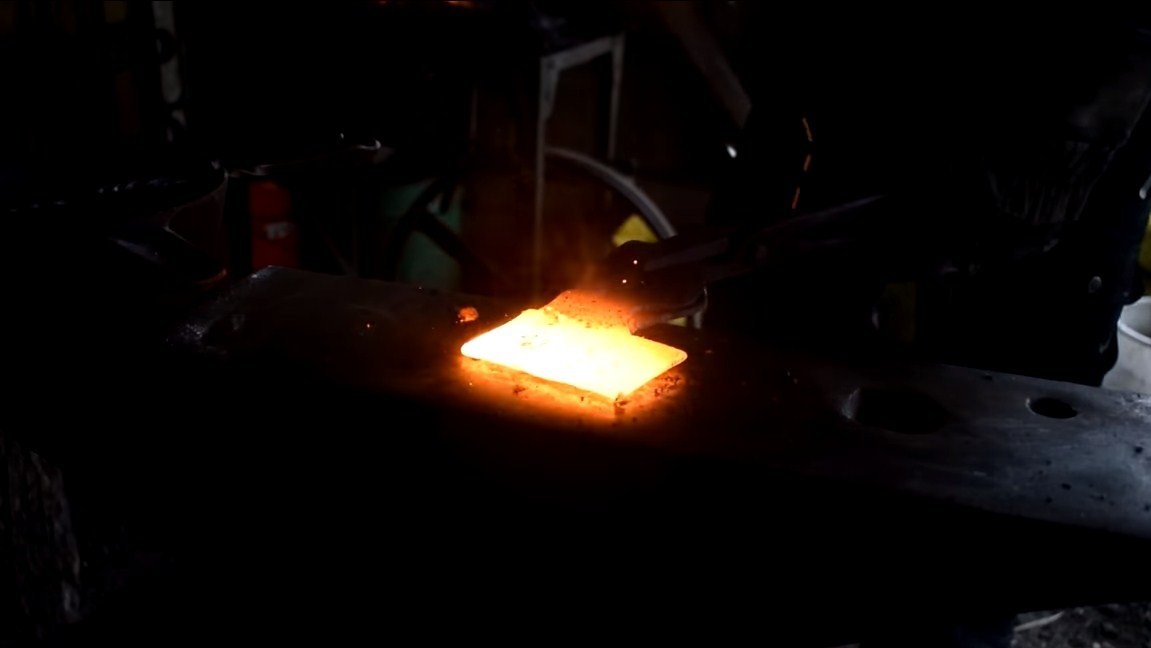
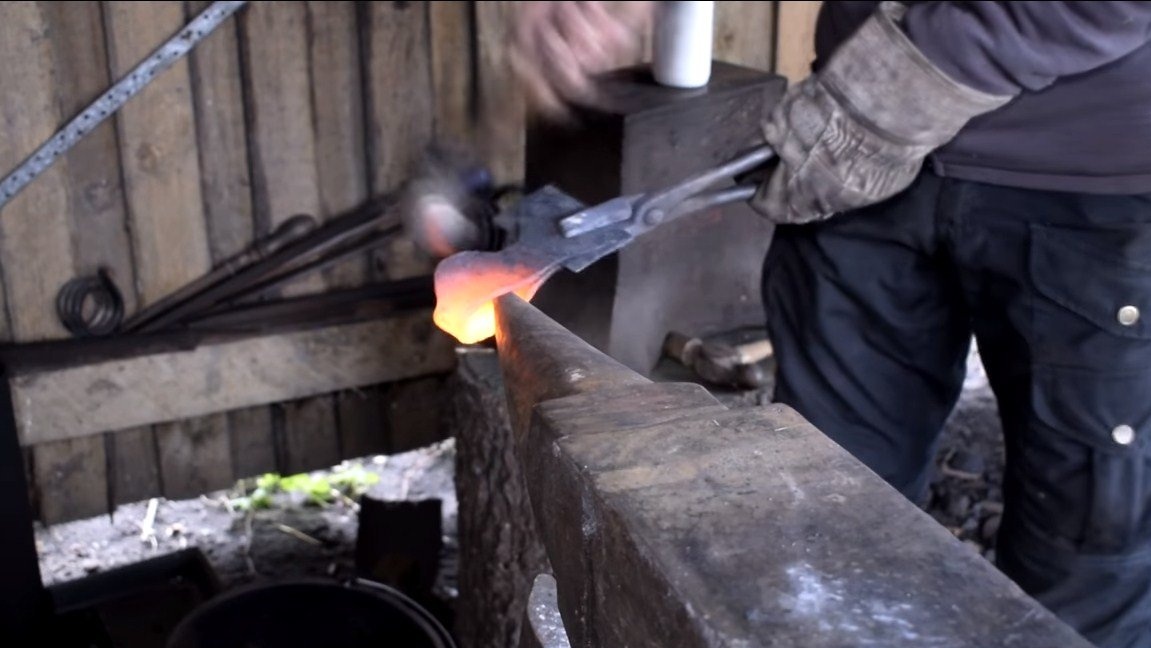
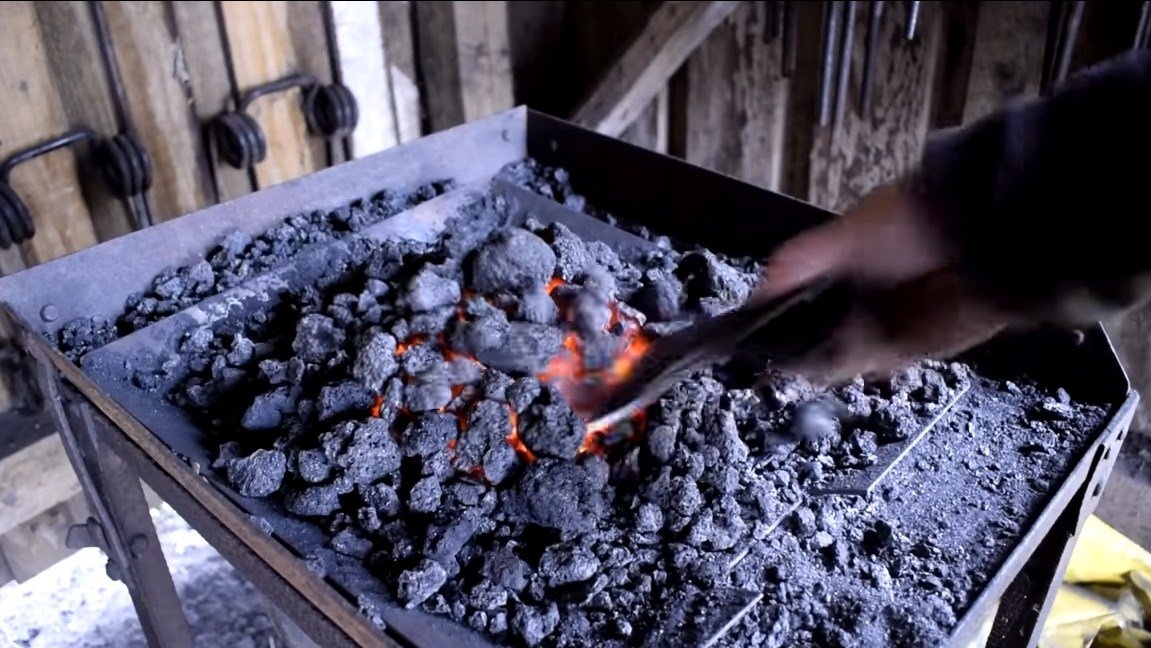
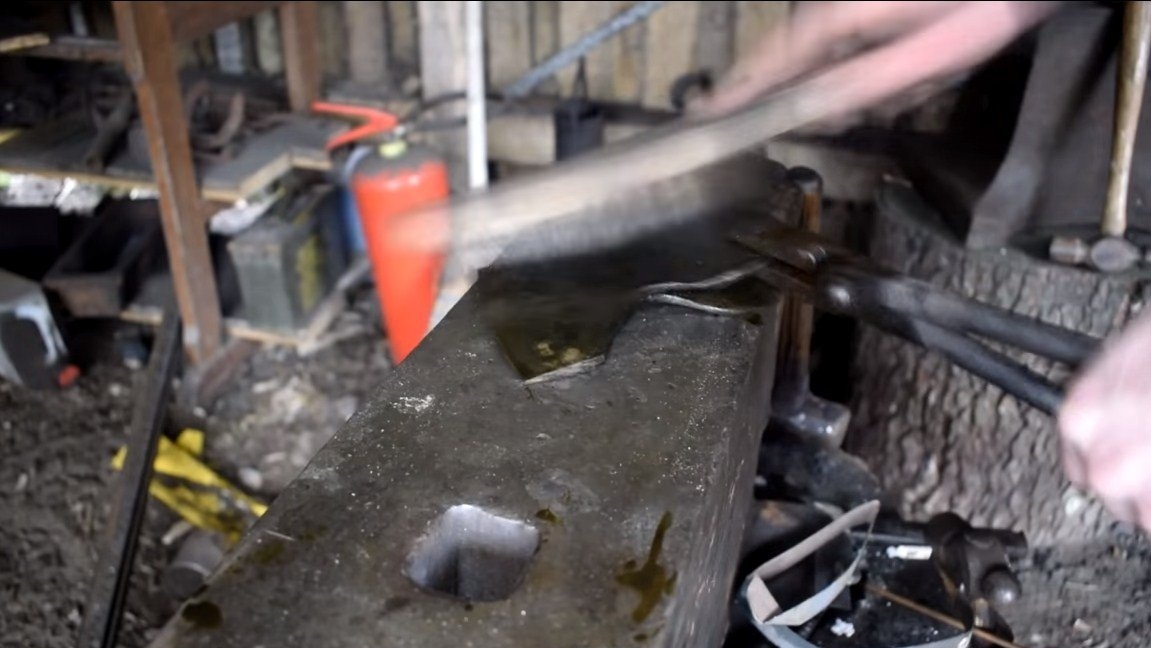
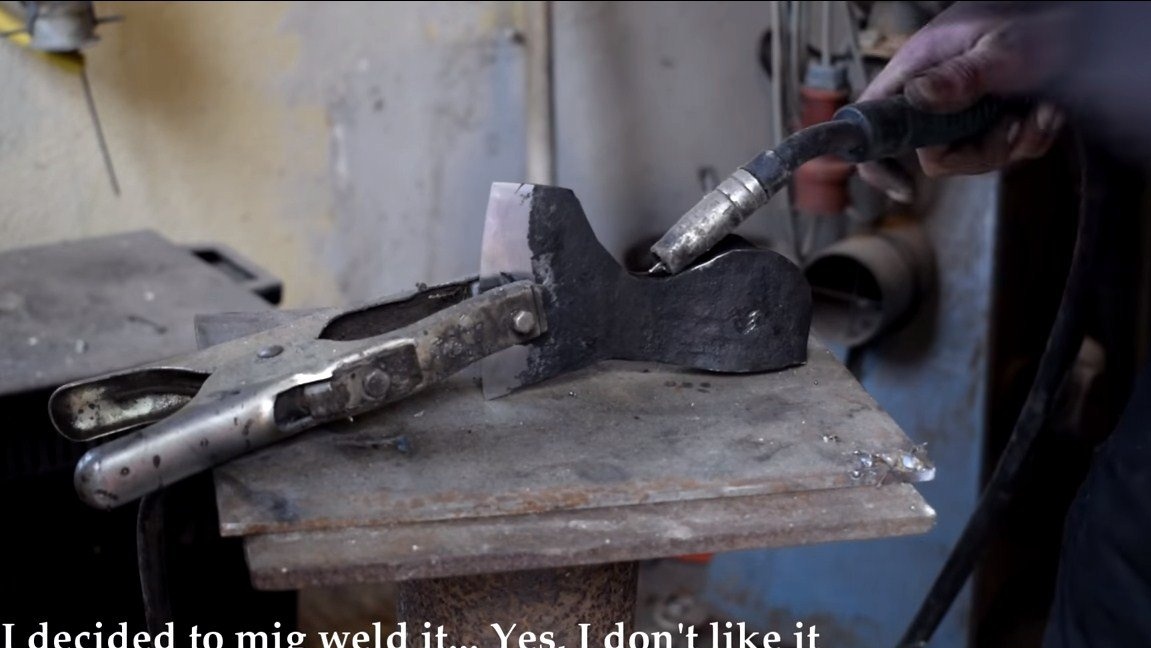
Next comes the most difficult and crucial moment, you need to combine by forging several layers of metal. Not everyone gets it right the first time, and our author is no exception. We prepare a blank of carbon steel for the blade, give it the desired shape by forging.
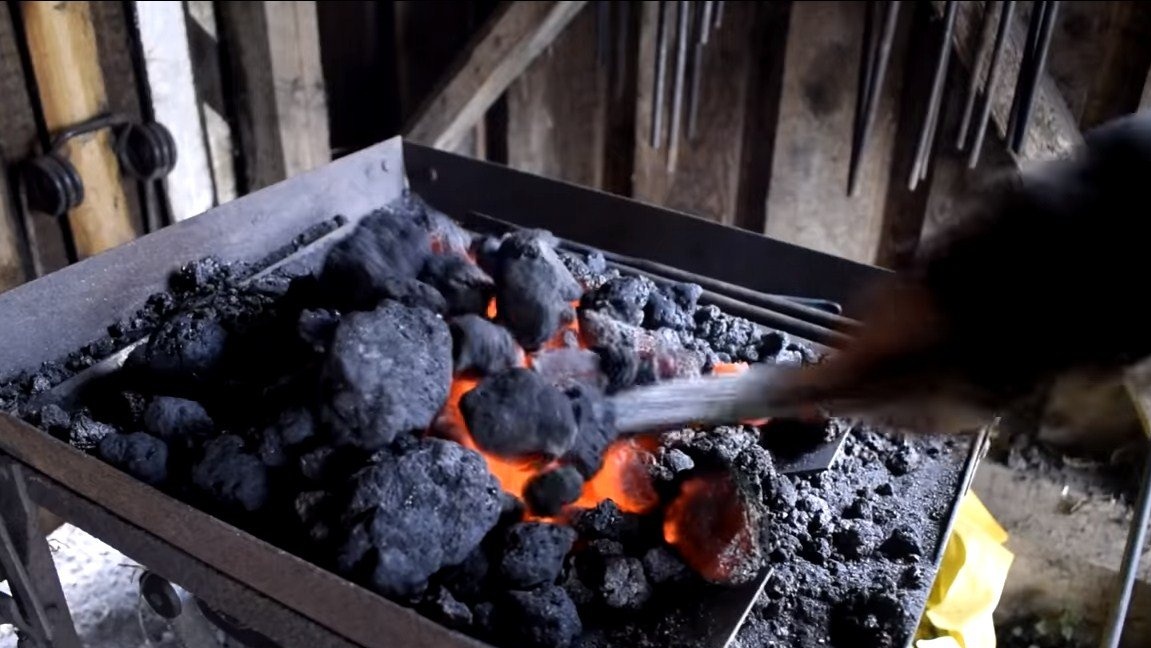
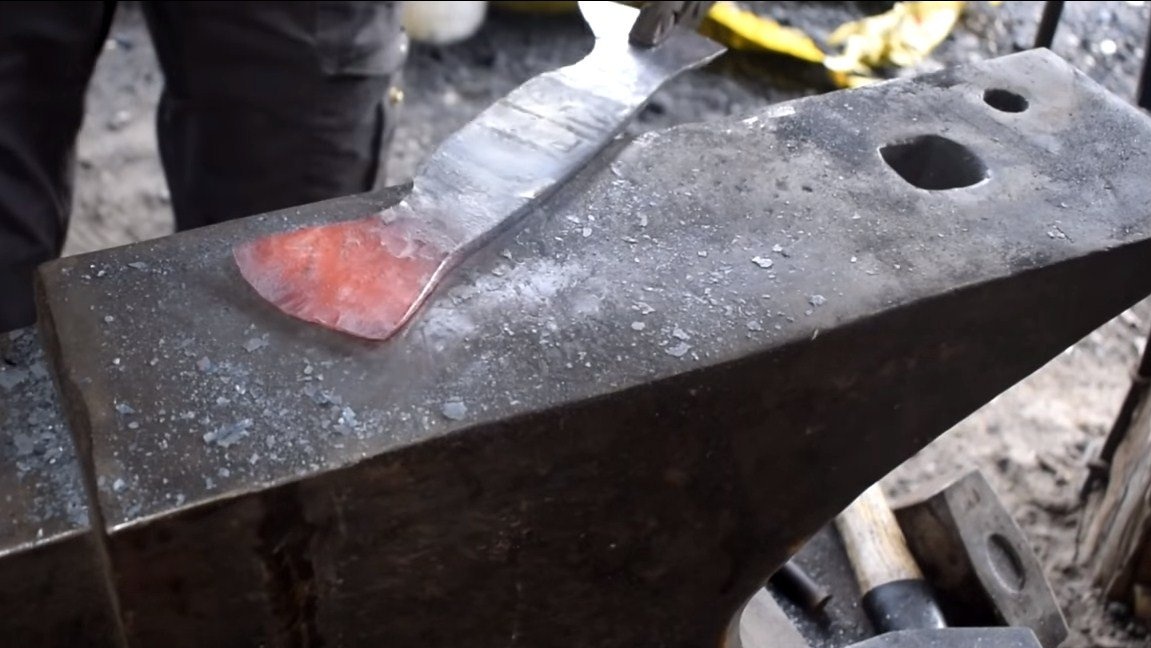
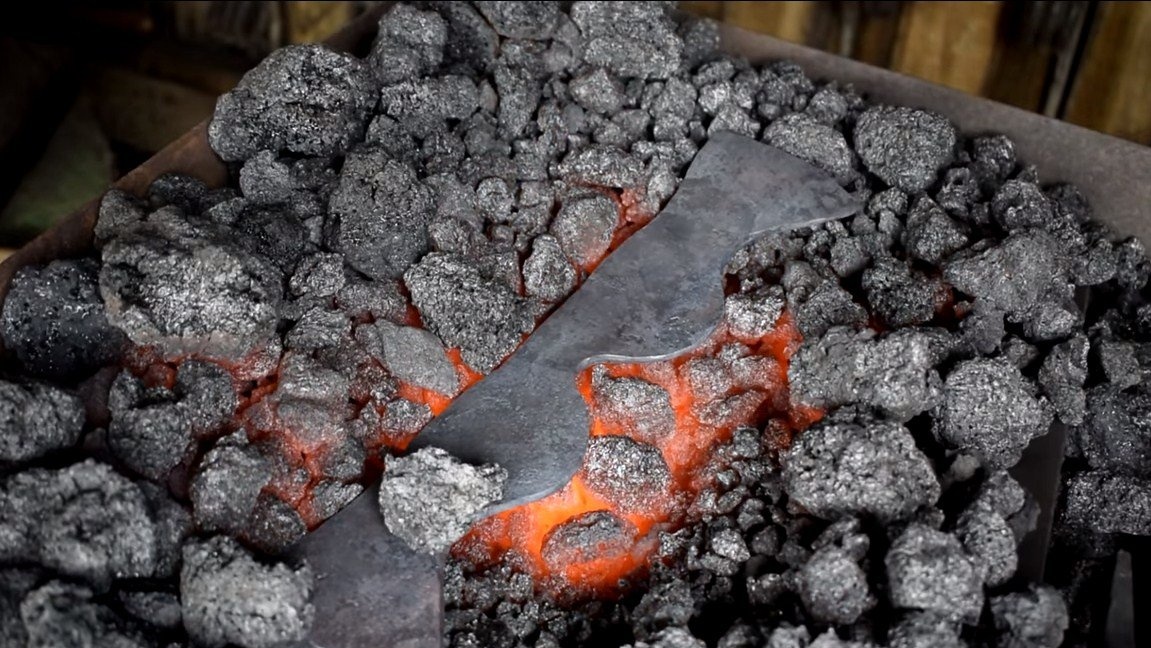
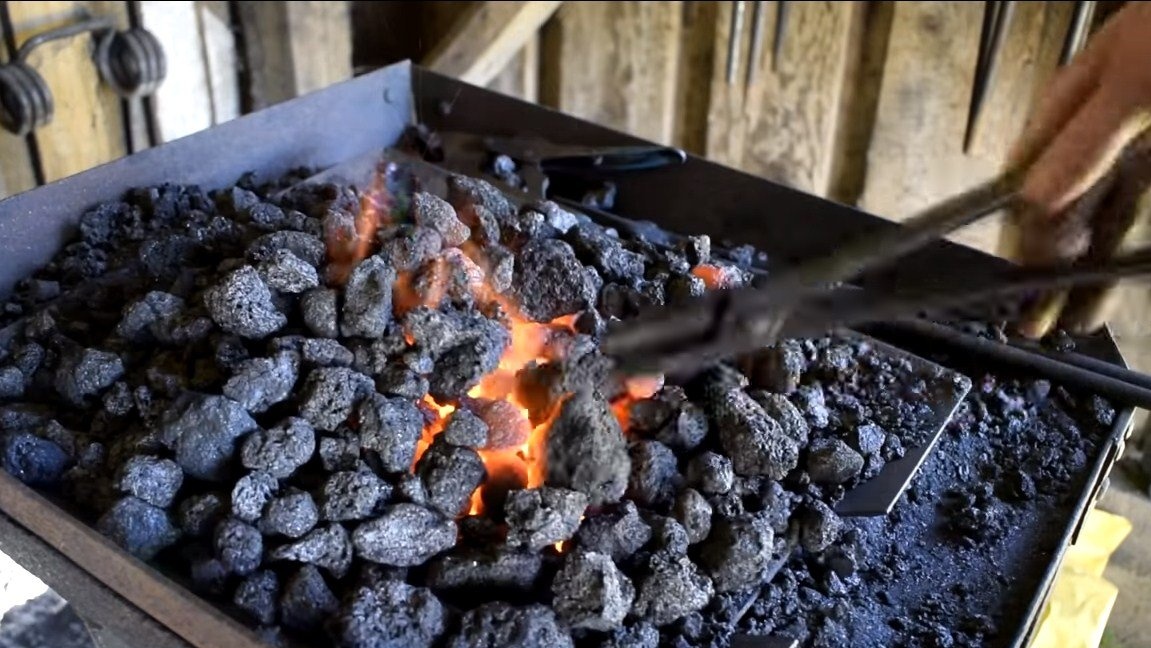
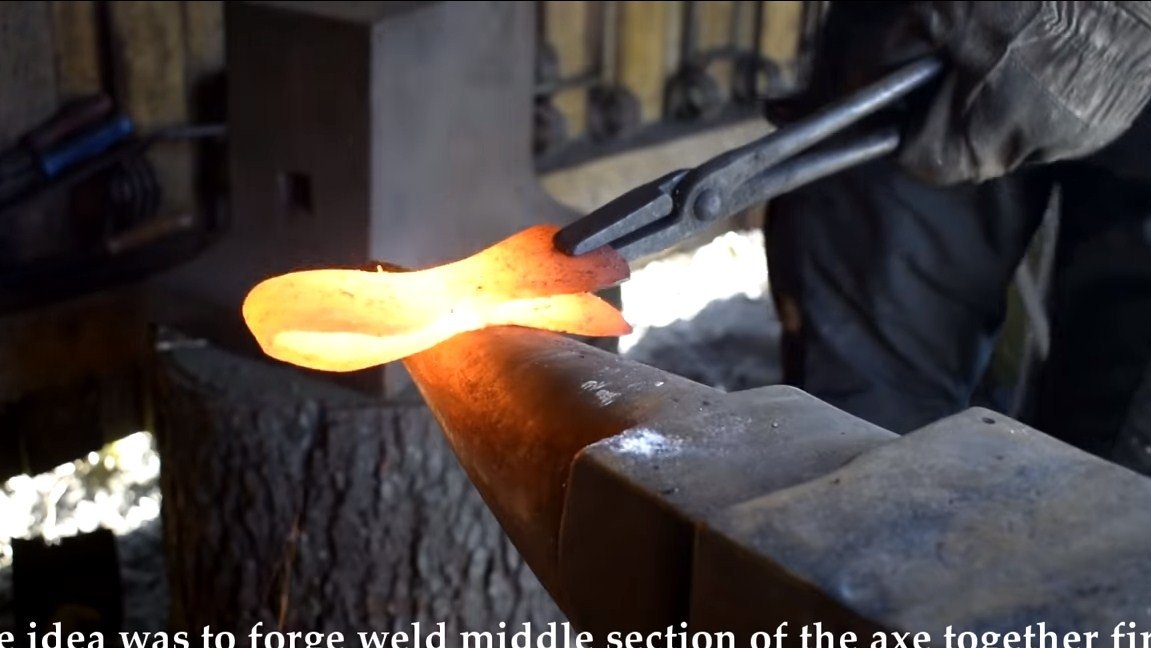
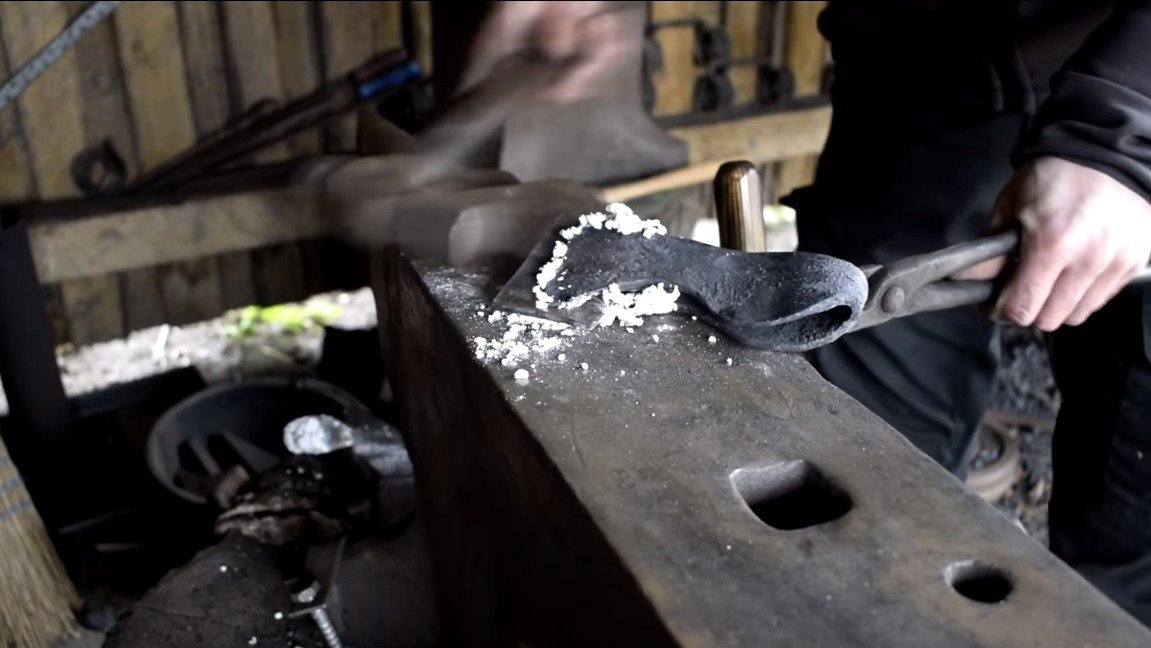
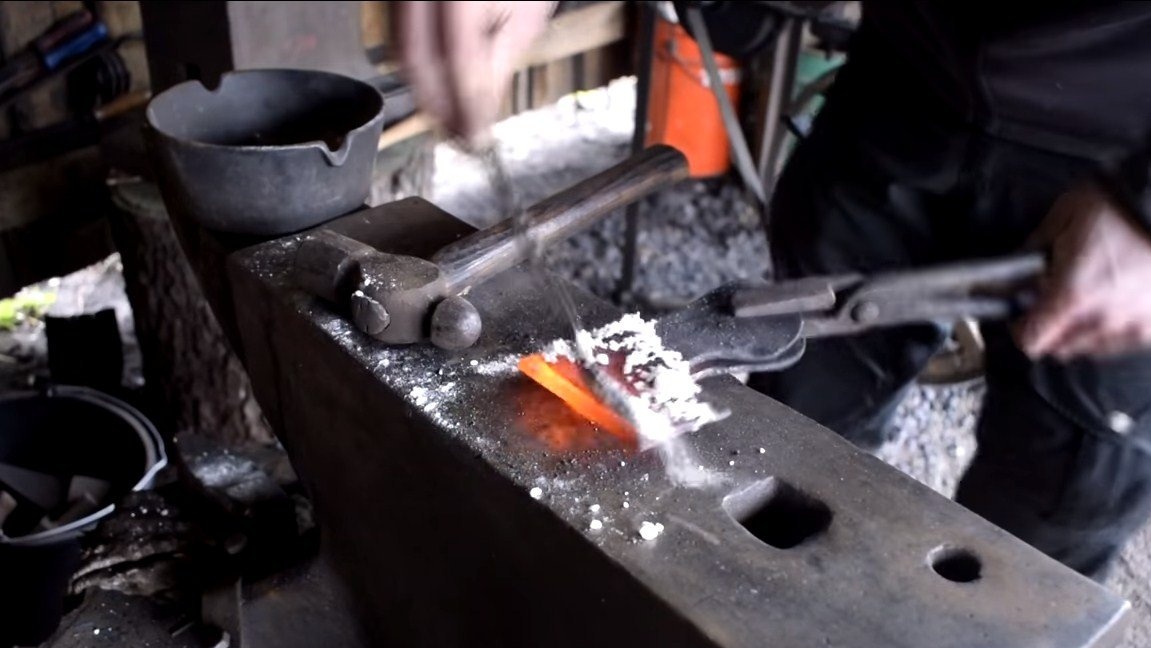
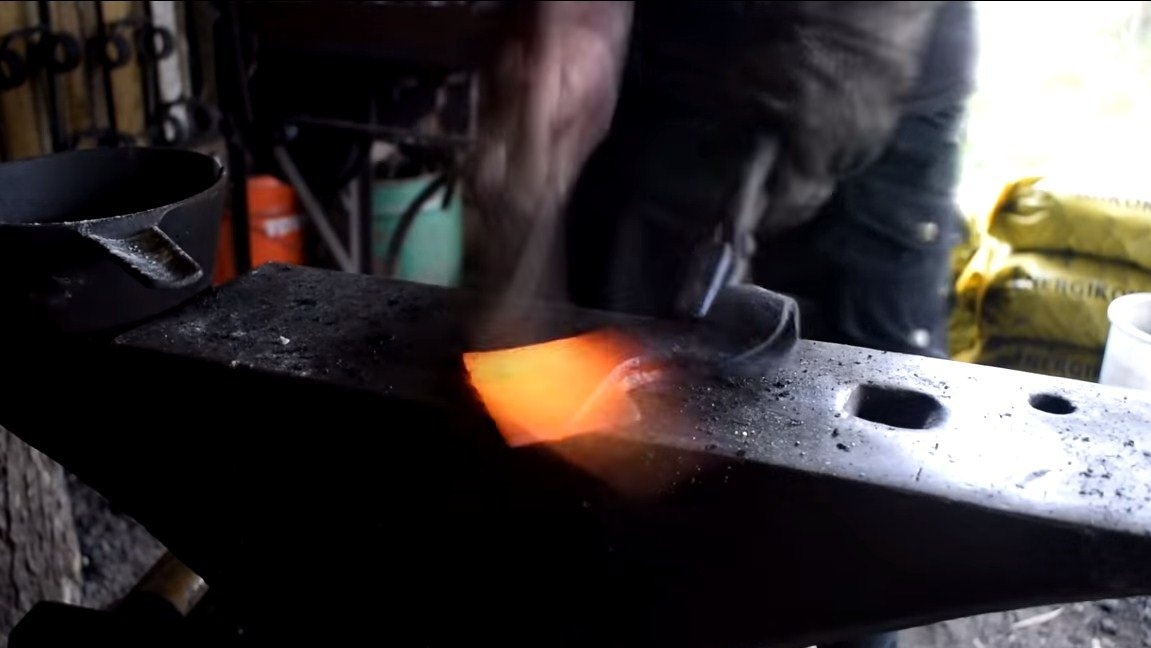
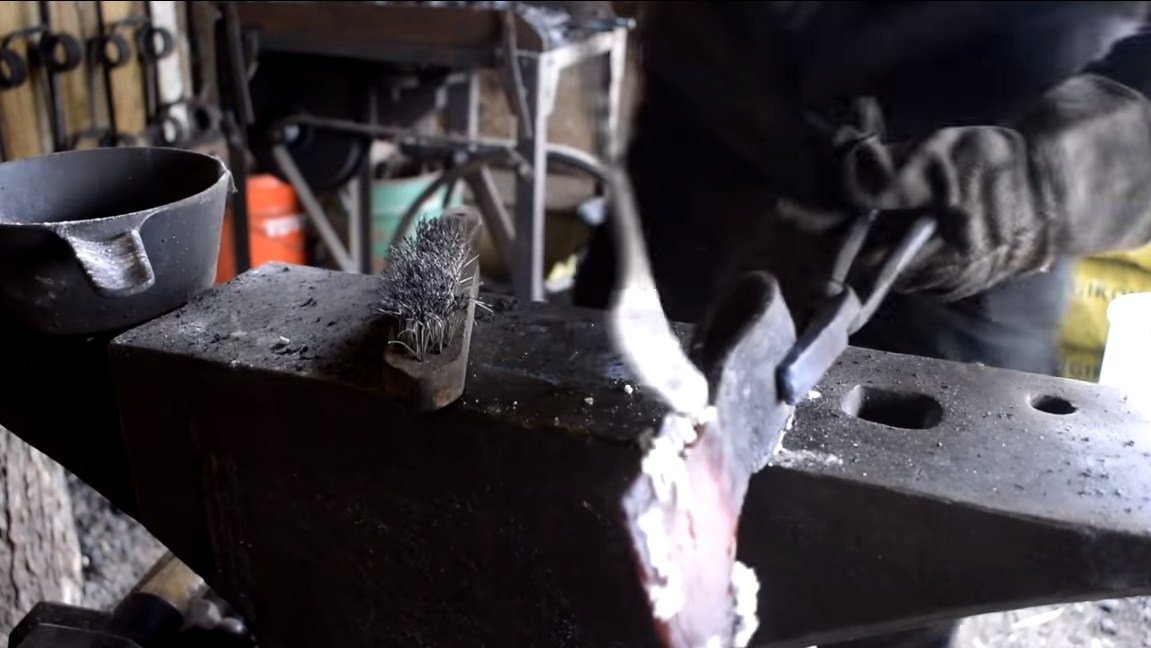
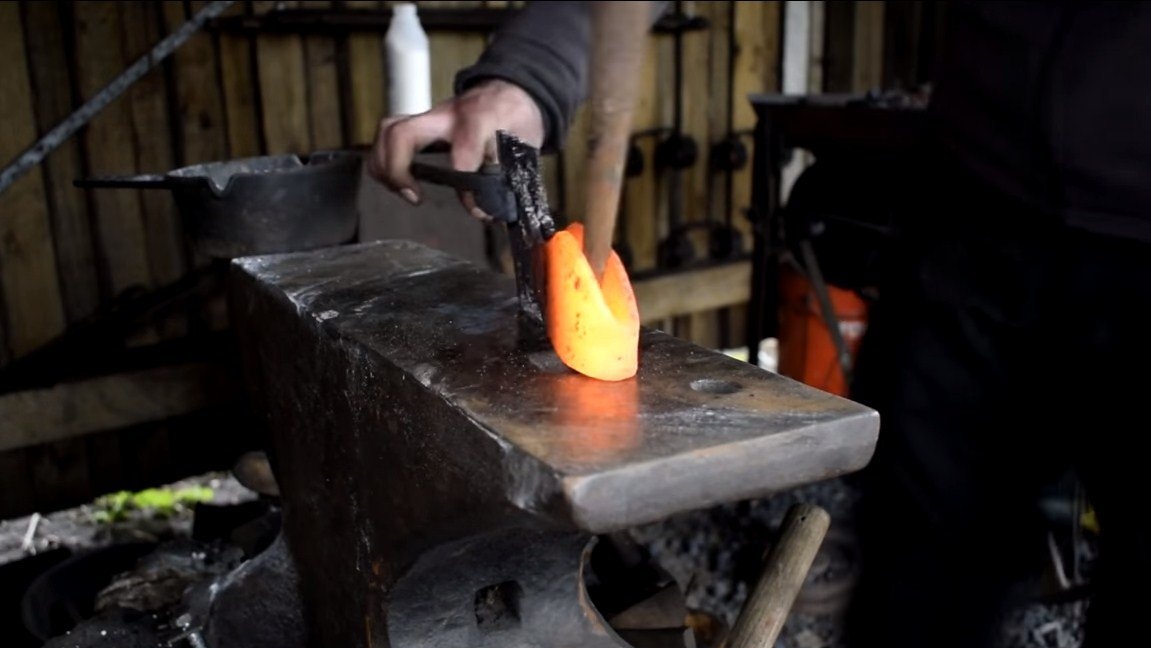
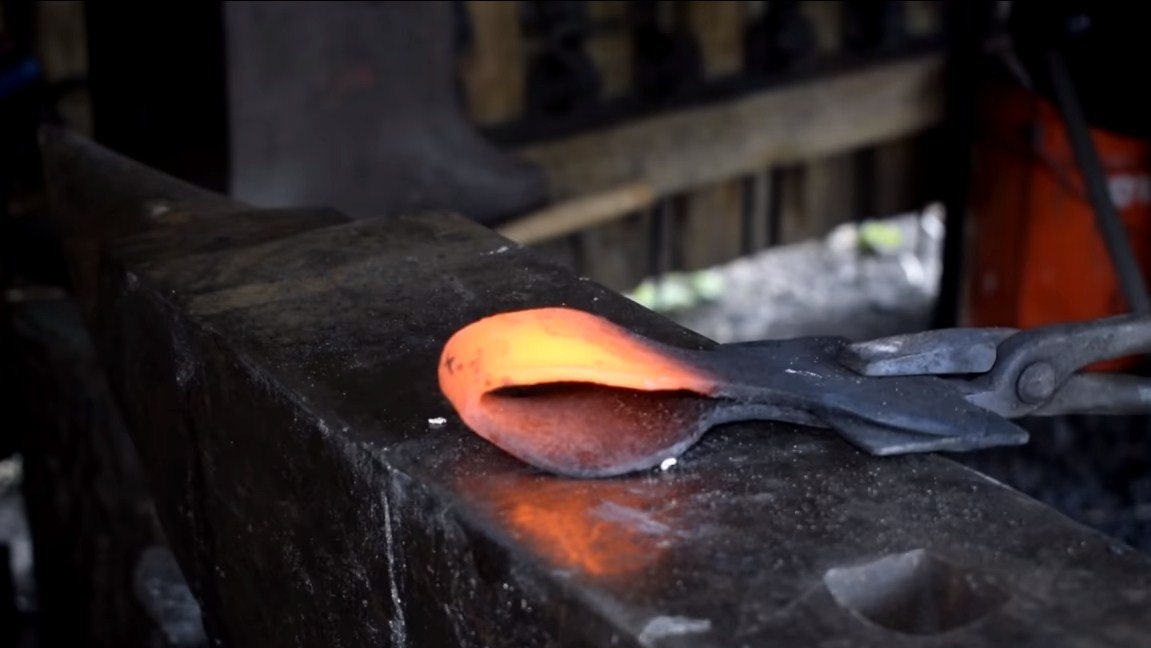
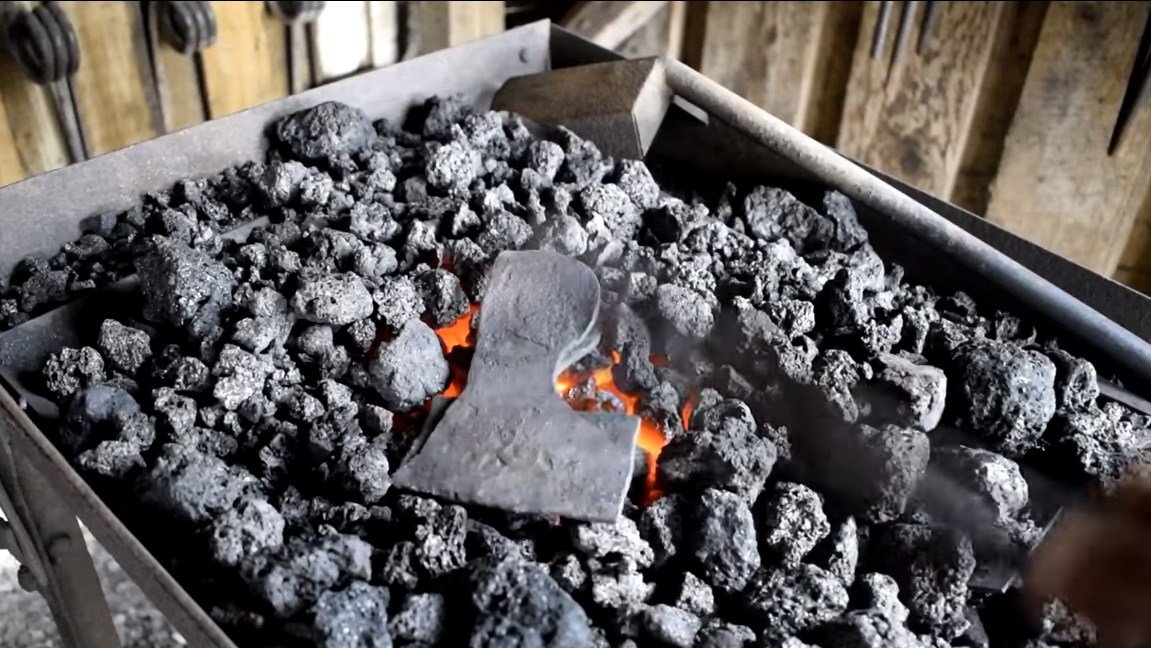
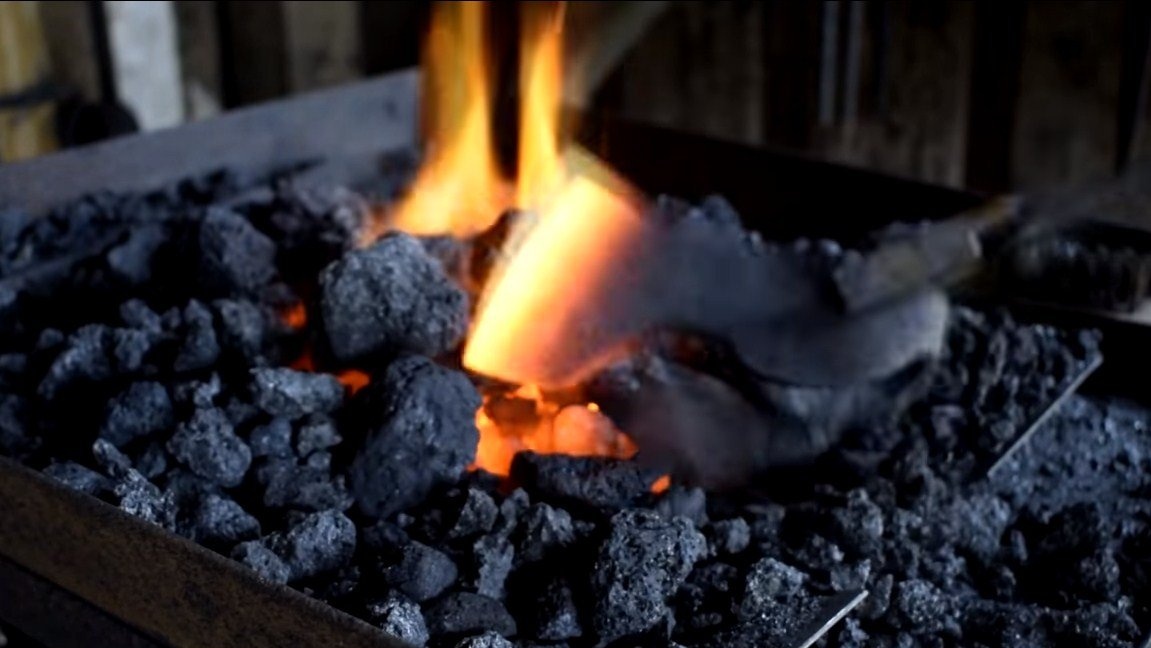
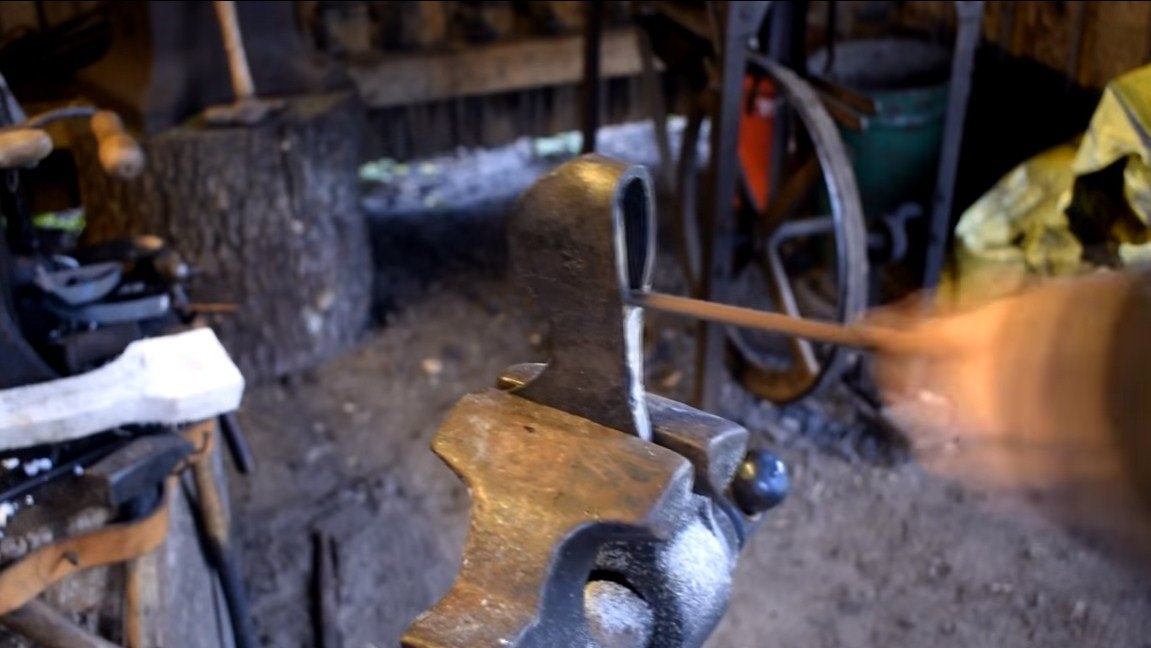
As for the workpiece, forged earlier, the base, then we fold it in half and now you need to forge both parts together. For this procedure, borax is needed, it will not allow the metal to oxidize, as a result, the workpieces can mix and become one. Actively sprinkle with brown the mating surfaces and well heat up the workpiece to a yellowish glow. Well, then we warm and actively work with a hammer, not forgetting to sprinkle this whole thing with brown.
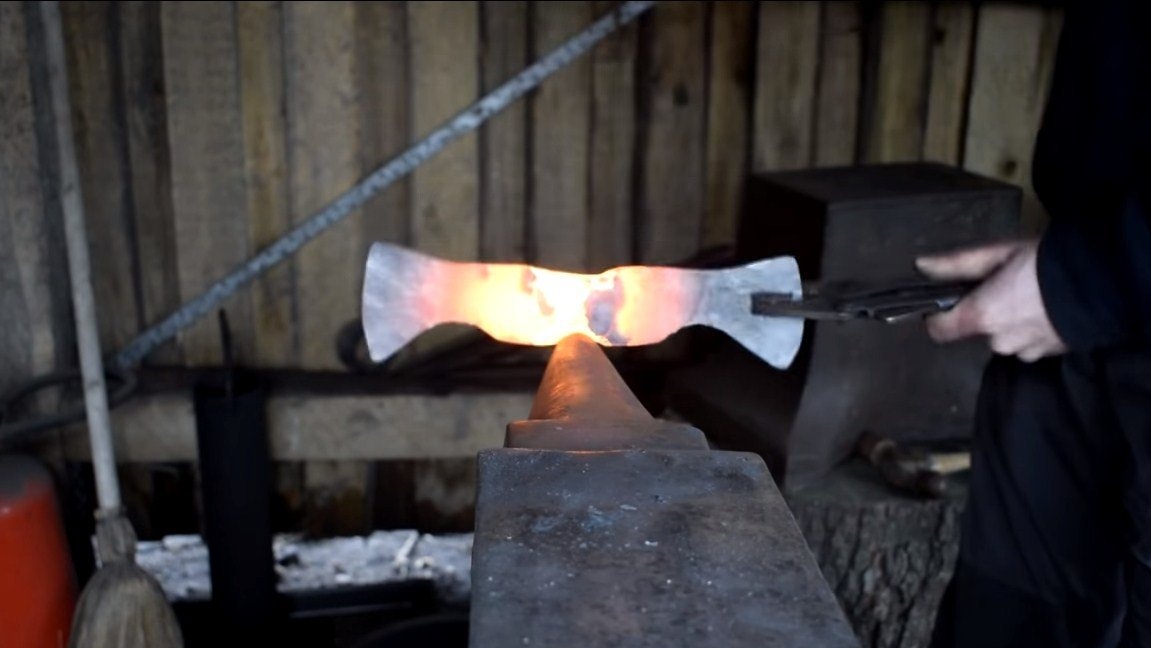
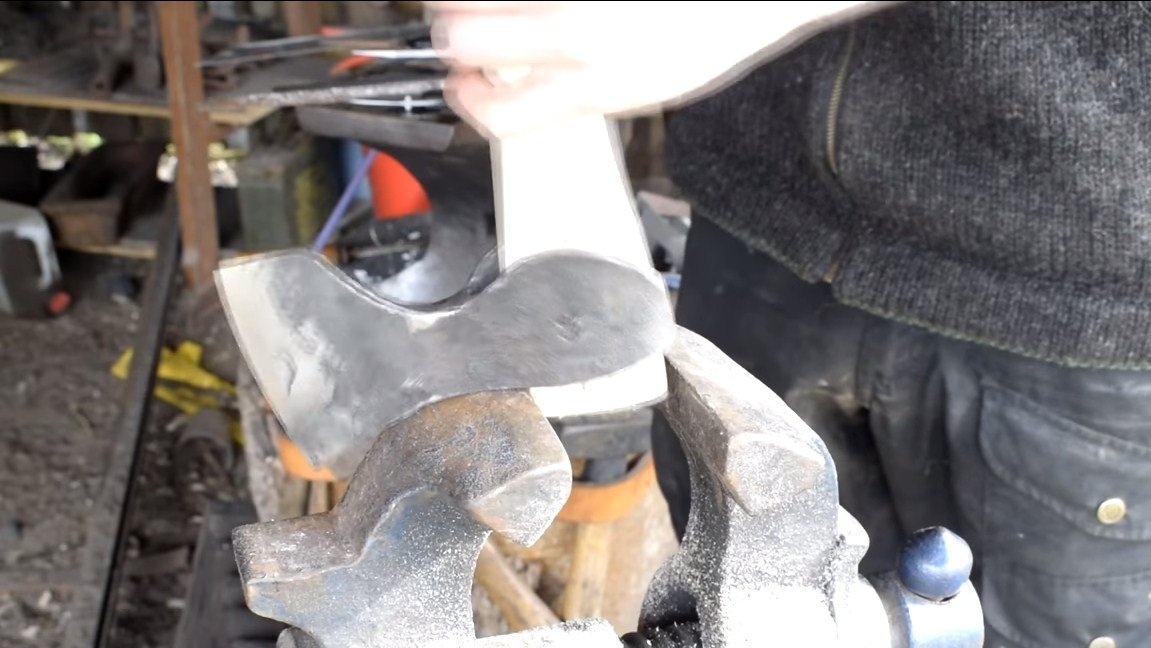
If everything turned out fine, now we increase the hole for the ax and at this step the ax is ready.

Step Two Grinding and hardening
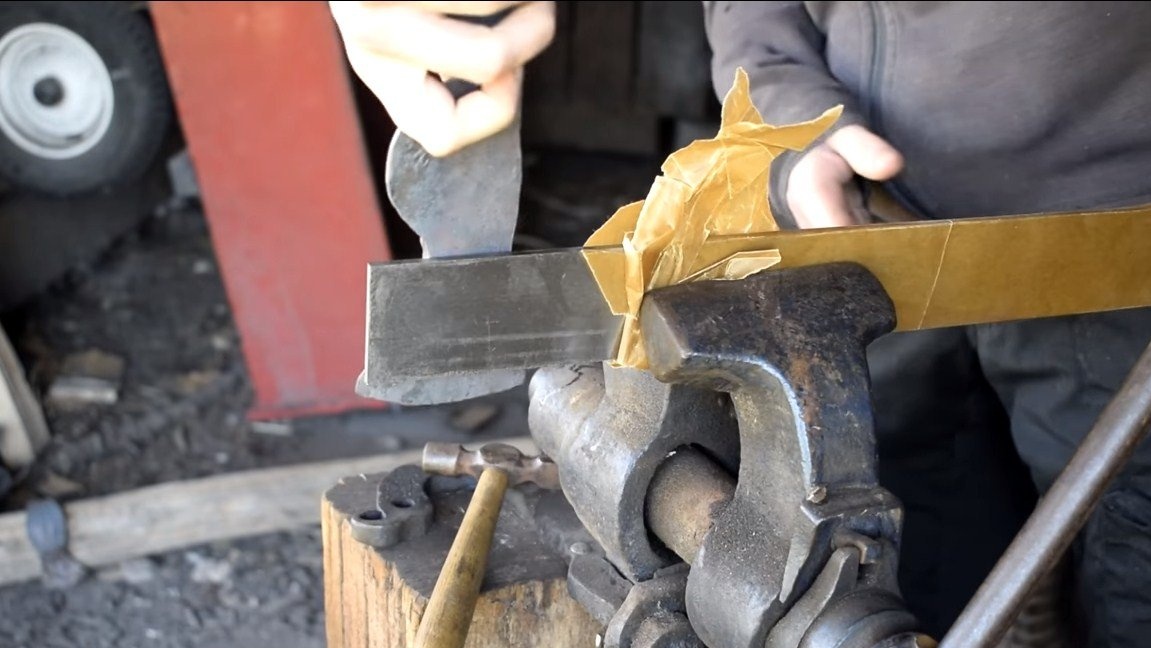
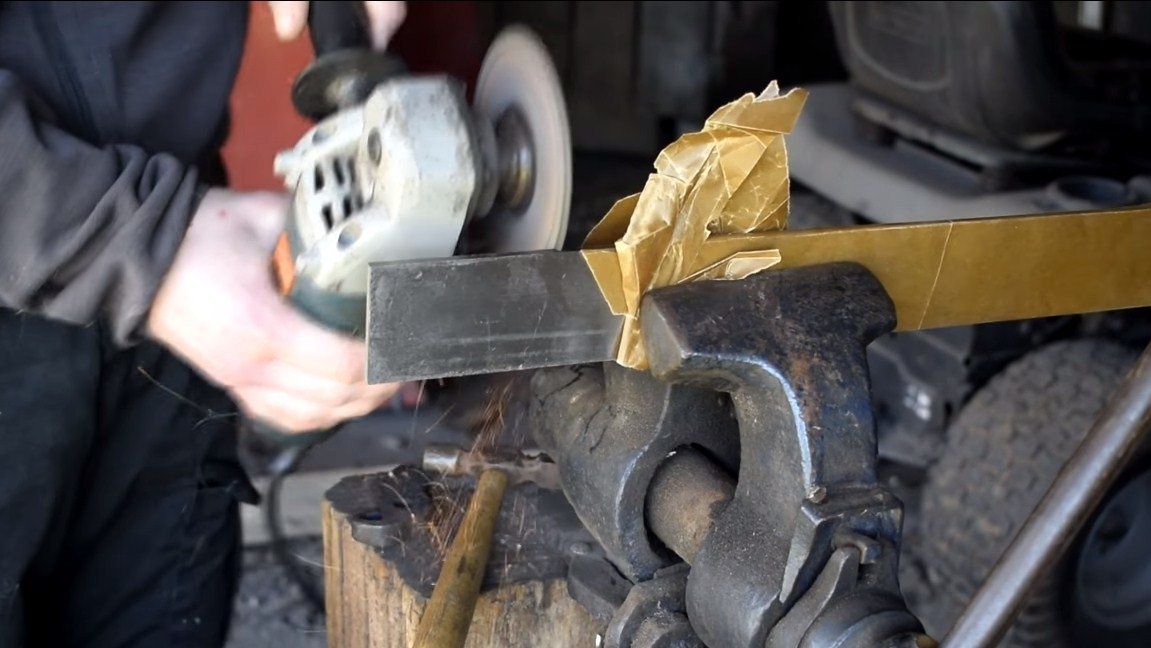
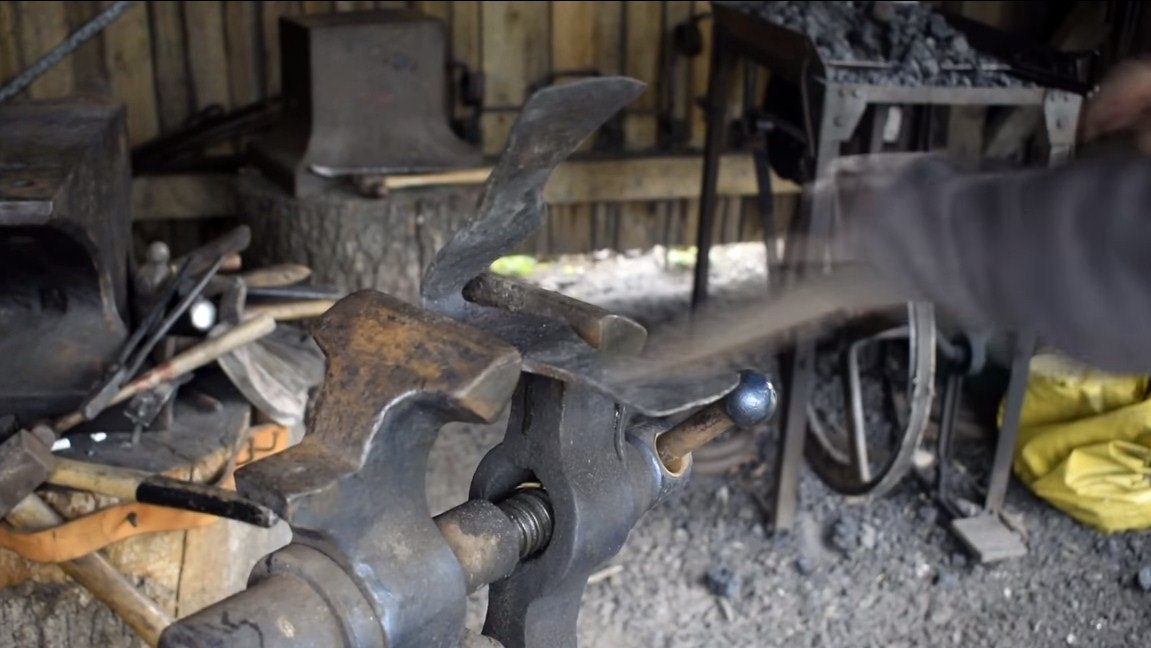
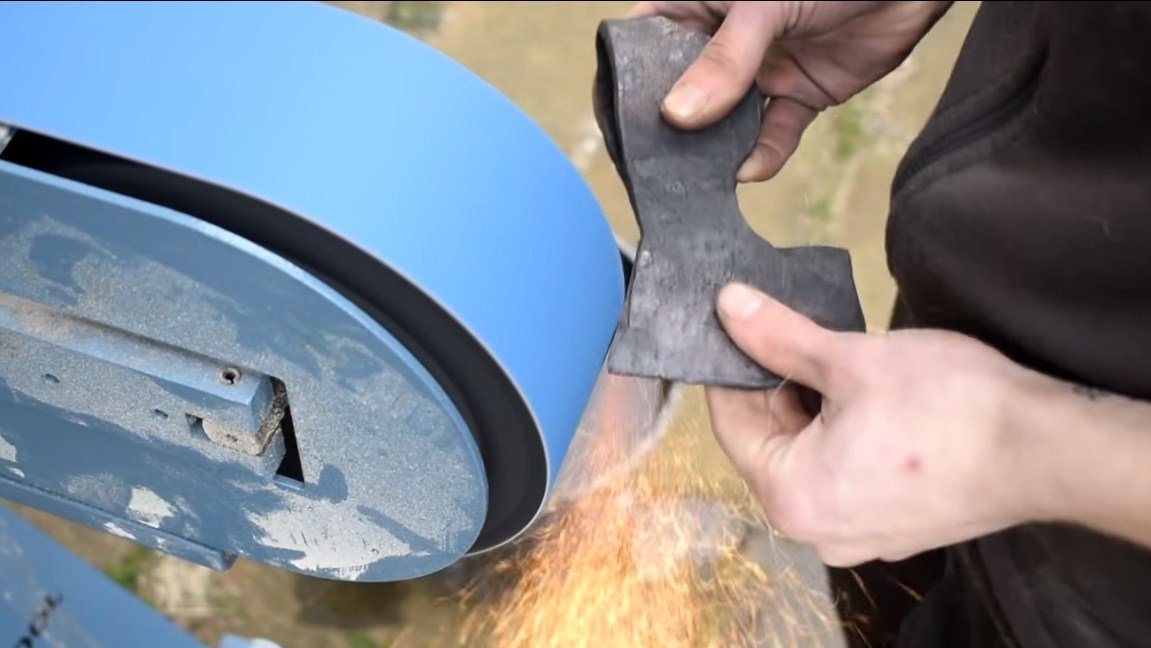
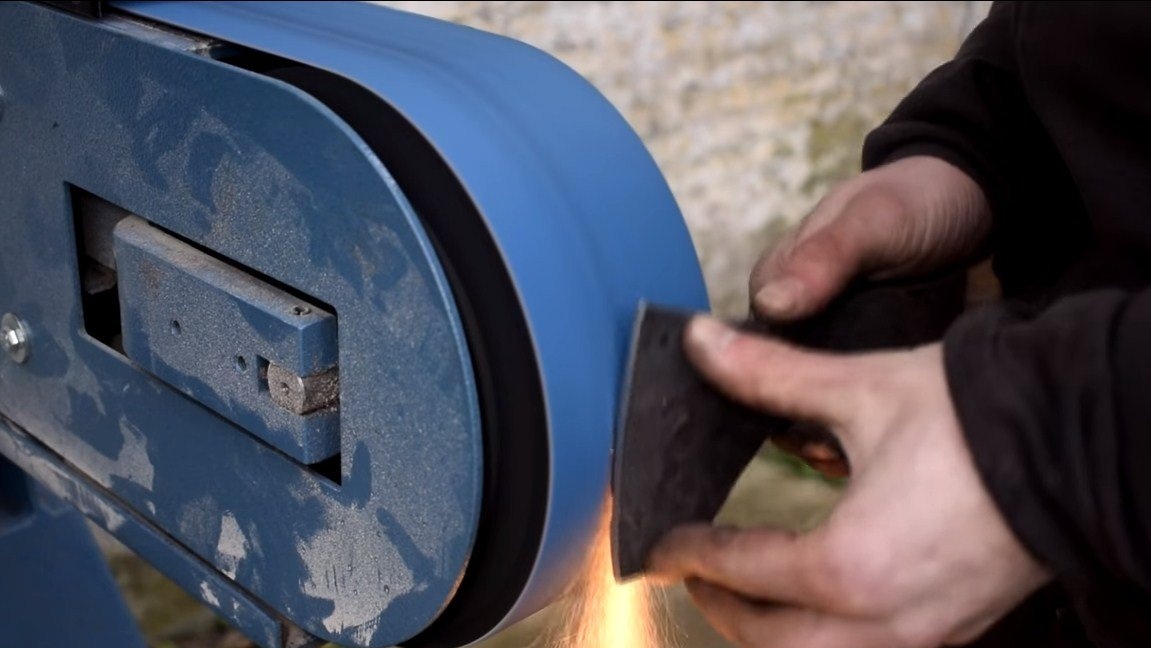
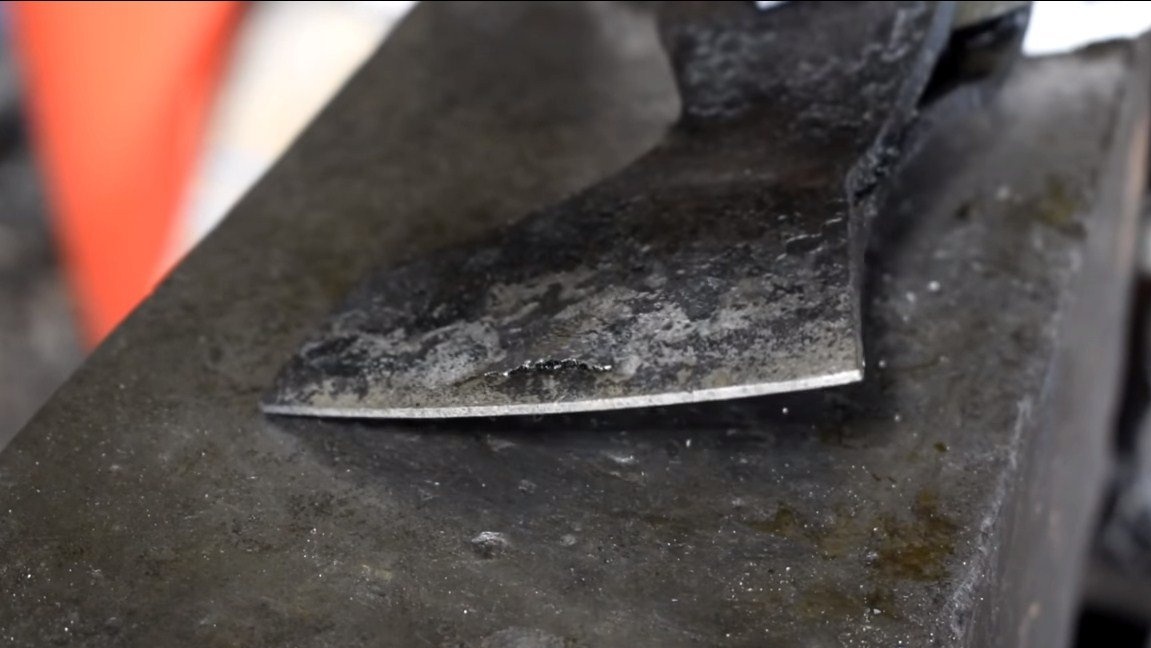
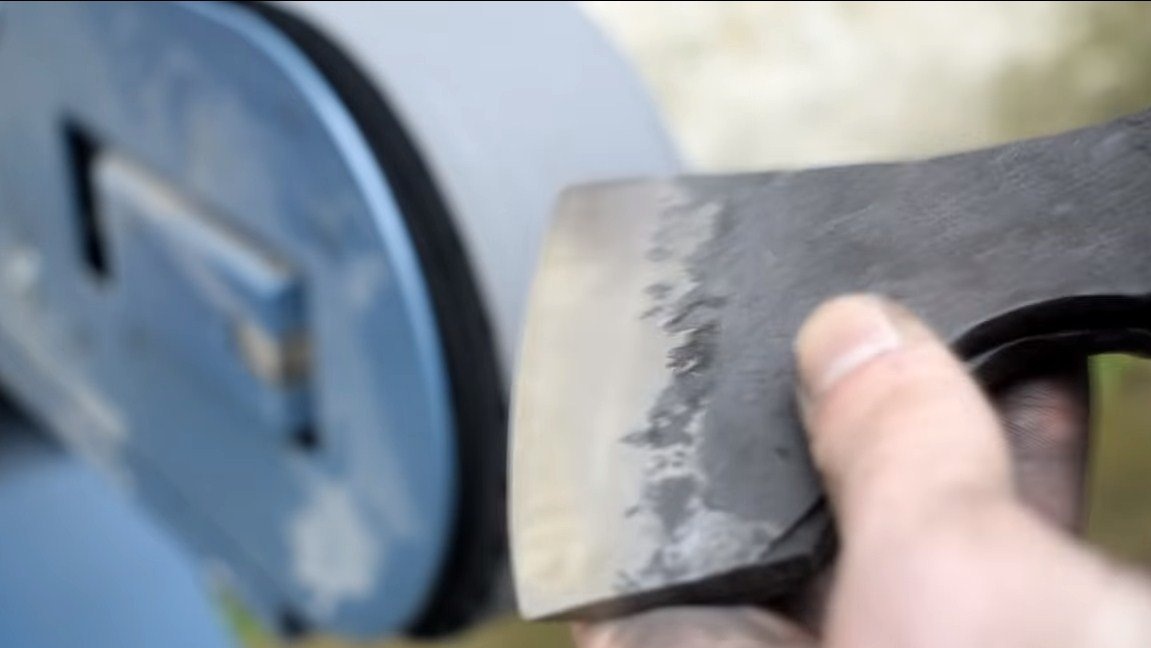
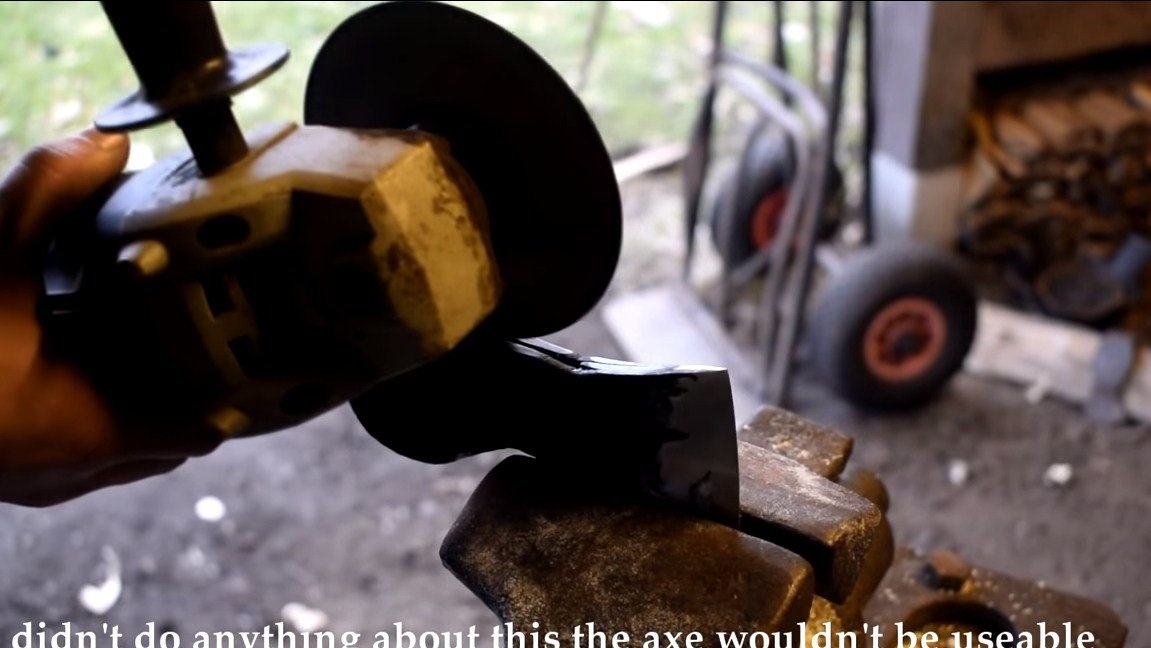
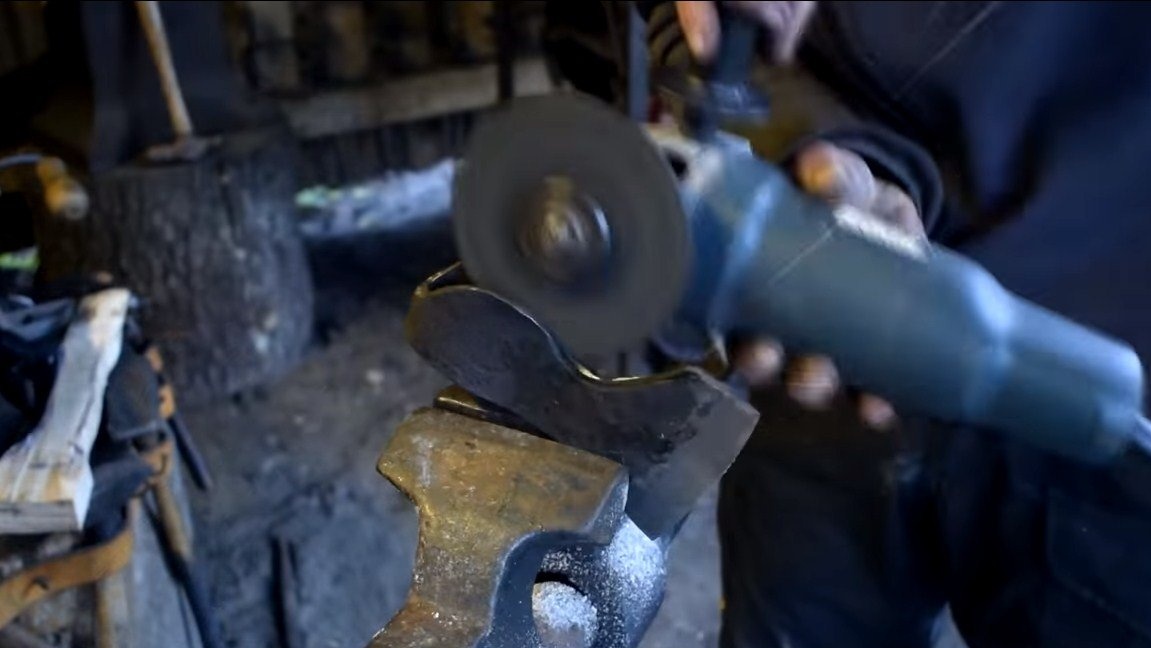
After forging, we proceed to grinding, here we need the help of a belt sander. It will be necessary to grind the forging defects, as well as form the bevels on the ax. While the ax should not be sharpened and the blade should be made thinner than 2 mm, otherwise there will be a chance during tempering to damage the blade with temperature.
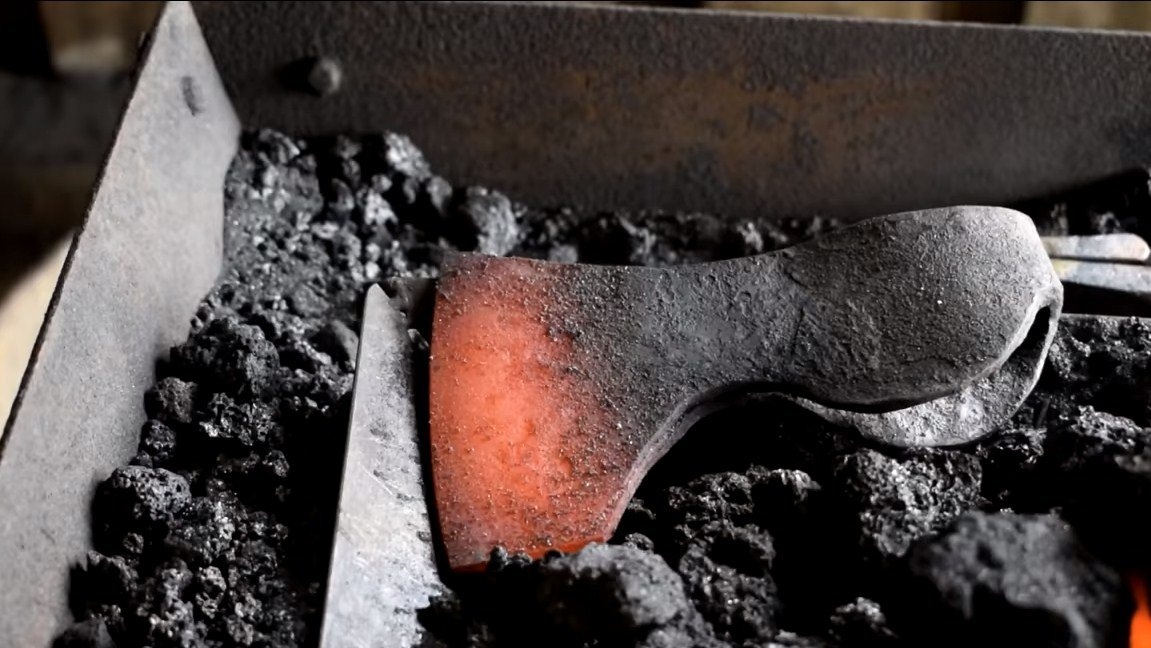

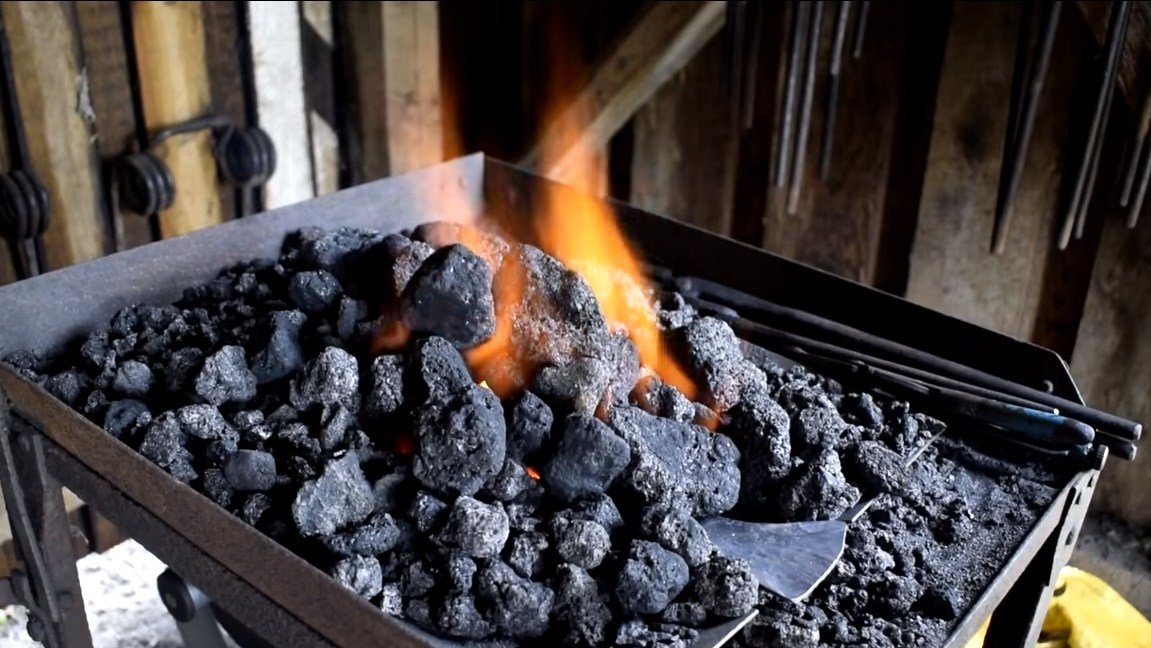
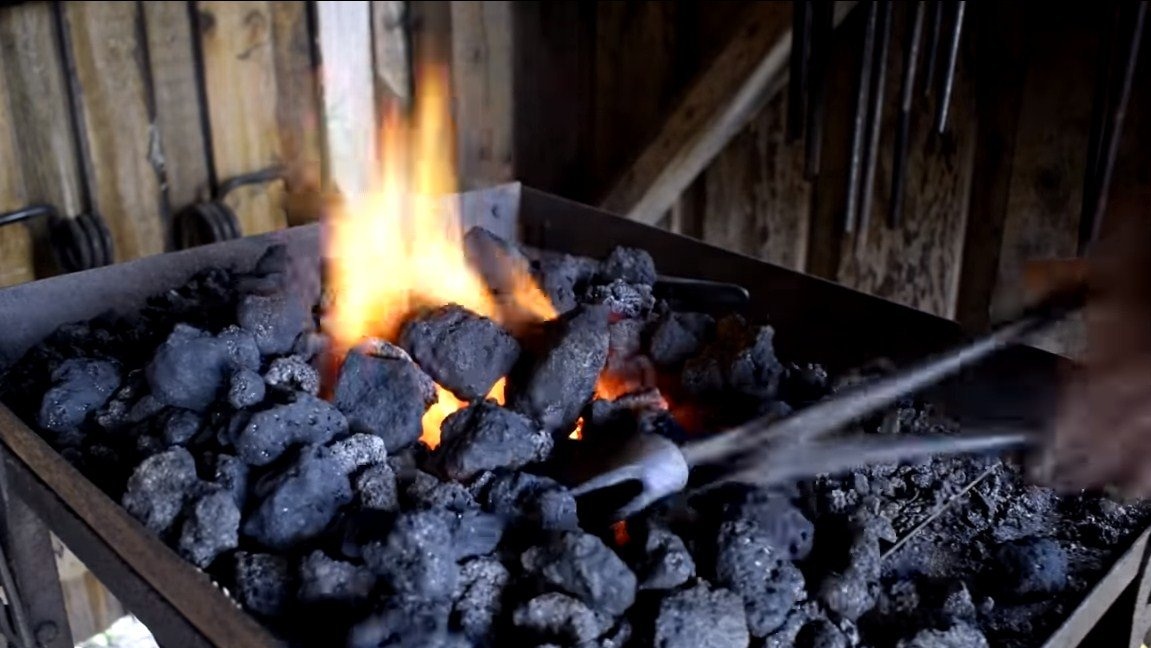
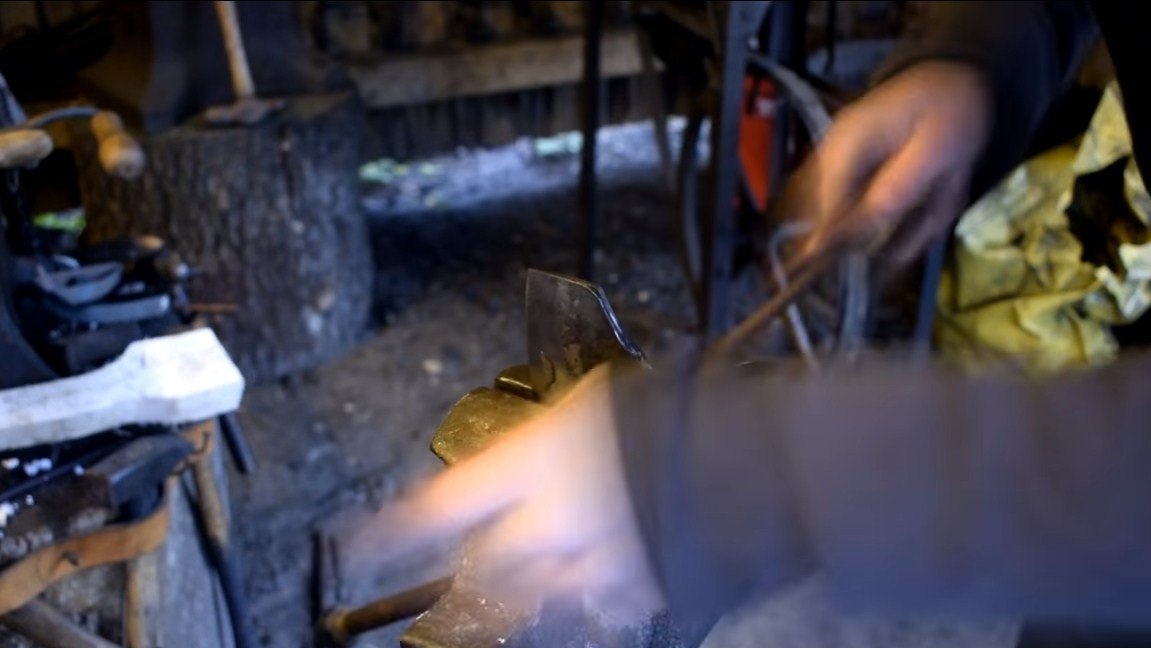
After grinding, we proceed to hardening; for starters, it is recommended to normalize the ax so that it does not lead during cooling. We heat the ax red-hot and let it cool on the coals near the fire. Then again we heat the ax and lower it into oil. For reliability, the ax can now be normalized again and hardened. If the procedures are performed correctly, the ax blade should not be taken with a file.
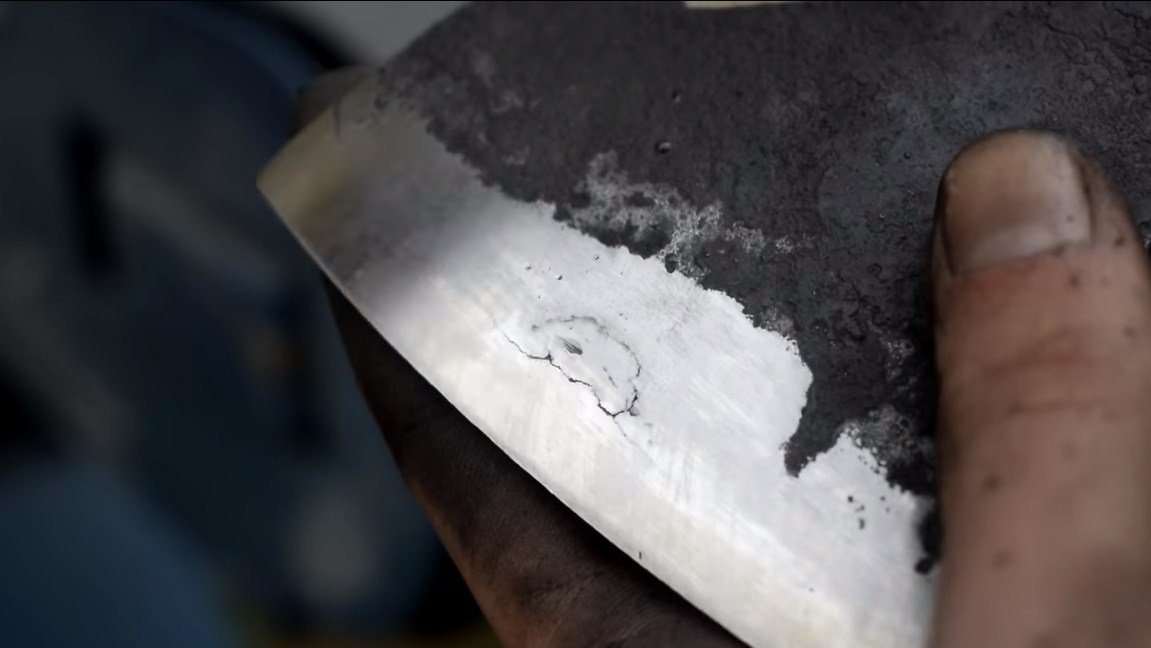
At the end, we again make light grinding of the ax. When grinding, the author discovered a defect that was formed as a result of the connection of metal layers. Of course, everything will be reliable, but seeing such a marriage is unpleasant.


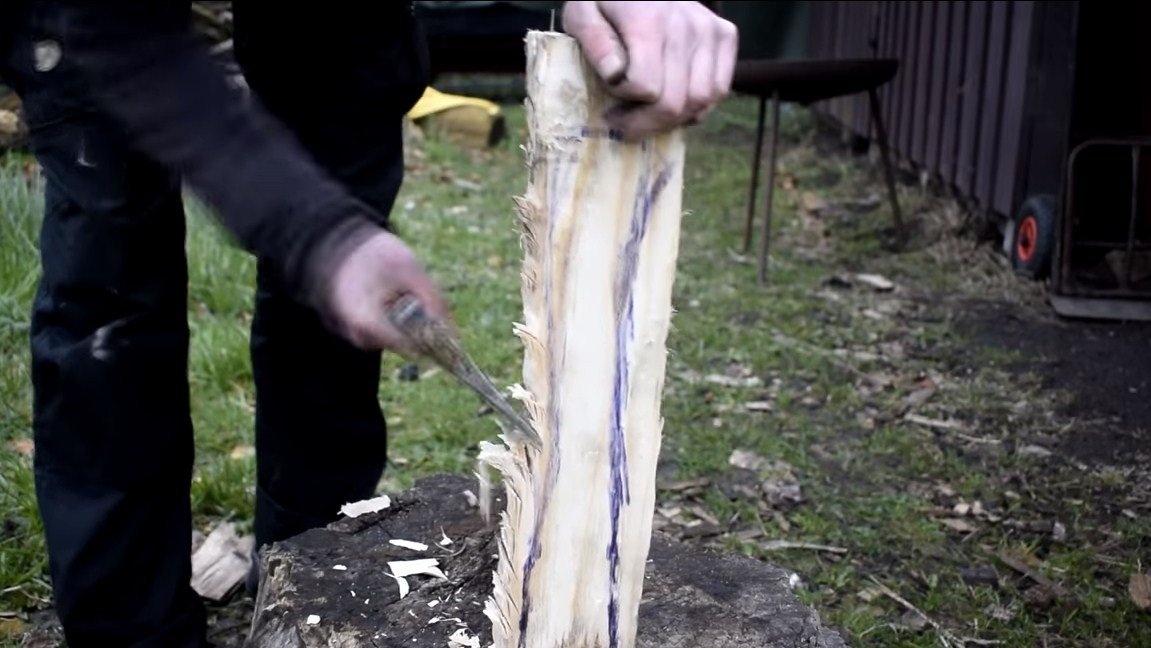
Step Three Ax making
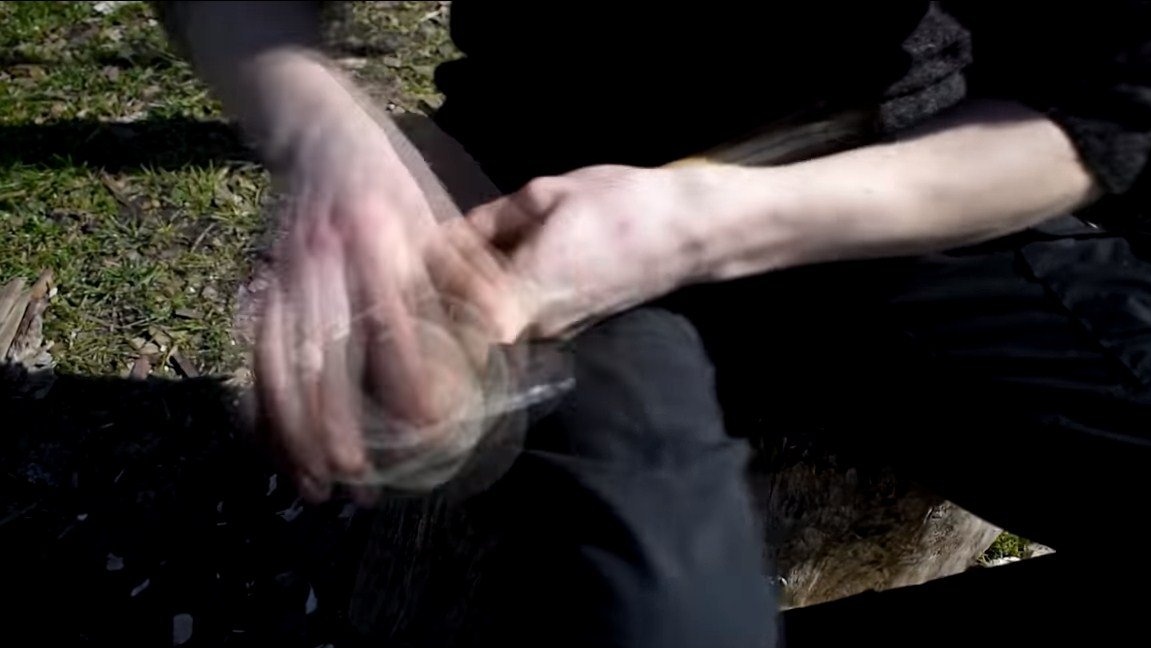
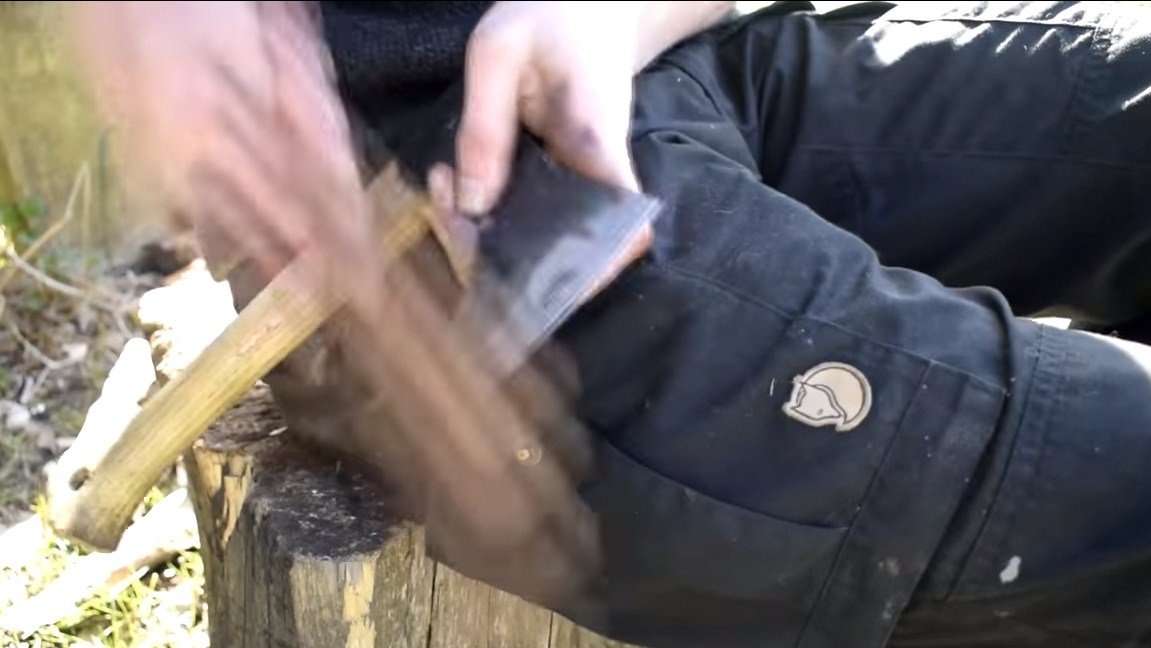
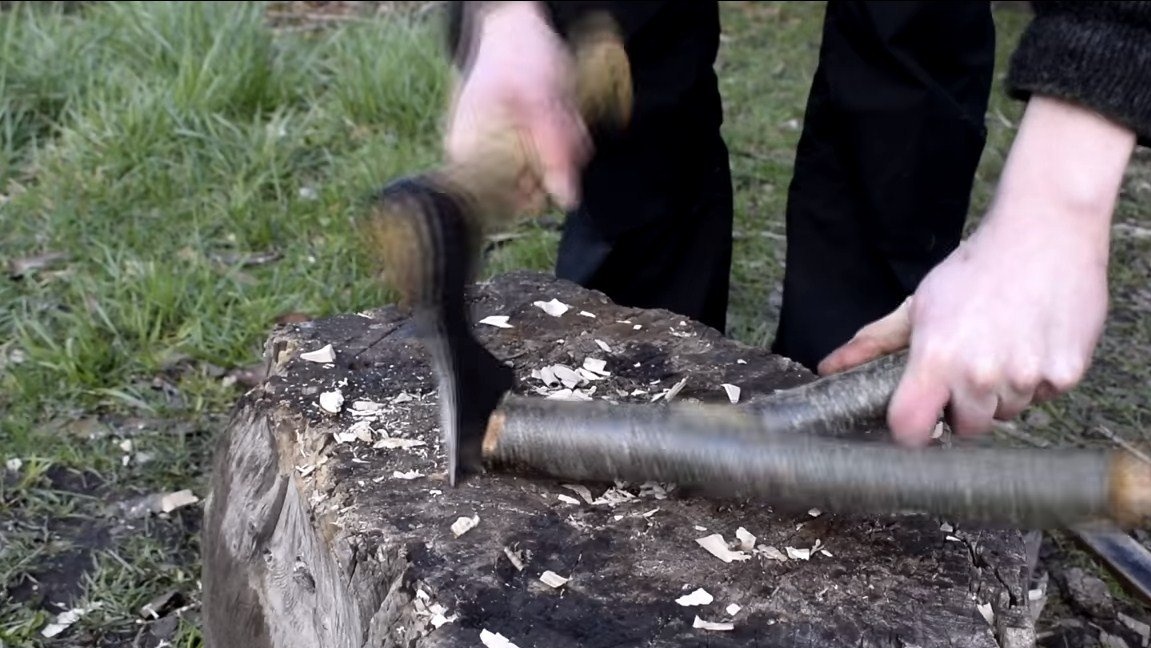
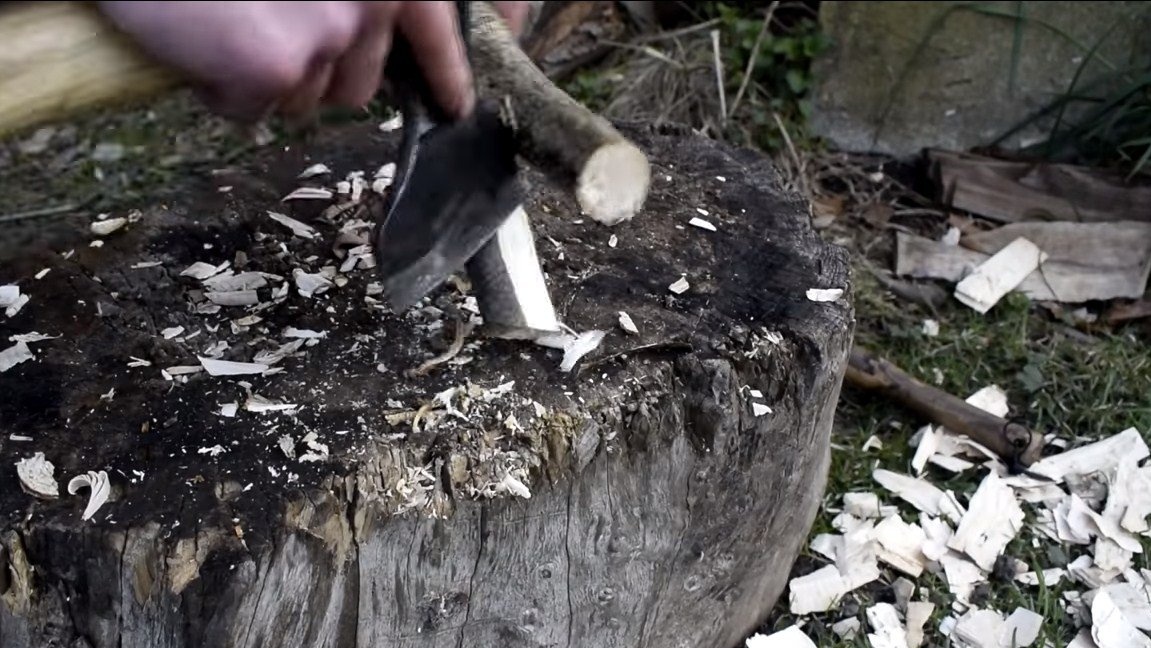
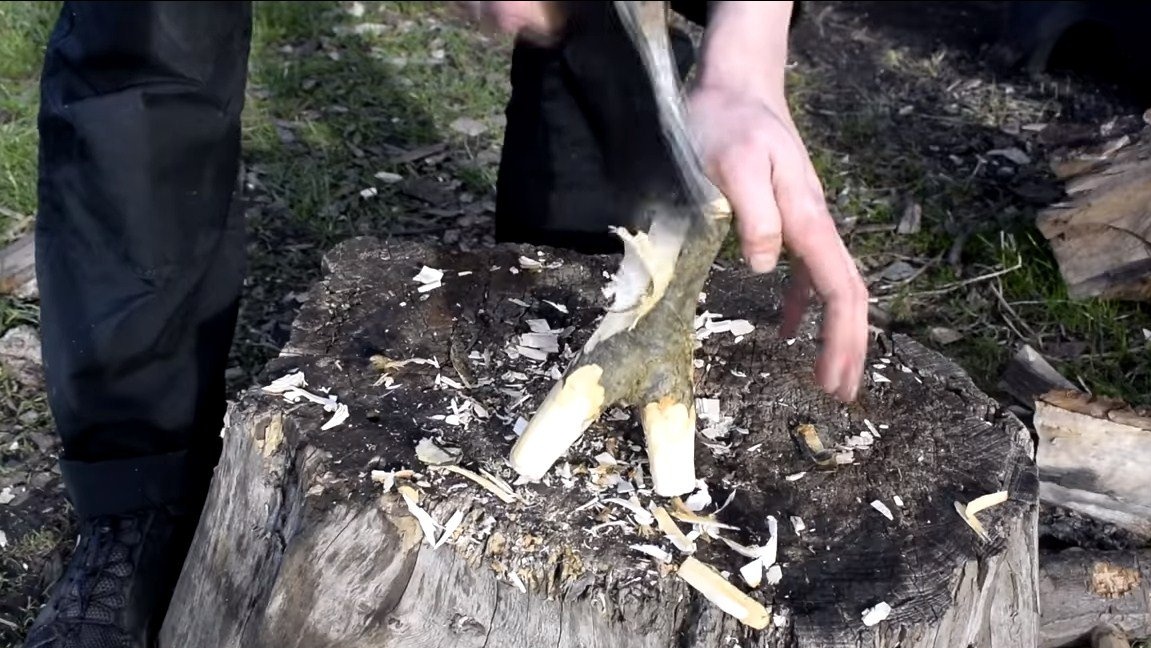
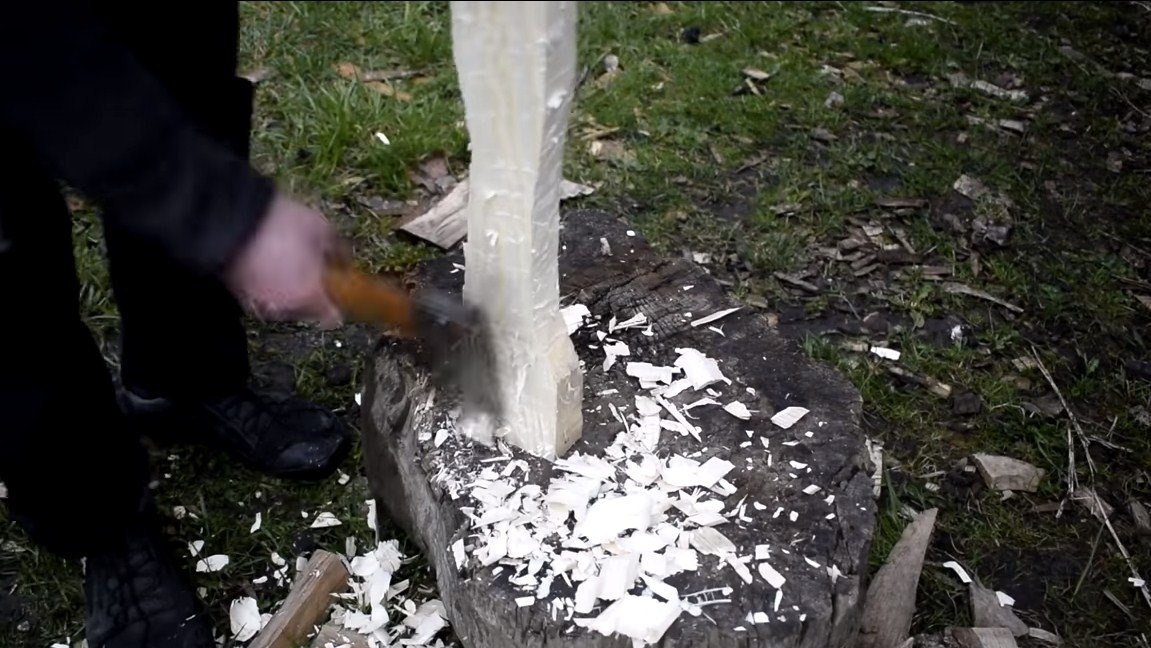
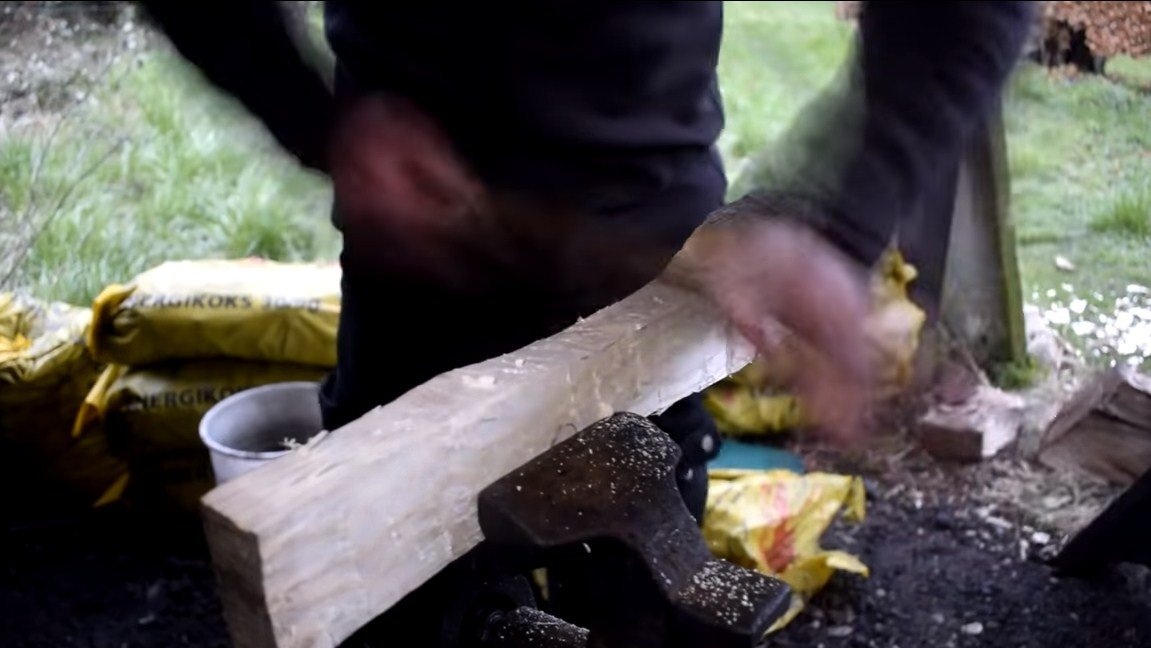
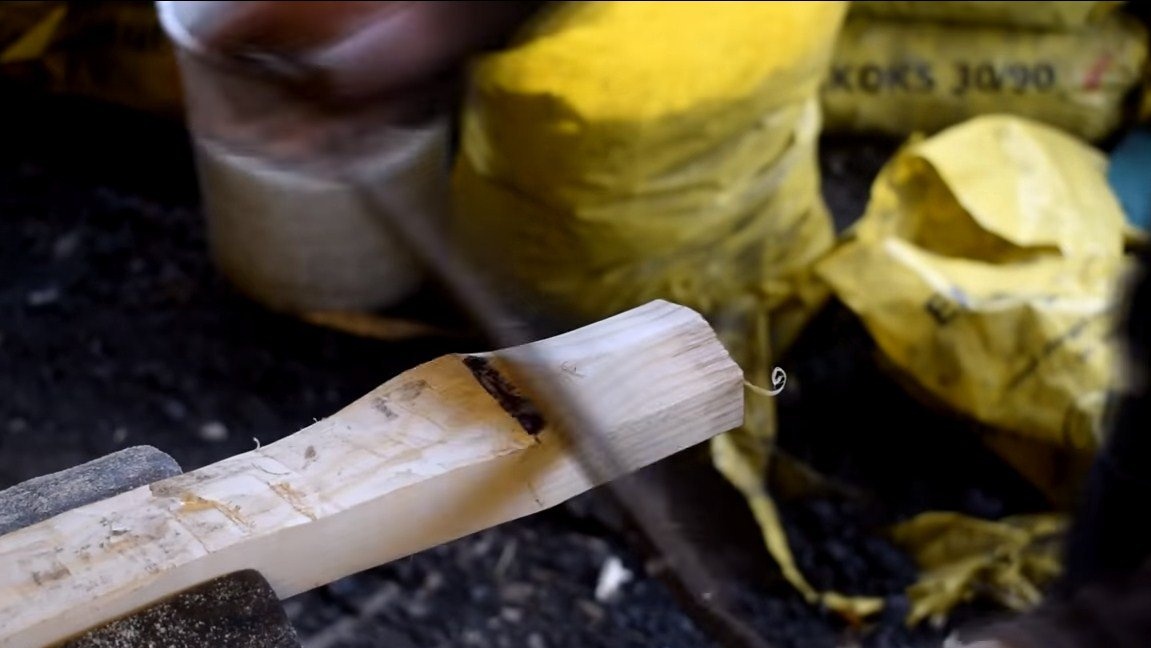
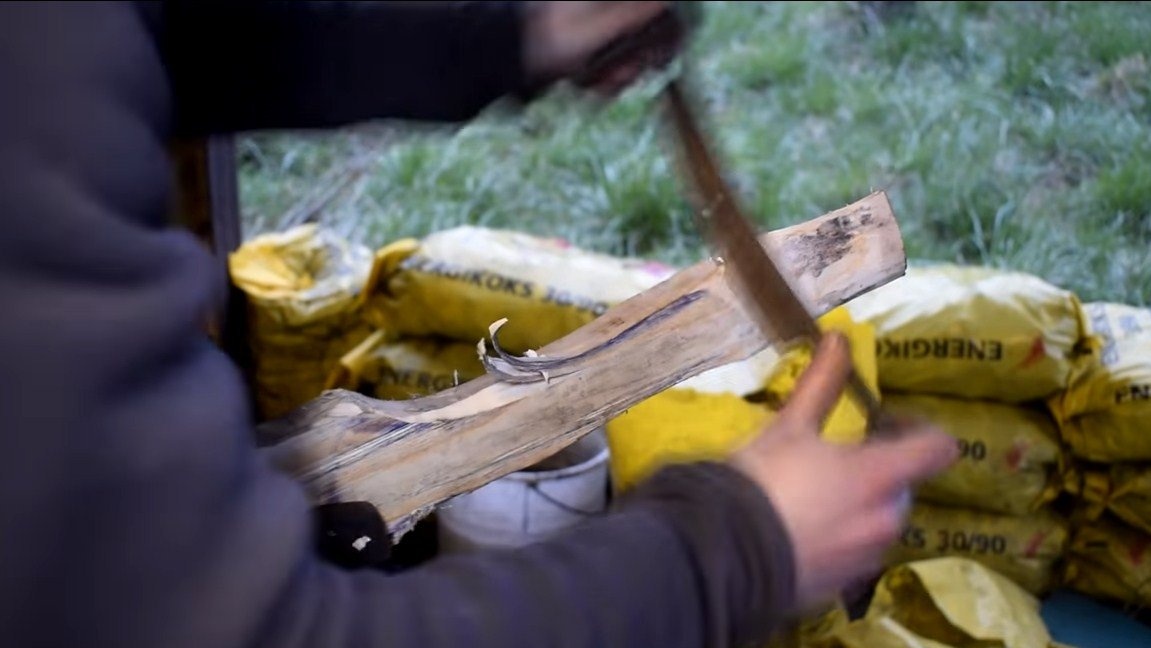
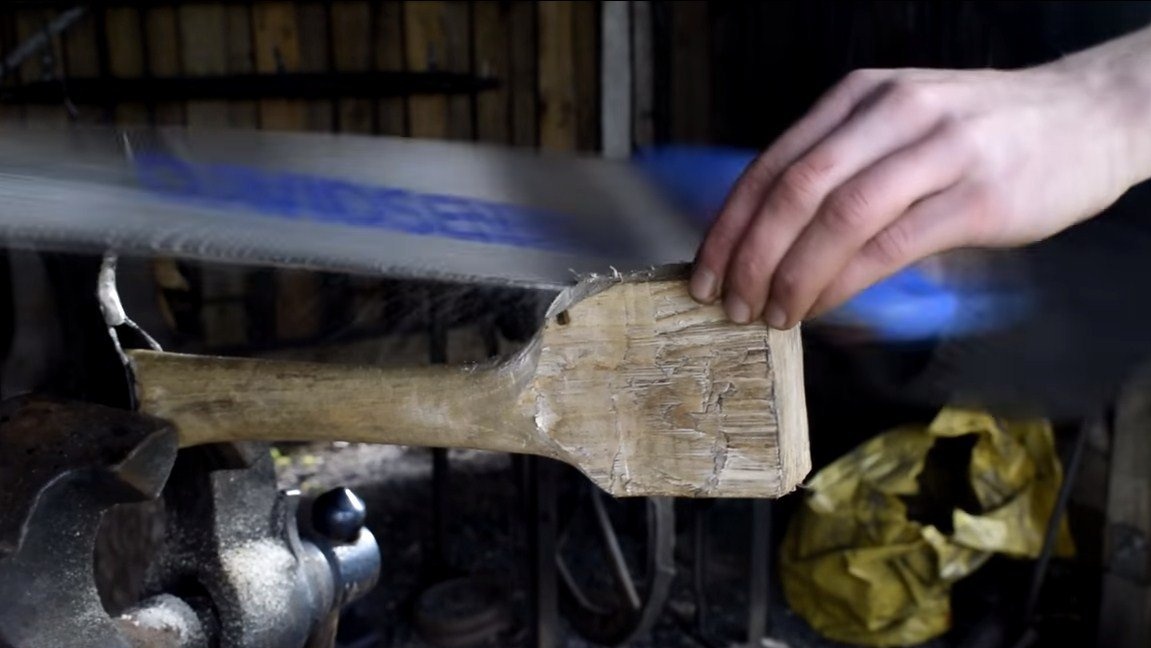
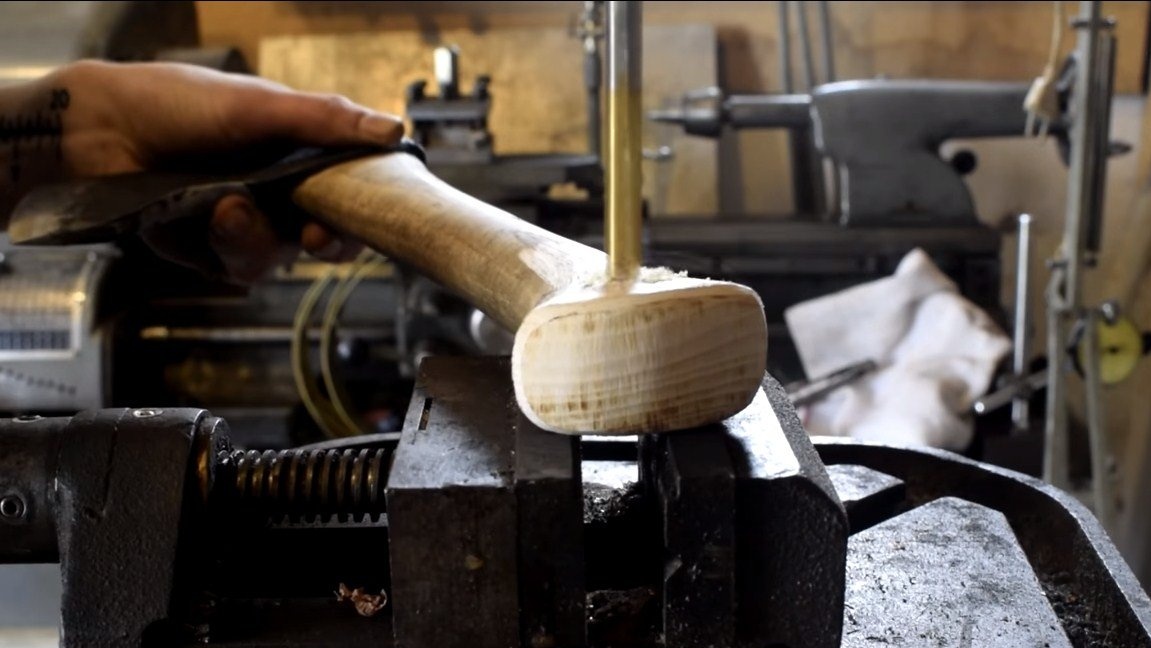
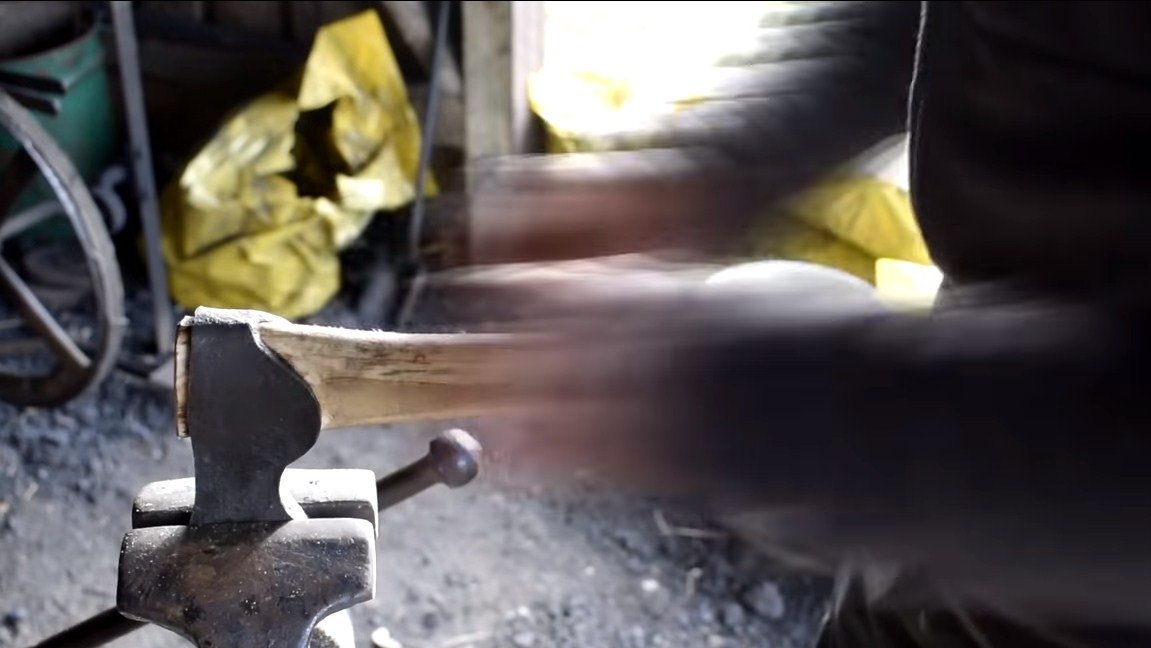
We take a suitable beam and draw an ax. Linden, birch and other species are suitable as wood. Such rocks are easy to process and can cope with the loads. The author carries out rough work with an hatchet, just shrinking the excess wood. Further it is already possible to work with rasps and other tools on wood. Well, the final processing is done with sandpaper.

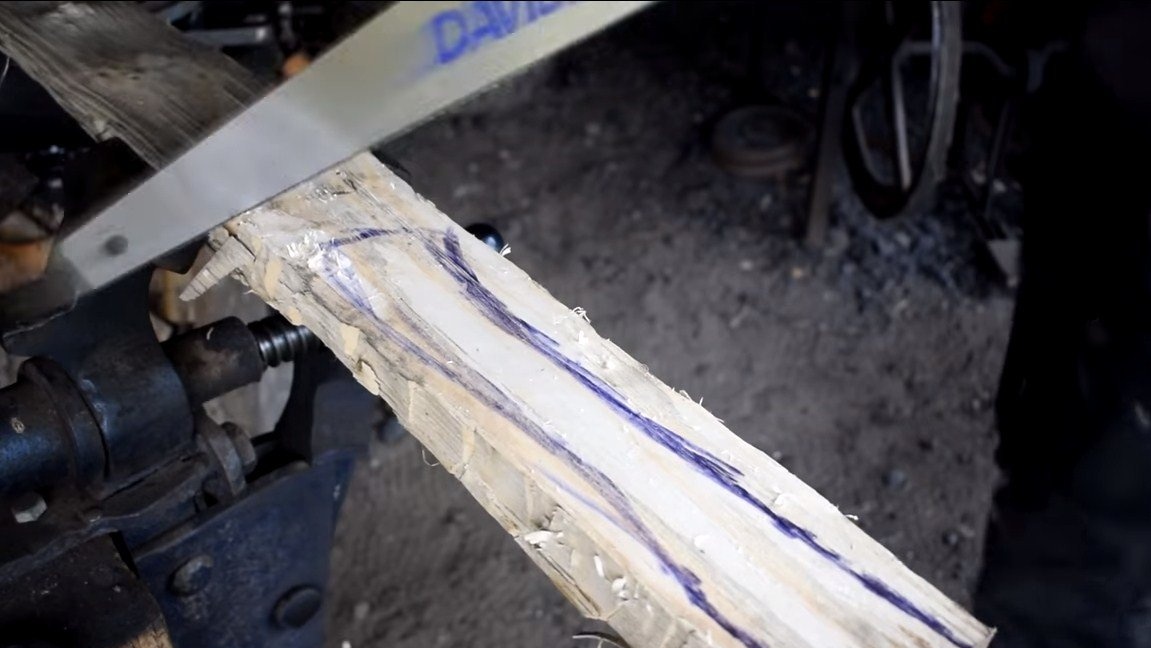
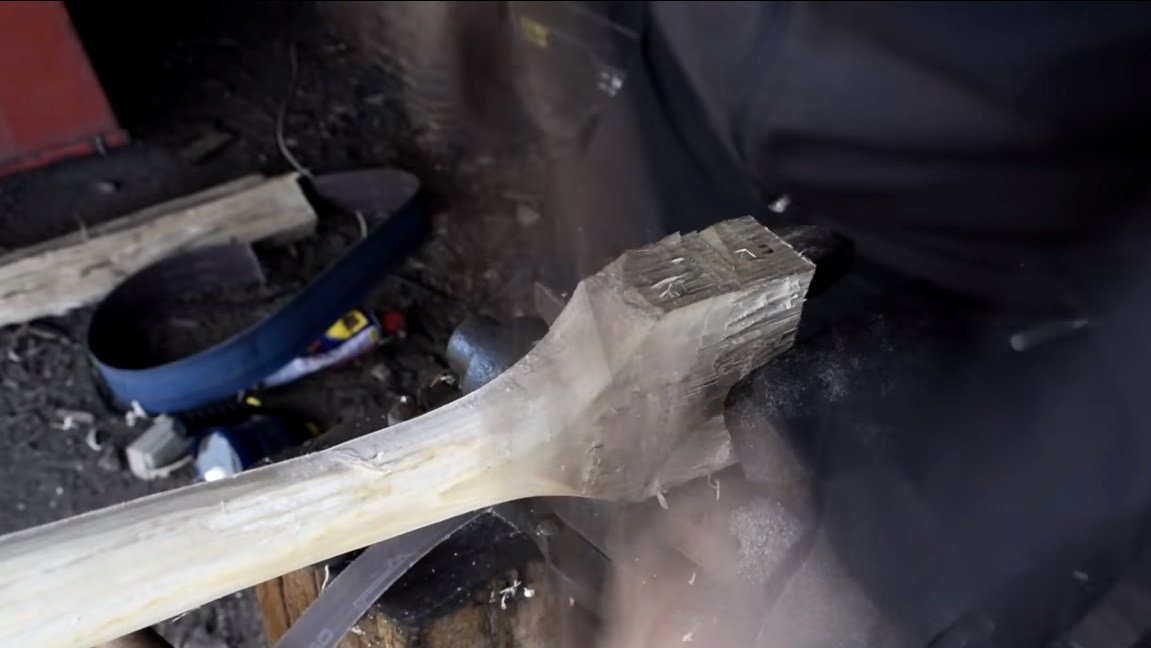

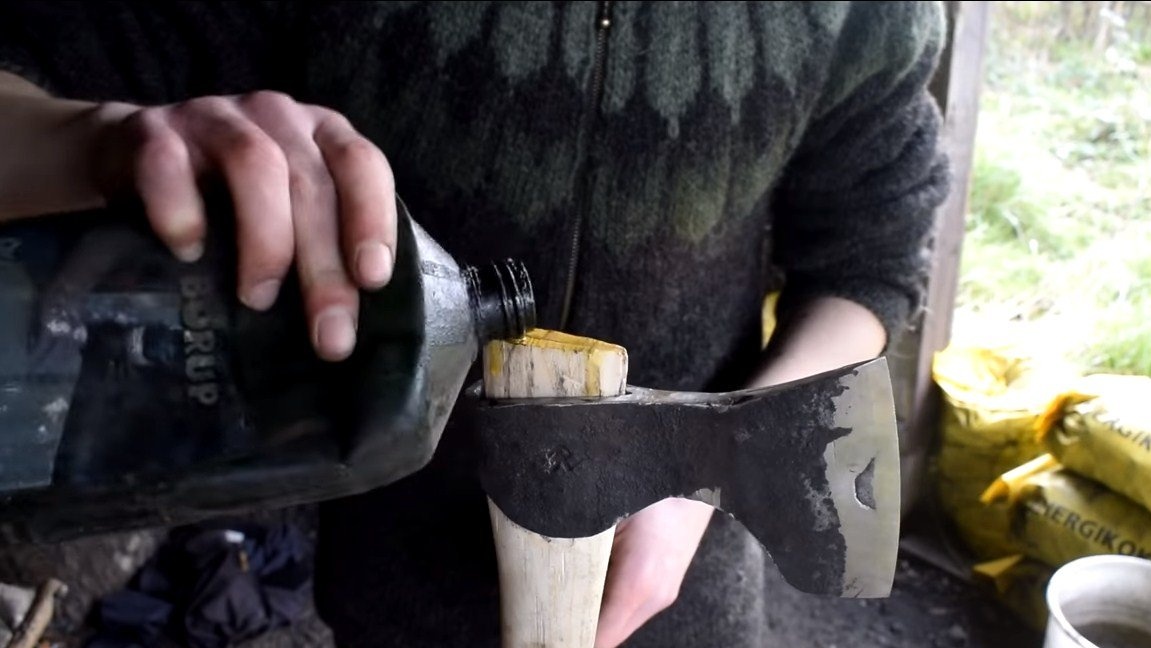
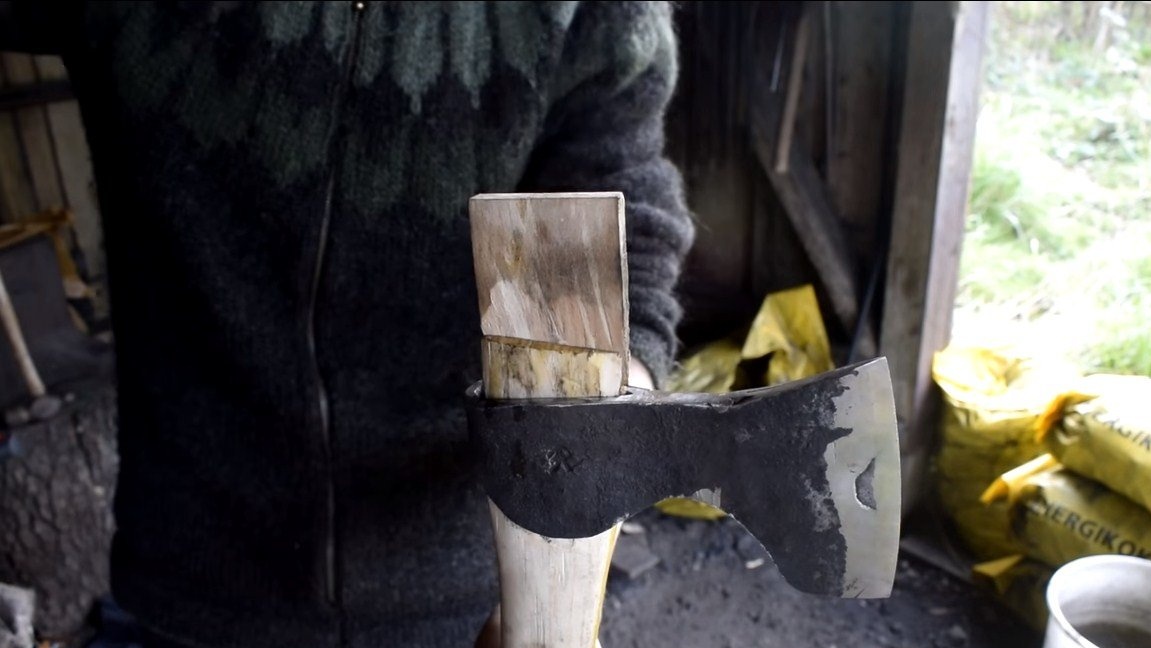
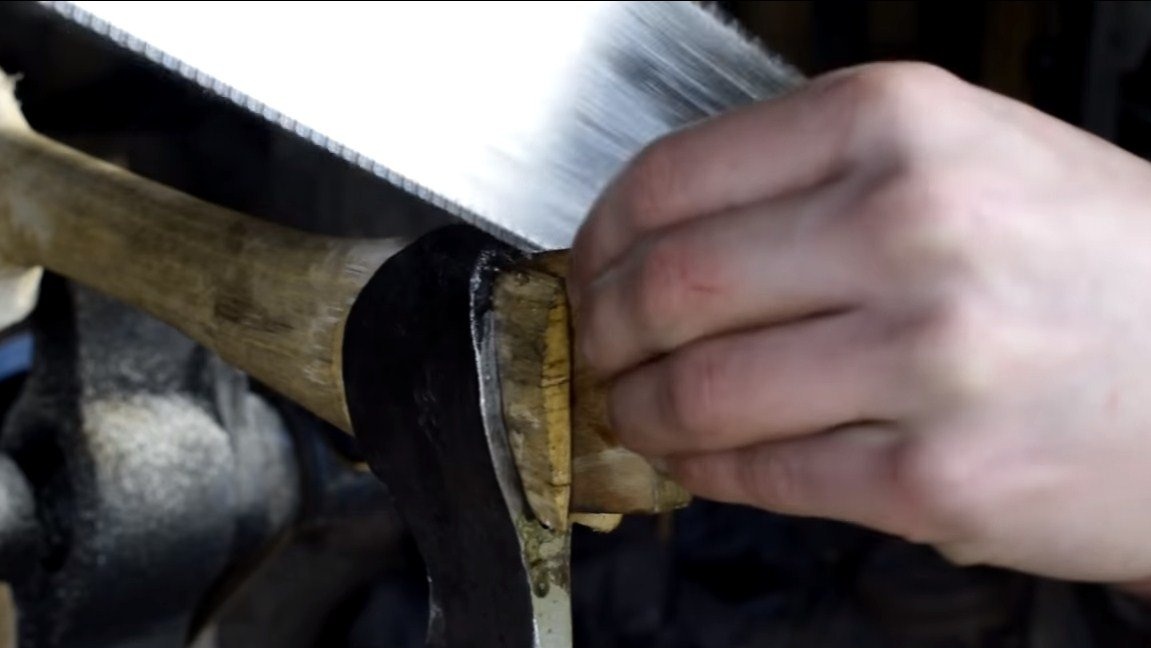

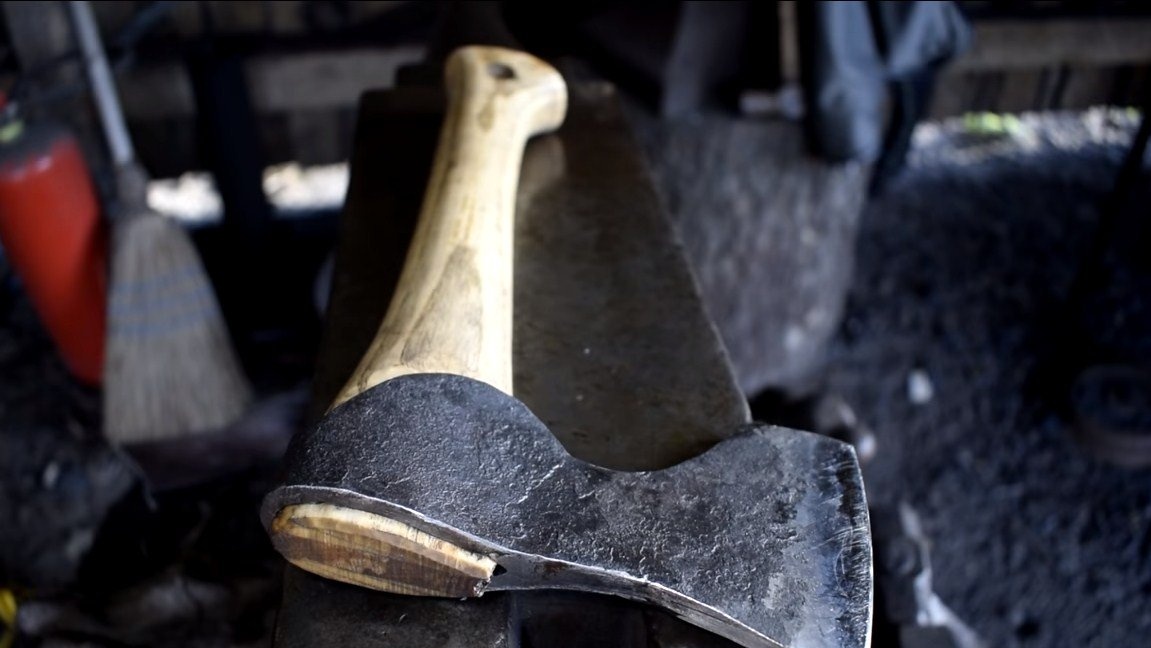
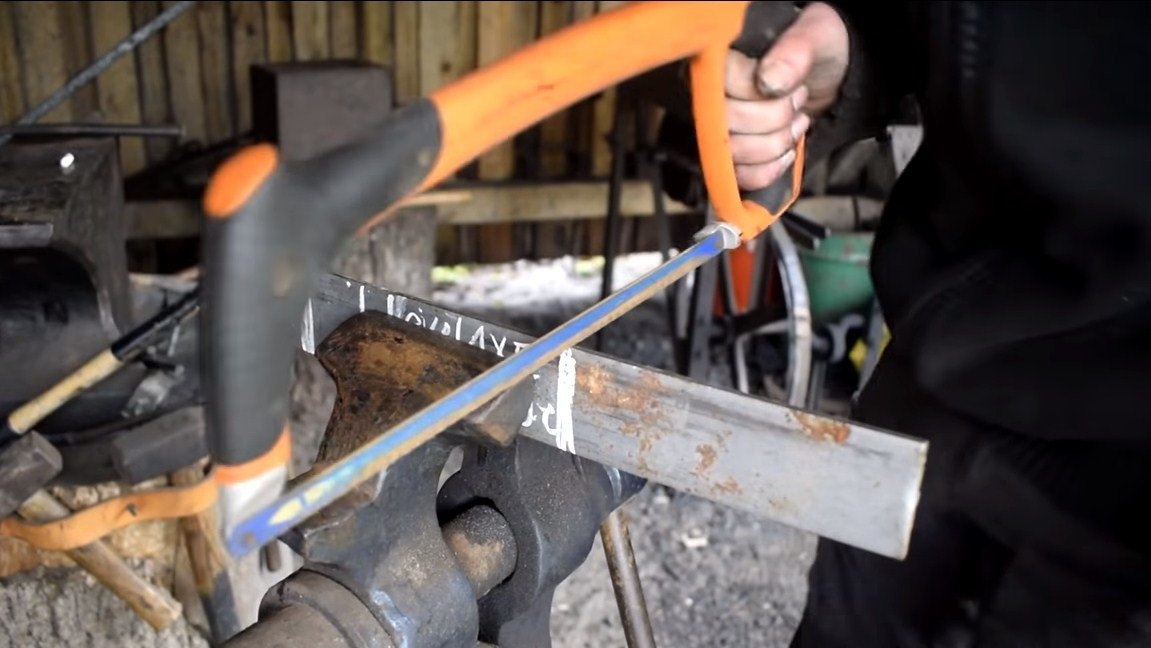
When the ax is almost ready, you need to put an ax on it, we make a hole in the ax under the wedge with a hacksaw. After installing the ax, we wedge the ax with a wooden wedge using glue, everything should hold tight in the end. We cut and grind the excess so that everything looks neat.
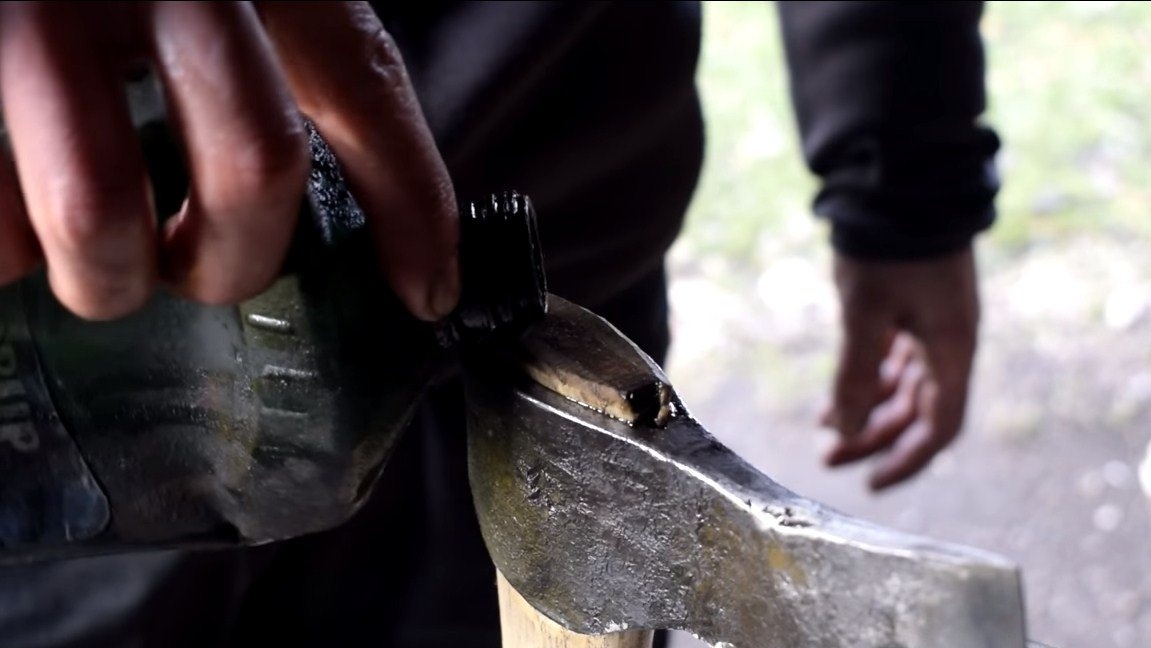
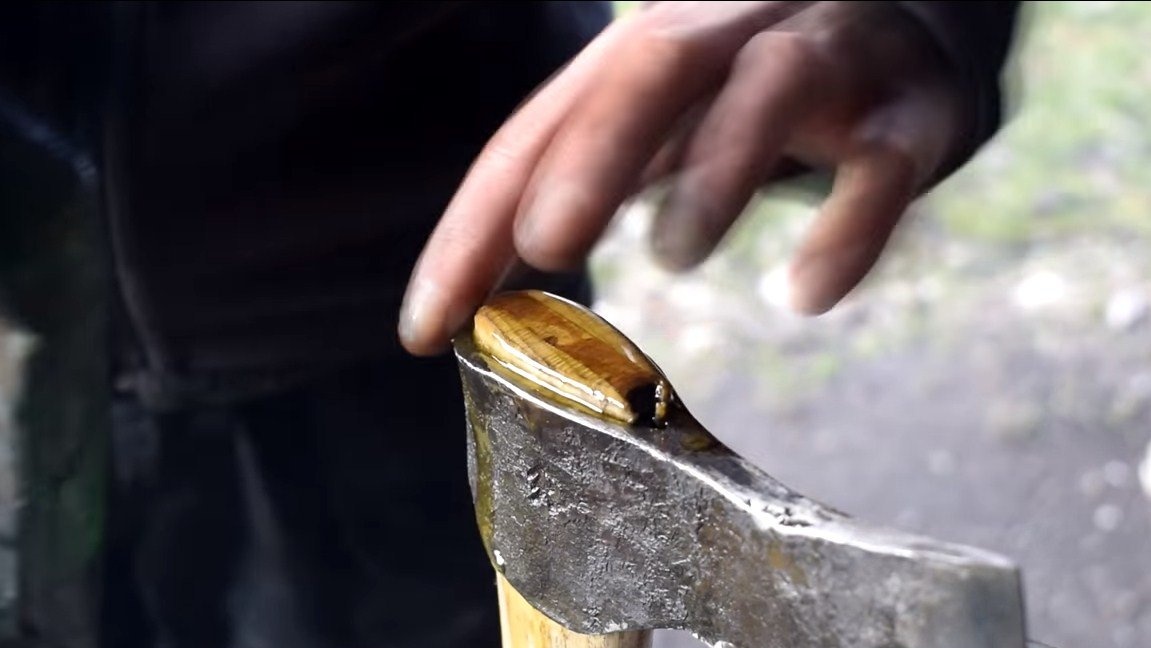
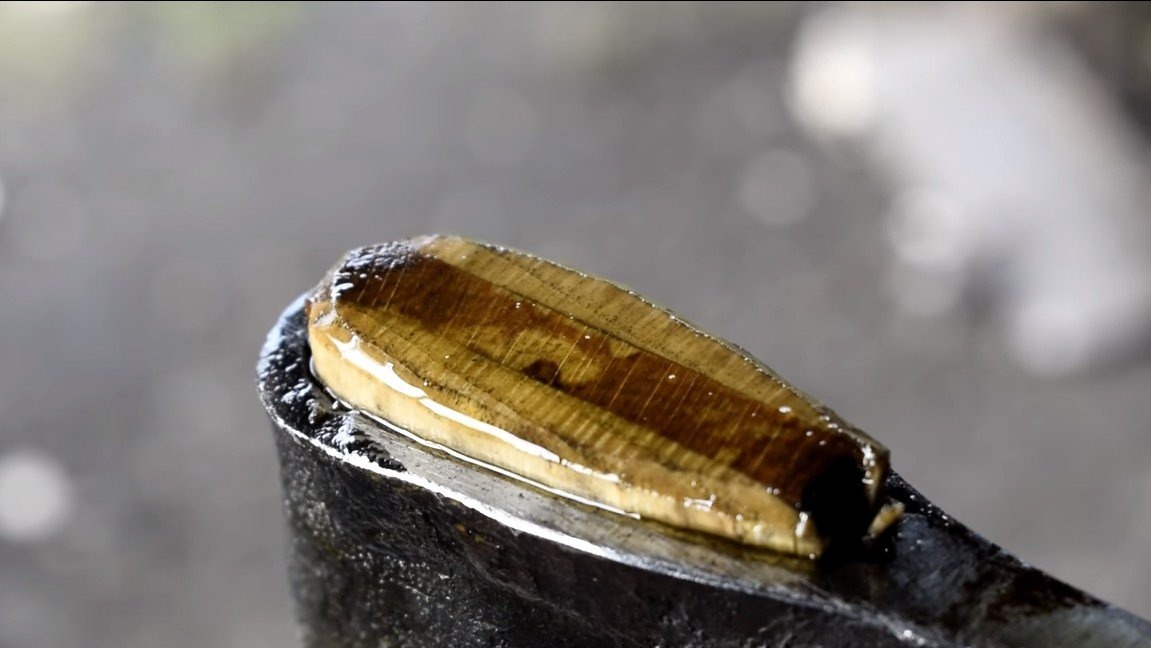
Step Four Final processing and testing
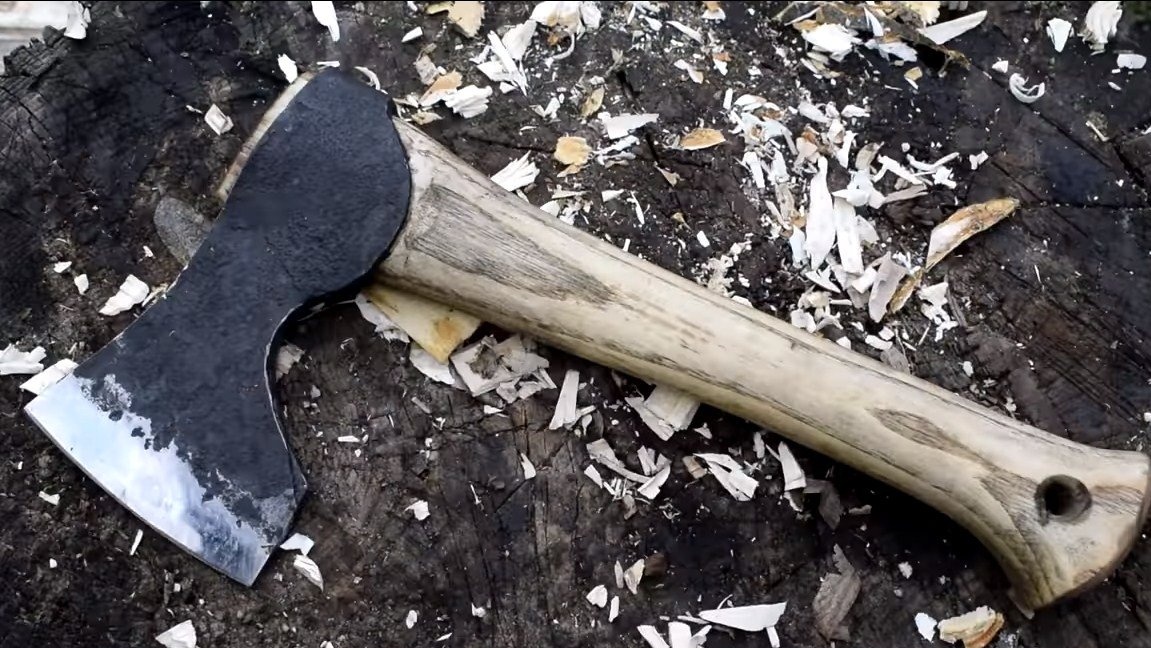
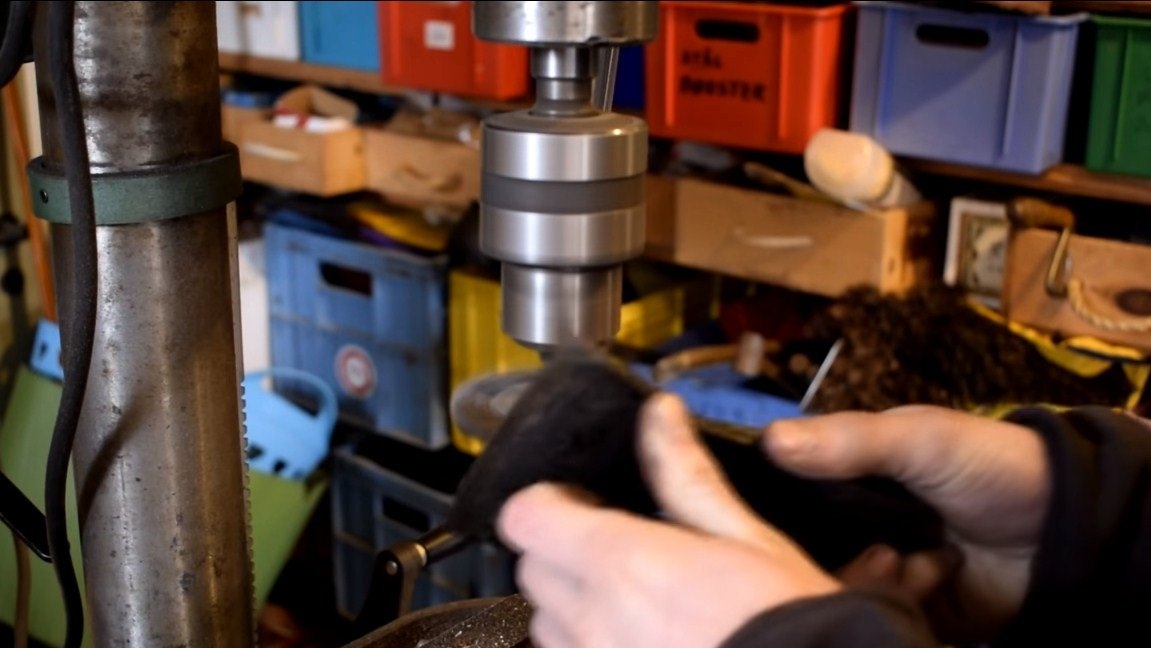
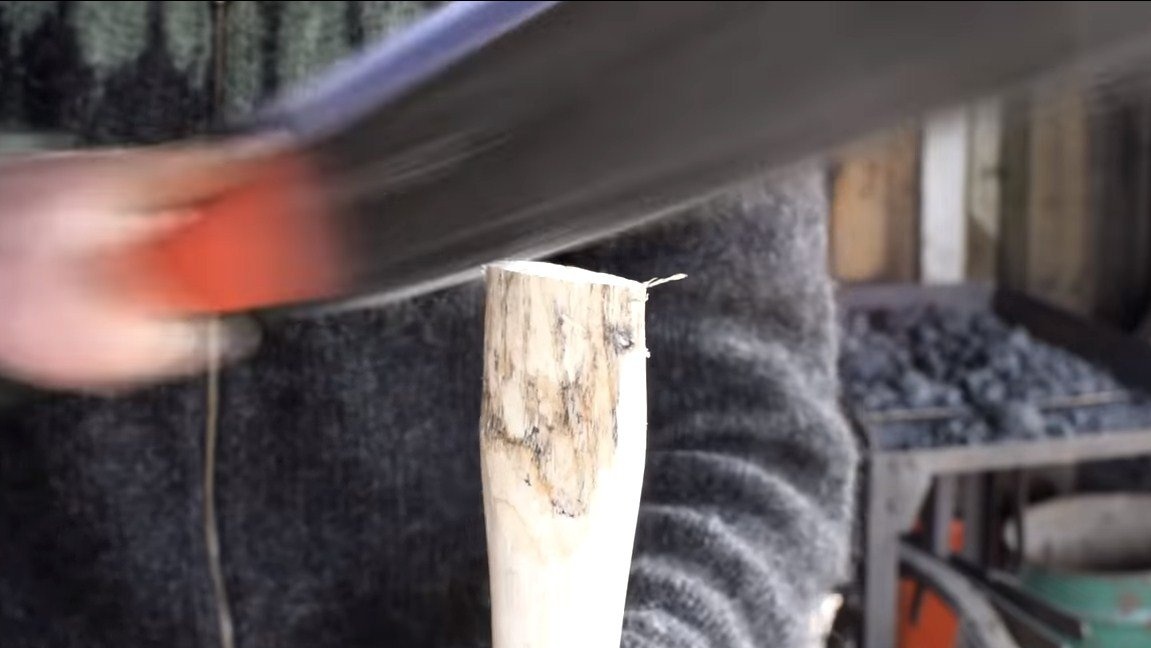
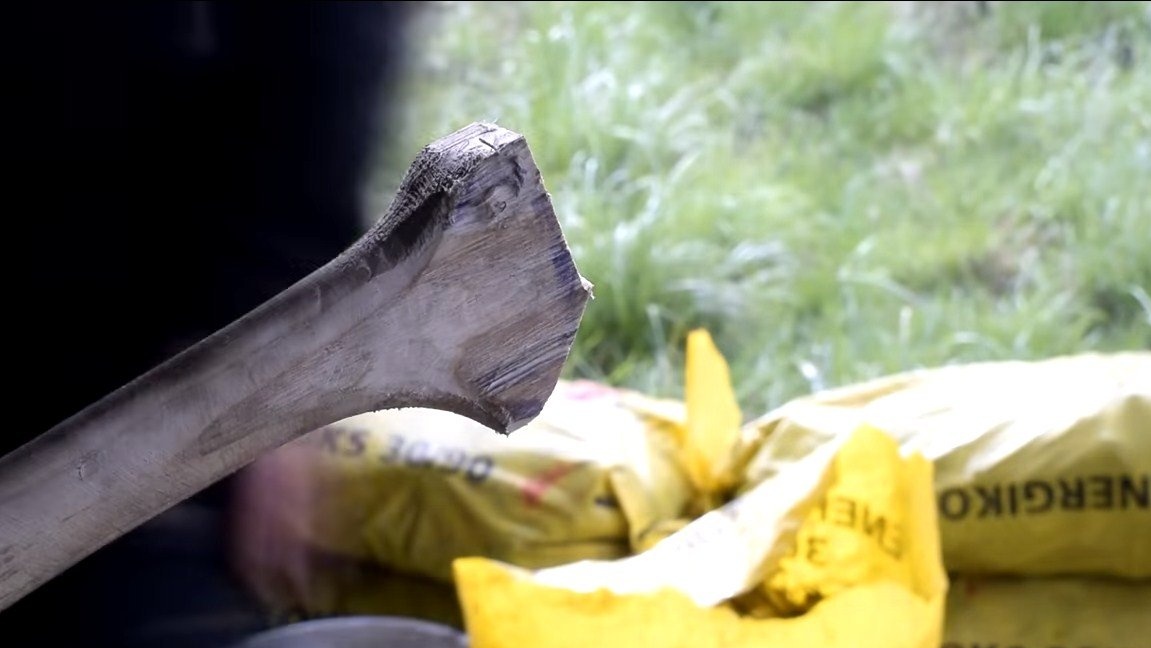
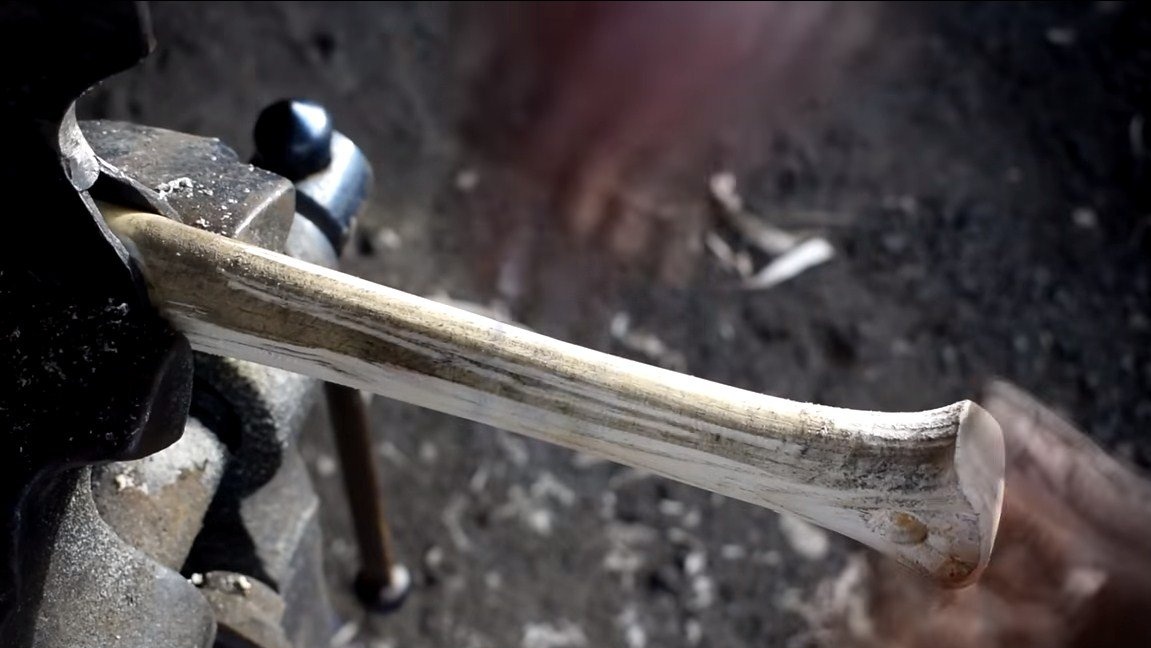
We finish the ax, we need to cut off its lower part, here the author drills a hole. We carefully grind the lower part on a tape machine, and process the entire ax with fine sandpaper to make the handle smooth. When the ax is finished, the tree is saturated with oil, the tree will look beautiful and will be protected from moisture.
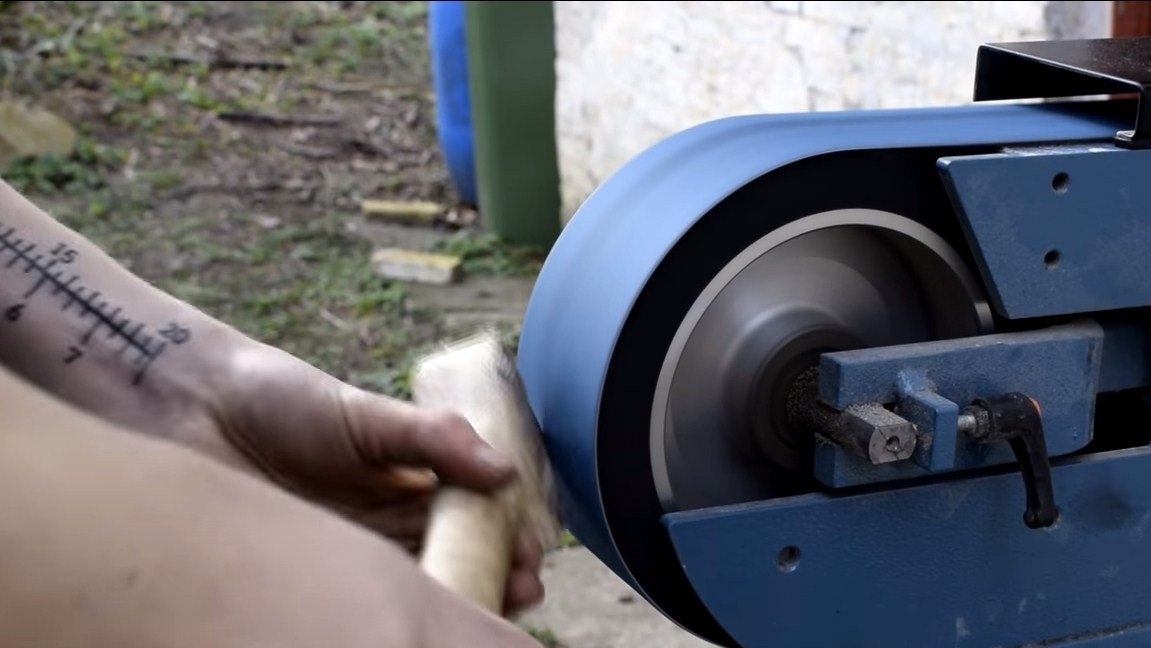
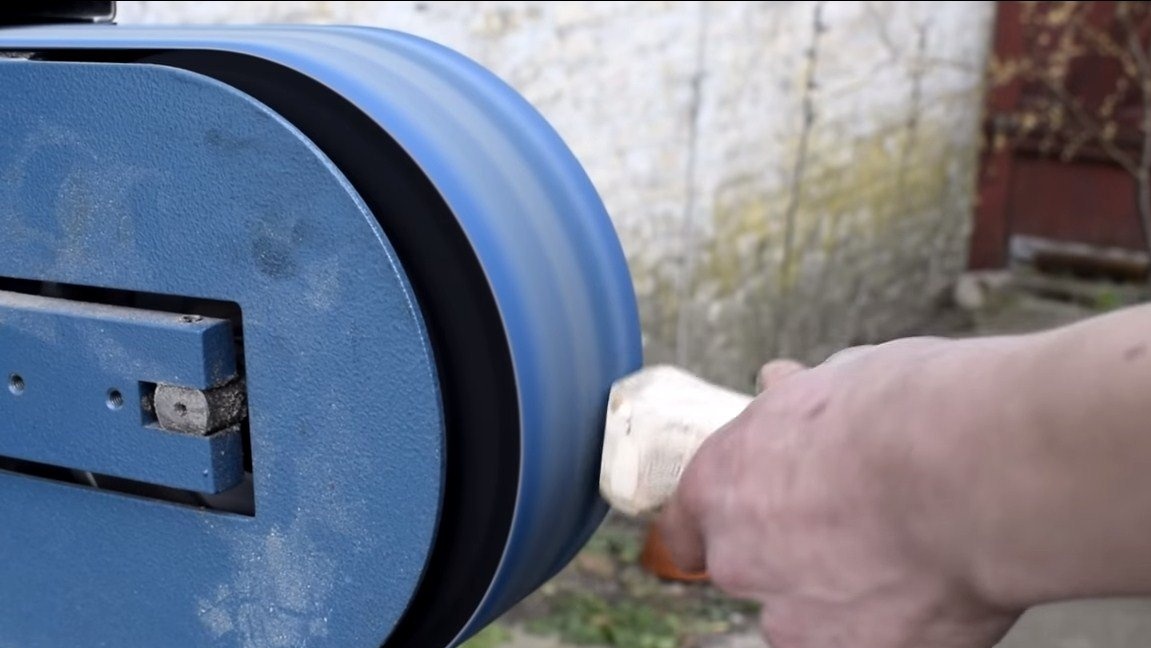

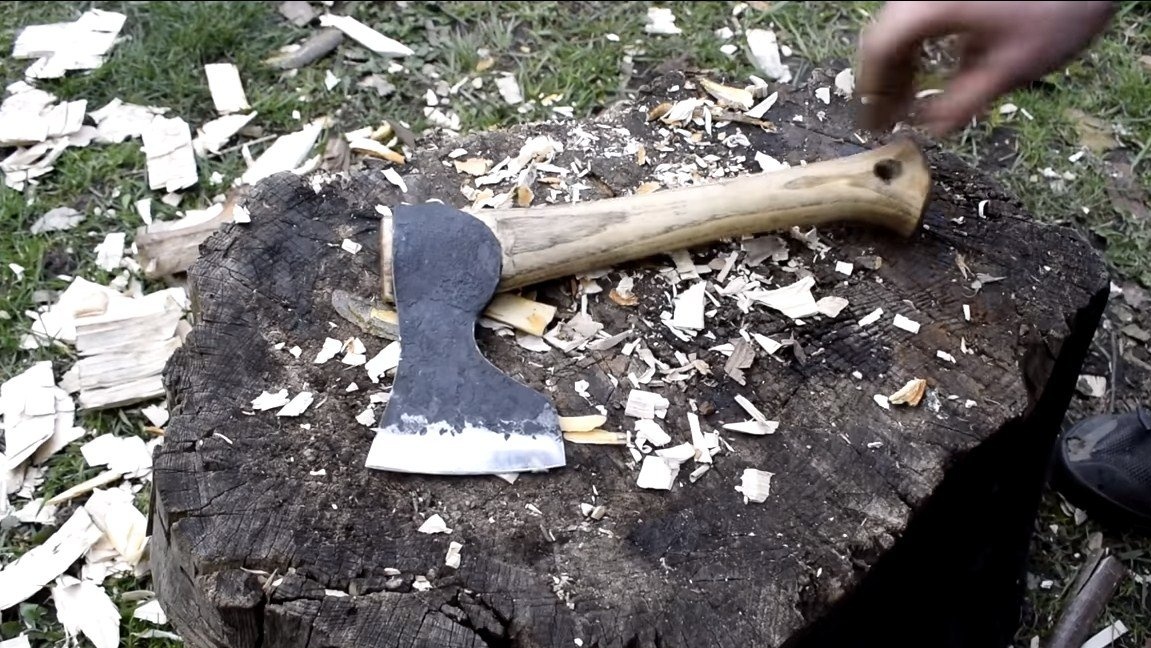
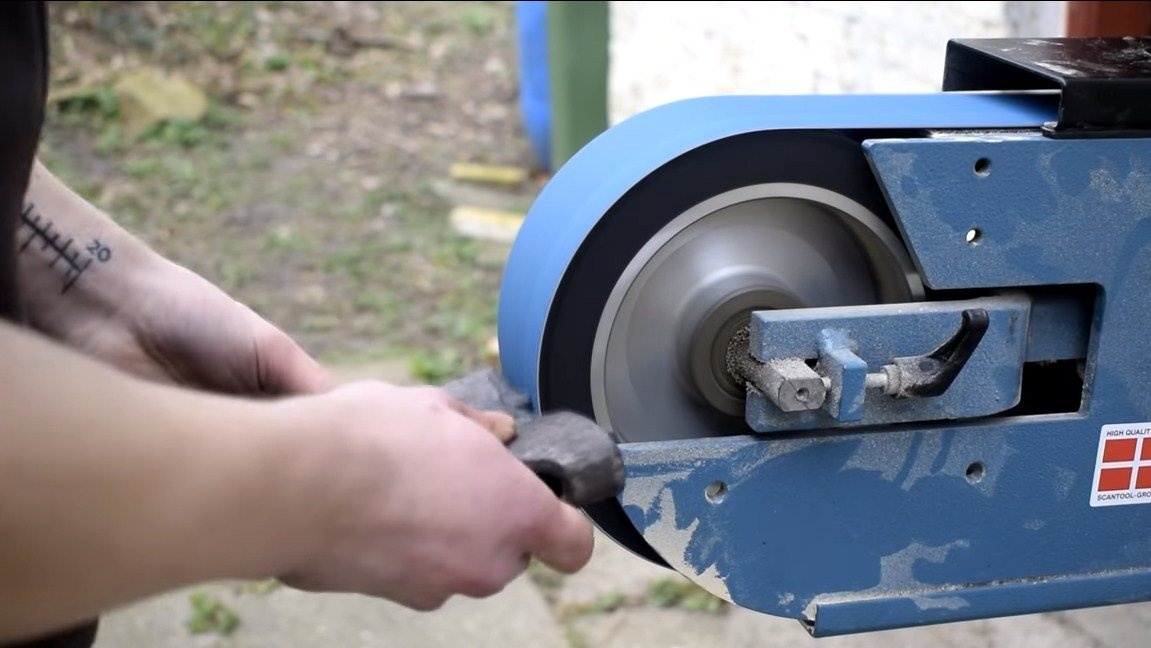
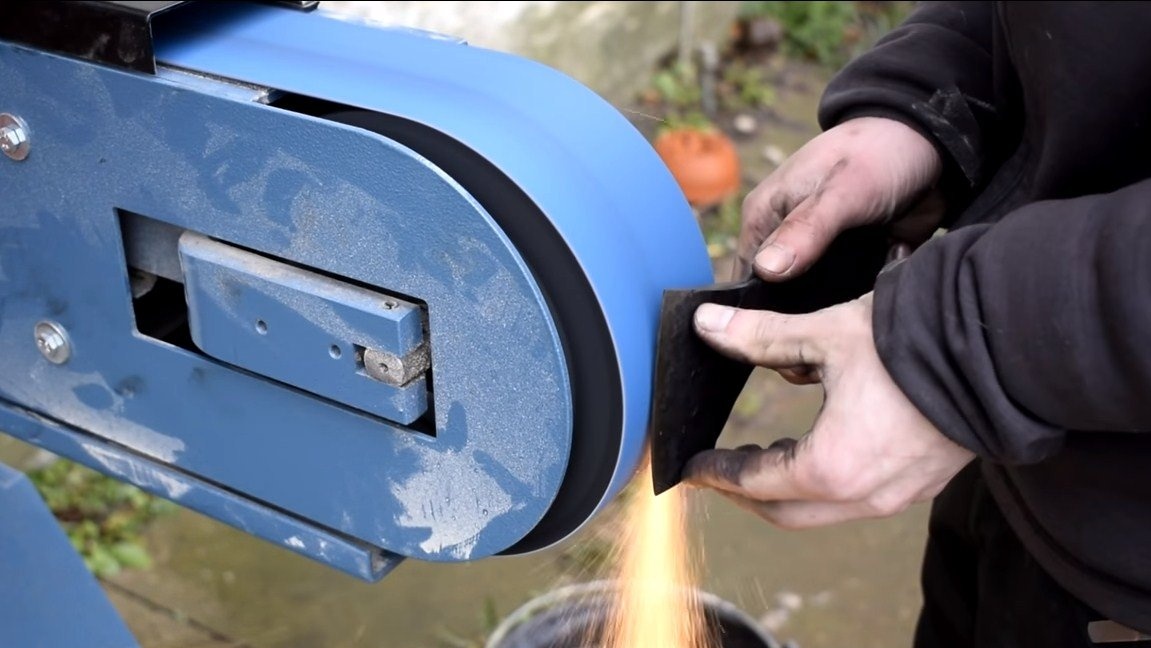
You can start sharpening the ax blade. Primary sharpening is carried out on a belt sander. The author gradually reduces the grain size on the machine in order to achieve the desired degree of sharpening. The author makes the thinnest sharpening by hand with grindstones.
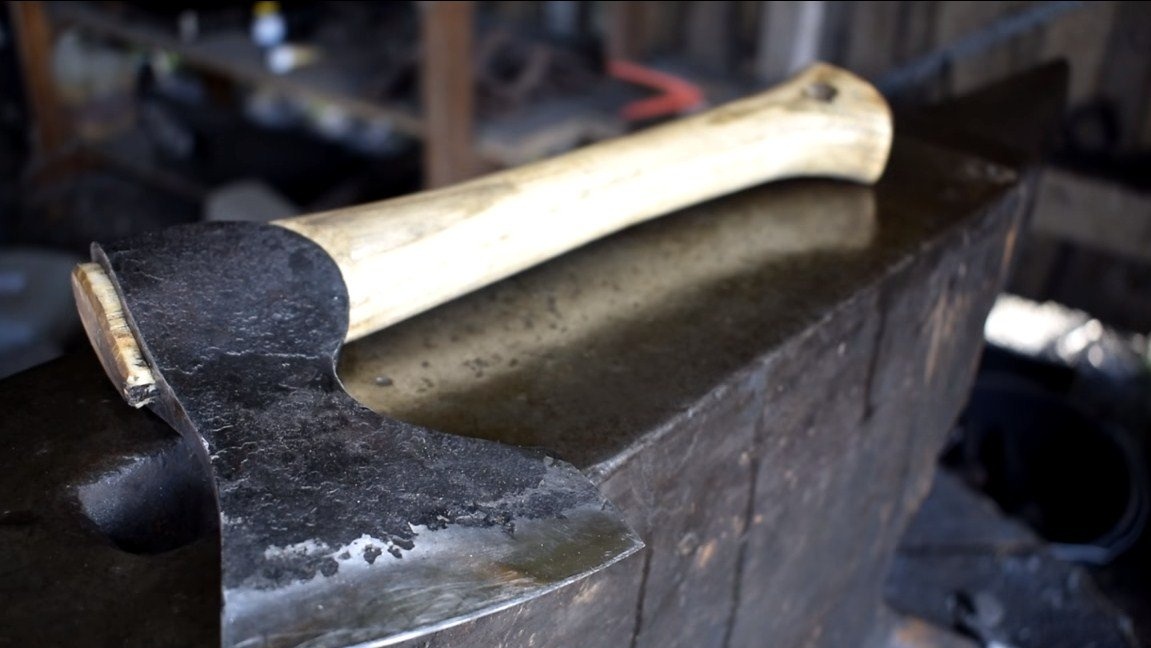
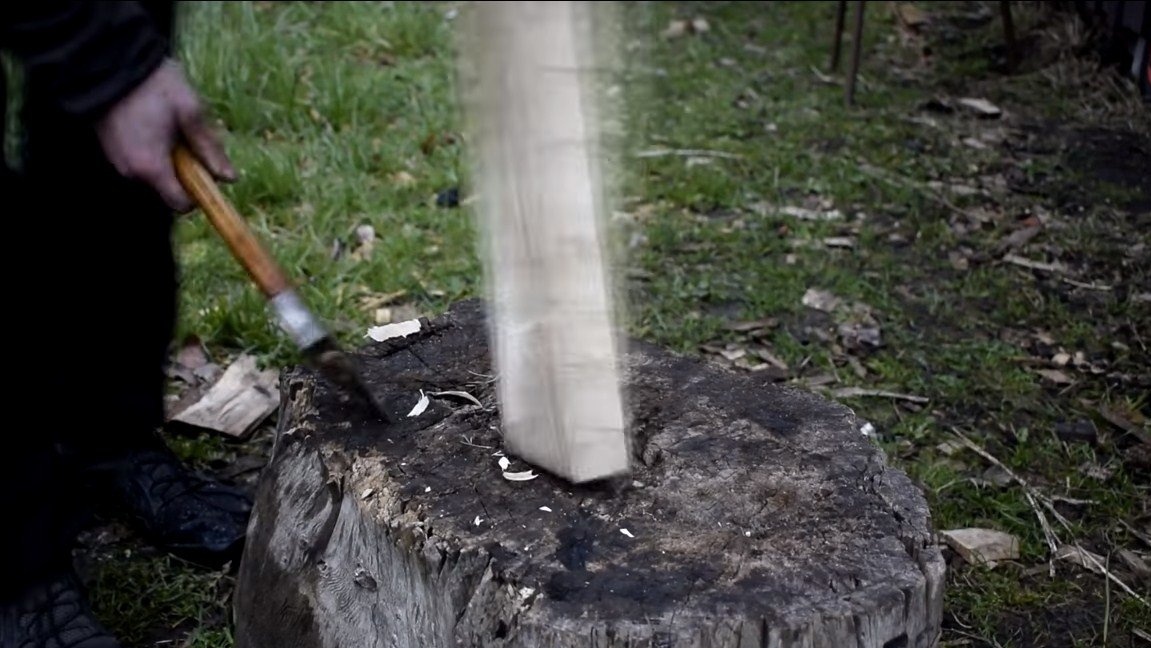
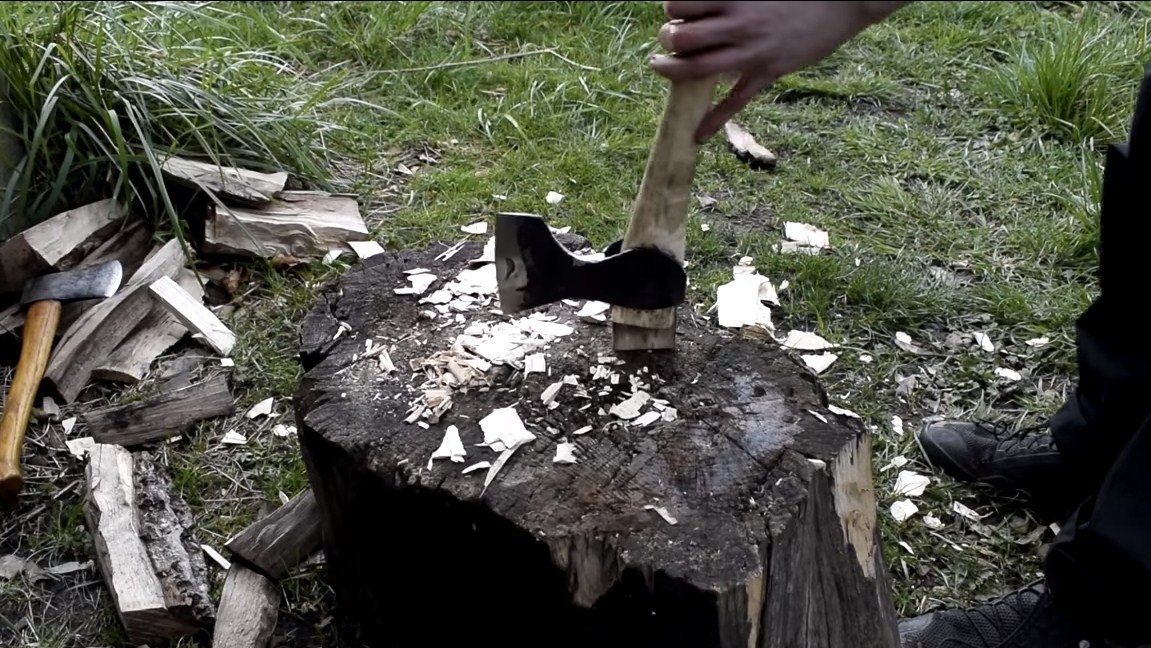
The ax is ready, you can test. He chopped an ax wonderfully, the author was able to make a slingshot of a branch in a fairly short time and went hunting. With such an ax it will be convenient to remove the bark, sharpen sticks and perform other similar work. On this project can be considered successfully completed. I hope you enjoyed the homemade work and found useful thoughts, good luck and creative inspiration for yourself if you decide to repeat this. Do not forget to share with us your ideas and homemade products.