Your children are very fond of Lego, but are indifferent to electronic designers like "Expert" or Soviet "Electronic cubes "? Or, maybe, on the contrary? Thanks to the proposed homemade by Instructables, under the nickname zakbobdop, they come to the conclusion that both can be interesting. Especially if you combine them.
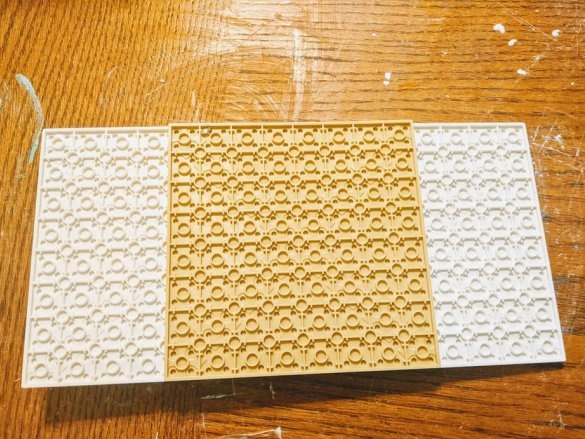
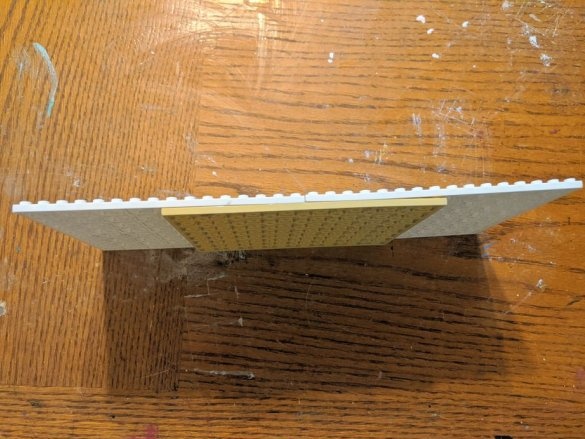
There are Lego kits designed to build not certain models, but everything that comes to mind. Usually this is a box into which parts are scattered in bulk. And often there are rectangular bases. The master takes three of these bases and combines them into one large one, as shown below. You can even glue it - you don’t need to disassemble them anymore.
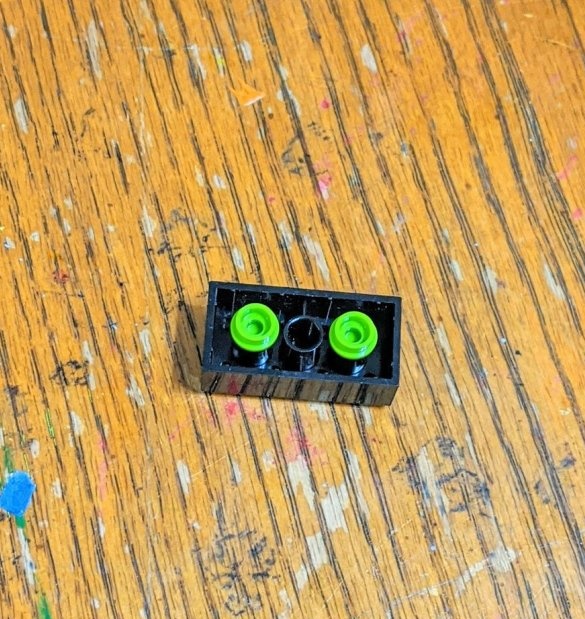
The master assembles such a design in which small cylindrical parts serve as conductors for drilling holes in a large rectangular one:
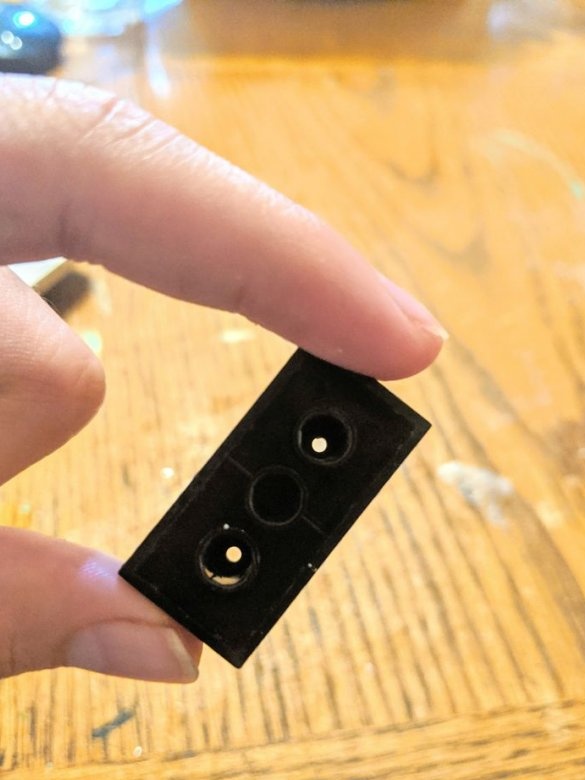
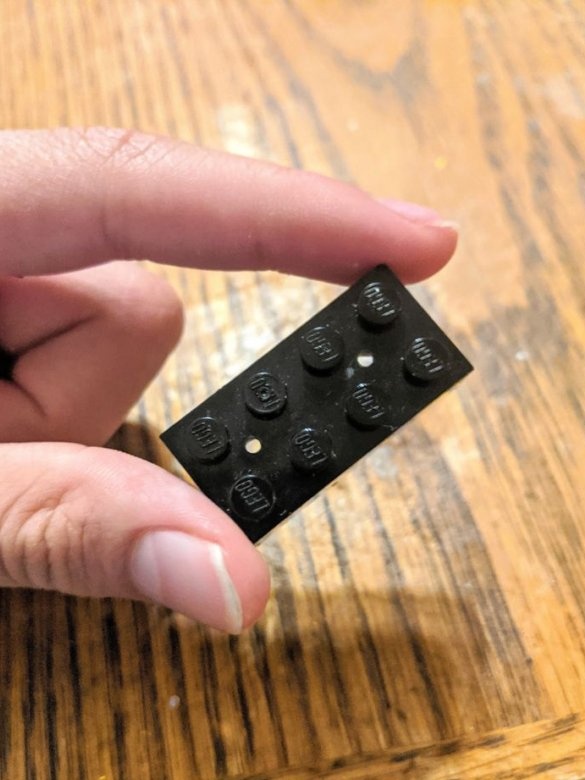
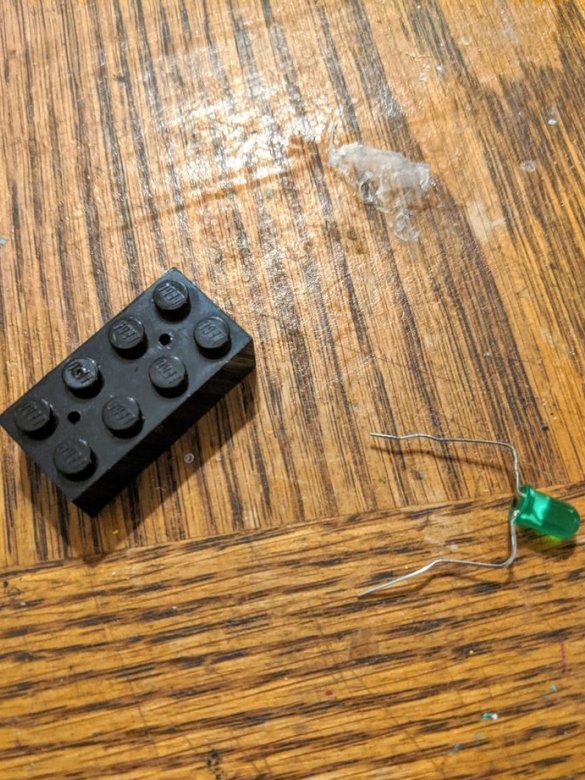
And he drills these holes, and removes the conductors - they will be required for a similar refinement of other parts of the same type:
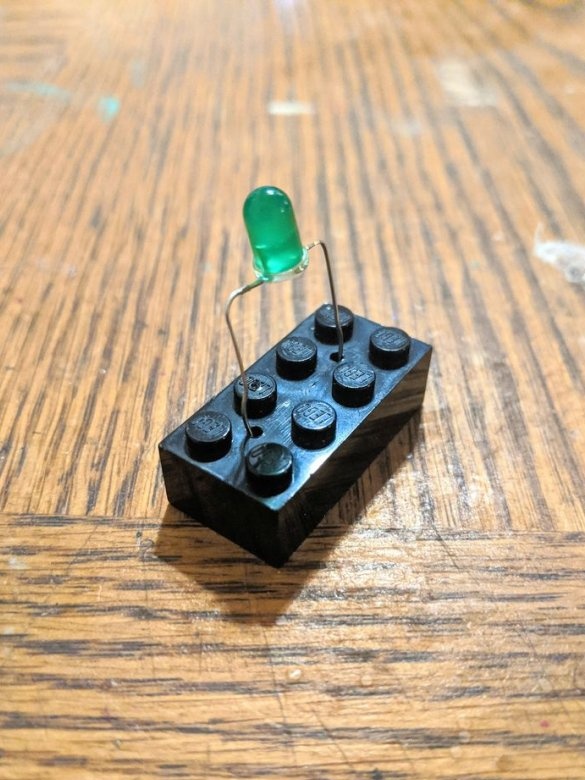
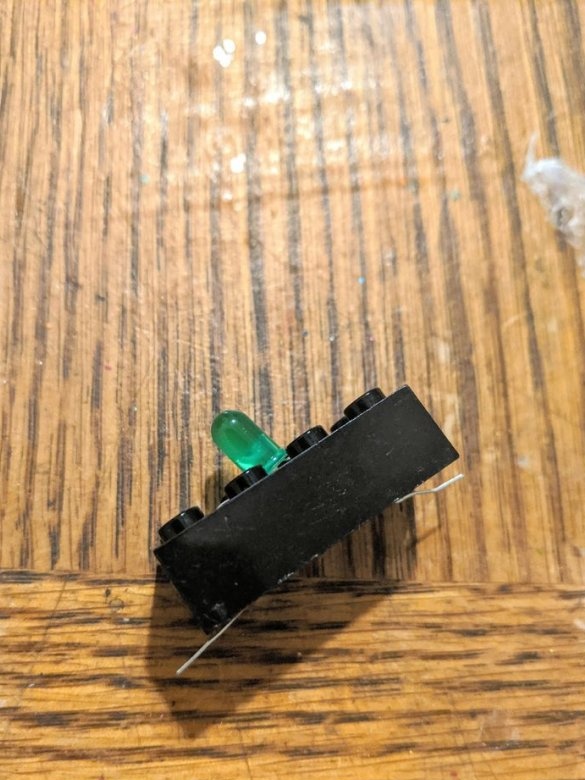
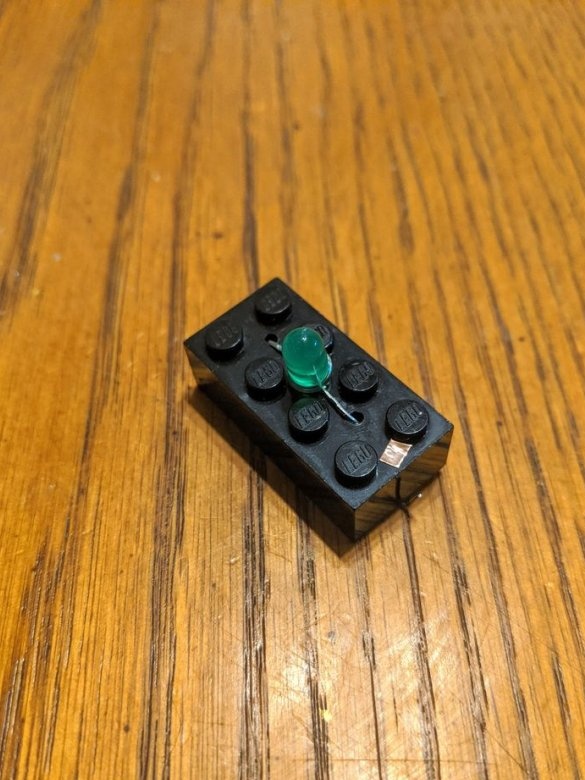
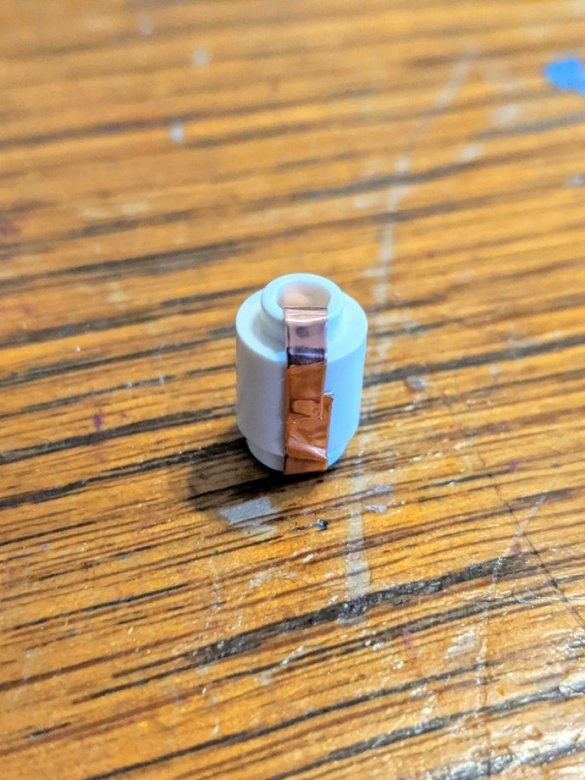
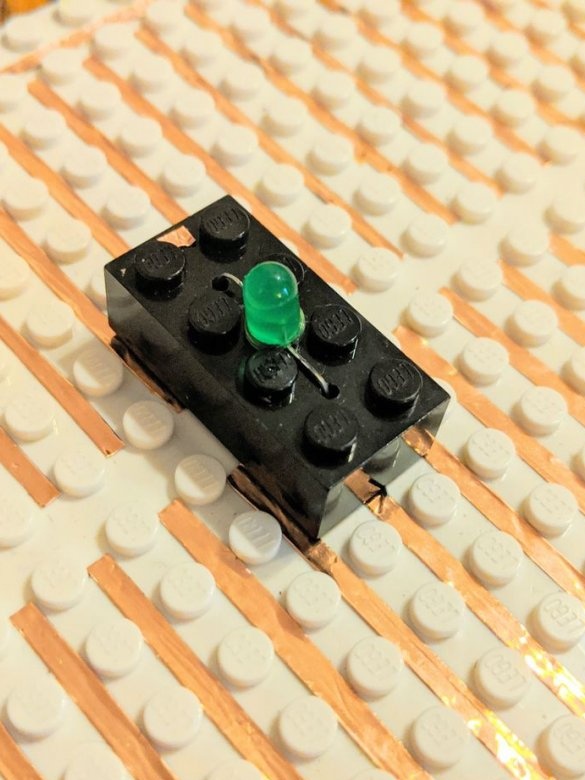
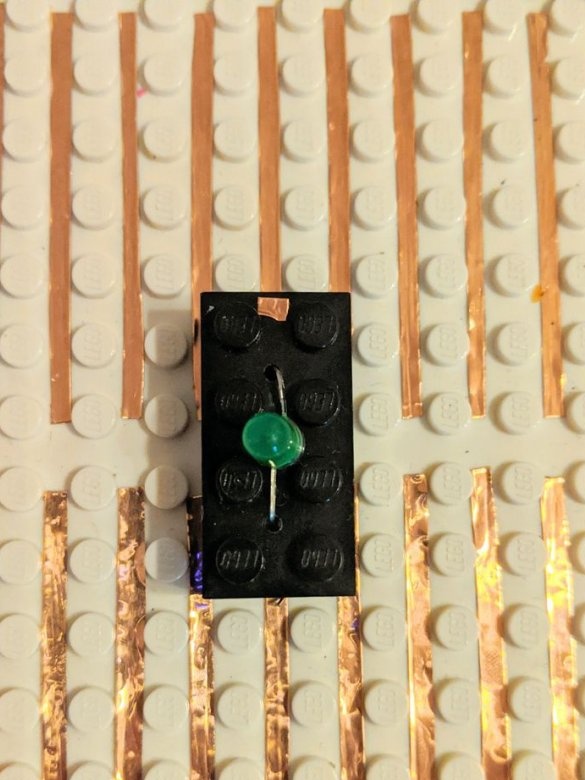
Having equally developed a sufficient number of such parts, it begins to install double-output electronic components in them (diodes, LEDs, resistors, zener diodes, capacitors, etc.), indicating, if necessary, the top of the polarity with small pieces of copper foil. Dual output components are a fundamental limitation in the proposed configuration. Familiarize children with transistors and microcircuits will have to using other designers. Although there is one way. For the third output, provide a cap on top of which a conductor can be attached. After all, electronic lamps have such caps, why not transistors?
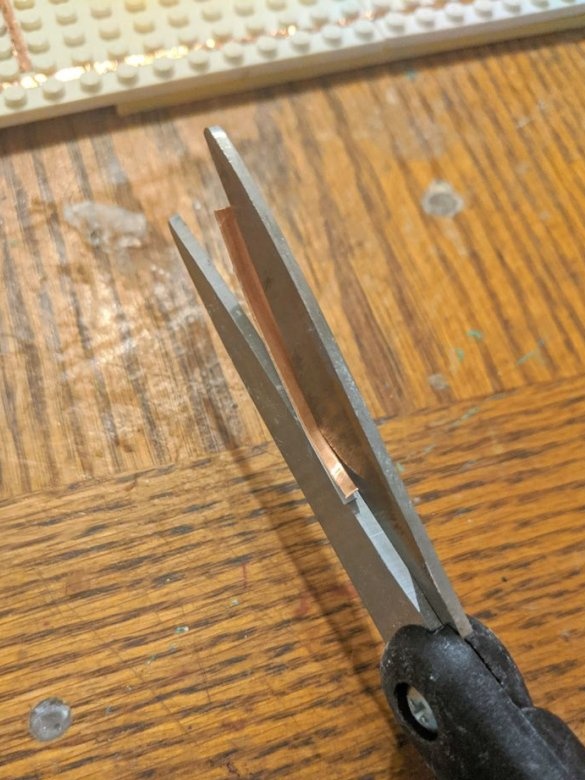
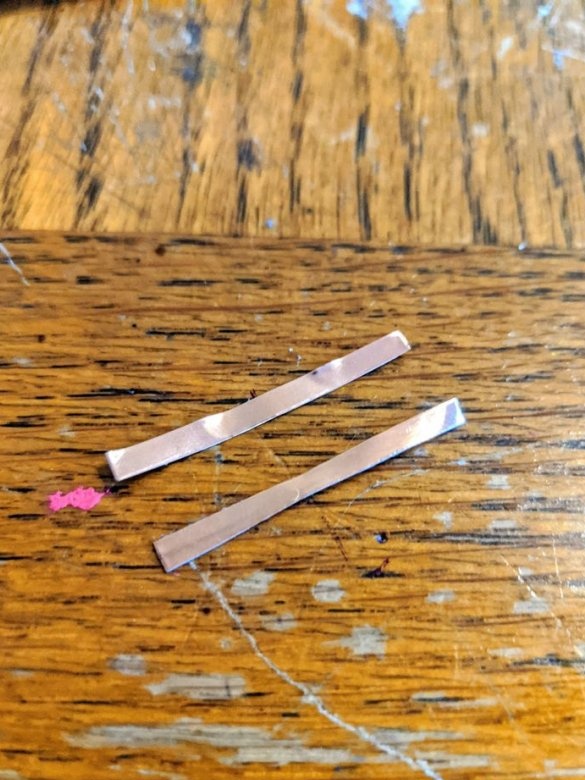
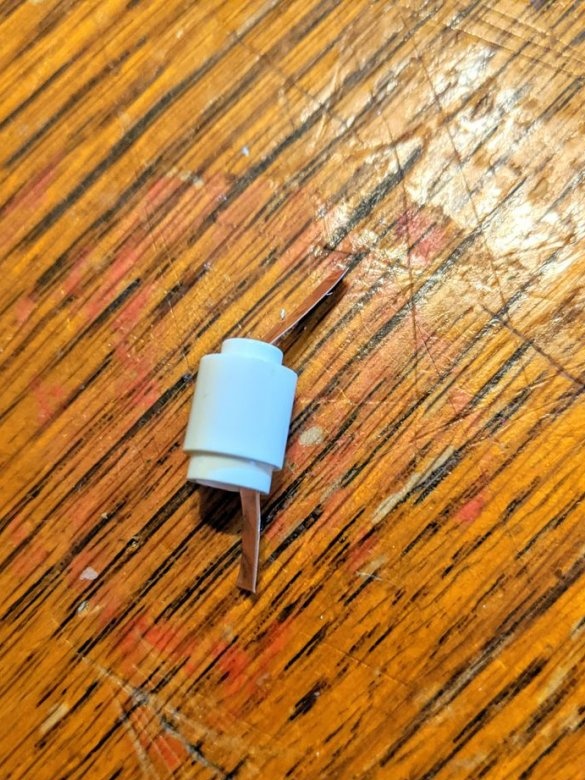
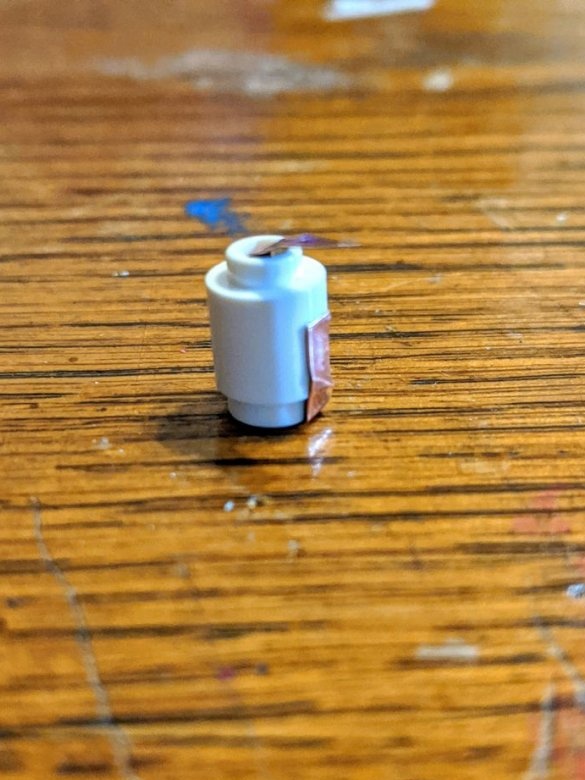
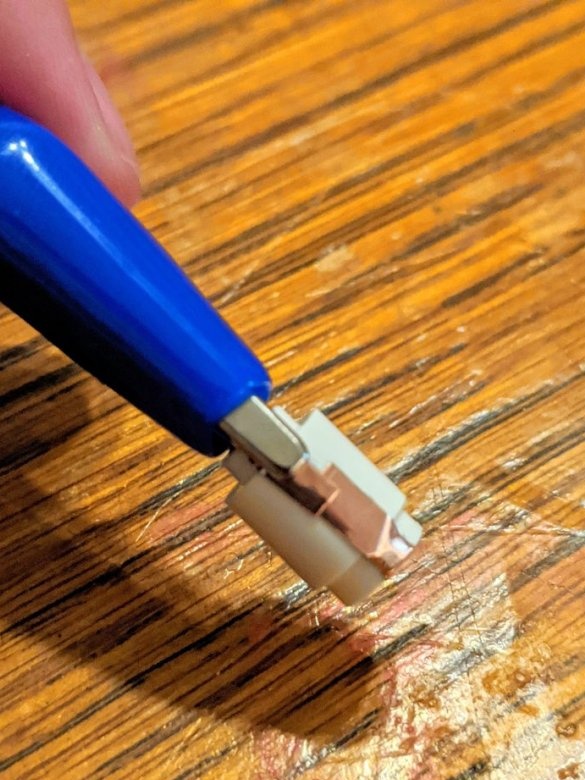
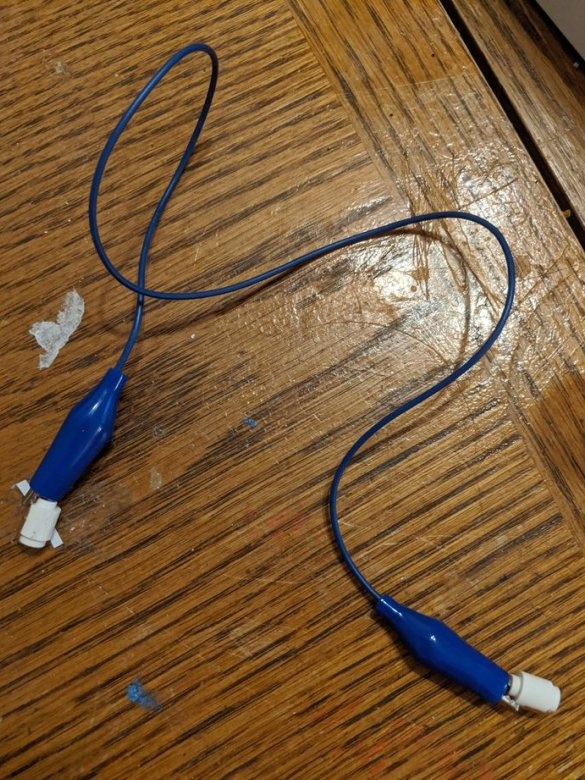
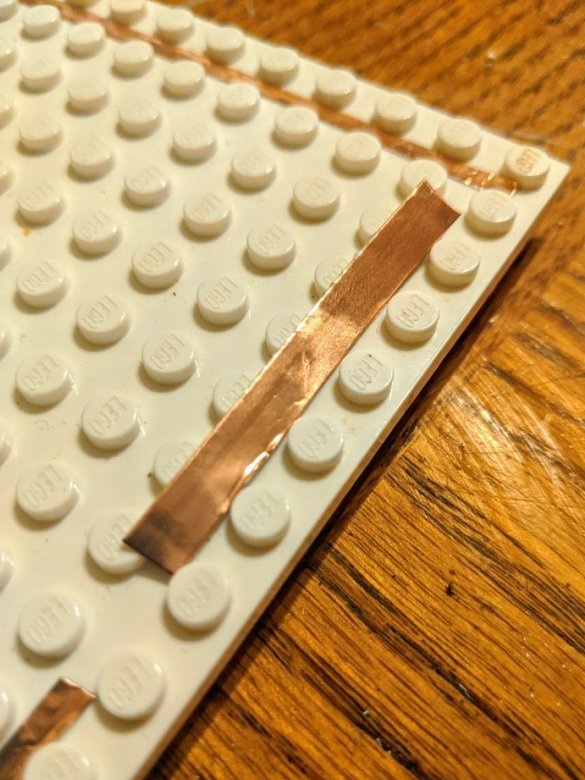
It makes adapters for standard jumpers with crocodile clips from strips of copper foil and cylindrical parts:
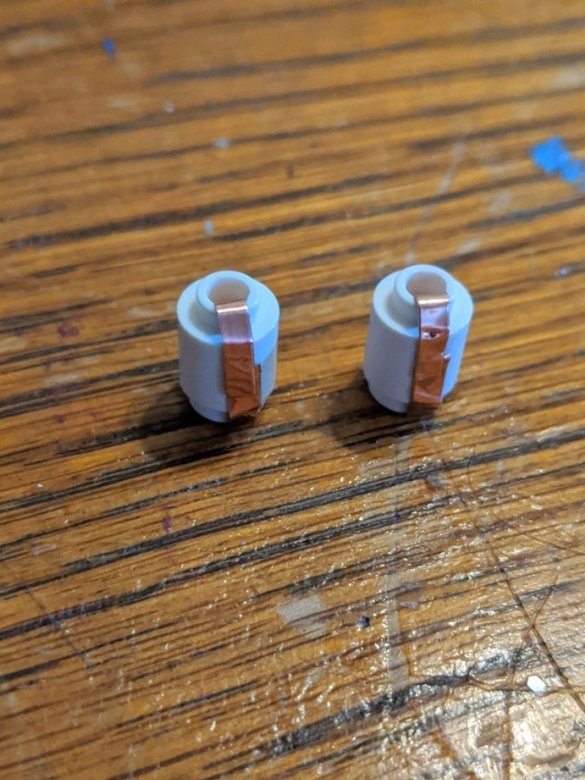
There are already two adapters, and soon there will be a lot of them:
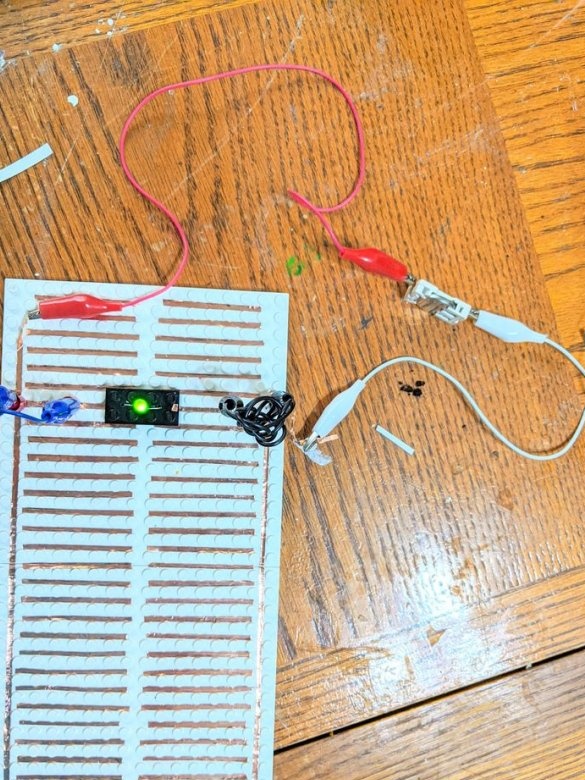
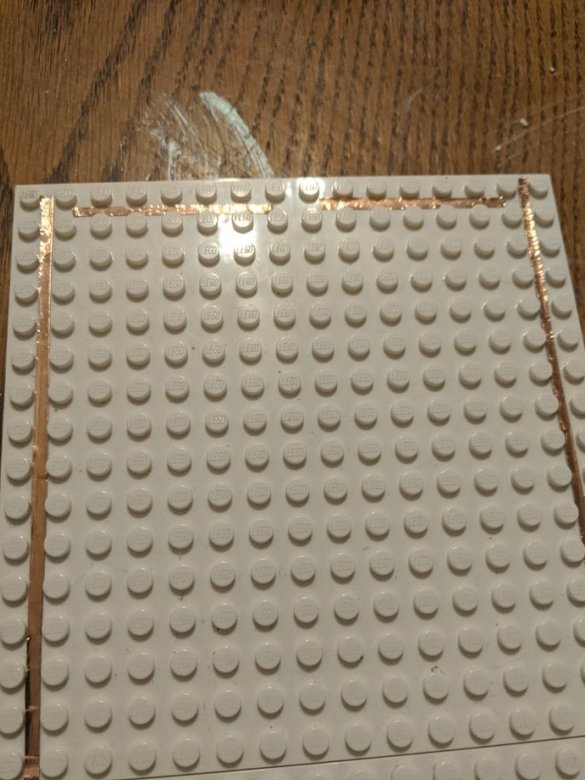
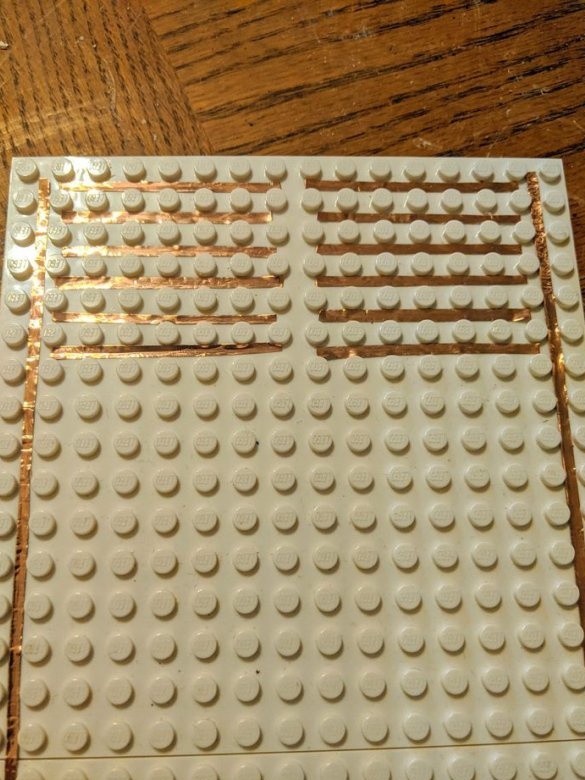
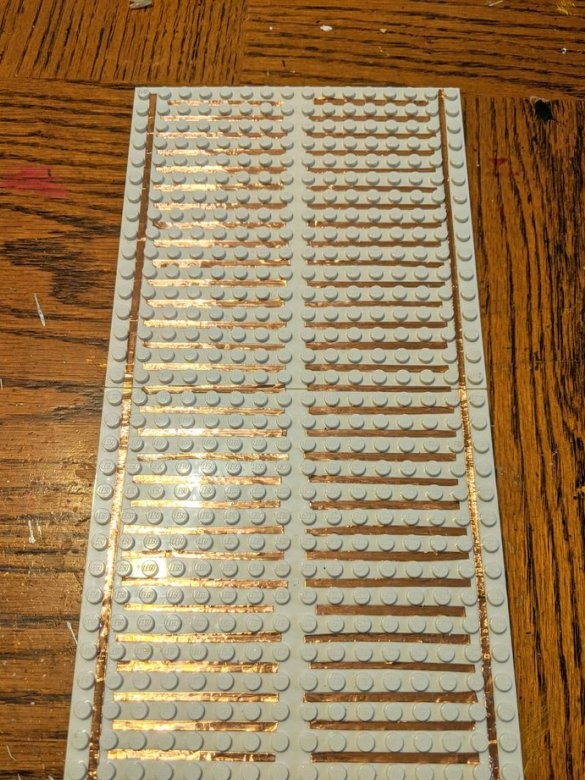
Then the master begins to paste over the base with strips of copper foil as shown below, practically repeating the configuration of a classic breadboard type breadboard:
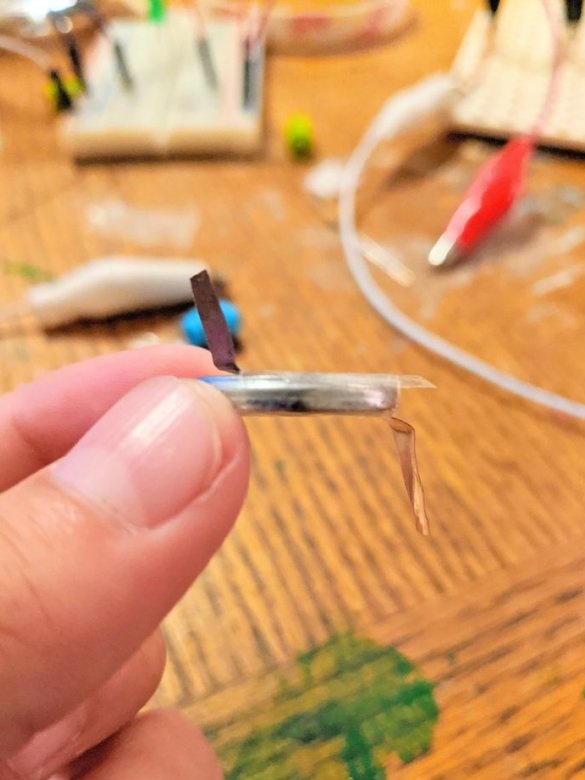
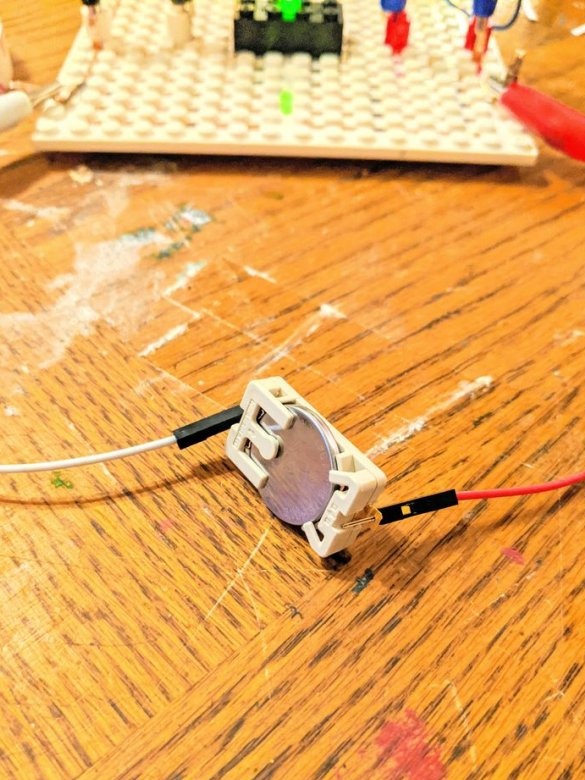
Assembles an adapter for connecting a battery:
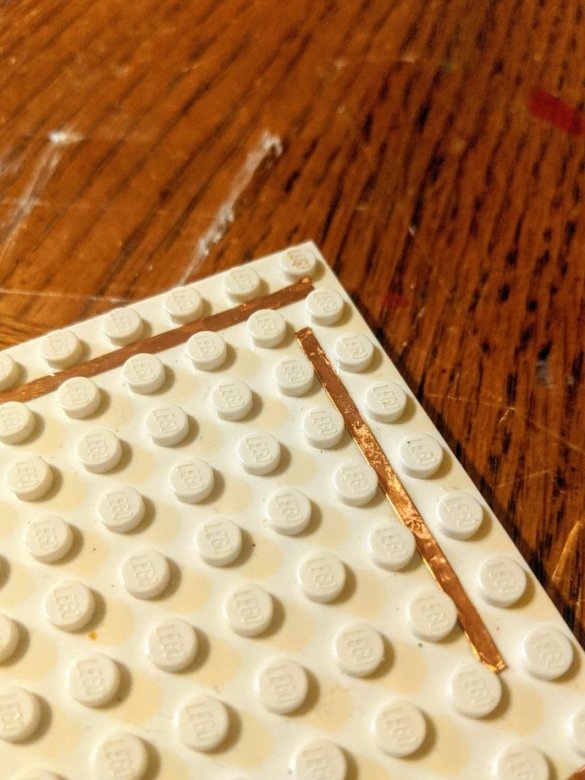
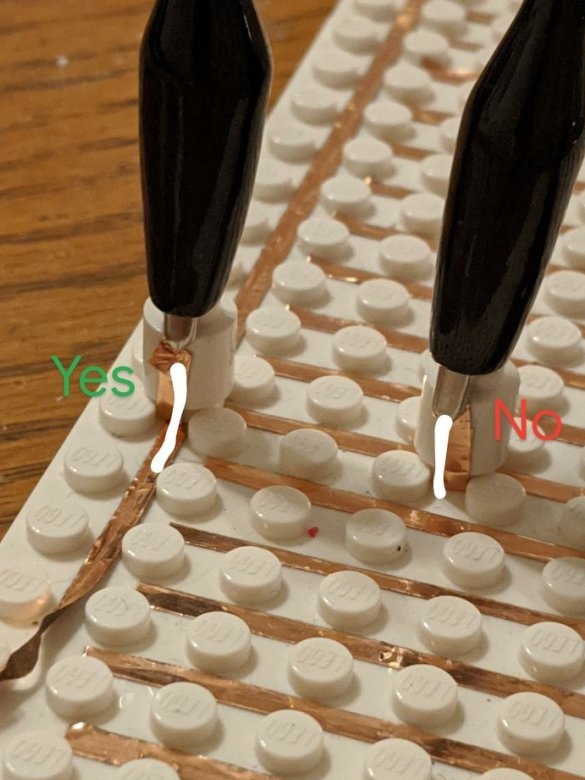
Shows the correct and incorrect ways to connect adapters for jumpers to the foil strips on the board. In the second case, there will be no contact.You can, of course, improve the adapter so that the inner surface of the cylinder is glued with foil on all sides.
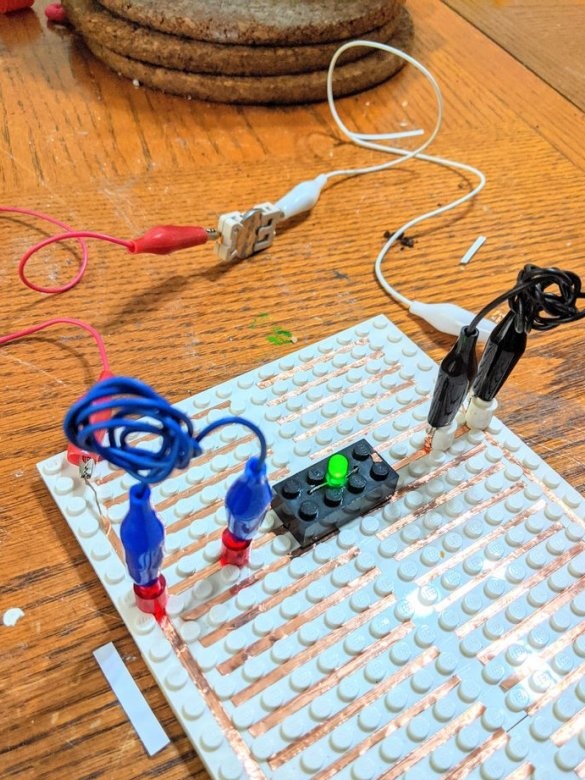
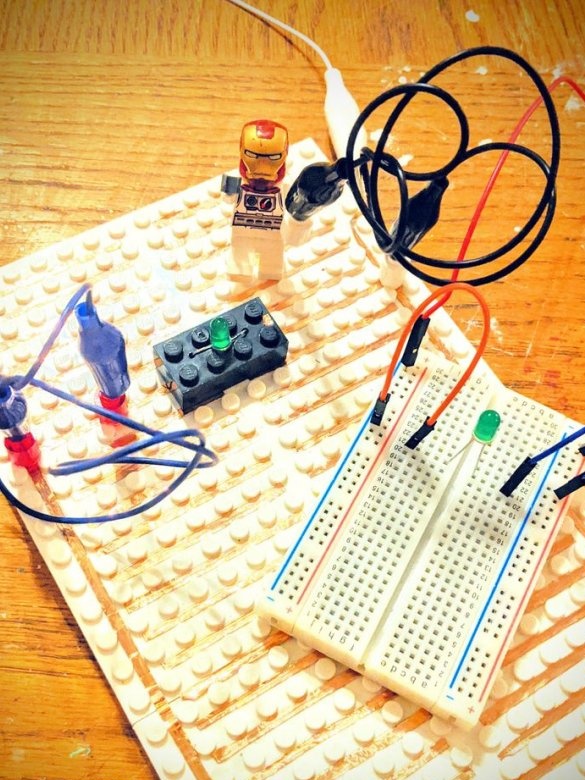
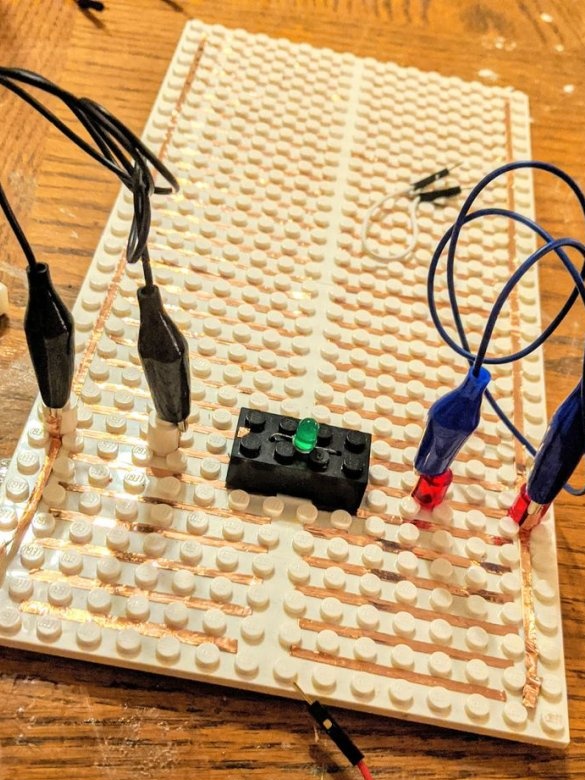
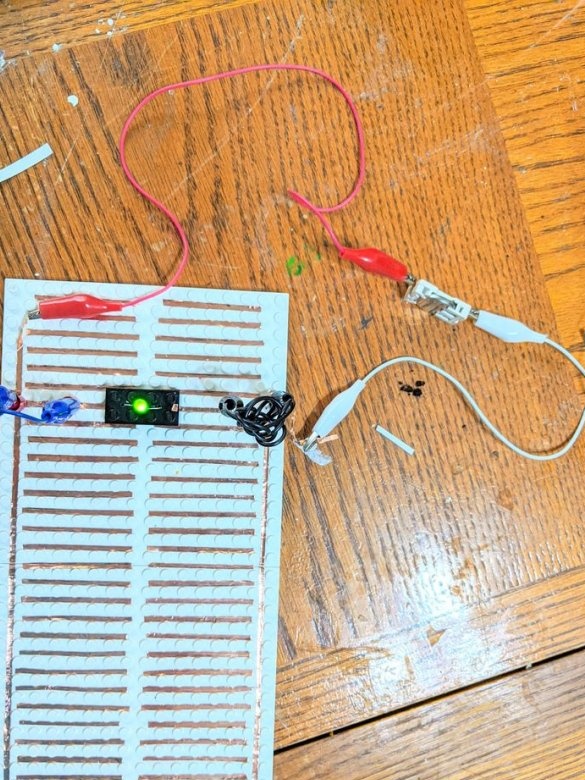
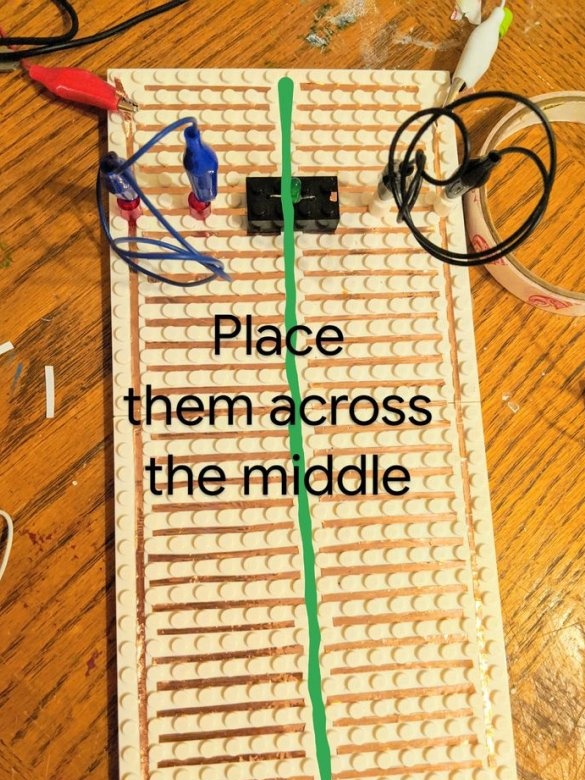
Everything is ready, the master, as an example, collects a diagram from the resulting unusual constructor:
The principle of the arrangement of the components in the middle here acts like on a regular breadboard, since the transverse conductors here and here are not continuous, but consist of two parts that are not connected in the middle between themselves.
Keep in mind that children do not like when something collected from something does not “start” the first time. After making sure that all parts are serviceable, and that correctly assembled circuits from them start working immediately, you can call the children and introduce them to the new designer.
And do not forget that such designers are akin to the side rollers on a children's bike. Just as it’s important to remove these videos in time, you need to teach children how to solder in time.

