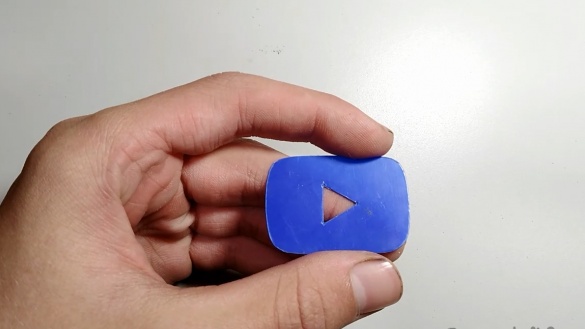
Hello everybody! Today I decided to make such a YouTube button for myself. Since I have more than 2k subscribers on the channel. Of course, YouTube does not give a button with such a small number of subscribers, so I wanted to make a button that would stand in the workshop as a reminder of that time. Perhaps in the future I will do an engraving on this button, but at the moment there is no such possibility, I think in the future I will do it. Also, this button can be made using the CNC machine, but since it is very expensive we will do it by hand, and today I will show you how to make improvised tools and materials. Let's get started.
The first step in creating this button, we need to make a pattern, drawing. The drawing can be done on the printer for previously setting the scale on the computer. You can also set the scale on the screen or monitor and put a piece of paper from A4 and draw a pencil along the contour. When everything is ready, you can redraw it on thick cardboard or like me on plastic.
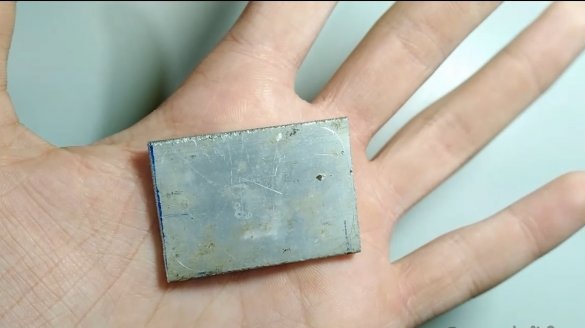
Second phase. We need to find the right piece of aluminum or any non-ferrous metal. I found a corner made of aluminum with a thickness of 3 mm from which you need to cut the desired piece from this corner a little more than the dimensions of the drawing. Since the corner has long been oxidized, you need to process it with sandpaper, I have it P150.
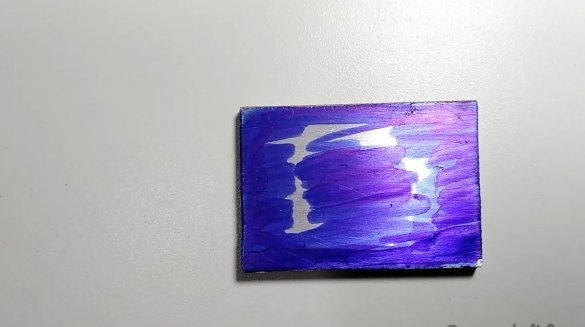
The third stage. Now cover the workpiece with paint, a marker or something else. This is done in order to better and easier to apply the markup on which you can process the workpiece.
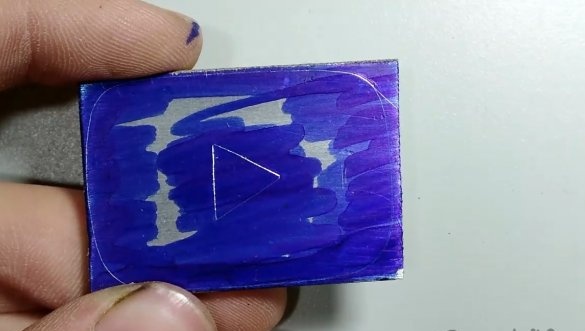
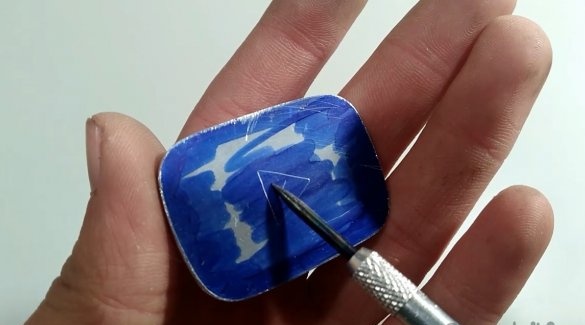
The fourth stage. Marked with a sharp tool, so that on the blue marker was visible gray markings, which can easily process the workpiece and bring to the desired result, than just stick a piece of paper with markings.
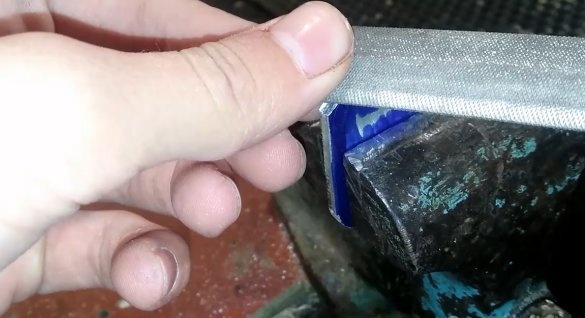
The fifth stage. We process the workpiece using a hacksaw, remove large pieces of aluminum. When everything large is removed and 1-2 mm is left to the lines, you can file with it until only the thin line from the marking remains, after which you can process it with sandpaper with a smooth transition of the sand paper grit.
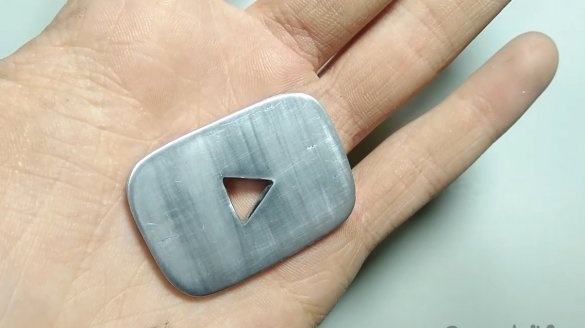
Sixth stage.We process sandpaper to a perfect shine from P240 to P2000, but of course it is best to use sandpaper even for the finish of processing such a soft metal, but with water, we will save the resource of sandpaper itself more.
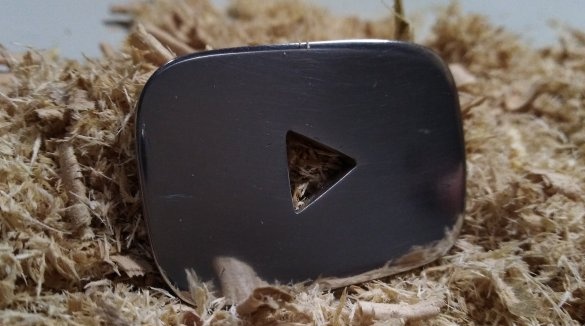
Well, that’s the last stage robotthis is polishing. I polished with polishing paste for autoand the finish is already waxed. Well, here you are. Perhaps it’s not very clear to you here, so you can go to the video. Thank you so much for watching, I will be grateful for the distribution of this video or article. Thanks!!


