Nowadays, in every family, there are a large number of gadgets. And most of them need to be charged periodically. So that chargers would not roll around the house, the author came up with an organizer for them.
Tools and materials:
-Plywood;
-Rail;
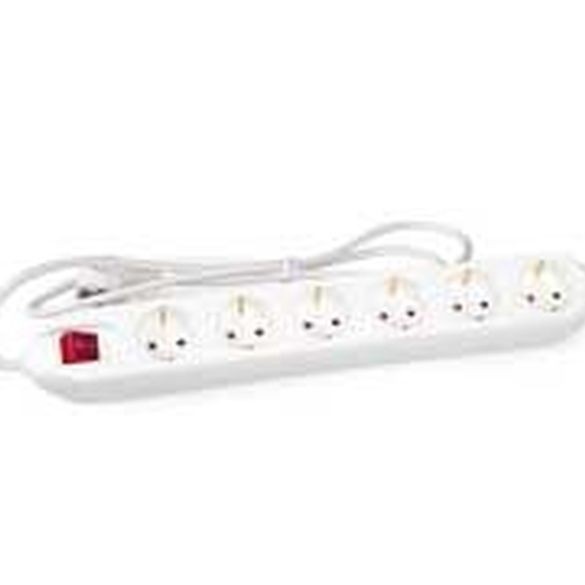
-Electric extension cord for six outlets;
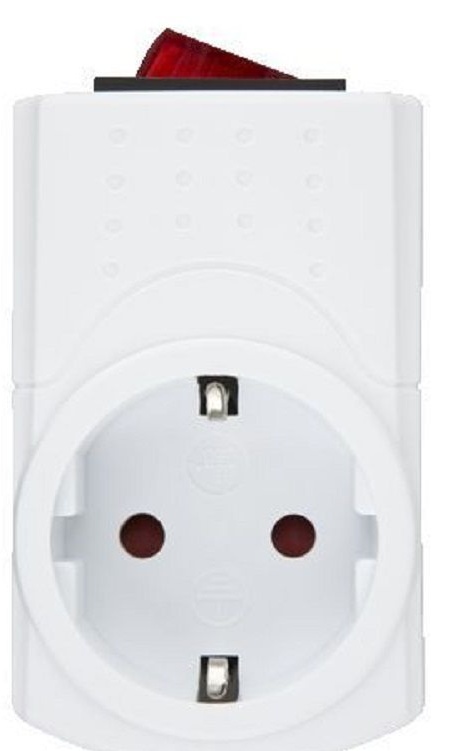
-Socket with a switch-6 pcs;
-Plastic;
-A printer;
Step One: Box
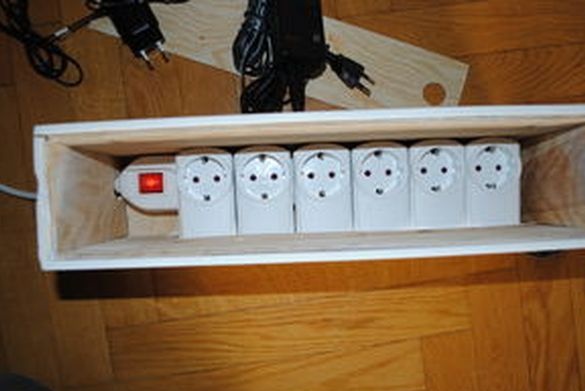
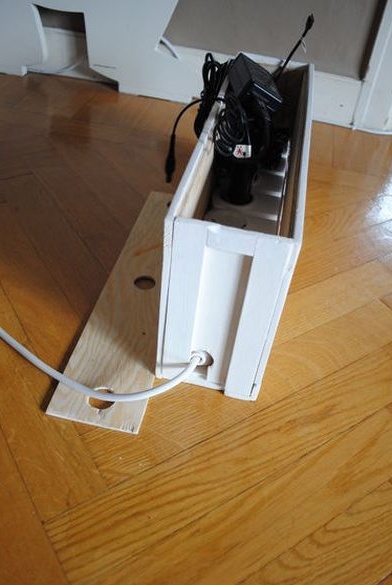
Made of laths and plywood made a box with a lid. The length of the box is slightly longer than the extension cord.
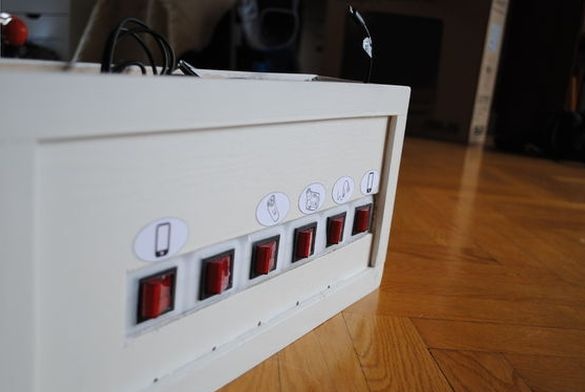
Step Two: Install Outlets
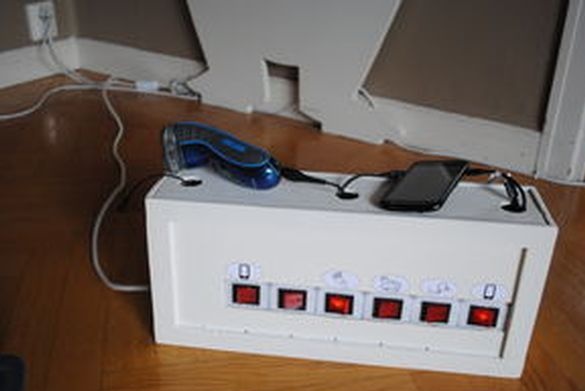
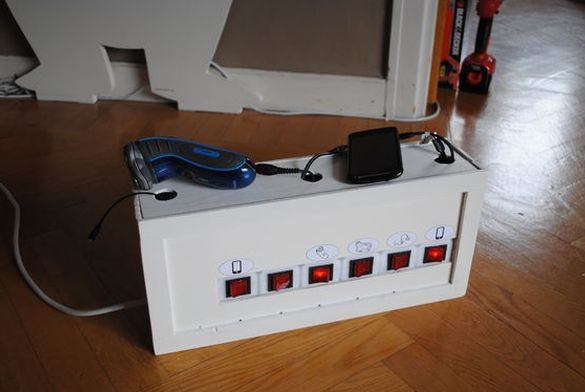
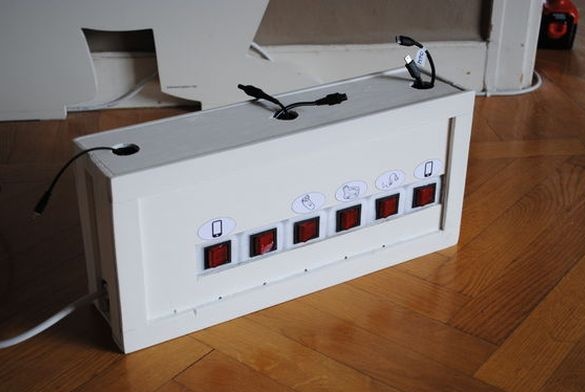
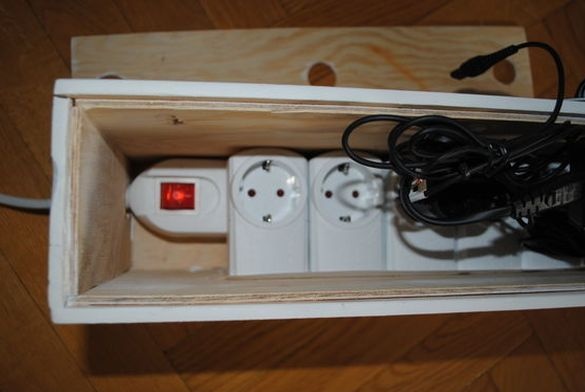
An extension cord is laid at the bottom of the box. The wire from the extension cord extends into the hole in the side cover of the box. Inserts sockets into the extension cords. Marks the location of the switches. Cuts, in the side wall, a place for switches. She cuts a plate out of plastic and makes six slots. He puts the plate on the switches and sets everything in a drawer. The outlet includes chargers.
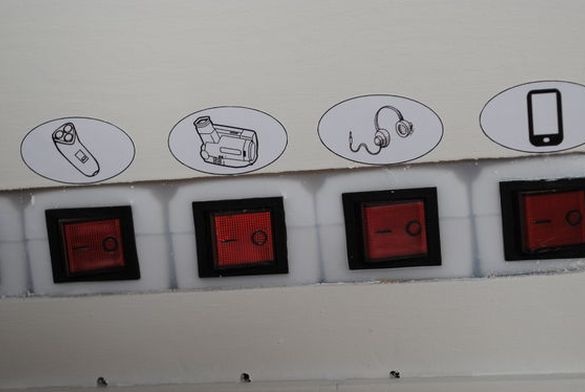
Step Three: Sticker
Using a printer prints information stickers. Glues them according to the location of the chargers.
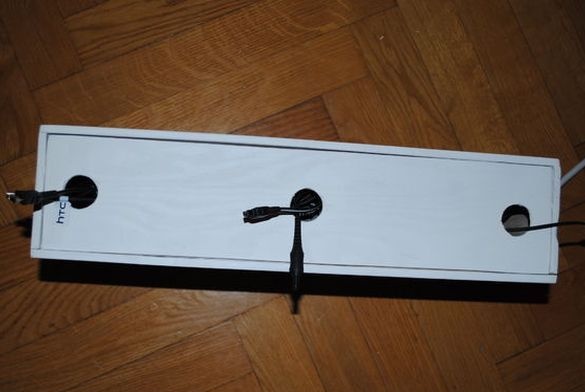
Step Four: Cover
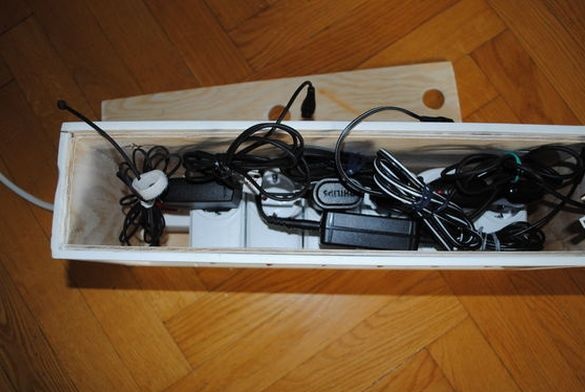
In the lid, cuts holes and displays the connectors of the chargers through them.
Now all the chargers are in one place. Whatever they are energized all the time, the author uses switches. And information stickers tell you which switch from which charger.