If you have a country house or you live in the countryside, you probably have a need for mowing grass, cutting shrubs of flowers and so on. And if you have rabbits, this means that every day you need to mow the grass, which is manual for the man, but what if the woman remains on the farm? There is a way out of the situation, you can make a simple miniature electric mower for yourself. With it, you can easily solve various small mowing tasks. The spit is absolutely mobile, it works from the built-in battery.
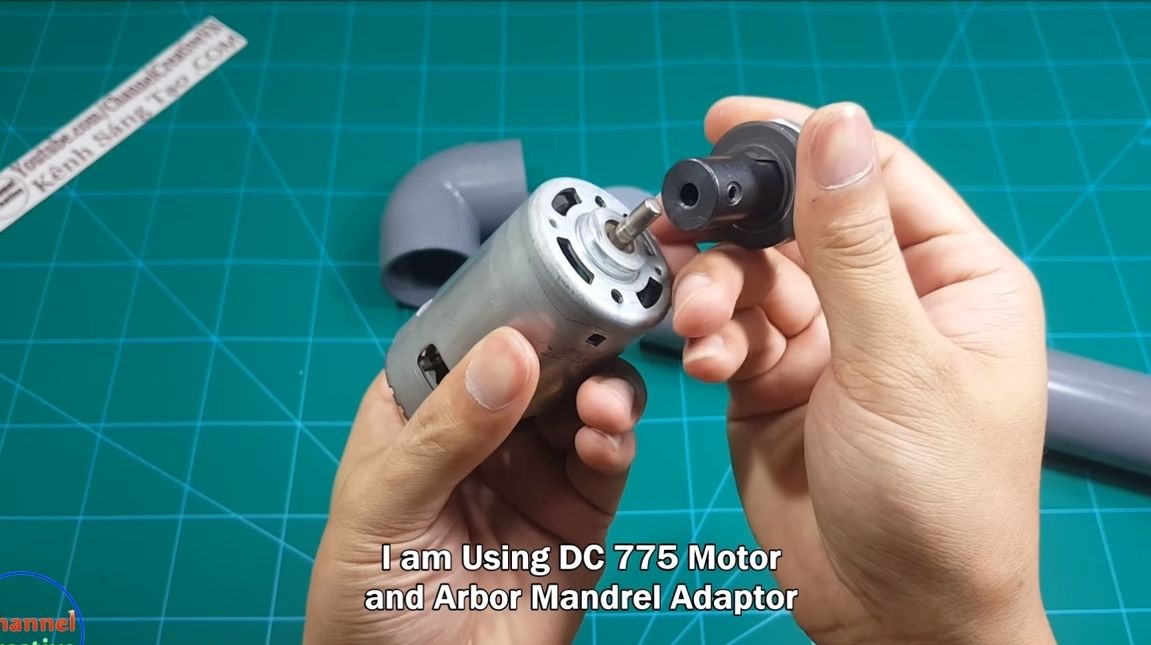
The author decided to use the 775 motor as an engine. It is used in the manufacture of various home-made machines. These engines are reliable, they have a forced cooling system, which is a built-in fan. The rotor rotates on bearings, not on bushings, as in cheap engines.
As for the knife, its author decided to make an old kitchen chopping hatchet for meat. We have a strong knife, it is also attached securely, an adapter is used here to make homemade grinders. The adapter is mounted on the motor shaft. As for the batteries, they are installed inside the case. So, let's start assembly homemade.
Materials and tools used by the author:
Material List:
- ;
- ;
- switch;
- button to turn on (keyboard switch);
- strong sheet steel (for the manufacture of a knife);
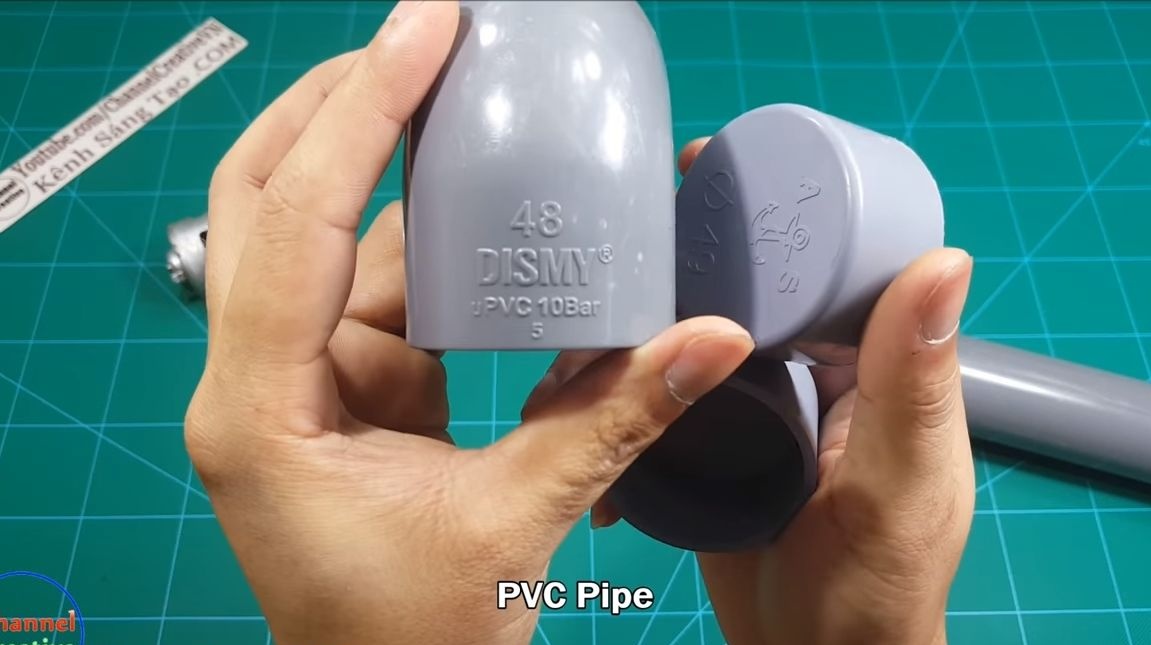
- PVC pipes and other plumbing components;
- adapter;
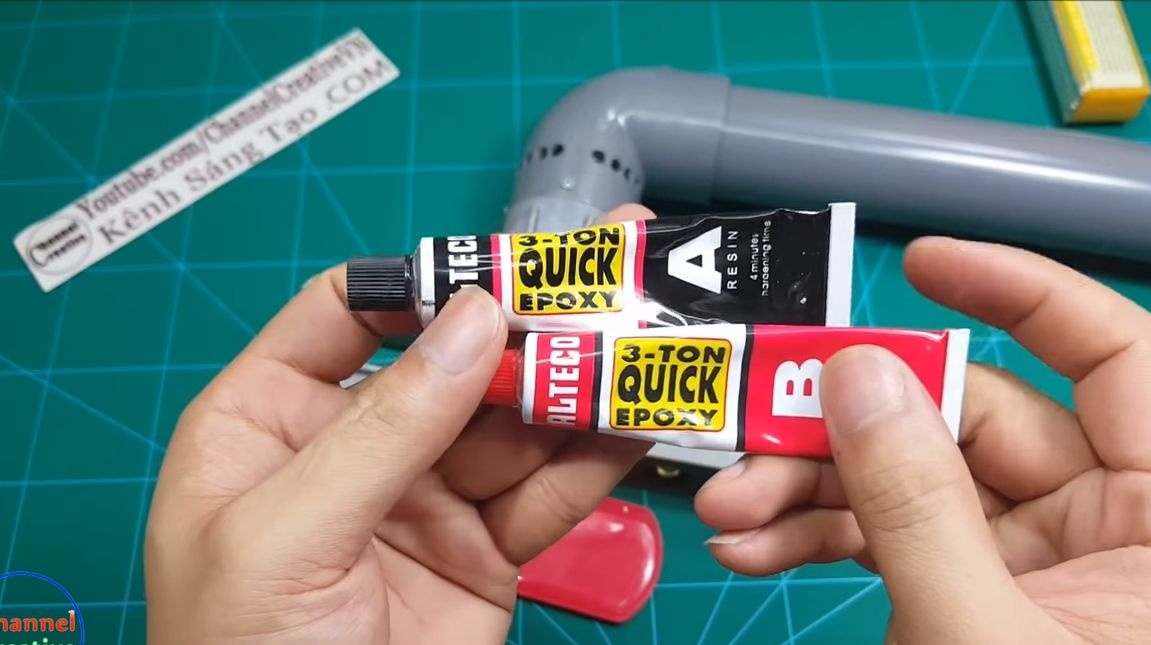
- glue for PVC;
- wires;
- cogs;
- heat shrink;
- wire and sheet steel (for the manufacture of the shield);
- epoxy.
Tool List:
- rivet gun;
- grinder;
- drill;
- drill;
- pliers;
- ;
- marker;
- ruler;
- a drilling machine with a bat of 16;
- screwdrivers, keys and more.
The process of making electric braids:
Step one. Knife making
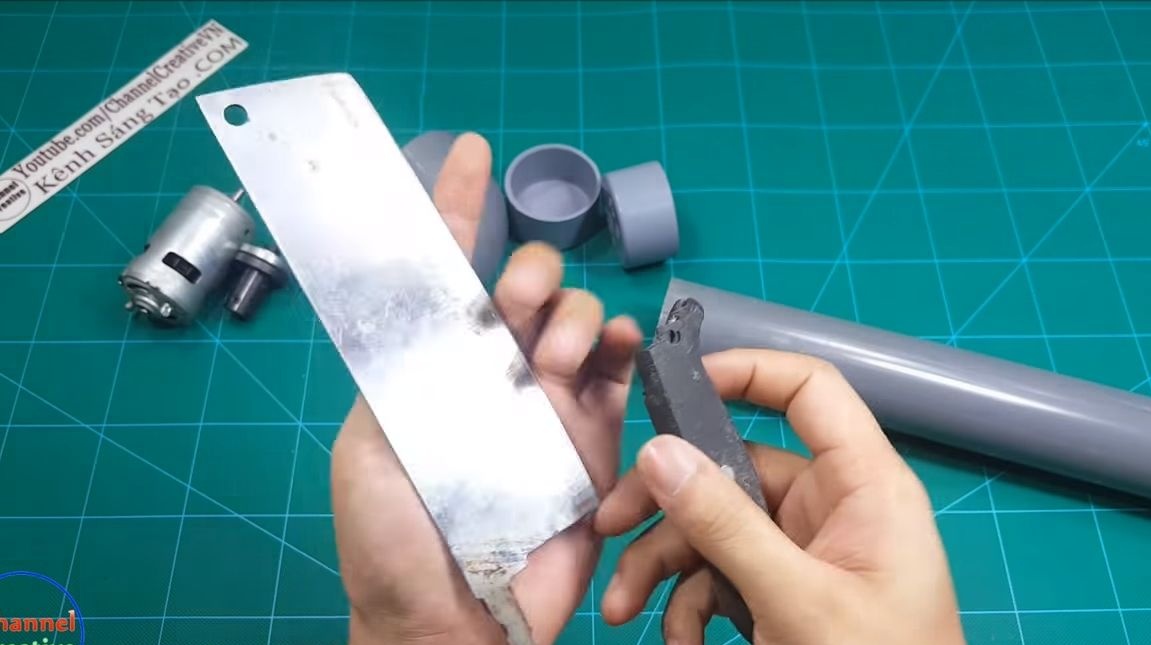
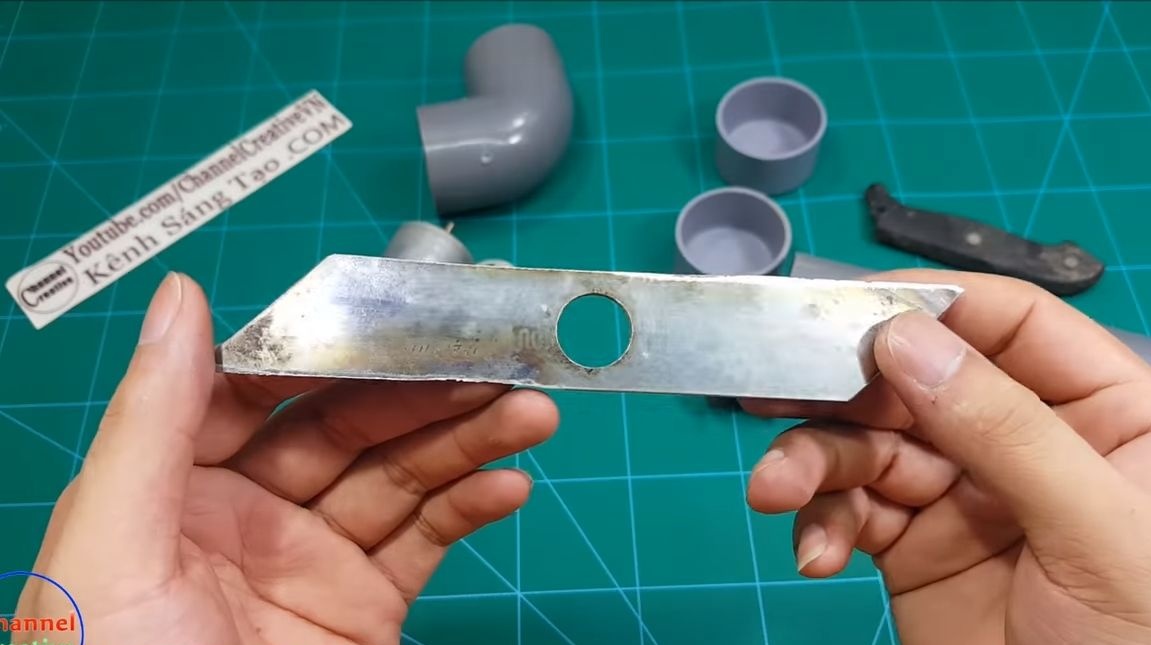
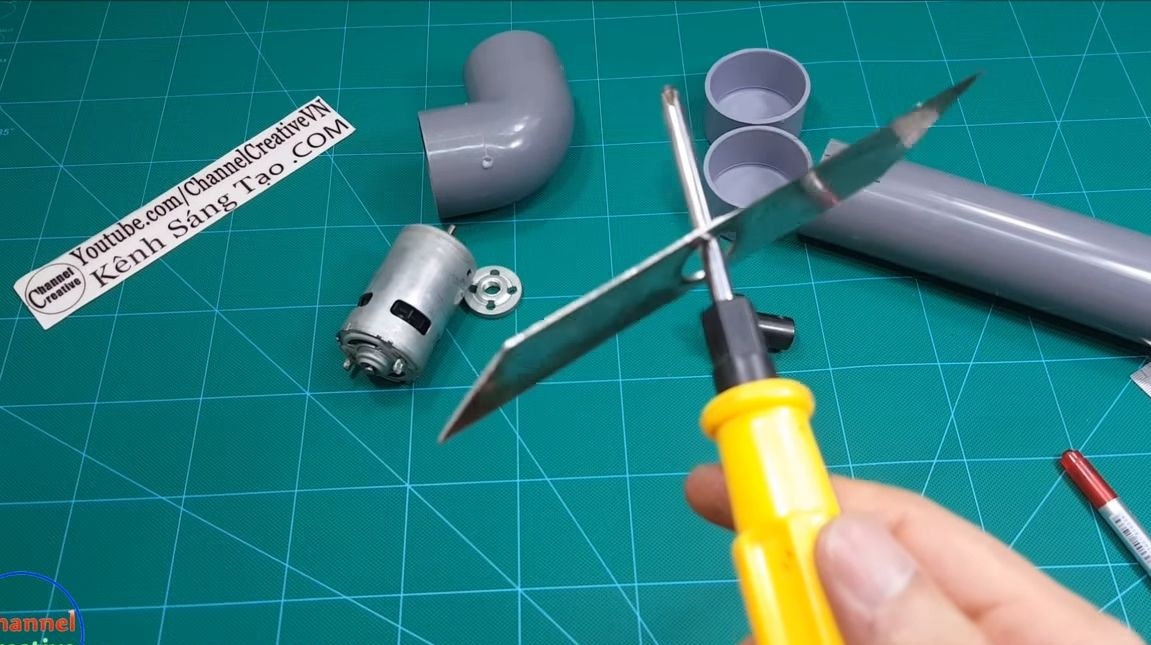
To make a knife, look for good sheet steel, preferably tool steel, it will hold sharpening longer. A stainless steel is suitable, this metal is quite strong. The author decided to use an old kitchen knife for cutting meat as a source material.
First, we mark everything right on the workpiece. As for the dimensions, the knife should be 15 centimeters long. Do not make it too large, as this will create a load on the engine.
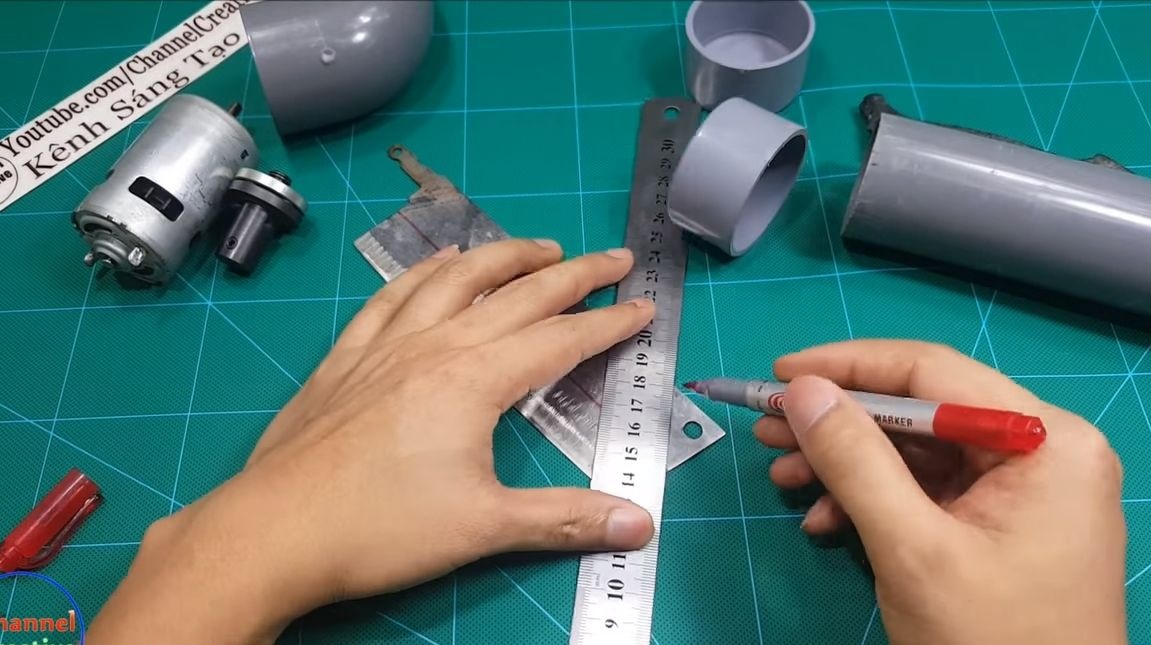
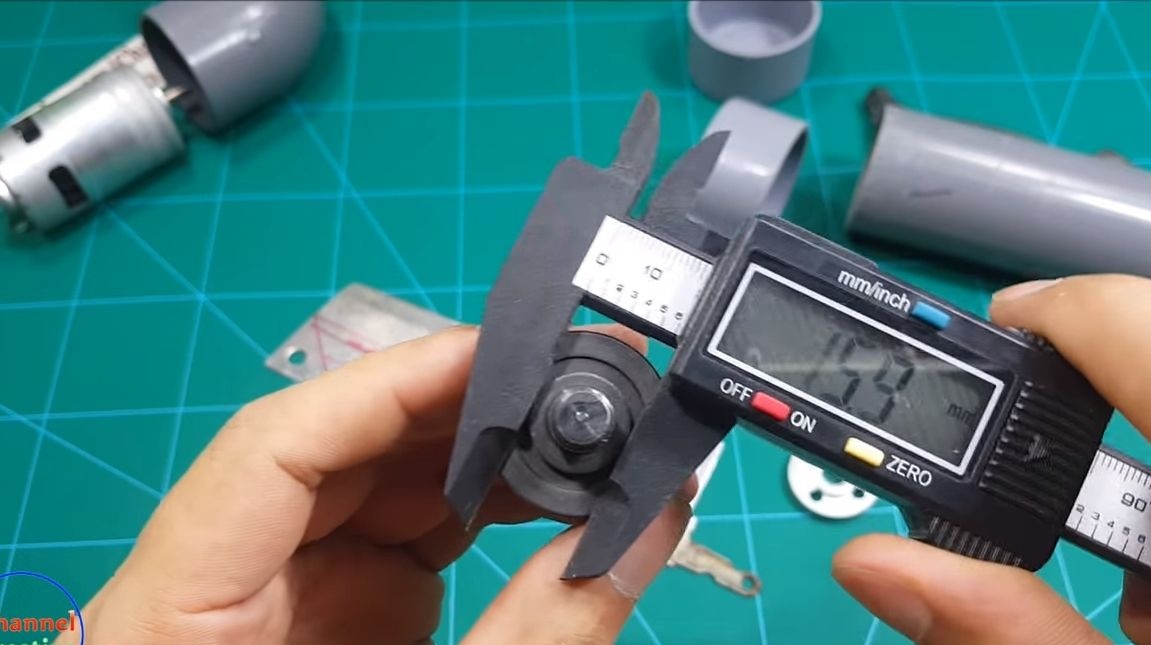
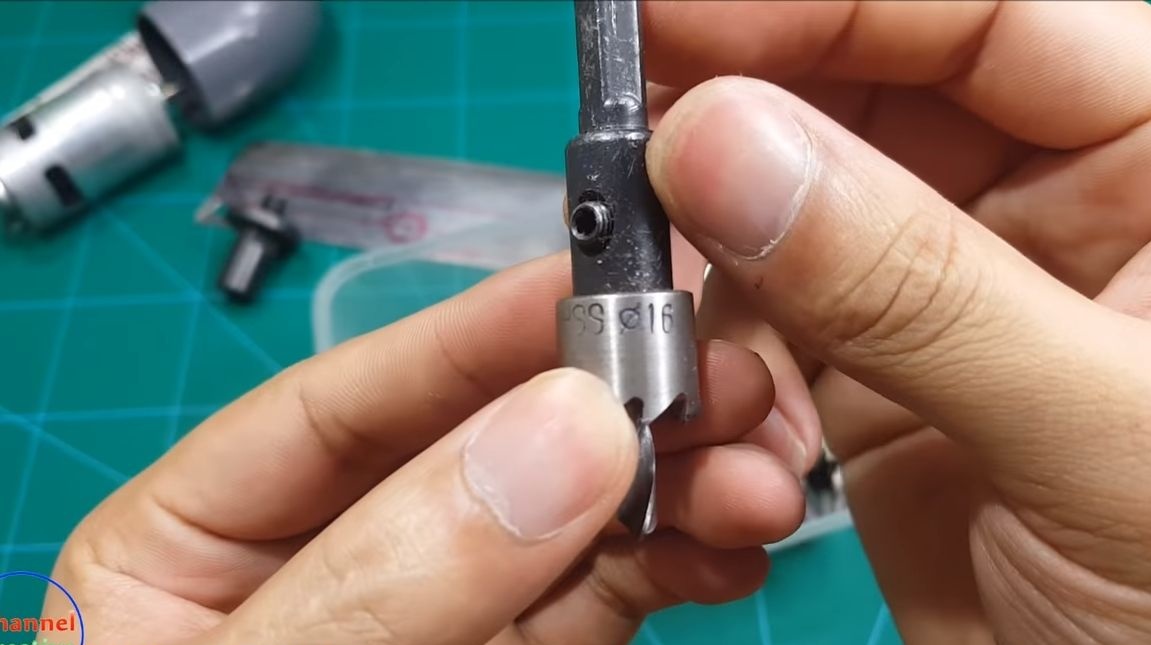
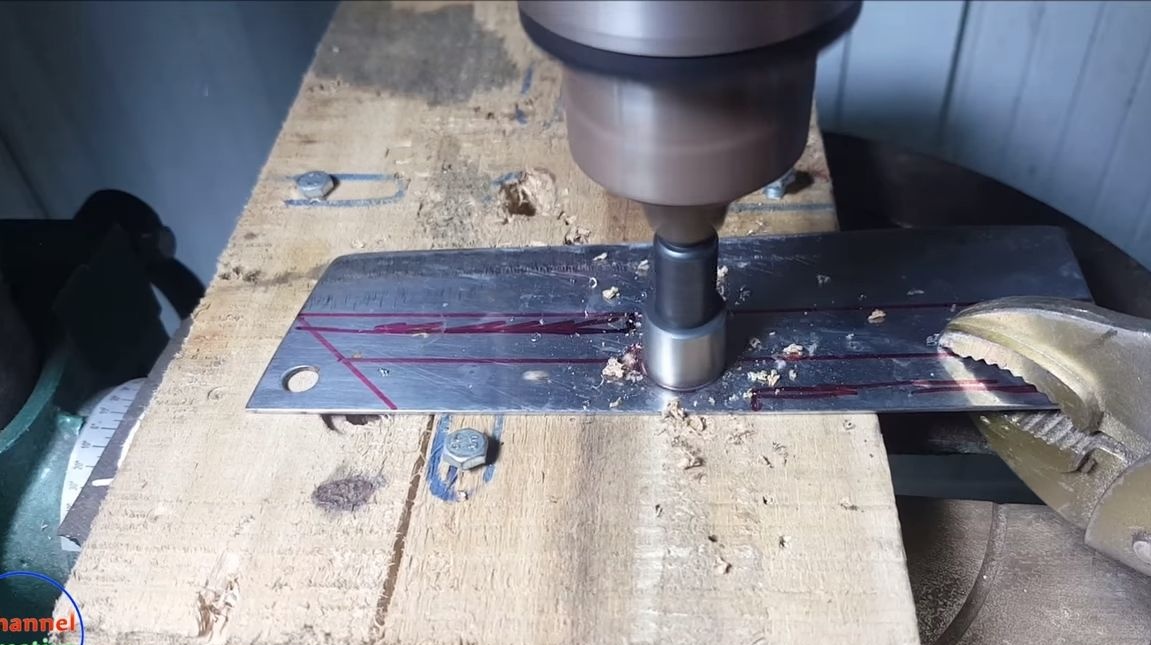
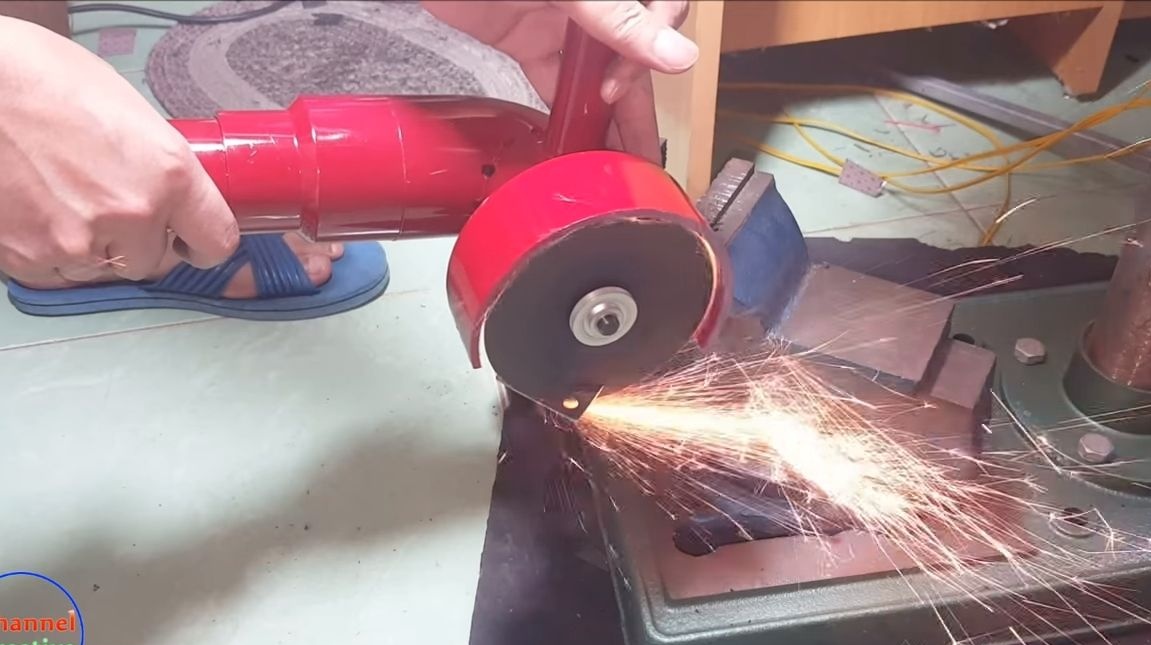
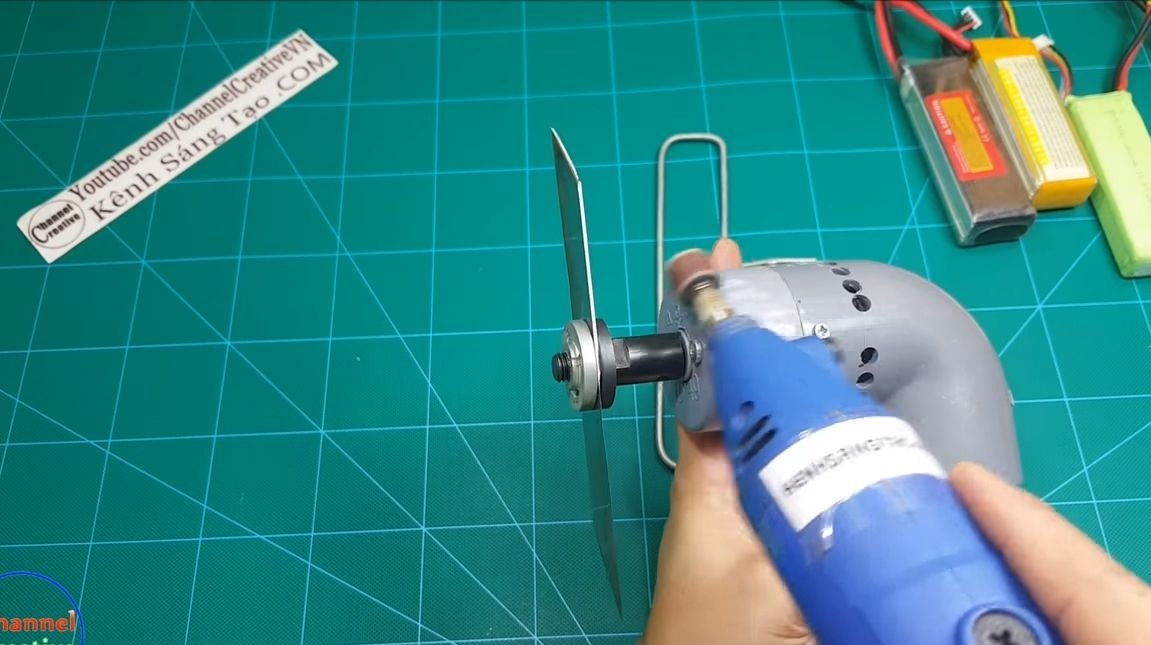
Now you need to drill a hole in the center of the future knife of such a diameter so that it can be installed on the Bulgarian adapter. For these purposes, the author selects a bat on "16". This task can be quite difficult, as red-hot steel is very difficult to drill.
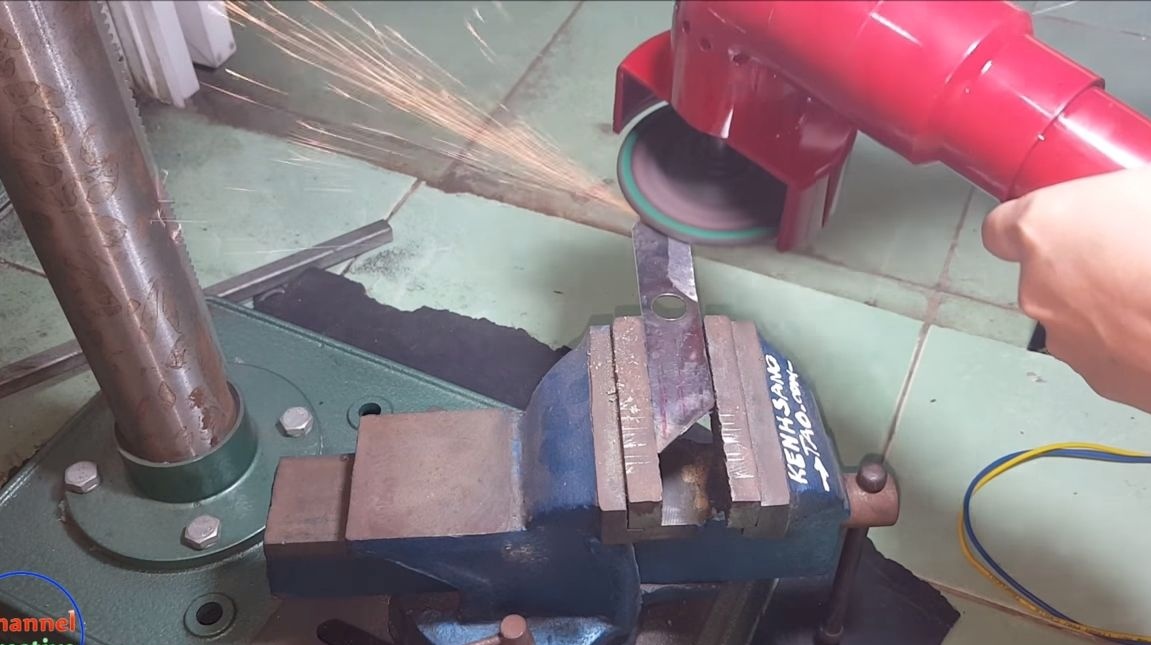
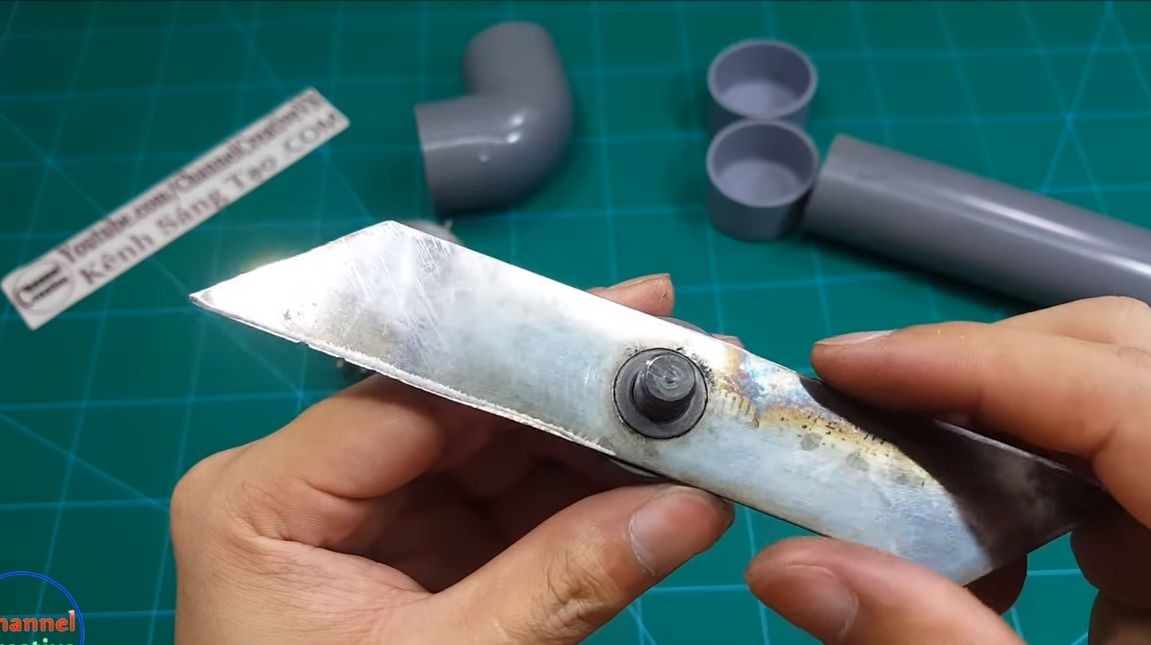
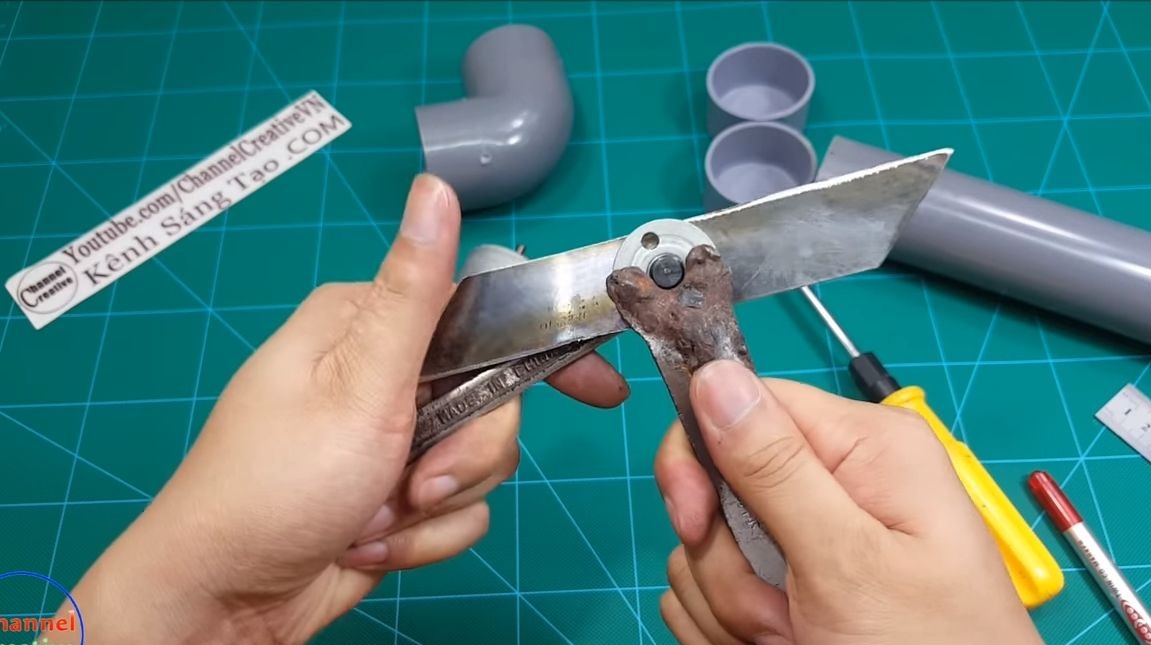
After that, you can cut the knife. To do this, we clamp the workpiece in a vice and work as a grinder, the author uses his home-made machine on the same 775 engine. In the end, it remains to sharpen the knife, it is sharpened on only one side, like knives in scissors. Hang the manufactured knife on a screwdriver, it must be well balanced, otherwise there will be vibrations. If one side outweighs, try shortening it.
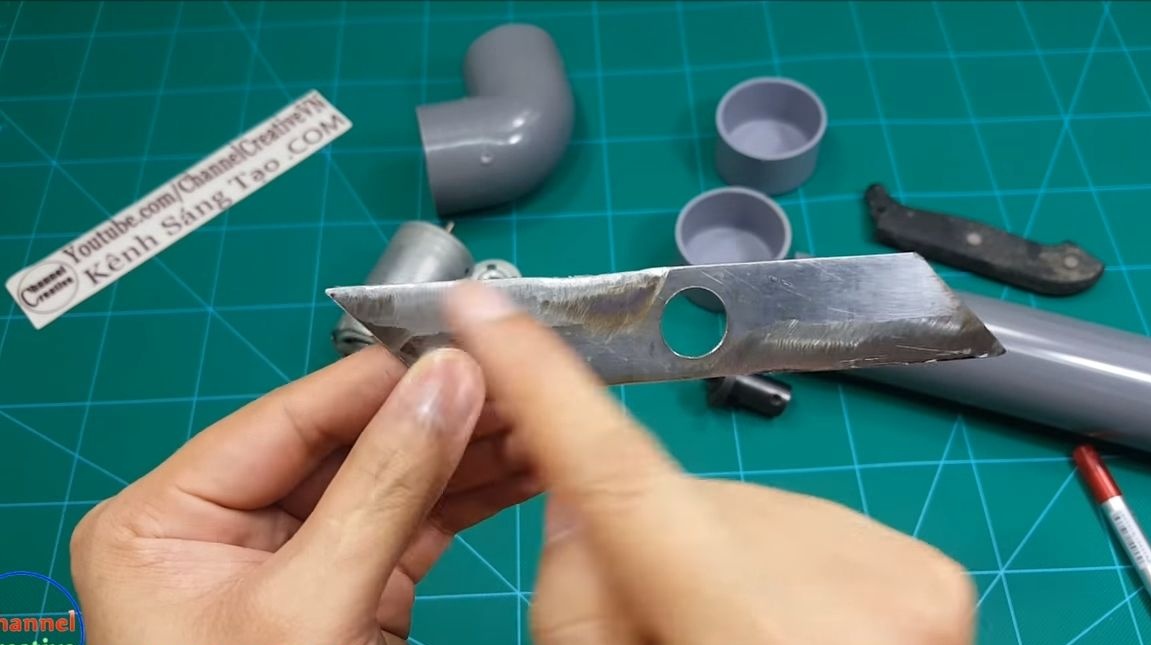
Install the knife on the adapter and make sure that everything turned out as planned. Do not forget to tighten the knife thoroughly with keys so that it does not loosen.
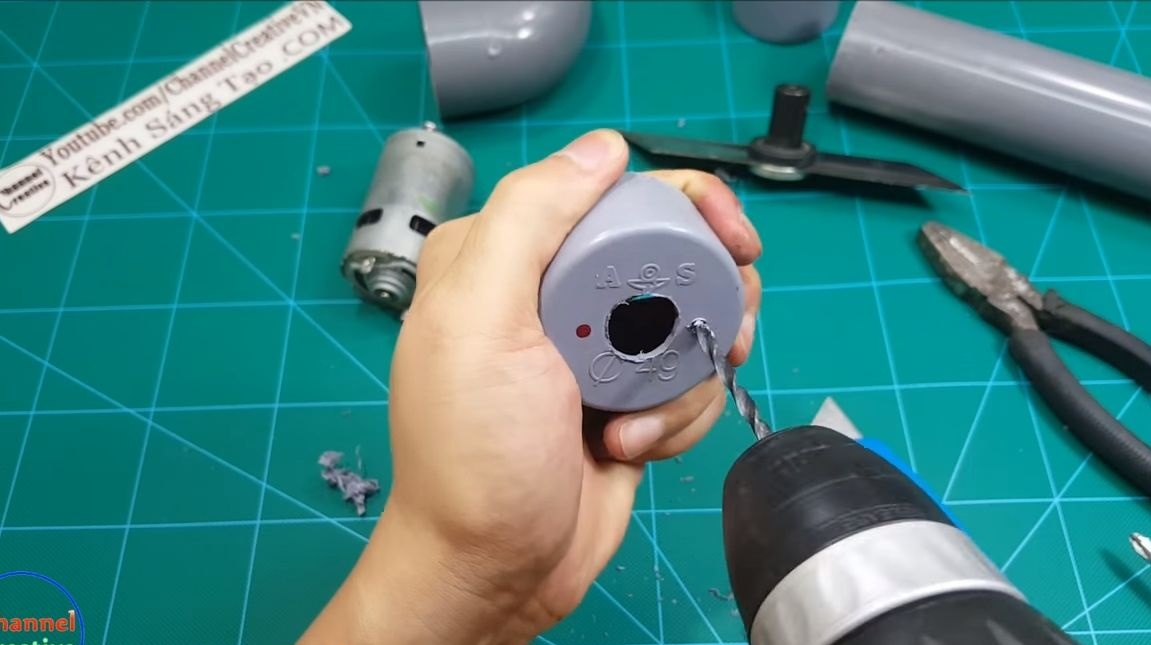
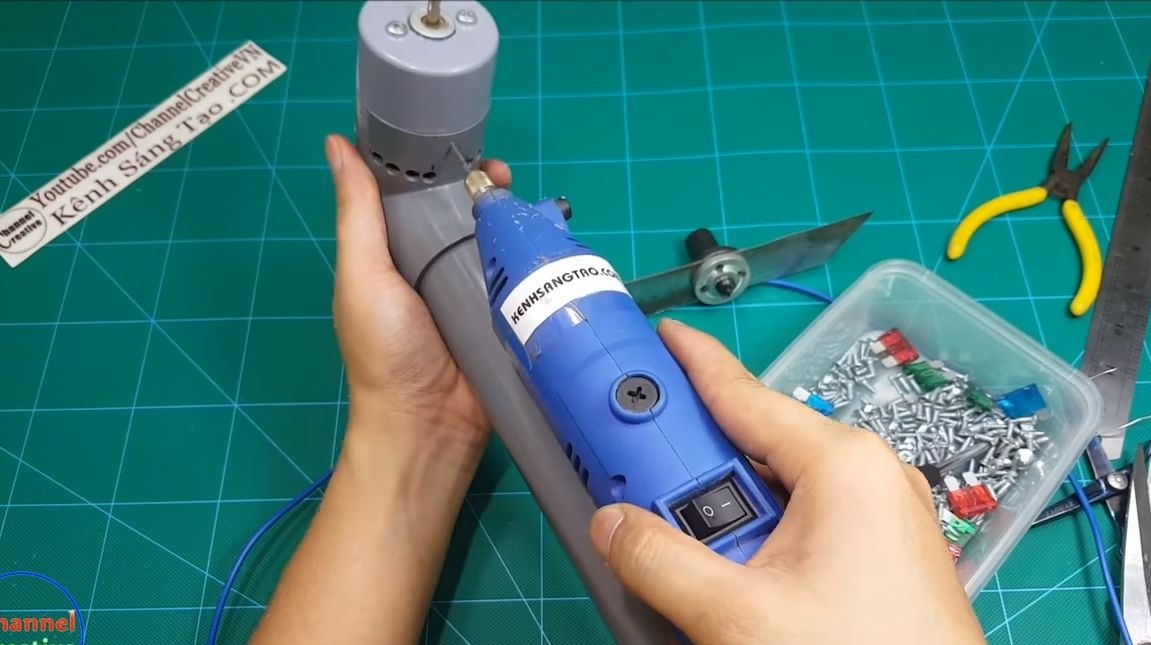
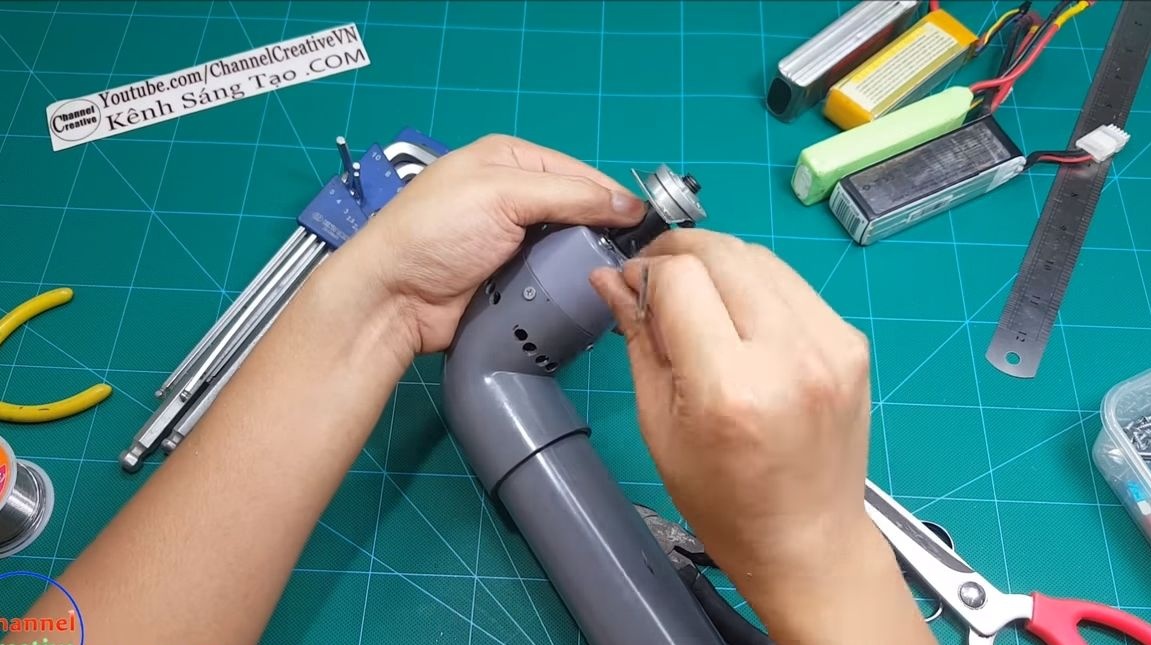
Step Two Install the engine
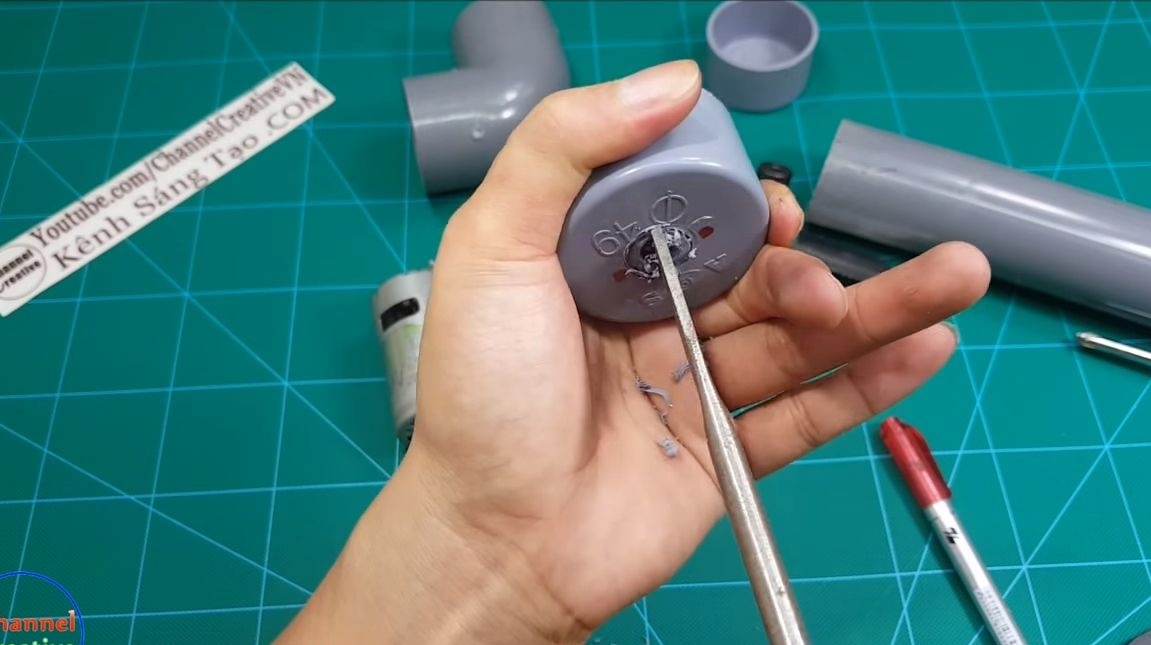
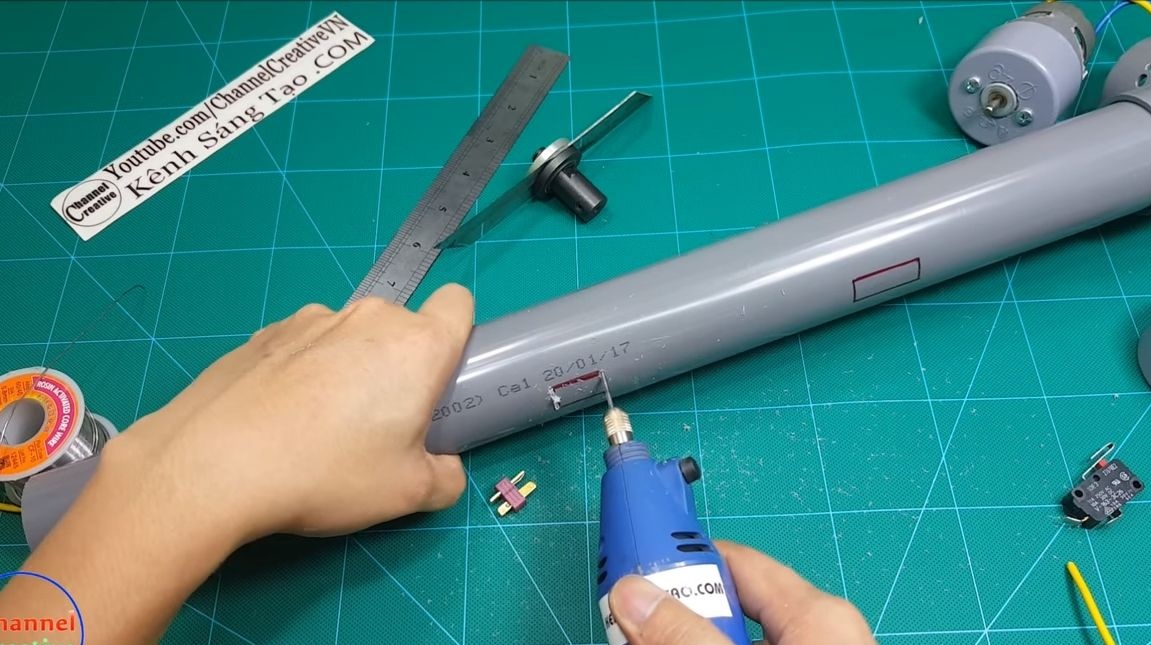
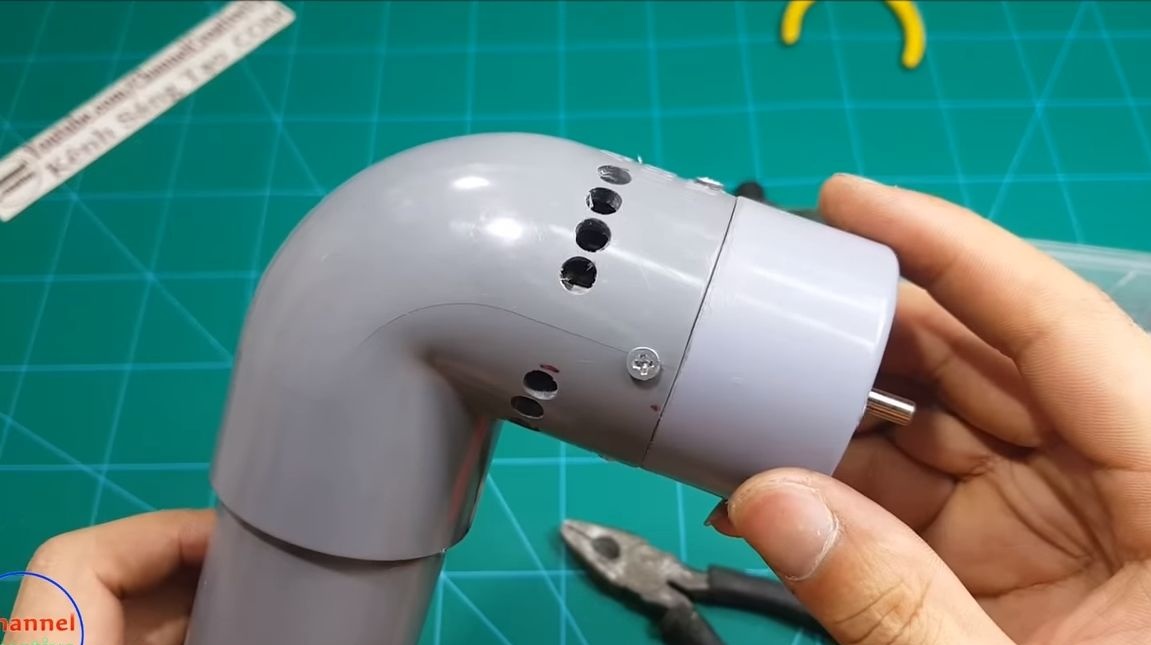
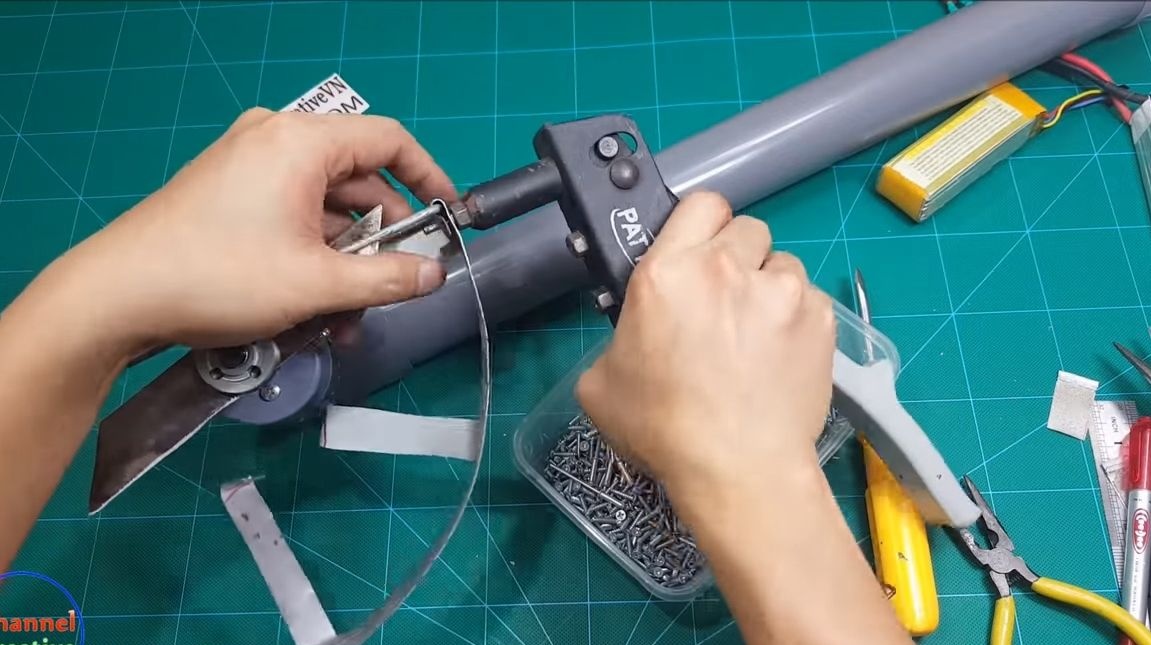
To mount the engine, you will need a pipe plug for “49”. In it we drill a hole for the protruding part of the engine, and also drill holes for the screws. Now it remains to screw the motor with screws.

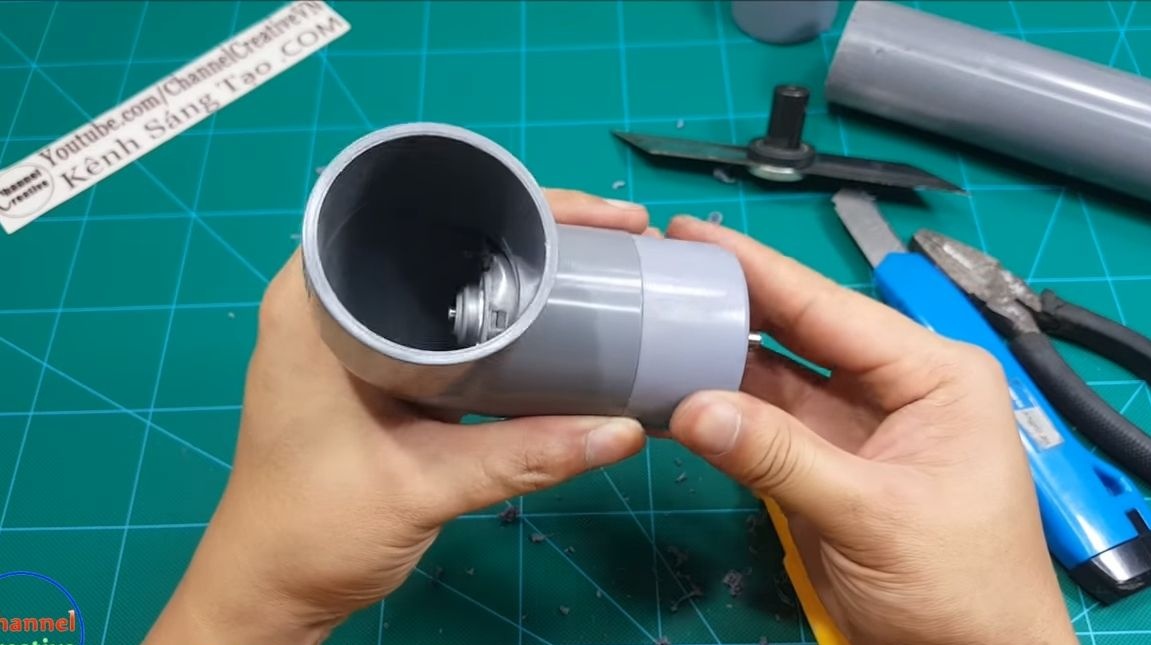
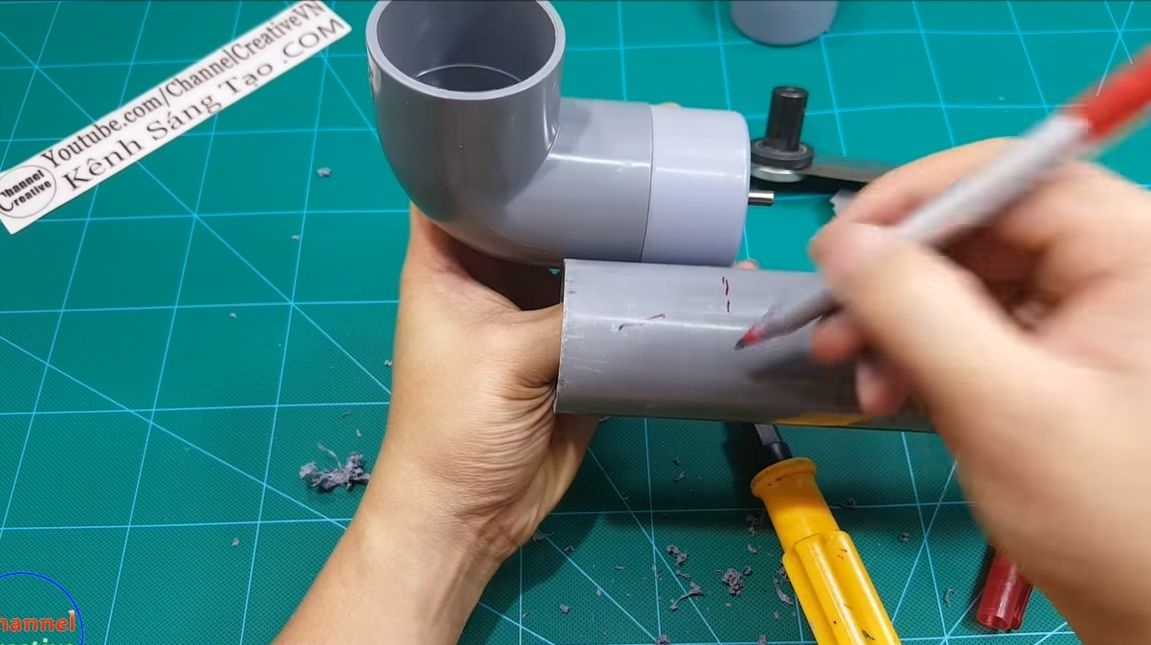

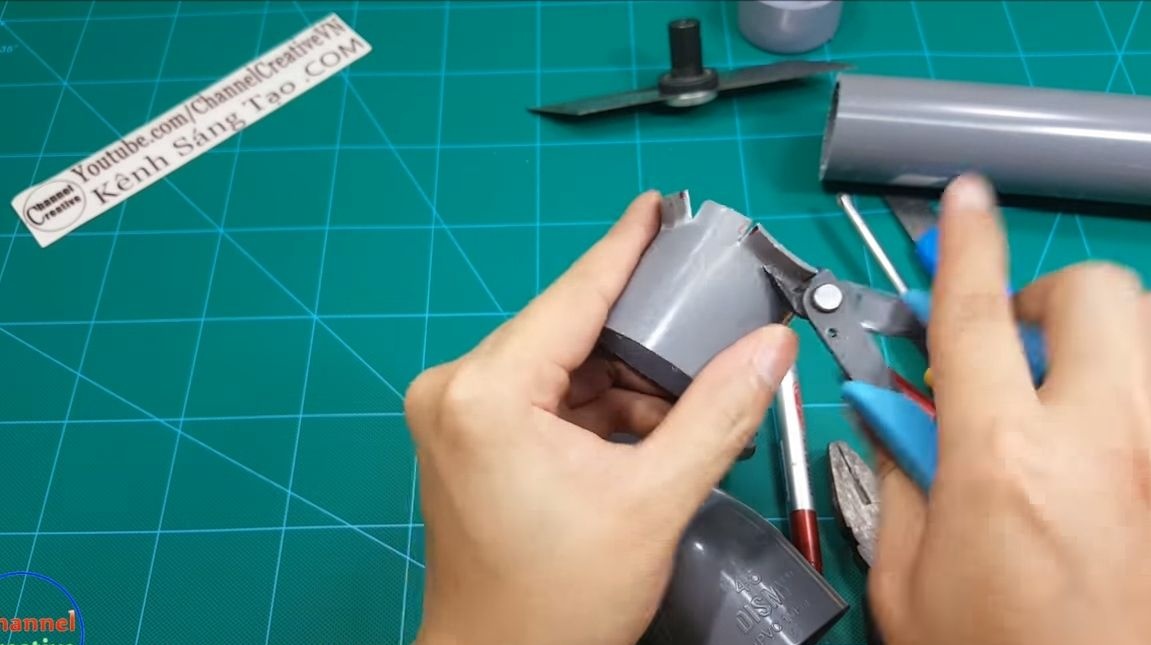
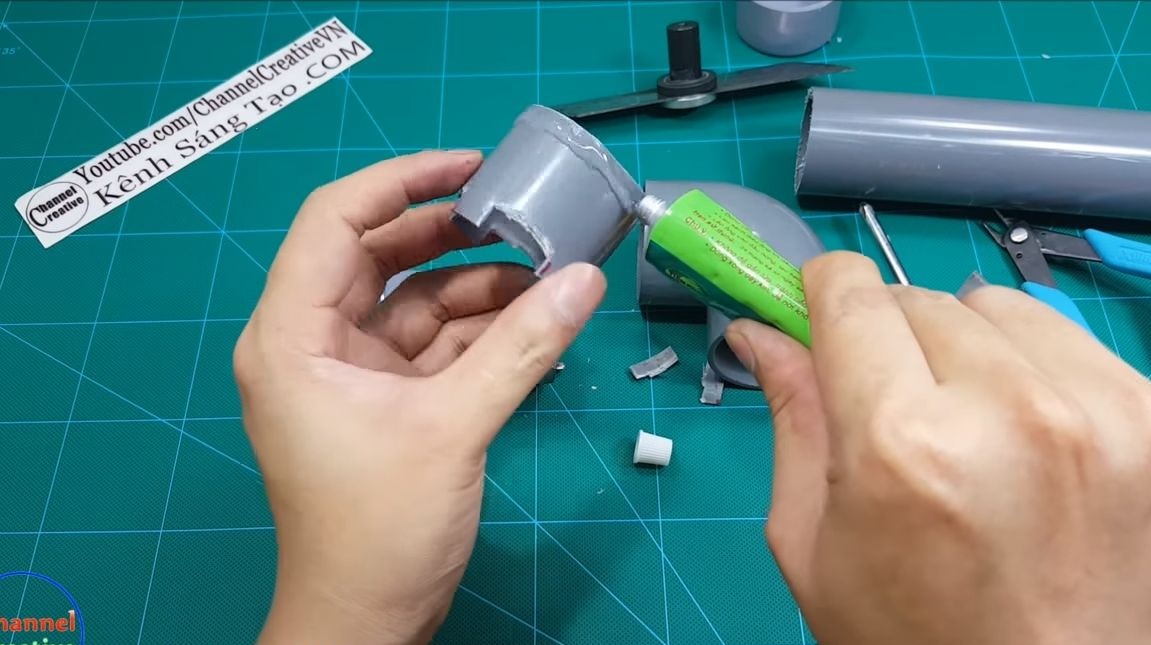
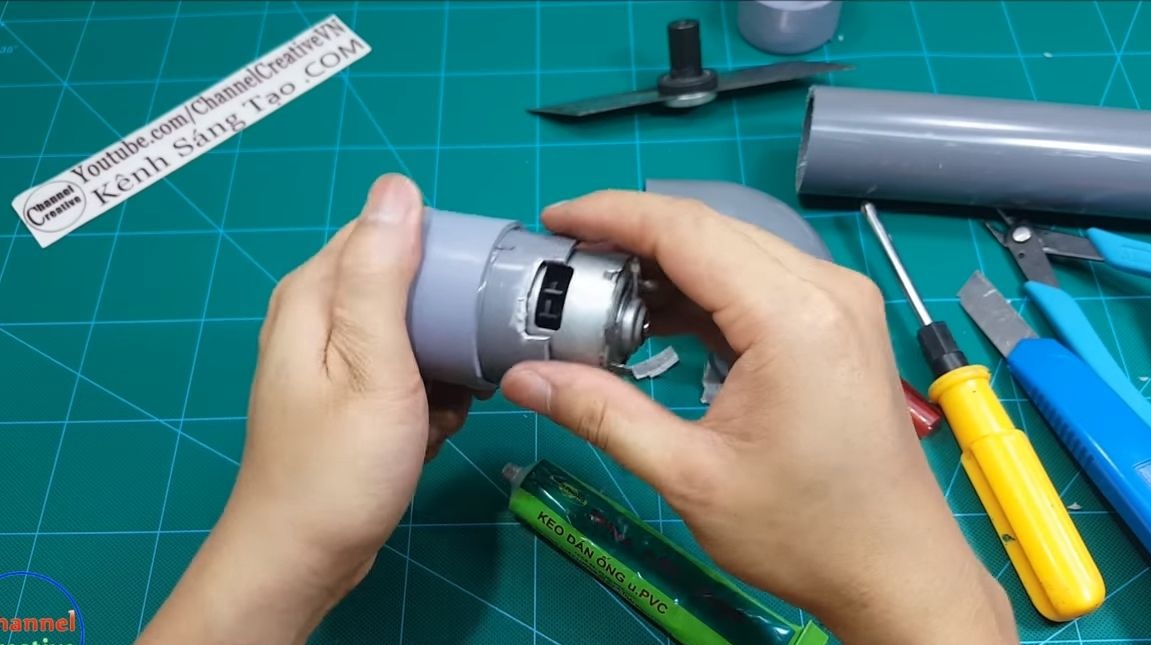
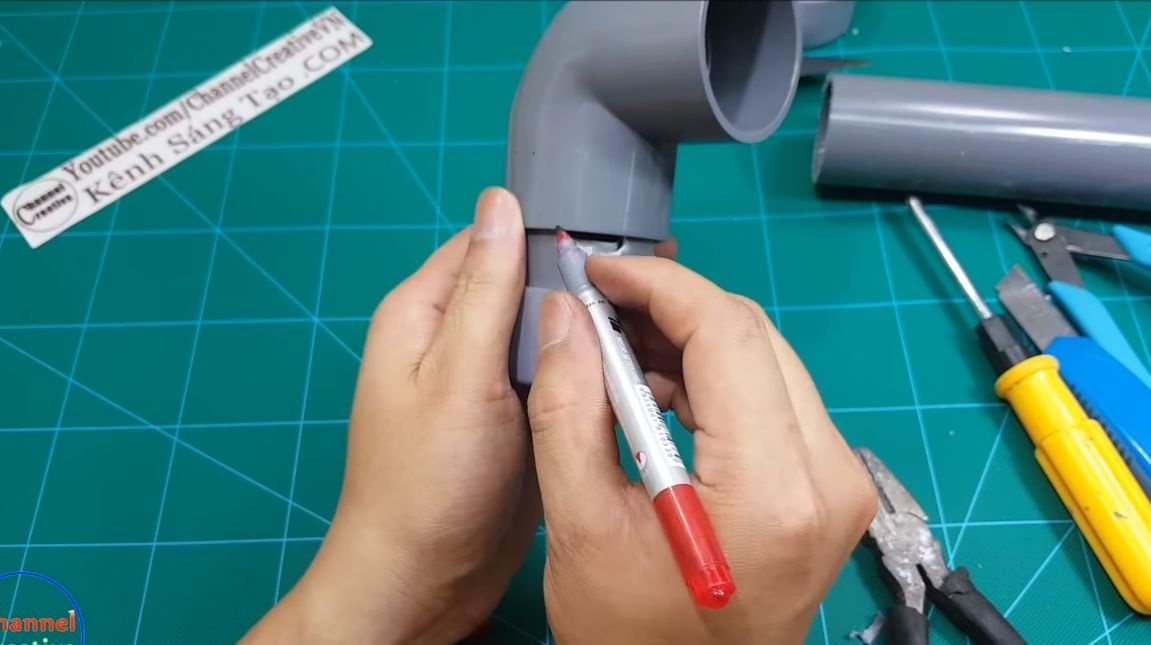
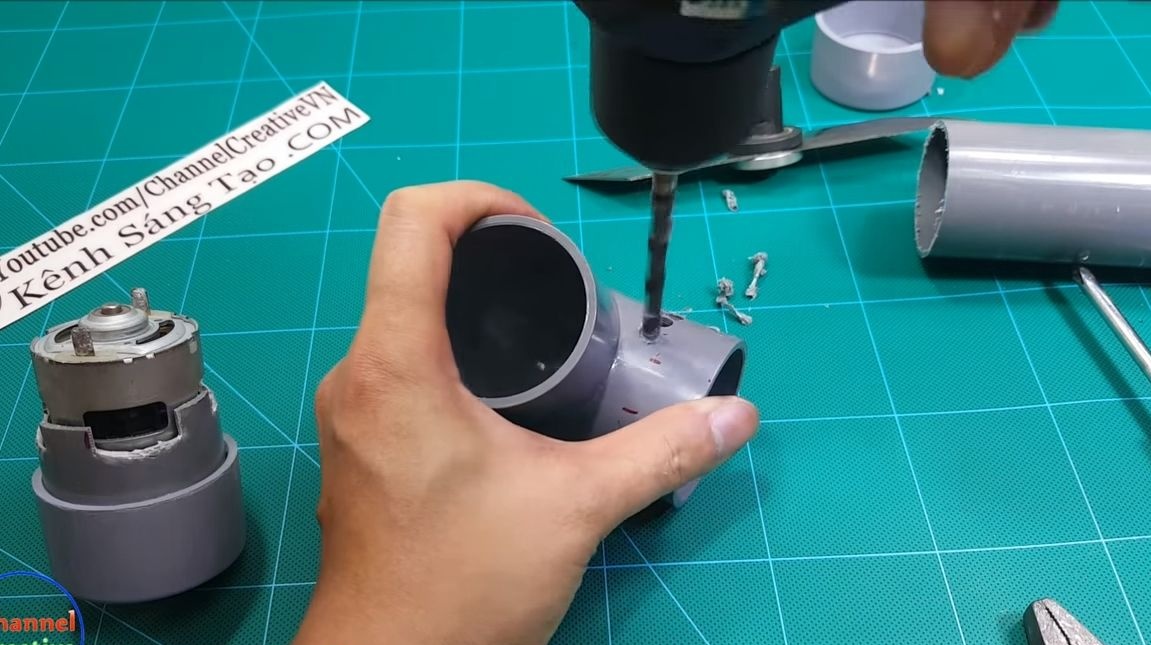
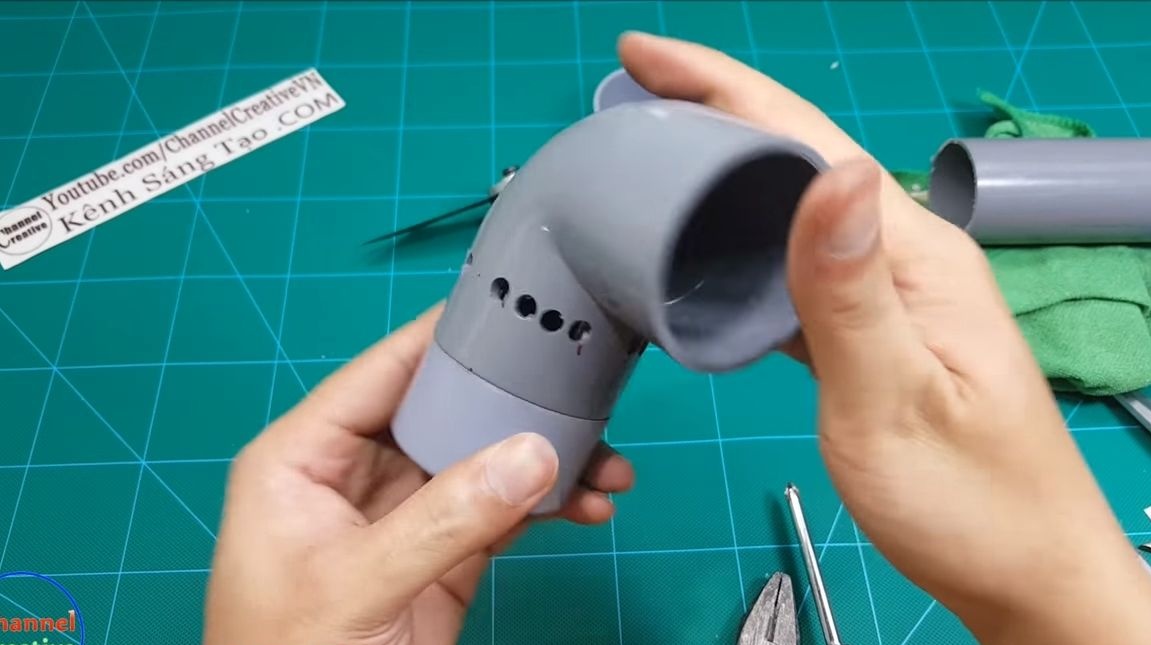
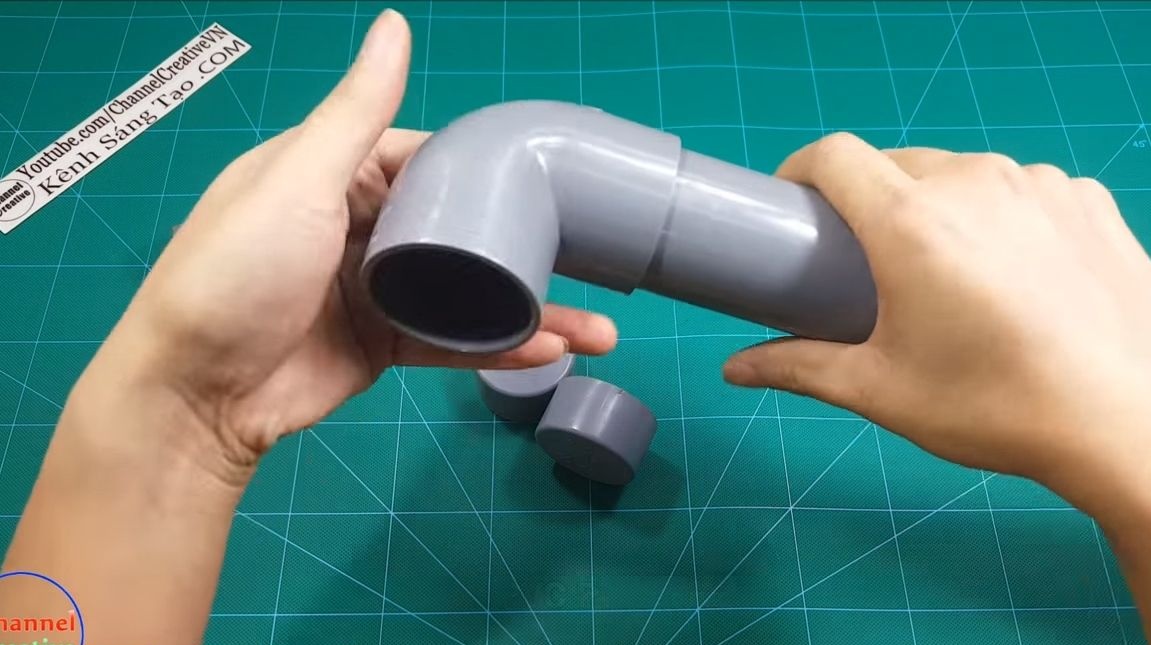
Next, you will need a connecting corner, it will be used in order to install the motor on the pipe. To connect the plugs with the connecting corner, you need to cut a piece of pipe, which is installed inside both parts on the glue. For the engine, be sure to cut the windows so that it can cool, otherwise the engine will quickly fail.
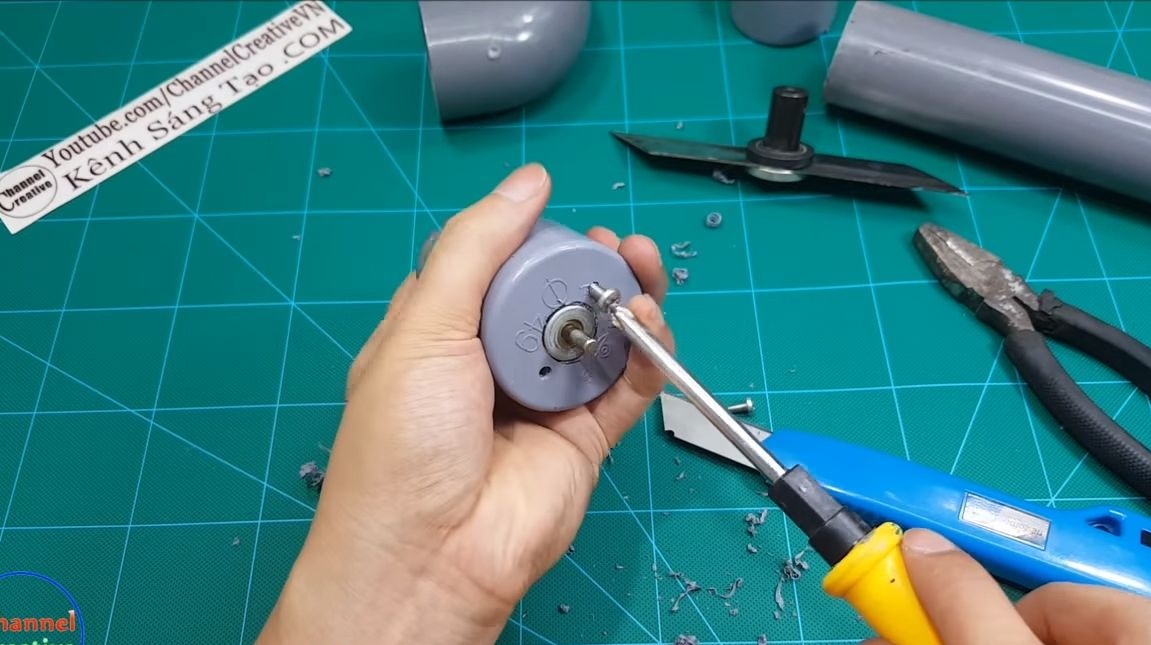
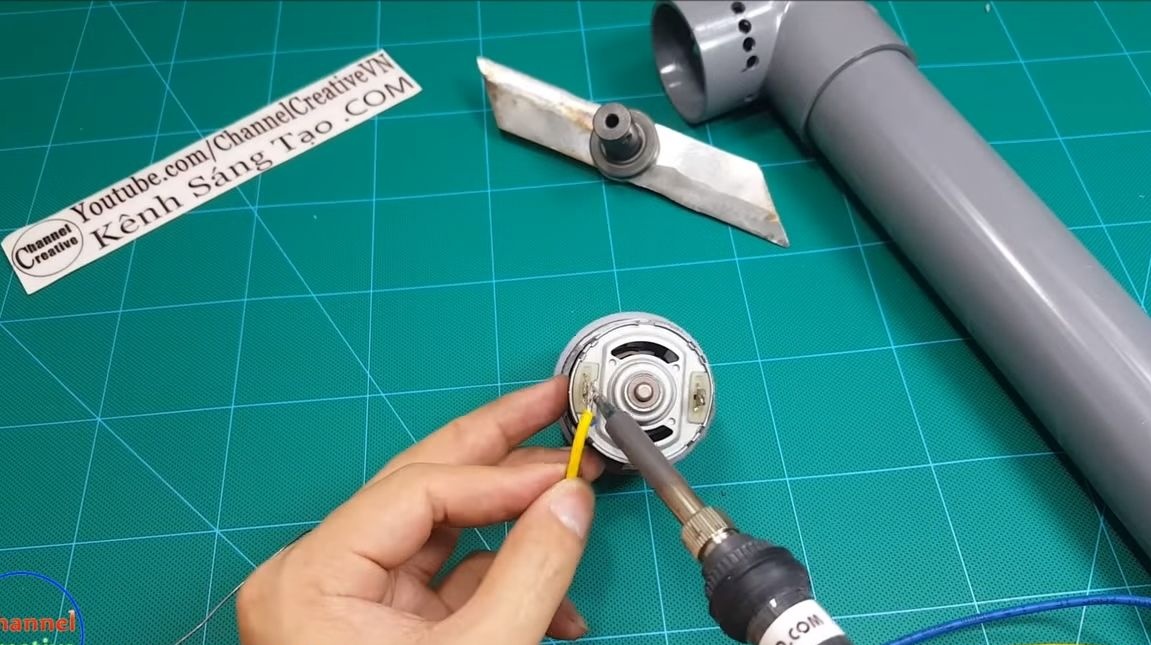
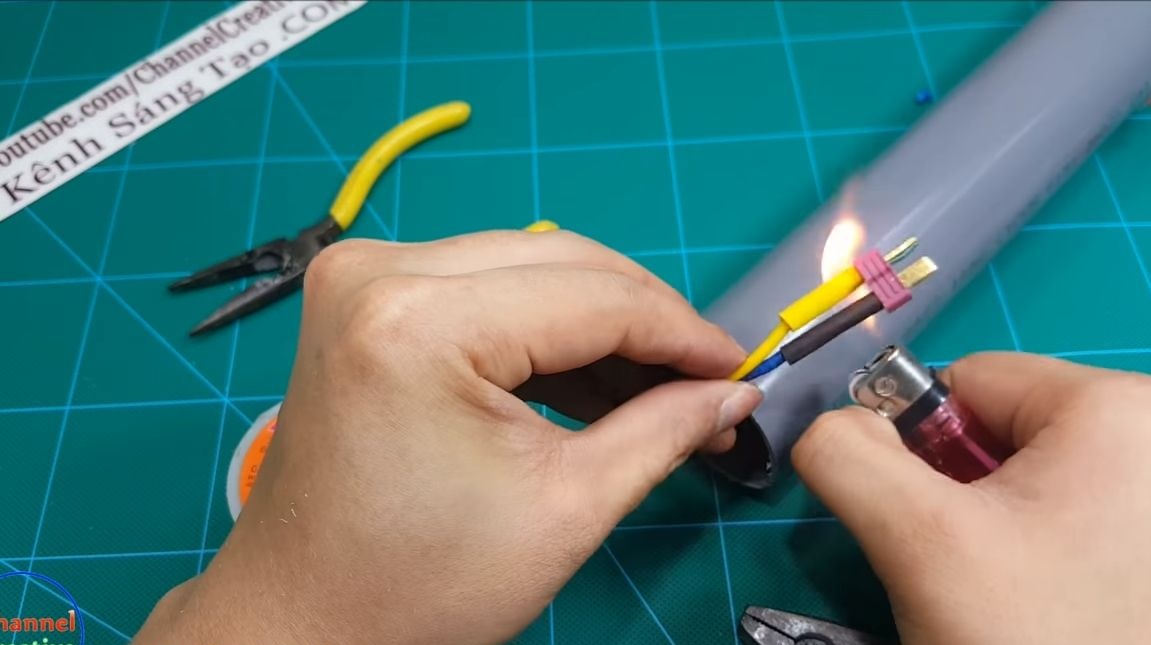
In the corner opposite the ventilation windows of the engine, one must also remember to drill rows of holes, this is a very important point. Well, then solder the wires to the motor and install a plug with the engine on the corner, using glue. And then we attach the pipe to the corner, also using glue. Additionally, the joints can be strengthened with screws.
Step Three Filling
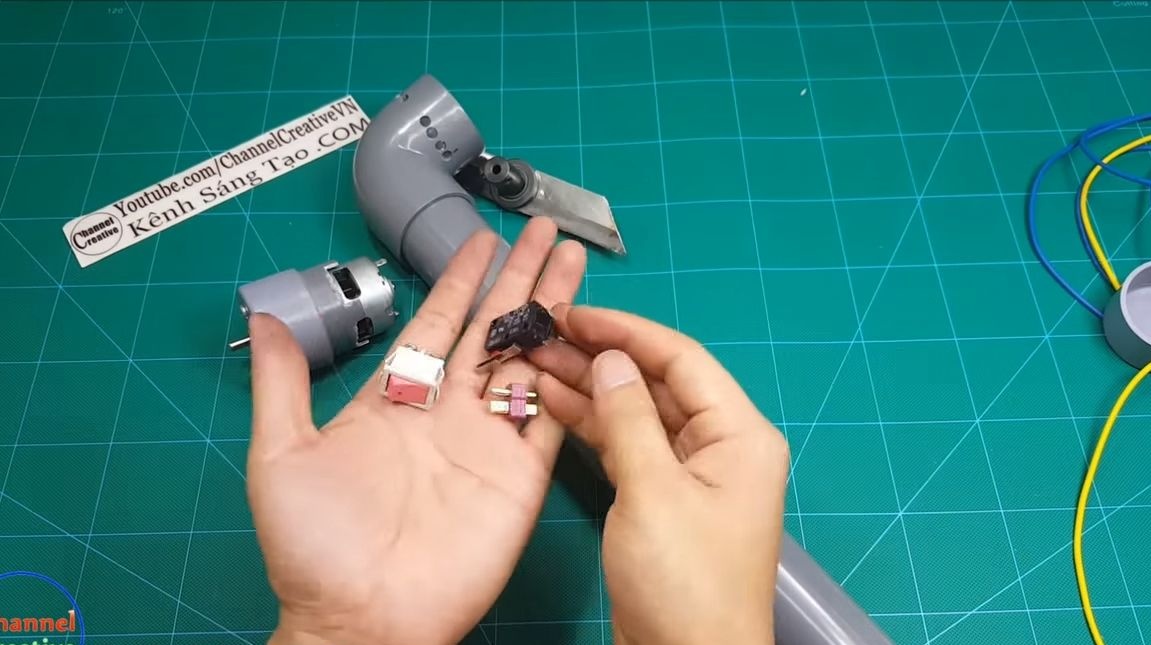
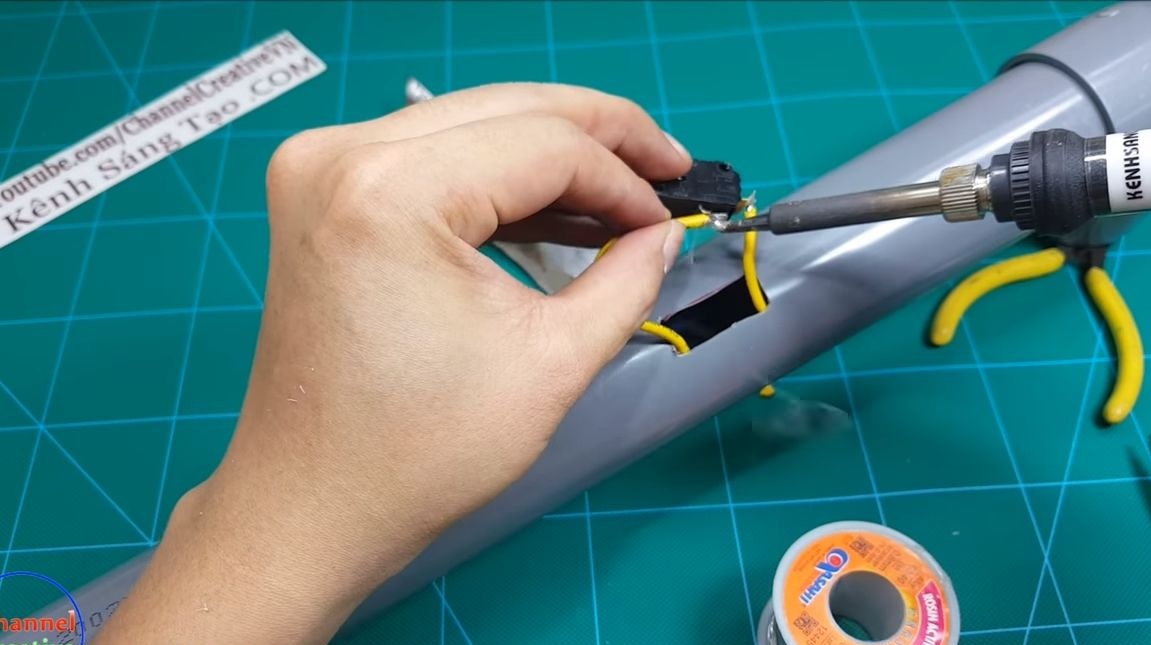
We install two switches on the case, this is necessary for safety. One switch completely de-energizes the instrument when you are not using it. And the second switch is a keyboard type, that is, the tool will be turned on as long as you hold the power button with your finger. It is convenient and safe.
We cut out seats for the switches, it is convenient to do this with a drill. But if there is no such tool, a soldering iron or a hot nail will do. The key switch is fixed with hot glue.

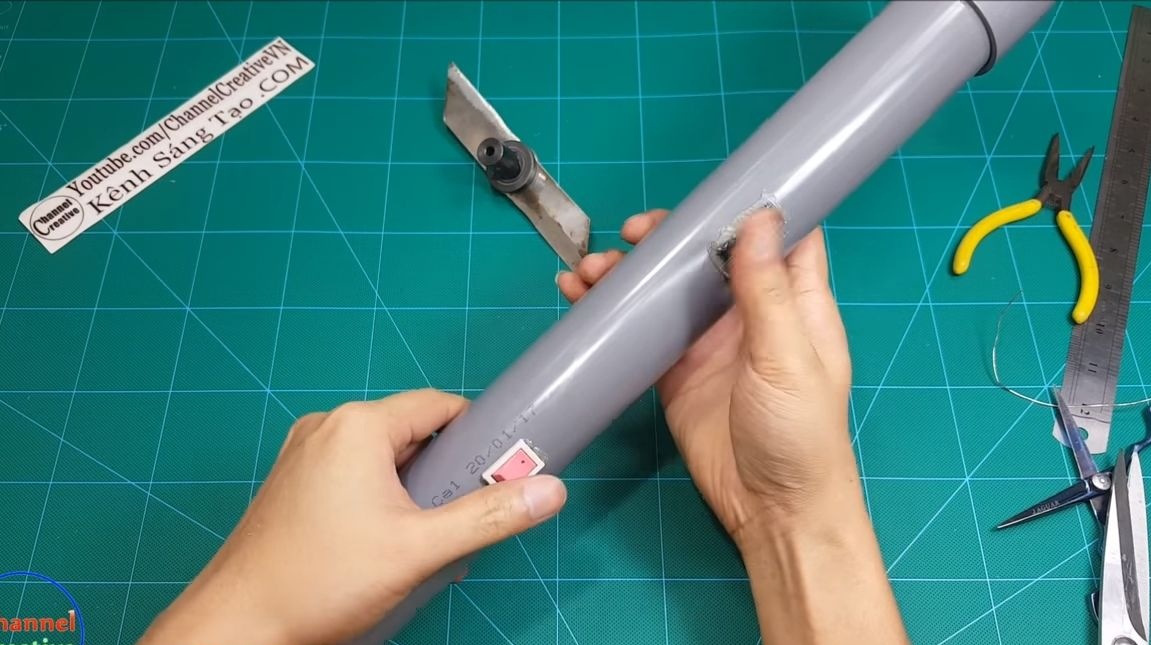

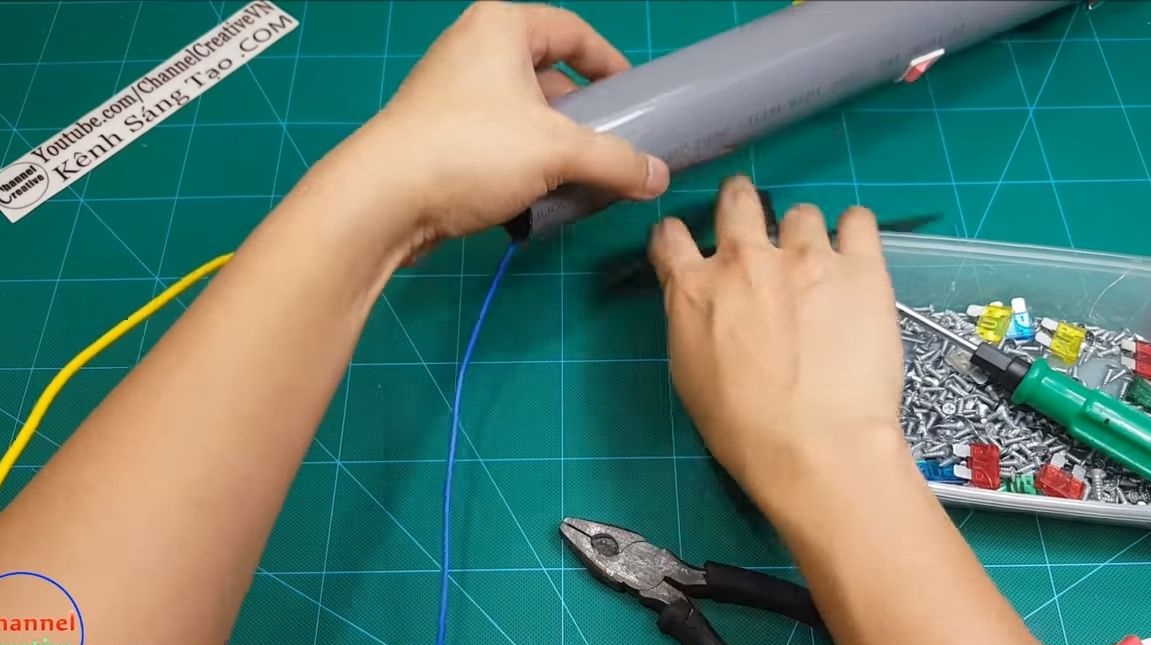
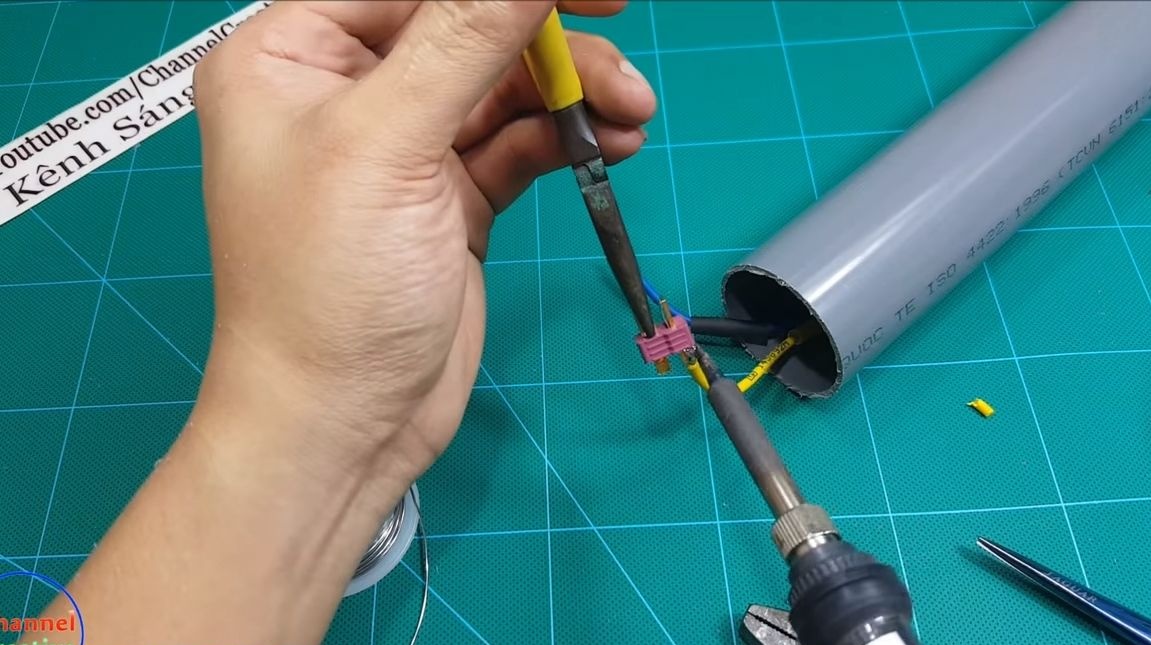
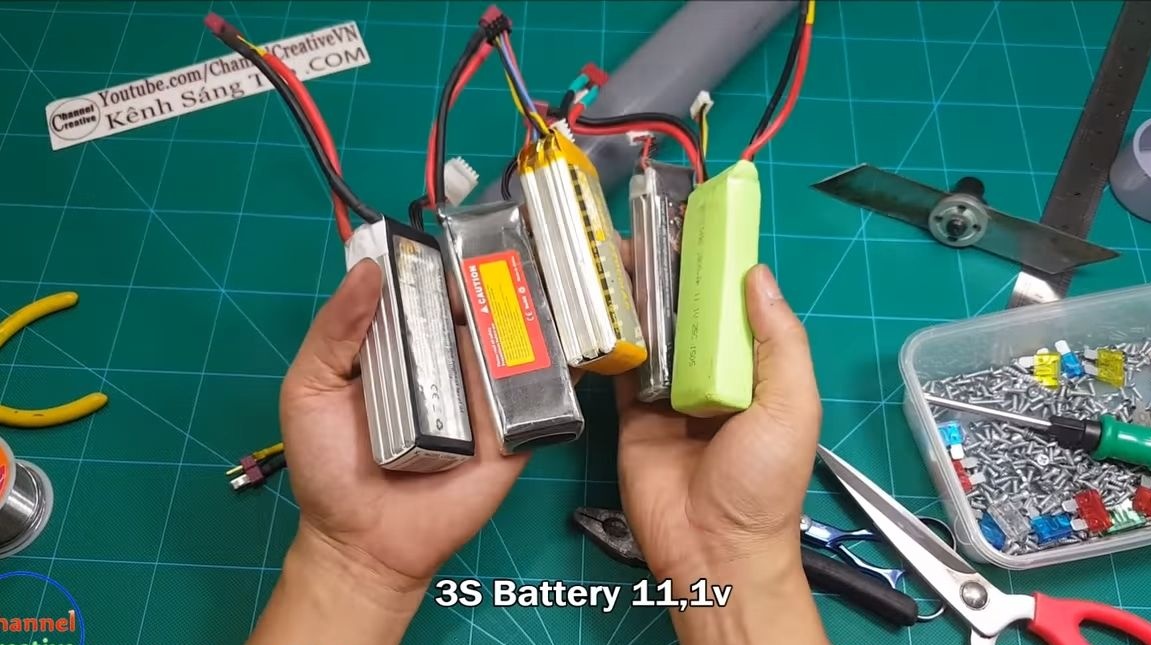

Now you can install the batteries. The author used 3 lithium batteries with an operating voltage of 11.1 Volts. They are good in that they are small and can be conveniently positioned in the case. The most important thing here is to think about how to remove the batteries for charging or make a socket for connecting a charger. After connecting, you can try to turn on the braid, but just do not try it in practice, since you still need to make a protective shield.
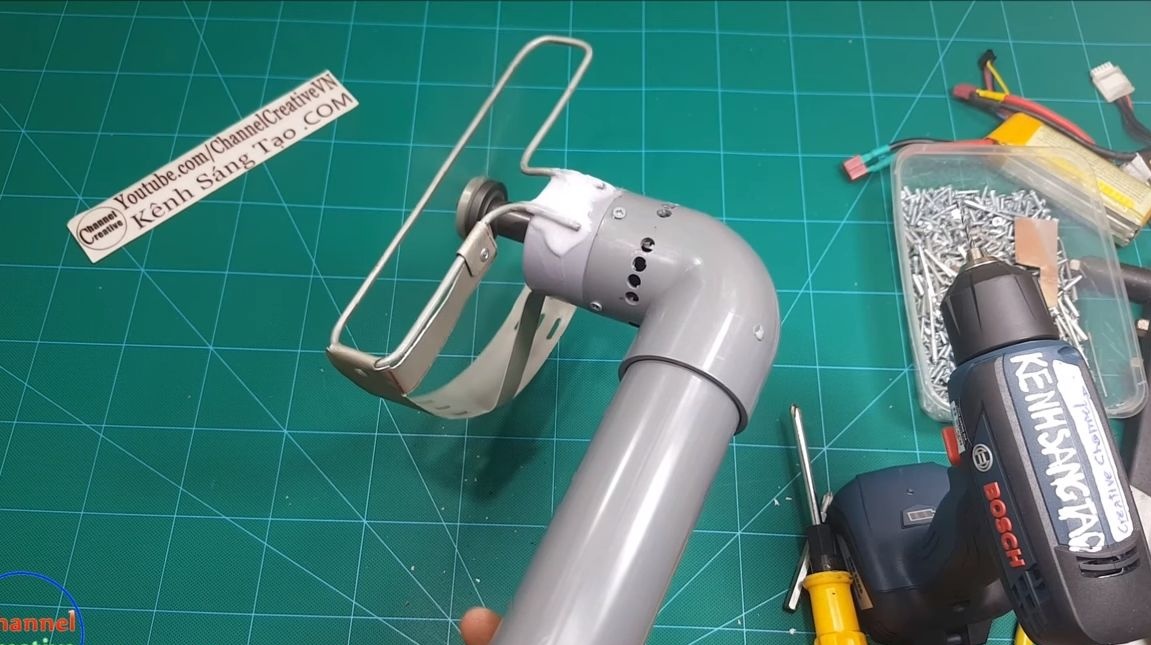
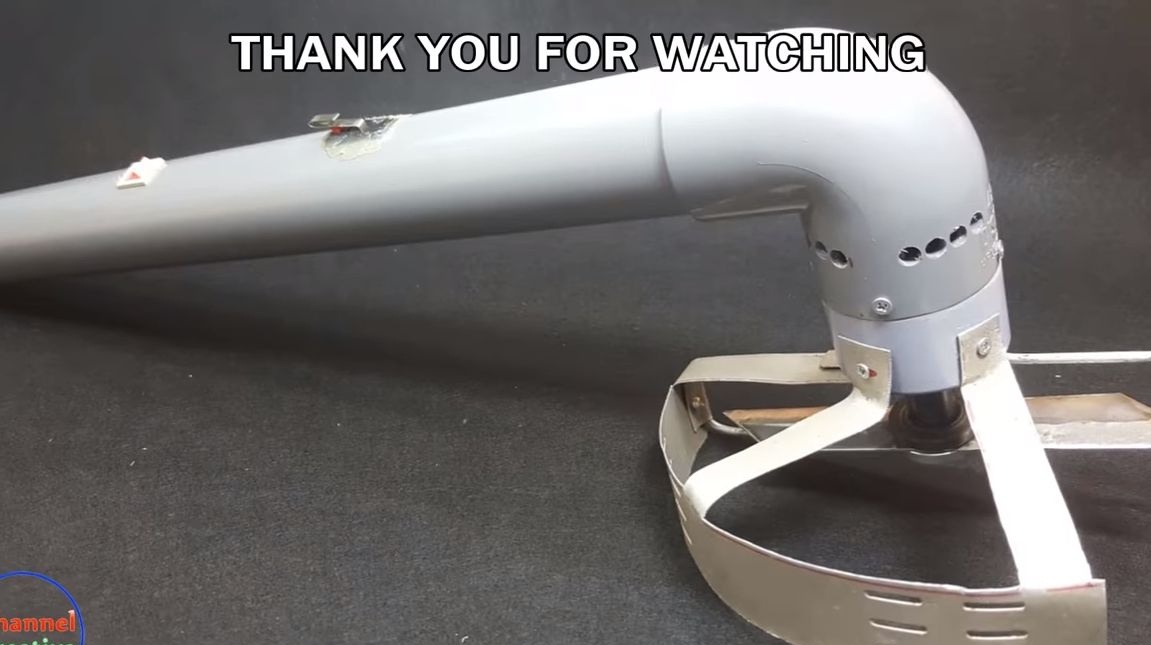
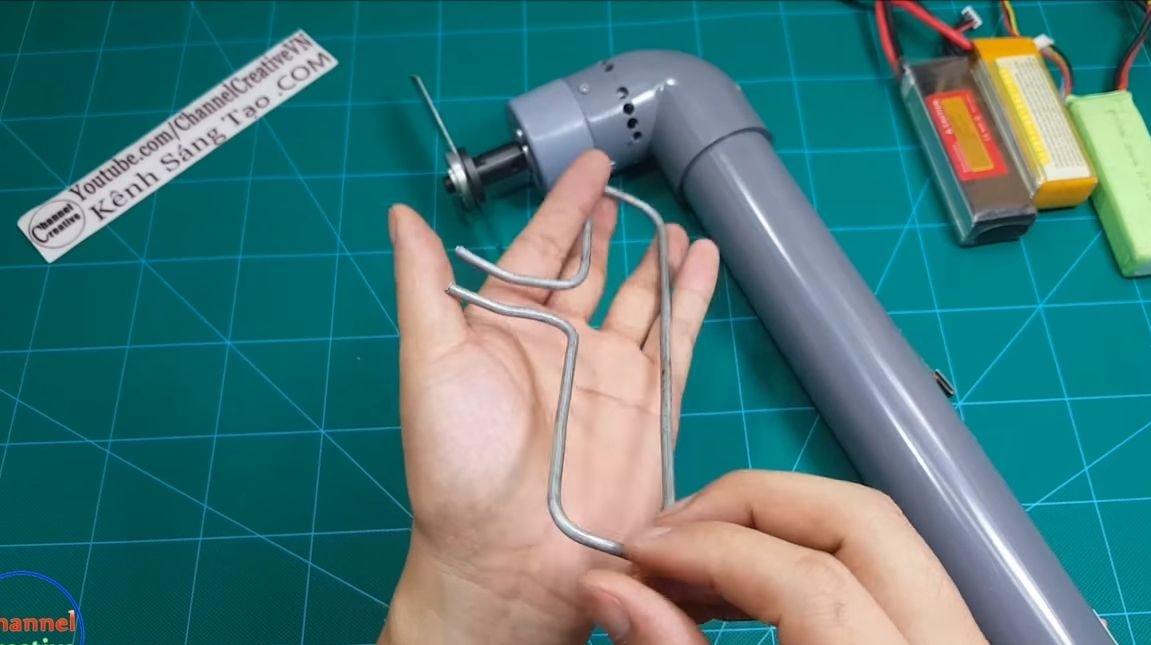
Step Four Protective shield
Necessarily a similar tool should have a protective shield, as otherwise dirt will fly into the eyes, and sometimes it can be pebbles, branches, etc. To make the shield we take a steel wire, from it we bend the base. What shape should it be, look at the photo. Now the frame can be fixed, for this we carefully clean the glued surfaces, the author uses a drill. As glue we use high-quality epoxy, apply more.
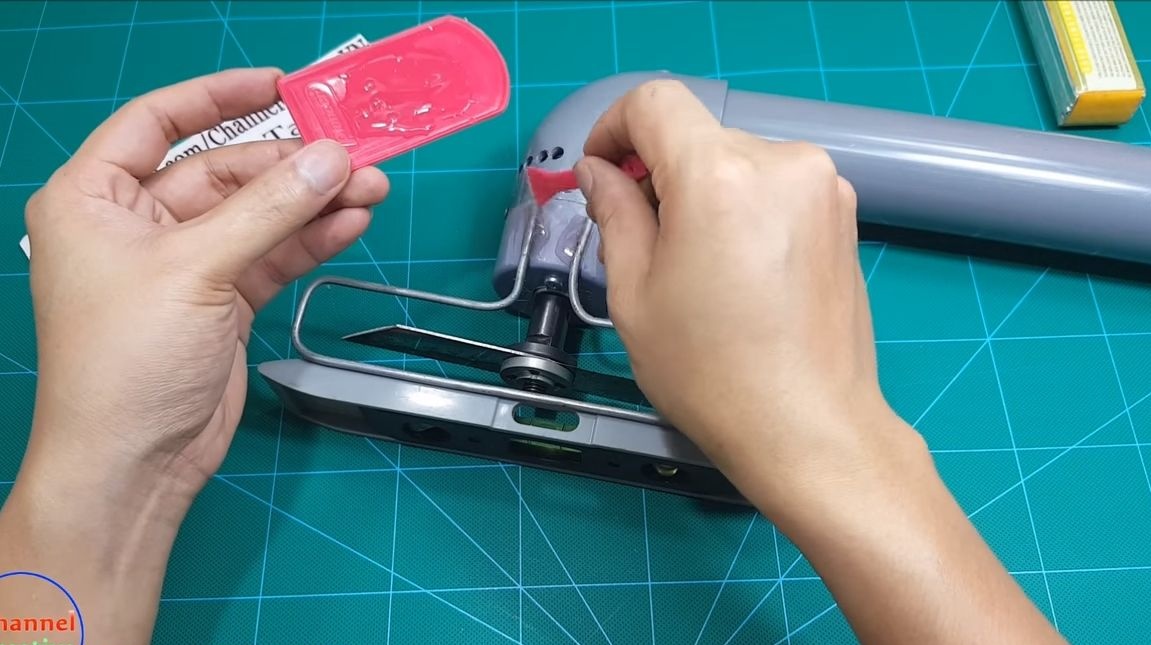
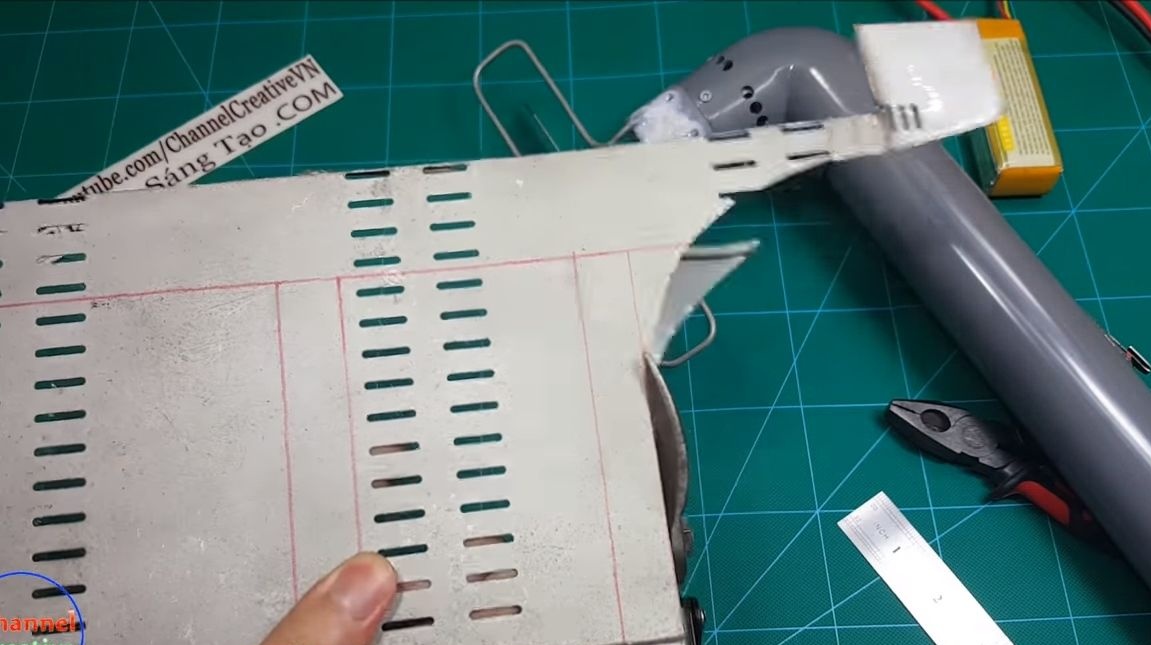
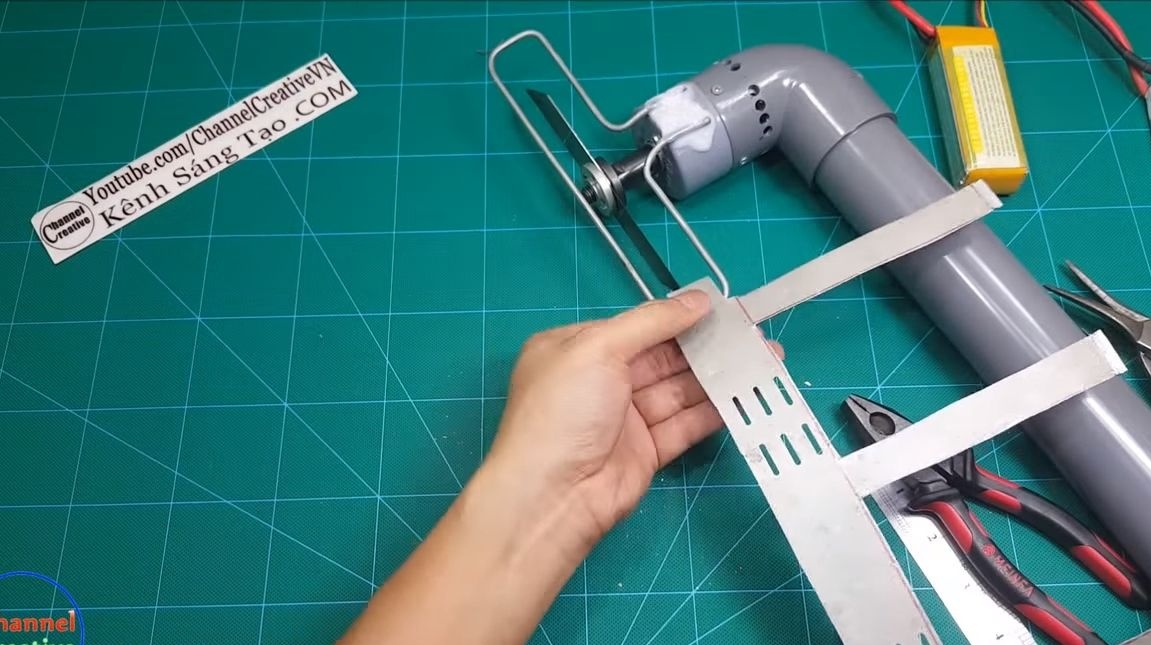

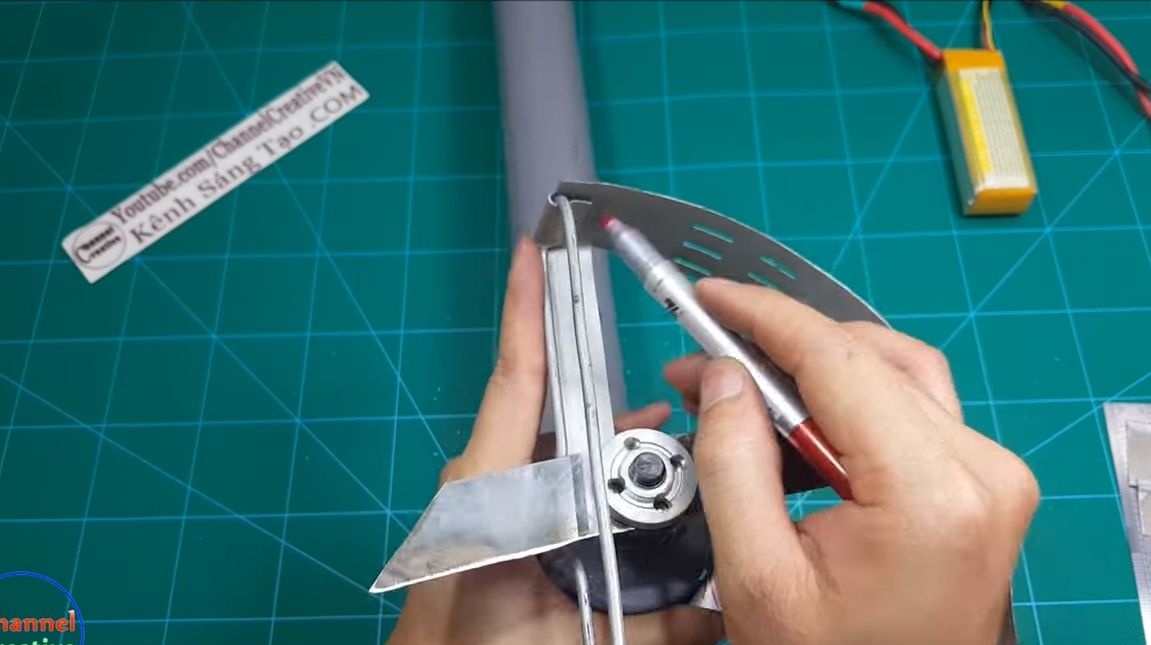
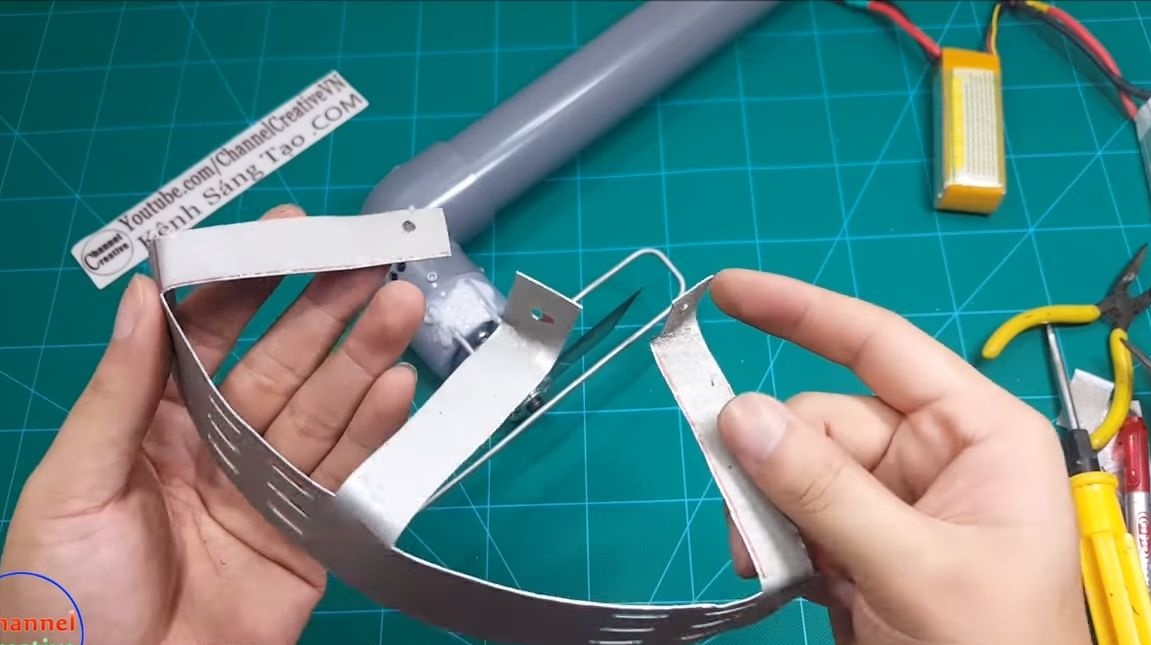
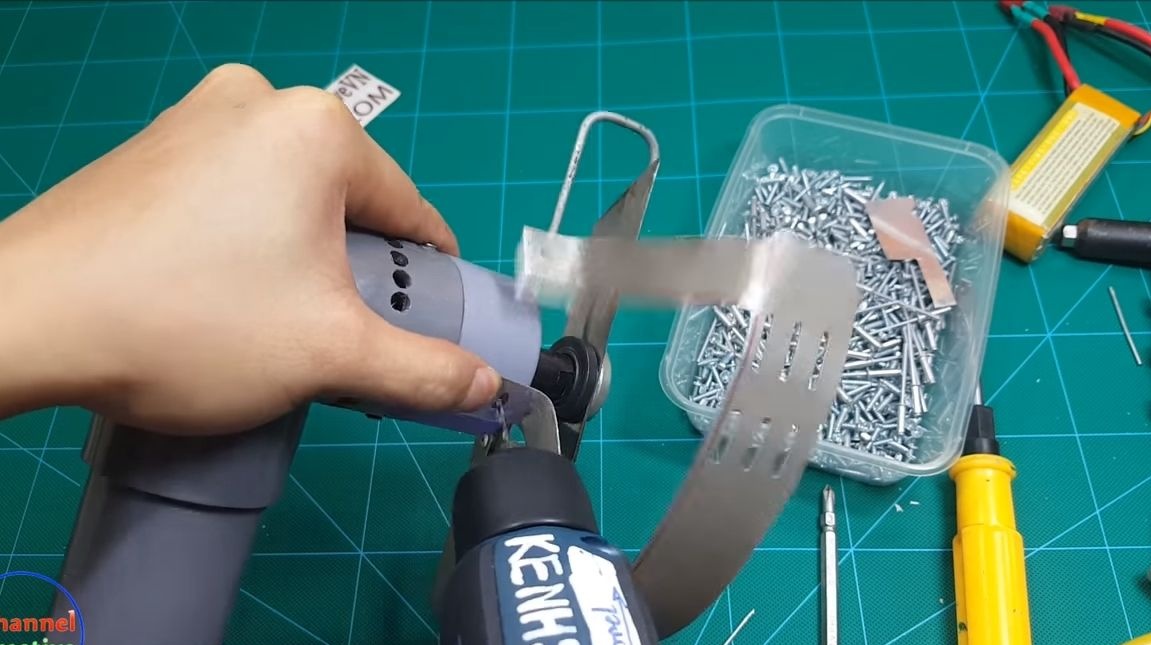
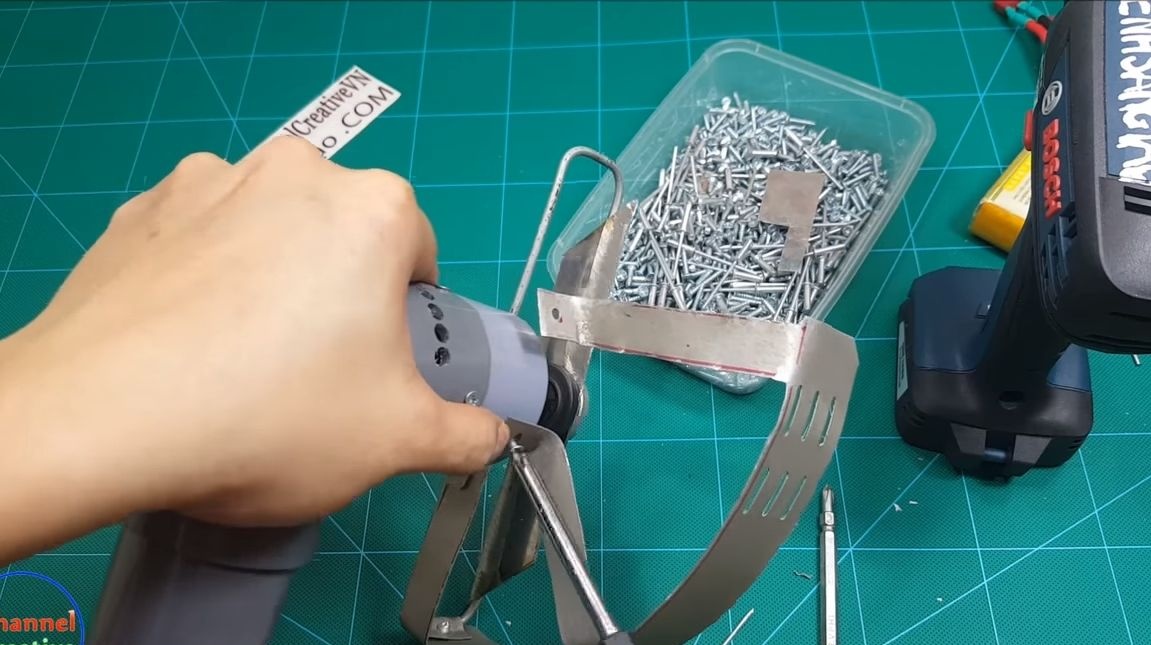

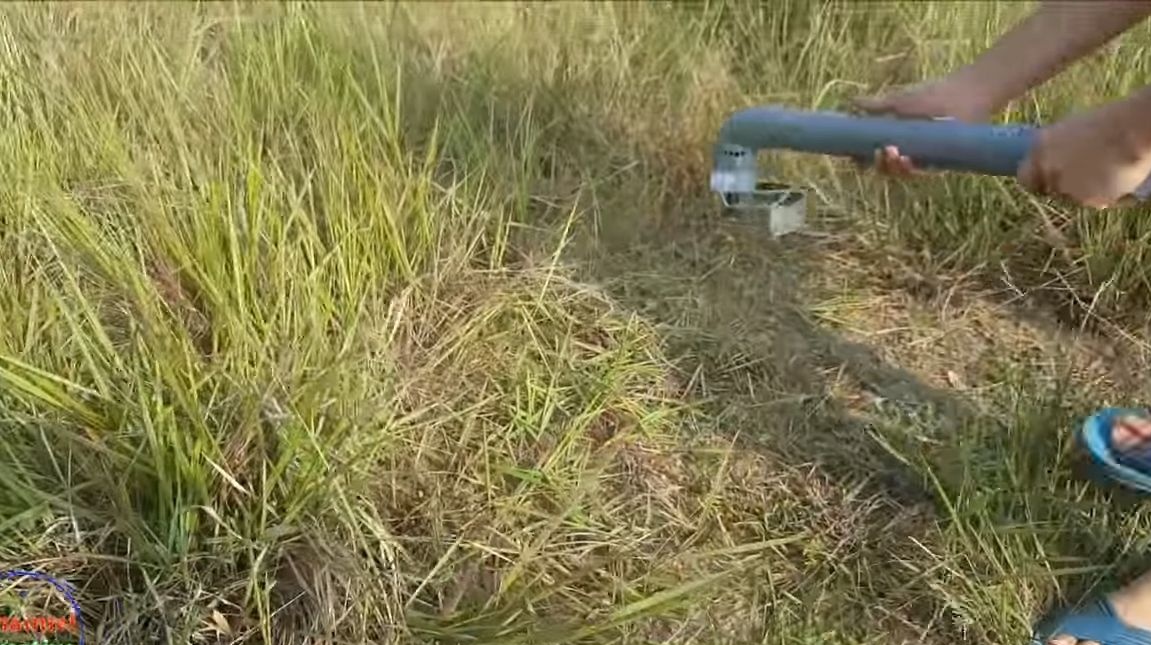
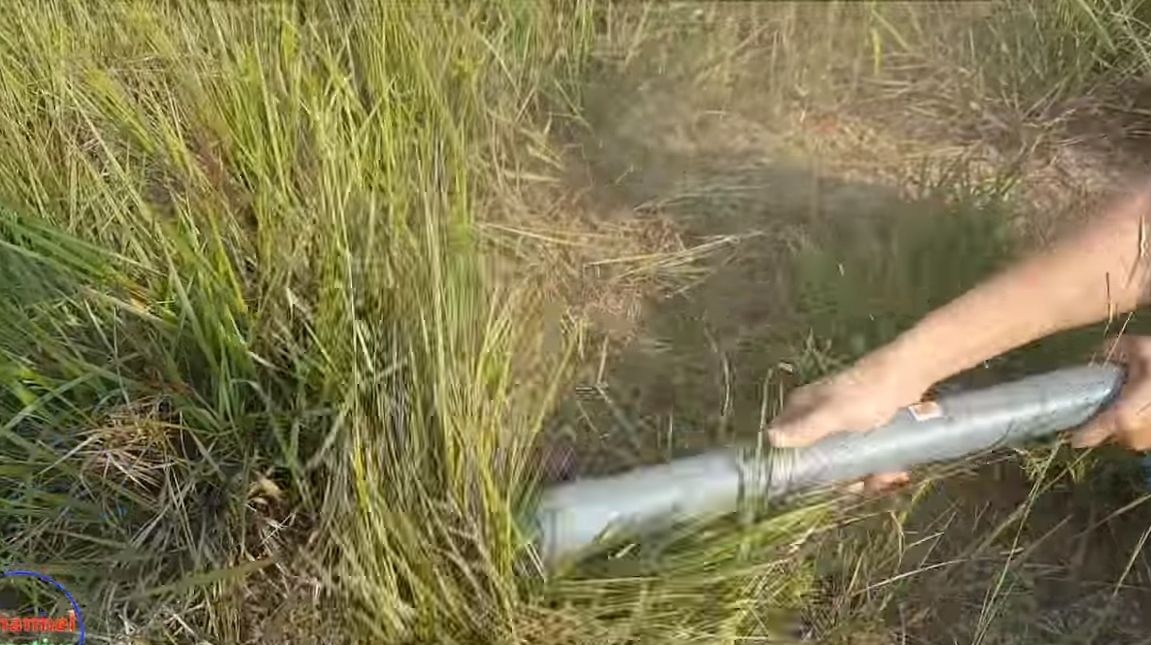
Now we need sheet steel, we need to cut out such a structure as the author in the photo. Well, then we bend and drill holes. The shield is attached to the frame with the help of home-made clamps that are connected with rivets. Well, fasten to the pipe with screws. That's it, the scythe is ready for battle! In the video, the author pretty confidently mows grass with her help. Of course, you cannot cut grass to a cow with its help, but to trim a flower bed, to cut grass to a hamster or a rabbit is a sweet deal.I hope you liked the homemade. That's all, good luck and take care!