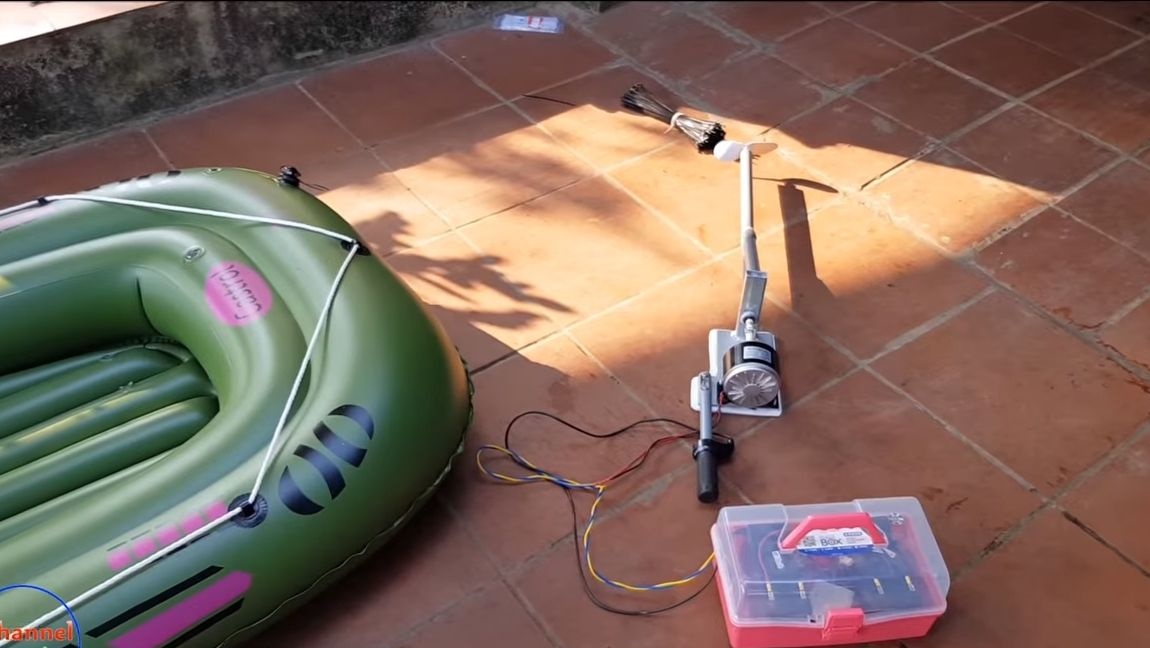
Do you have an inflatable boat and you want to equip it with a small motor? Then this instruction is for you! In this instruction, we will discuss how to make a simple installation that you can install on your boat, turning it into a motor one. We will use an electric engine, this is good because the boat will be silent, not counting the propeller. From such a boat it will be very convenient to fish. In addition, the electric motor does not need to start every time, it is always ready to go!
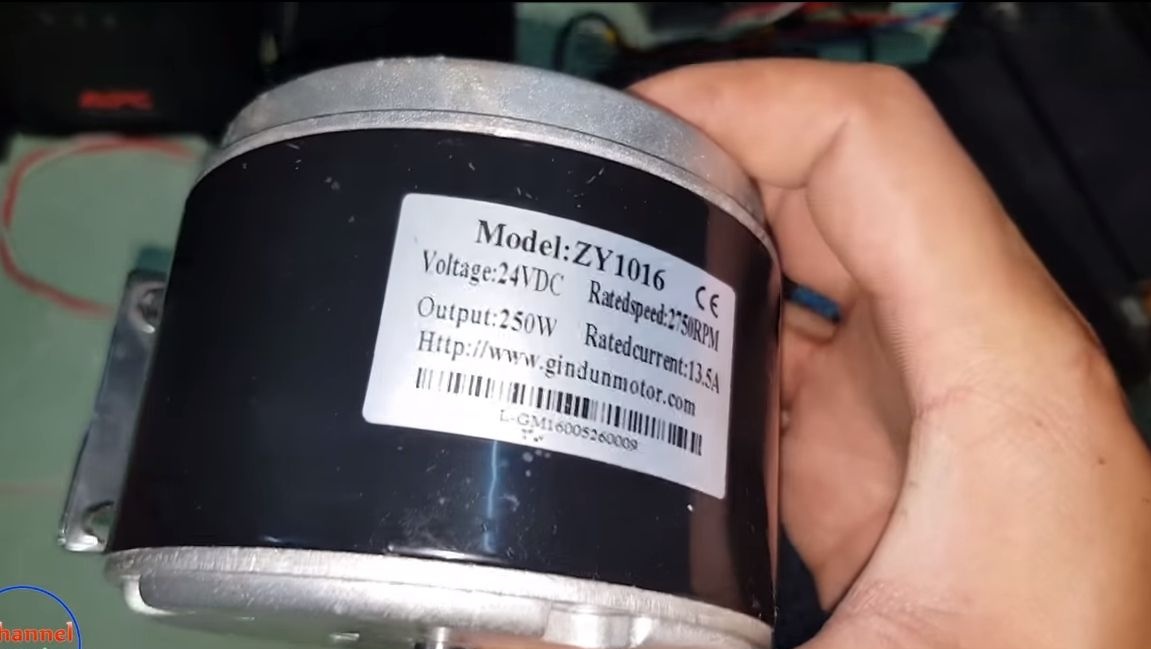
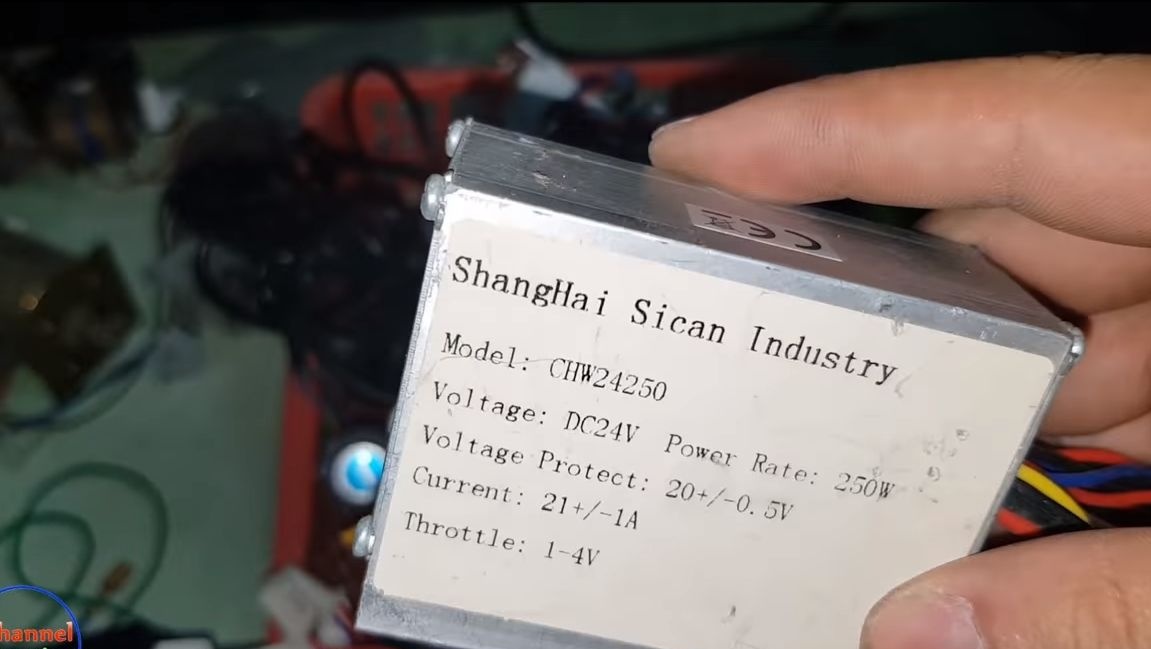
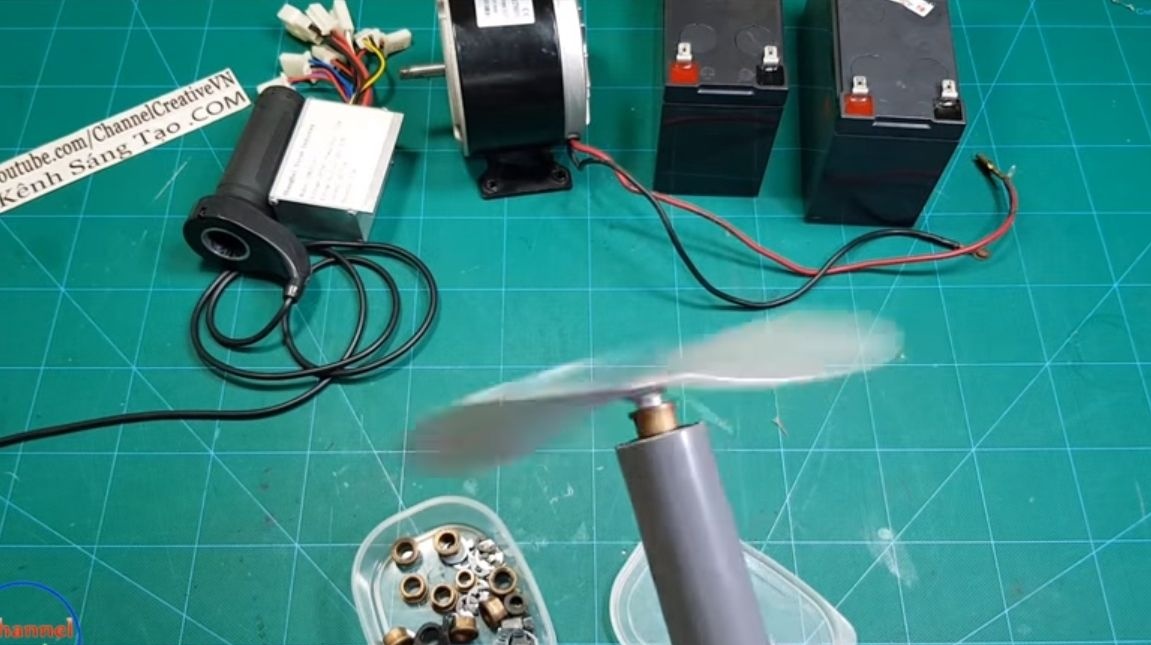
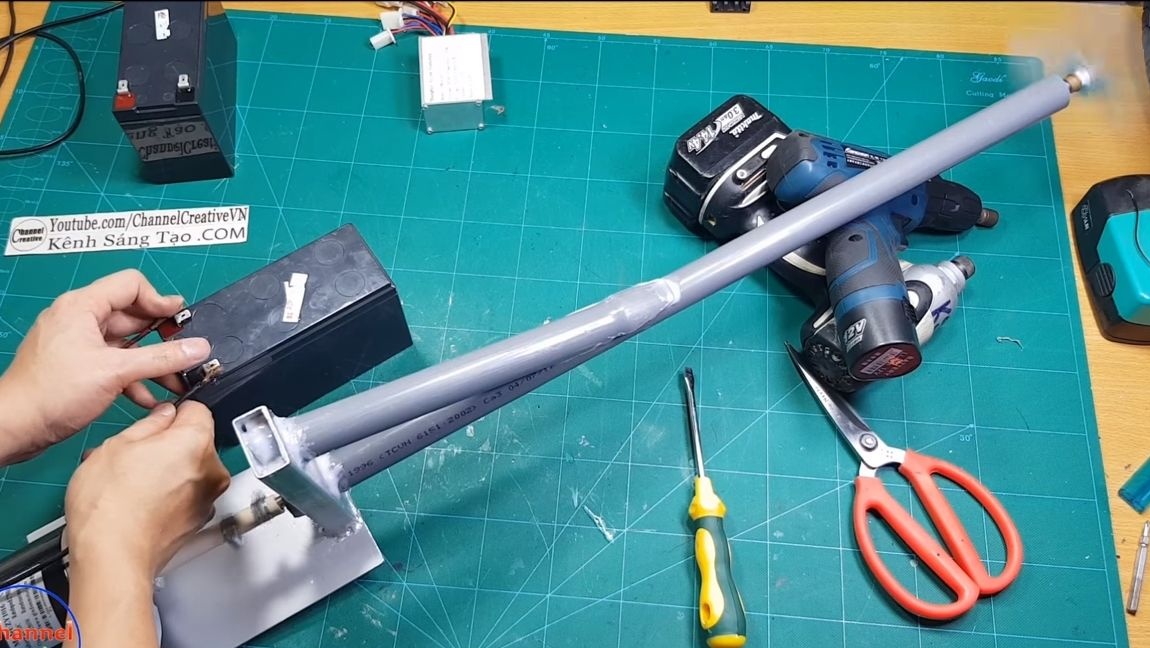
The engine we will use is quite powerful, this is a 24V device with a power of 250 watts. The engine is powered by two 12V batteries each, which are connected in series. Among other things, the circuit has a speed controller, so you can smoothly adjust the speed using the knob. This will save charge and also ensure the safe use of the boat. We will do the drive shaft manually, it is going to be very simple, you will need a piece of pipe and a metal rod. So, we will consider in more detail how to make such a thing!
Materials and tools used by the author:
Material List:
- PVC pipe;
- a steel rod (like a shaft);
- two bearings;
- two batteries of 12V;
- ;
- CHW24250;
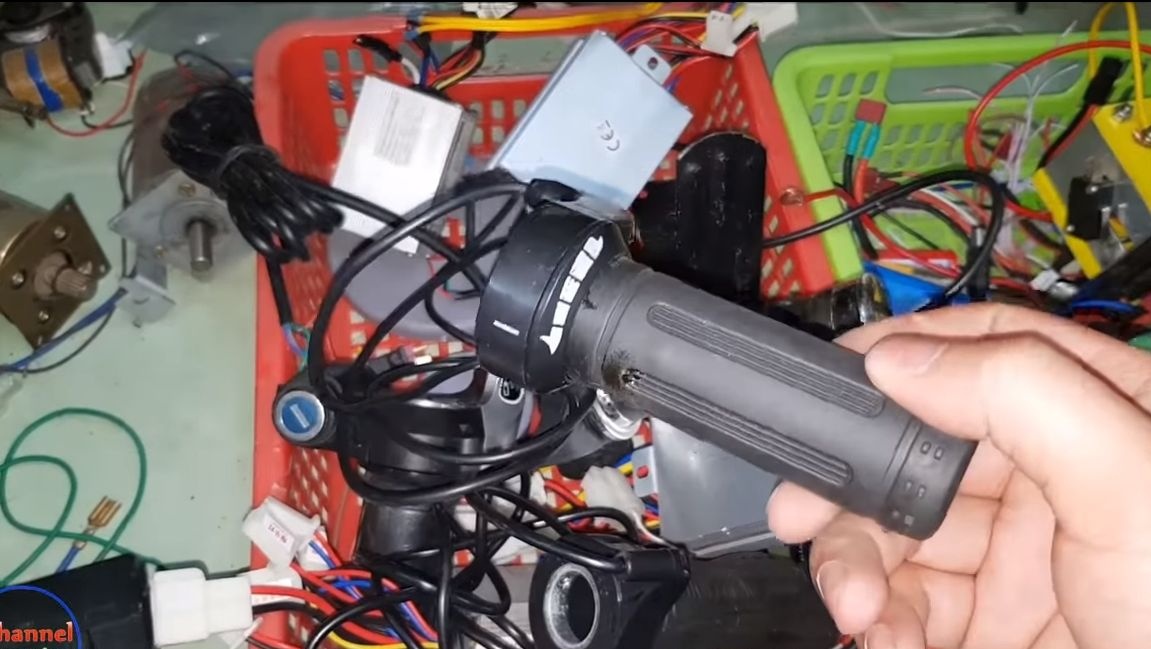
- electronic control knob;
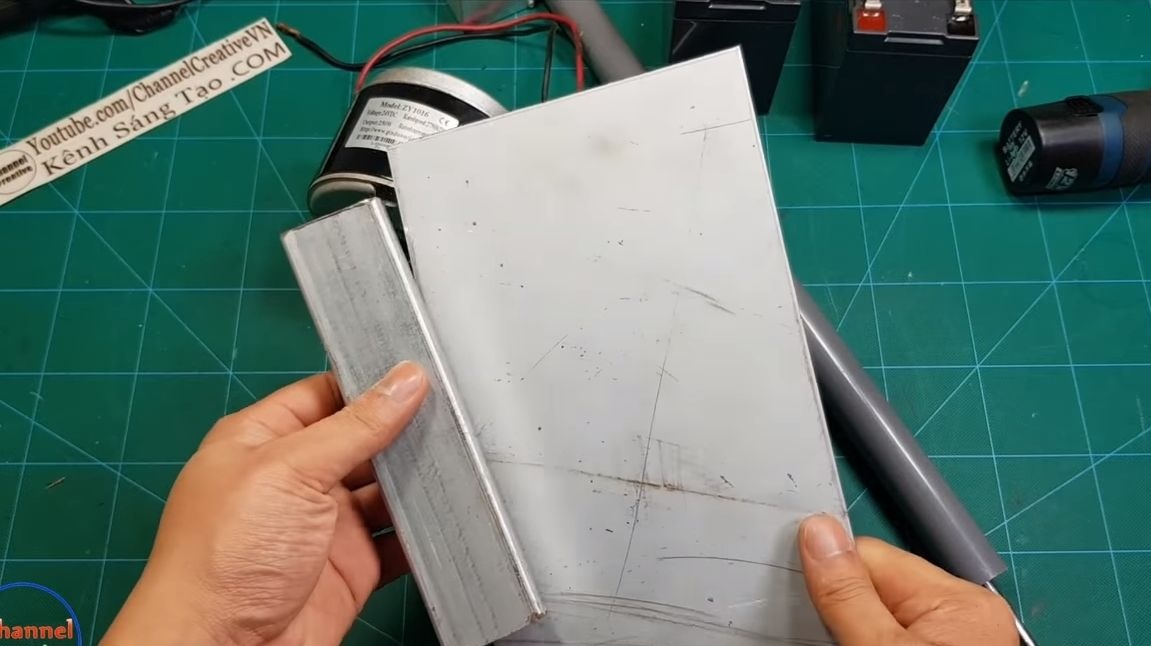
- sheet metal (to make a screw);
- square metal pipe;
- a piece of rubber hose and metal clamps (for coupling);
- bolts, plastic ties and other little things.
Tool List:
- a hacksaw for metal;
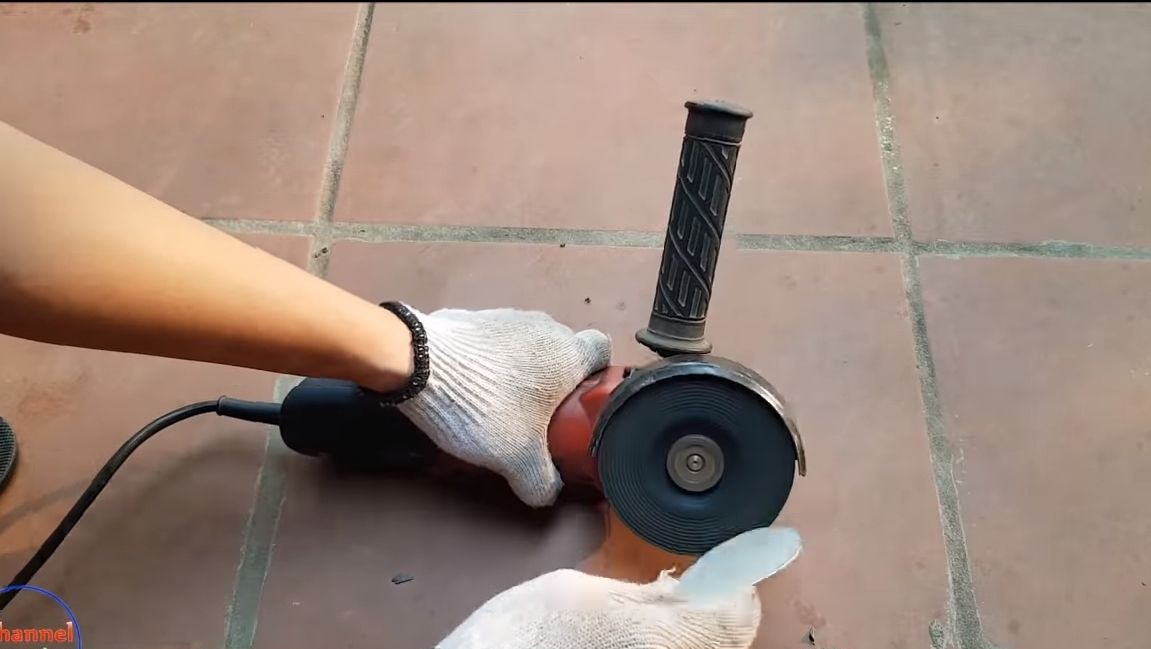
- grinder;
- drill;
- spanners;
- marker;
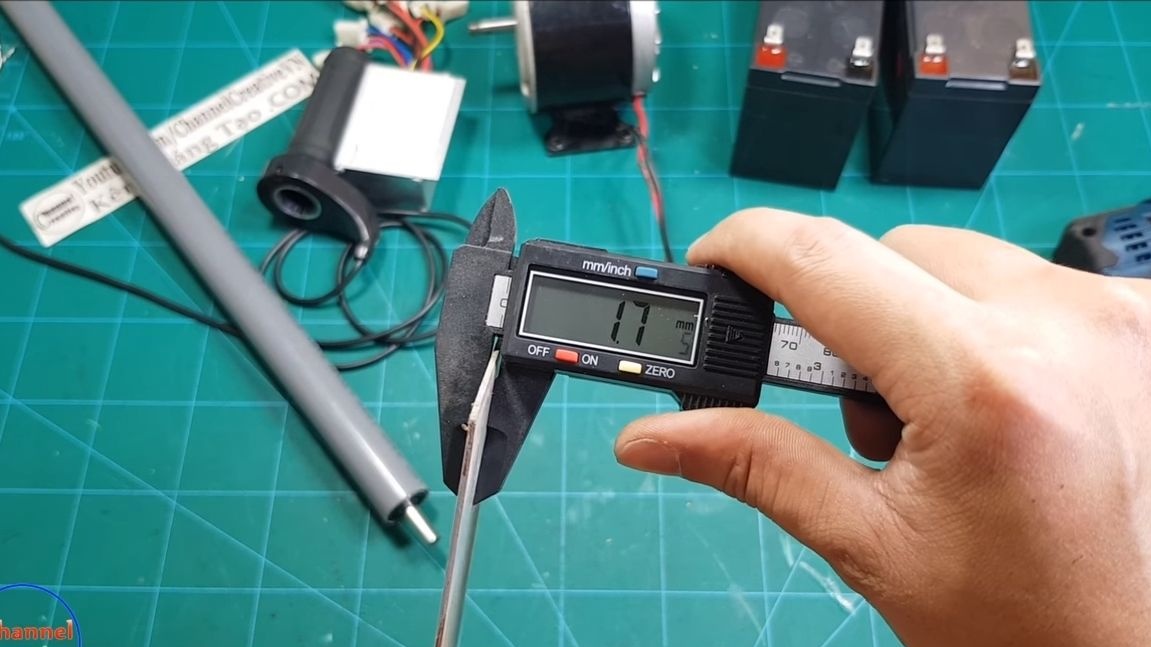
- vernier caliper;
- hammer;
- clamps;
- welding;
- a drill.
Manufacturing process homemade:
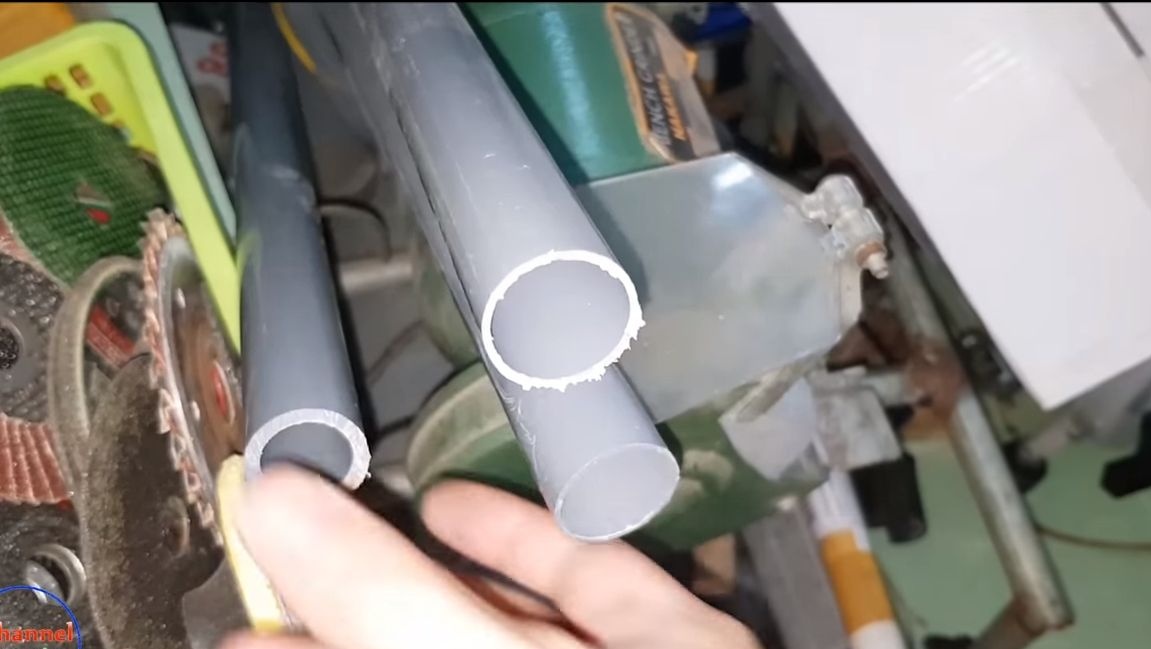
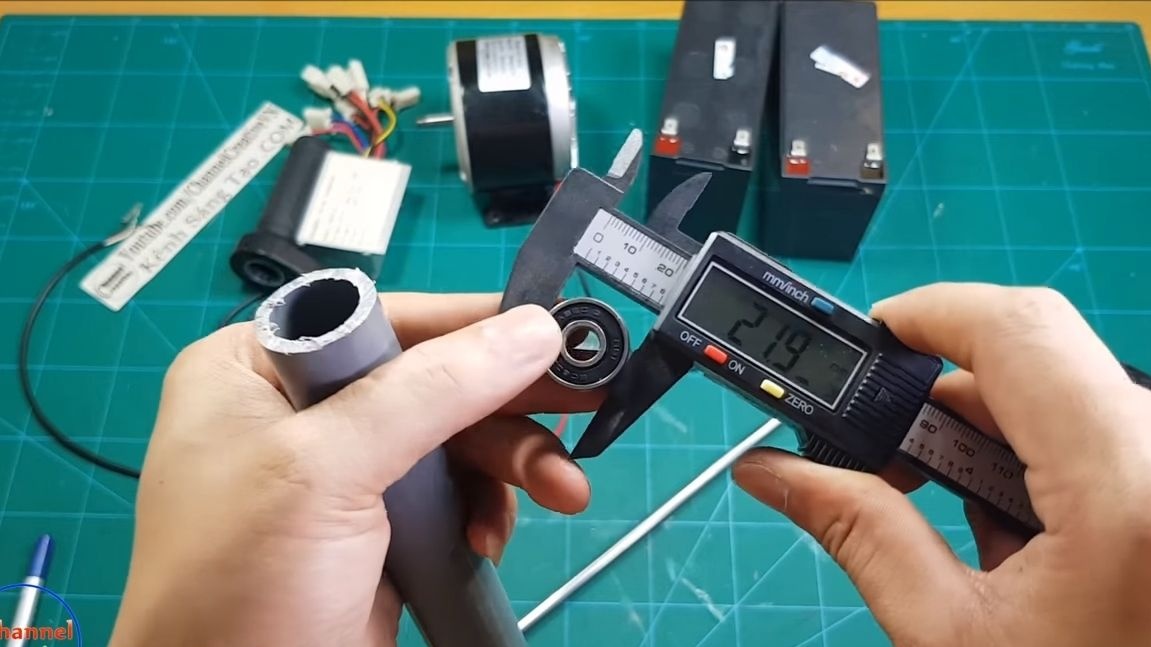
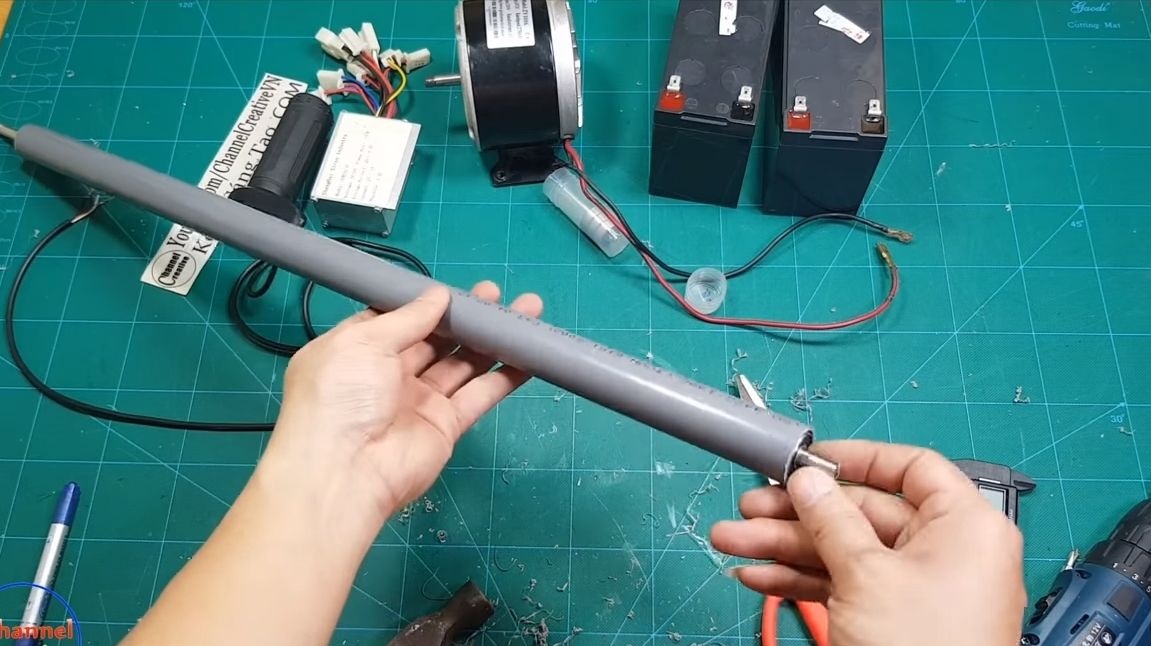
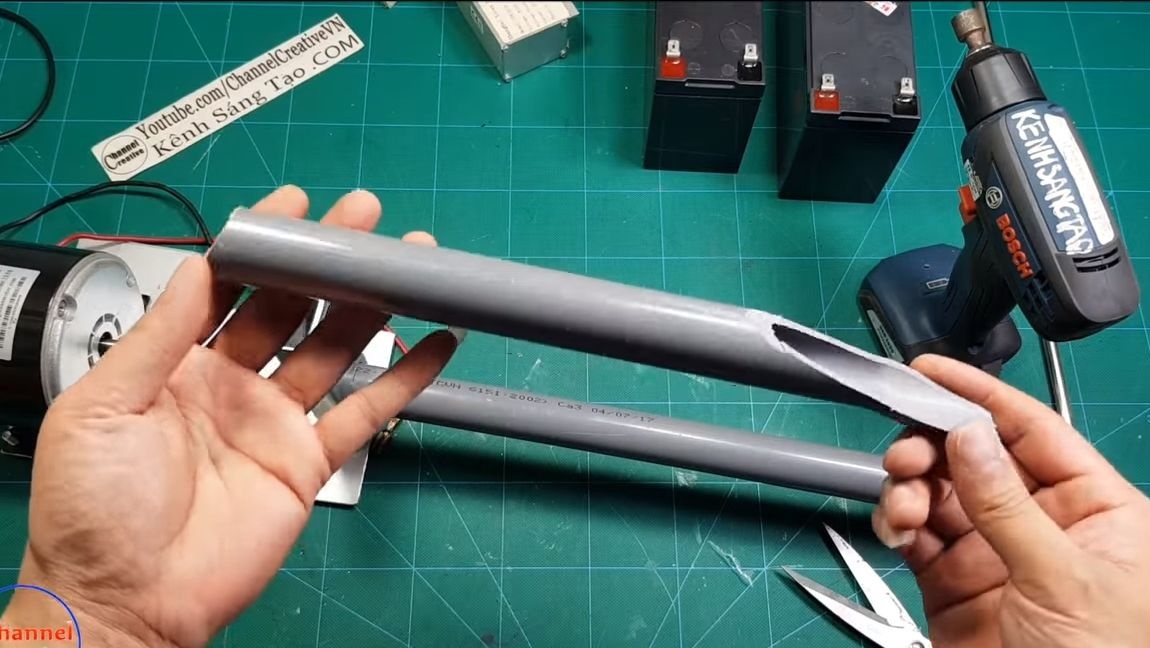
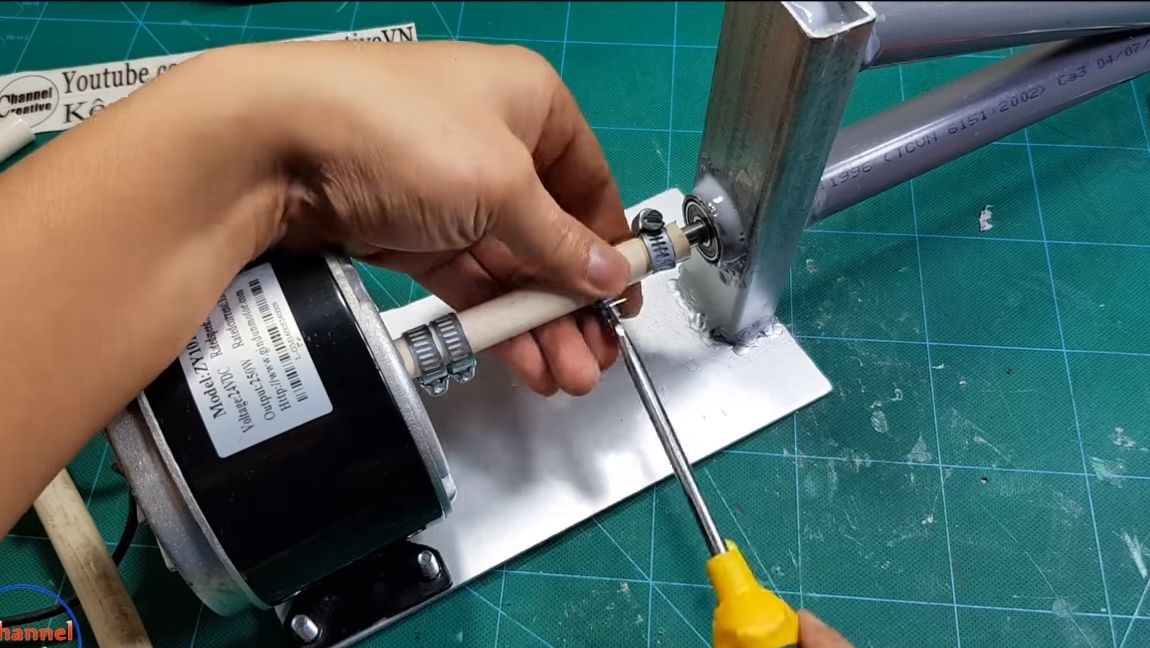
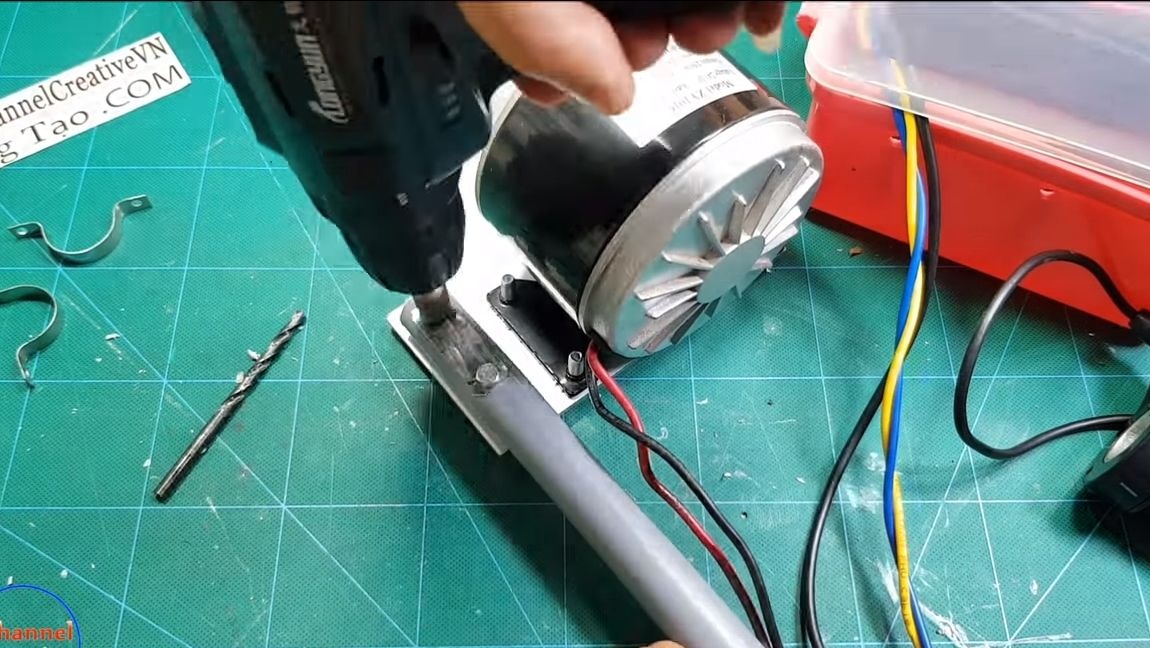
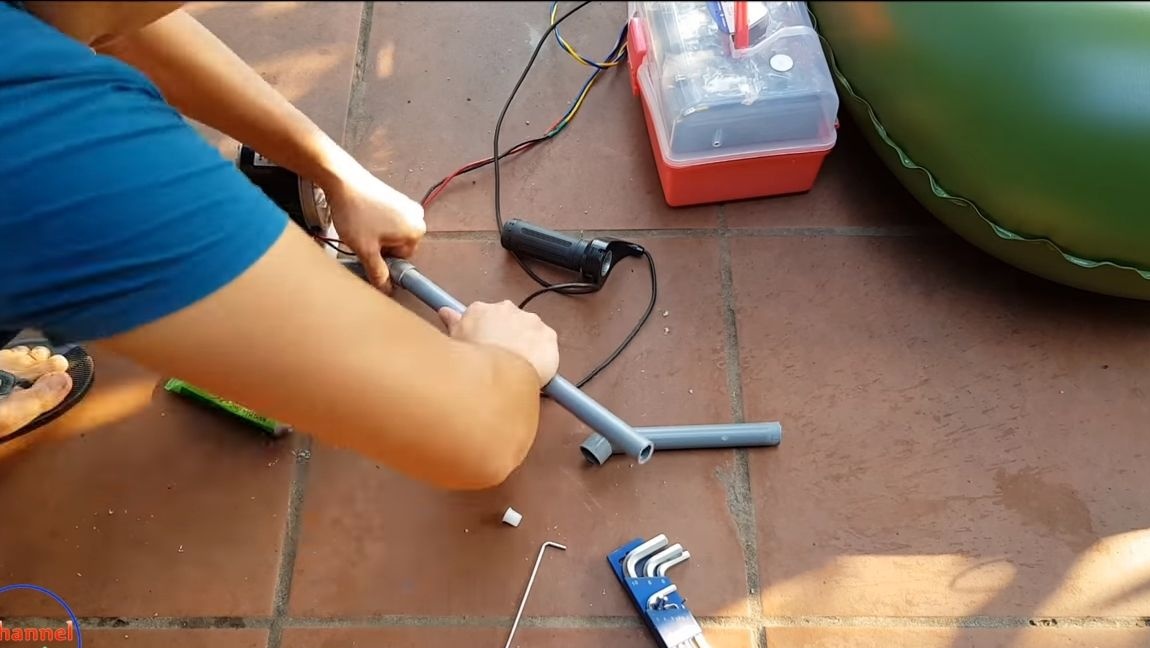
Step one. We make a working shaft
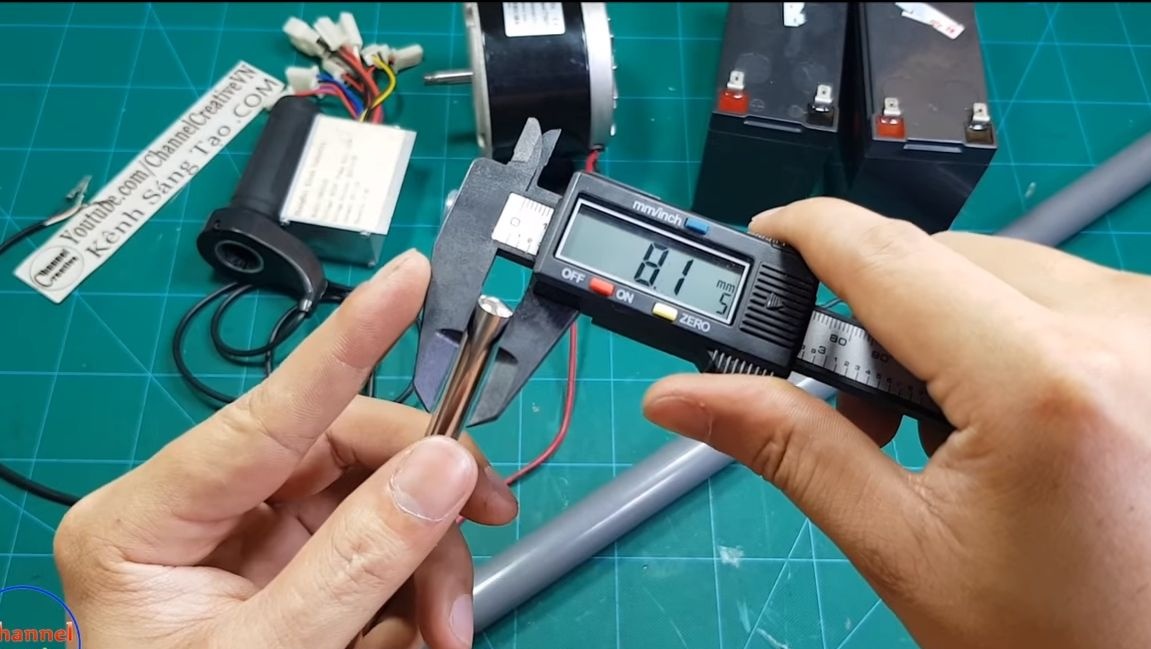
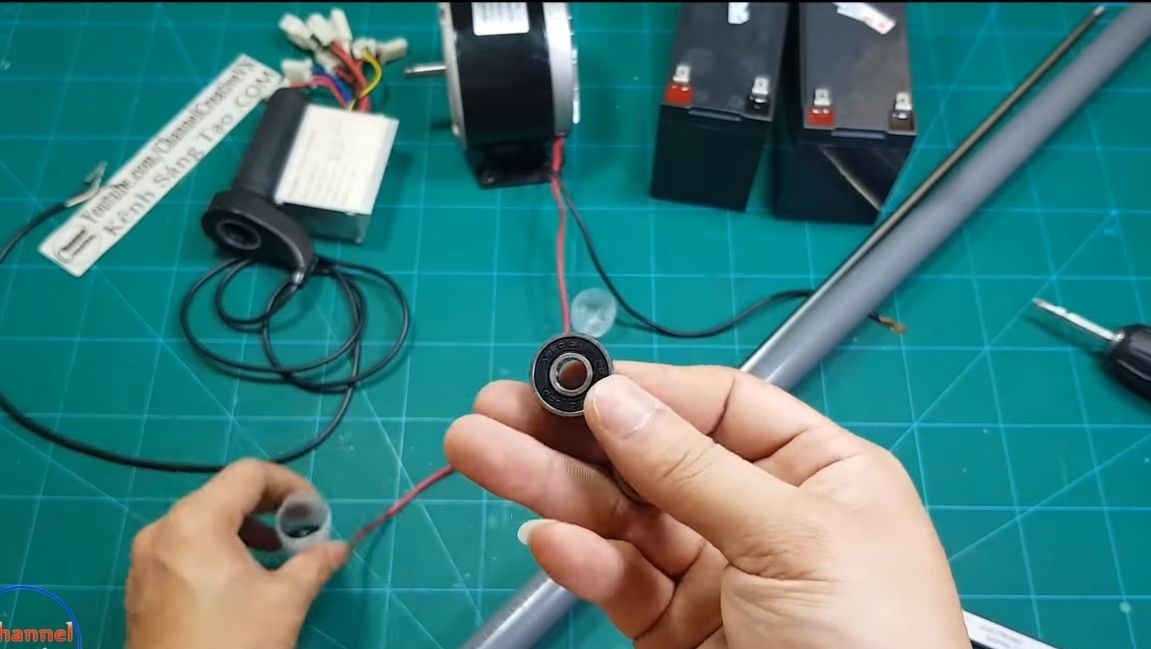
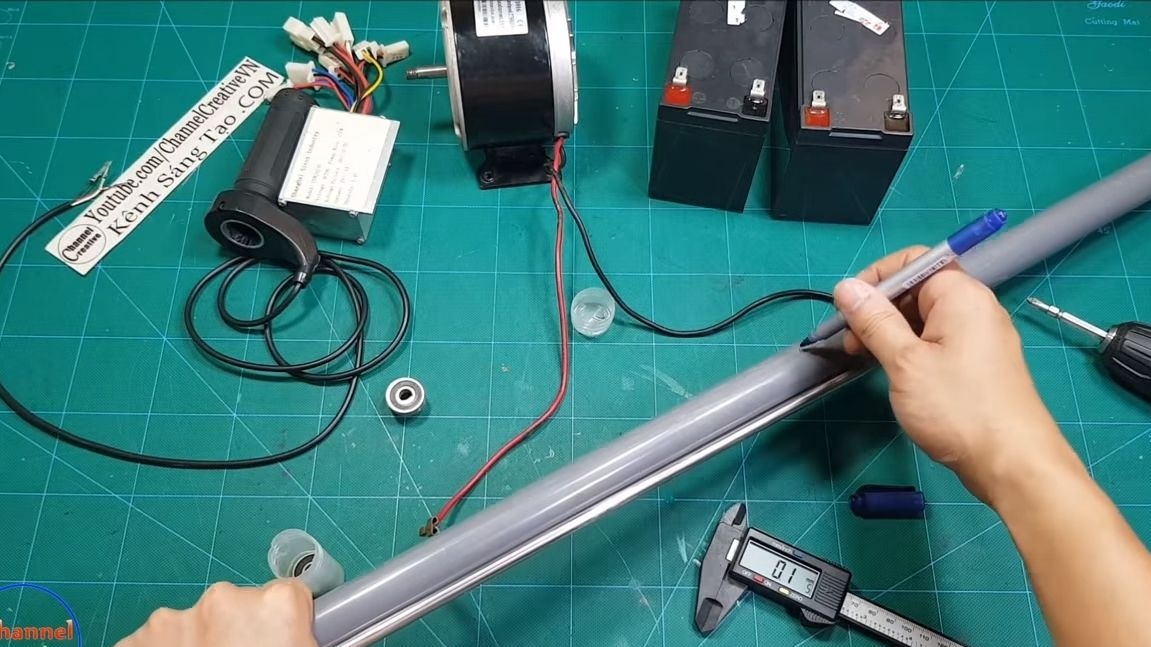
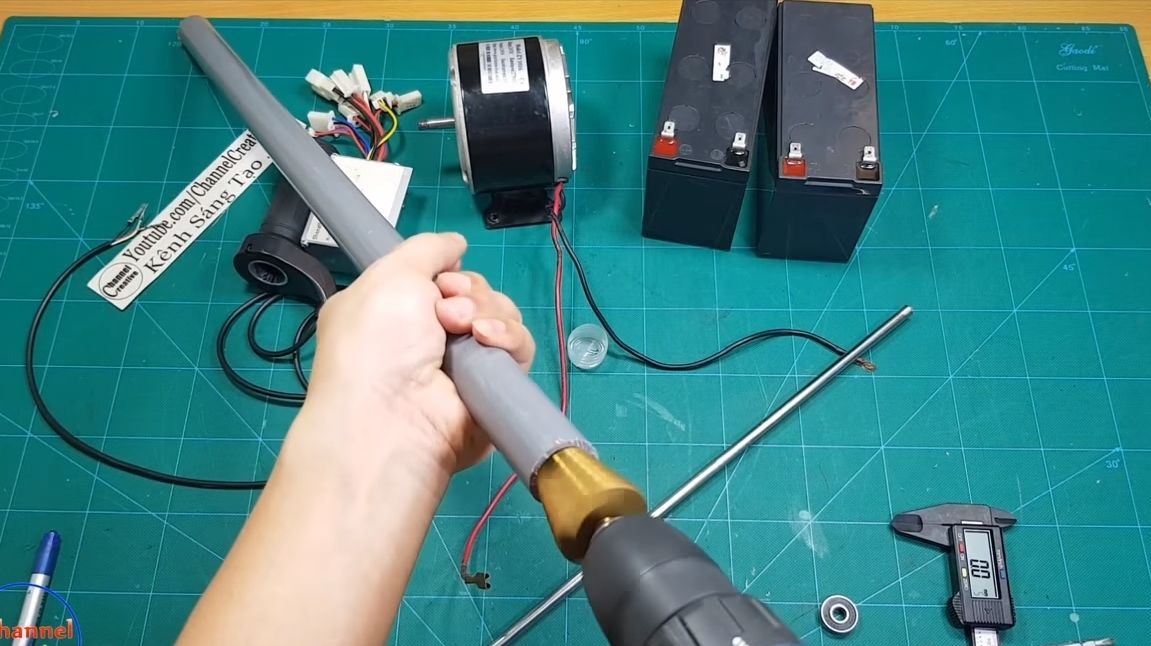
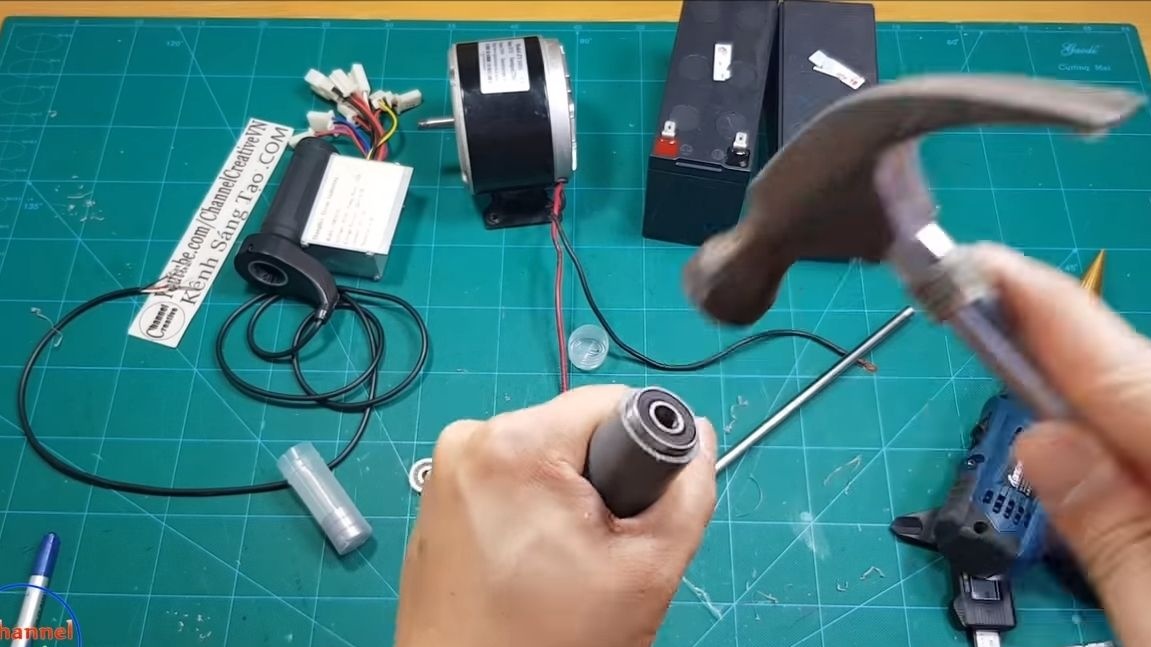
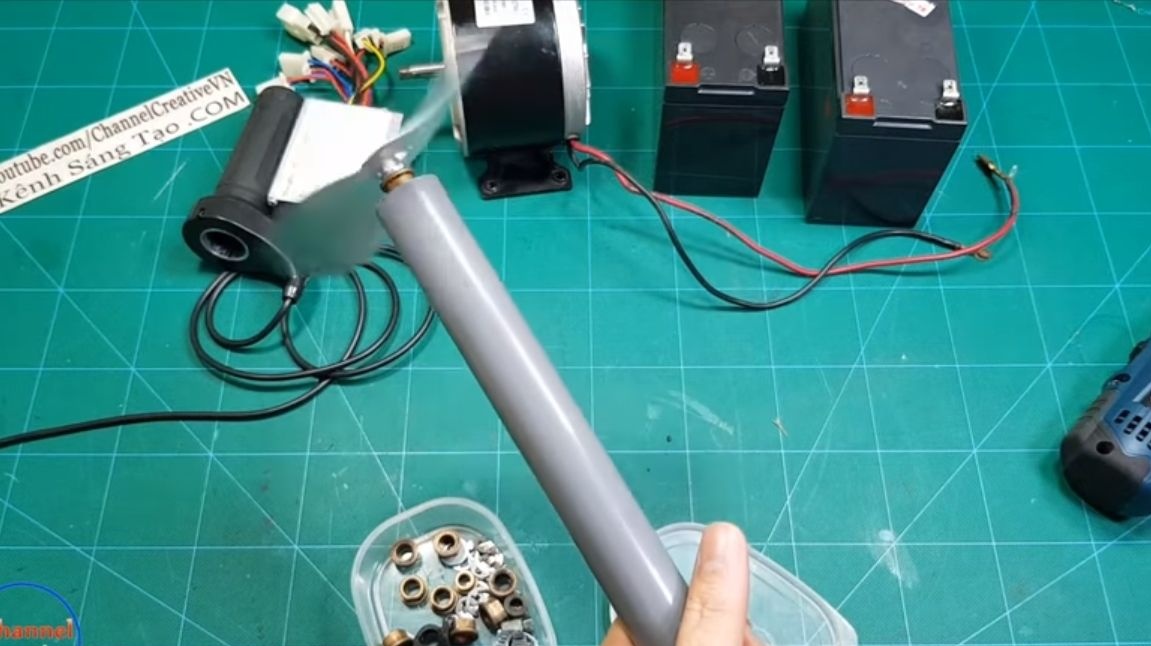
For the manufacture of the working shaft, we take a piece of PVC pipe, as well as a steel rod. We select the length individually, depending on your needs. Now we need two more bearings, they need to be installed on both sides of the pipe. The author did not fit the bearings in the pipe, therefore, using a drill and a special bit, the seats were drilled under them. Another way to install bearings is to heat the pipe, then the plastic will become soft. That's all, after that we install a metal shaft.
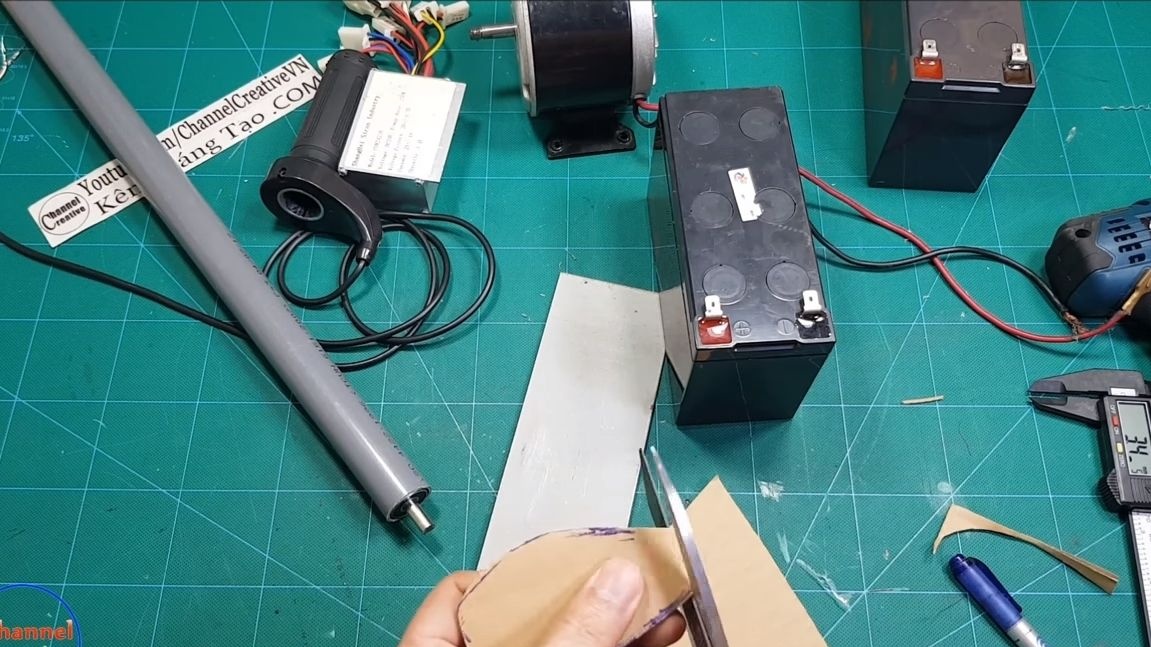
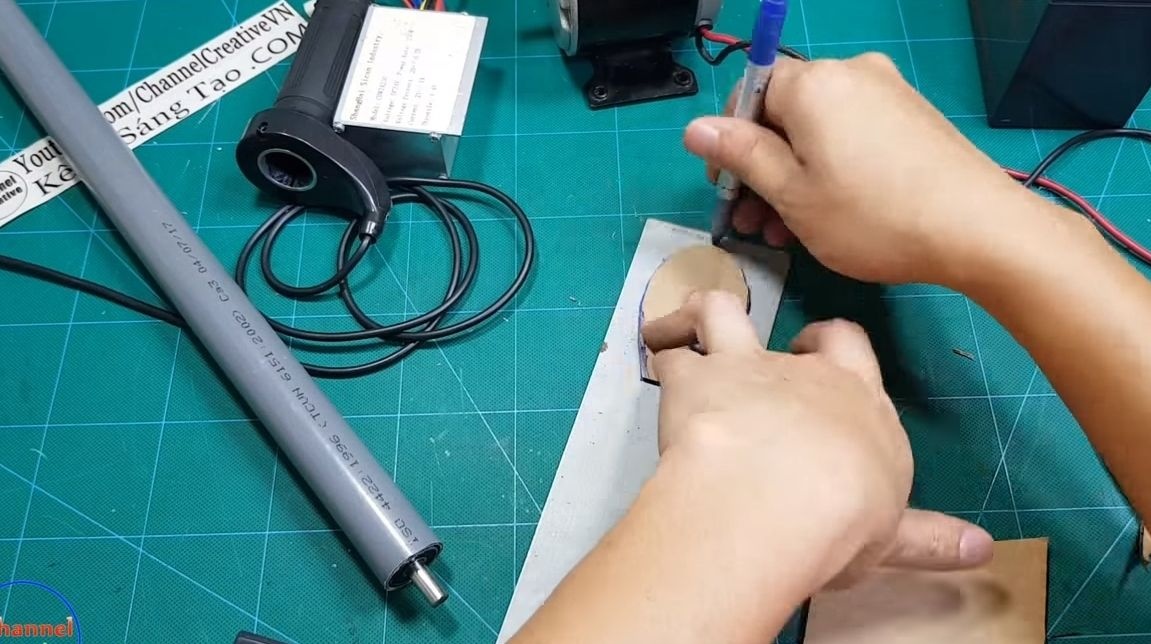
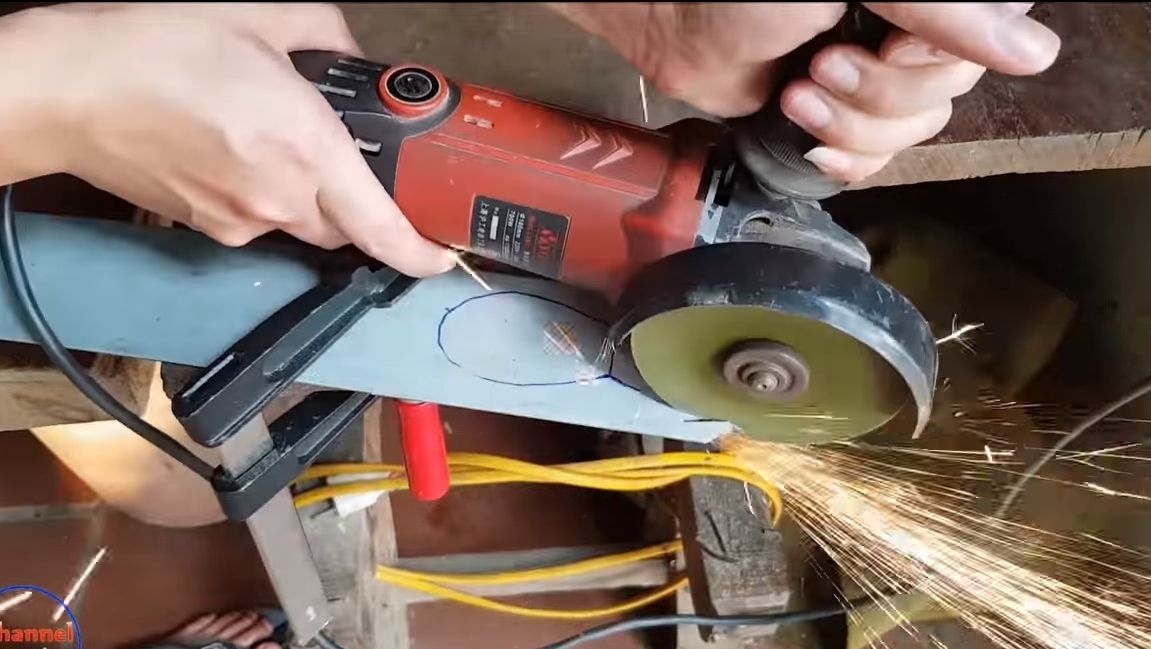
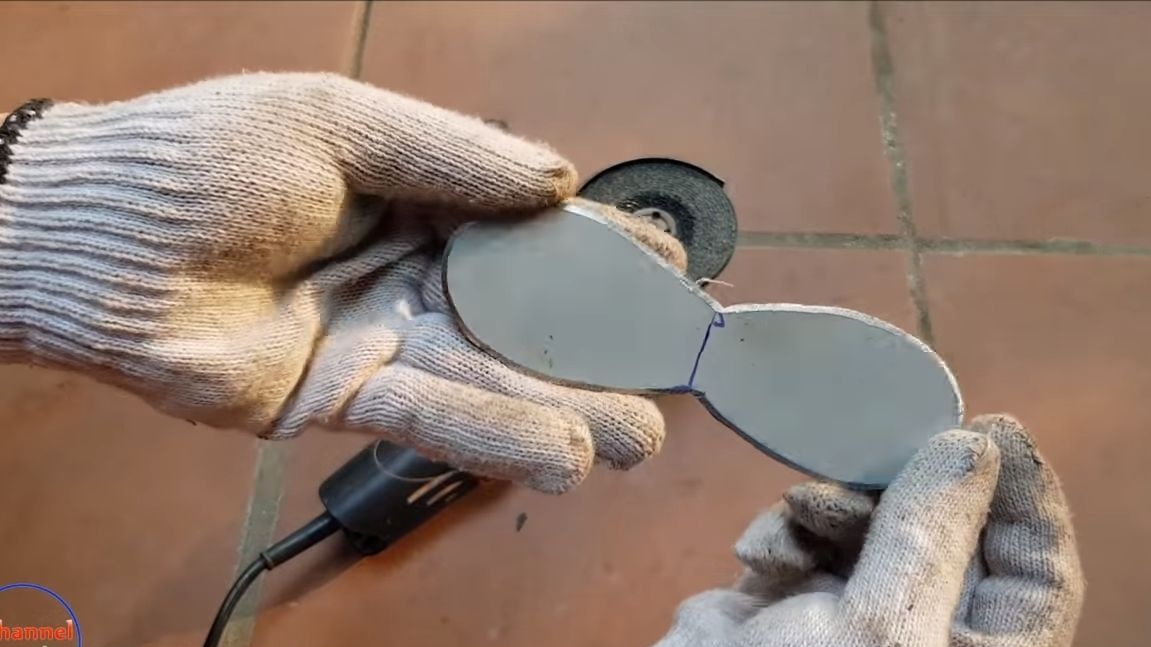
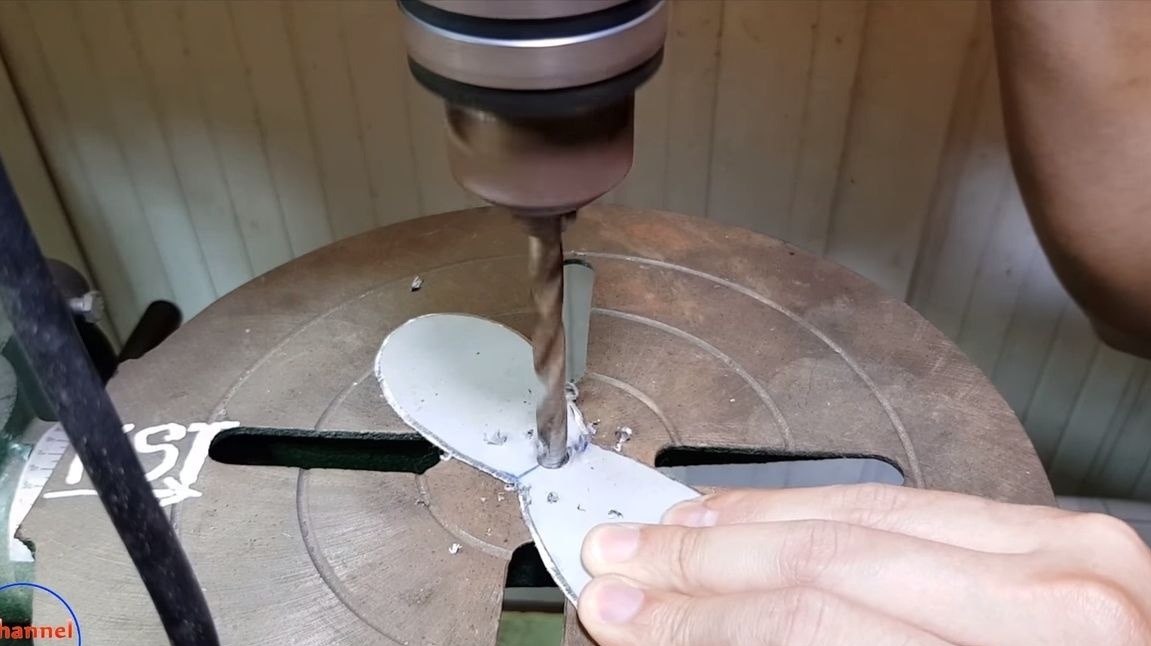
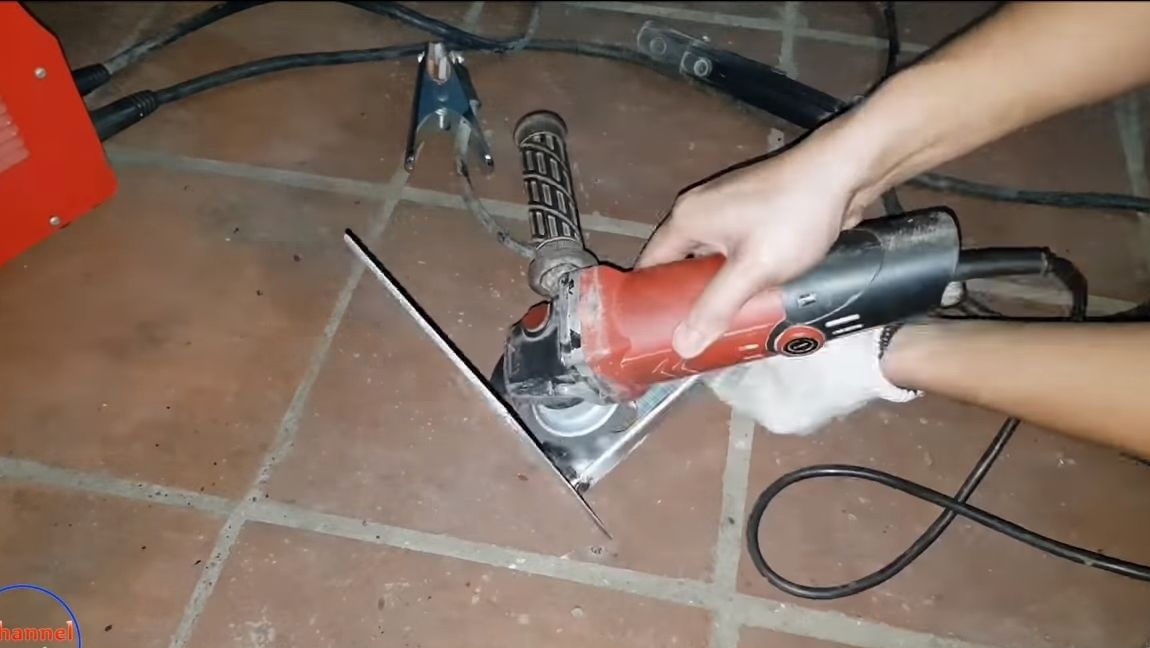
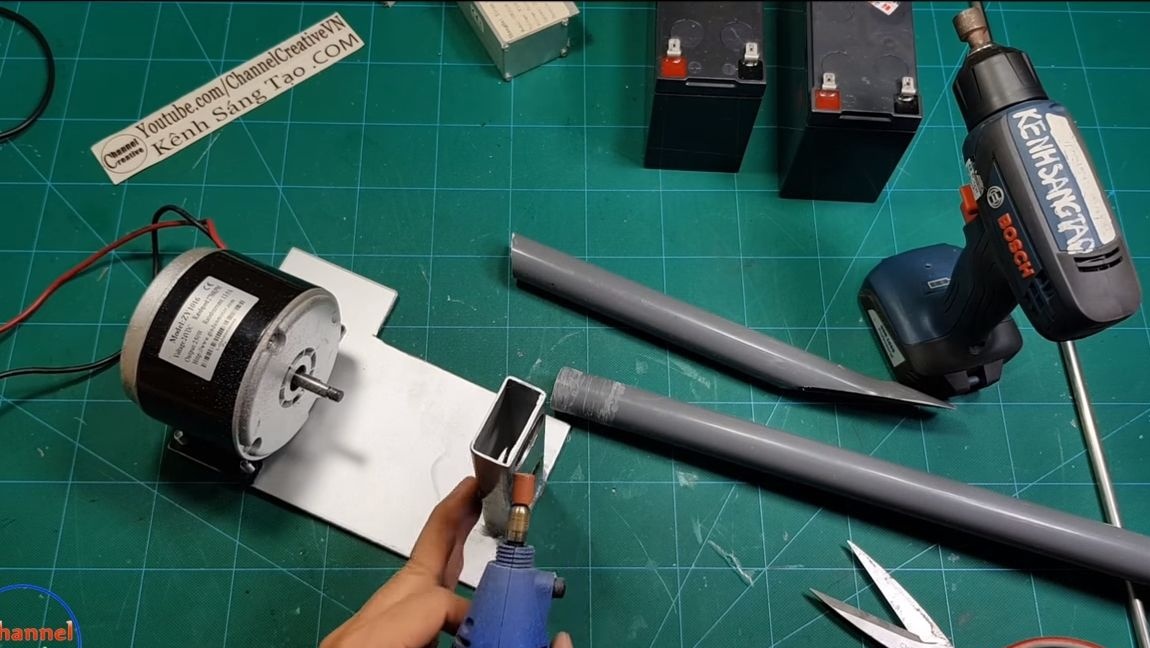
Step Two Screw making
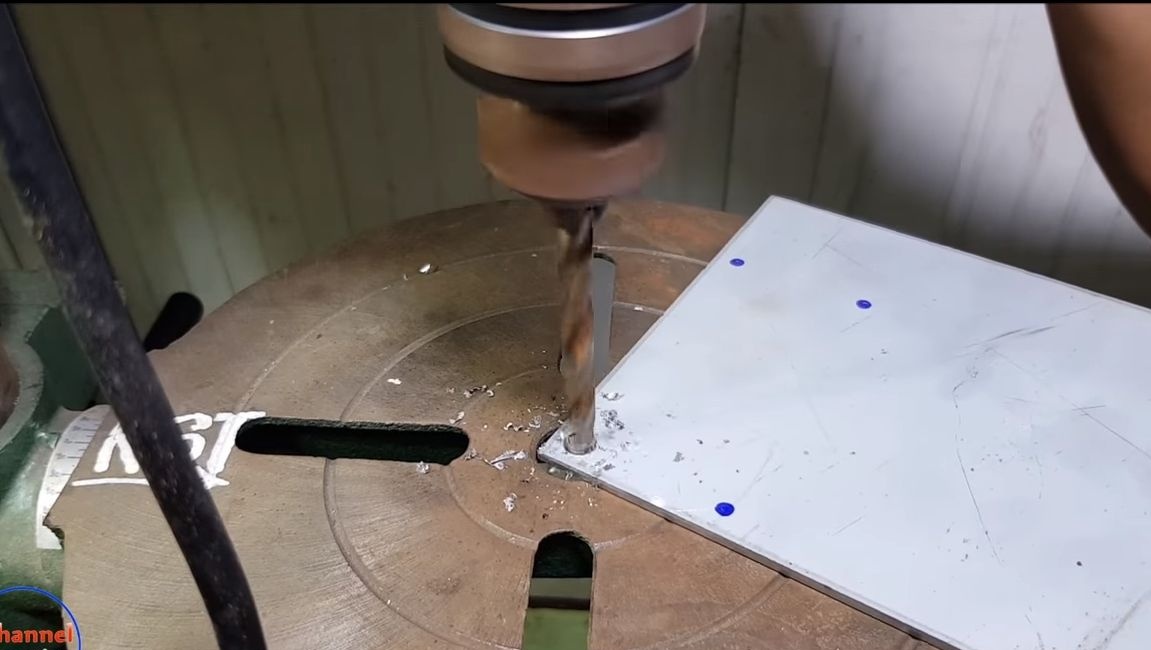
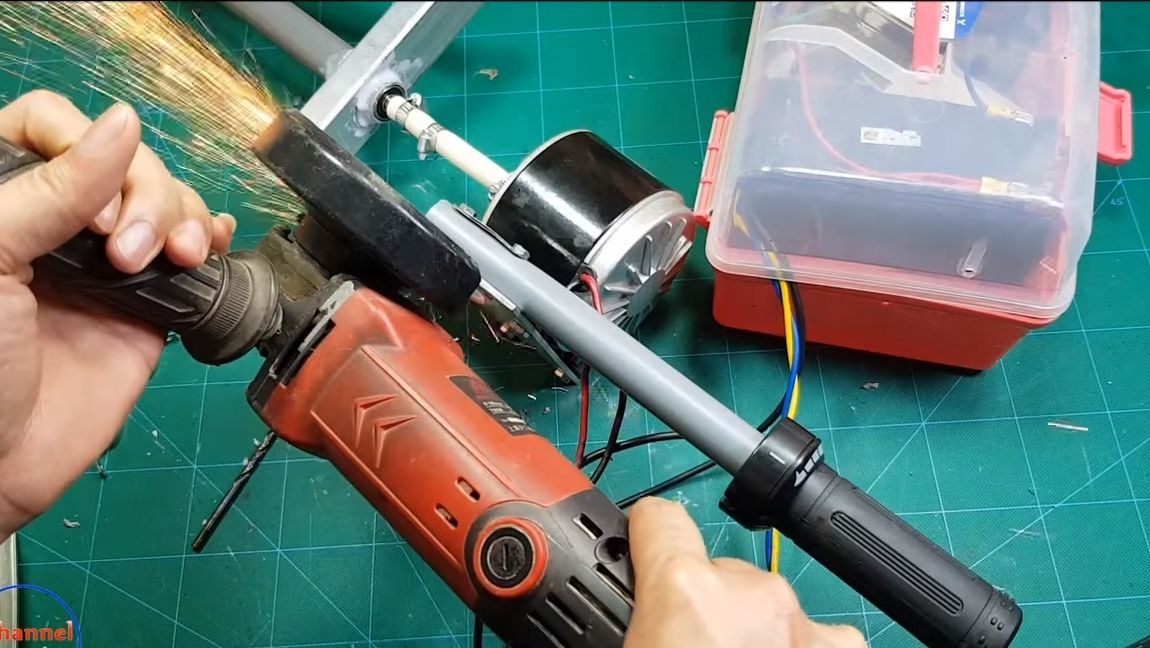
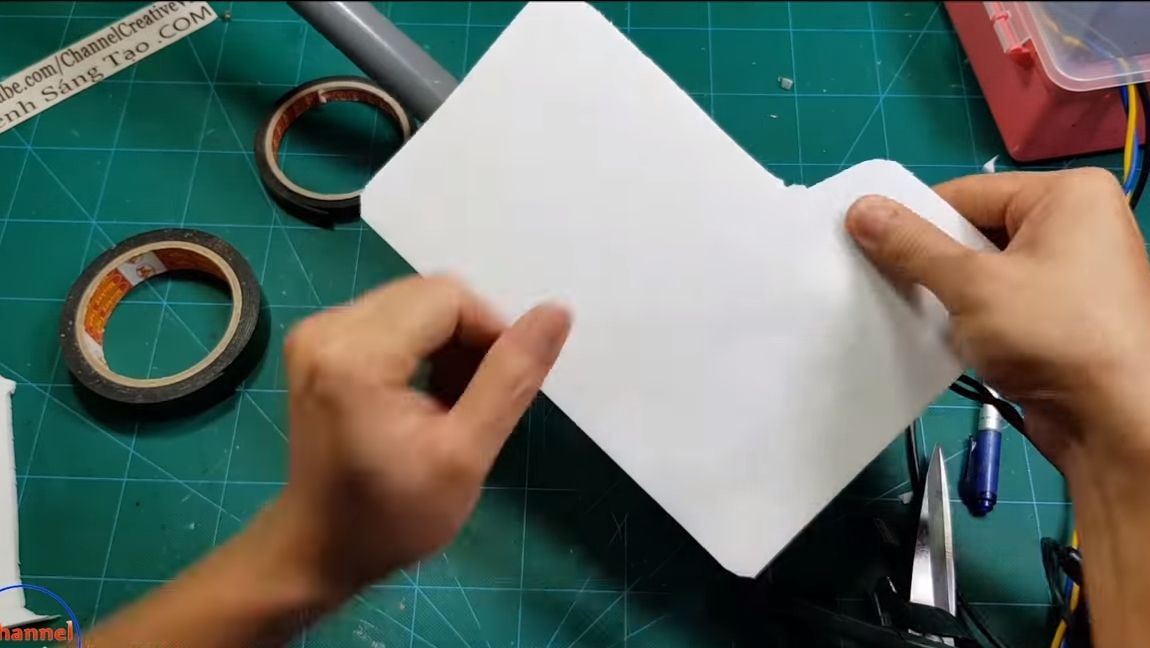
The author makes the screw out of sheet steel. First, we cut out the template of one blade from cardboard, and then we transfer the template to sheet steel and cut out the screw.This problem can be dealt with using a grinder. Grind the manufactured part carefully along the contour with a grinder. Now in the center it remains to drill a hole.
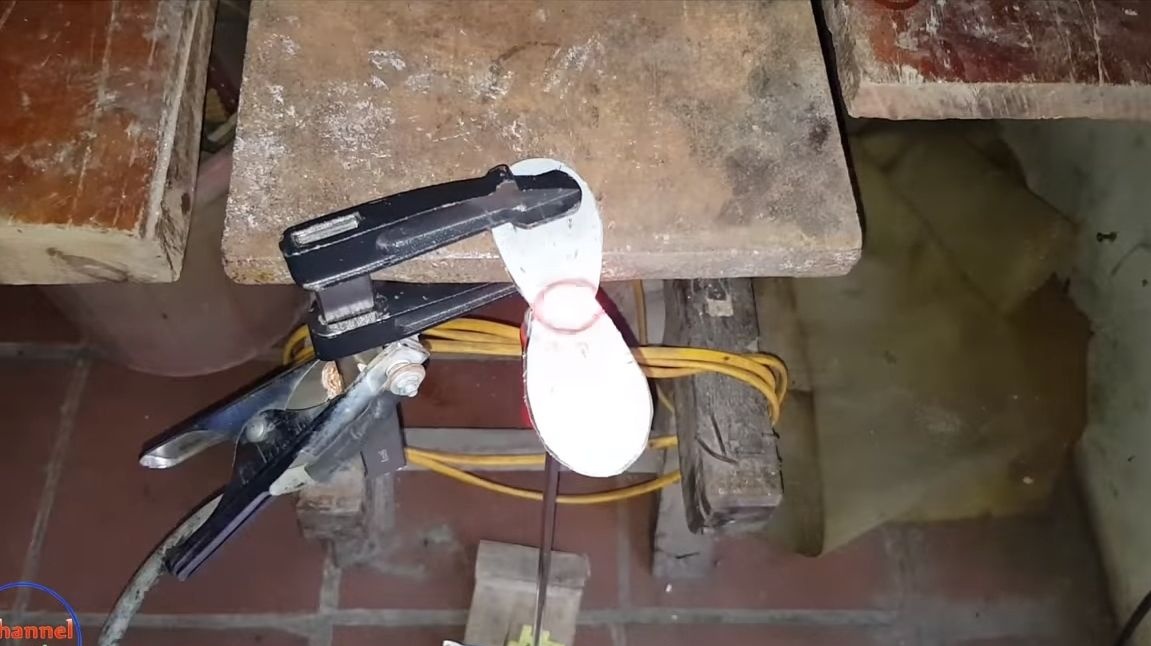
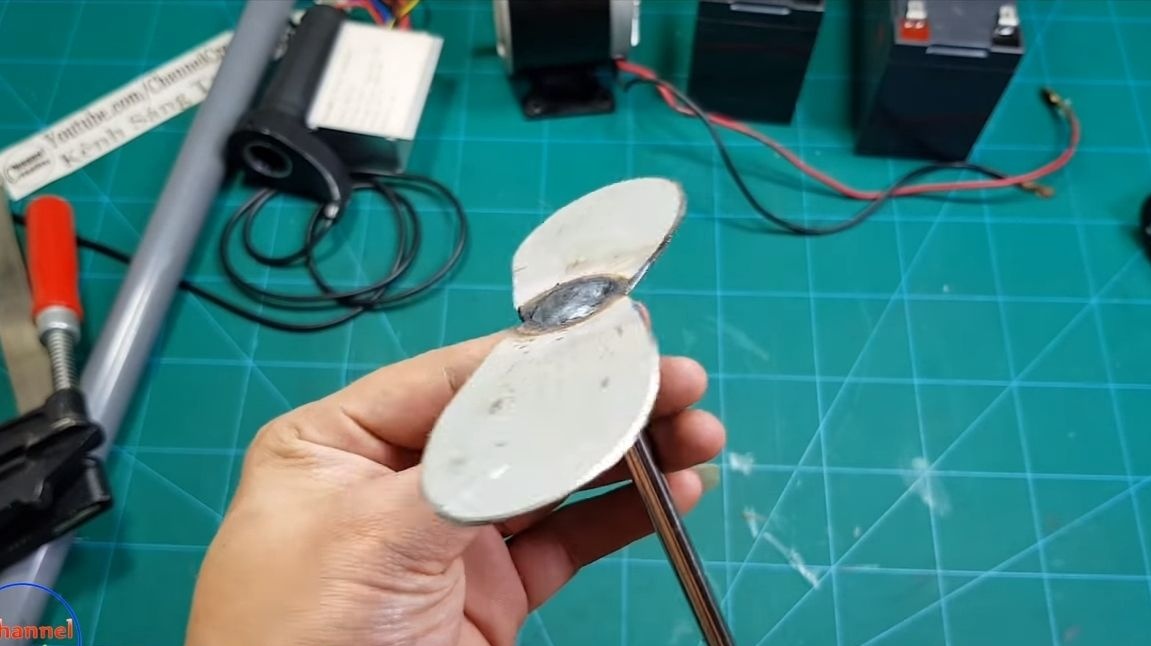
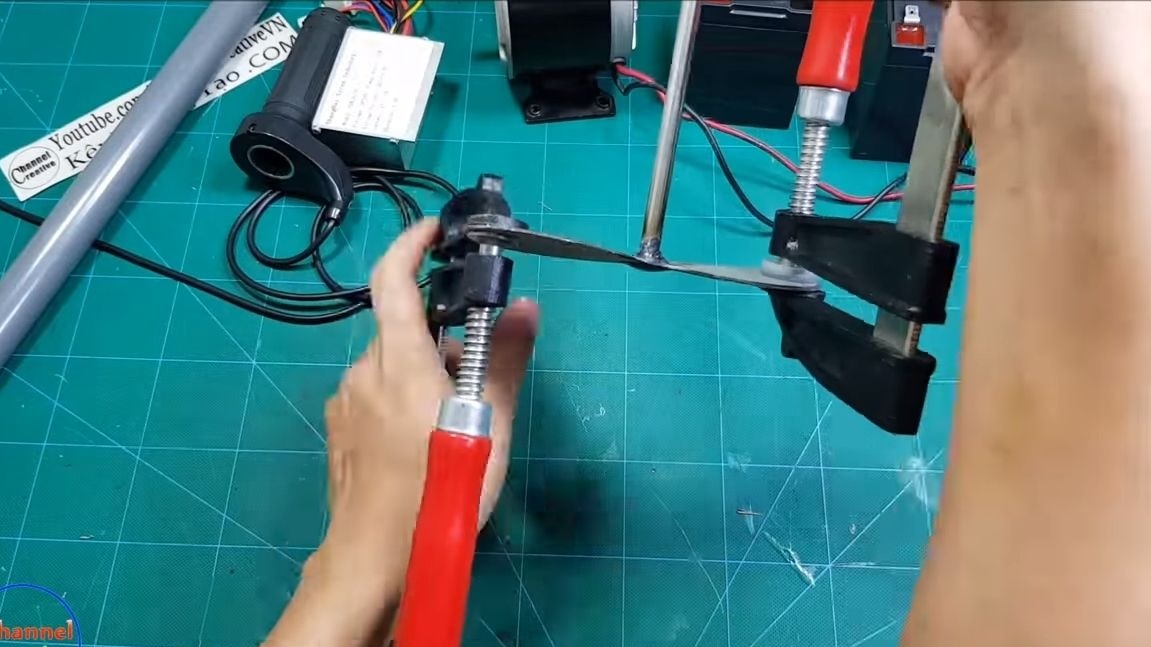
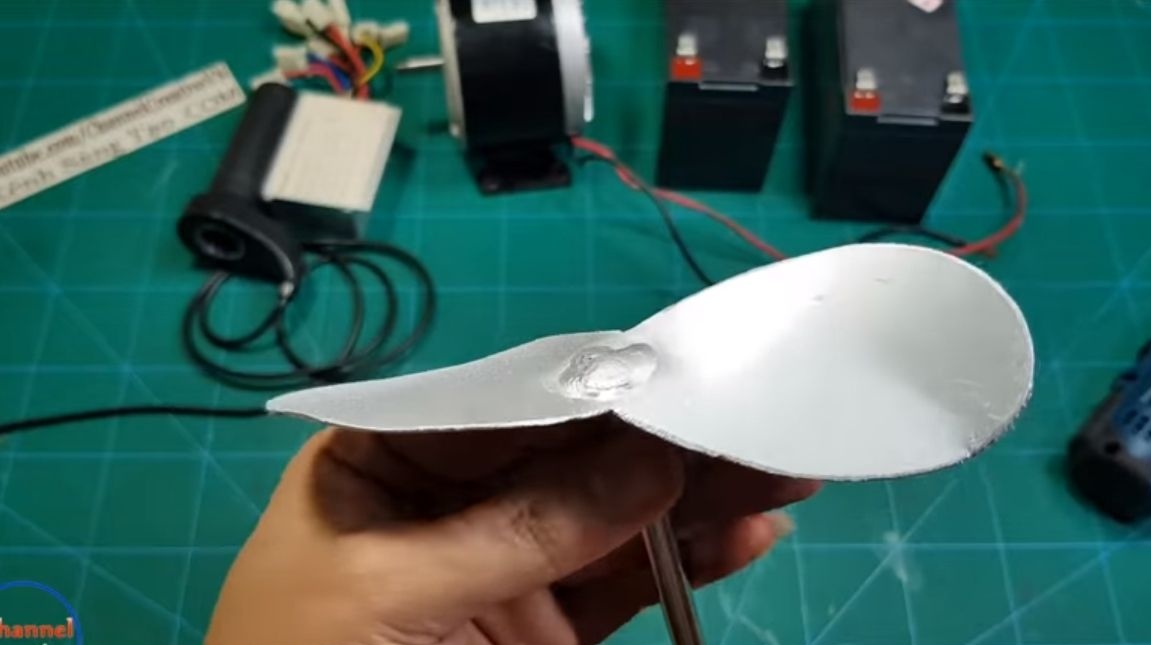
We install the screw on the shaft and weld it well. In the end, it remains for us to set the desired profile for the blades so that they can "row". For this auto attaches to the clamp blades, and then gently bends the blades. That's it, the propeller is ready! At the end, we paint it with good paint so that it does not rust. We install the shaft with the screw into the pipe and try to rotate it by hand. It should spin easily. The author also decided to unscrew the screw with a screwdriver to make sure there were no vibrations. Between the screw and the bearing we install a sleeve made of copper or brass.

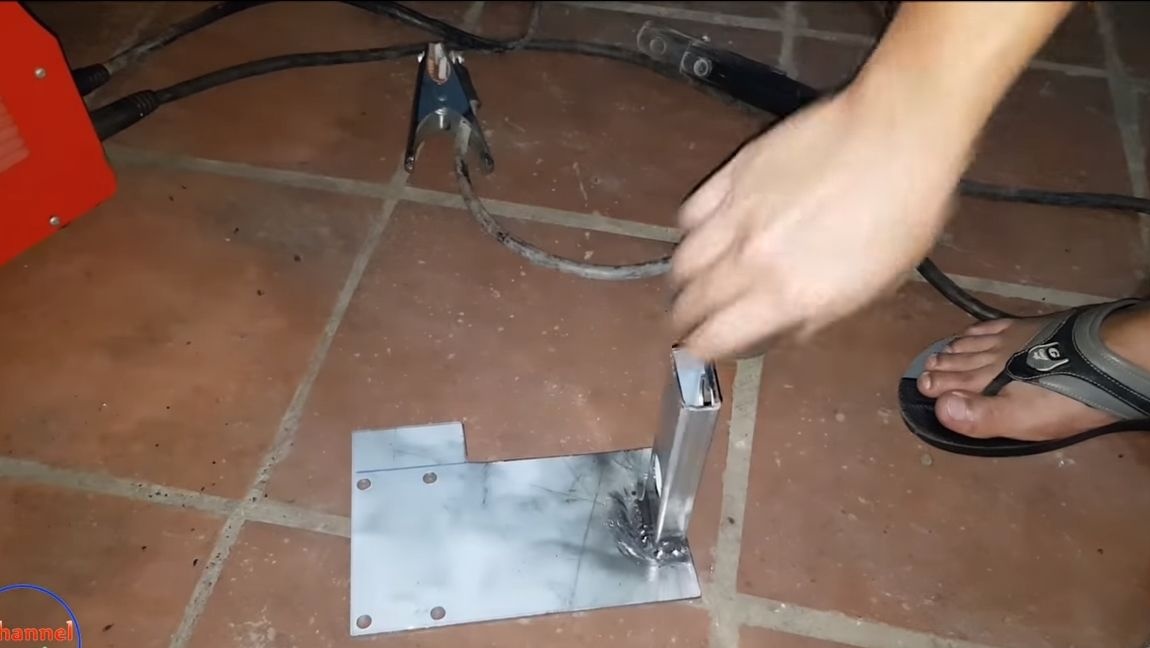
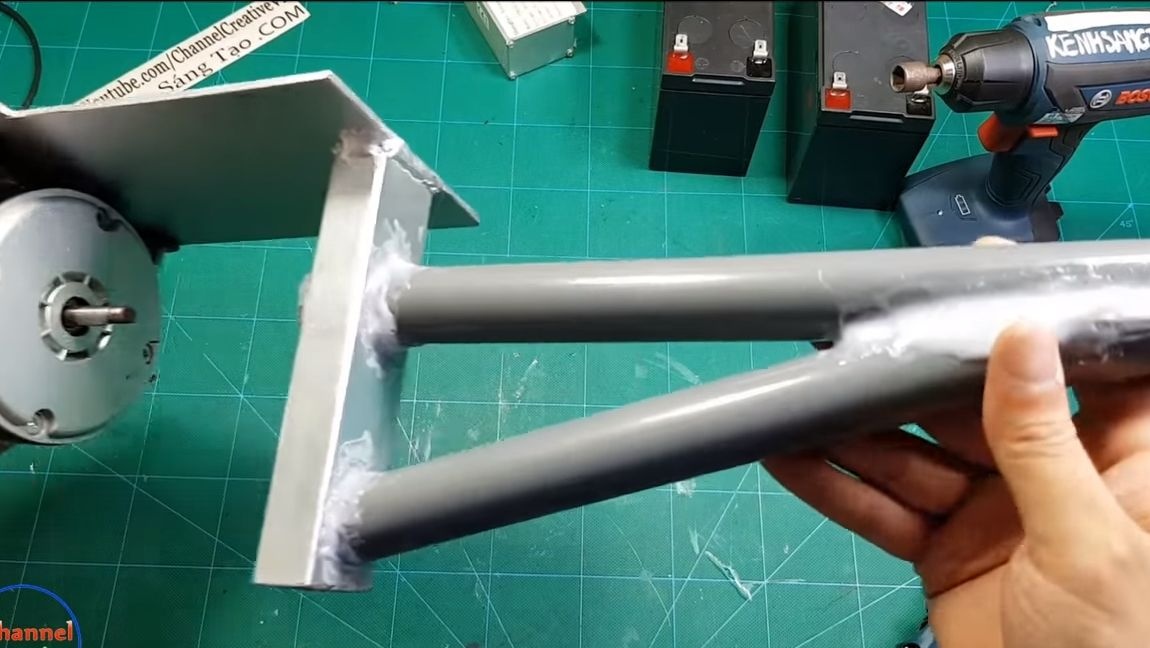
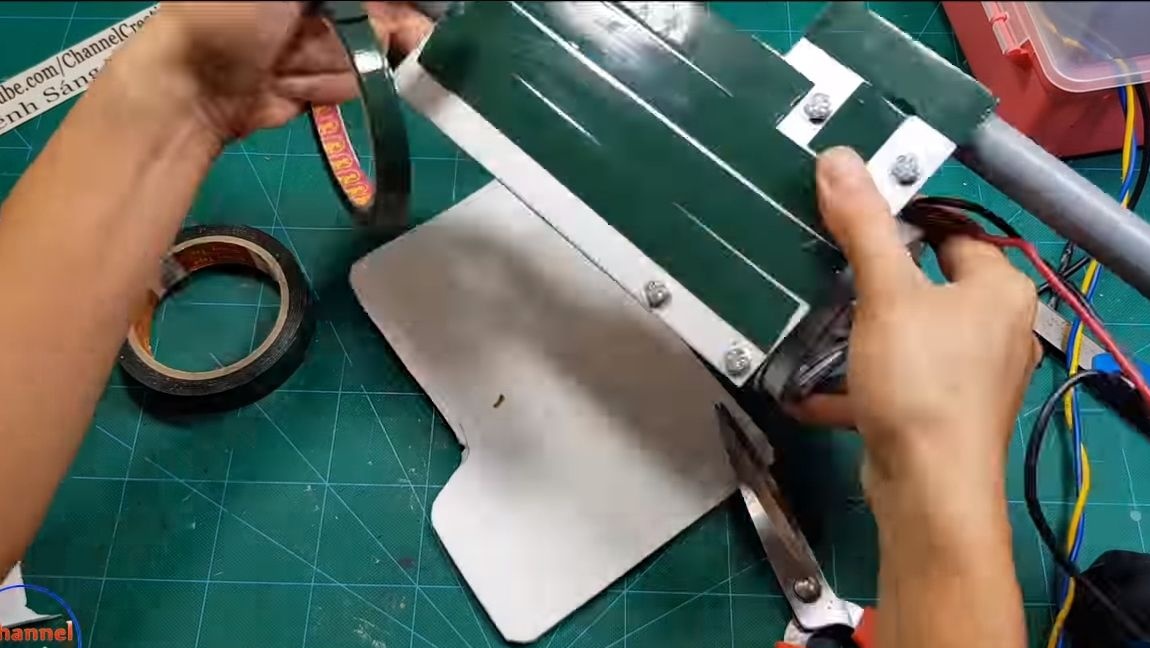
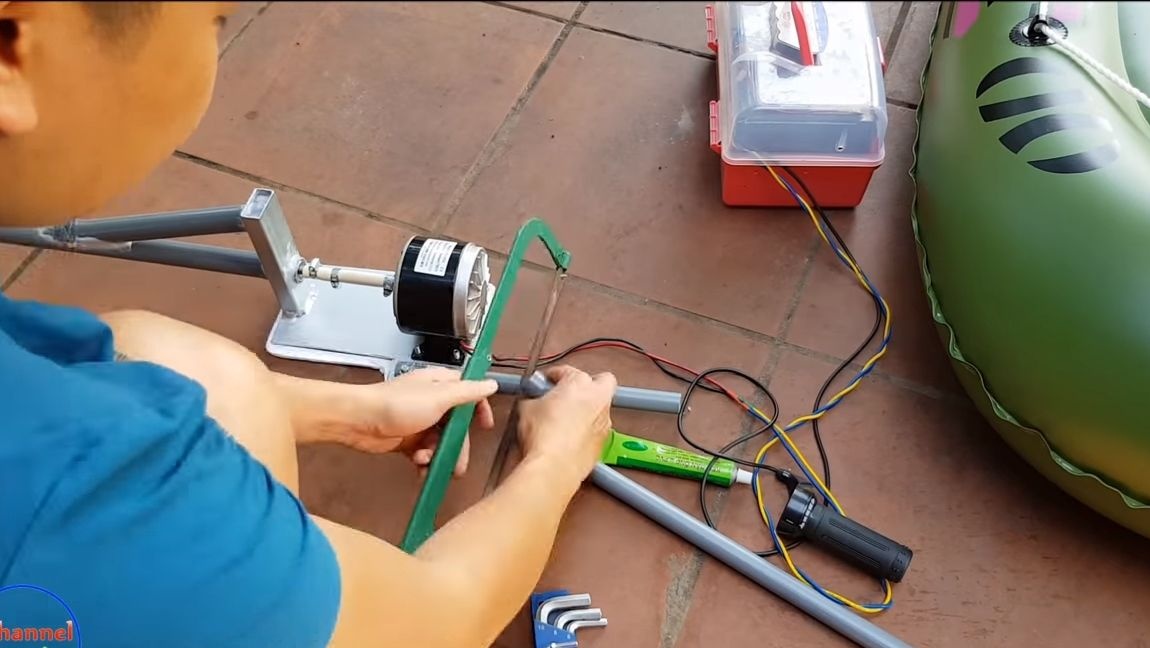
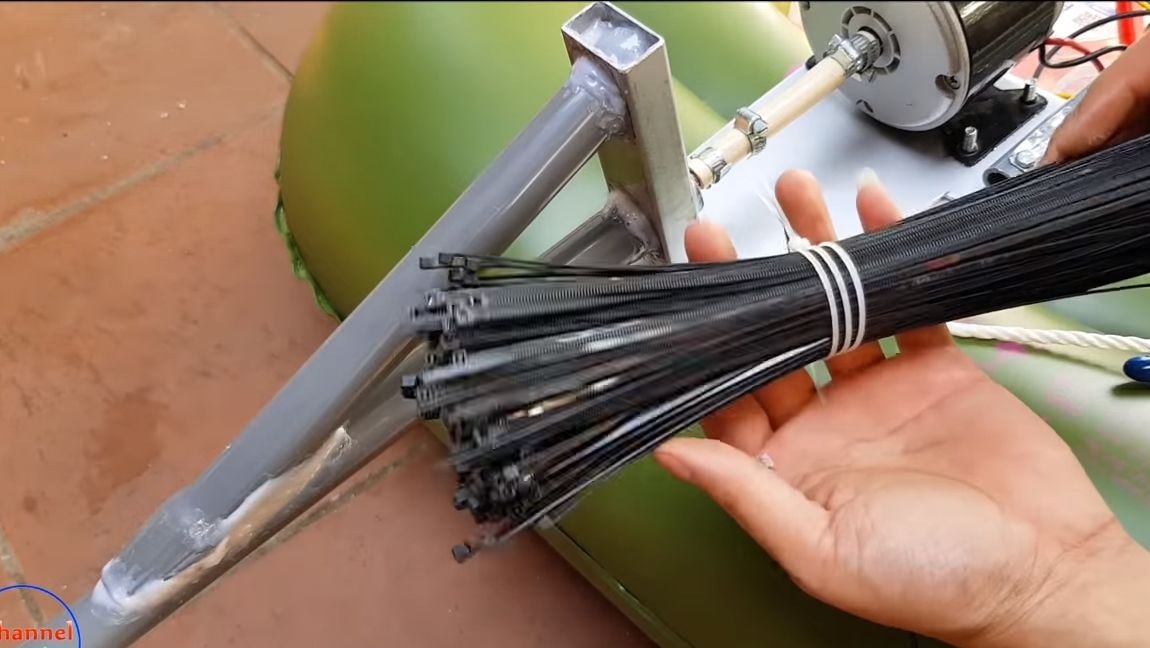
Step Three Frame manufacturing
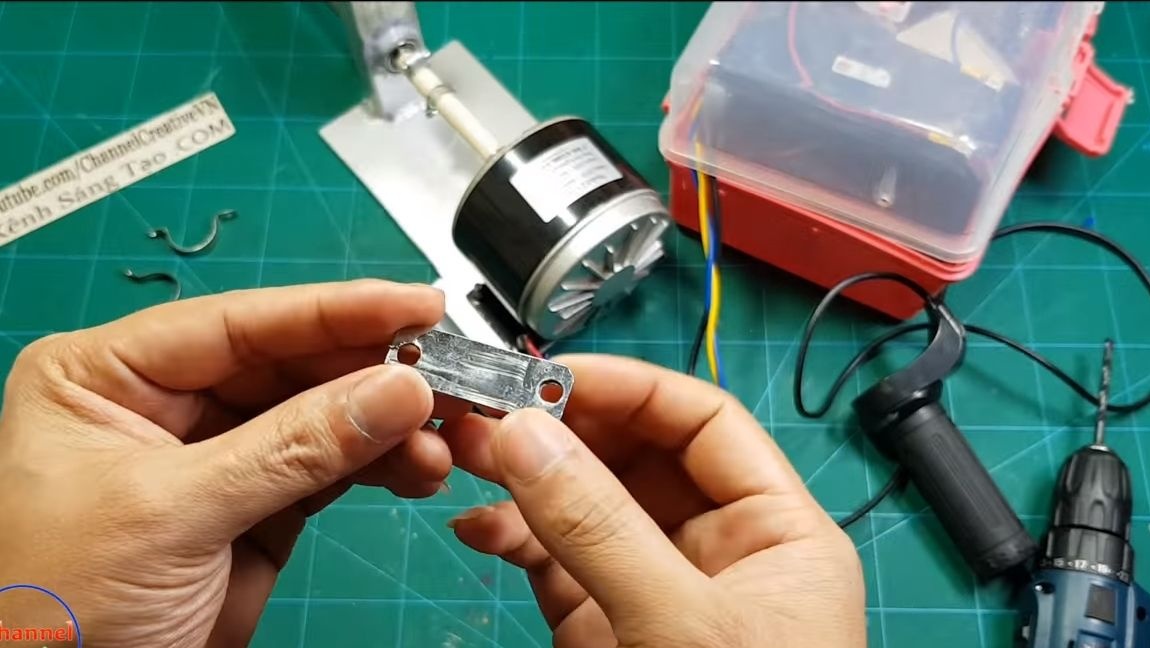
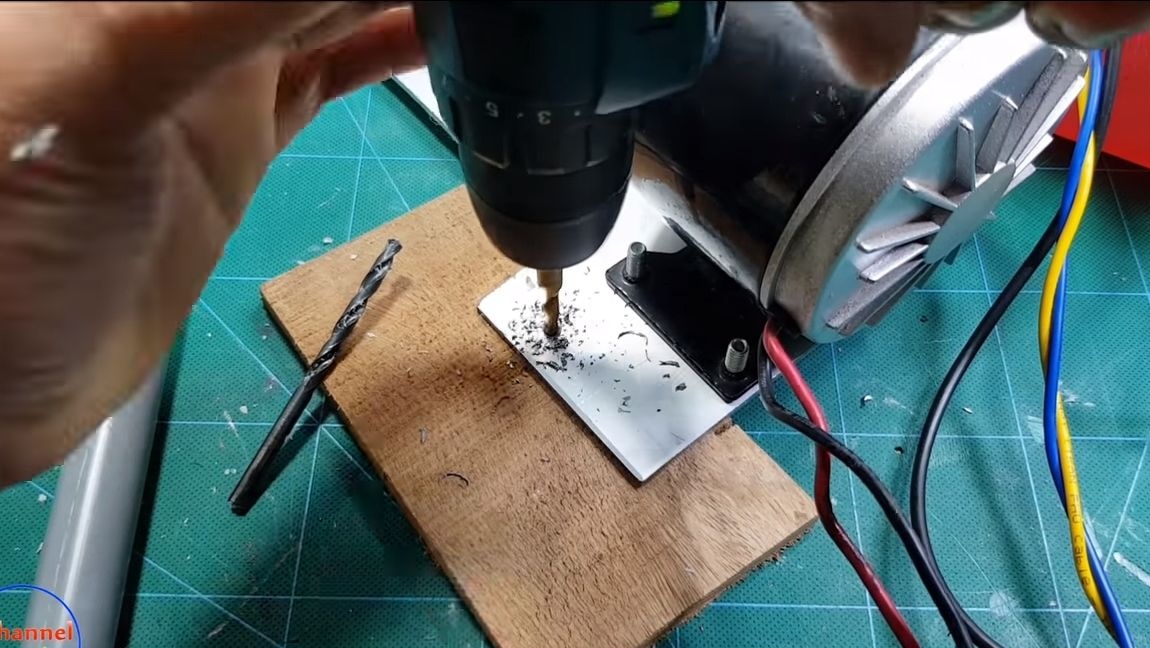
The frame will be needed for mounting the engine, as well as pipes with a shaft. Here you will need sheet steel with a thickness of about 2 mm. We apply the engine, mark the places and drill holes for the mounting bolts.
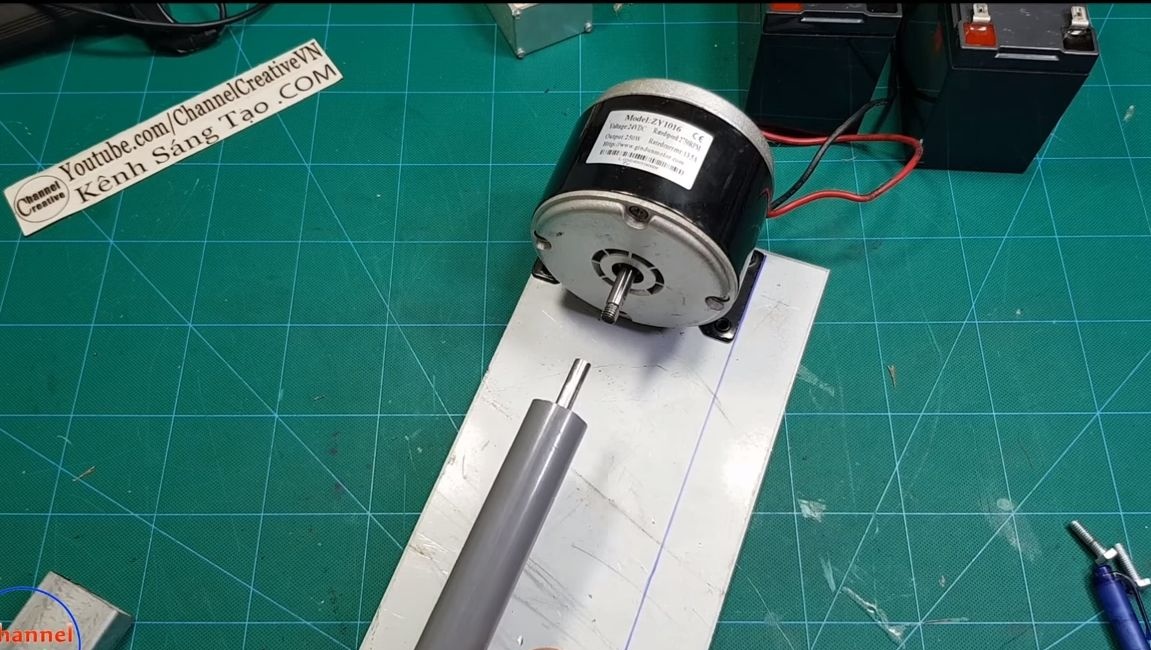
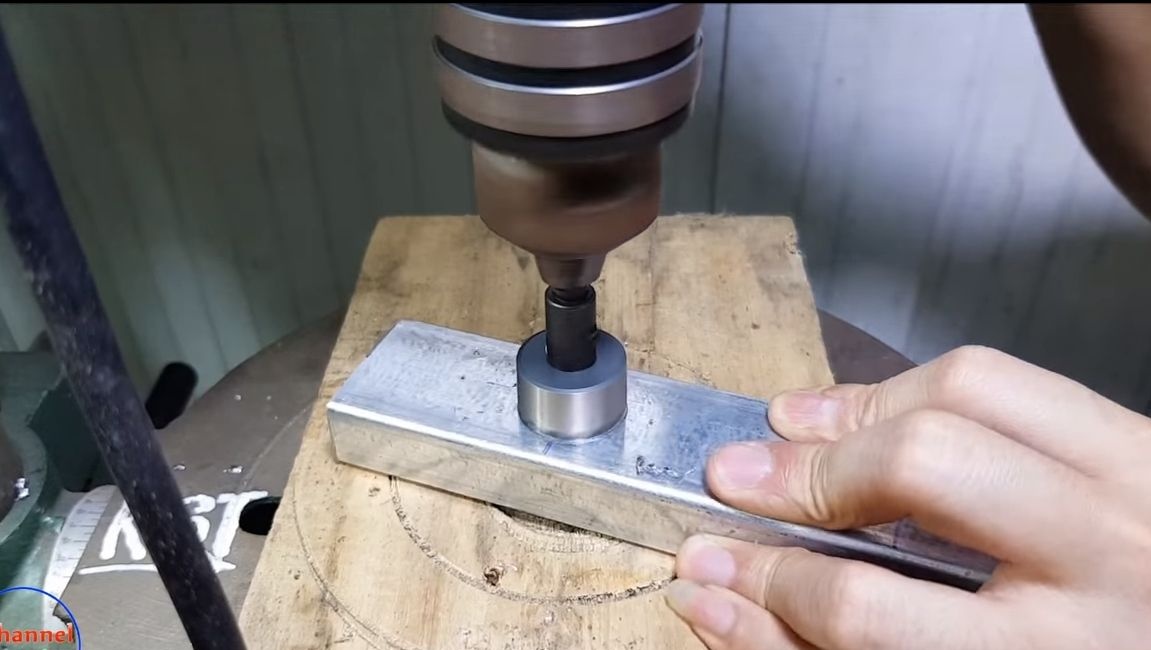
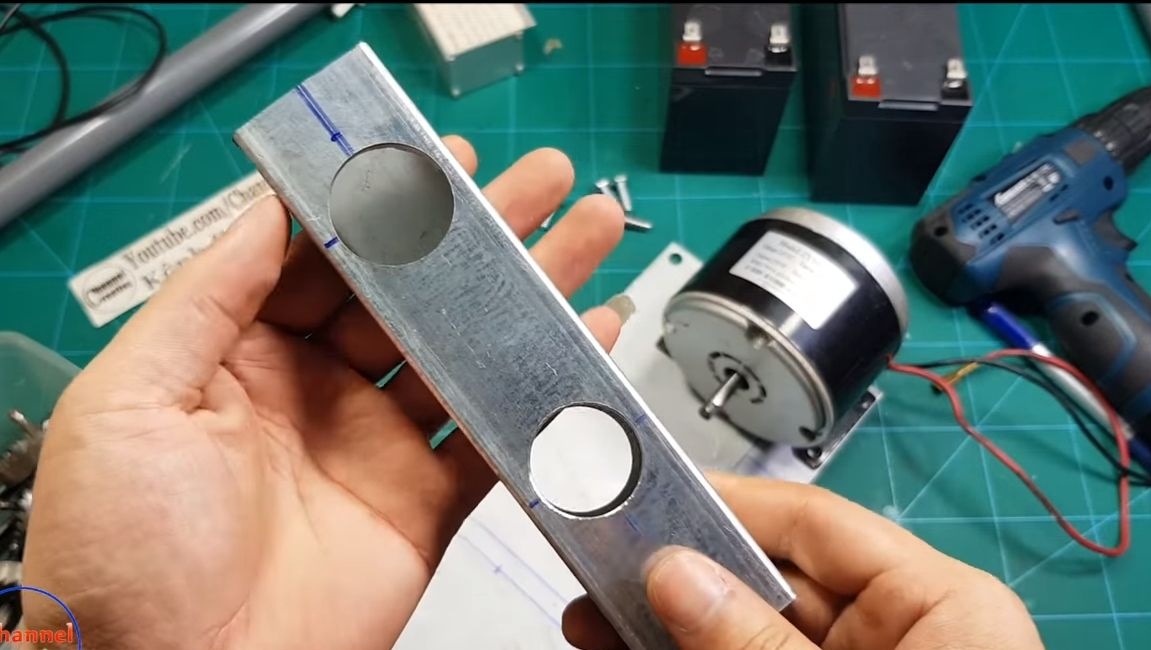


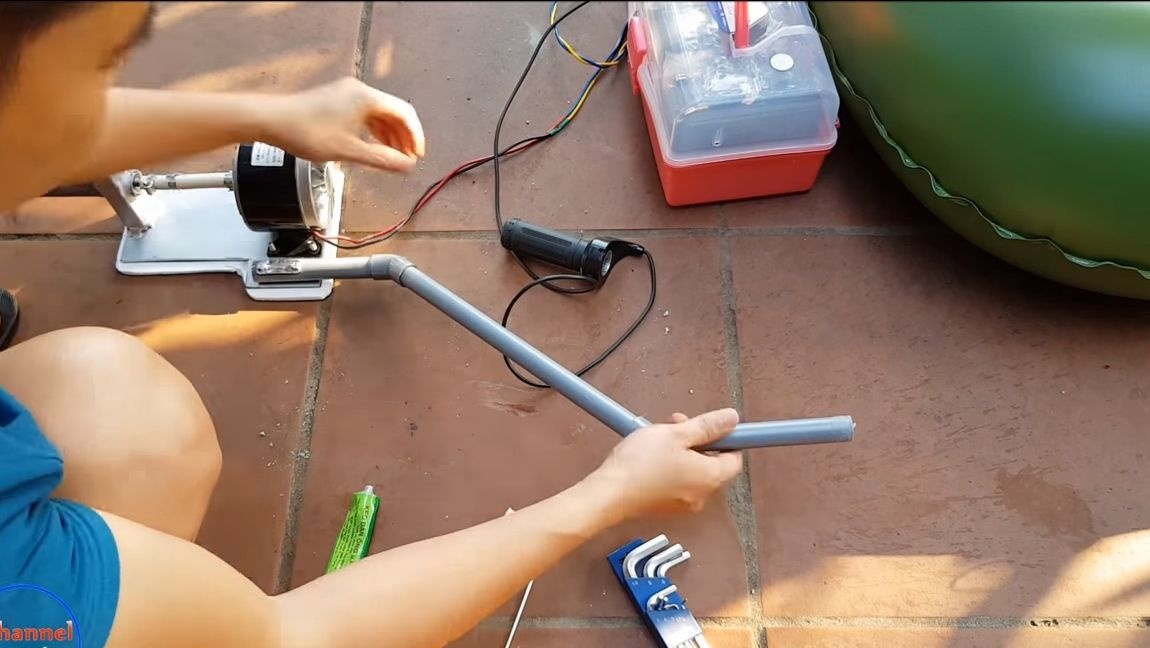
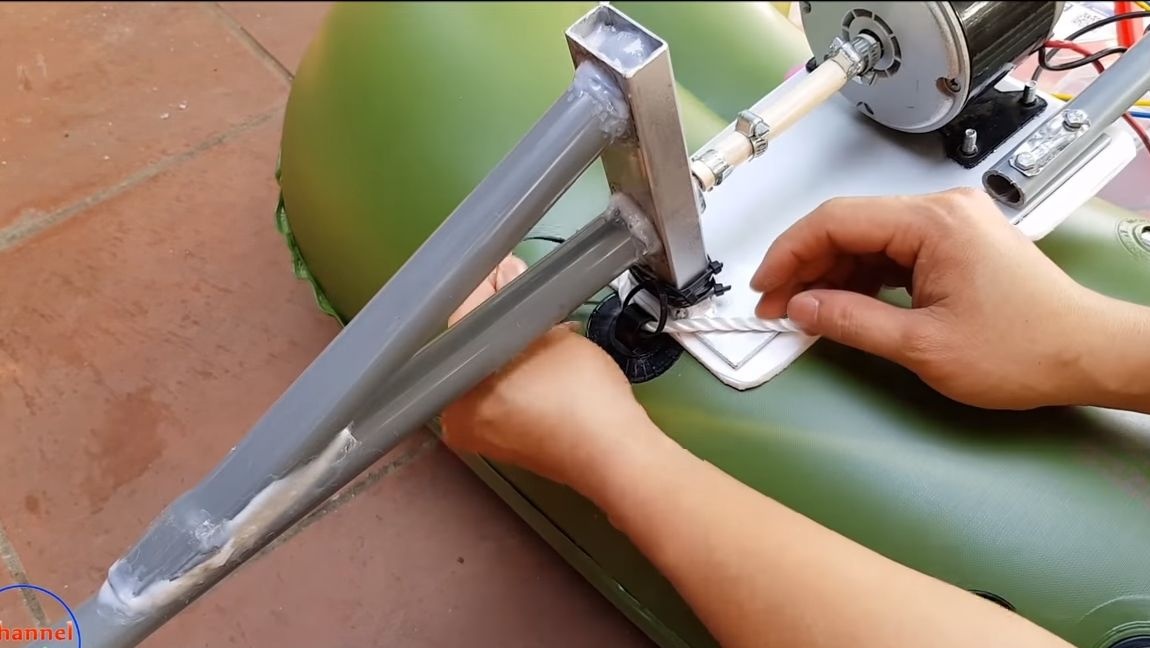
Now the question remains, how to fix the pipe? For this we need a piece of square pipe. We drill two holes in it with a bit so that the pipe comes into them tightly. This part is welded to the base. That's all, in the end we got an excellent frame on which we can fix the necessary nodes.

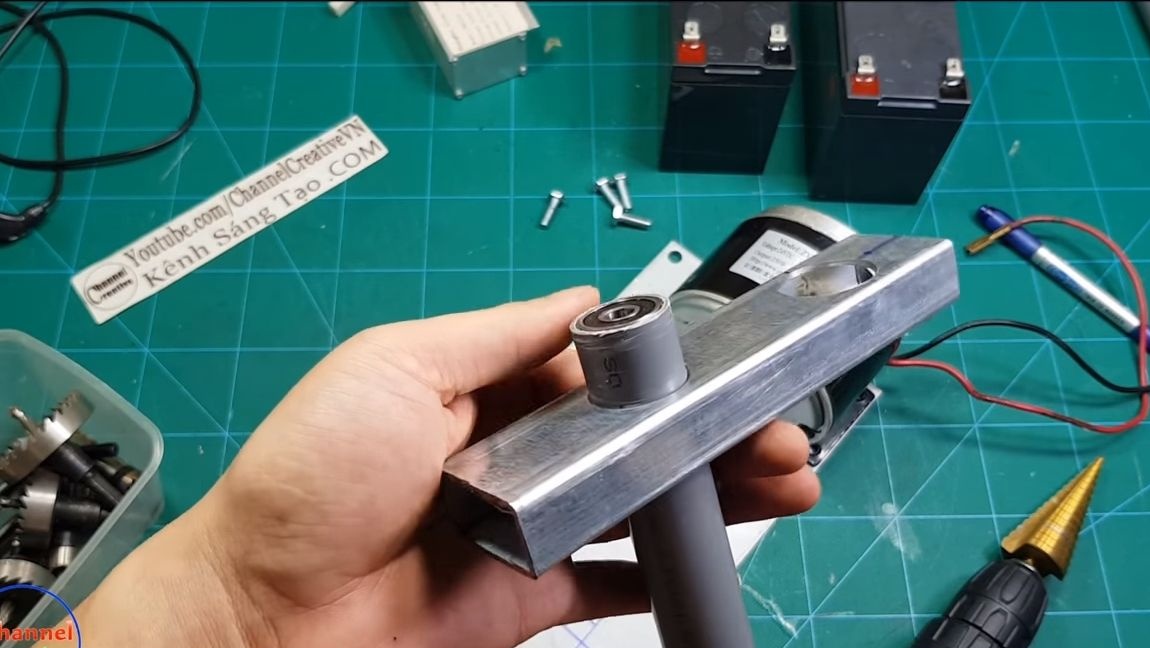
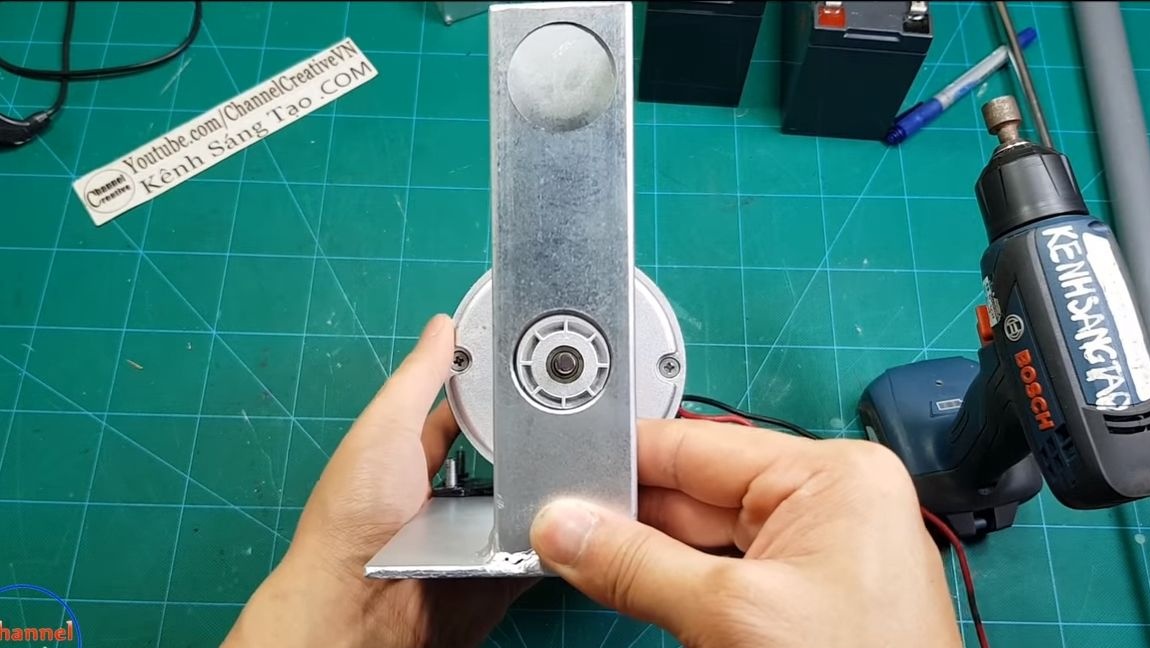
Step Four Fasten the shaft to the frame
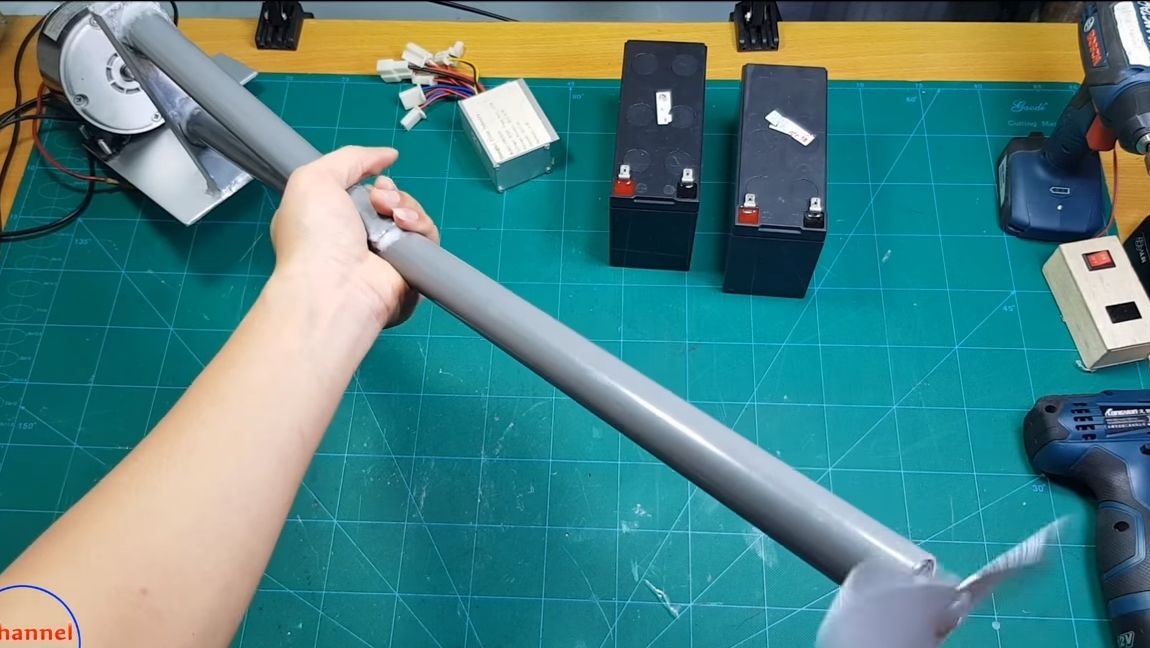
Install the pipe with the shaft in the lower hole, the shaft should look exactly opposite the axis of the engine. Next, we need another piece of pipe, which must be cut at an angle, as the author did in the photo. This piece is needed for a secure fit. Now we will need an epoxy, using it we carefully glue all the details. Do not forget to glue the bonded surfaces well before applying the glue. The author uses a drill for these purposes. When the adhesive enters the micro-slots, it adheres firmly to the surface. As a result, we get an almost finished unit, it remains the case for small - it will connect all nodes.
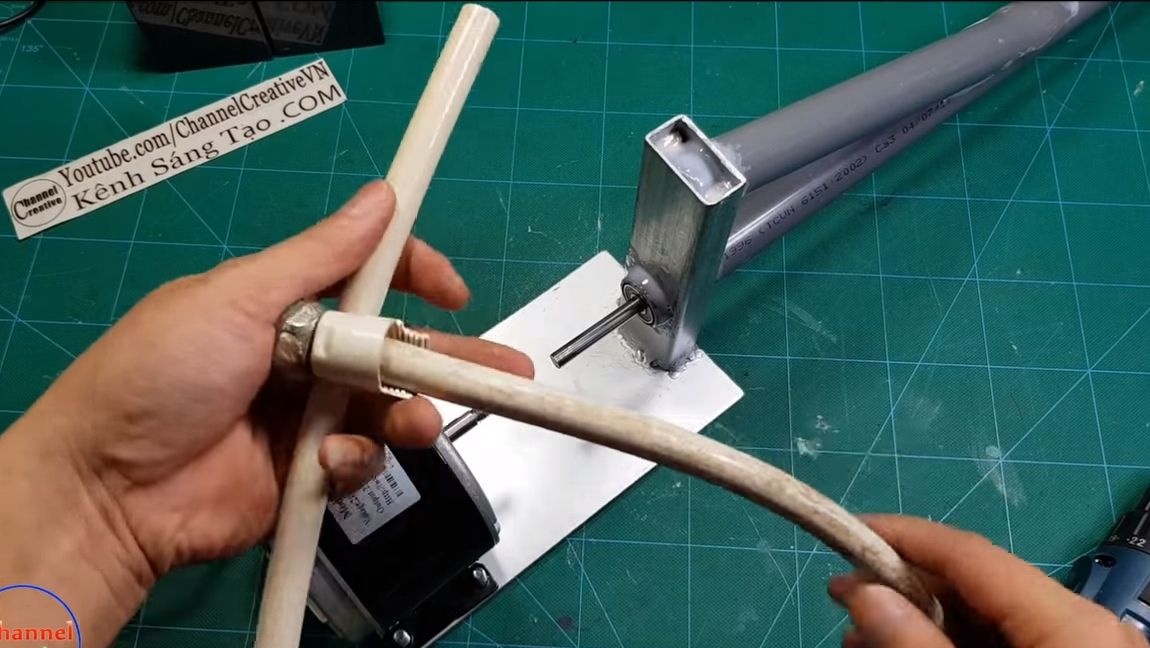
Step Five We connect the engine shaft with the propeller shaft
To connect the axles, we will make a simple flexible coupling to eliminate vibrations that can form, since the axes are difficult to install clearly on the same level. To make such a coupling, we take a piece of the hose, it is important that it be thick-walled, that is, durable. If you doubt the strength of the hose, you can insert one into the other. We put on the hose on the axle, and then firmly fasten it with metal clamps. The author uses two clamps on each side for reliability.
That's all, now we feed the engine and see if everything works well. Ideally, there should not be strong vibrations.
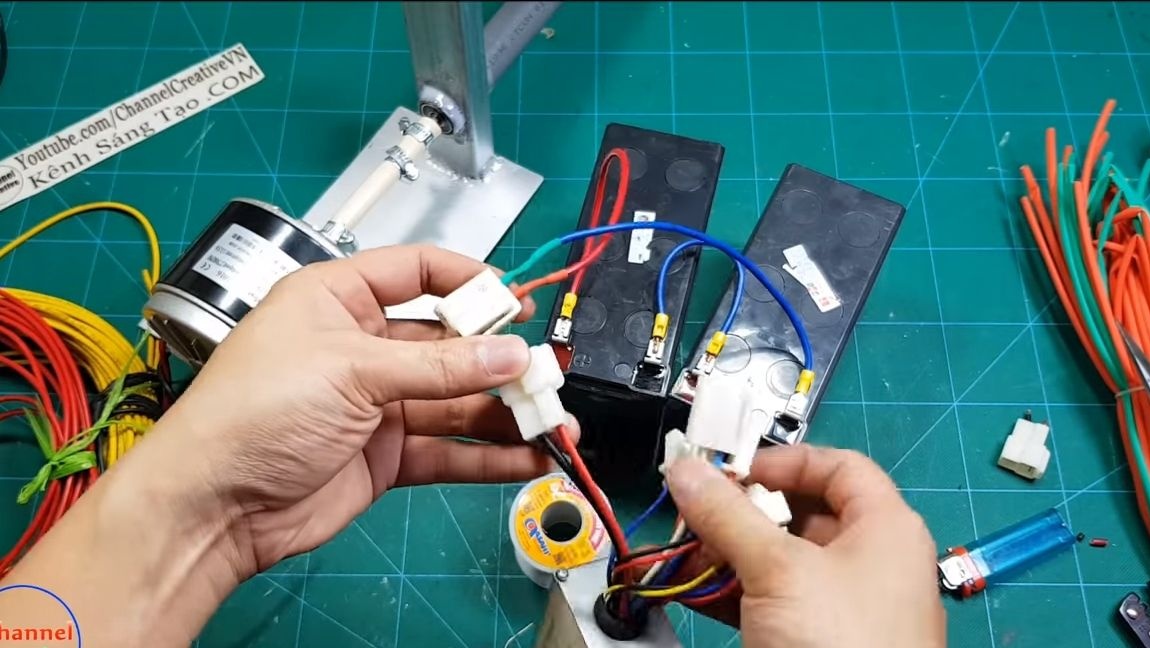
Step Six We connect the controller
If you want to smoothly control the engine speed, select the appropriate controller for it. Each controller is connected individually, depending on the instructions that go to it. We also connect an electronic pen to the controller, which allows you to conveniently control the boat. Check how everything works.
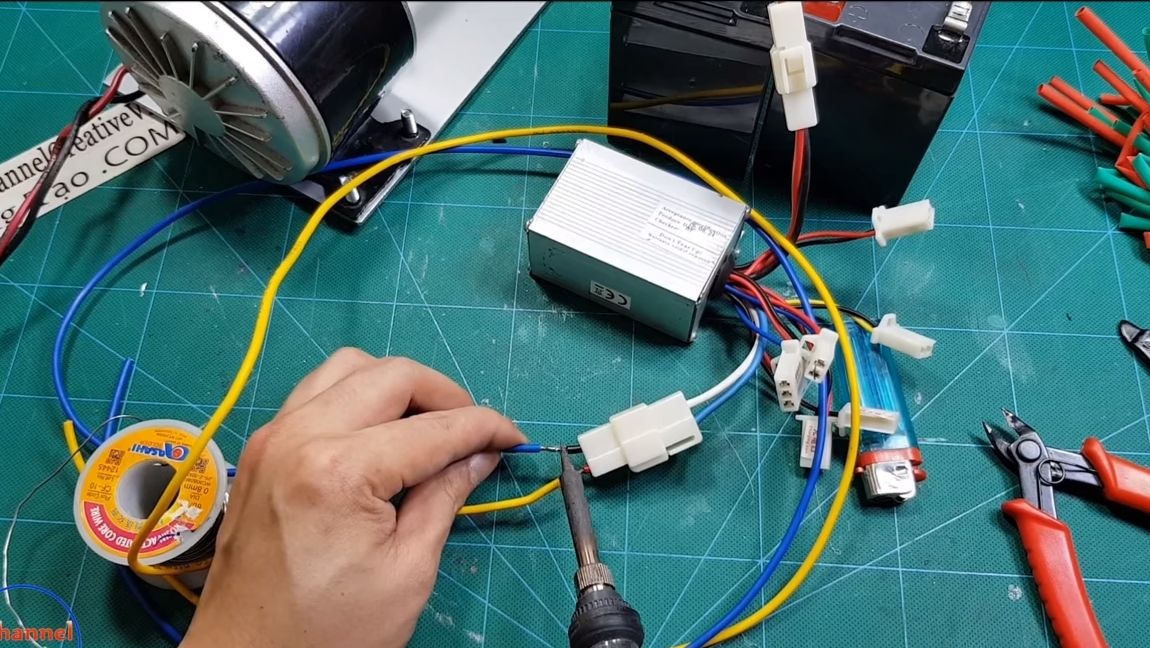
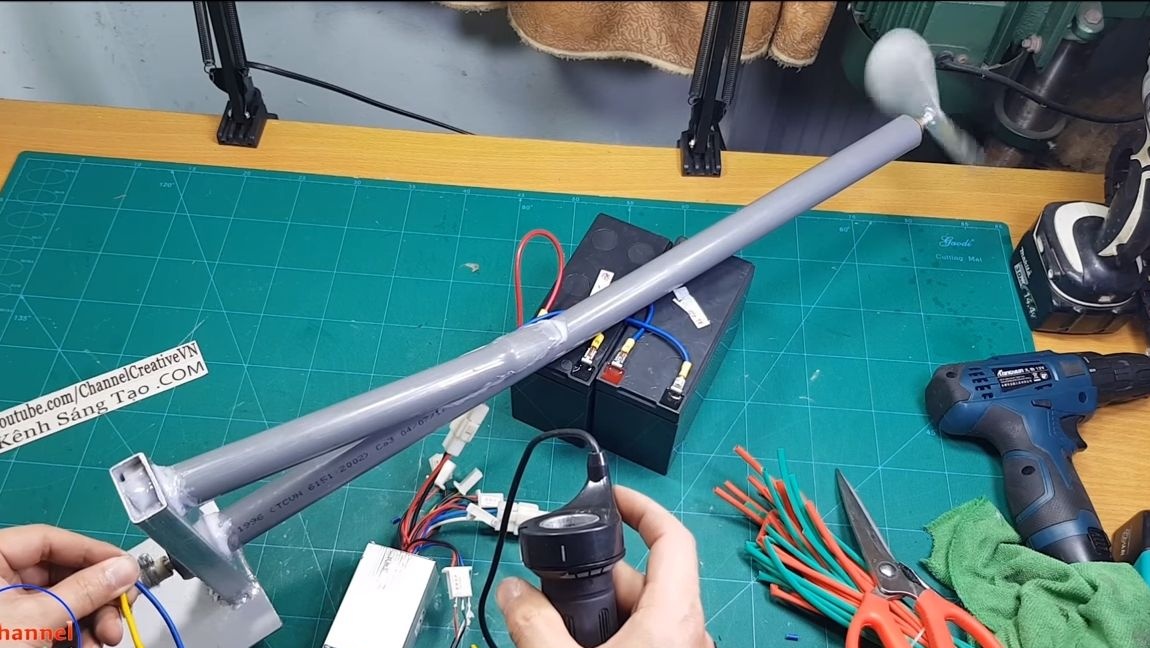
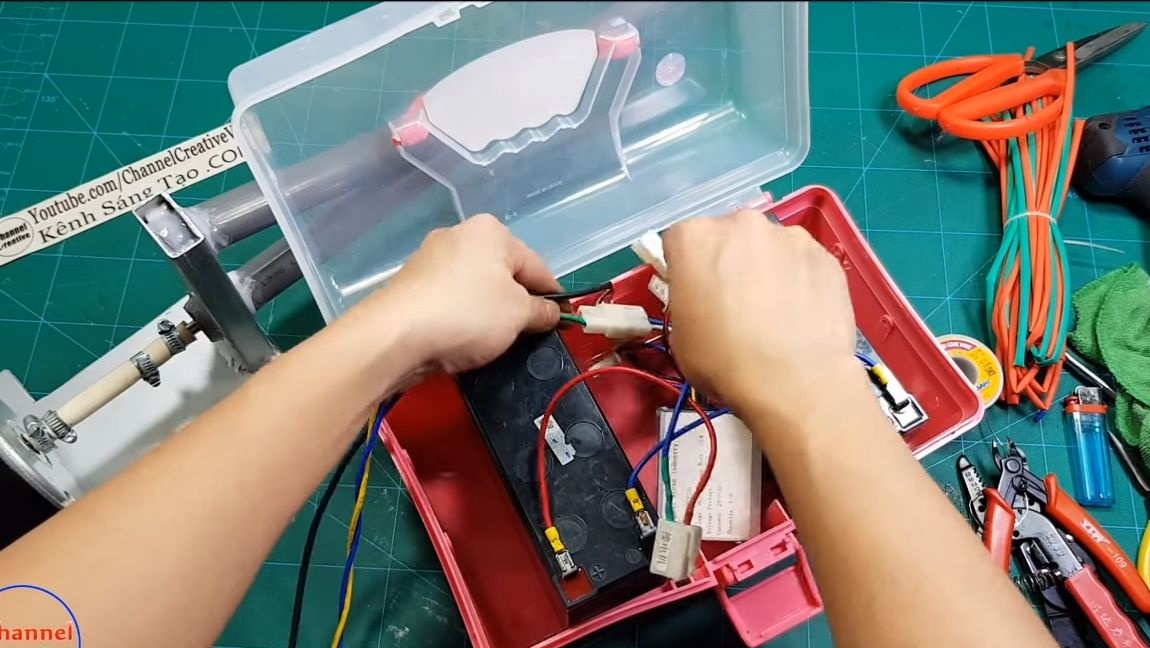
It is important to remember that on a boat there is a great risk of wetting the electronics, so it must be protected. For these purposes, the author has a battery and a controller inside a plastic container. Accessories can be fixed inside on a double-sided tape so that they do not hang out.
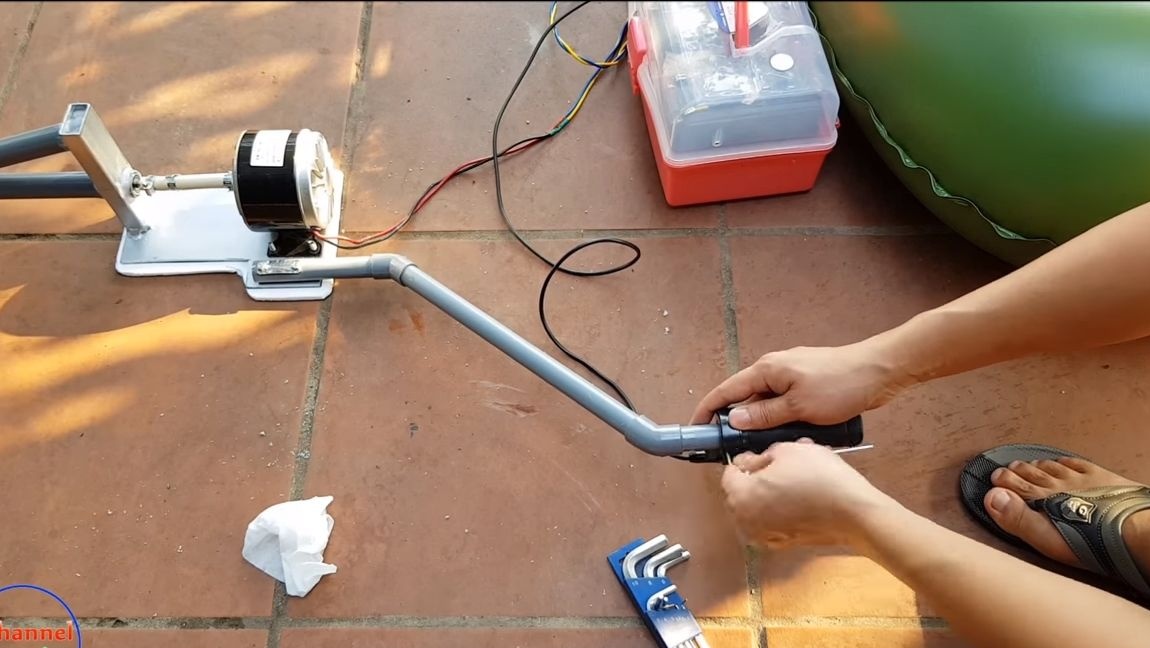
Seventh step. Set the handle
As a pen, the author decided to use a piece of PVC pipe on which a regulator knob was installed. Fasten the pipe to the base with bolts and nuts. From above, the author installed a “washer” in the form of a metal plate in which holes were drilled so that the handle held firmly. In the future, the pen will be redone yet, exactly how, read on.
Step Eight. Safe foundation
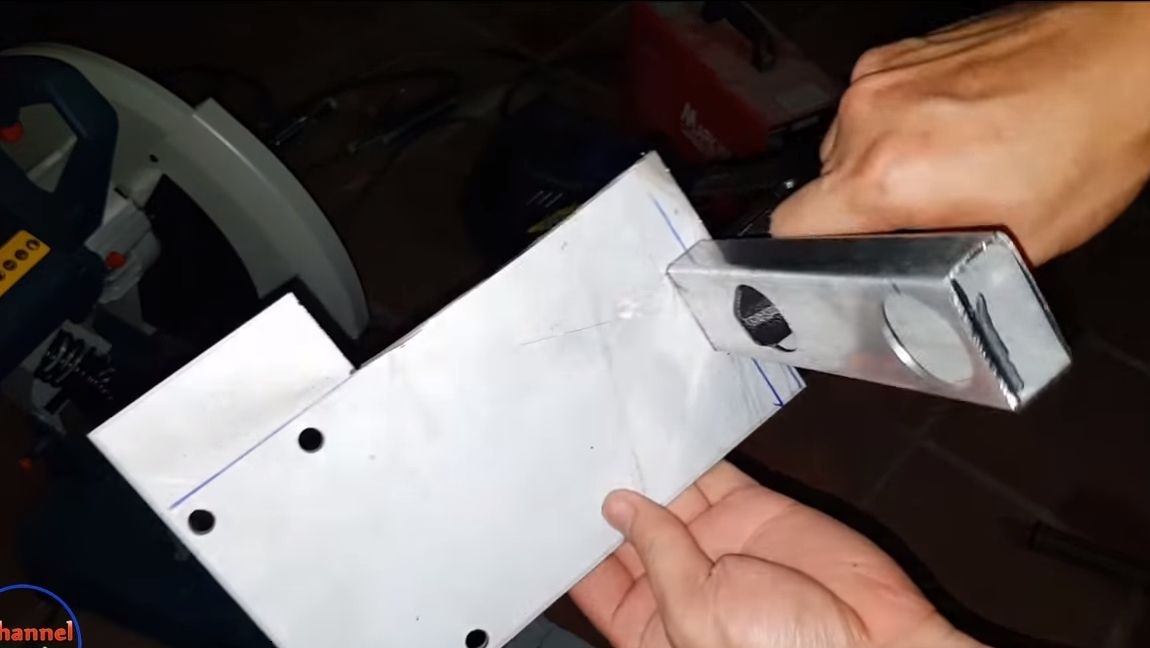
Since the base we have is made of sheet metal, and there is also a plus to everything here the bolt heads stick out, with such sharp parts you can easily break through the boat.To prevent this, some soft material must be glued to the base. Foam or something similar will do. The author glue the material using double-sided tape.
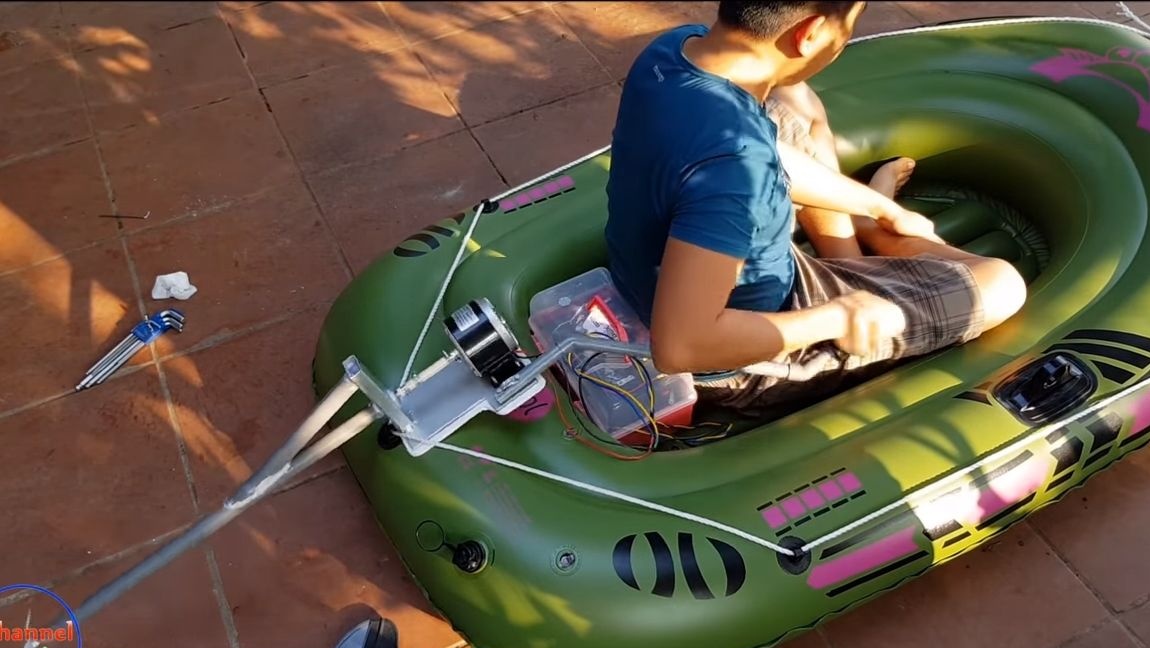
Step Nine. We install the engine on the boat
Install the installation on the boat, the author at the same time found that the handle is made uncomfortable. To fix the problem, the handle was cut and extended. To get the desired profile, the author used two corner joints for pipes. We collect all compounds on glue. That's all, now install the electronic pen.
At the end, you will need to fix the platform with the engine on the boat. For mounting, the author used several plastic clamps. This is a fairly reliable mount, and if necessary, you can cut it and install new ones, because they cost a penny.


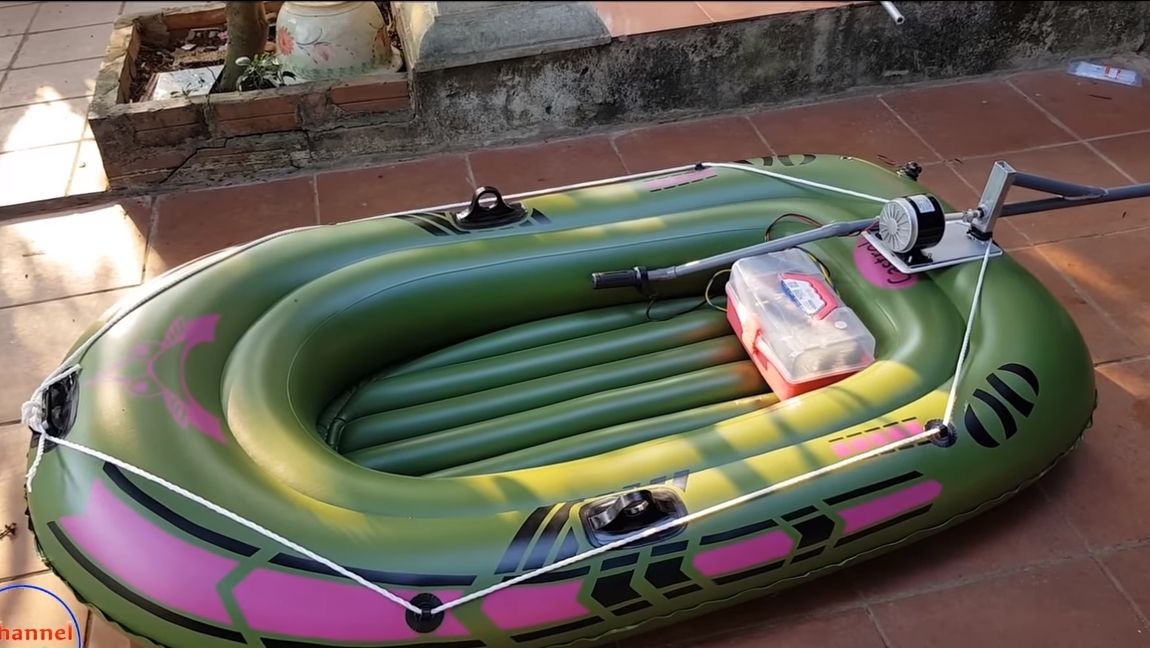
That's all, our electroboat is ready for testing! For the author on the video, the engine runs quite briskly, the boat is maneuverable, fast and convenient for her to drive. The disadvantage of this design is that the bearing is not protected from water. But this problem is solved, it is enough to adjust the gland at the end. However, these bearings are cheap and can be easily changed. That's all, I hope you liked the project. Good luck and inspiration in making homemade items!