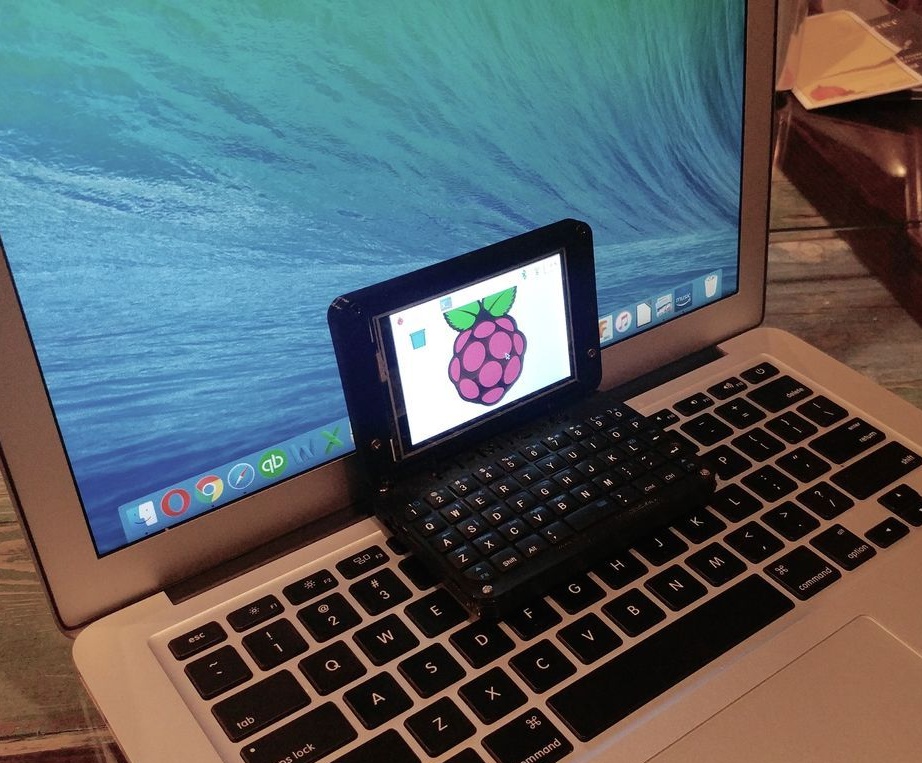
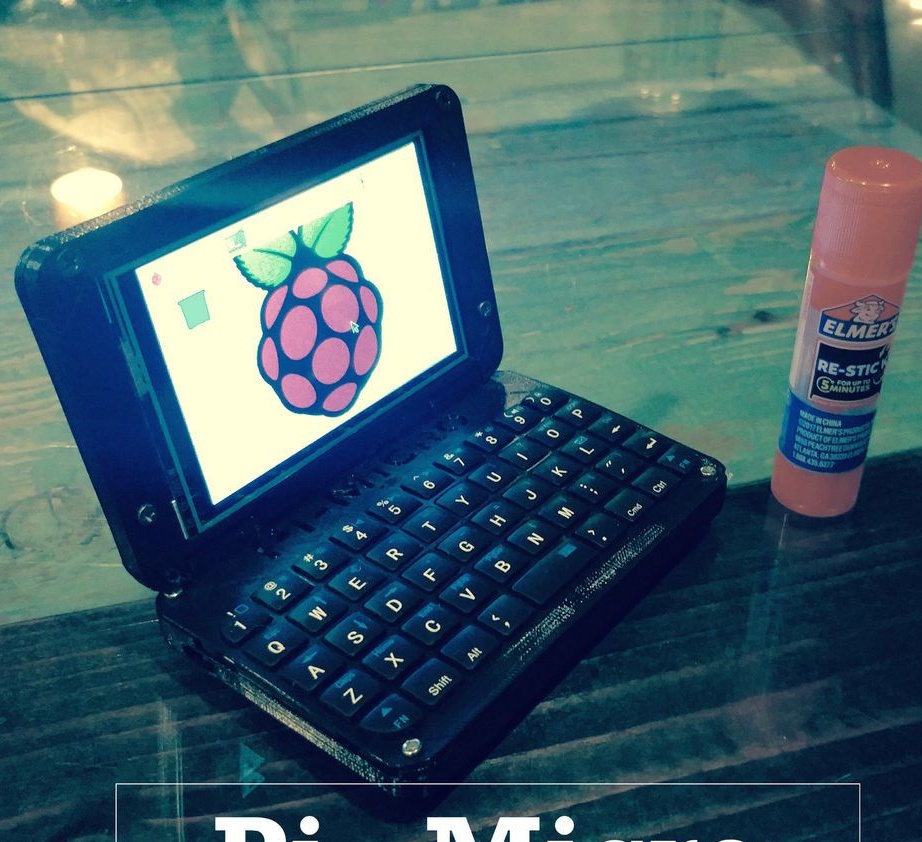
Computer Features:
512 MB RAM
CPU - 1GHz
WiFi and Bluetooth modules
3.5 "touch screen
1000mAh Li-ion battery
16GB of internal memory
full qwerty keyboard
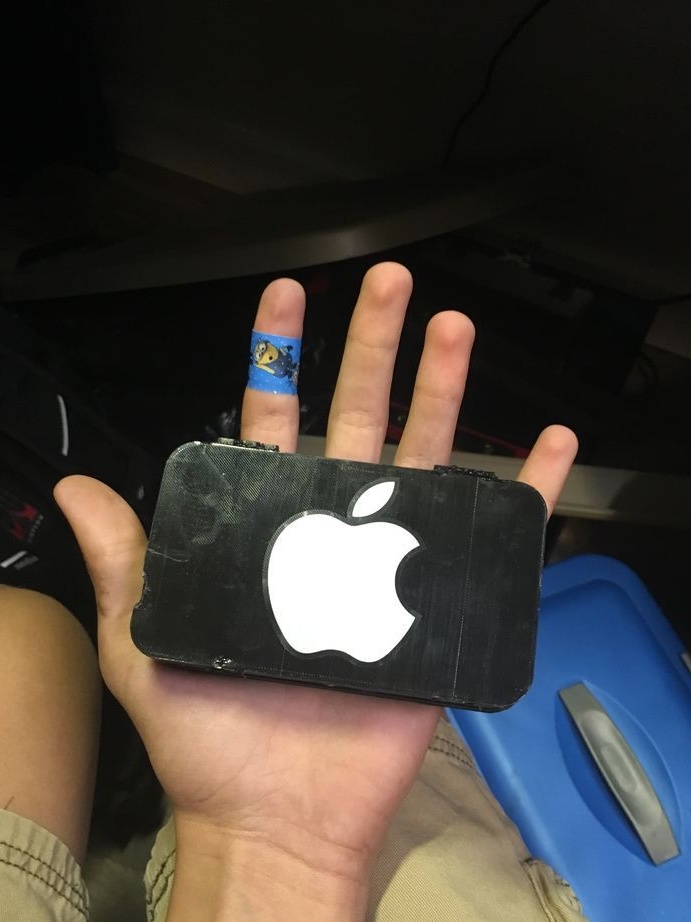
Size 108mm x 19.5mm x 70mm (Or 4.25 "x .75" x 2.75 ")
For the project you will need a bunch of small things.
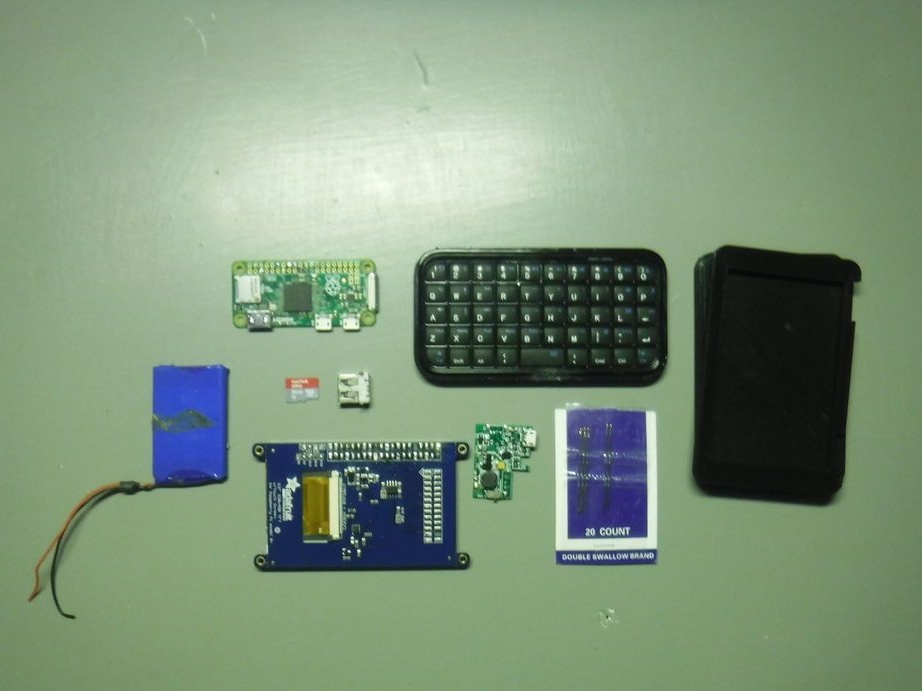
List of required parts:
•
•
• 3D Printed Case
•
•
•
•
• Two sewing needles
• Various wires, bolts and glue
Of course, you need to print the case of the future computer on a 3D Printer. If you do not have a 3D printer and cannot find it, you can use the Shapeways or i.Materialise services.
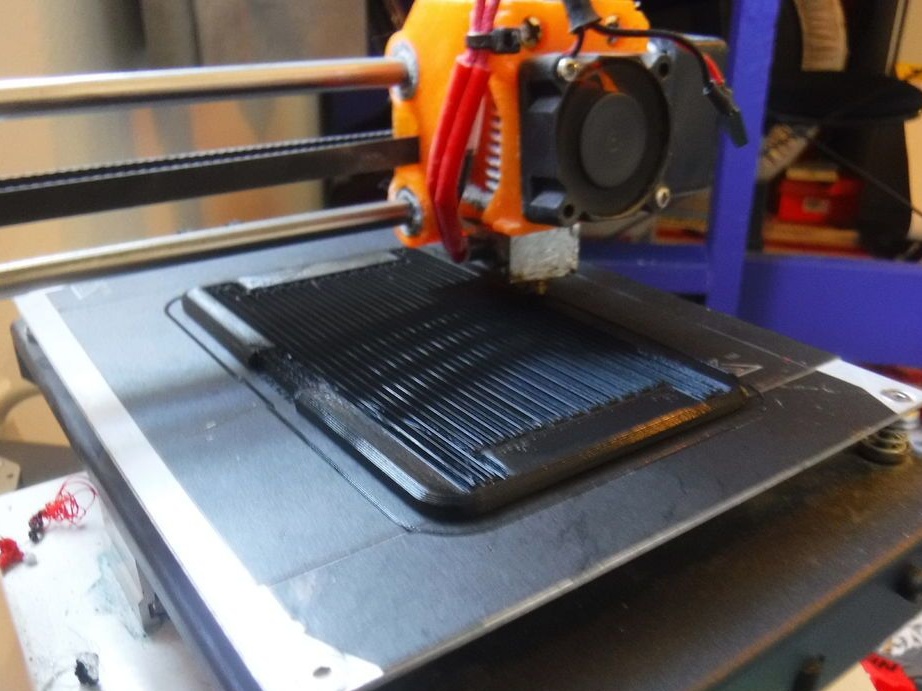
For those with a printer on hand, here are the print settings and the file to print.
• Filament: ESUN PLA +
• Layer Height: 0.2MM
• Shells: 3
• Infill: 80%
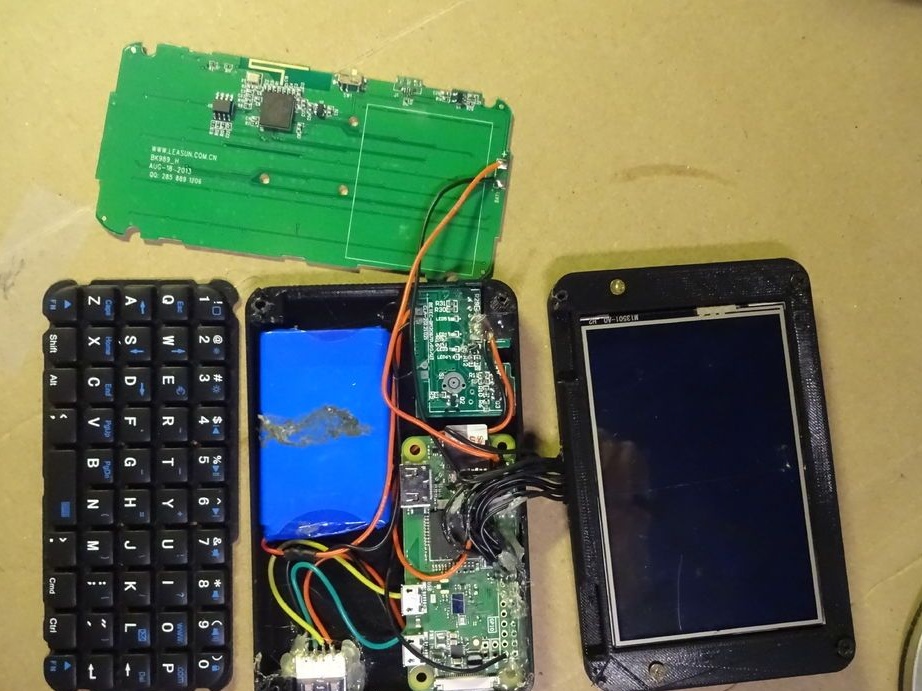
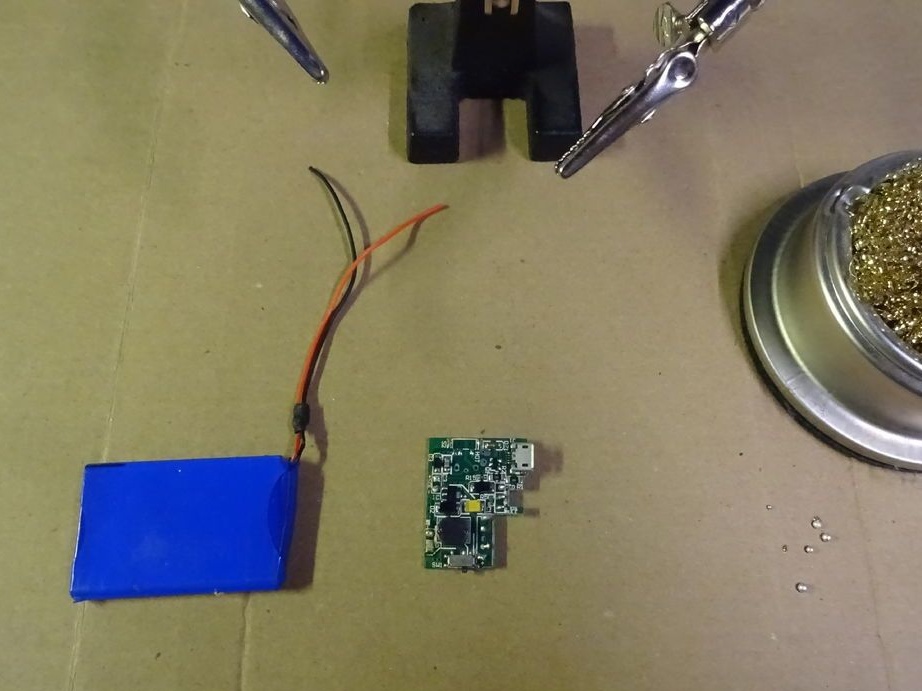
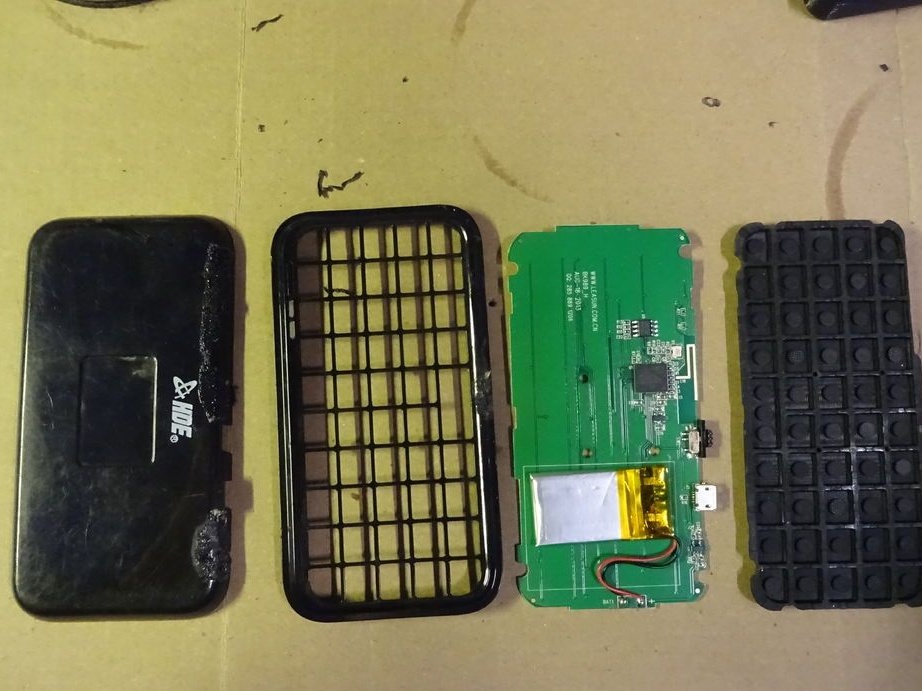
Next, you need to disassemble Power Bank. The goal is this: you need to remove the charger and battery. Unfortunately, the author did not take a photo of the Power bank disassembly, since there are a huge number of different models and he does not know which person will use the repeating design.
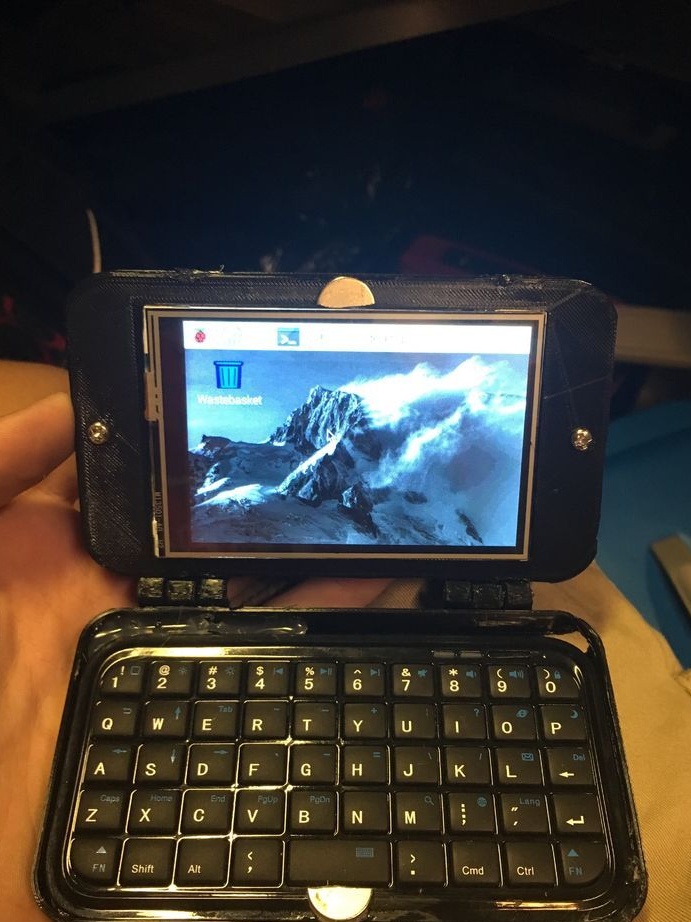
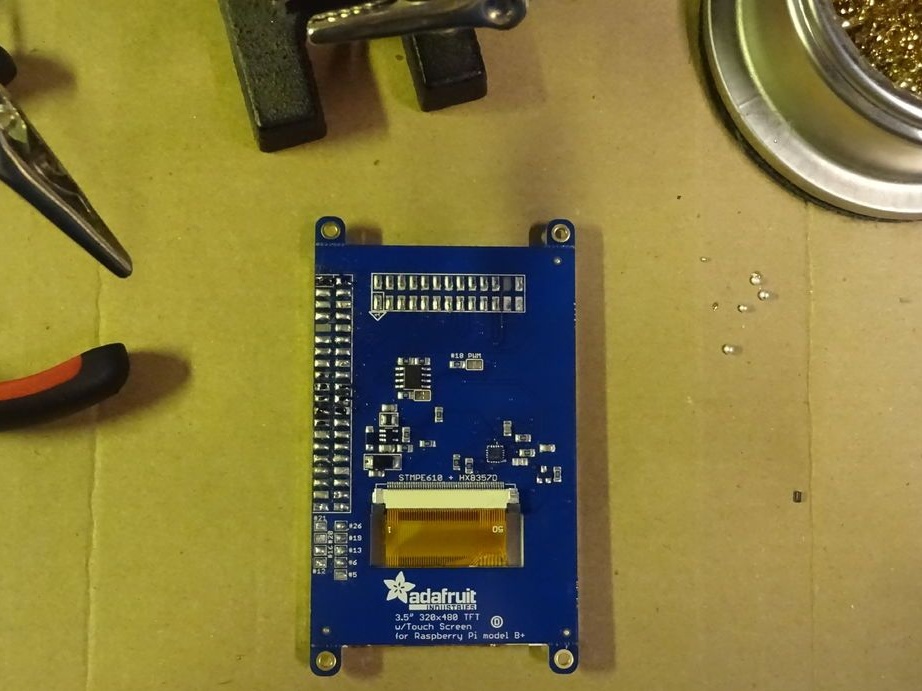
It is necessary to prepare the screen.
IMPORTANT! If you will use a touchscreen different from that of the author of the article, then you need to check the pinout and connect the display in accordance with its specification. You can see the pinout of the display used.
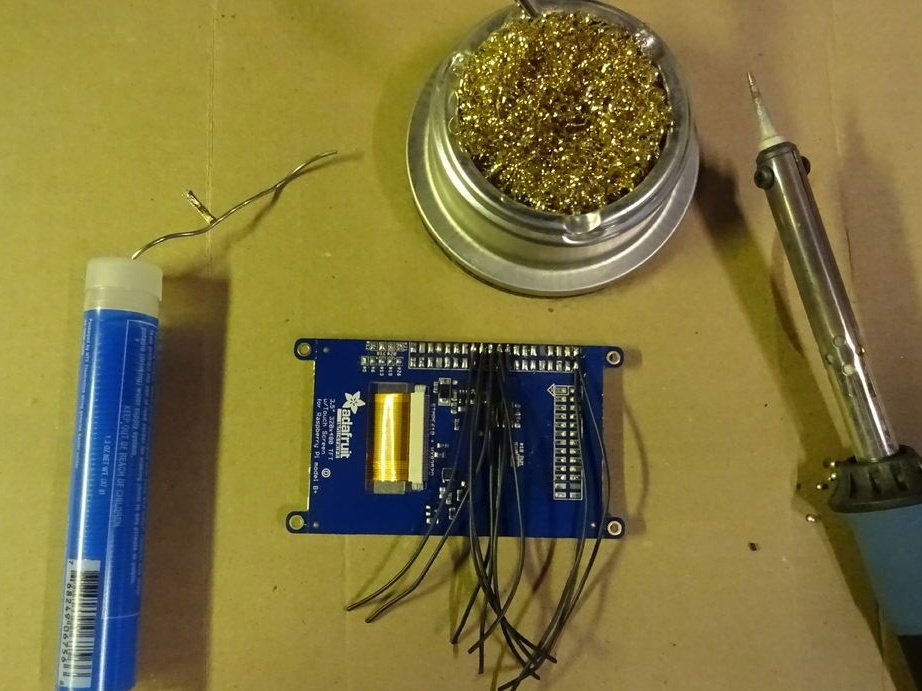
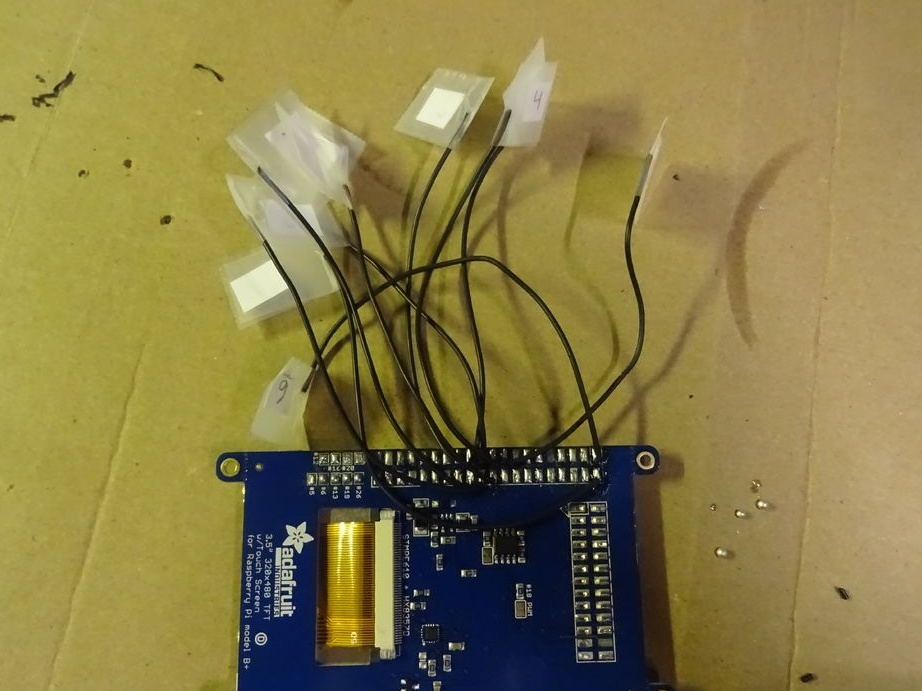
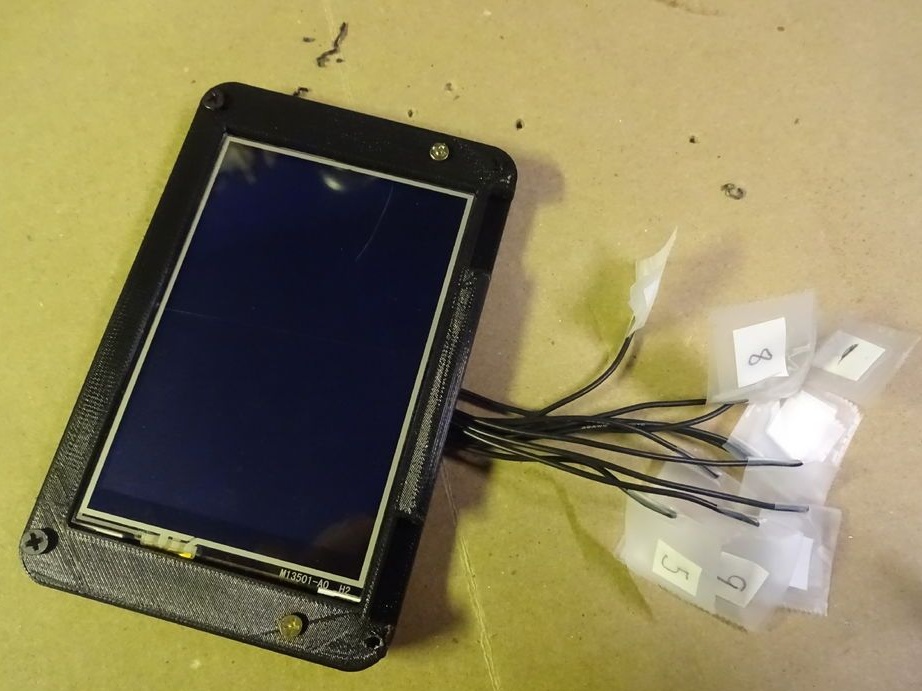
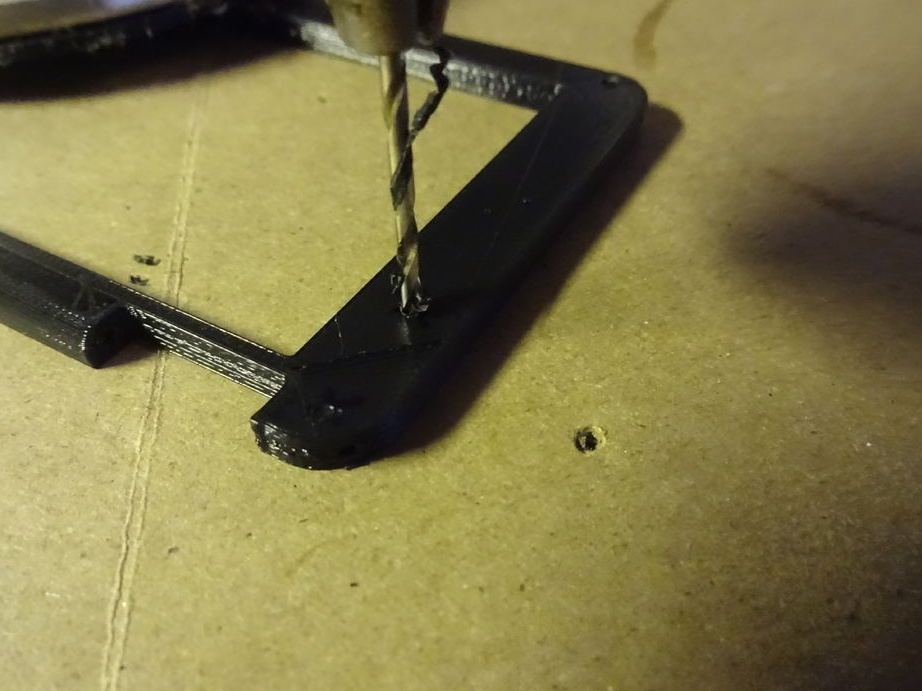
To conclusions 1, 2, 6, 11, 18, 19, 21, 22, 23, 24, and 26 solder wires. Mark all wires so that you are comfortable and do not have to turn the display over each time. Double check which wire you marked. This is very important, since the display will not survive a wrong connection. Drill holes in the printed case and secure the display with screws. Once again, check, just in case, the marking of your wires.

Solder the USB connector to the Raspberry Pi.

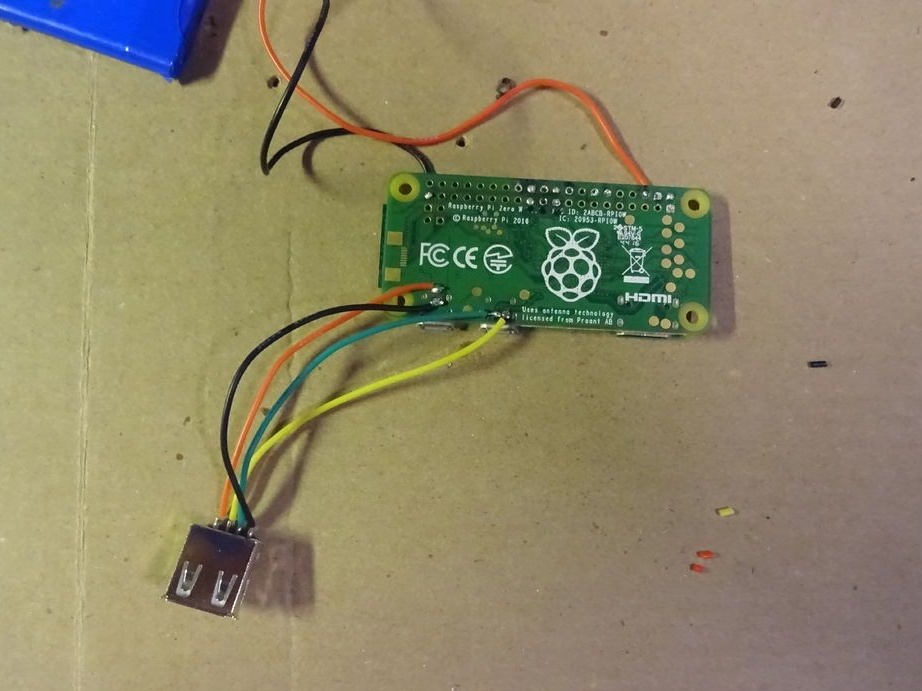
You will need 4 wires of different colors, long enough to place the USB connector in the device case, you can solder them to the Raspberry Pi. Solder the wires to the USB connector and insulate them with heat shrink. Then connect them to the motherboard, as shown in the photo.The photo shows that the USB connector is connected in parallel with the USB connectors installed on the board.
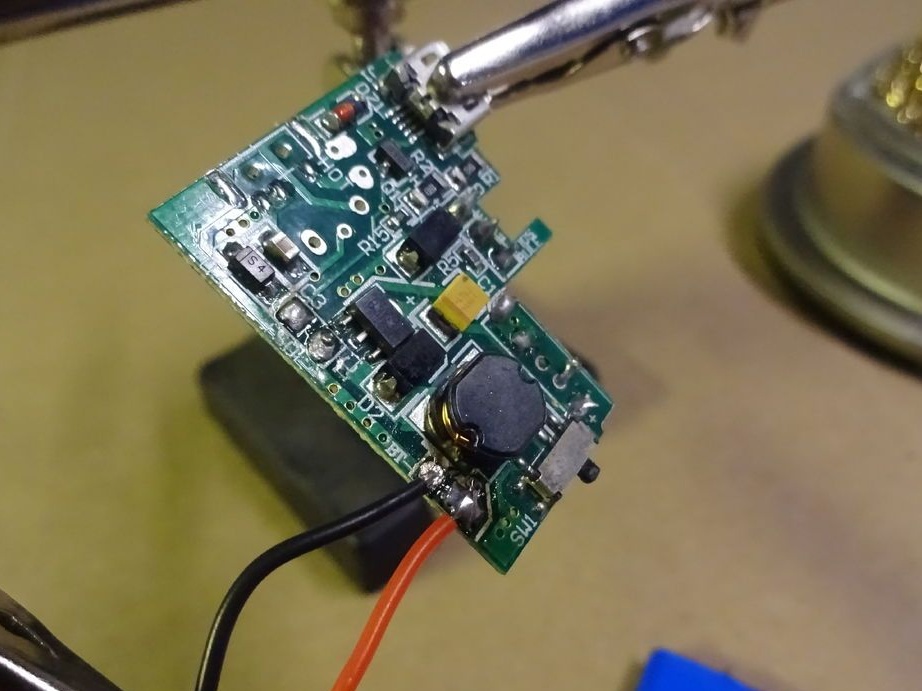
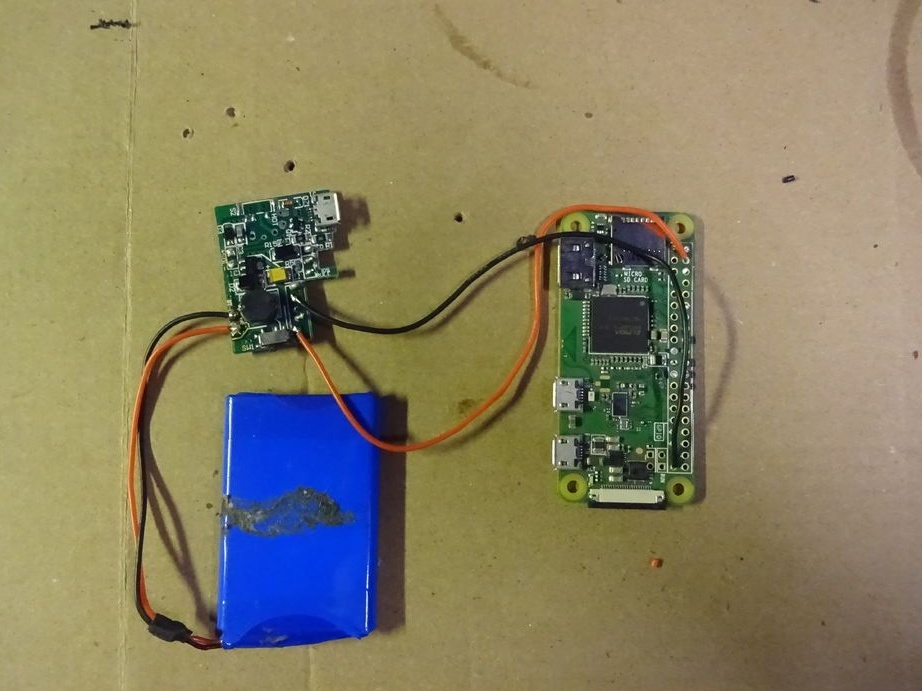
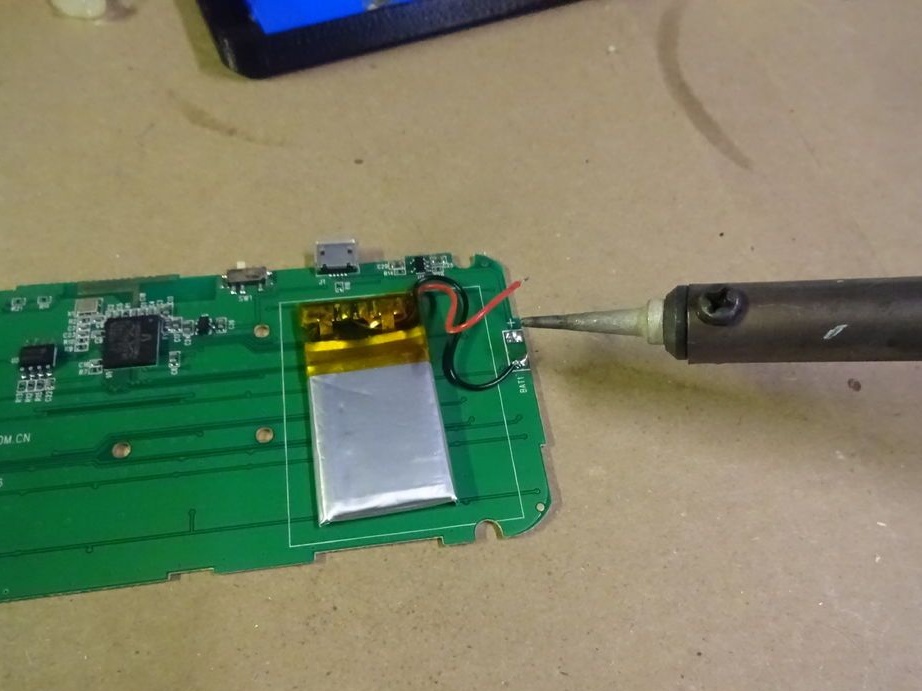
Next, connect the charge controller and battery, as shown in the photo.
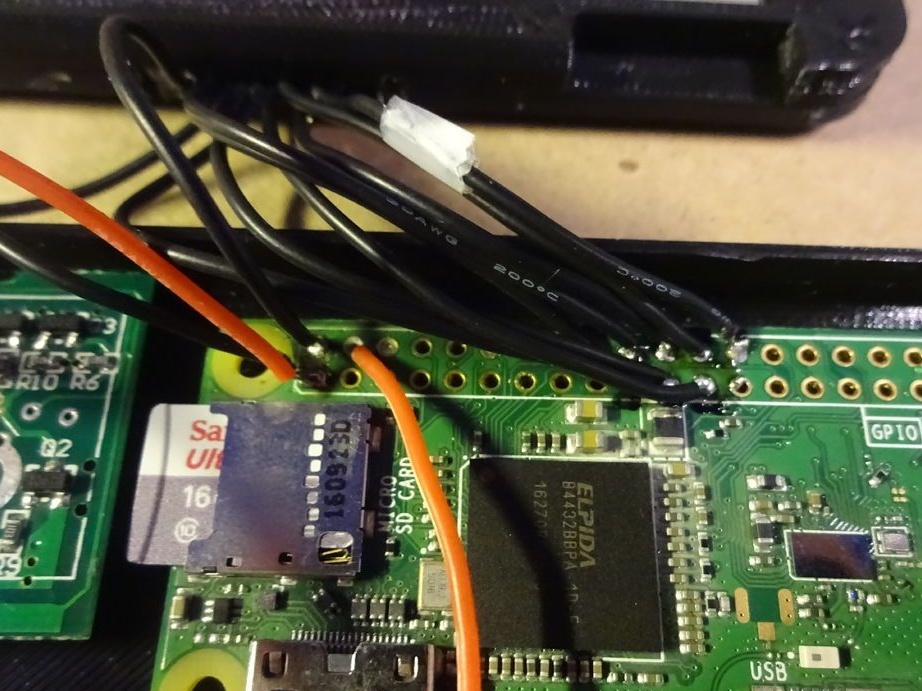
Display connection.
This is the most painstaking step and so that there are no dead displays, do everything carefully and accurately. If the wires that you have already soldered to the display are too long, shorten them to about 2 centimeters. Otherwise, they will curl at the bottom of the case and prevent you from closing it. Connect the wires according to your marking to the corresponding Pi terminals. Check everything carefully again.

Software.
For this build you need a card of at least 8 GB. The amount of memory of a flash card will determine the amount of internal memory of your future computer.
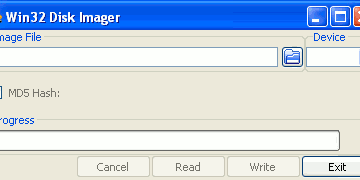
Download the image with the preinstalled display driver for, download the program for. Unzip the archive with the program. Unzip the image. Connect your flash card via a card reader to the computer, having previously formatted it in FAT32. Run the program as administrator
In the program, select the image you downloaded earlier and your flash drive.
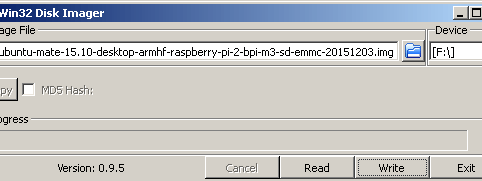
Press Write and wait for the recording to finish. After that, insert the USB flash drive into the Pi and turn on the power. If you connected everything correctly, then the system should start.
For the keyboard of the future computer, we will use a Bluetooth keyboard with removed batteries and a USB charging connector. Solder the wire from the + keyboard power supply to the 3.3V pin on the Pi, and the GND pin to any GND pin on the Pi.
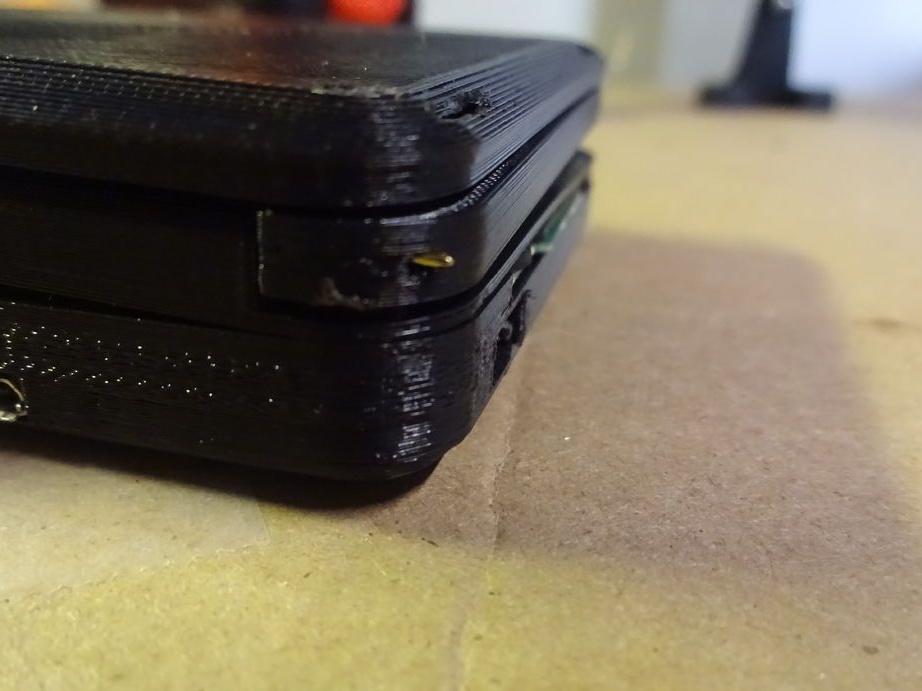
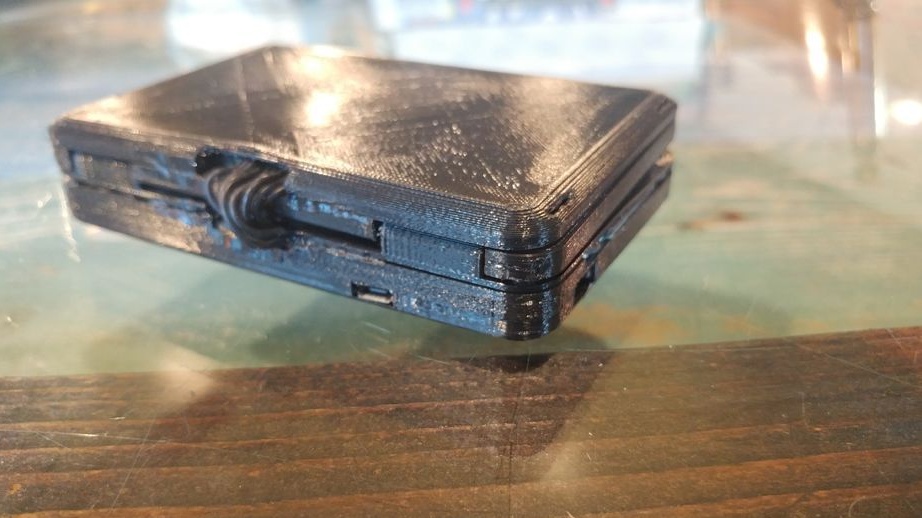
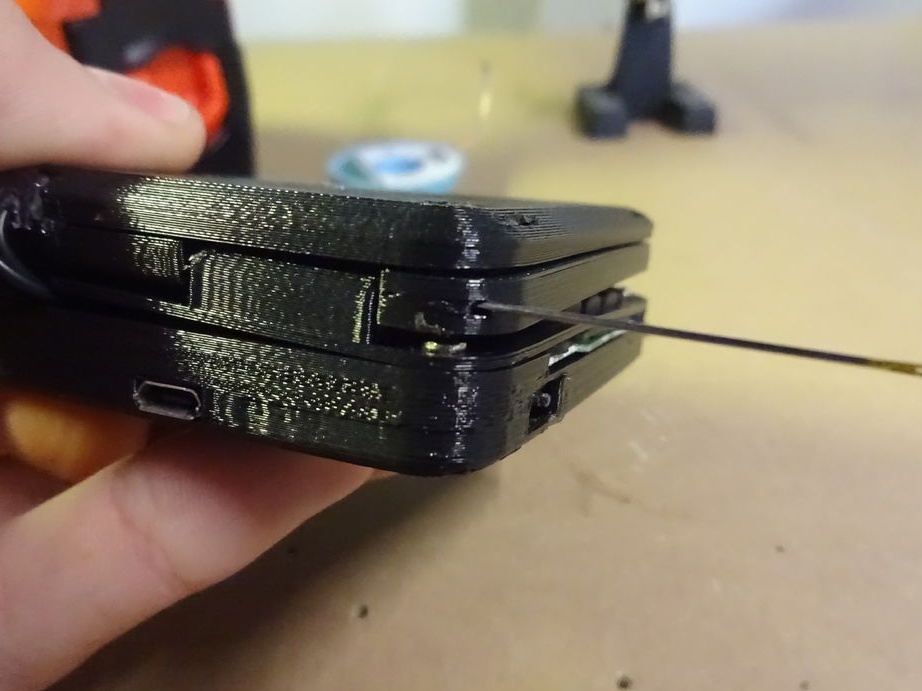
Now the most nervous part of the assembly is to put everything together in a case. If something prevents you from closing the case, it’s better to try changing the location of the parts, rather than squeezing the case by force. Fix everything with hot glue, except for the battery - it does not like excess heat, it can explode. The author used simple sewing needles as hinges connecting both parts of the computer.