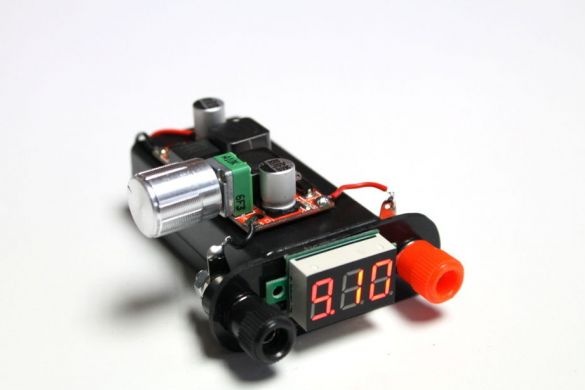
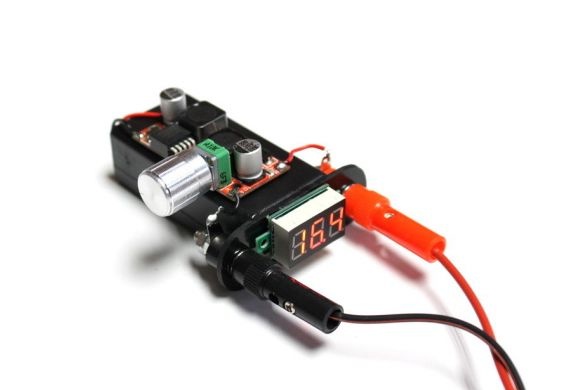
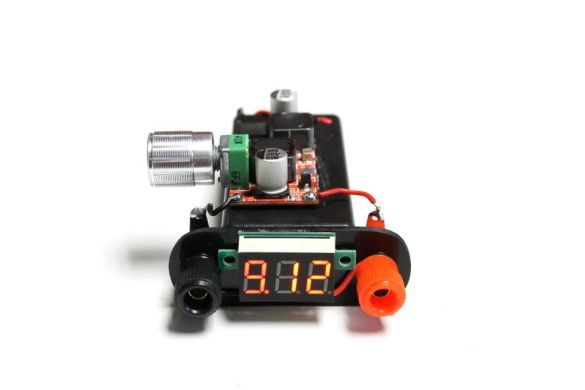
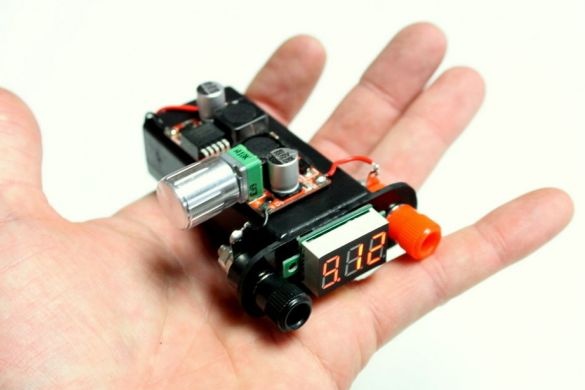
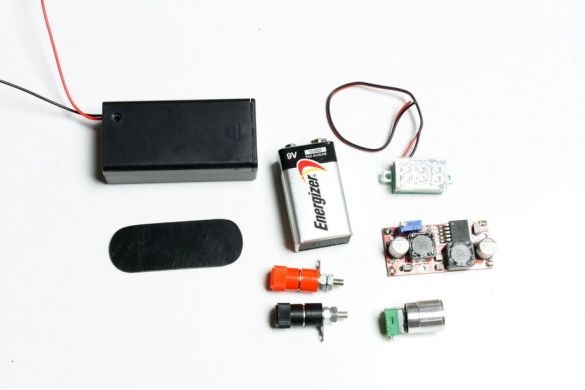
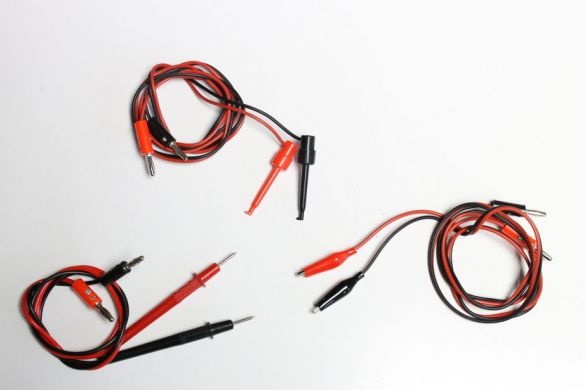
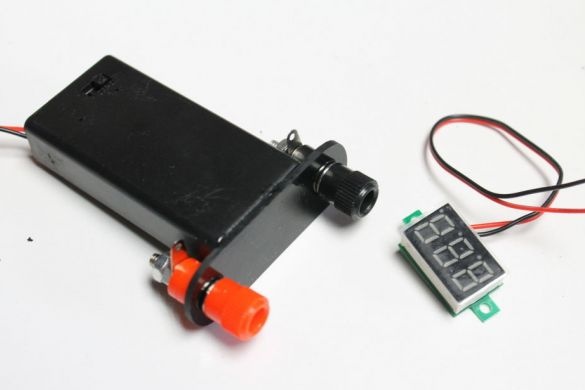
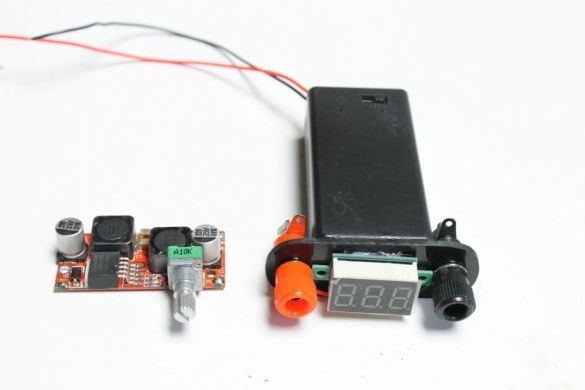
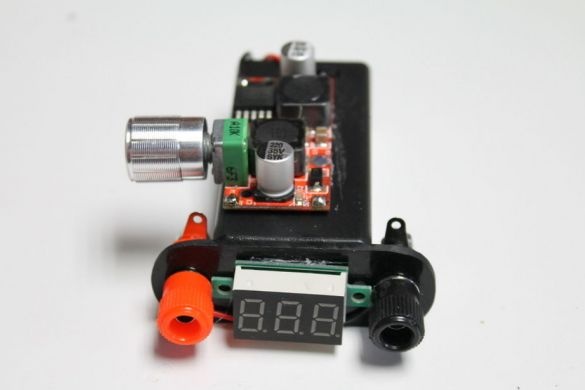
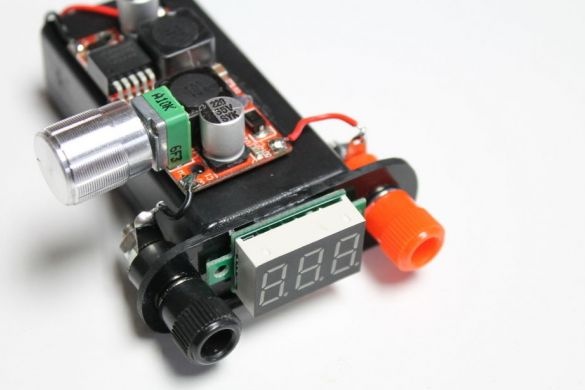
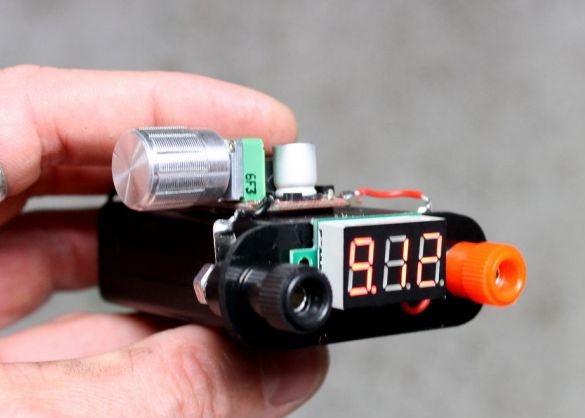
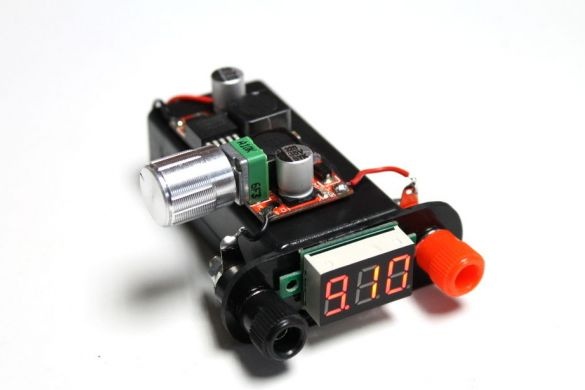
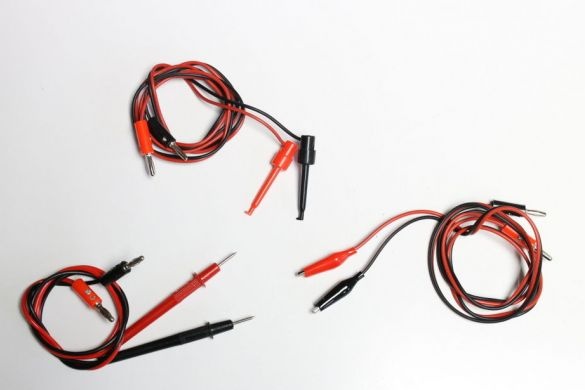
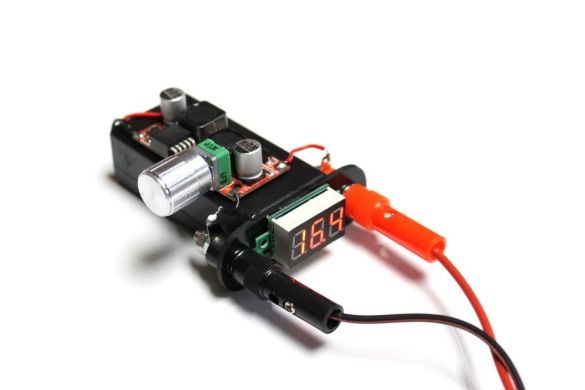
The master is engaged in various electronic projects. For convenience in their testing, the master made a small power supply with voltage regulation. Using a potentiometer, you can change the output voltage from 2 to 25 volts. Another goal was the possibility of using various tips with the device.
Tools and materials:
- 9V battery;
-Battery holder;
-Connecting wires;
-Connectors;
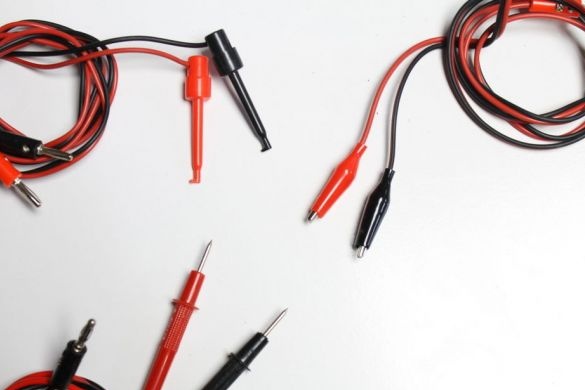
-Wire with clamps;
- Wires with probes;
-Plastic;
-Glue gun;
-Soldering iron;
-Nippers;
-Super glue;
Step One: Replacing the Potentiometer
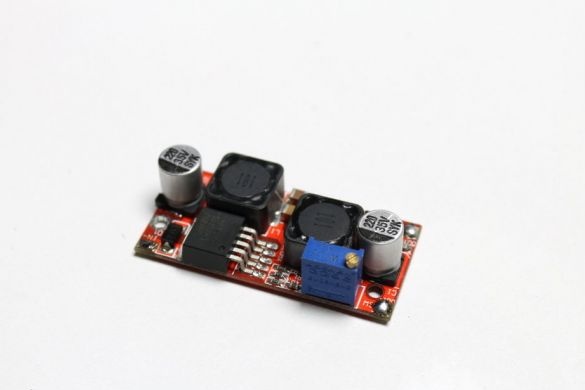
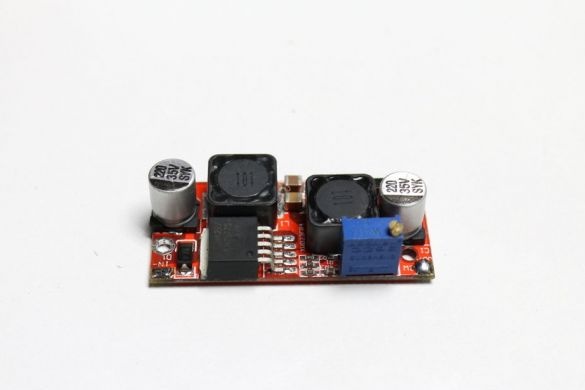
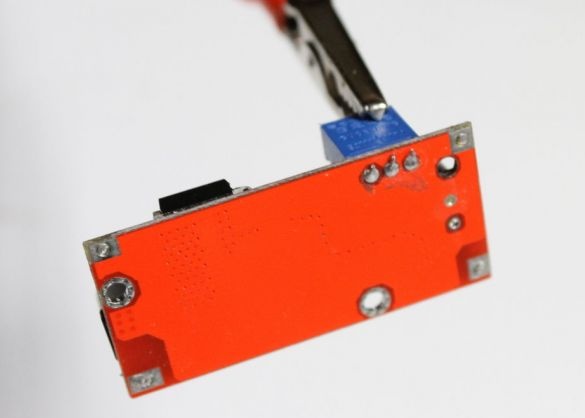
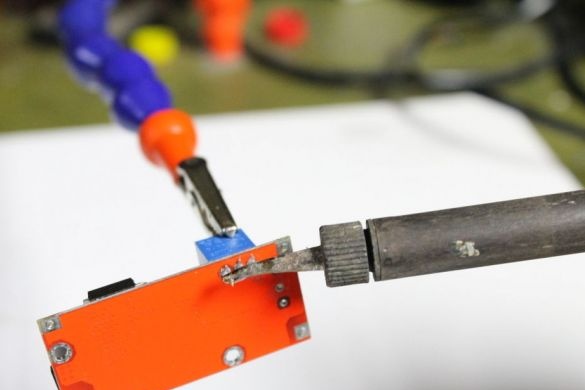
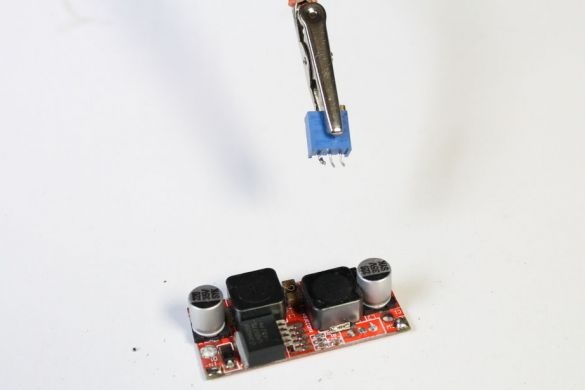
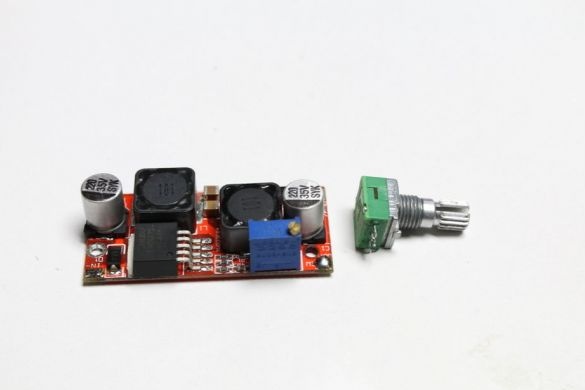
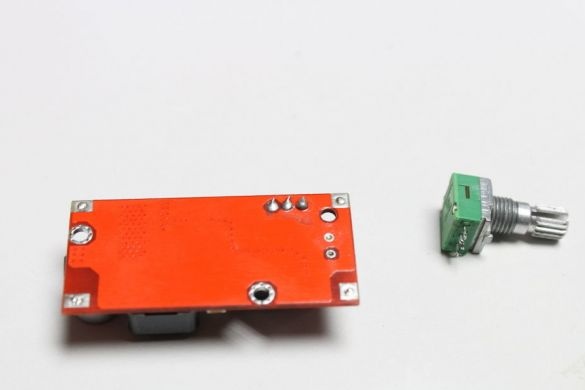
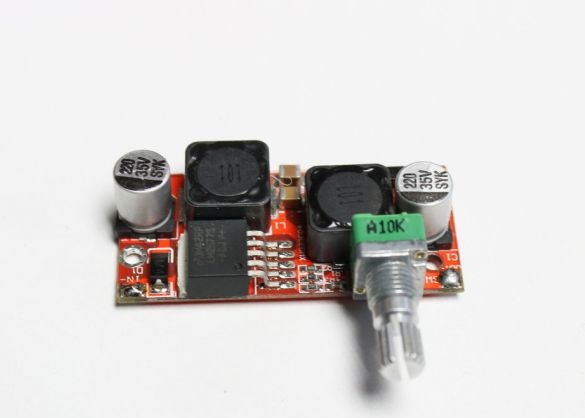
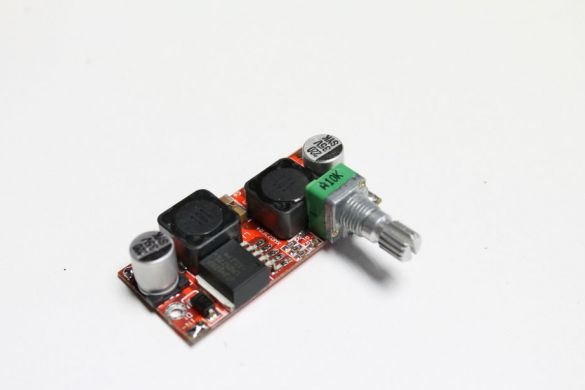
The standard potentiometer of the voltage regulator is inconvenient in operation and the master solders it and replaces it with another.
Step Two: Add Connectors
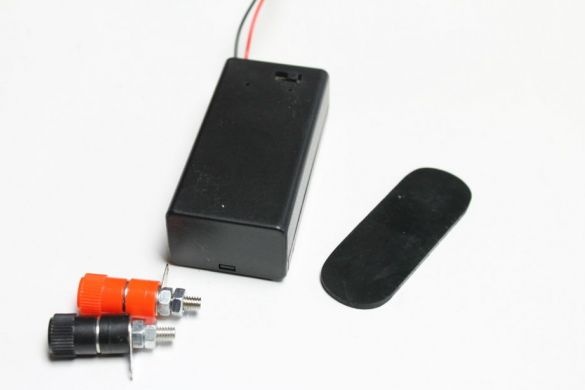
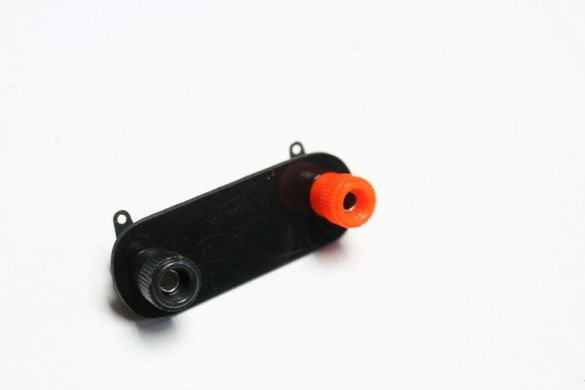
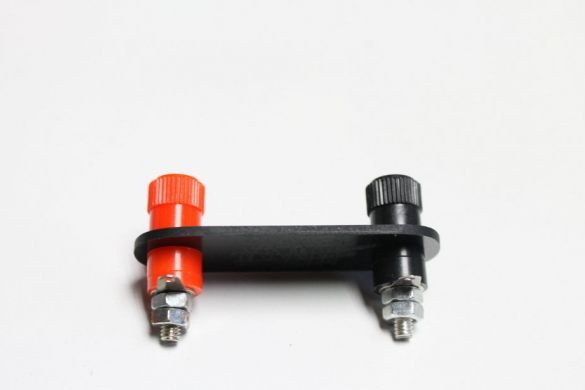
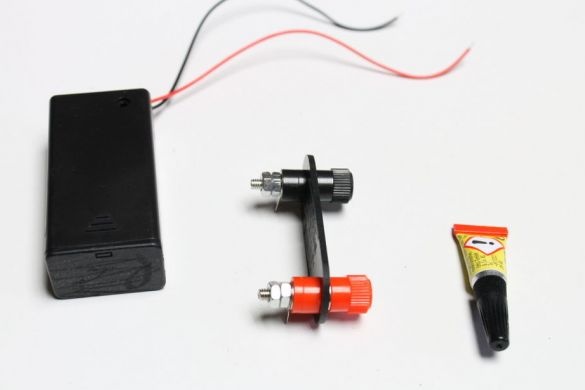
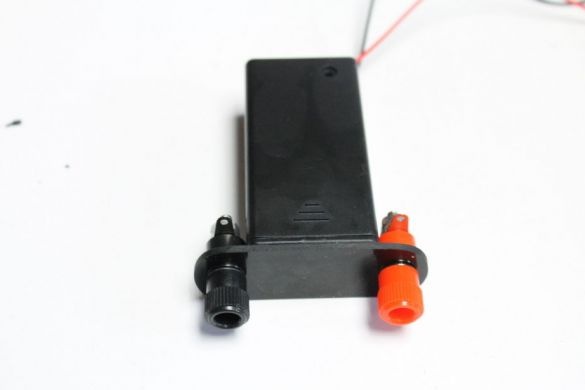
Cut a piece of plastic. Sticks it to the battery holder. Drills the edges of the hole. Installs connectors.
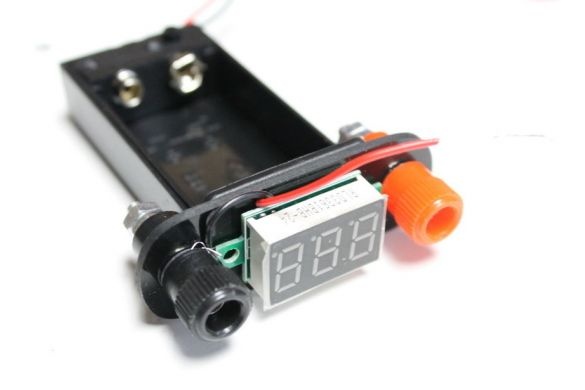
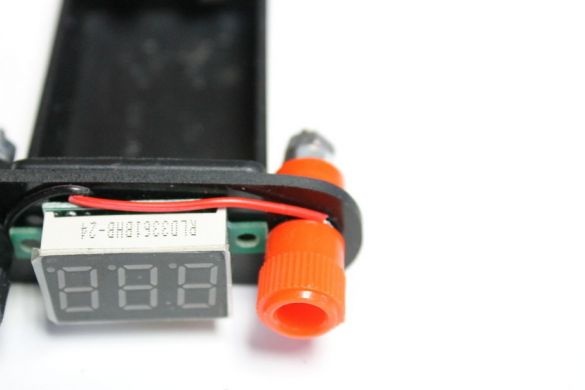
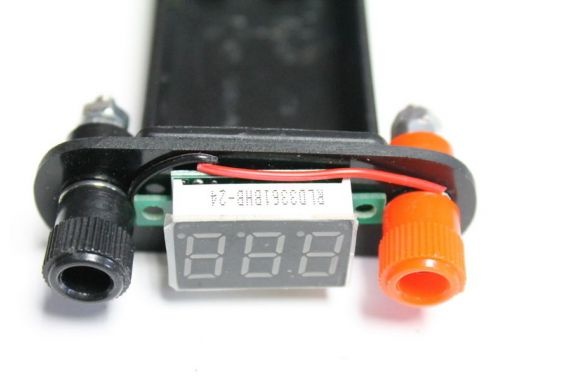
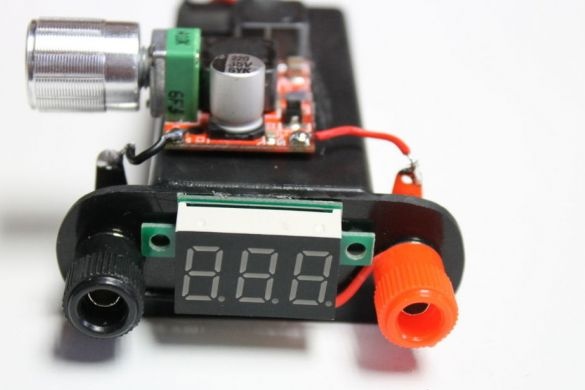
Step Three: Installing the Indicator
The indicator sticks between the contacts. The indicator wires connect to the connectors.
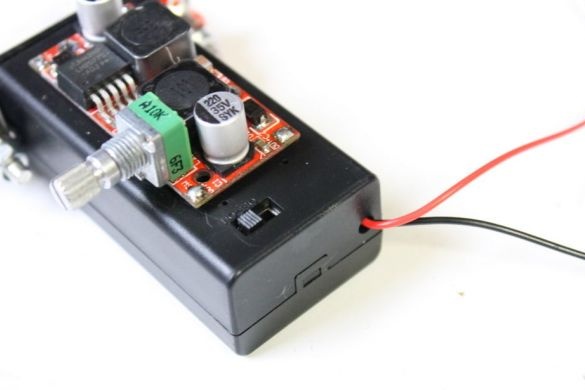
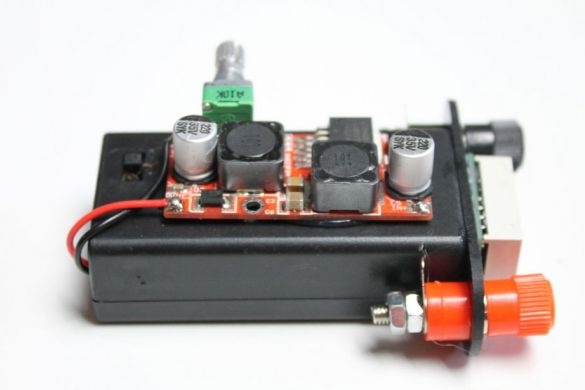
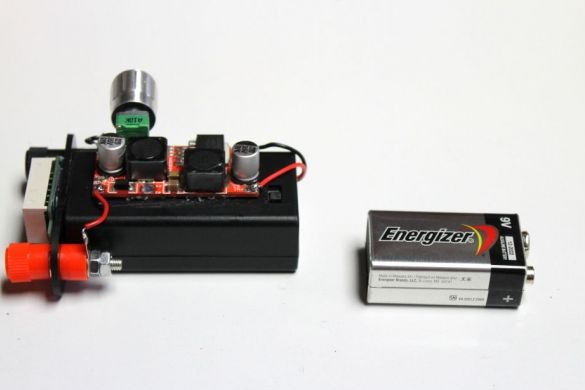
Step Four: Install a Voltage Regulator
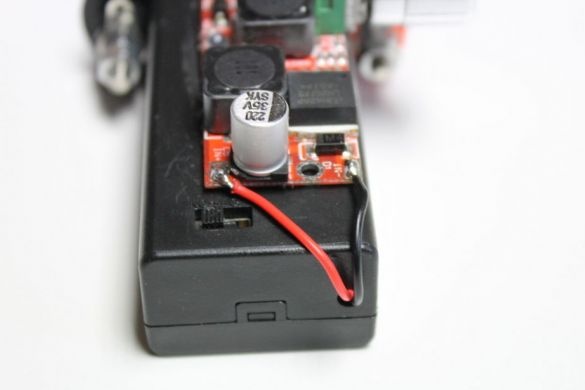
Adheres the regulator board to the bottom back of the battery holder. The wires of the holder are soldered to the input of the board, as in the photo (red - plus, black - minus).
Solder wires to the output of the board, red - plus, black - minus. The second ends are screwed to the connectors.
The power supply is ready. It remains to install the battery, connect the necessary wires and use as intended.

