If you have carbut no trunk, this article is for you. Why buy a trunk if you can make it yourself? This is exactly what the Master from Canada did. The trunk turned out to be multifunctional and it can be transported on it, both ordinary goods and bicycles, boats, skis. For the manufacture of the trunk he needed the following
Tools and materials:
-A circular saw;
-Miter saw;
- Hacksaw for metal;
-USHM;
-Drill;
-Drill;
-Wood;
-Aluminum profile;
-Aluminum pipe;
-Plywood;
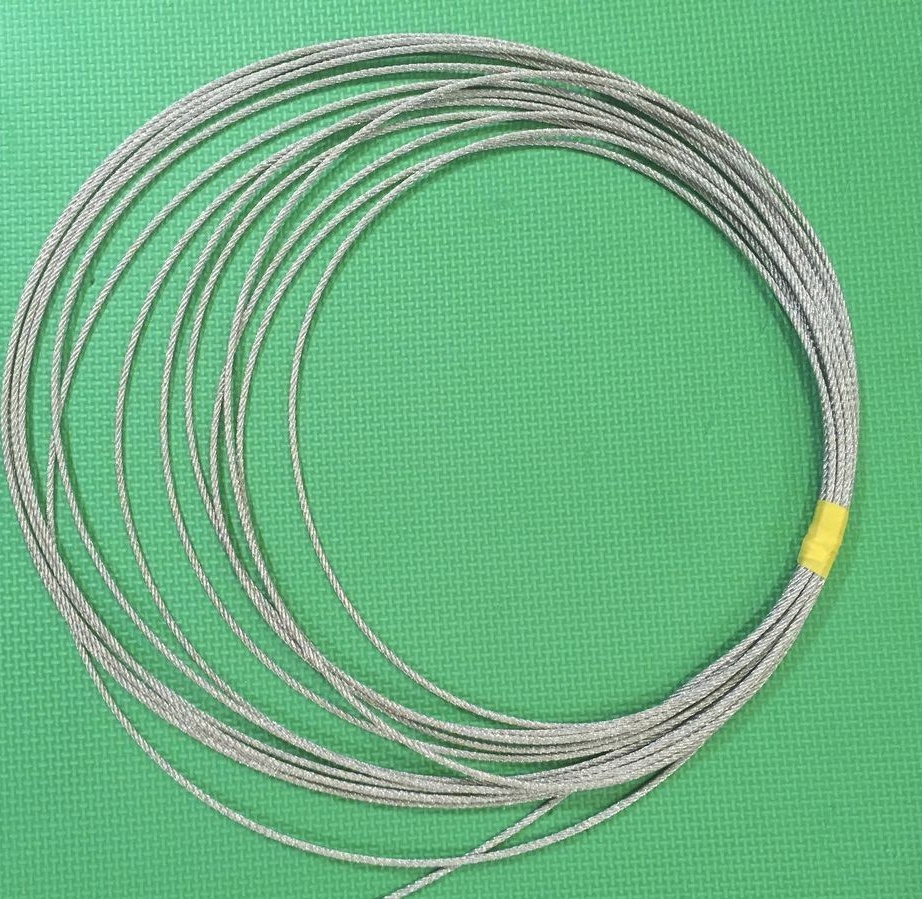
-The wire;
-Spare parts for office chairs;
-Hockey pucks;
-Linseed oil;
-Fasteners;
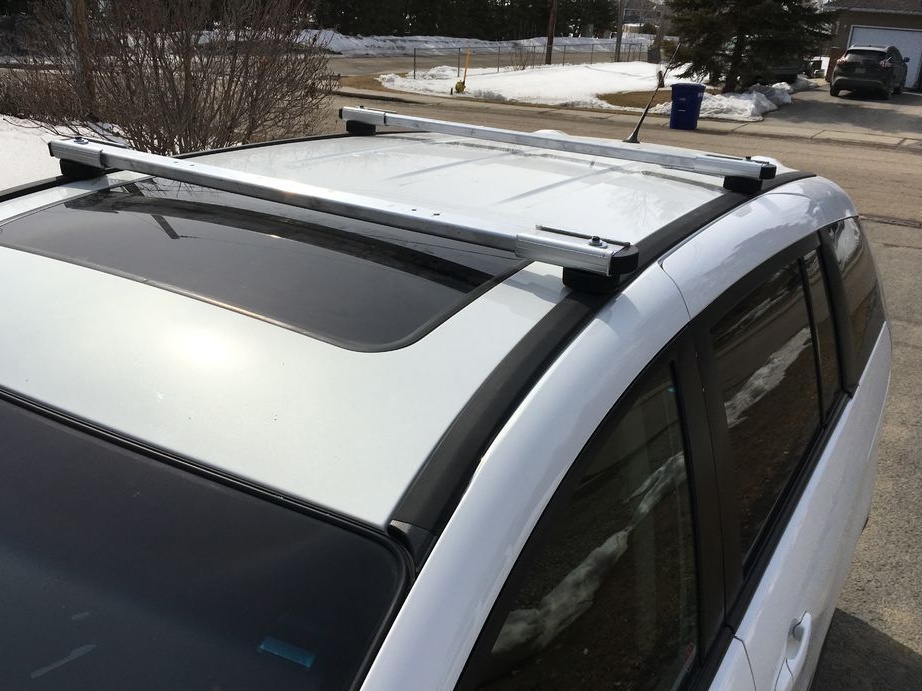
Step One: Mount
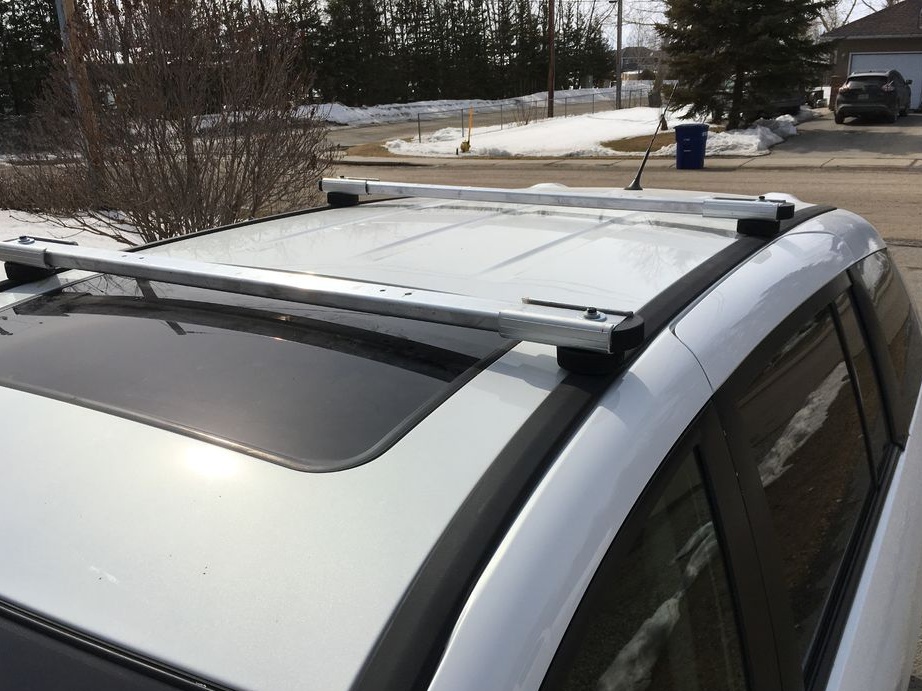
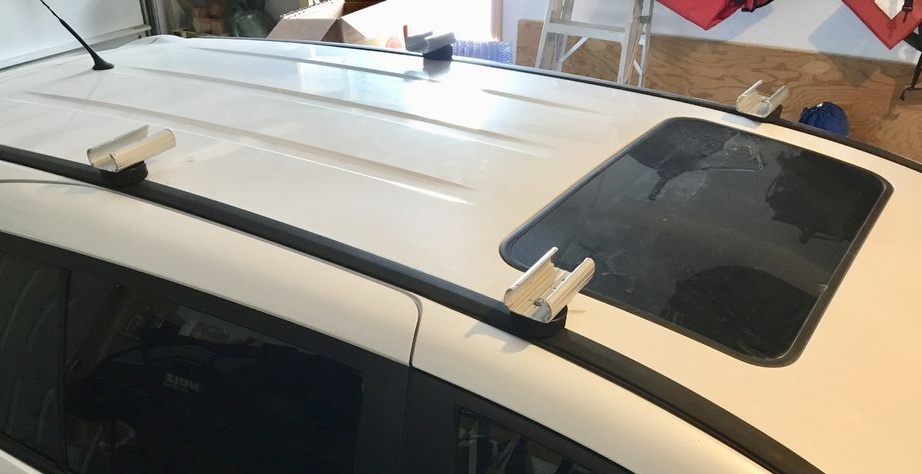
On some car models, the trunk is bolted to the roof.
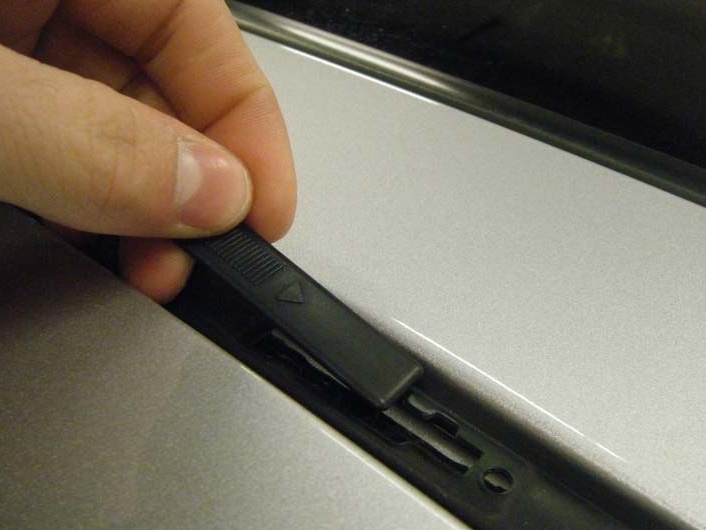

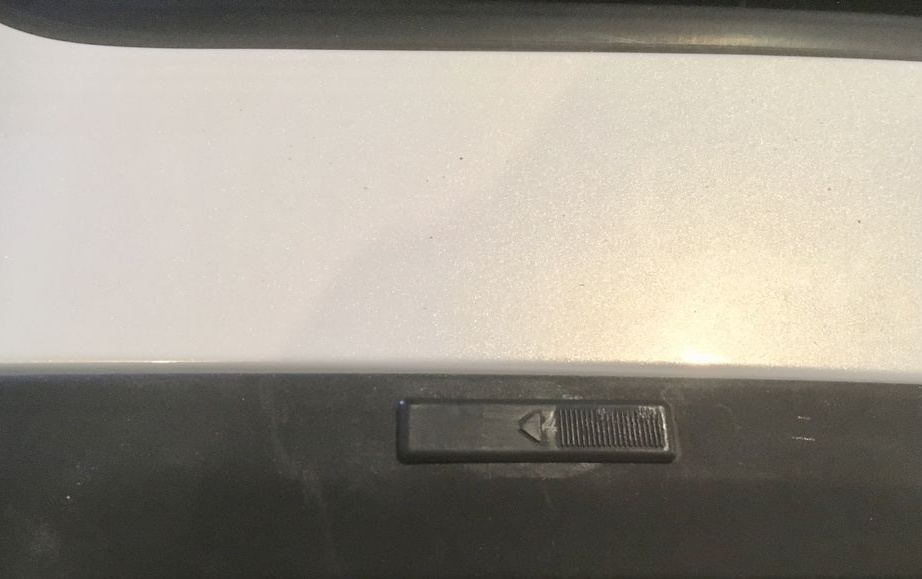
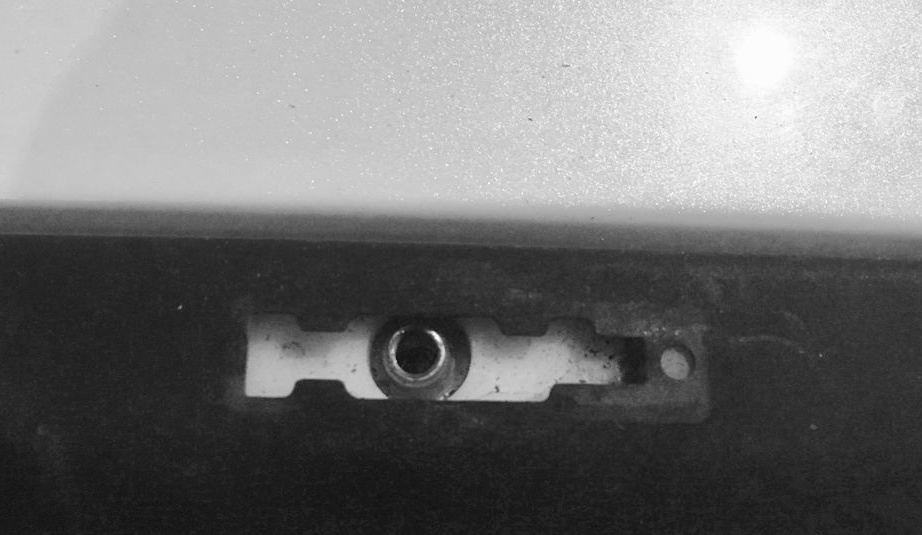
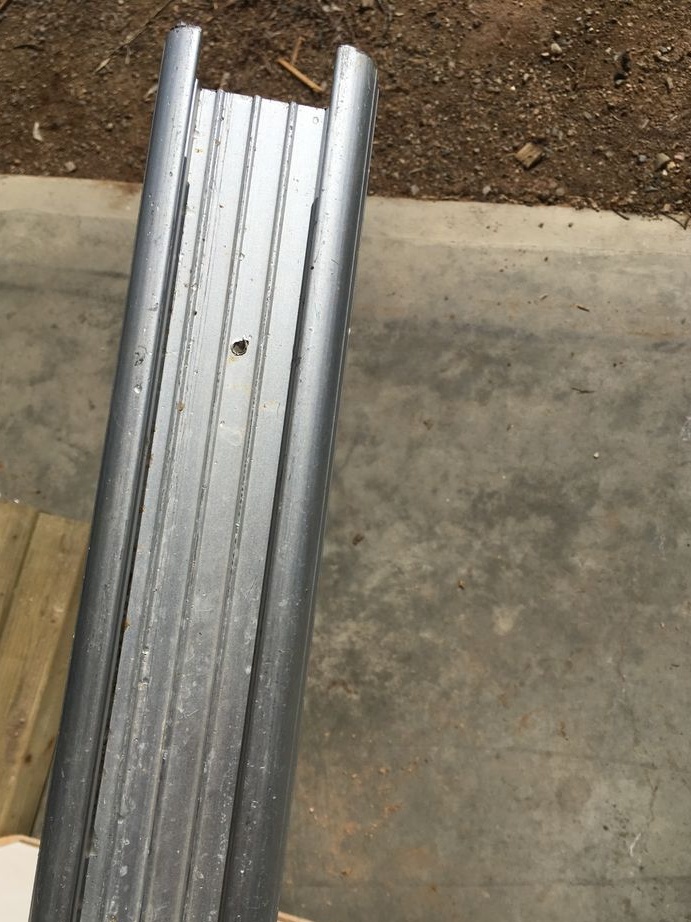
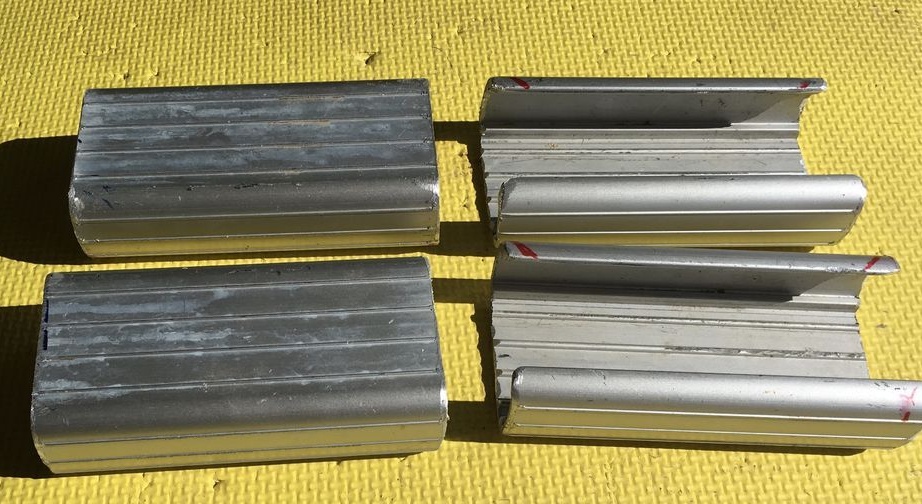
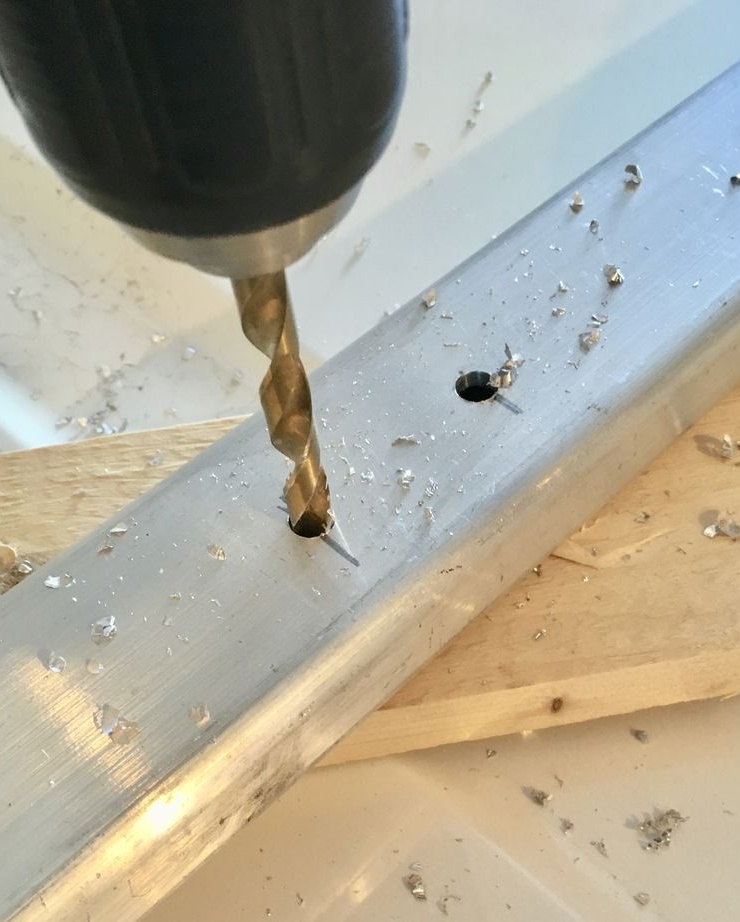
For fastening, the master cut four pieces of aluminum profile and drilled holes in them.
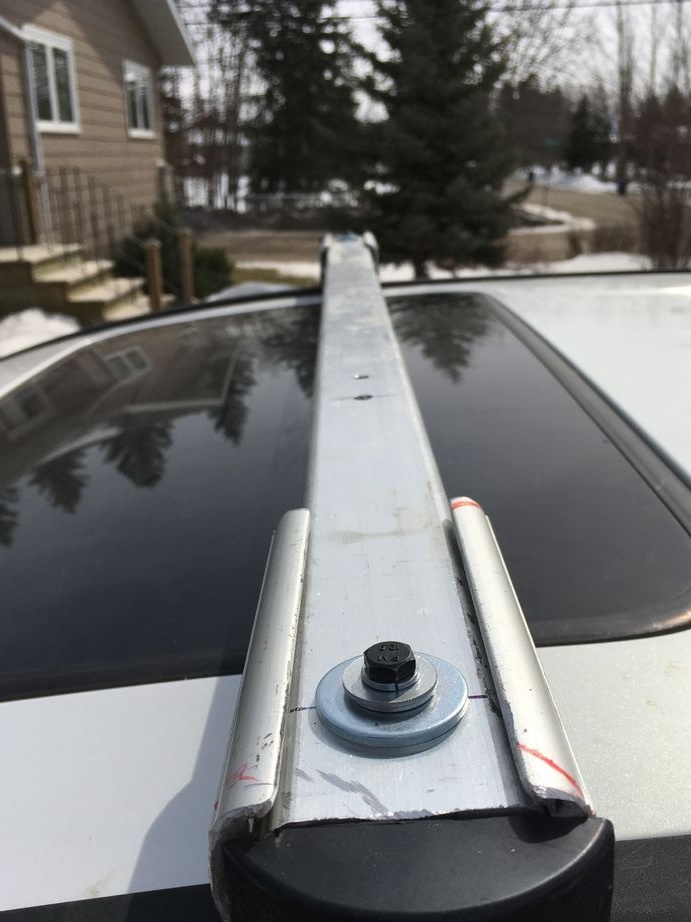
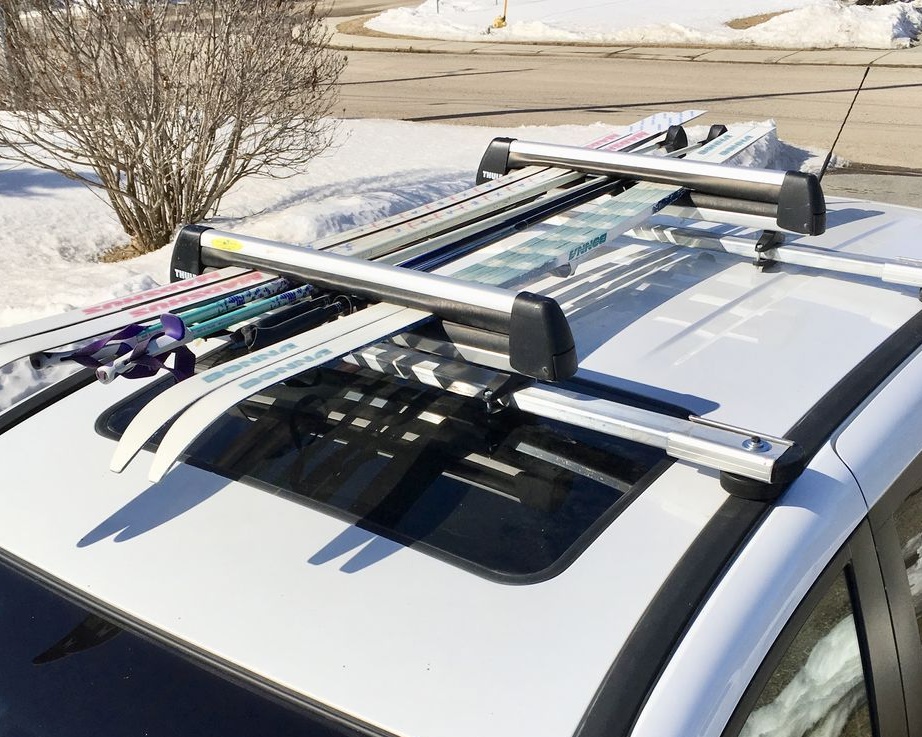
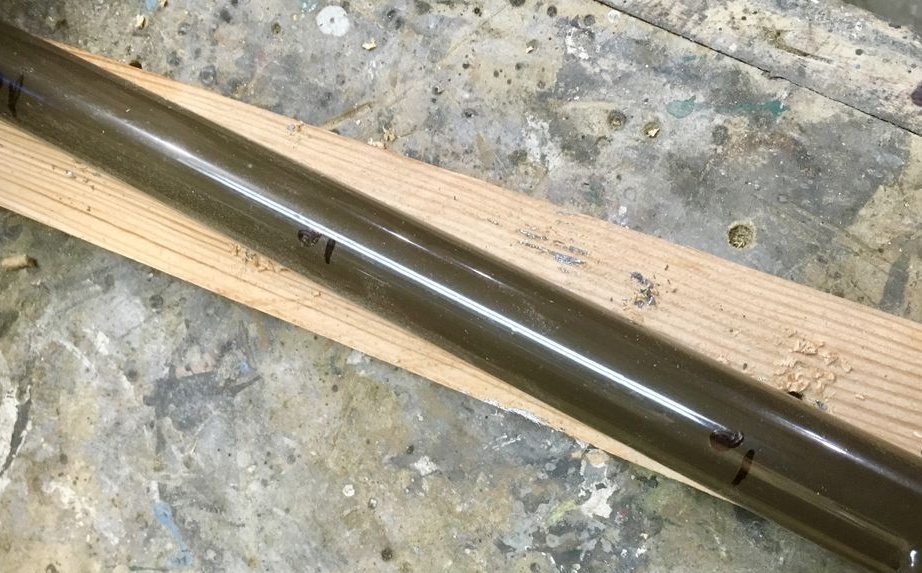
Step two: transverse rails
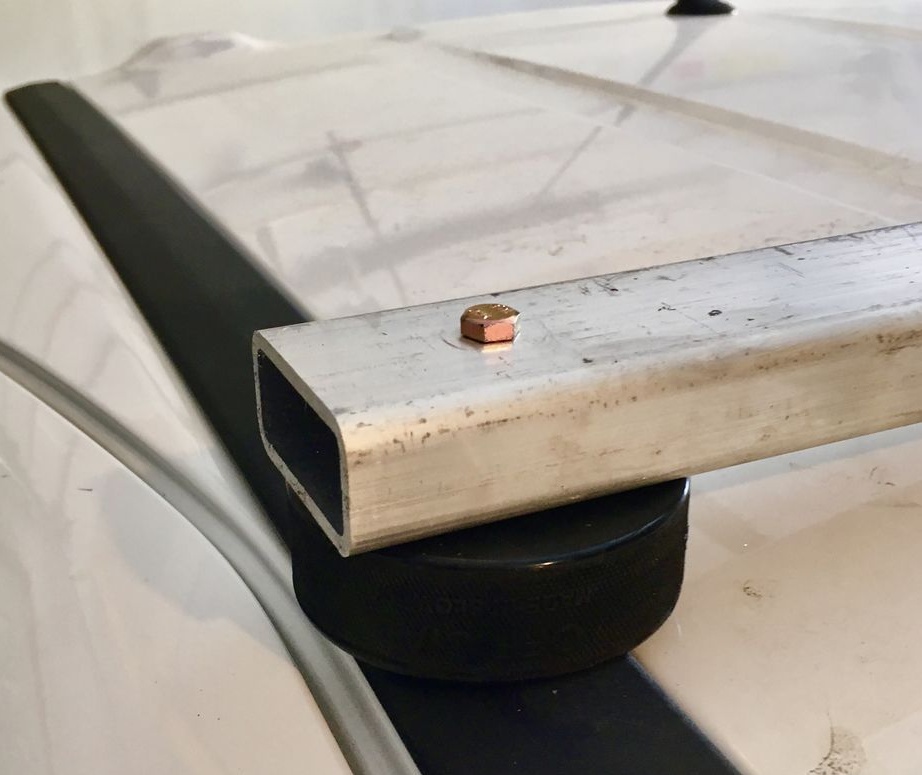
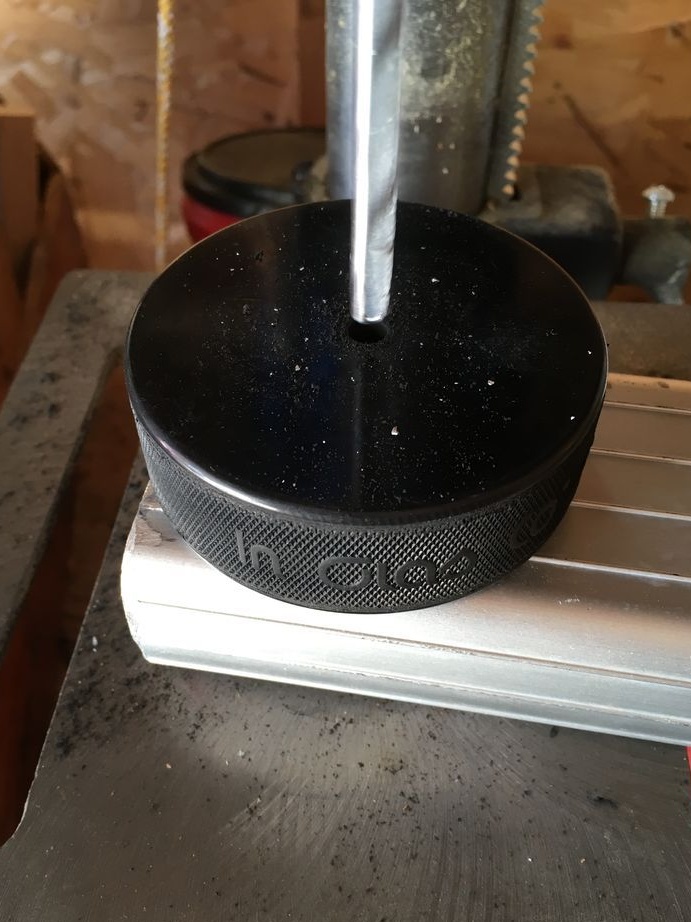
The master made transverse rails from an aluminum pipe. To raise the trunk above the roof, between the trunk and the roof, the master installed pads made of hockey pucks.
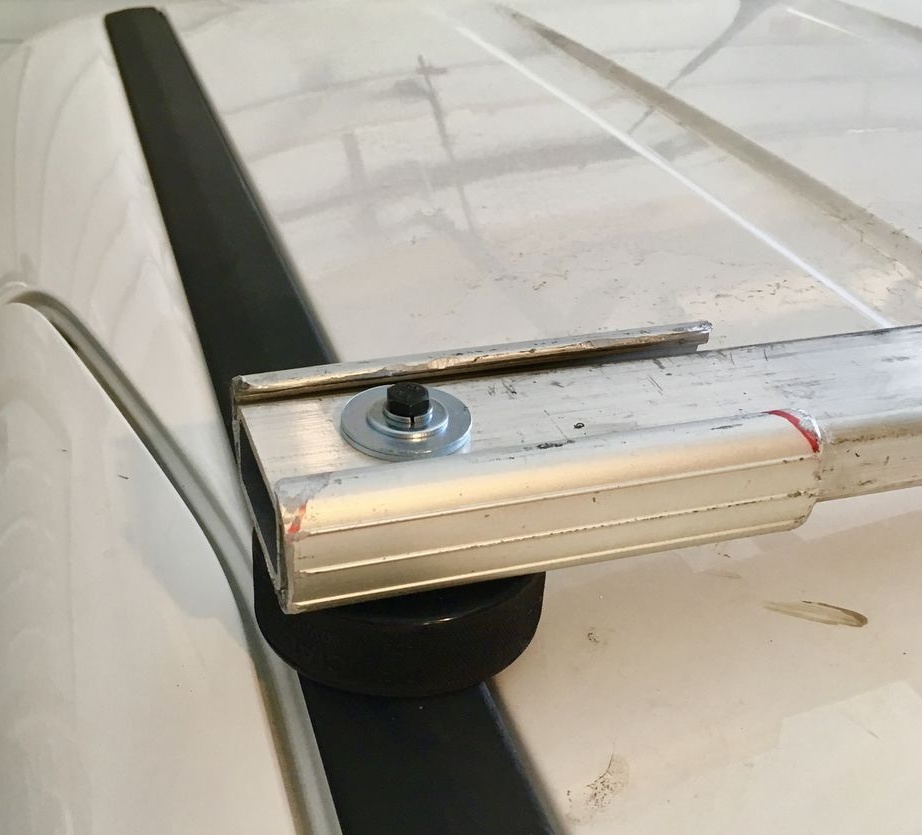
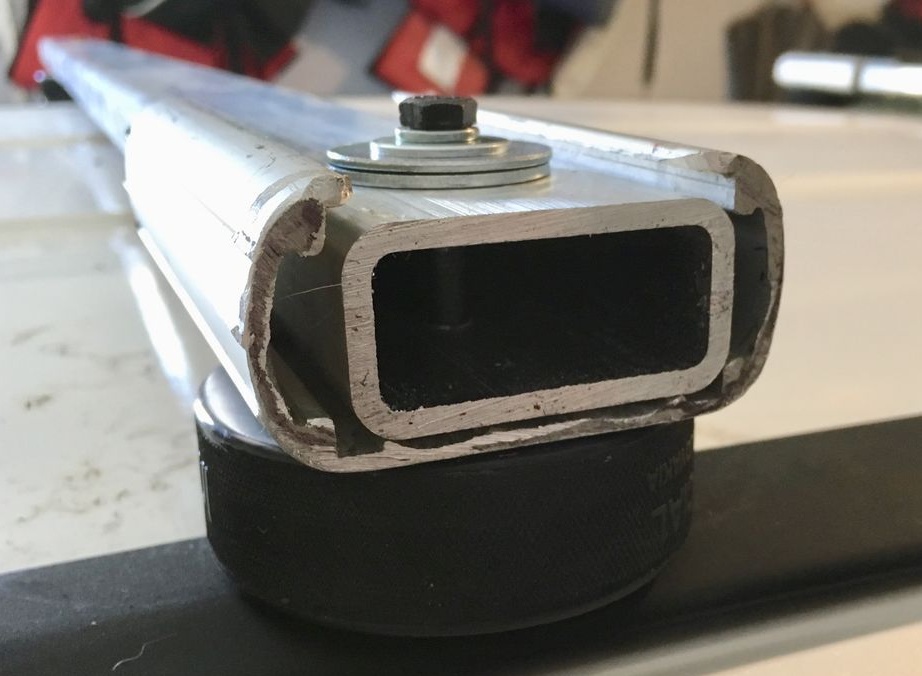

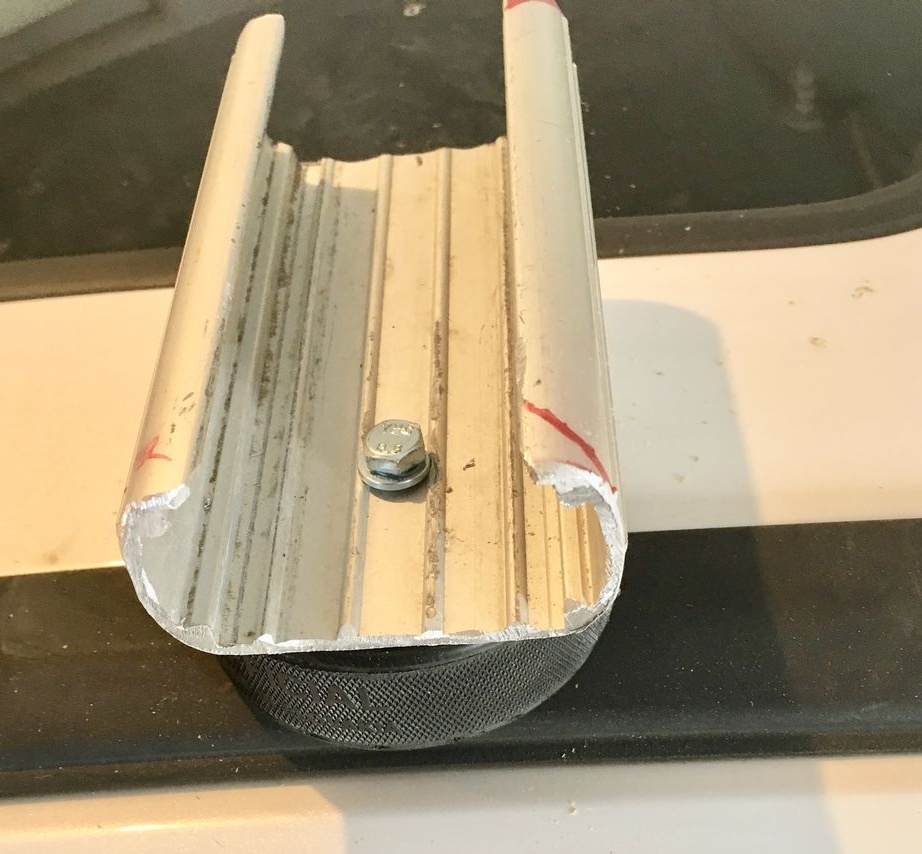
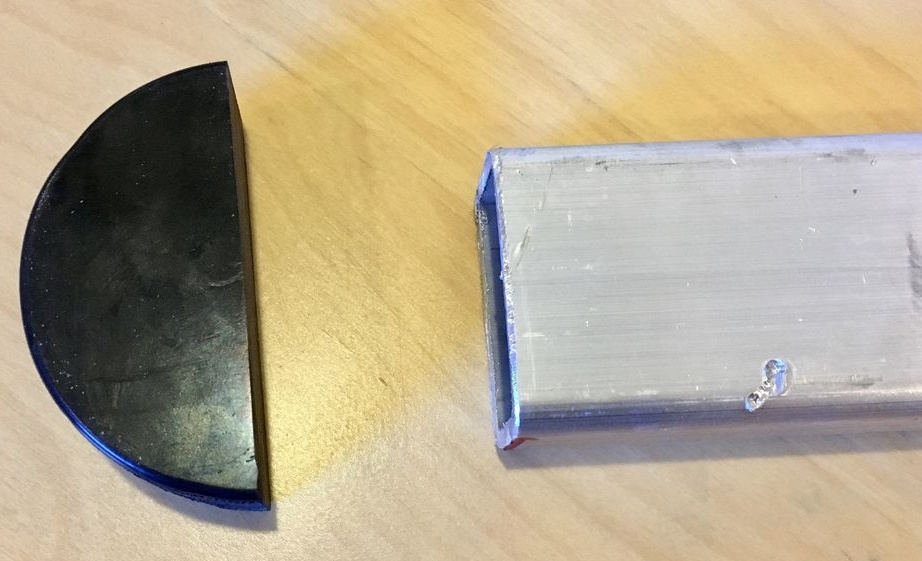
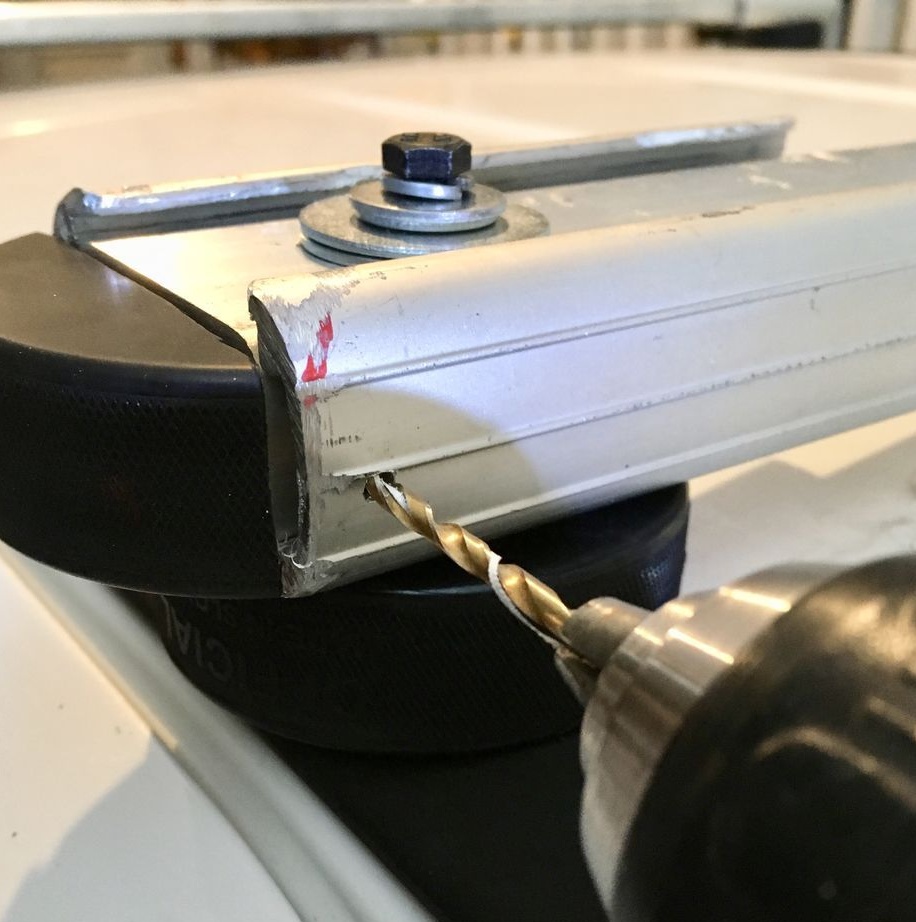
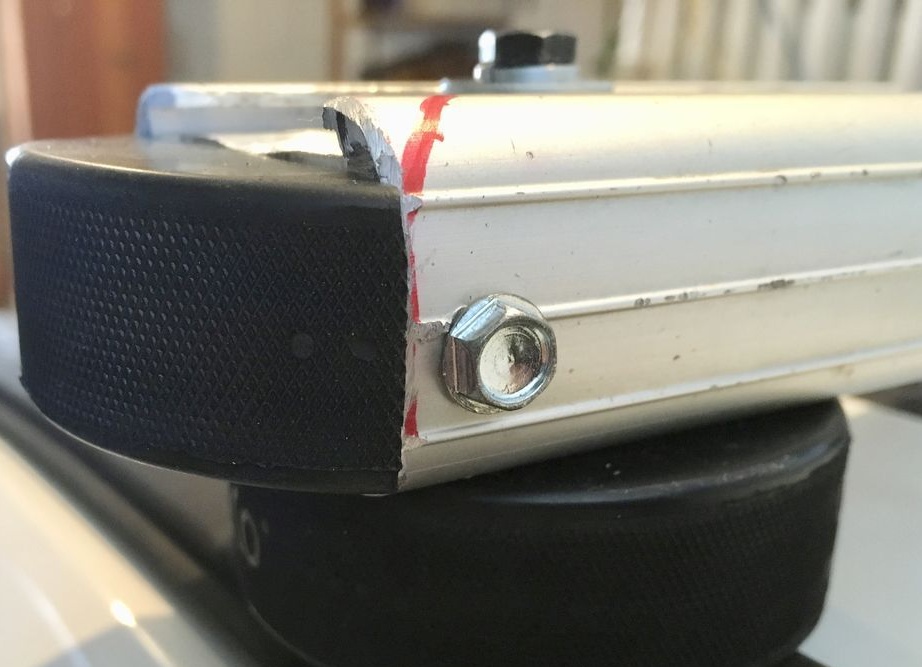
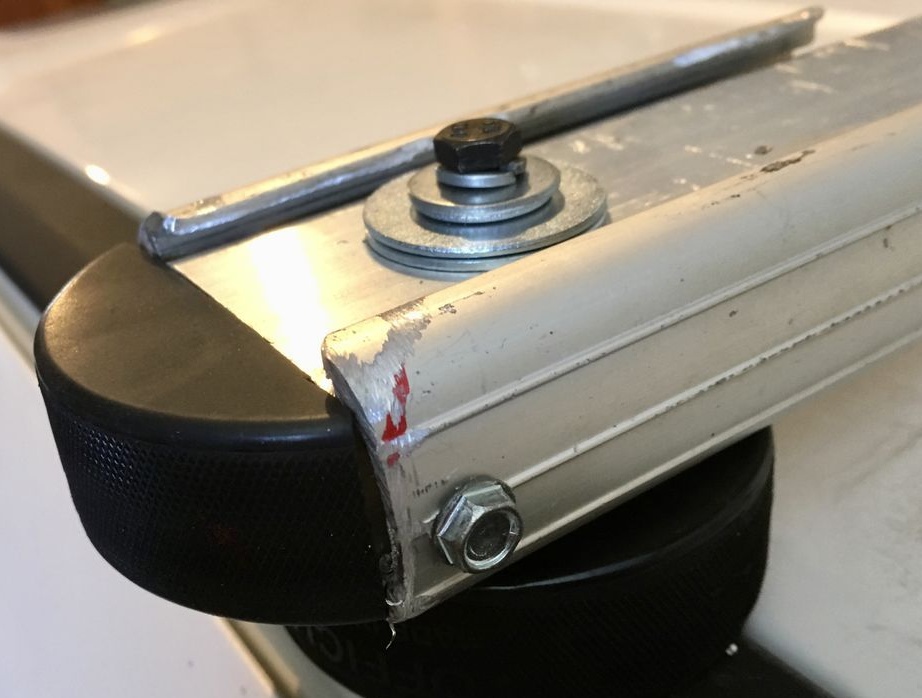
Step Three: Stubs
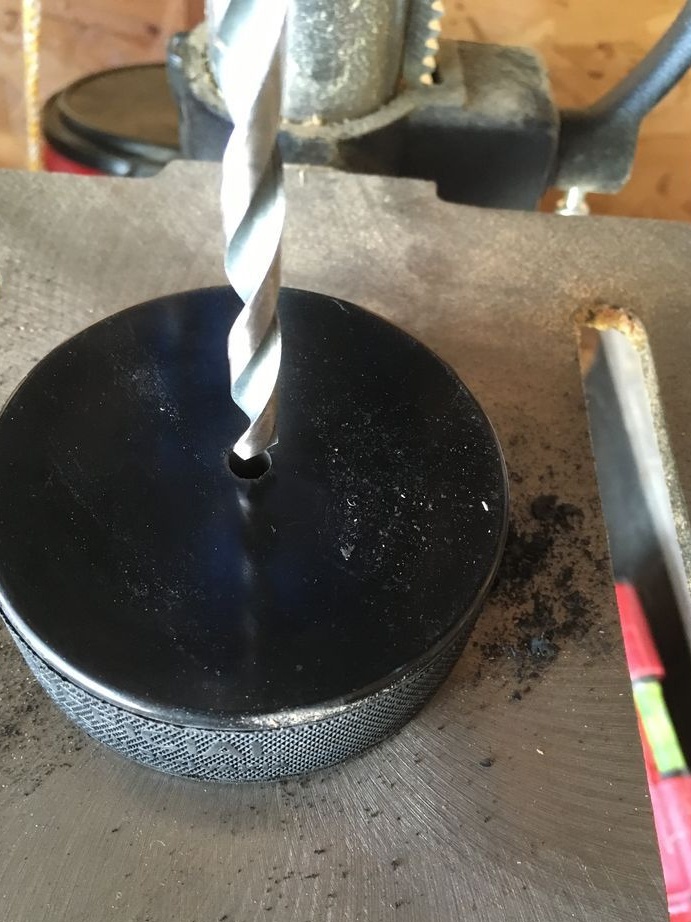
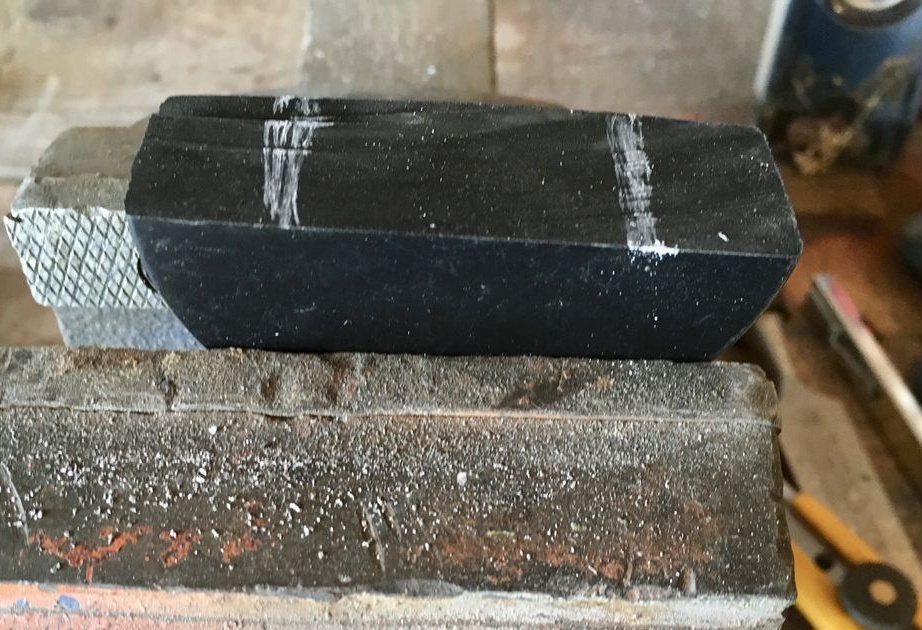
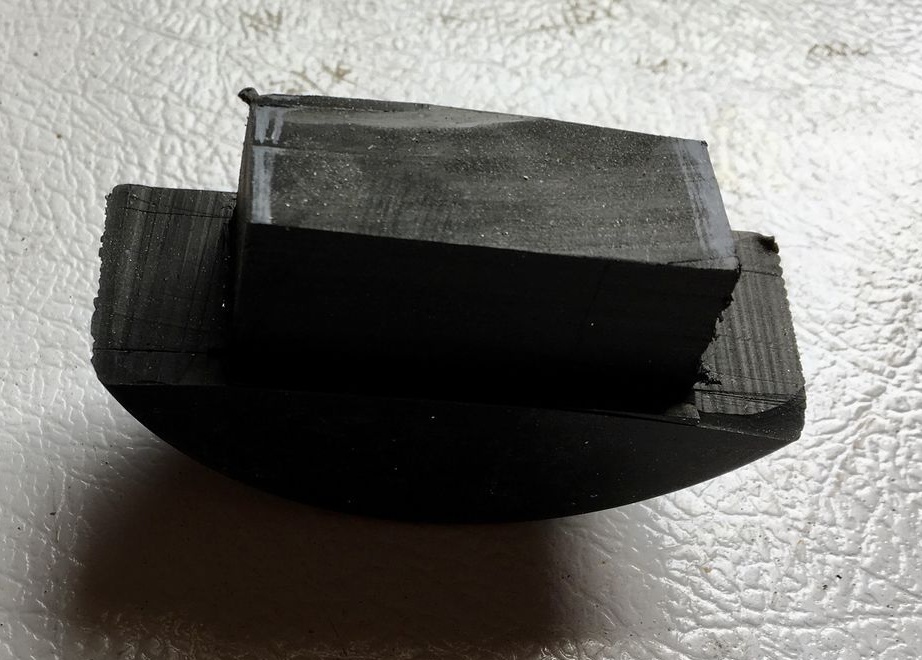
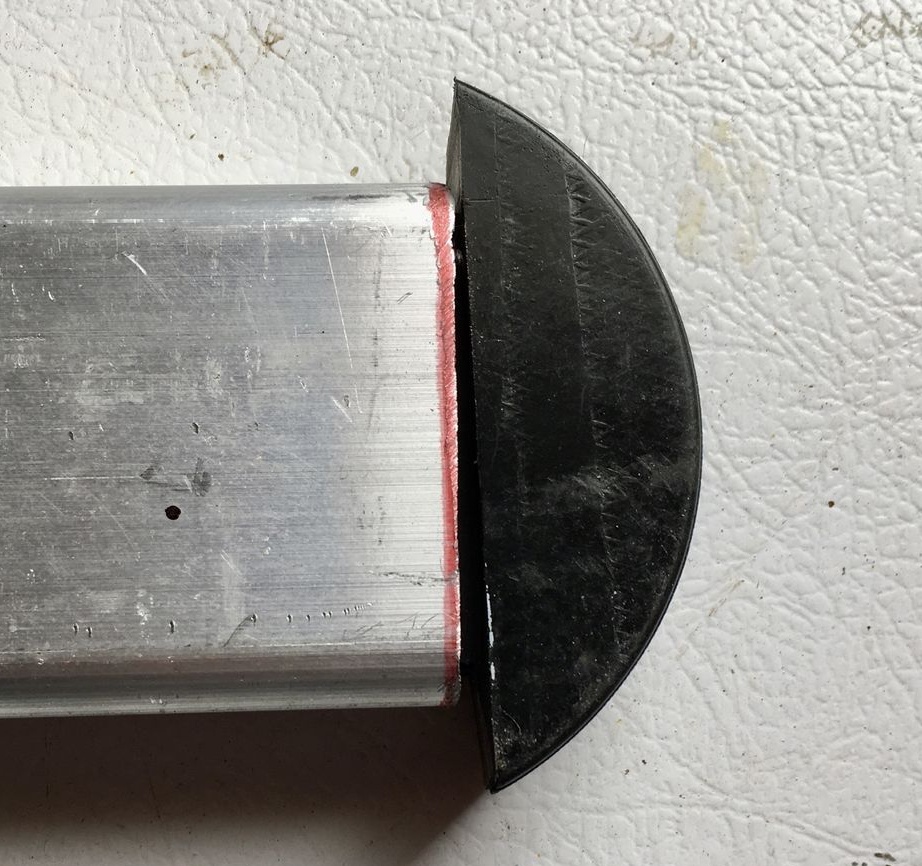
The master also made plugs from washers. I cut two washers in half. Now you need to cut off the excess part of the washer so that it fits tightly into the aluminum pipe. Then it installs a plug, drills a hole on the side of the pipe and fixes it with a bolt.


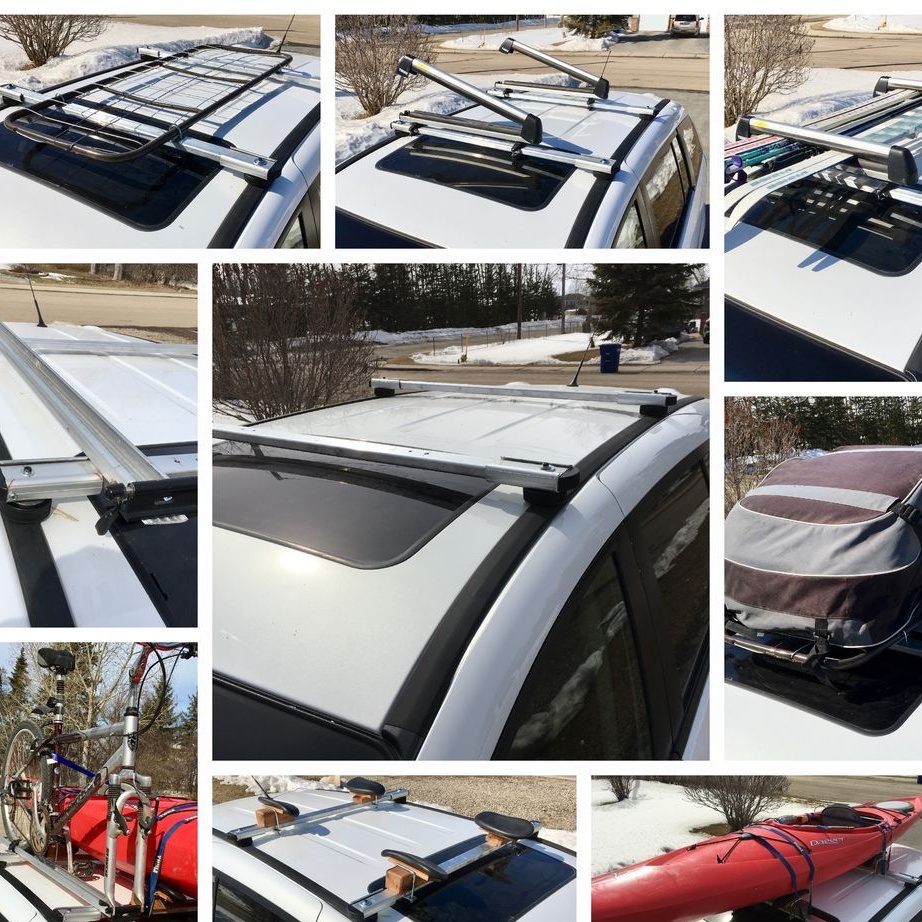
In principle, the trunk is ready, but the master made some improvements to it.
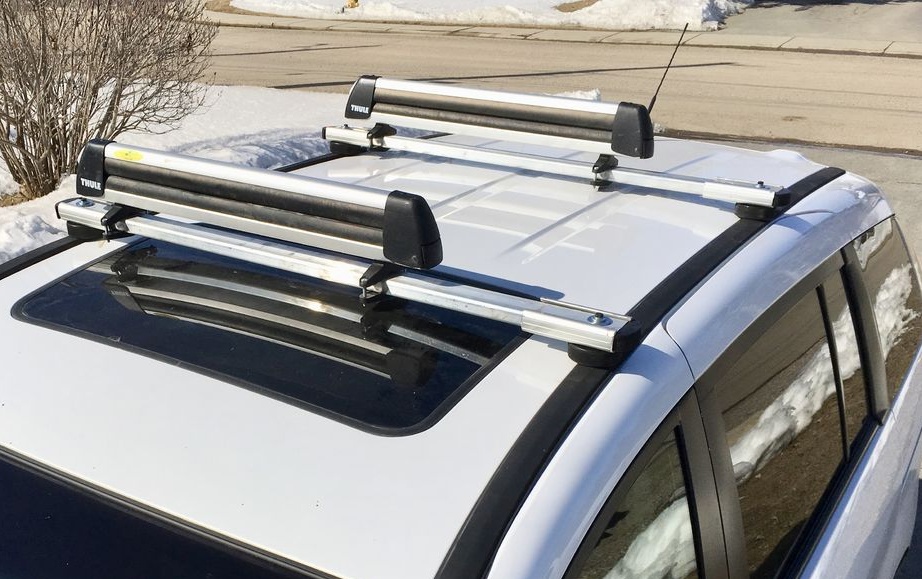
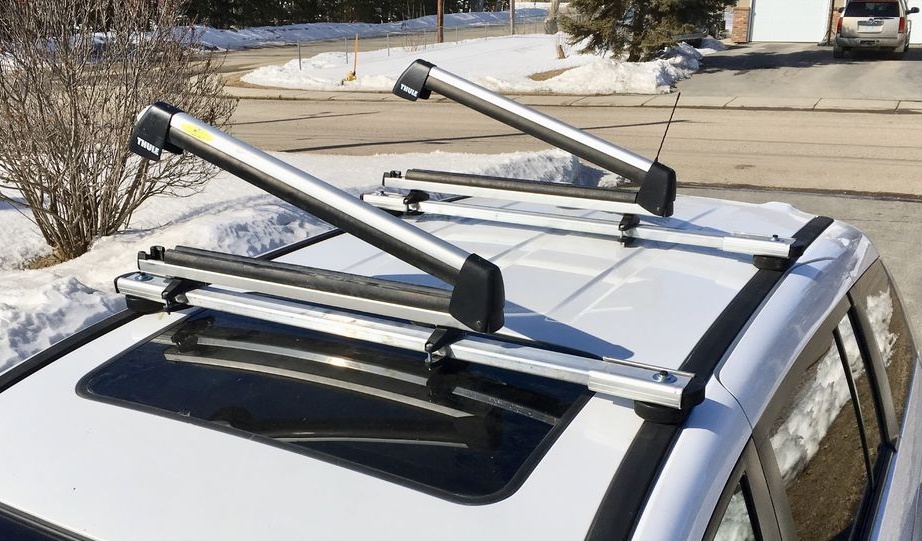
Step Four: Ski Mount
The master had a mount for transporting skis, and he simply installed it on the trunk.
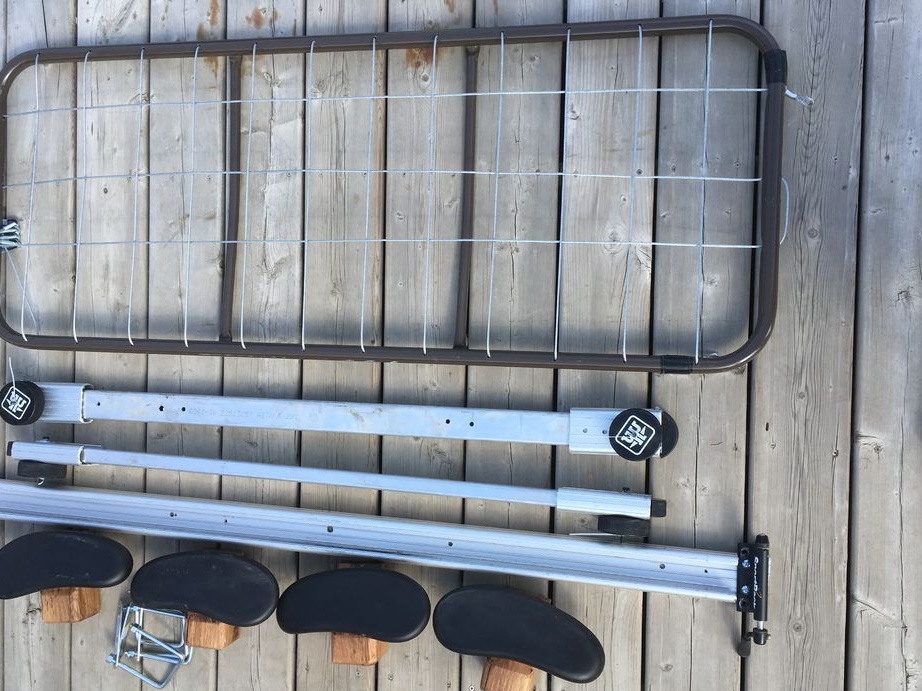
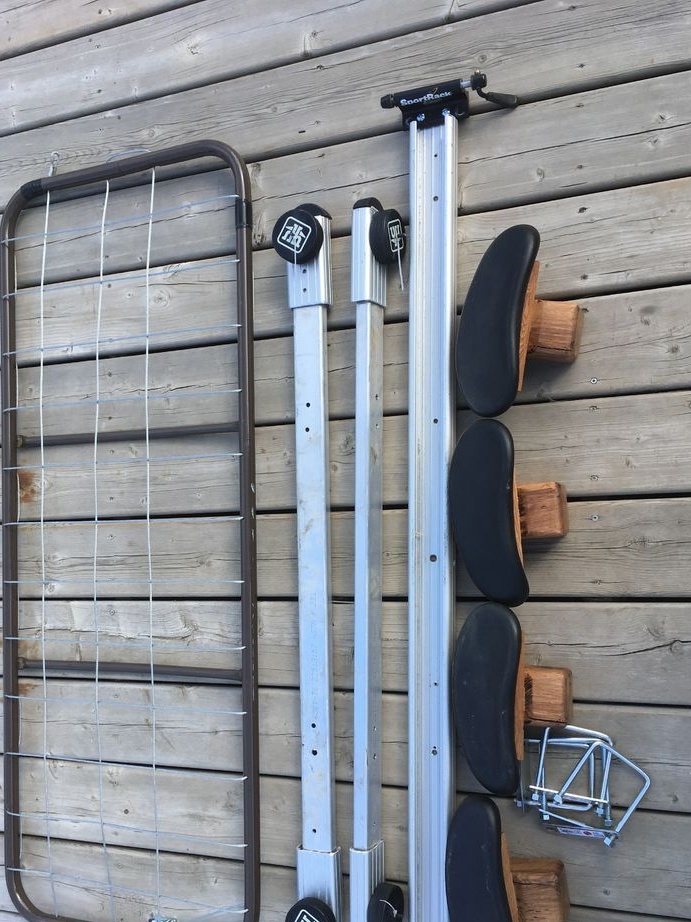
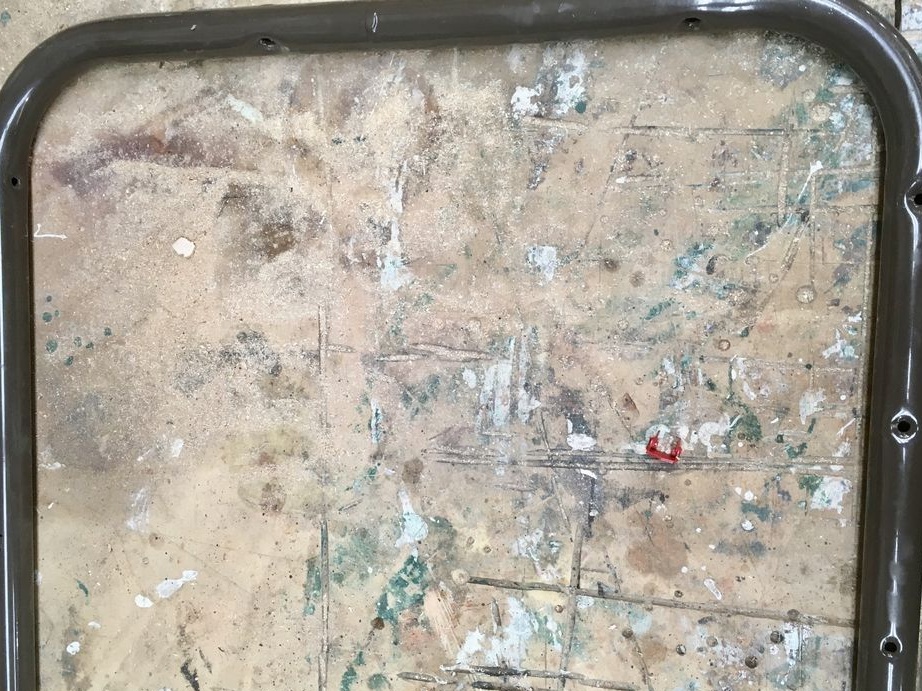
Step Five: frame for transporting things
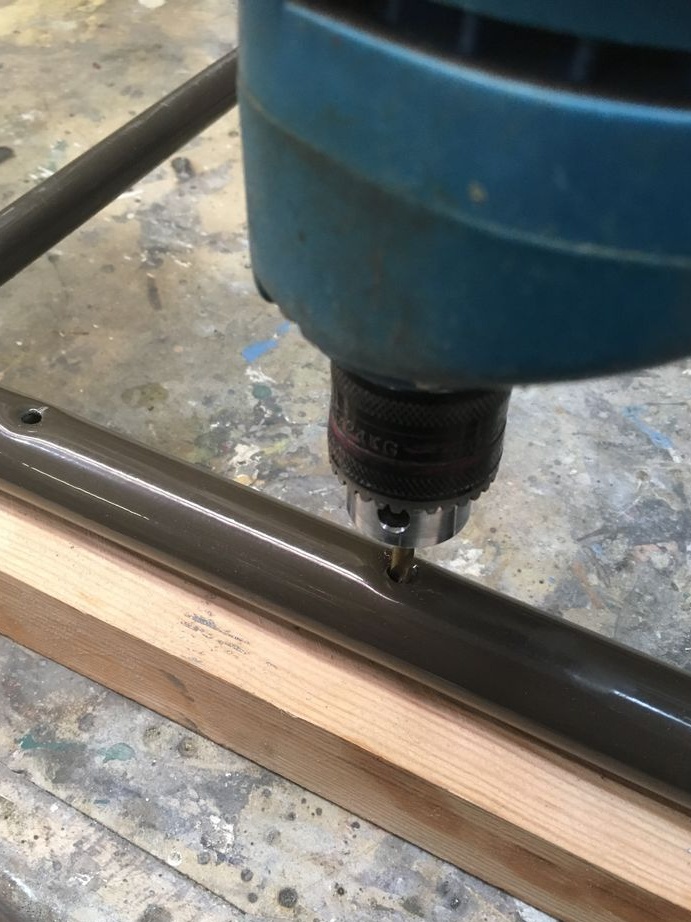
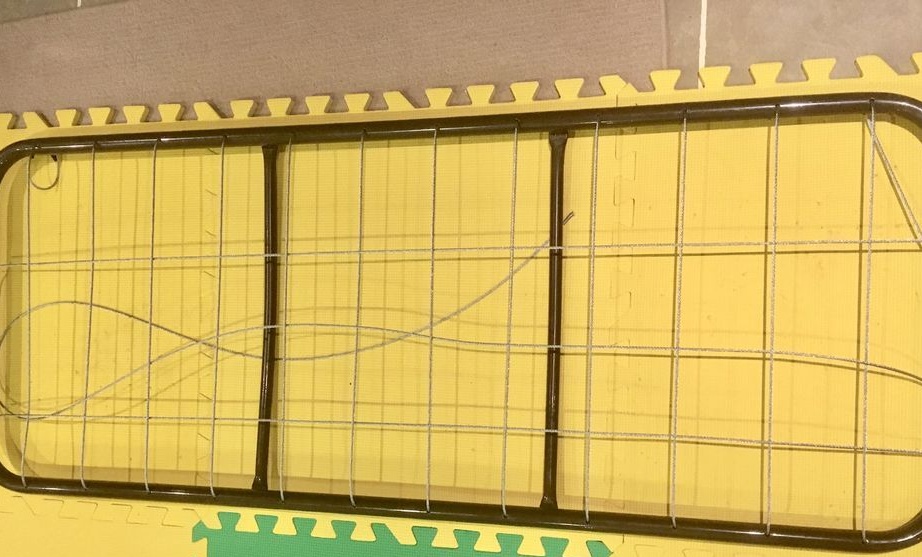
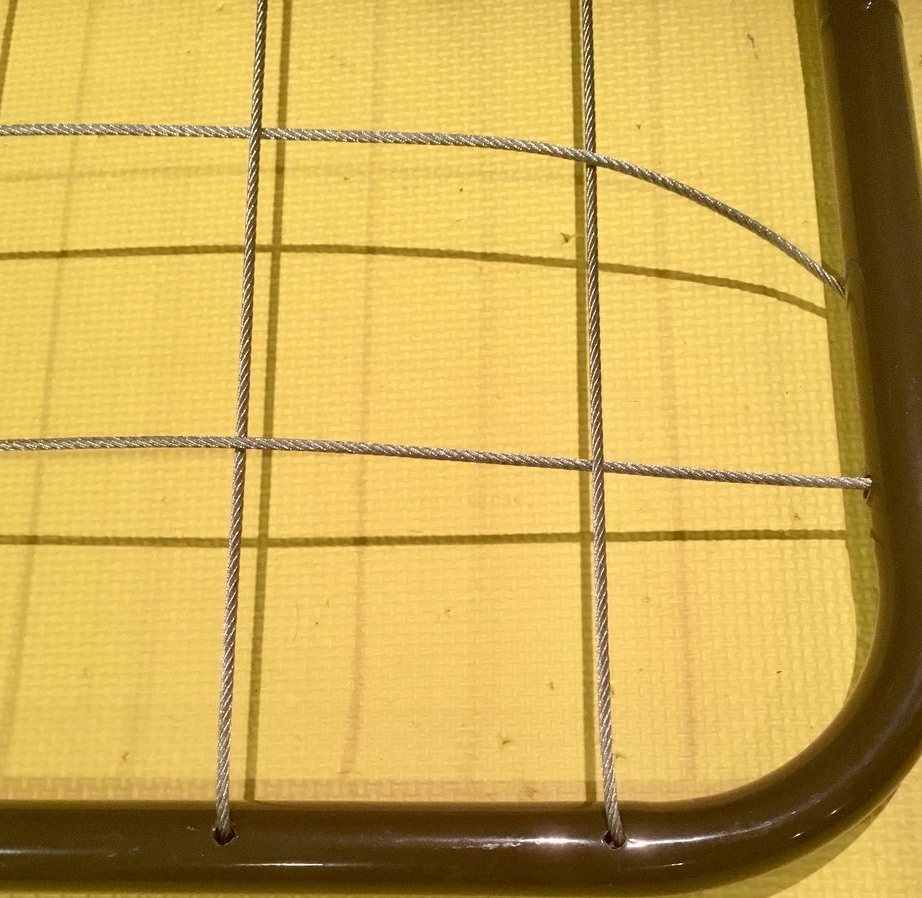
To transport smaller things, the master made a frame. I drilled a series of holes along the edges of the frame. He pulled a wire through the holes. The result was a kind of lattice.
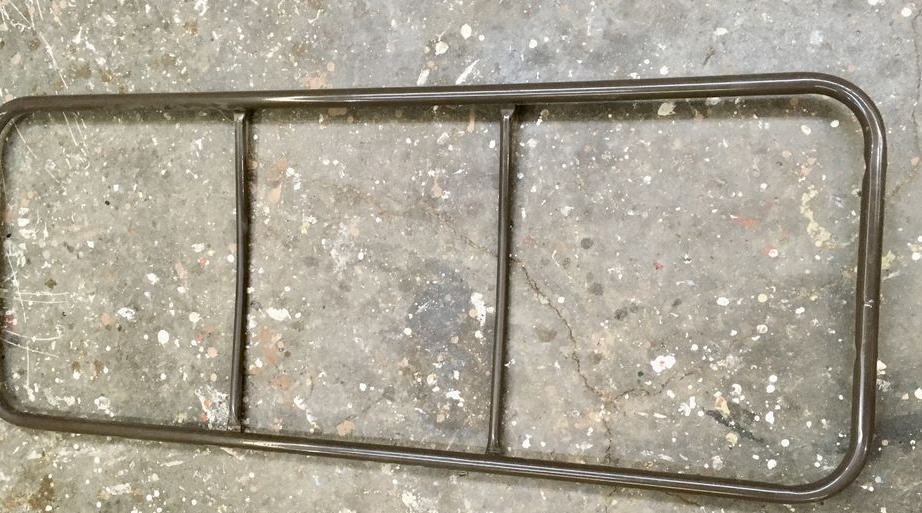

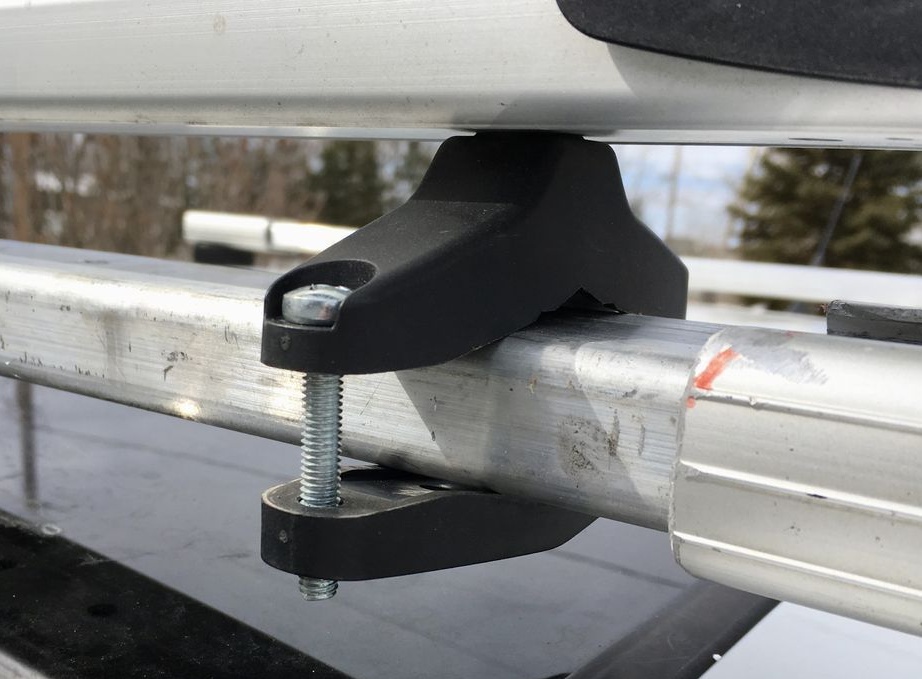
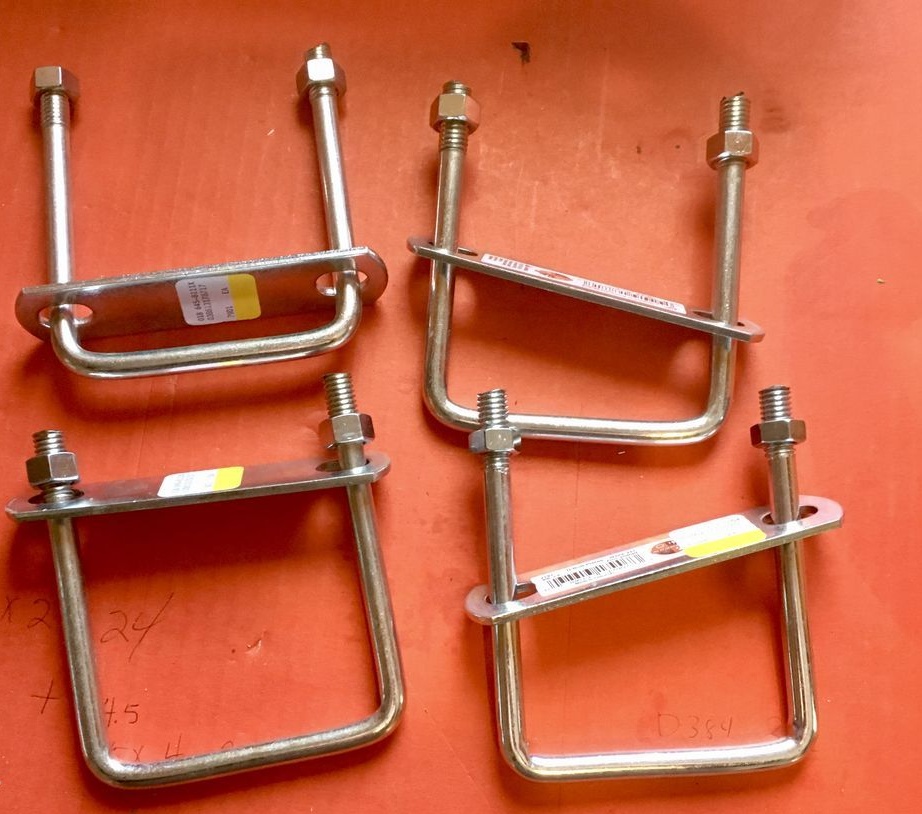
Now it needs to be fixed on the trunk. Drills a hole in the pipe and secures the frame using a U-shaped mount.

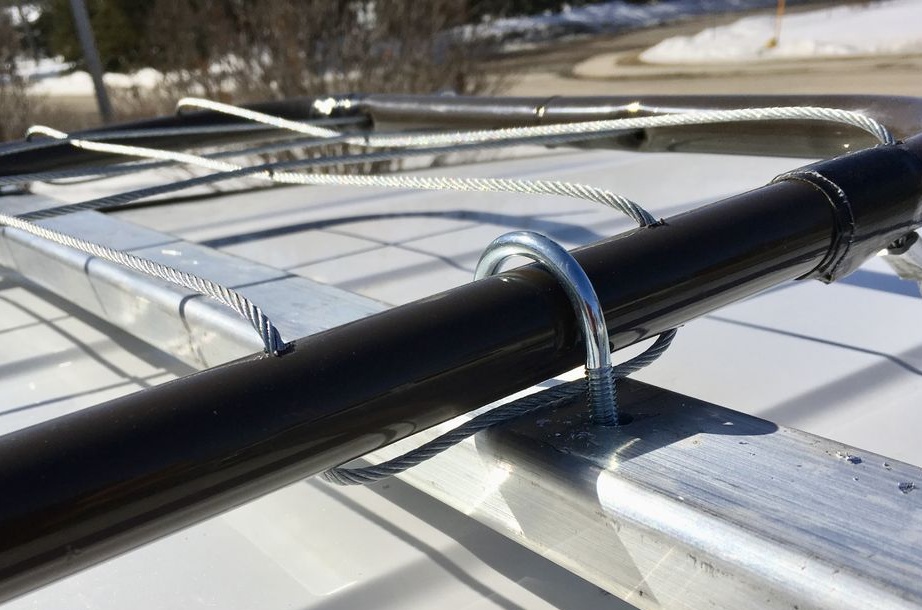
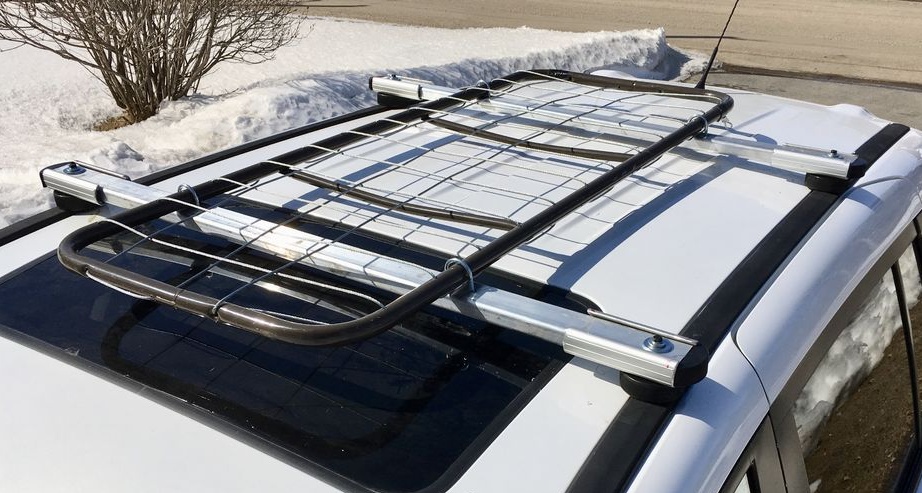
The frame is fixed and you can load things on it.
Step Six: Kayak Carrier Option 1
To transport the boat, the master made two mounting options, let's consider the first one.
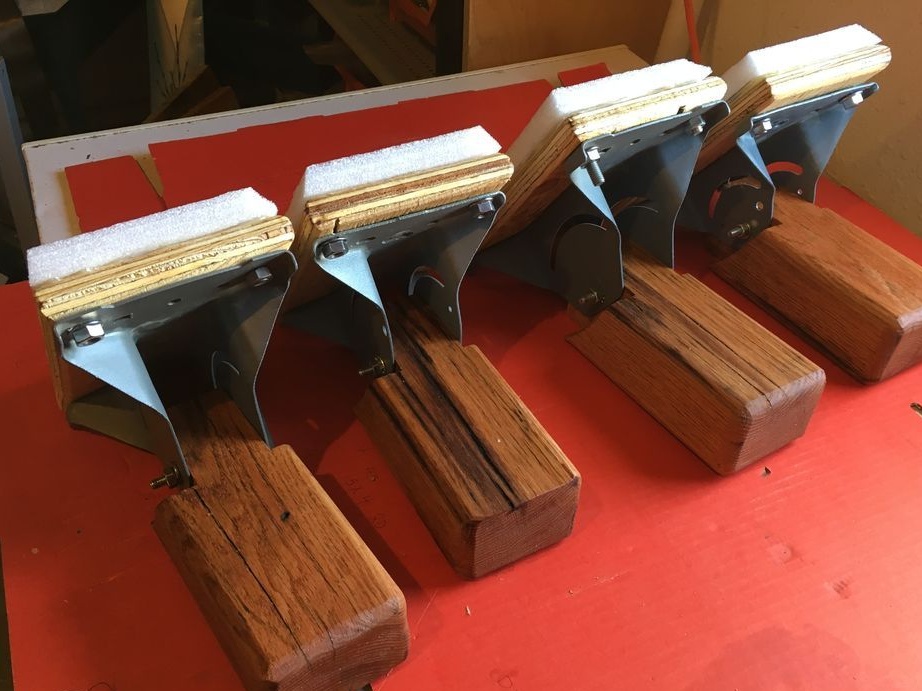
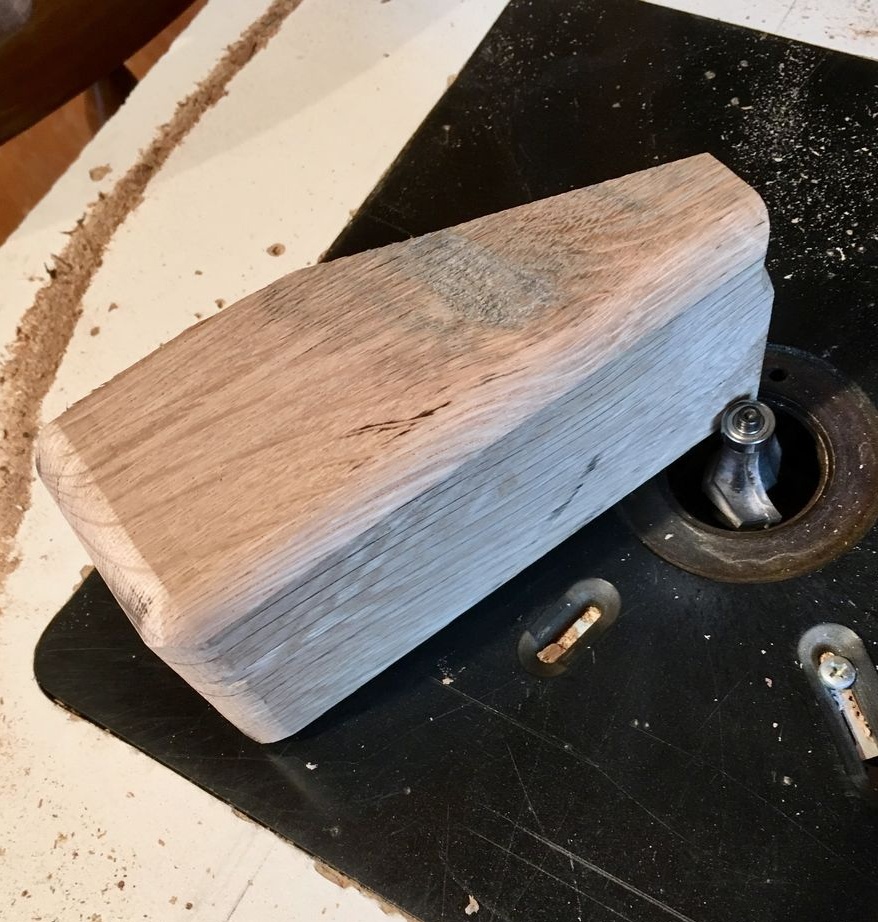
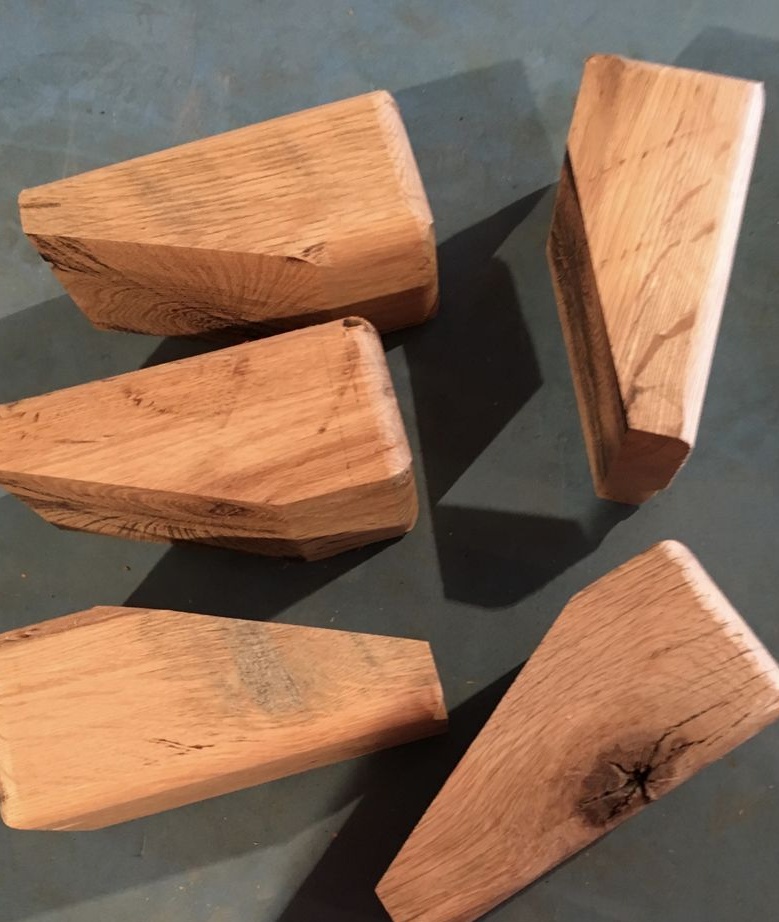
Cut off four wooden bars. Secured brackets to the bars.I attached a plywood board with a foam pad to the brackets. Then fastens everything on the laths of the trunk. Stacks the boat and fixes it with a rope. This is an option the master made for his first wooden trunk, but it will also work on a metal one.


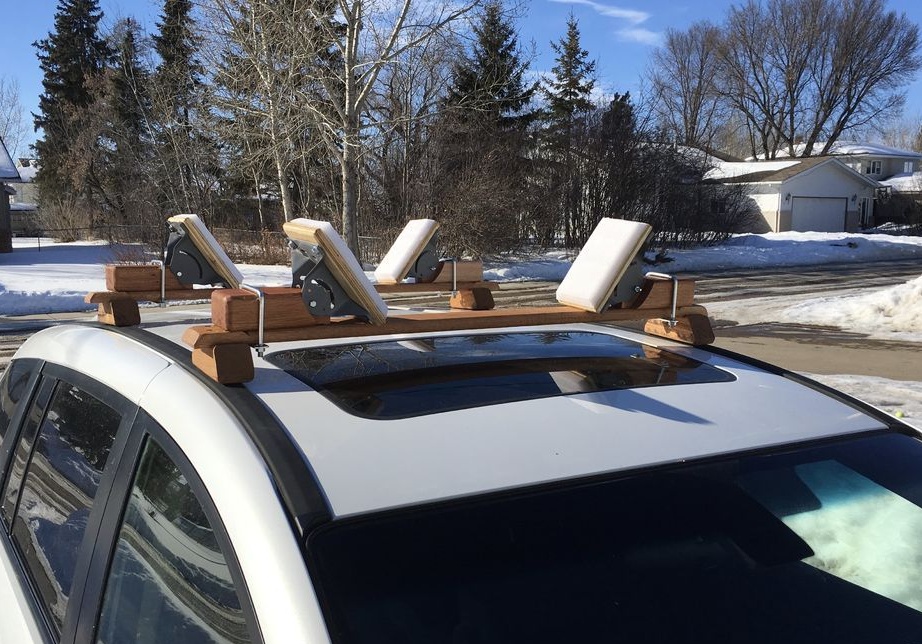

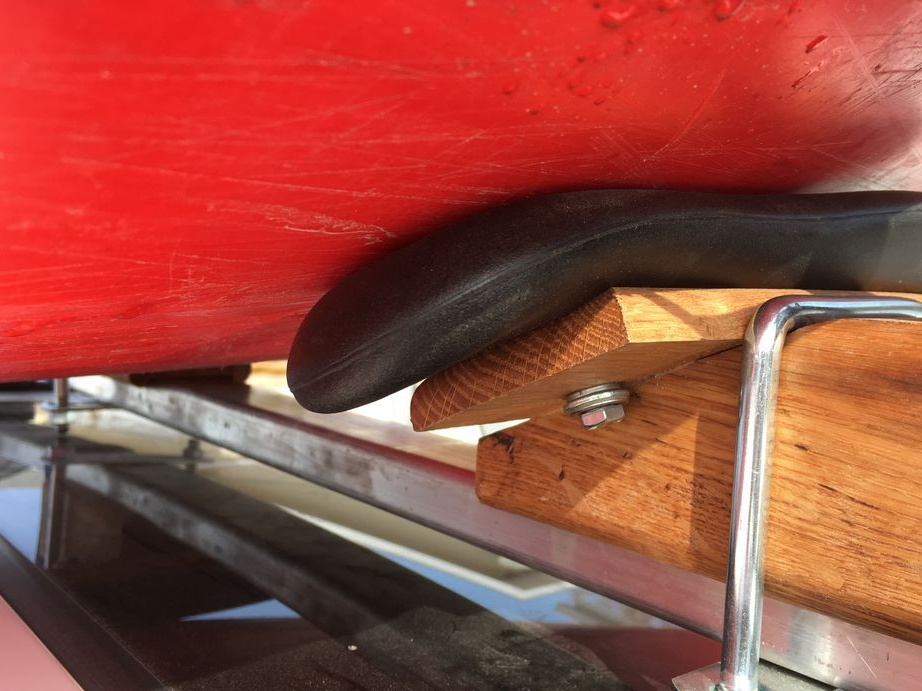
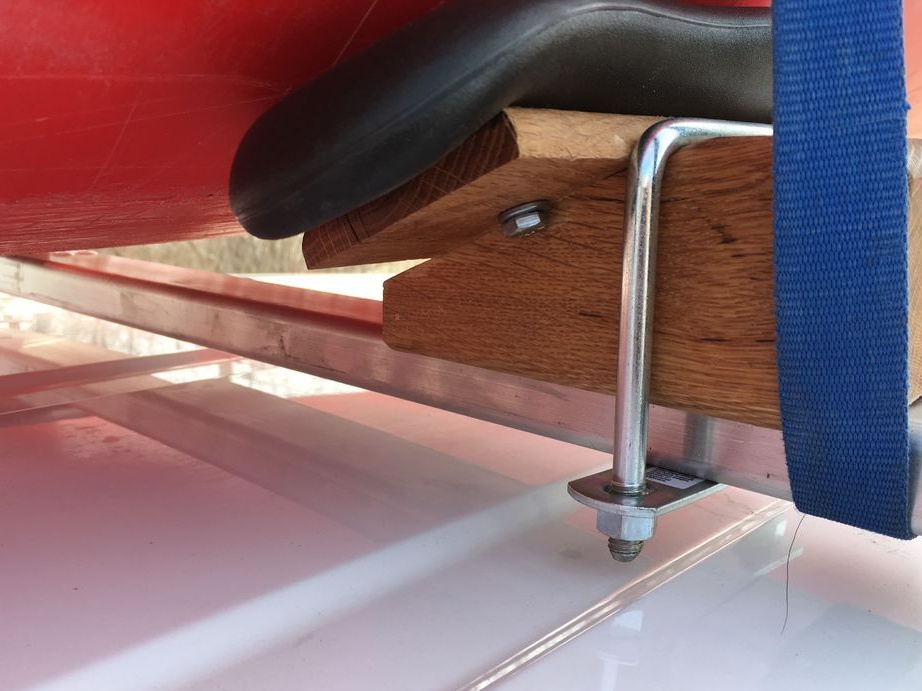
Seventh step: mount for transportation of kayaks option 2
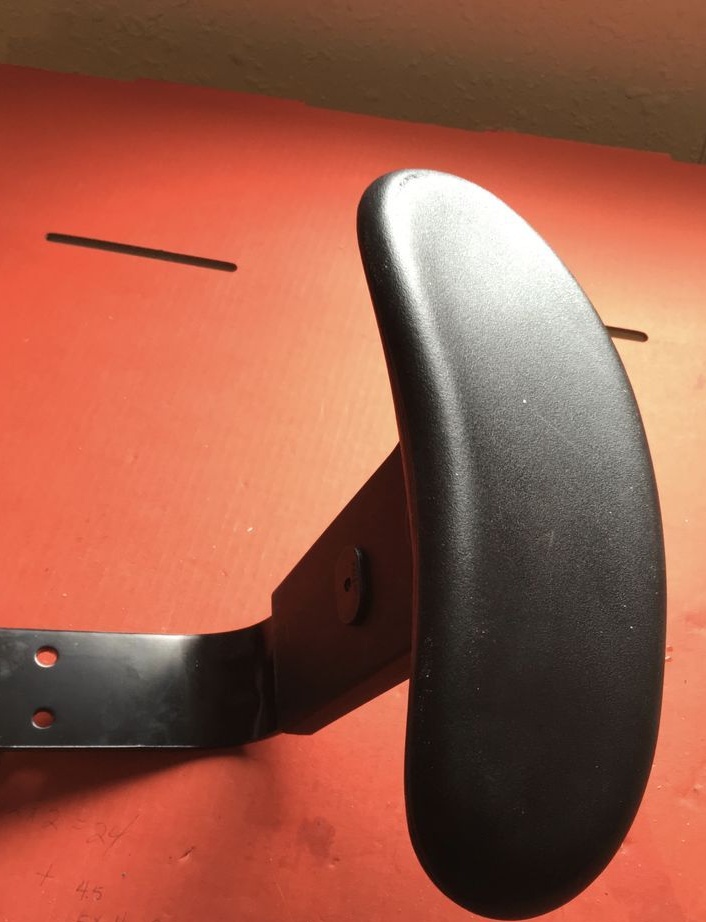
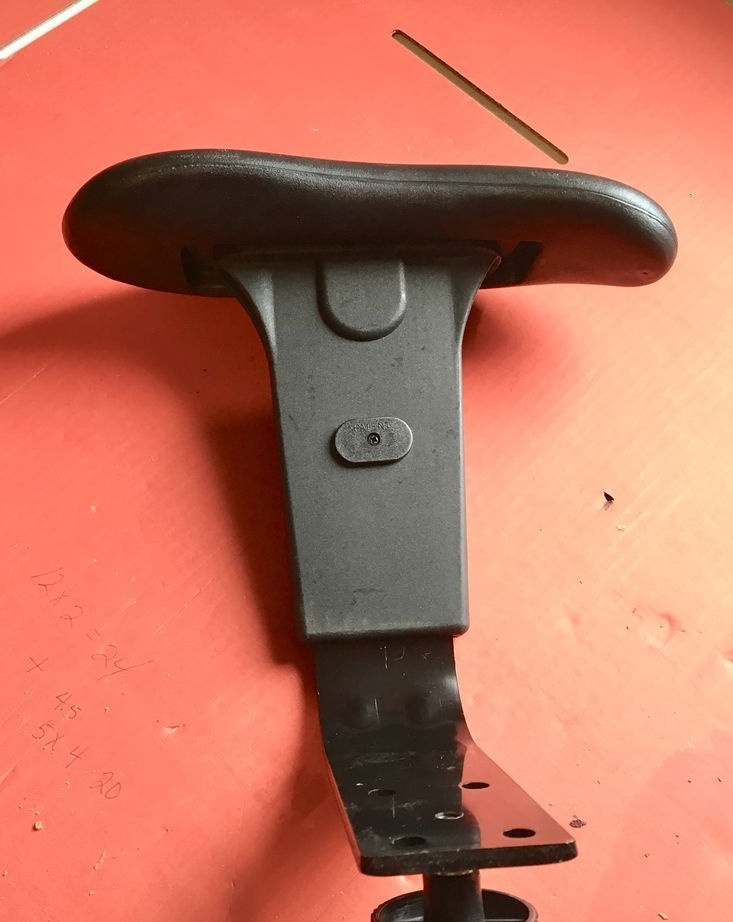
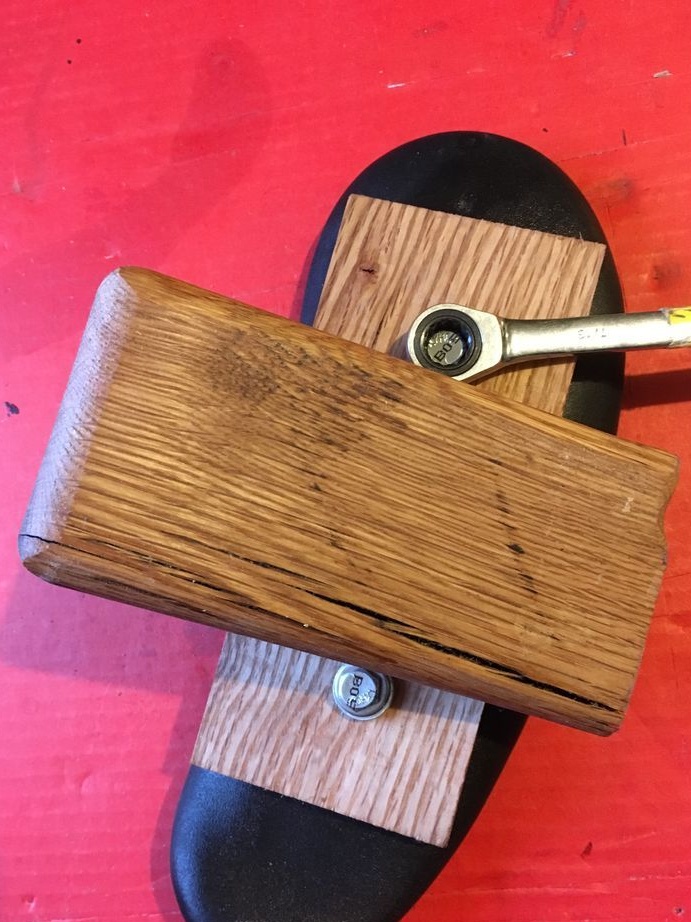
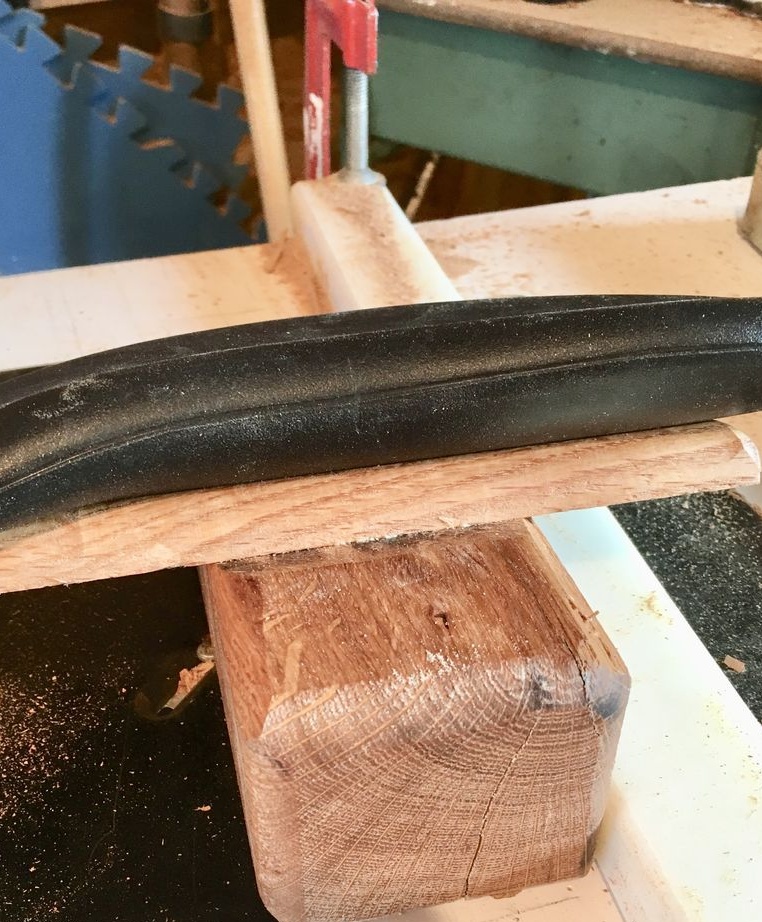
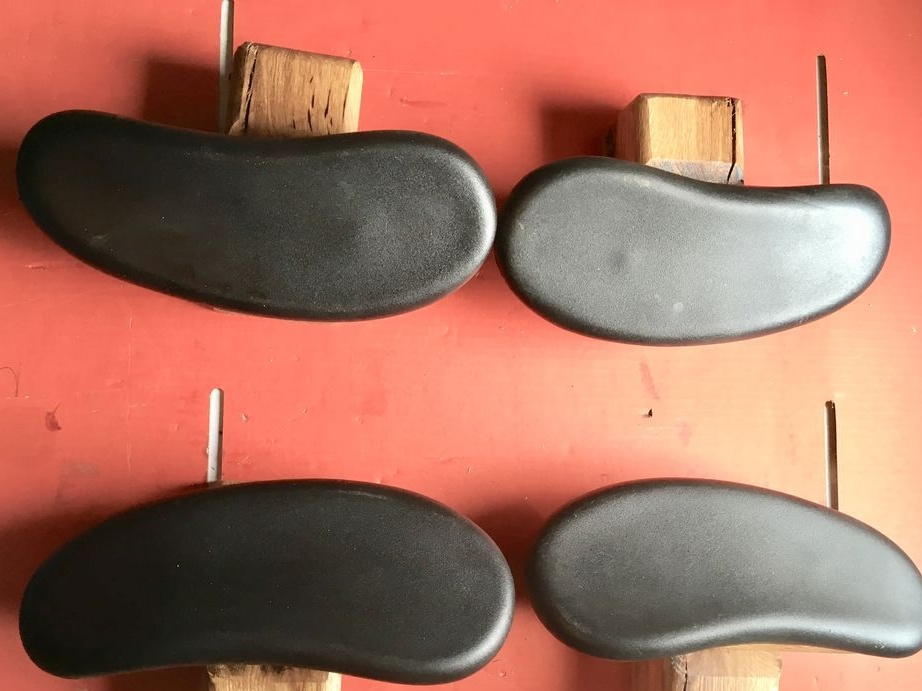
To manufacture the second option, the master unscrewed the plastic covers from the armrests of the old seats.
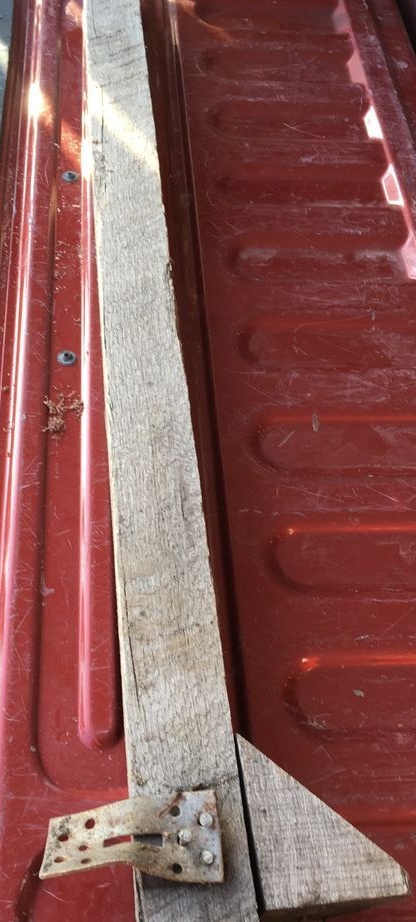
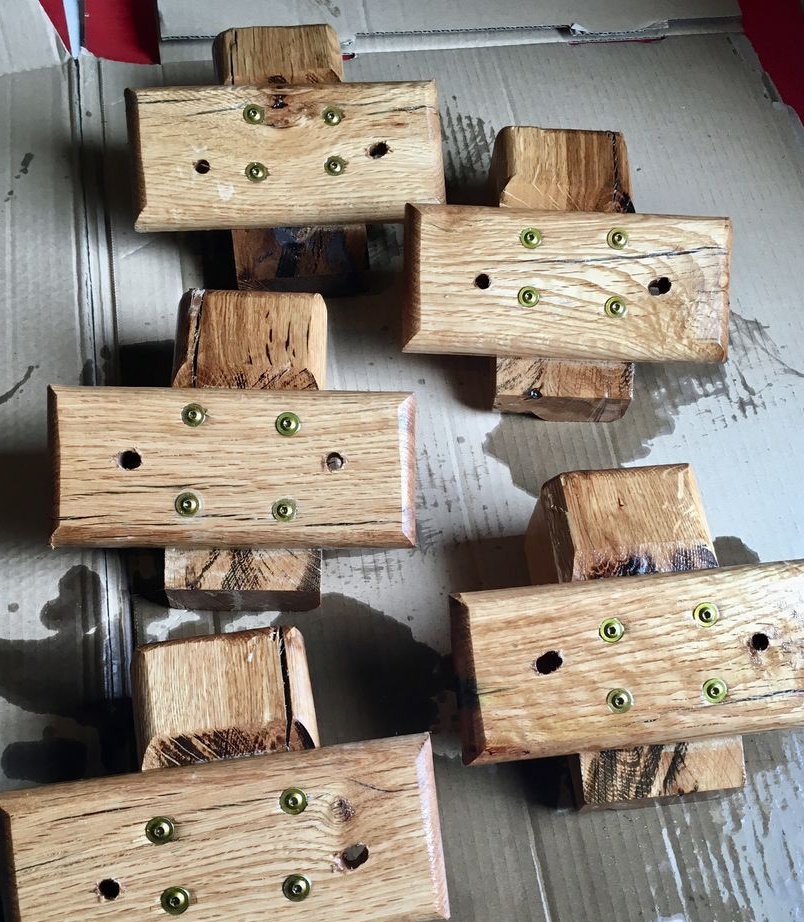
I made four supports from the bar, as in the photo.

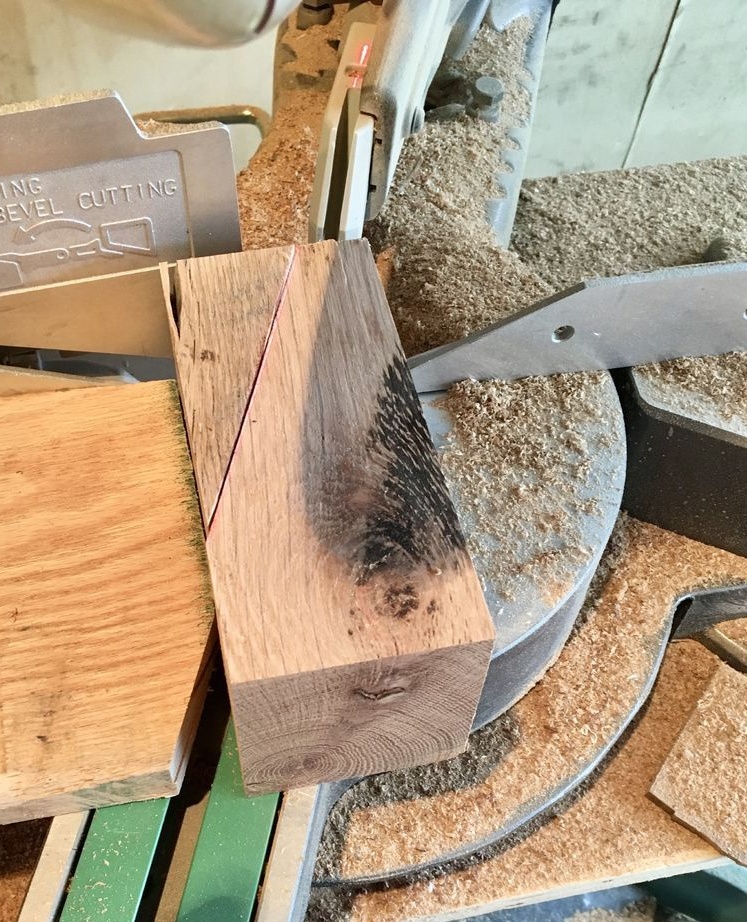
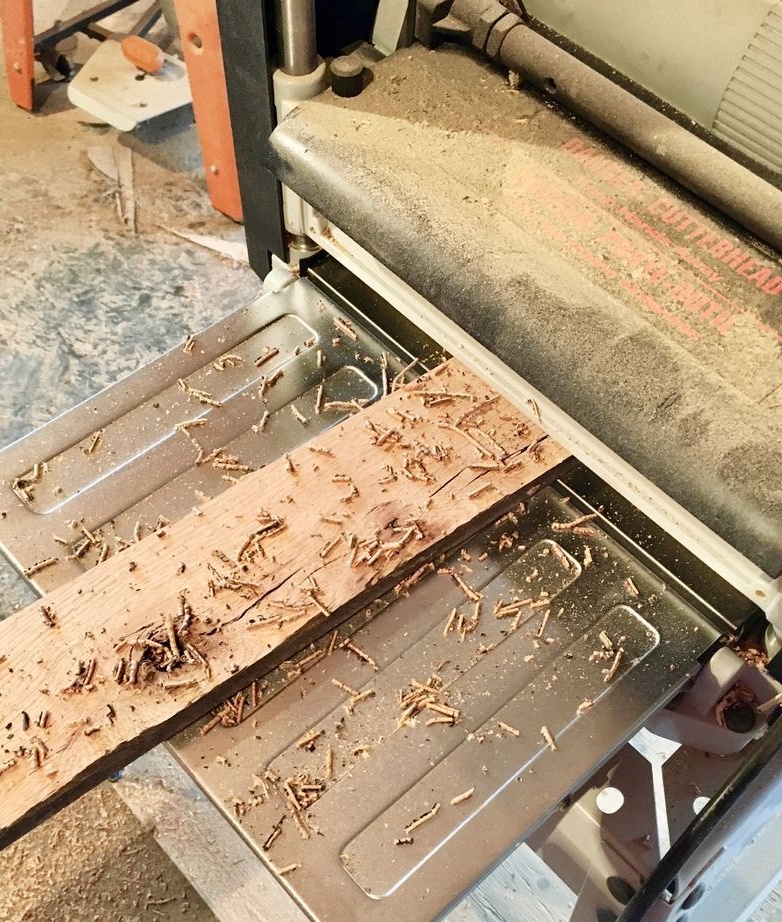
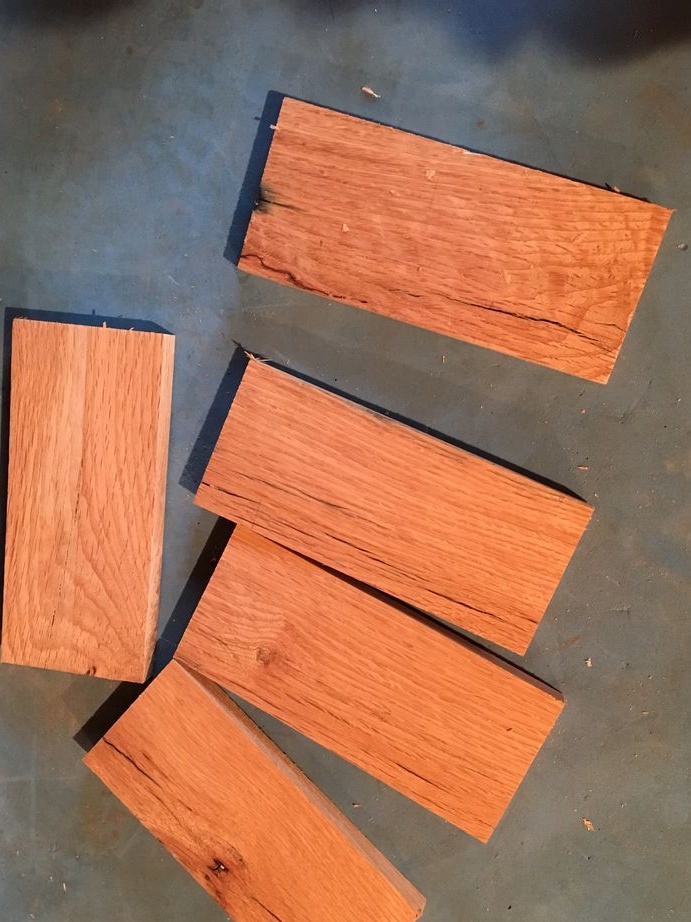
I made four connecting strips from the board.


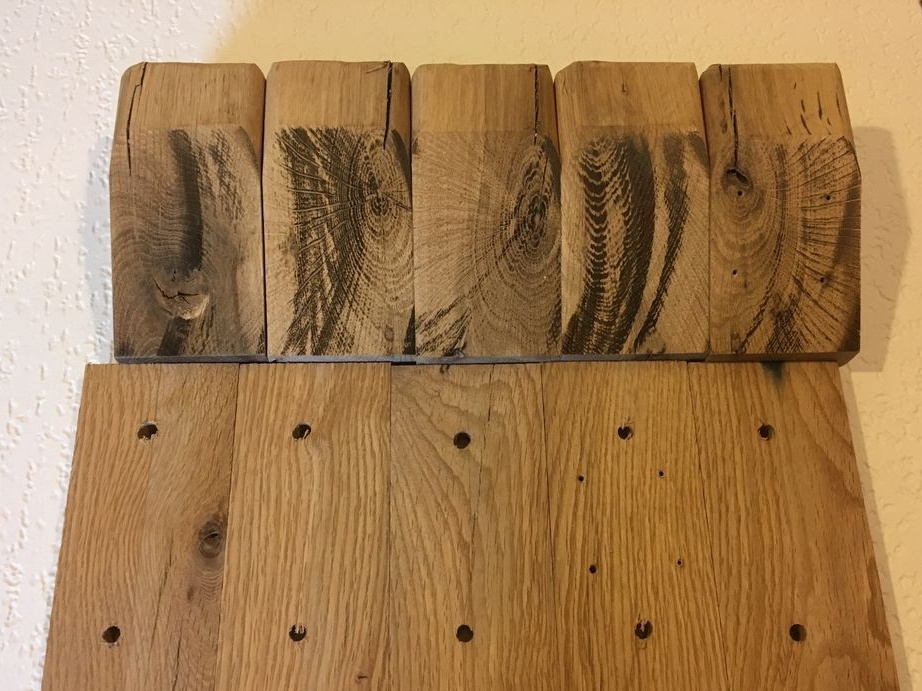
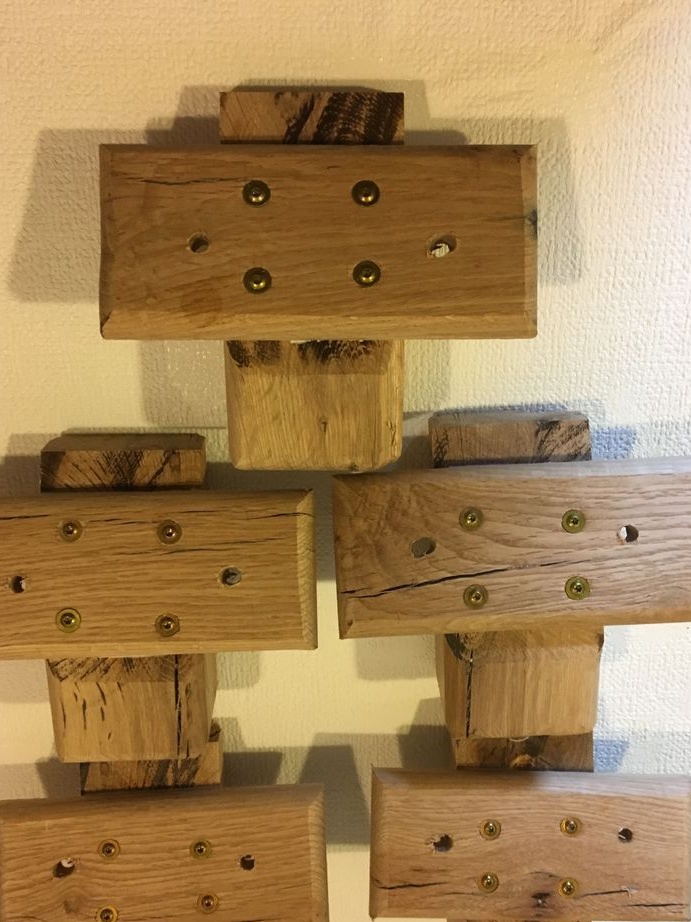
Screwed the bars to the support, and screwed the armrests to the bars.


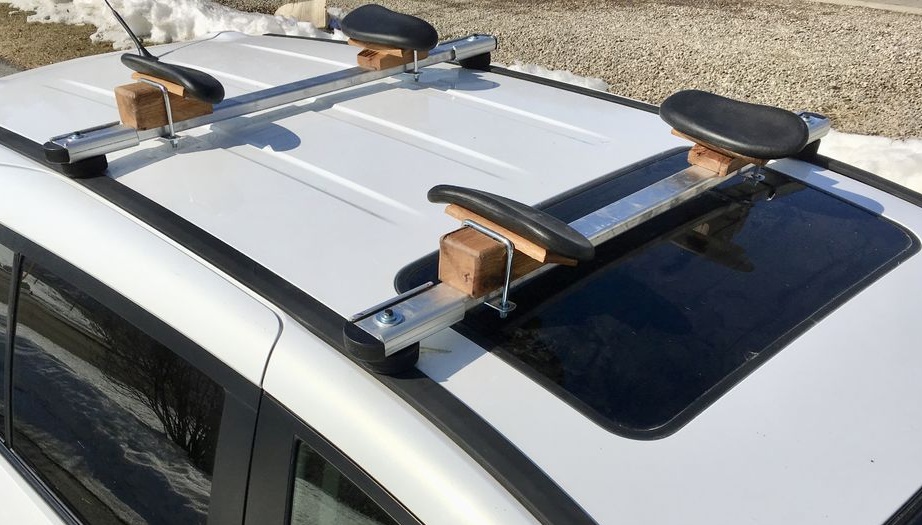
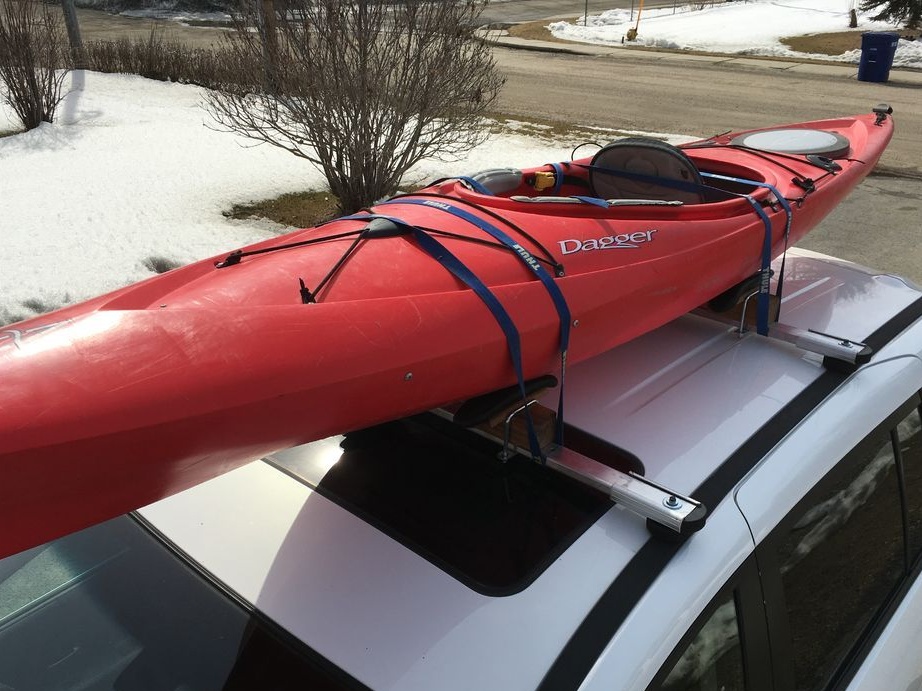
Now it fixes the stops to the laths of the trunk, installs and fixes the boat.
Seventh step: bike mount
For the transportation of bicycles, different mounting options are used. The master had a special mount for fixing the front fork.
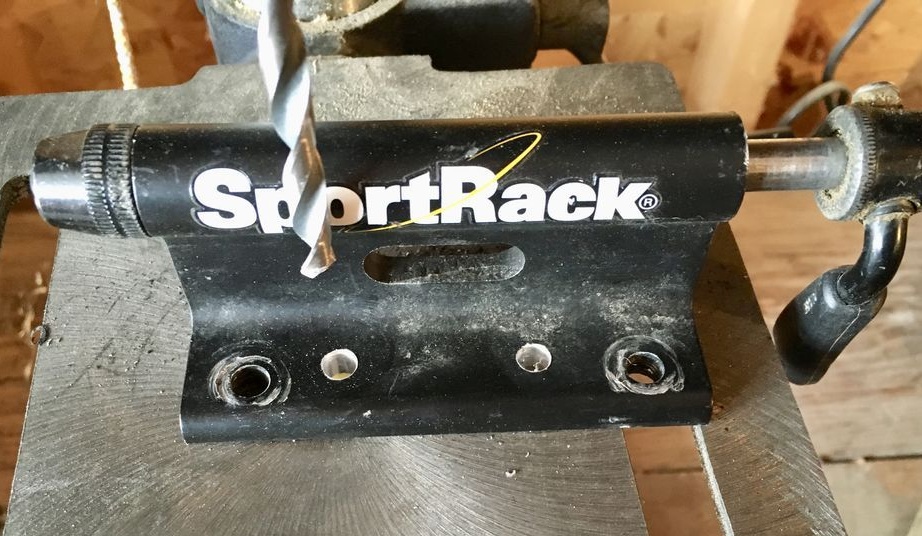
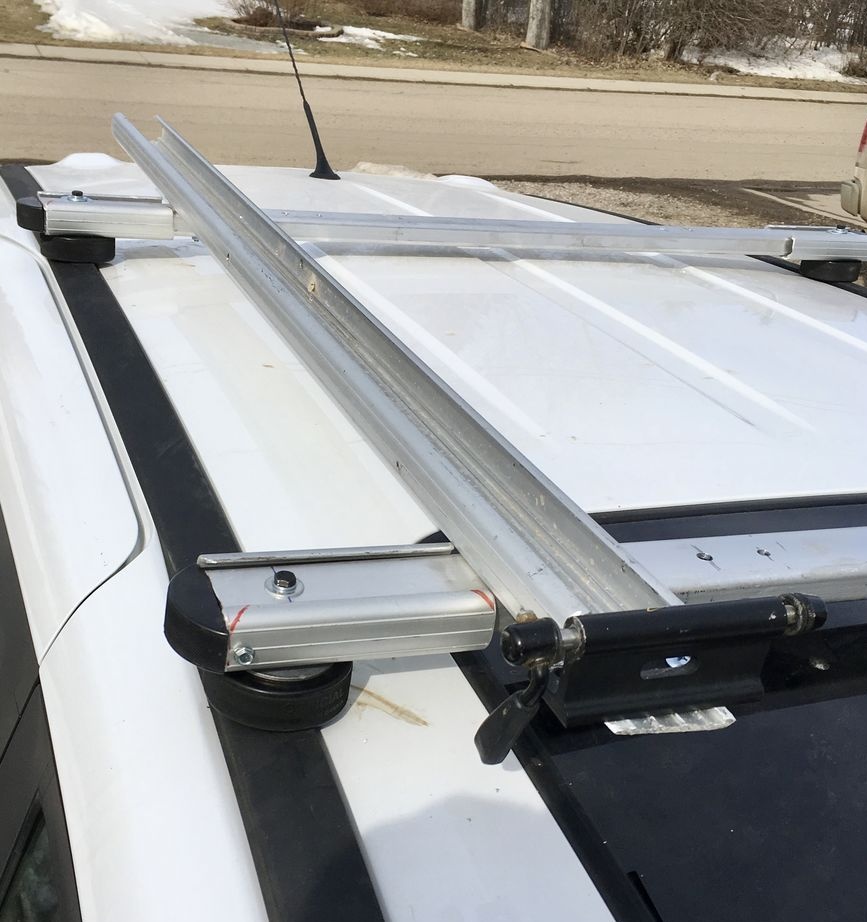
Measuring the distance between the transverse rails of the trunk, the master cut off the aluminum profile, such a length that he would block them. On one side of the profile, I cut off the side walls. I drilled a hole in the shelf and screwed the mount to it.


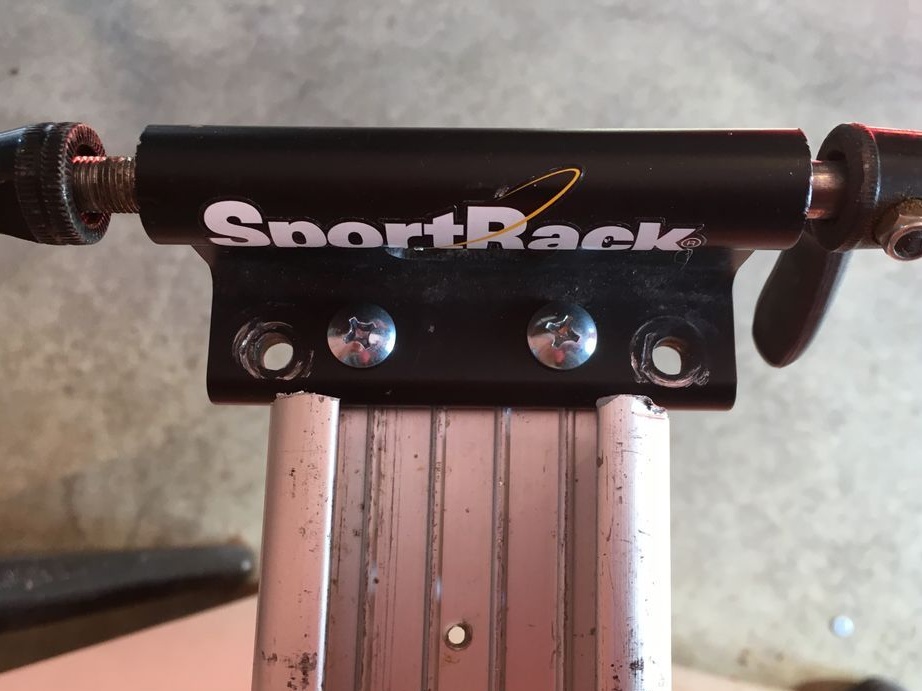
Screwed the profile to the rails.
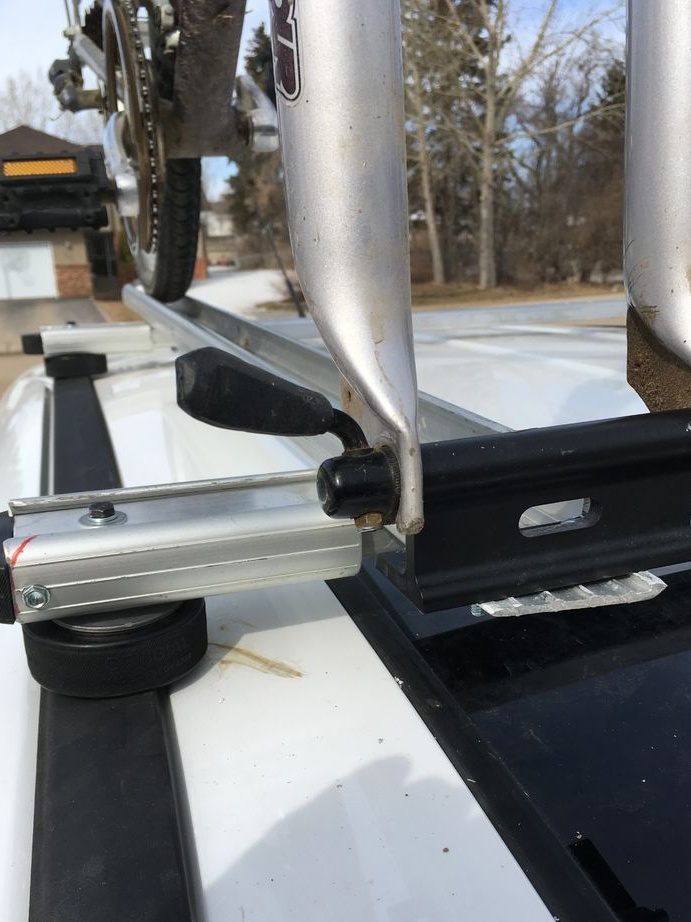
Now you can mount the bike. The front fork of the bike is fixed with a mount, the rear wheel with a belt.
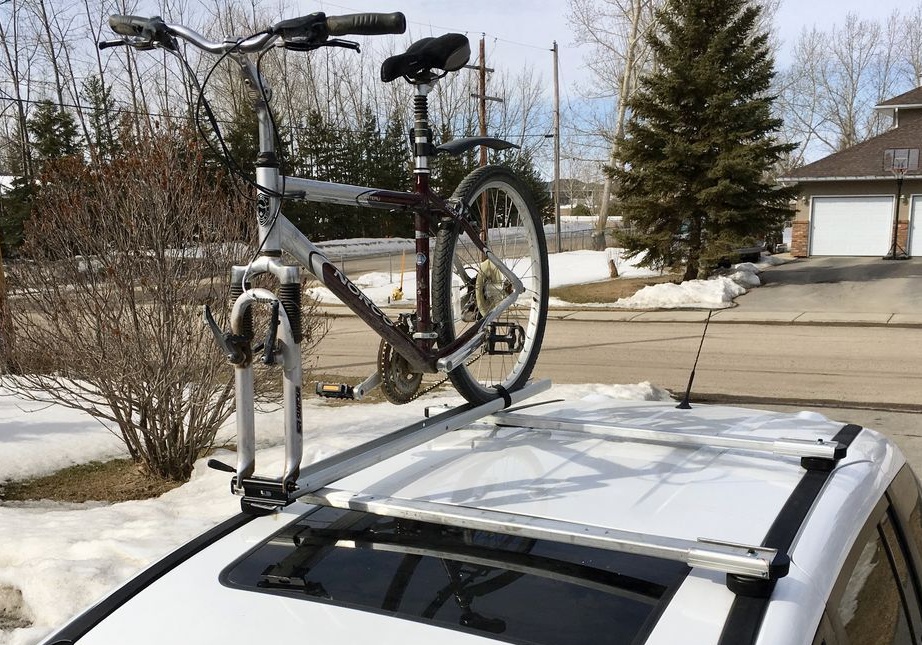

Transporting a bicycle does not interfere with transporting a boat at the same time.


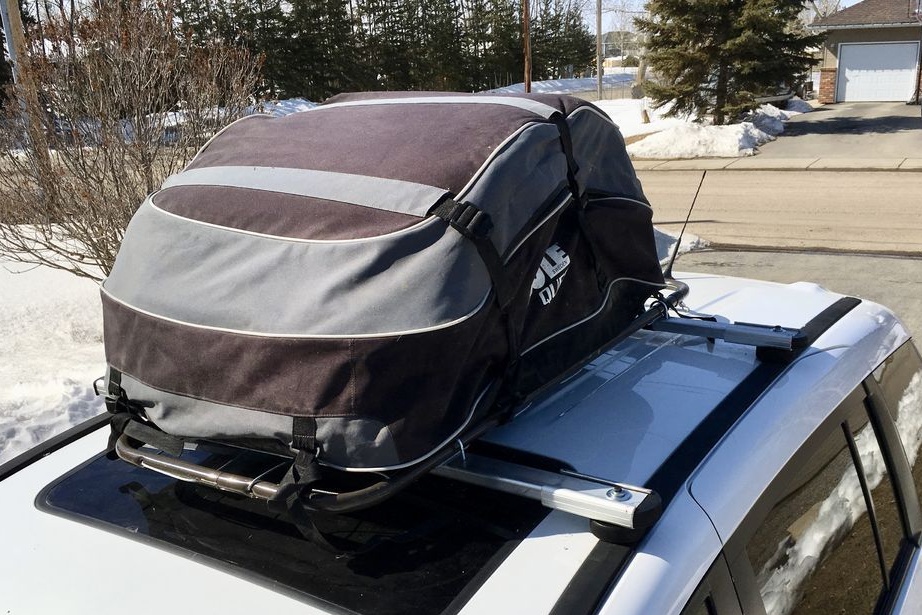
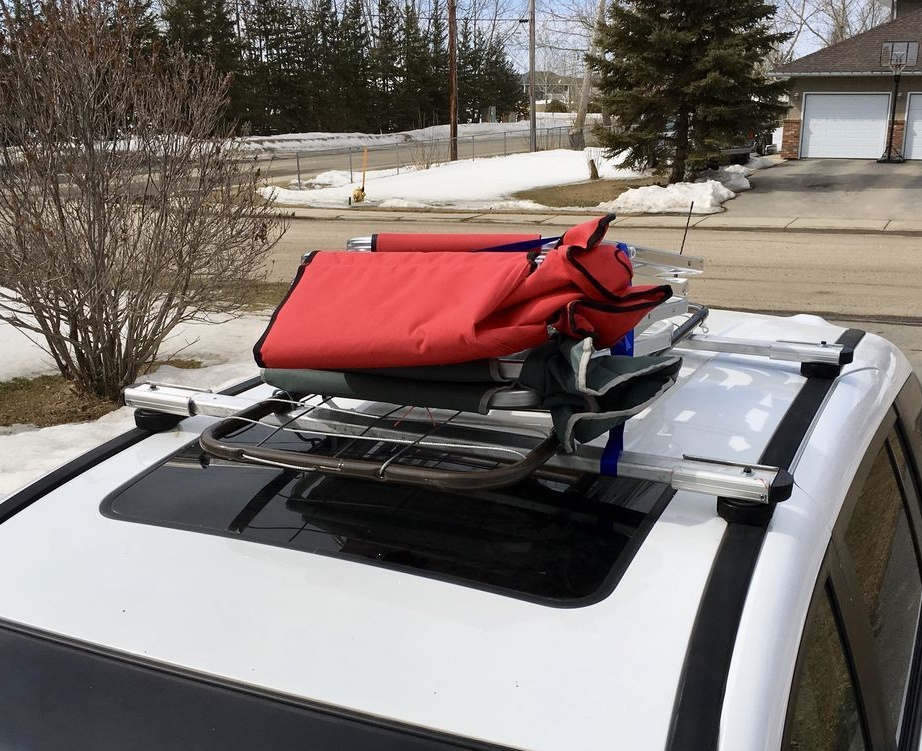
Here is a functional trunk turned out by the master.