
This article will look at how the author assembled a lathe. The advantage of such a machine is its mobility and the ability to work on a 12 V battery.
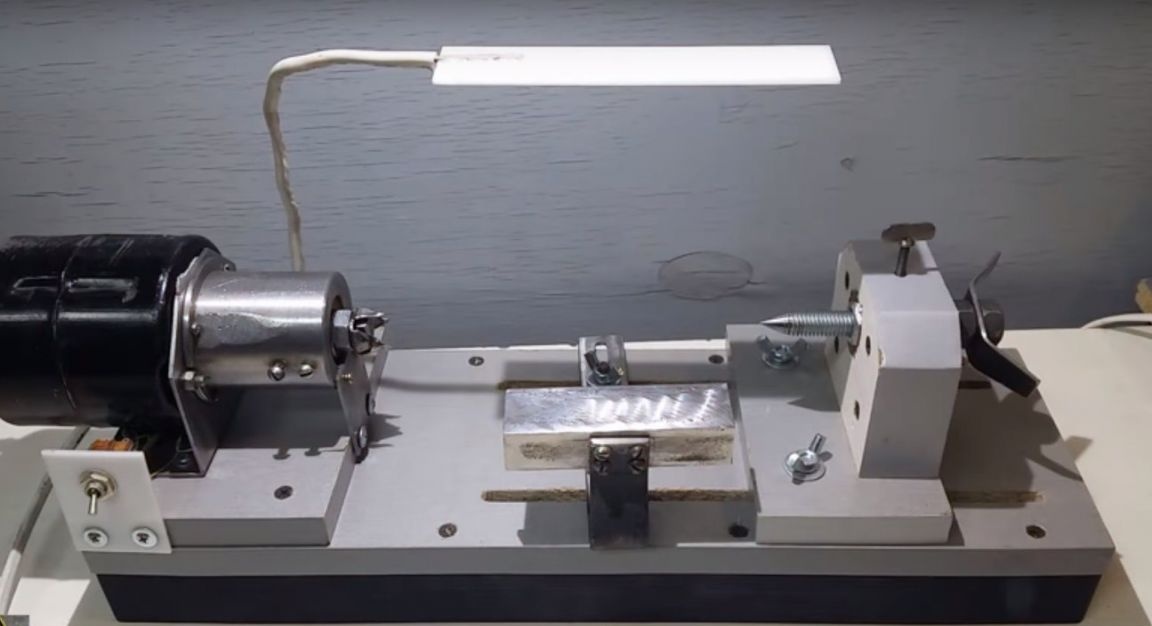
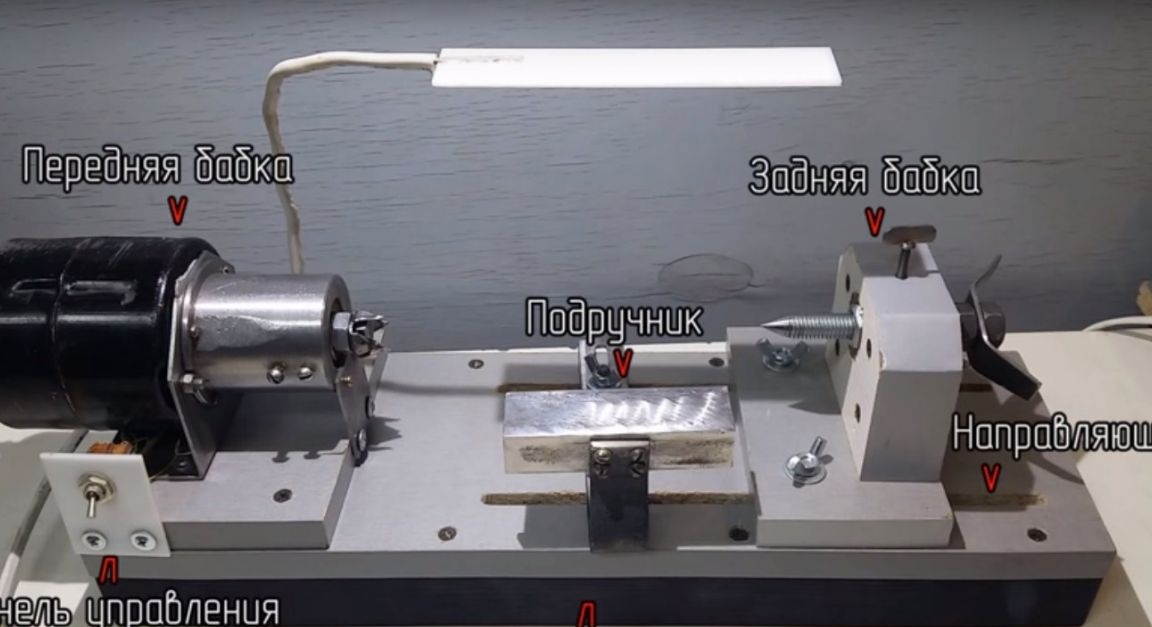
What the machine consists of as a whole.
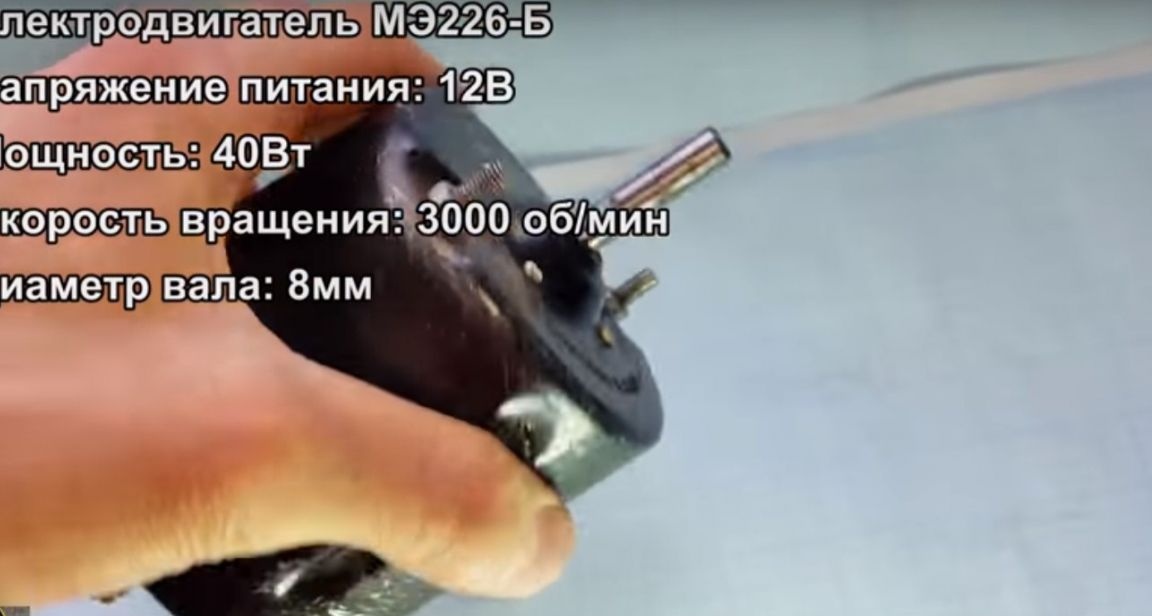
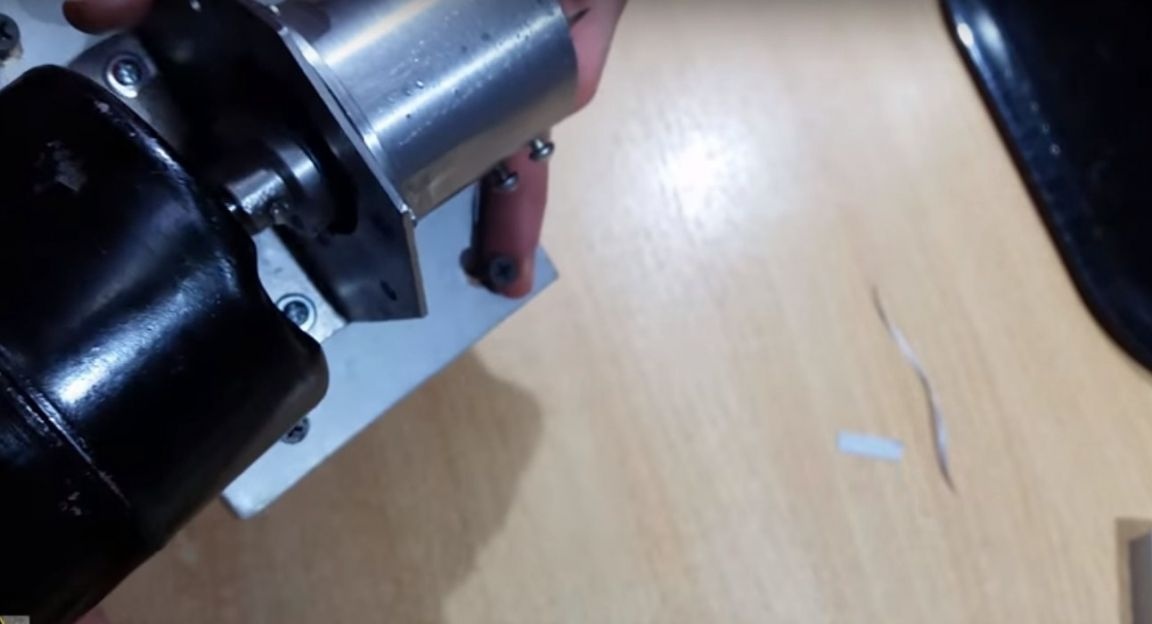
The author used such an engine as a heart for his machine tool. Such motors are used on heating systems in freight auto. But it will also use a planetary gearbox with the motor.
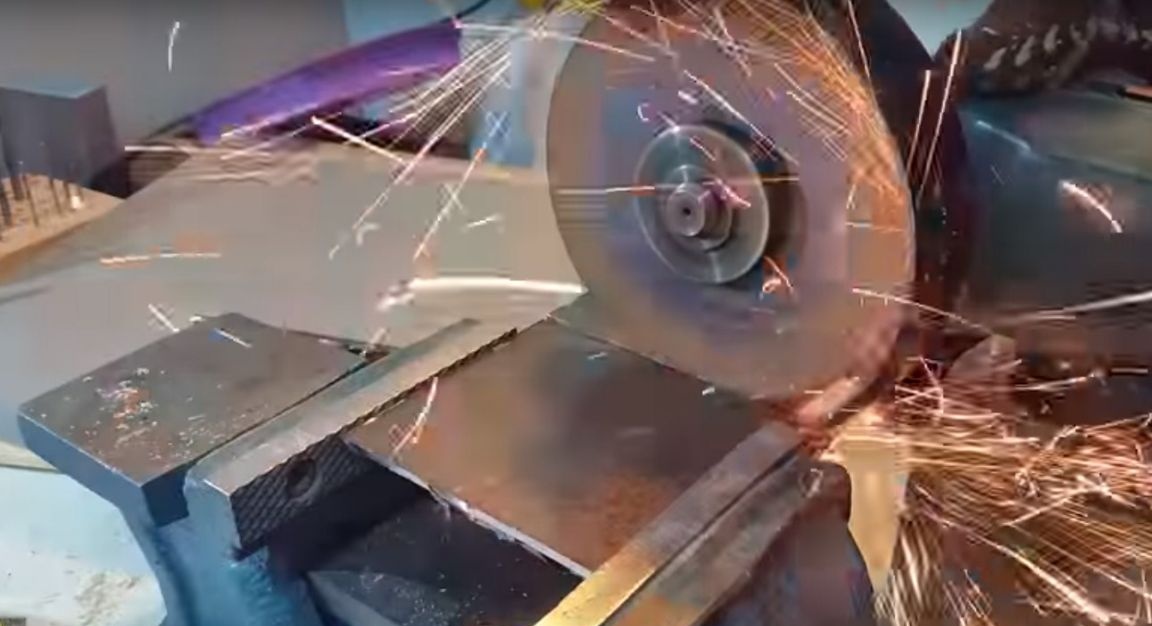
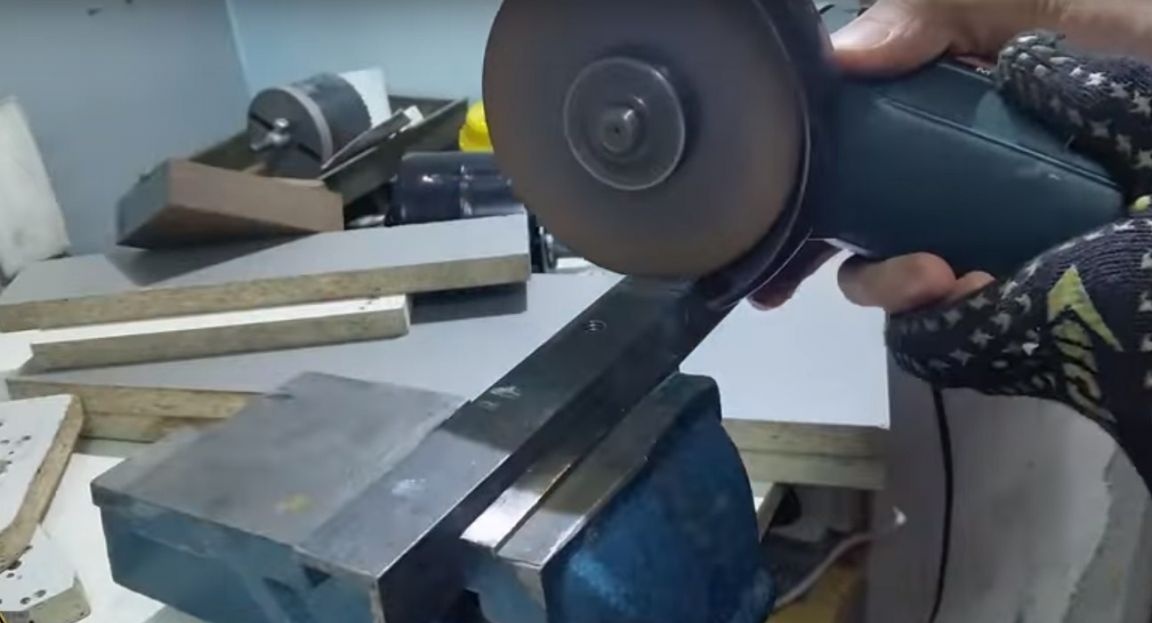
The first step was to make a four-toothed tip for the headstock from a sheet 2 mm thick.
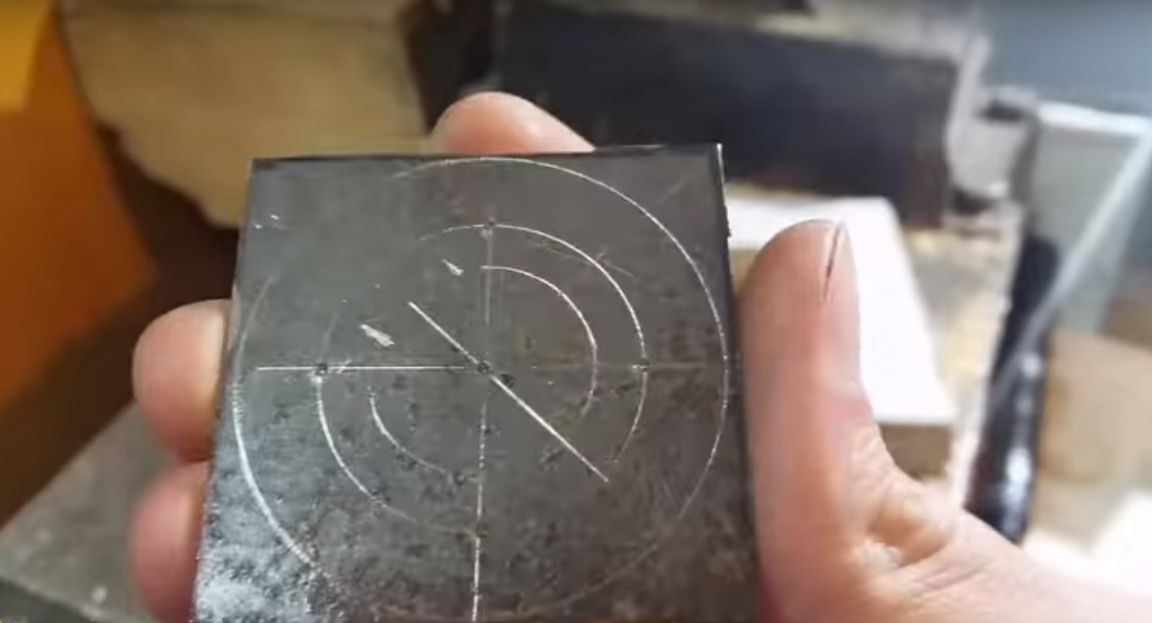
He made a marking and piled places for holes.
Made holes.
And cut out such a figure.
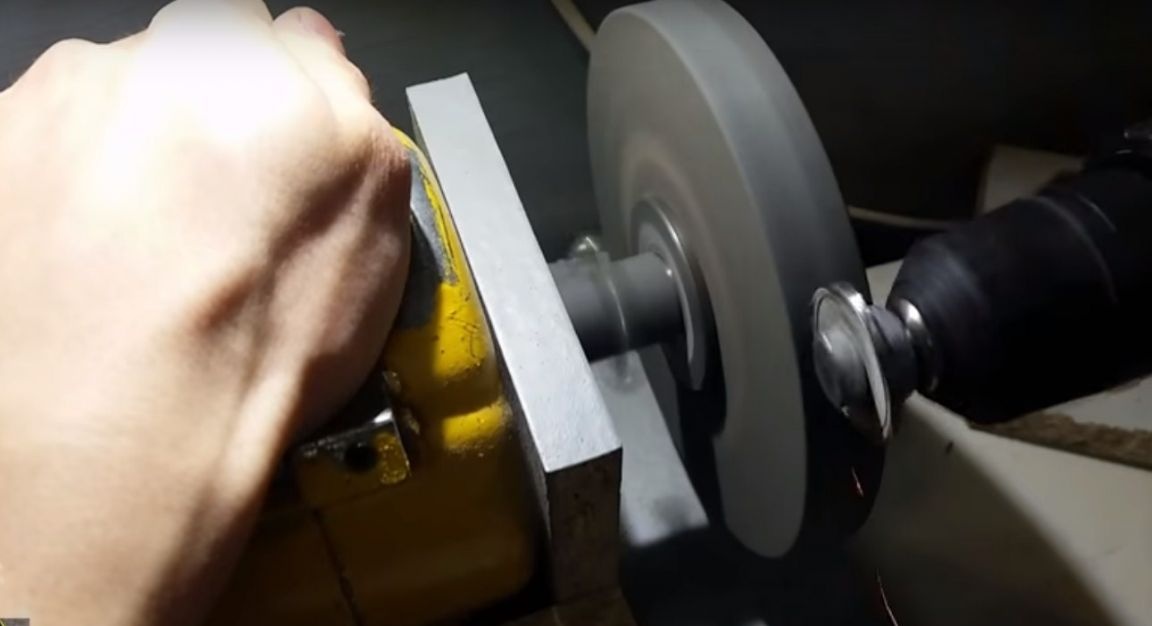
Grind on emery.
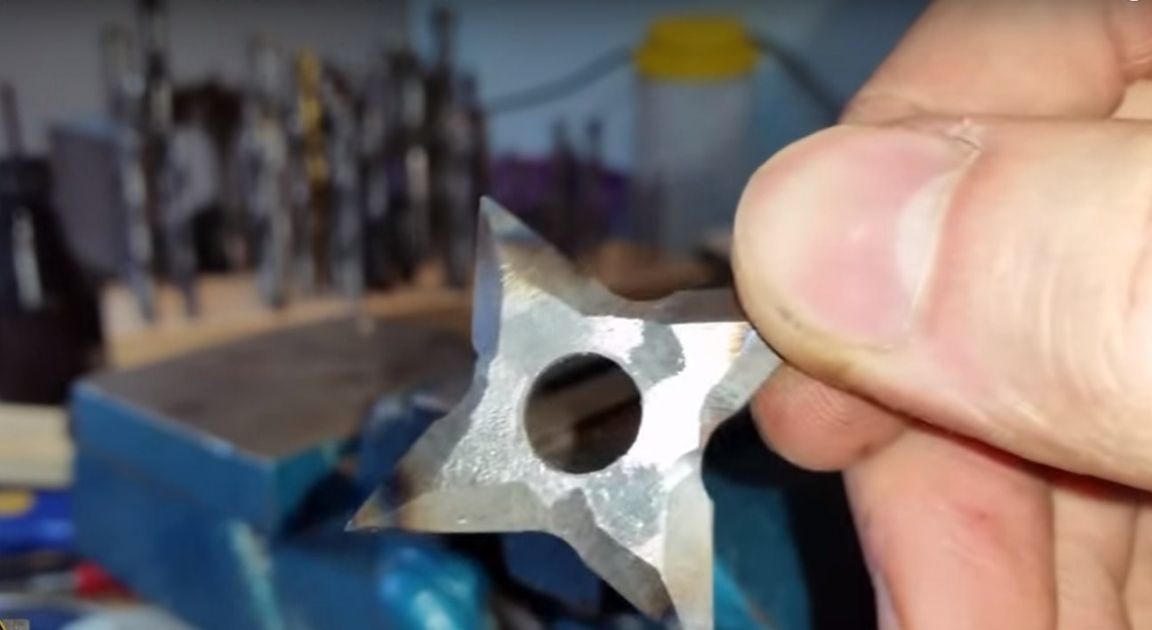
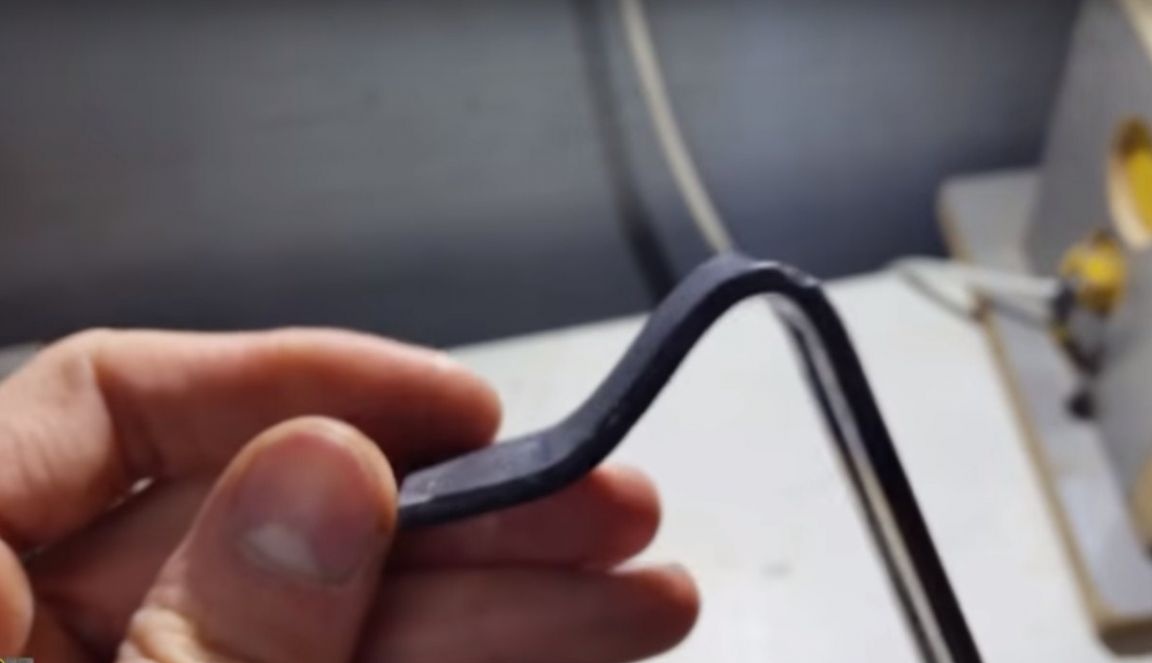
Then, with the help of a hammer, he gave the desired shape.

But as it turned out, such a tip was rotated under load.
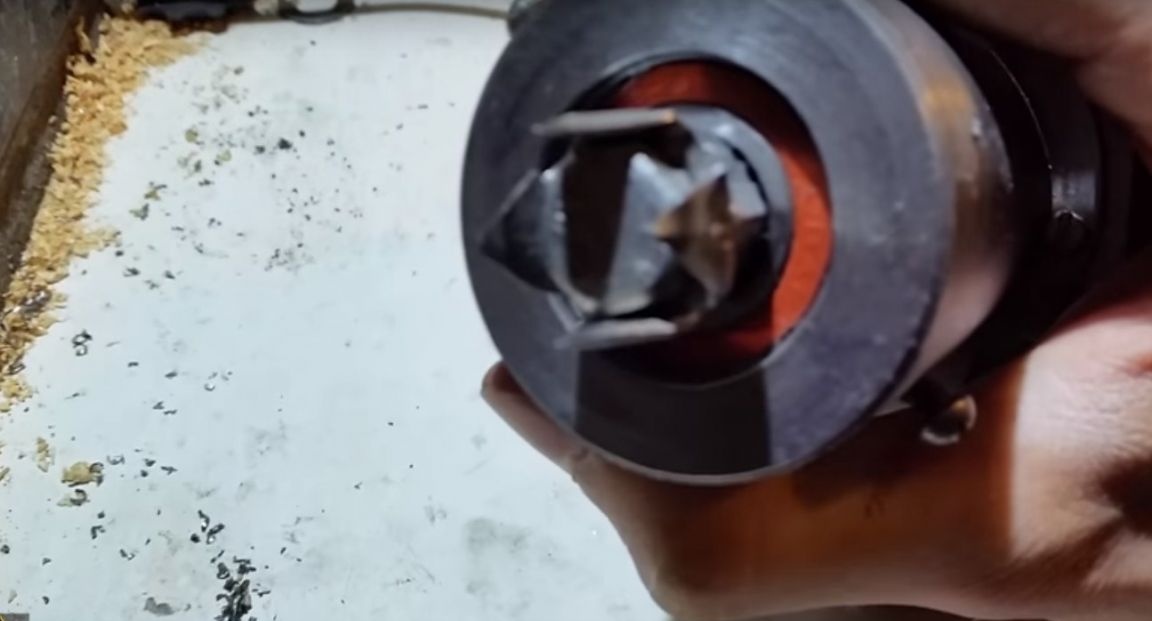
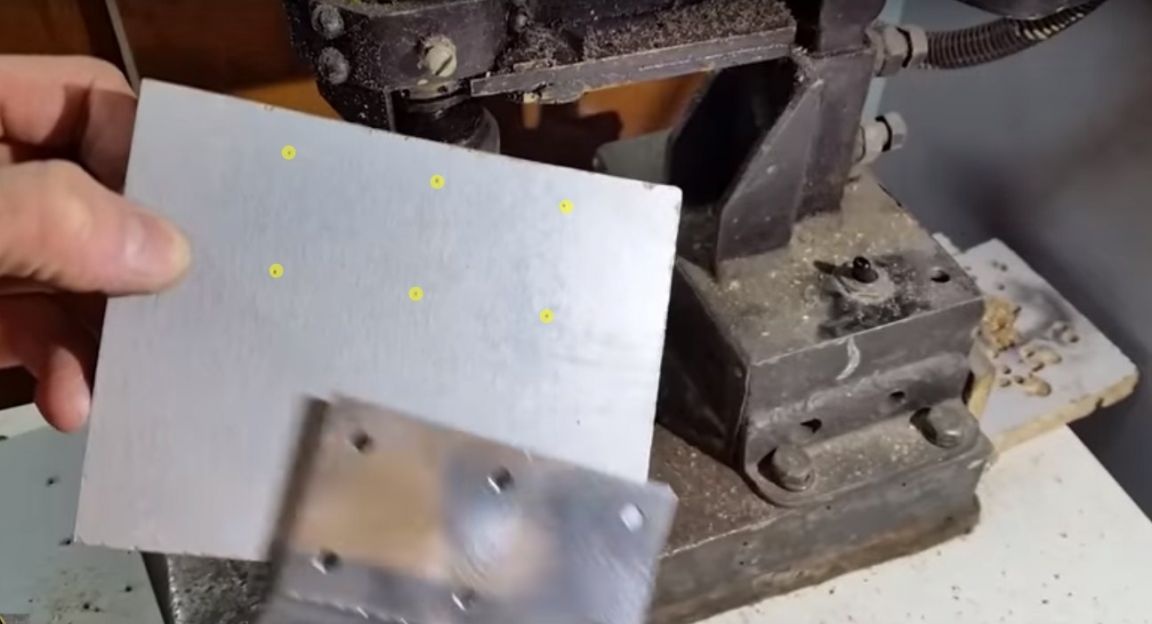
Therefore, the author had to make another tip. Having printed the circuit.
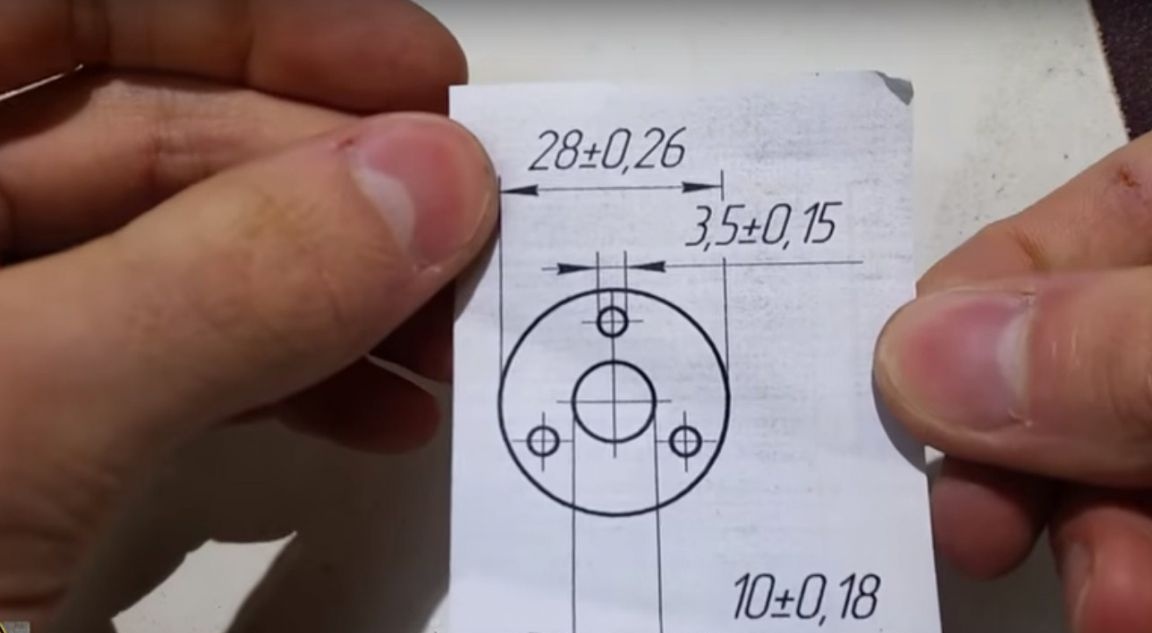
He stuck it on the blank.
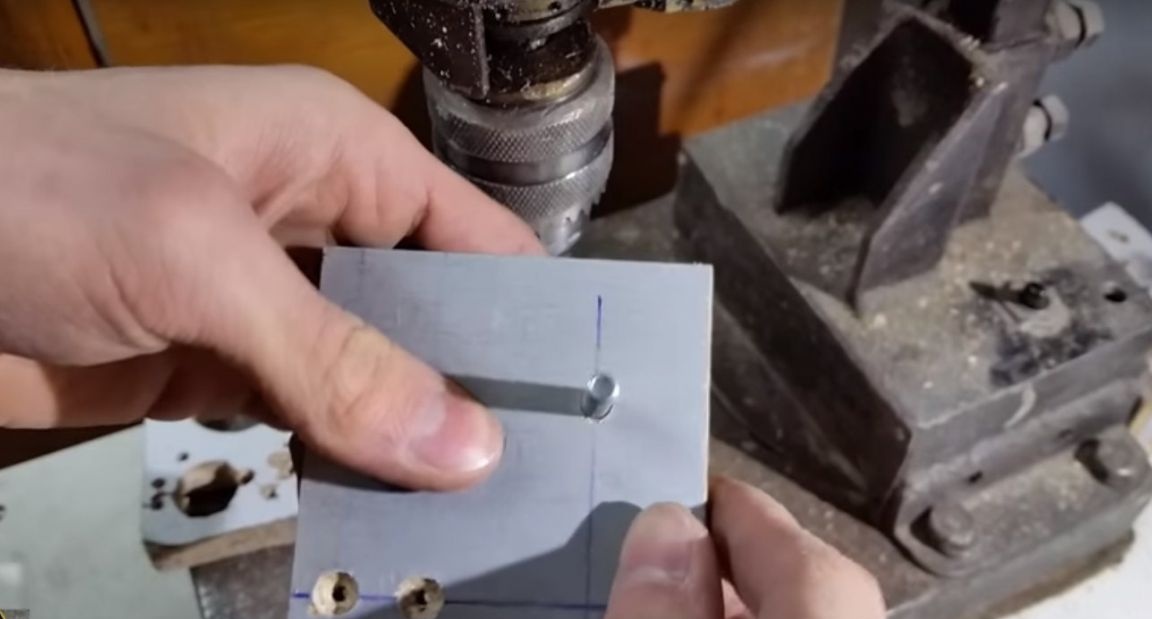
Nakernil.
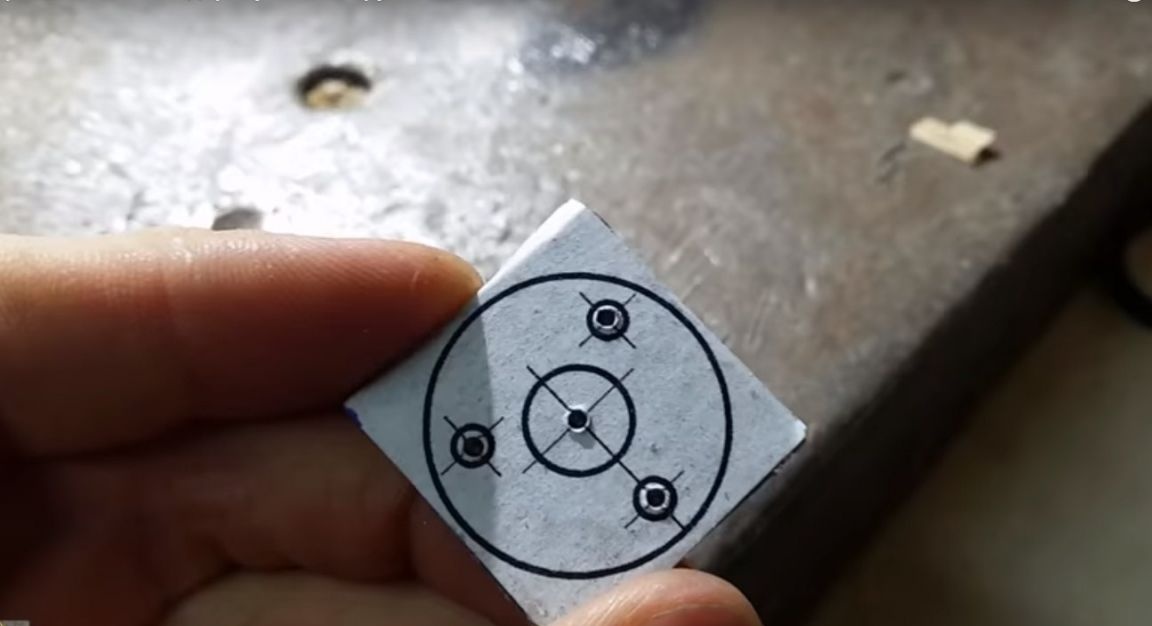
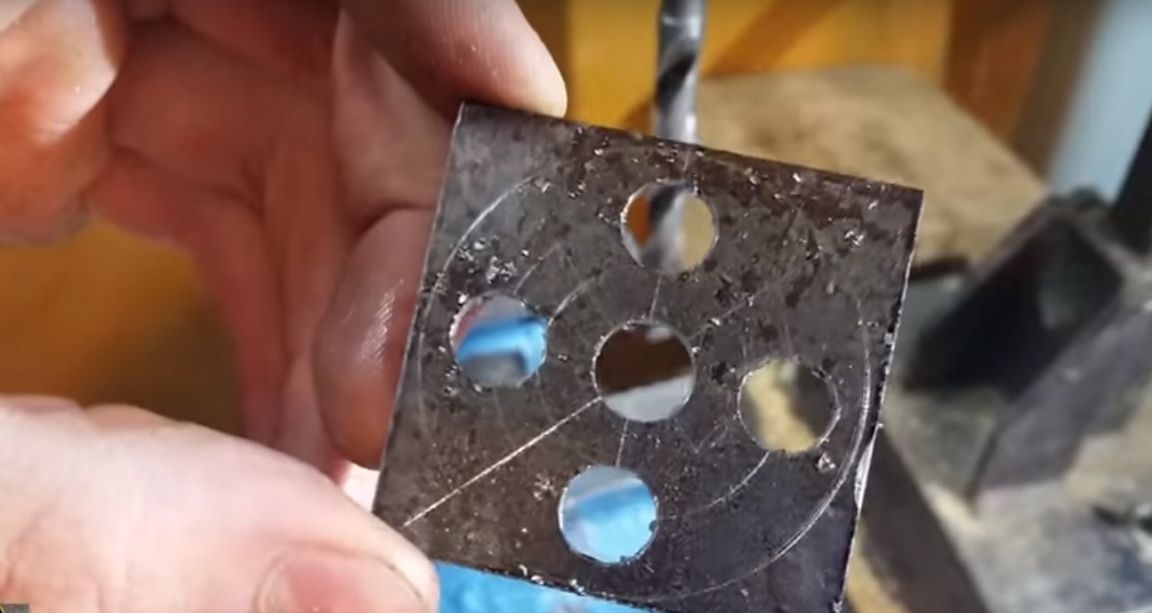
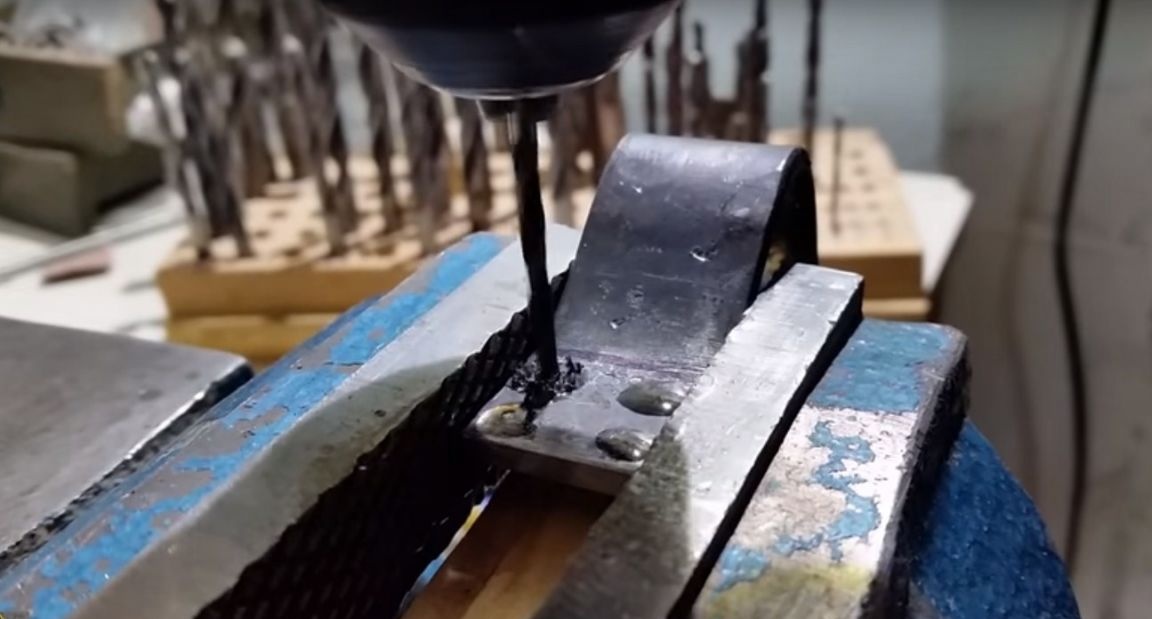
And made holes. Central, with a diameter of 10 mm, and lateral 3.5 mm.
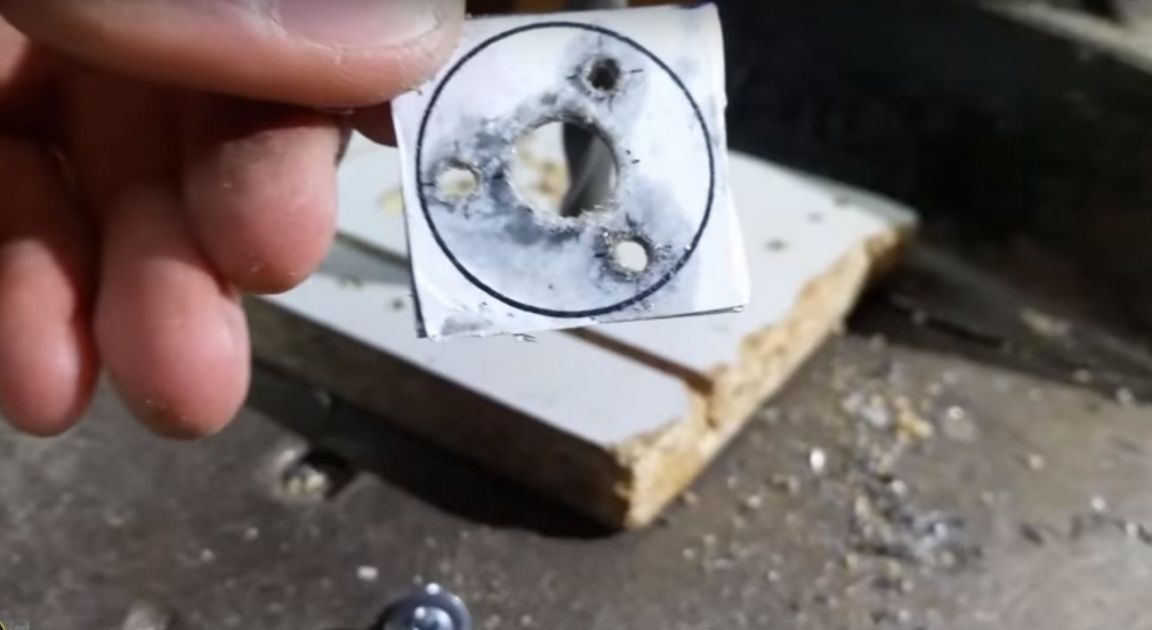
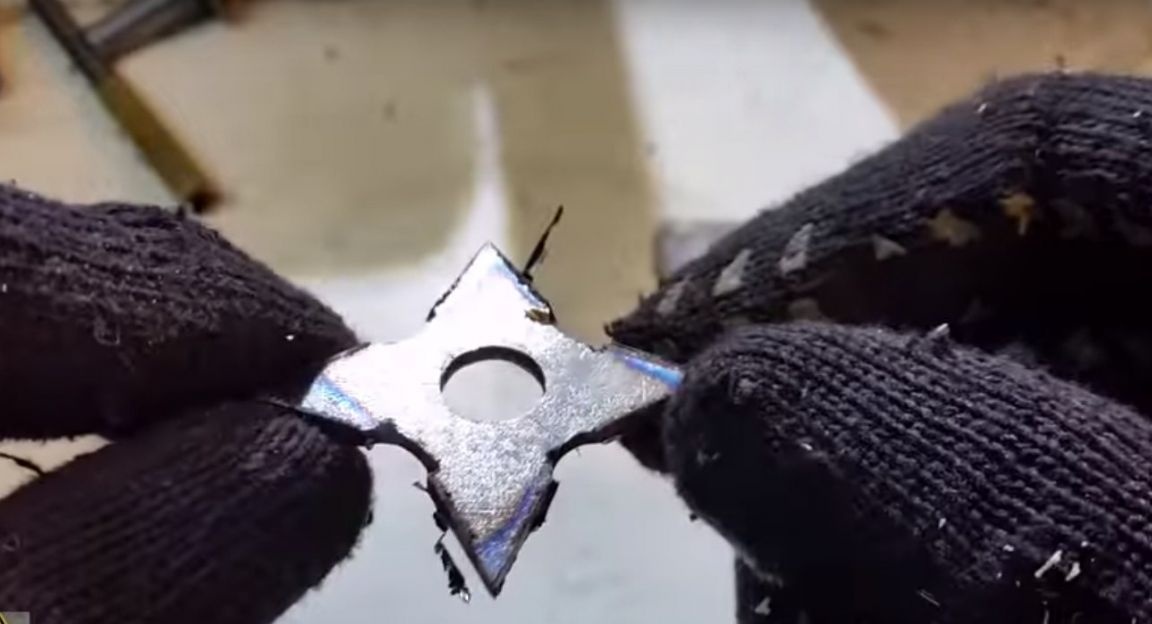
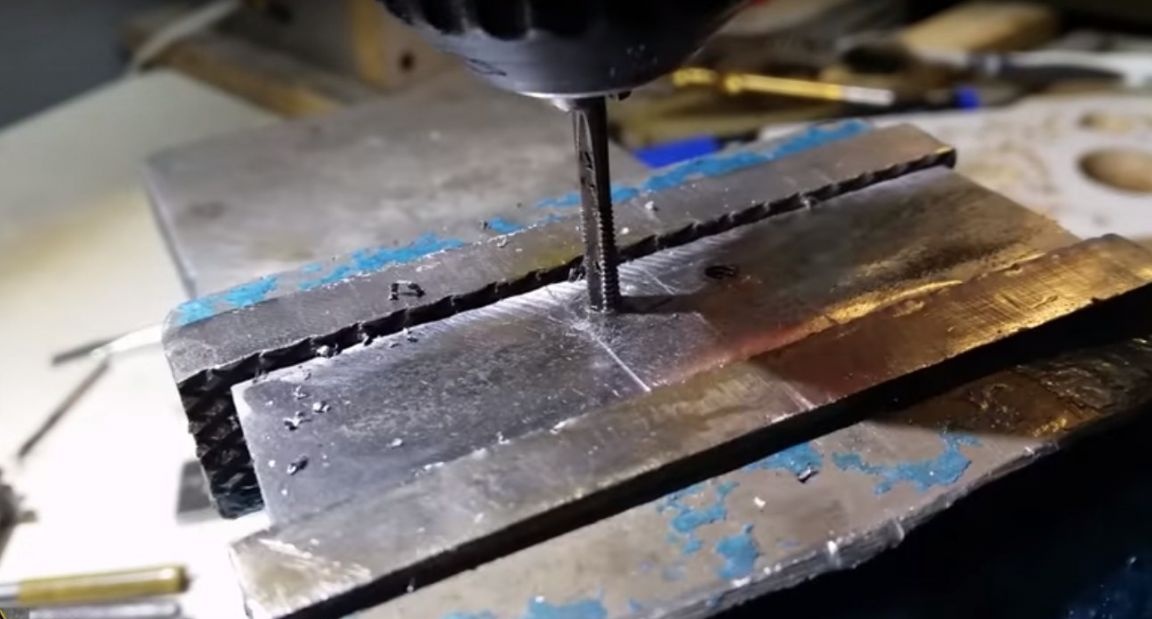
Then he cut and sewed all unnecessary.
And cut the threads in the side holes.
He took off the chamfers.
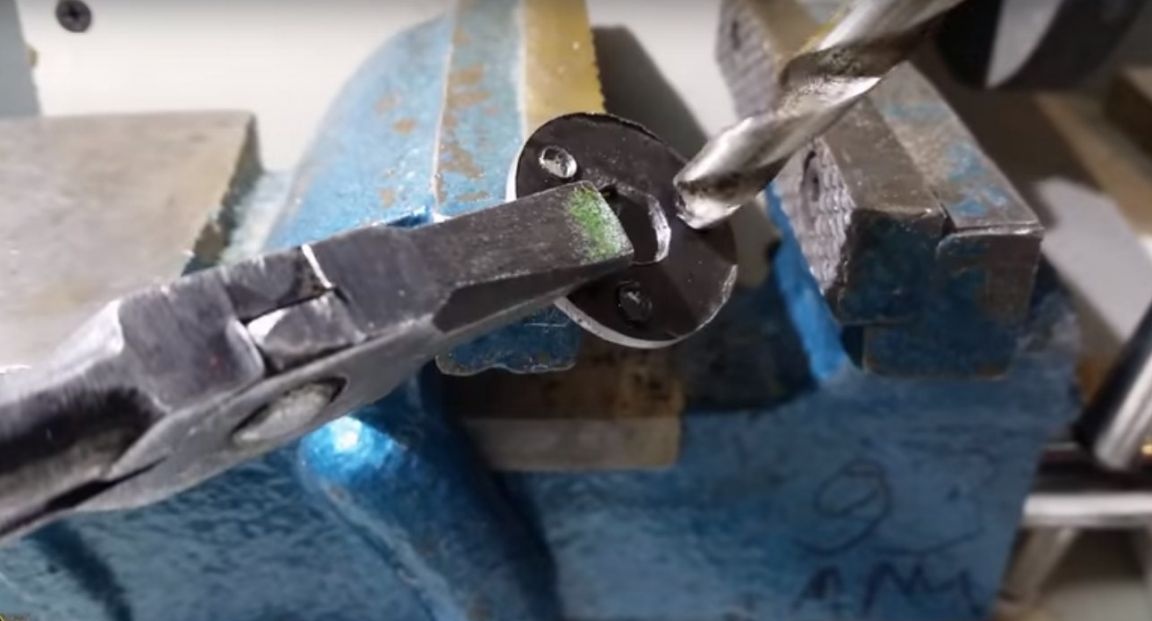
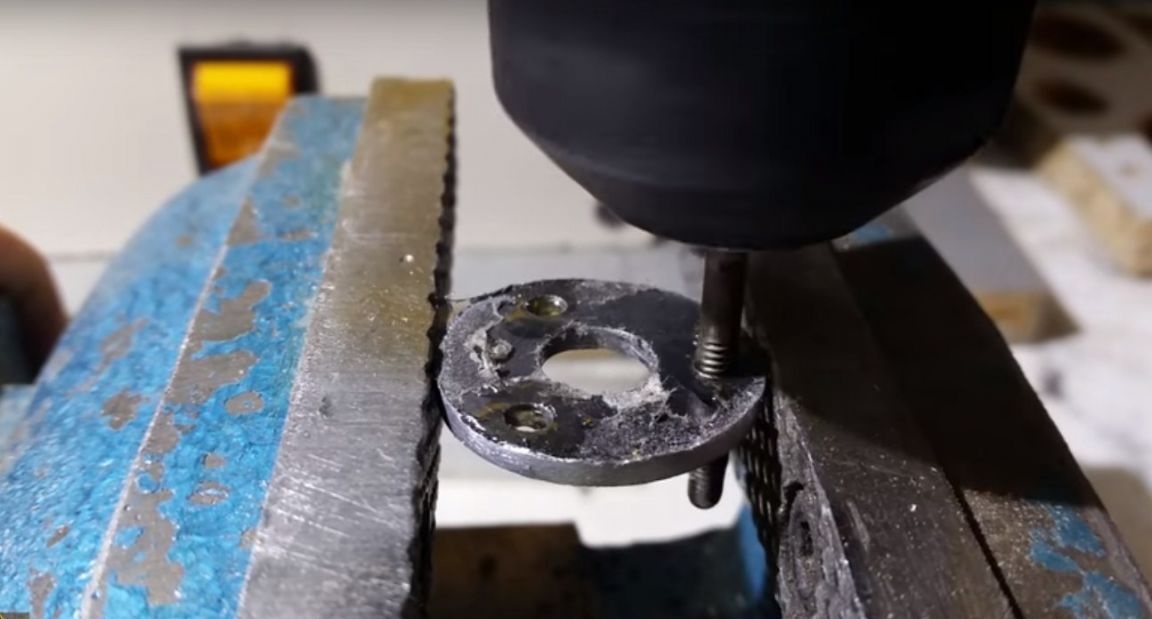
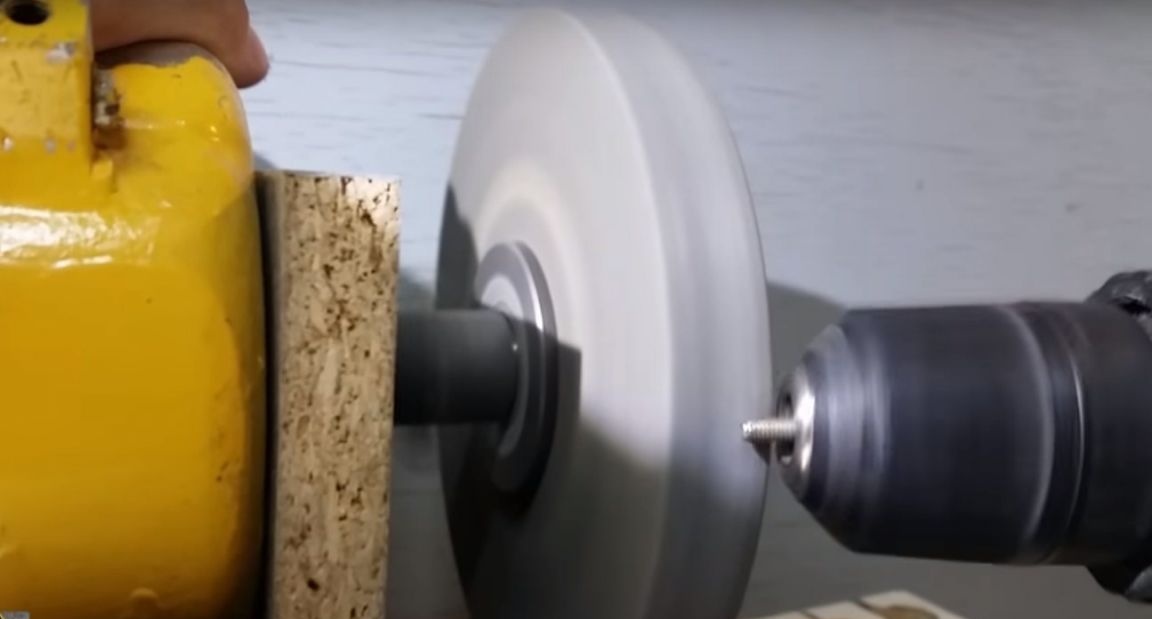
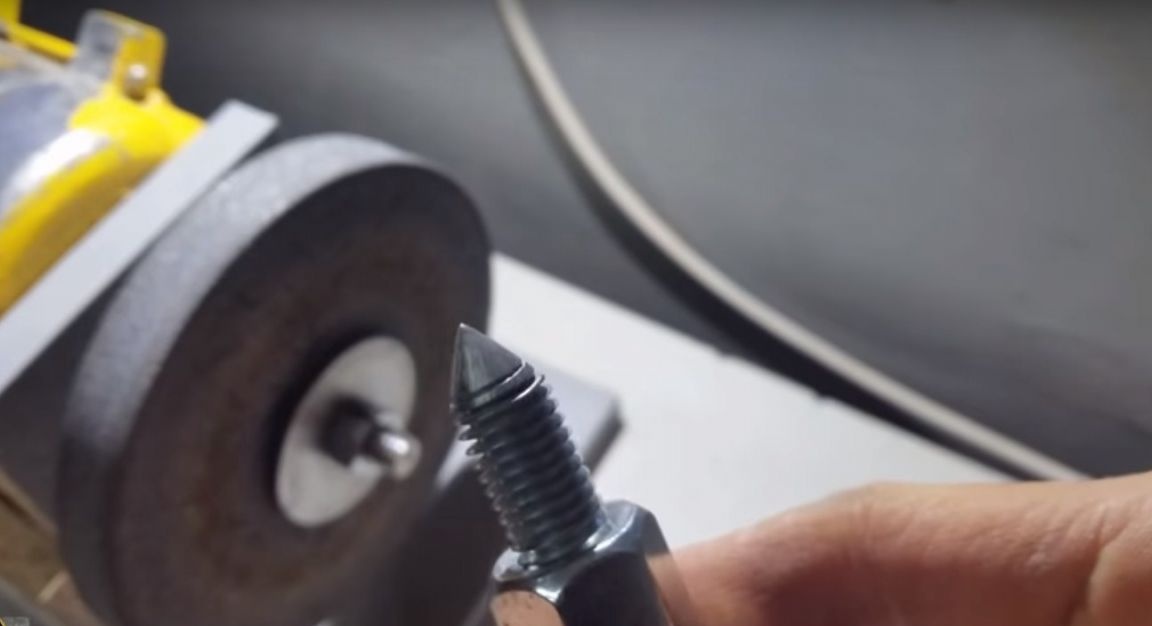
Bolts M 4 clamped into a screwdriver and sharpened.
And twisted them into the side holes of the washer.
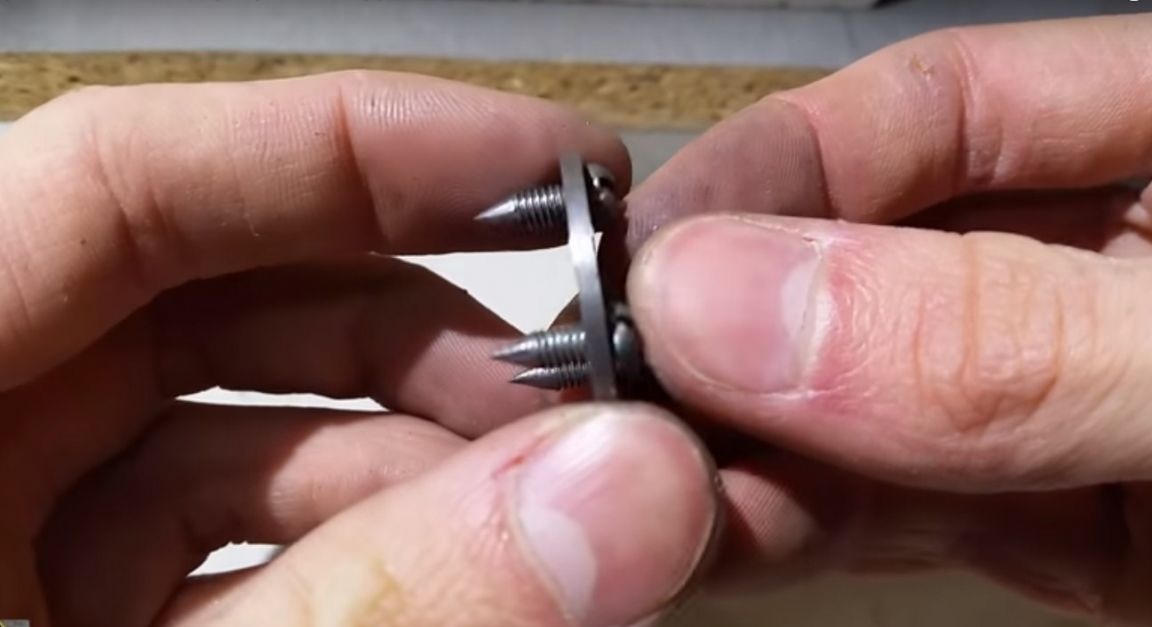
The edges on the nut that will fix the bolt are slightly machined.
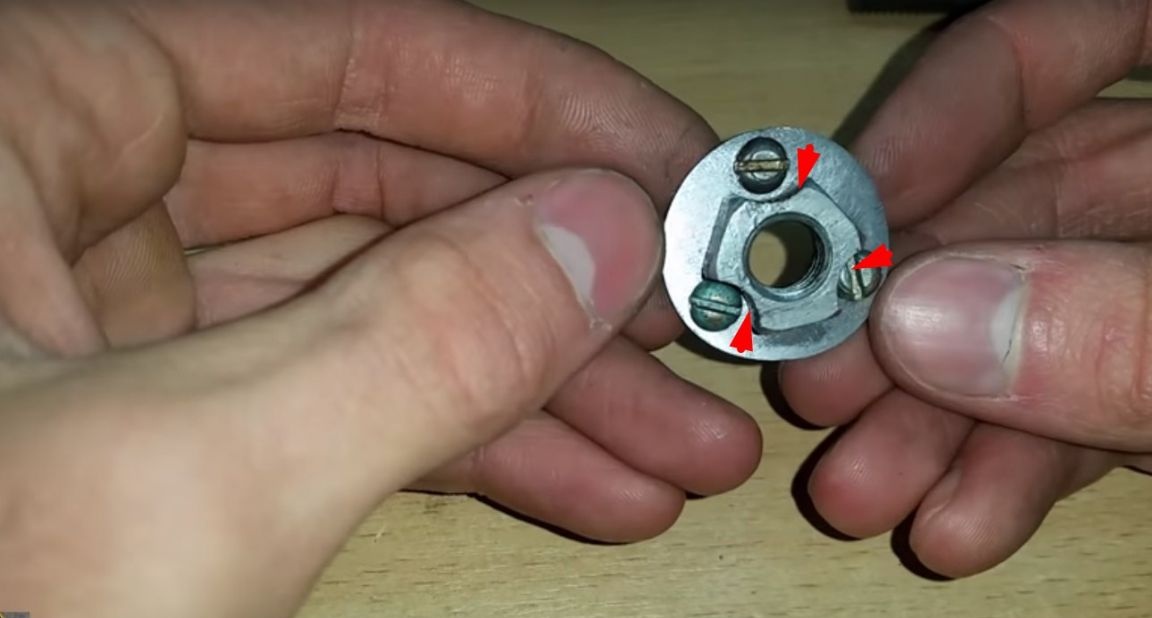
Finished tip.

Then the author began to manufacture the tailstock. To do this, he took a hairpin 10 cm long.
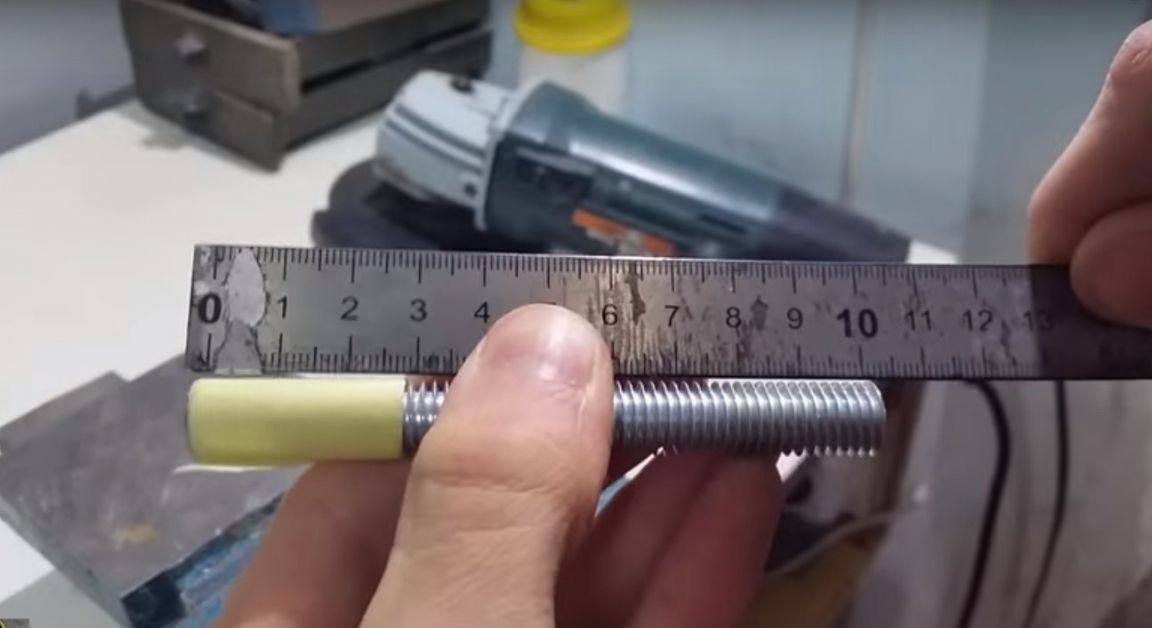
A piece of sheet metal in which he made a hole.
And cutting off the strip.

I honed her.
Further, on an elongated nut with a file, I made a small cut on one of the faces.
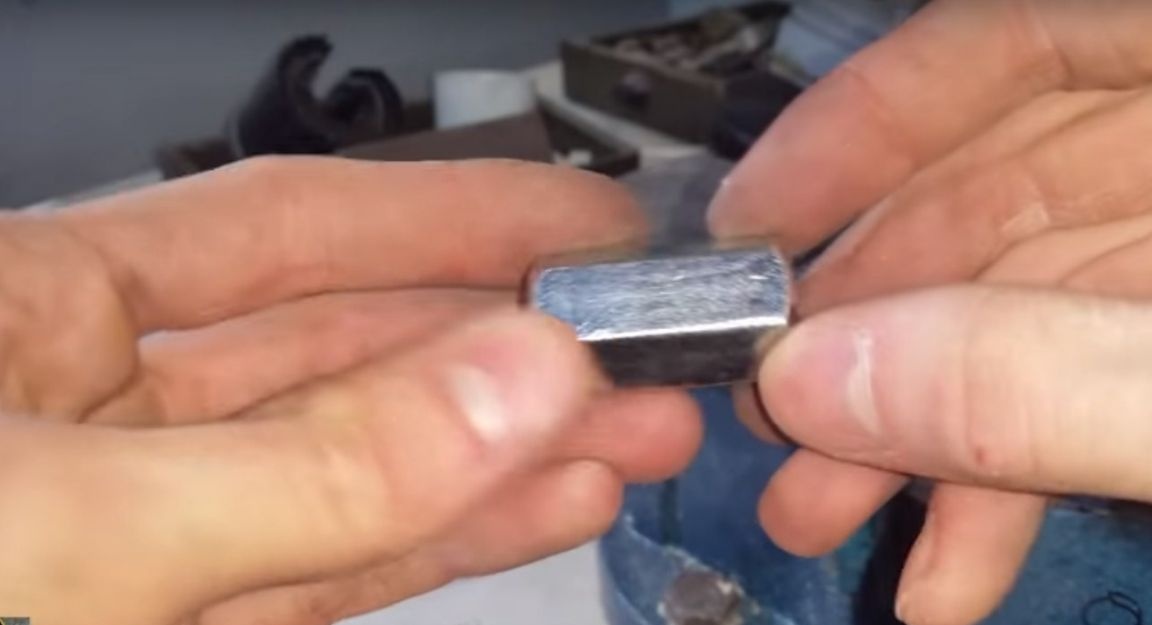
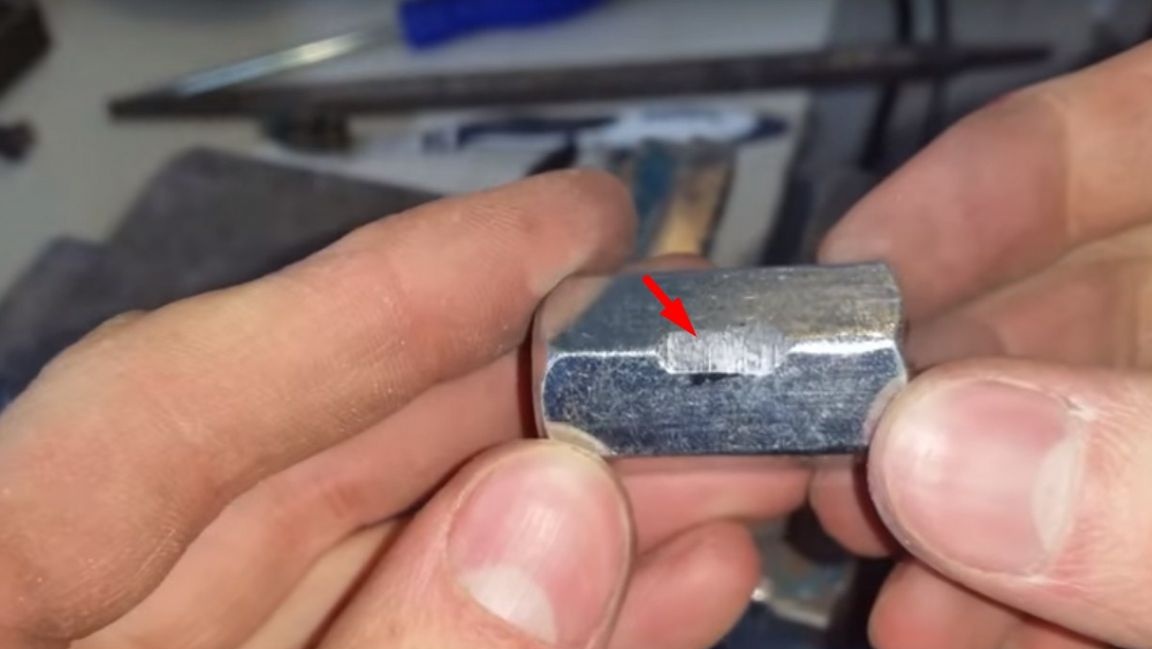
Then on this cut I made a hole with a diameter of 3.5 mm.
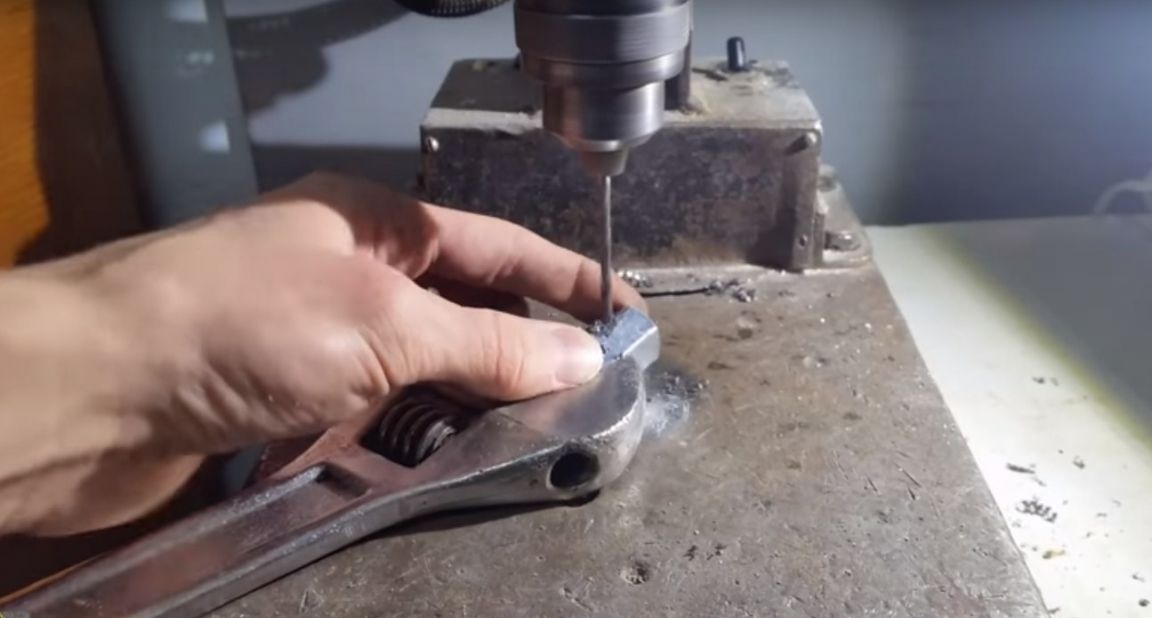
And cut the thread.
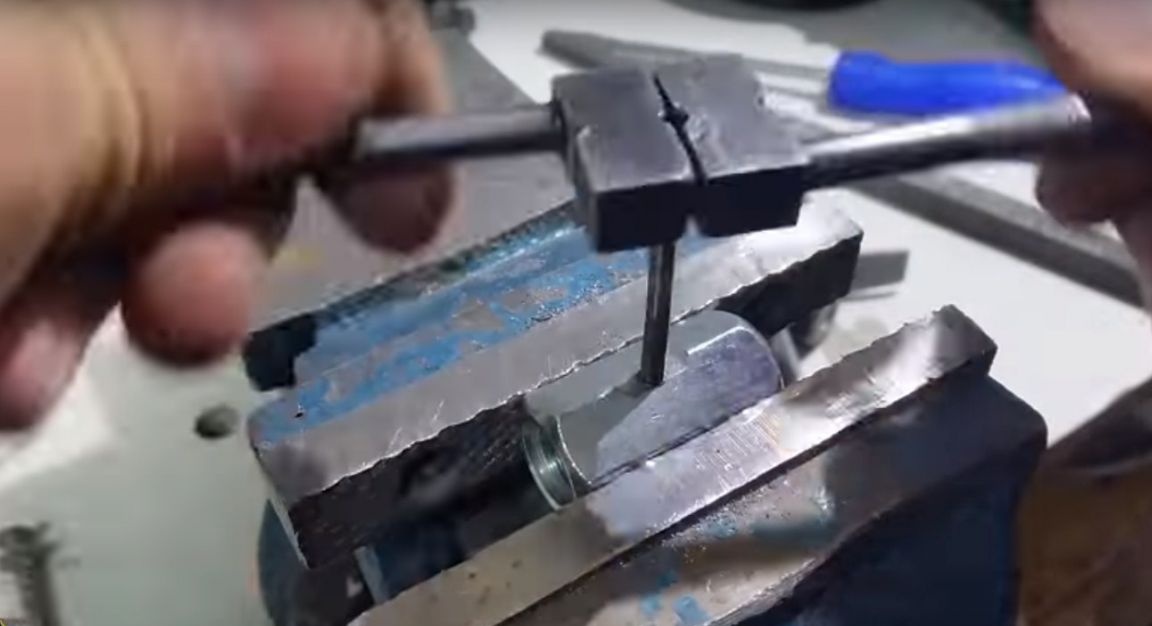
And screwed the nut onto the stud. He sharpened the last evenly rotating it.
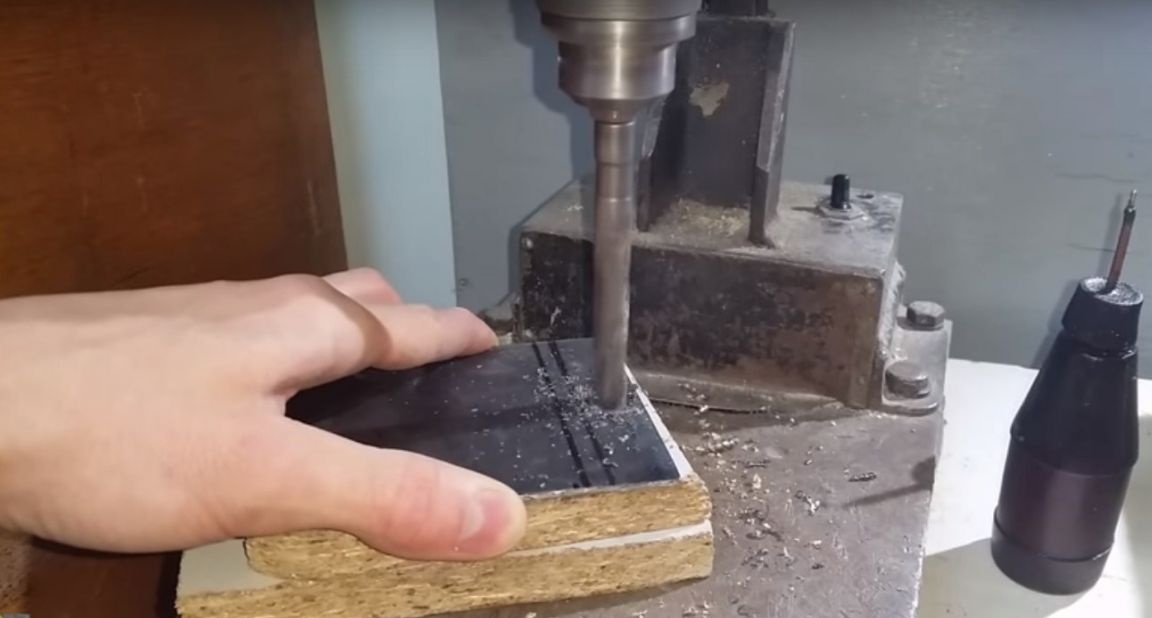
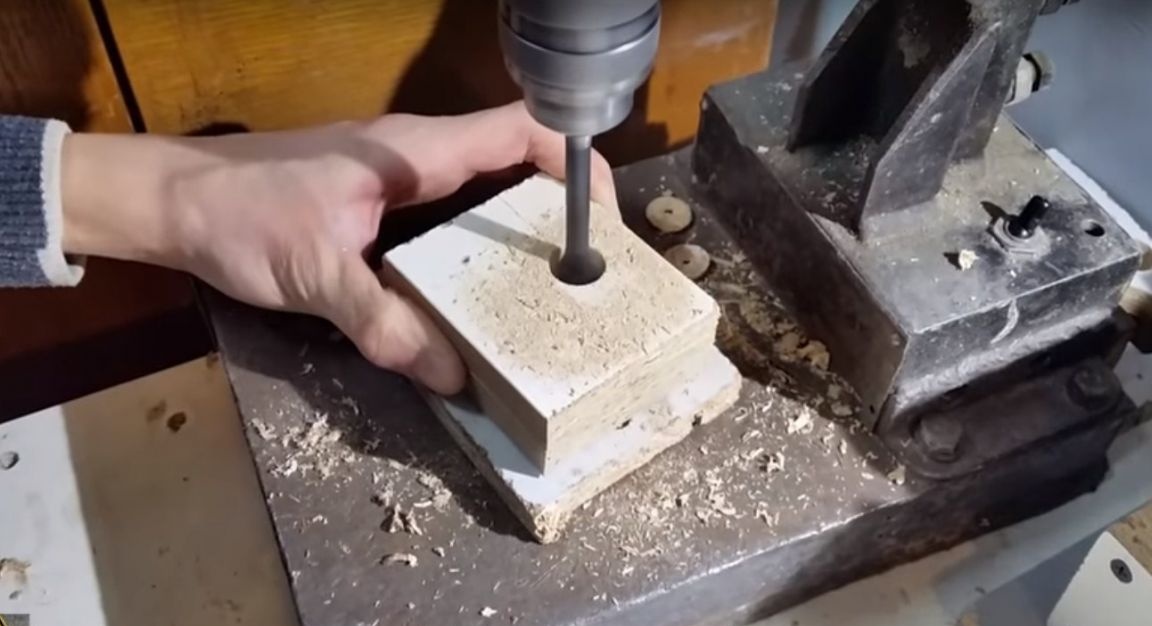
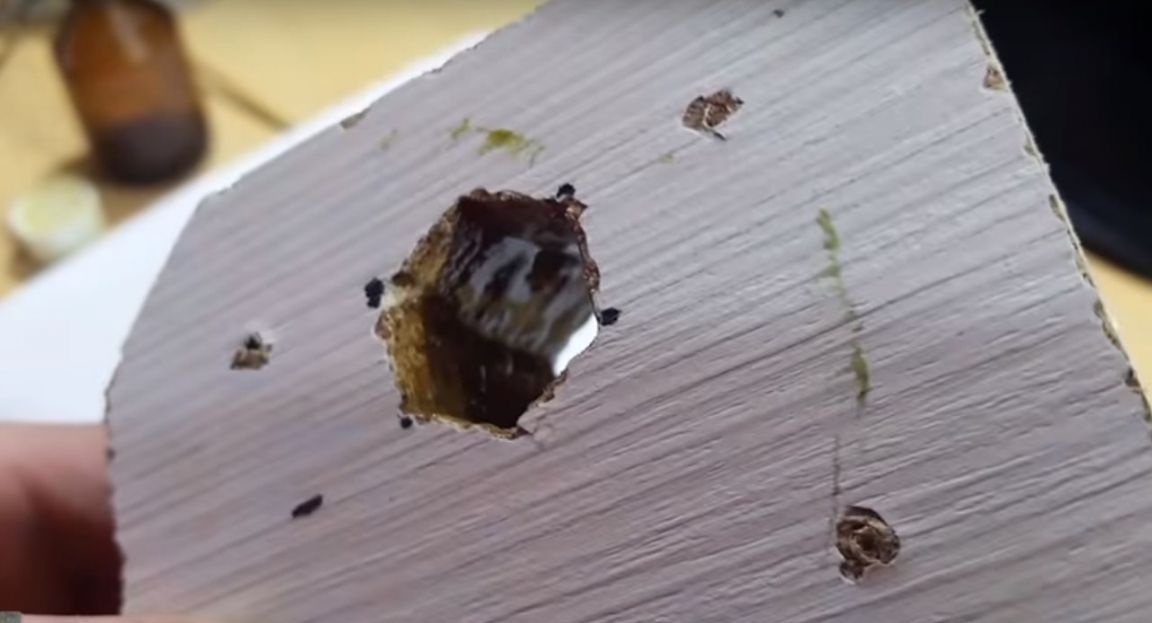
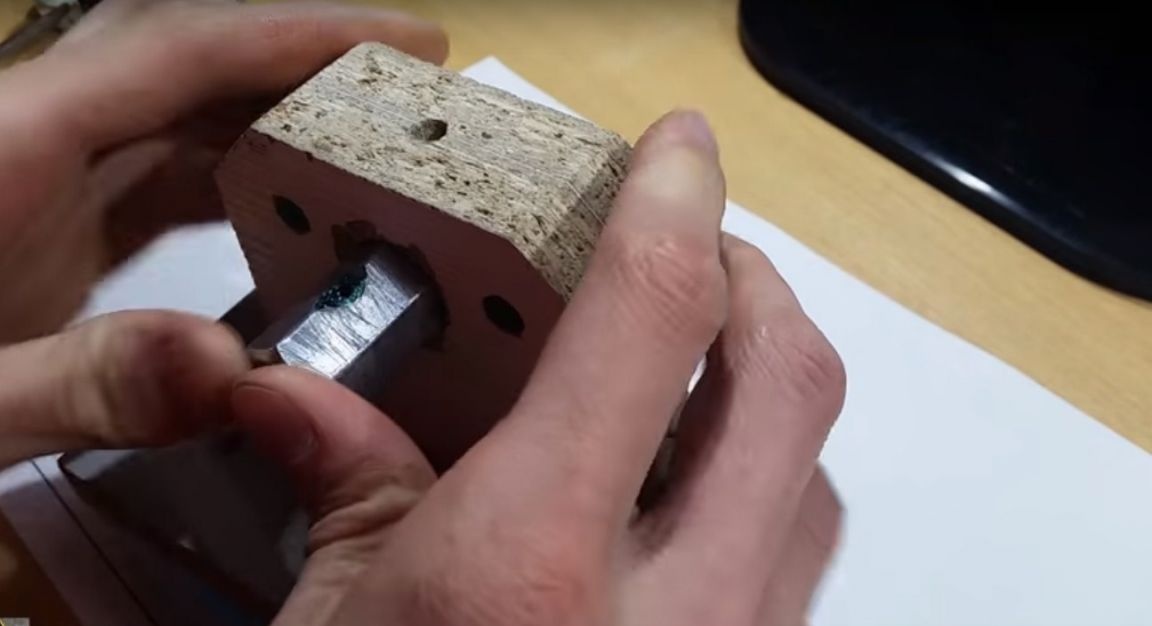
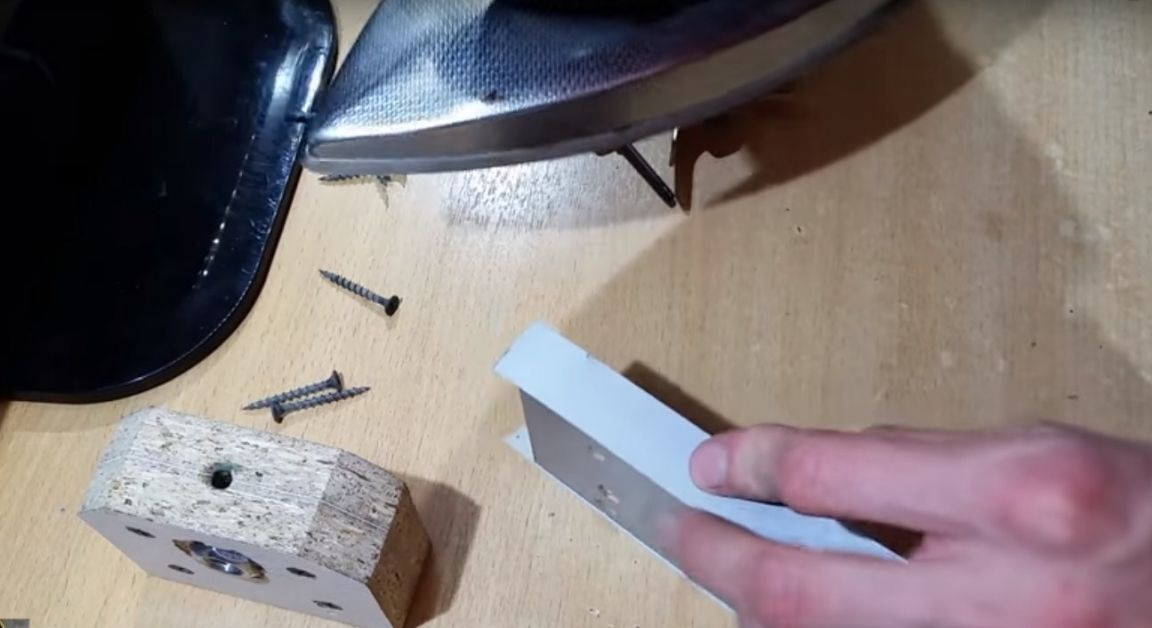
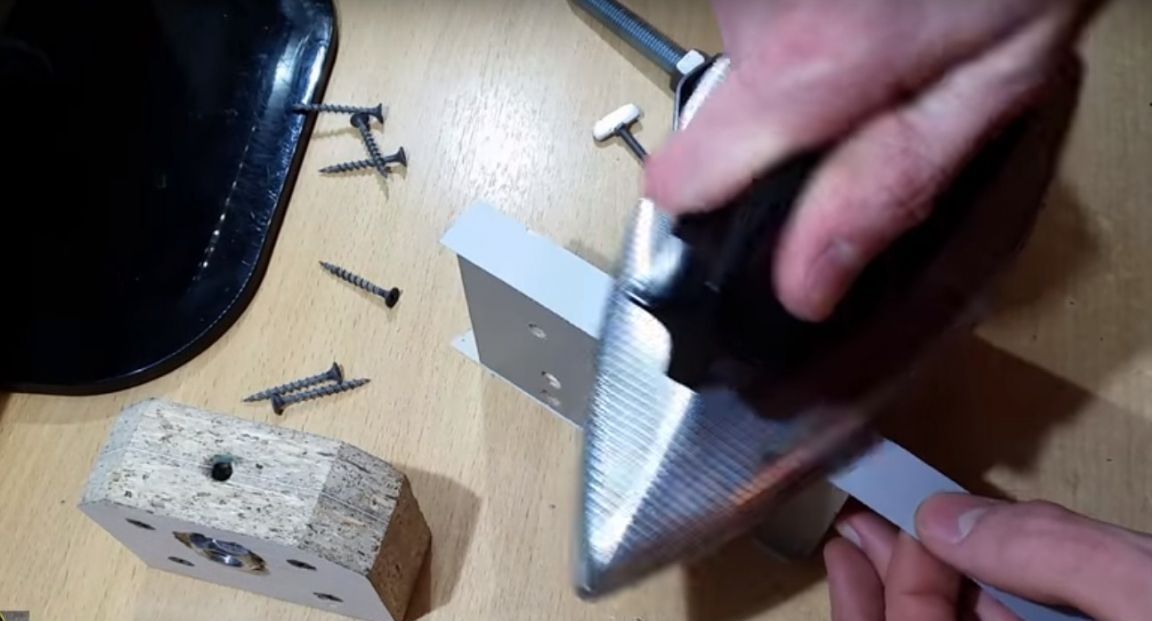
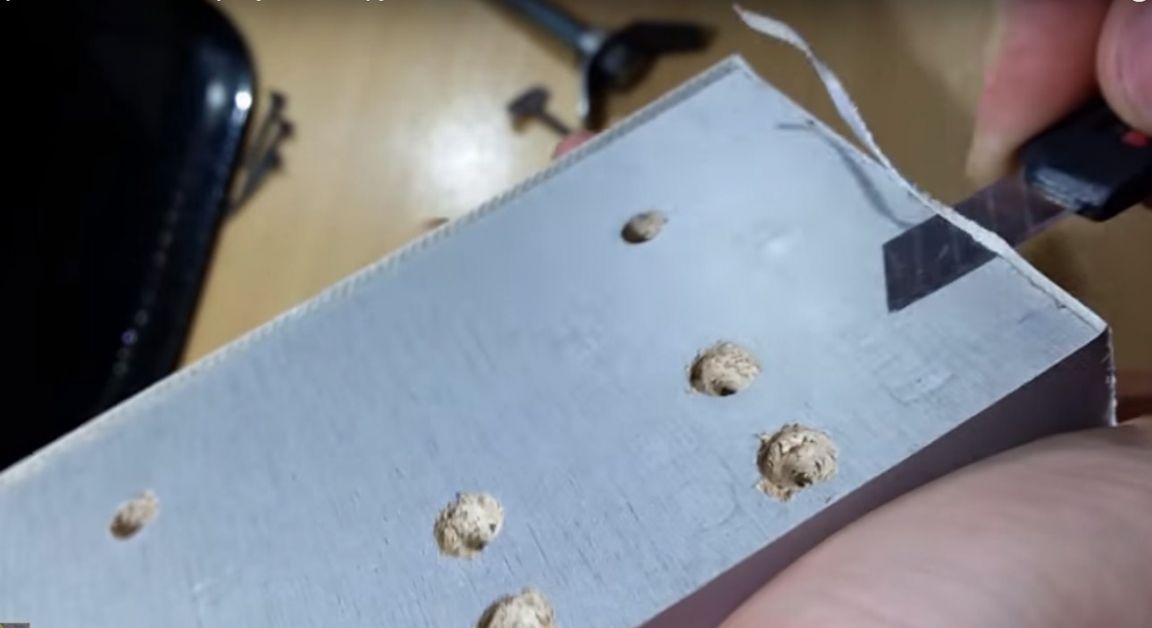
The author made the tailstock frame from chipboard. For greater structural strength, he twisted two pieces together.
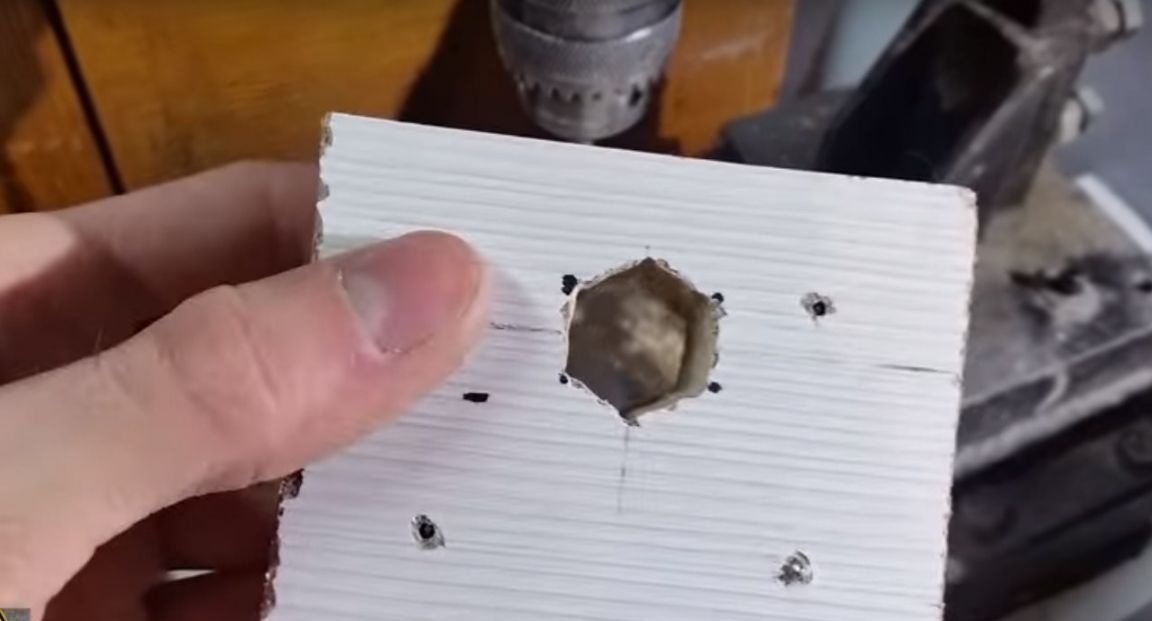
And with a 22 mm pen drill he made a hole for an elongated nut.
He gave the hole a hexagonal file.
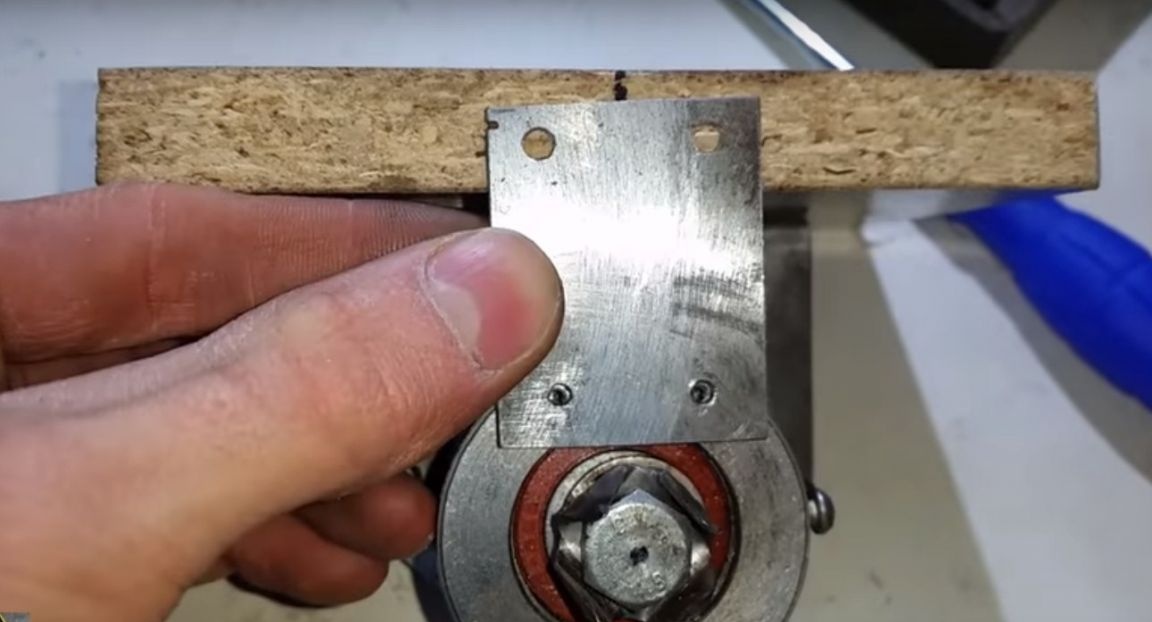
Then he makes a hole with a diameter of 4 mm under the clamp.
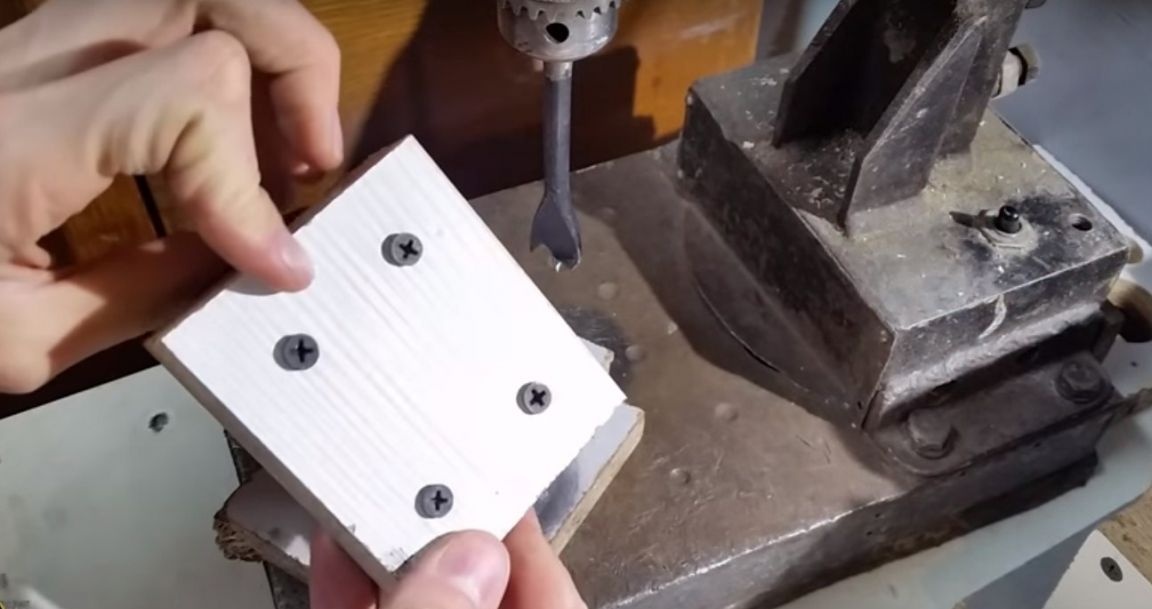
At the base of the tailstock makes holes for marking.
So that the hats of the screws are flush.
Drills the finished holes a little.
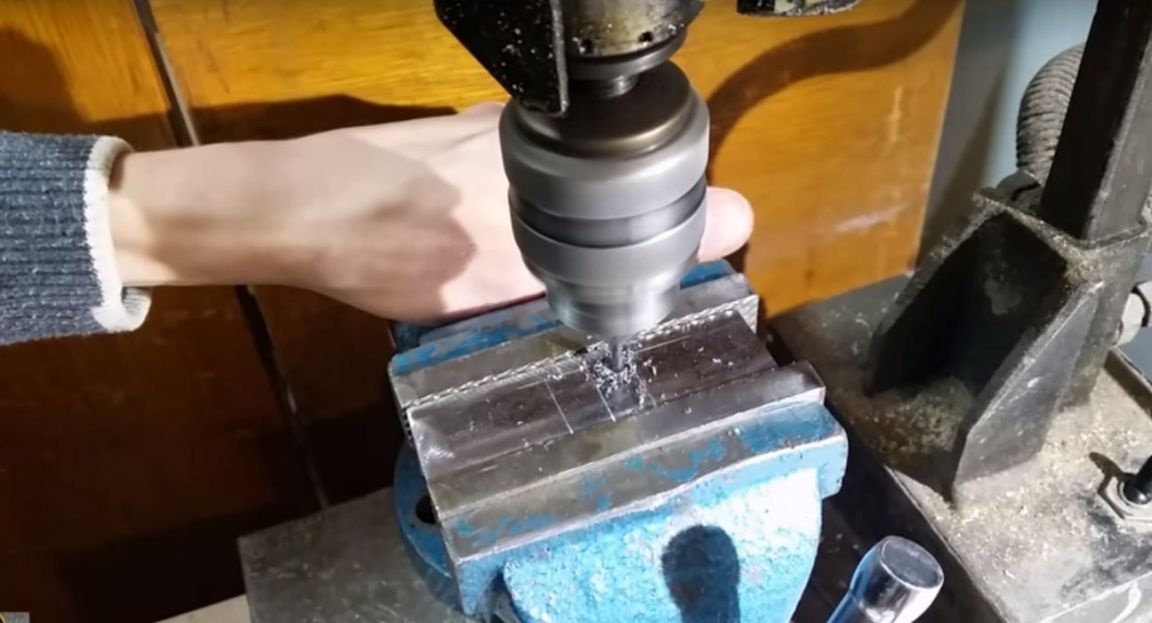
He also makes a couple of holes for the mounting bolts, with which the tailstock will be attached to the base of the machine.
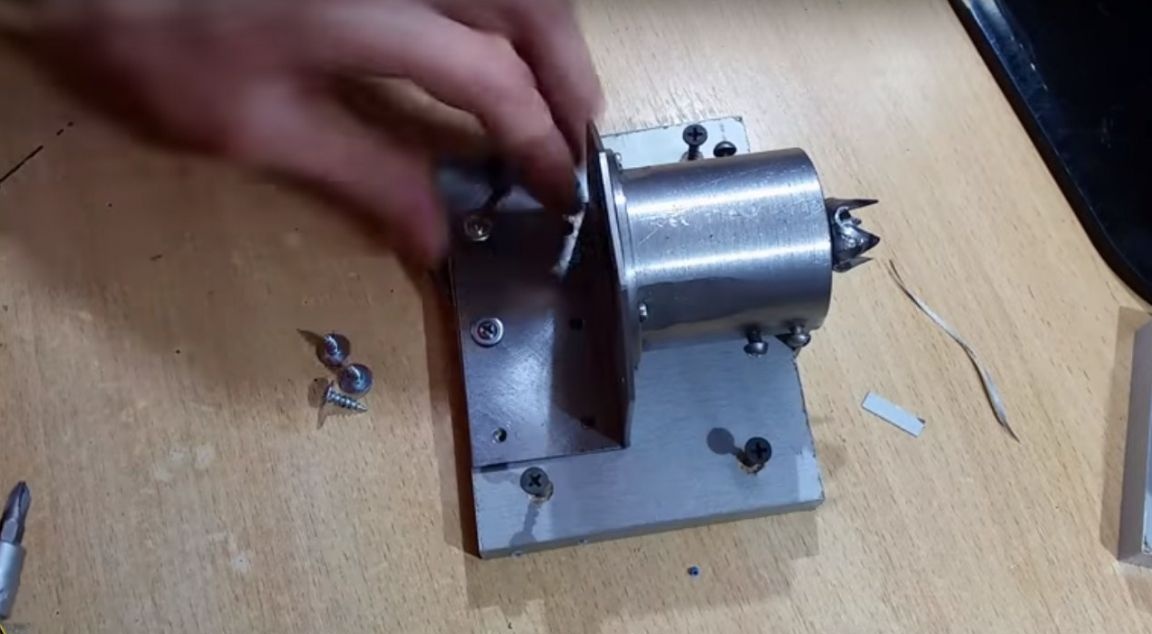
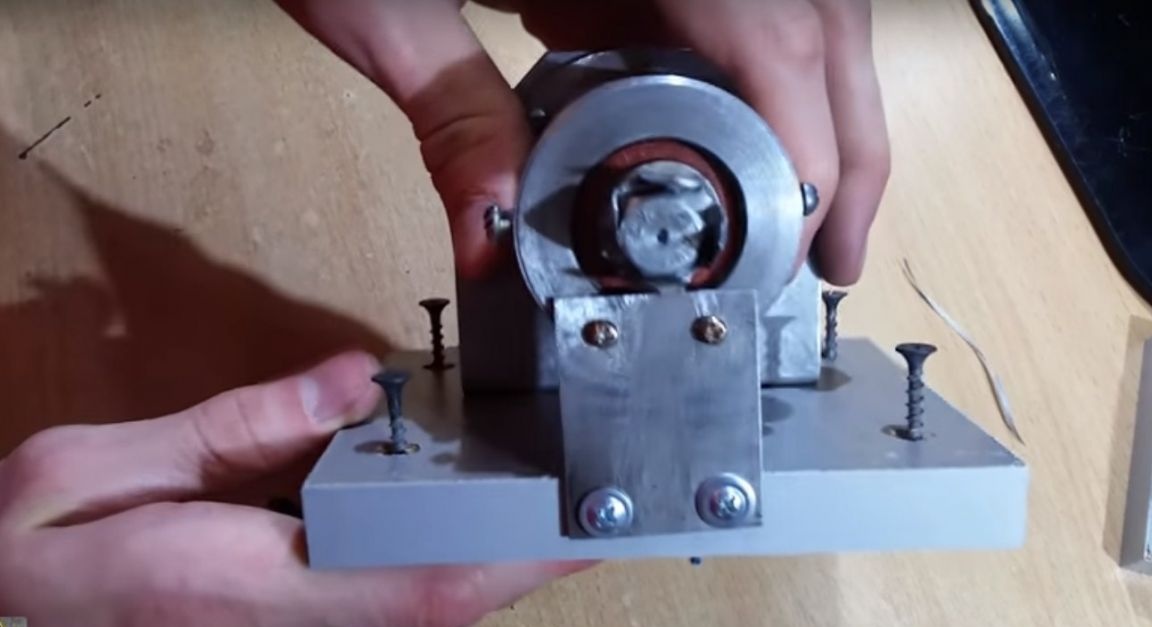
He then makes holes in the base of the headstock for mounting the engine.
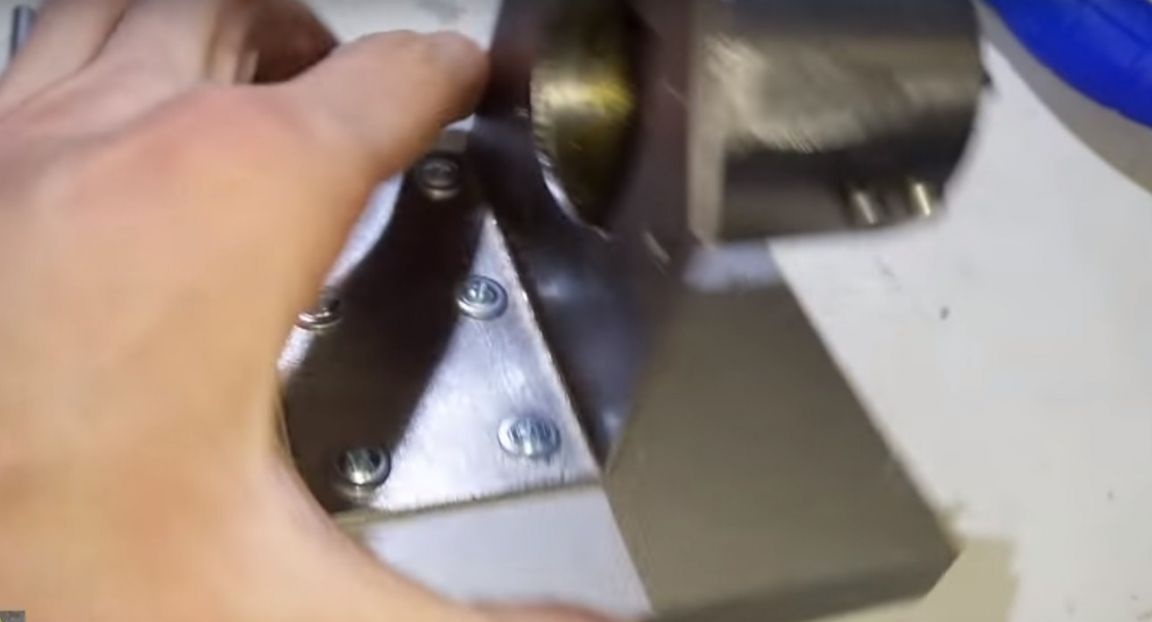
Additional mount.
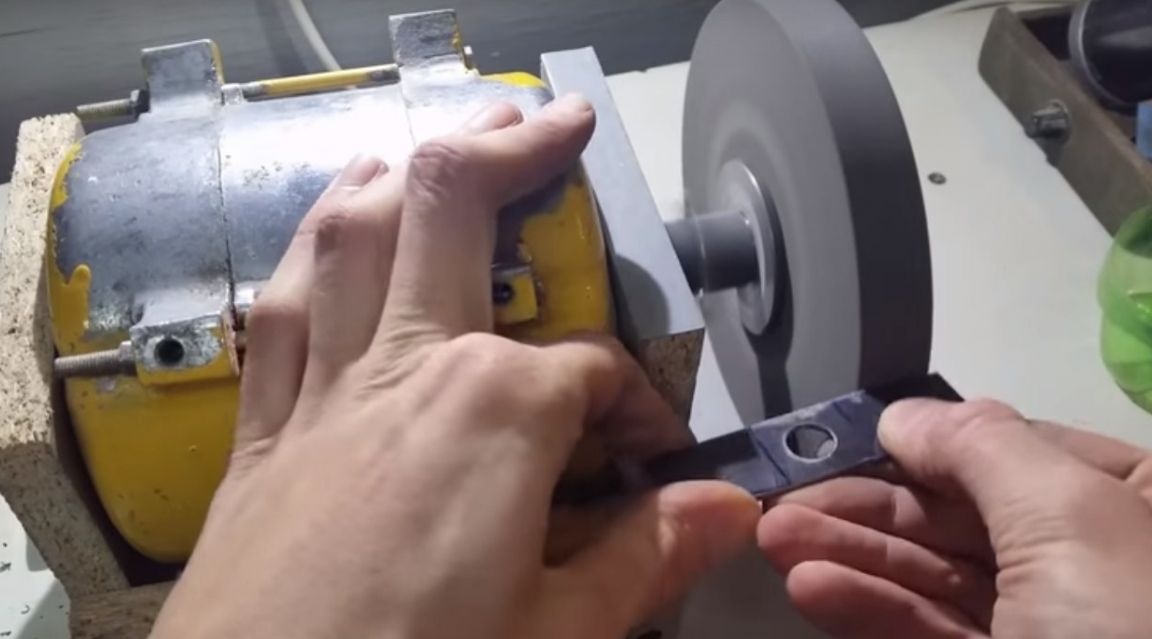
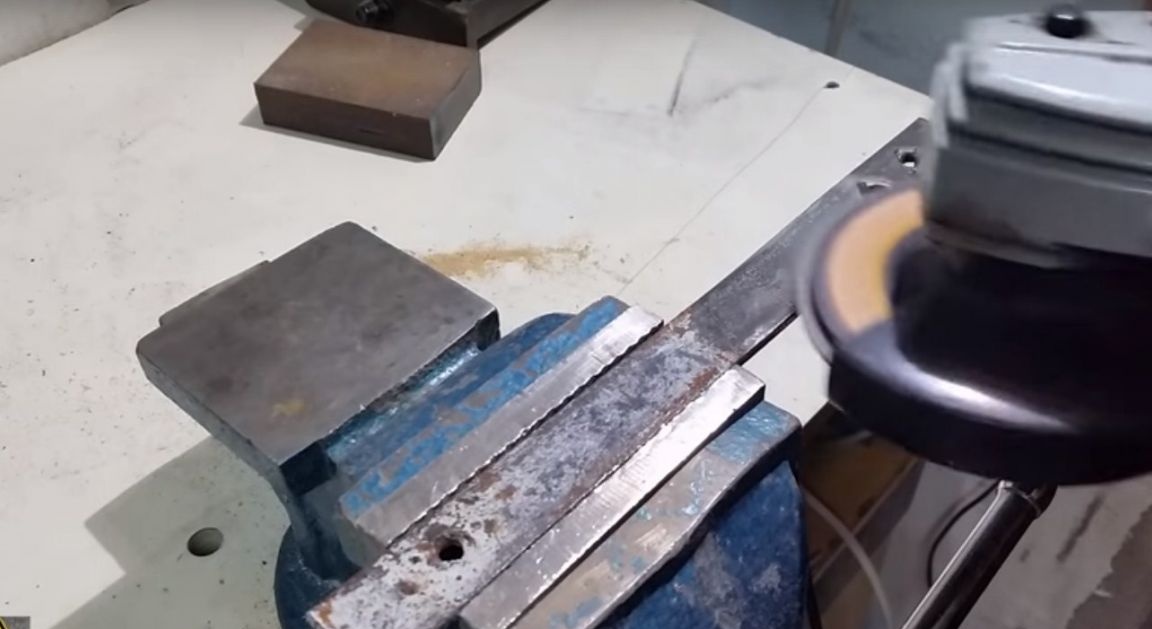
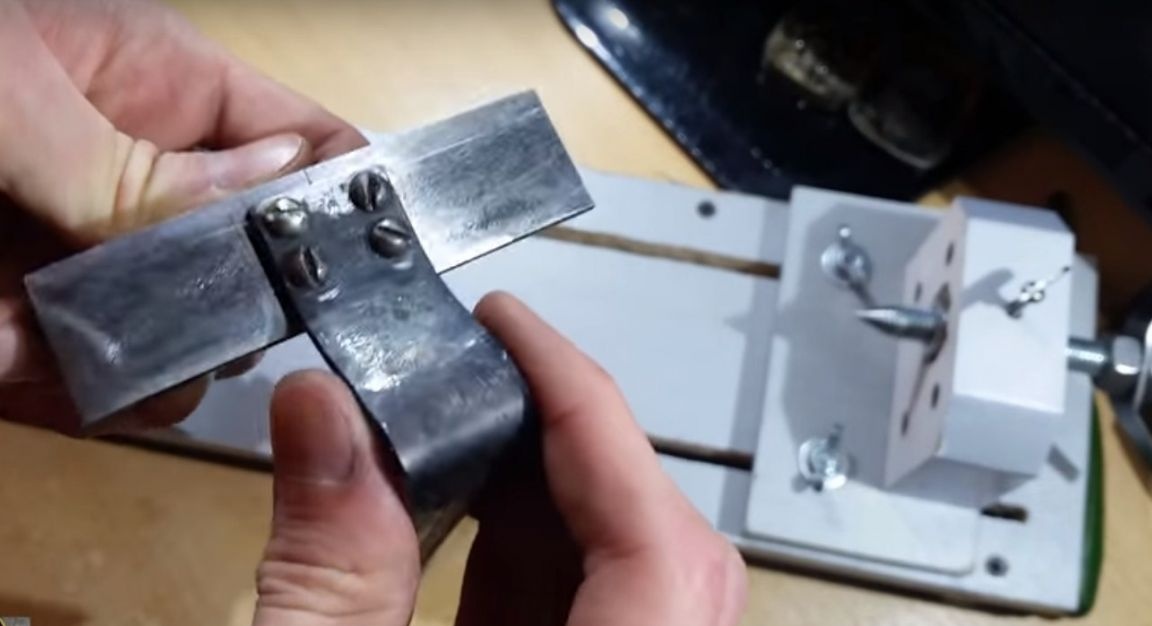
The author made a handicraft from the 25th corner 10 cm wide.
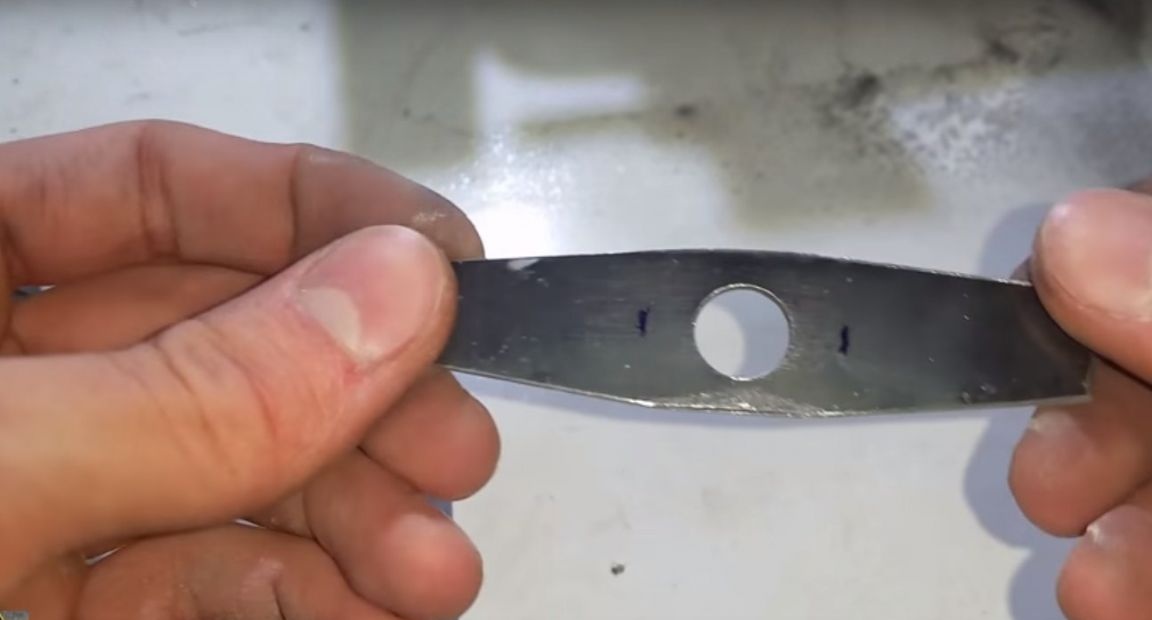
He made an arm for the handcuff from a metal strip 4 mm thick.
Marked up.
And he made a slot under the bolt M 6.
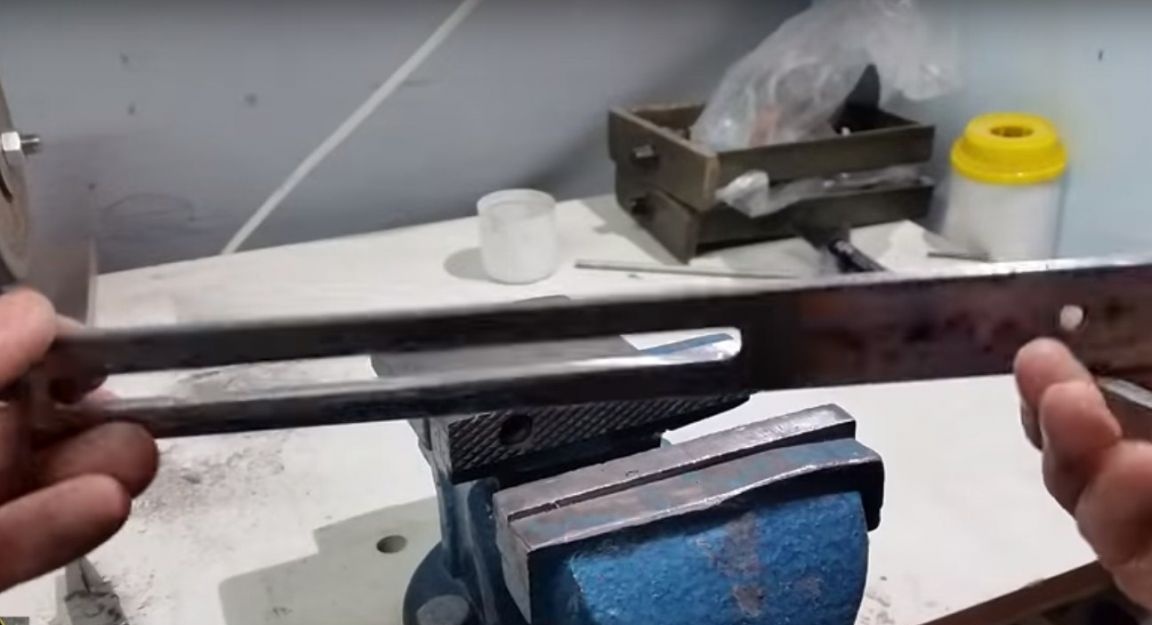
Then he gave the necessary form to pre-heating the part.
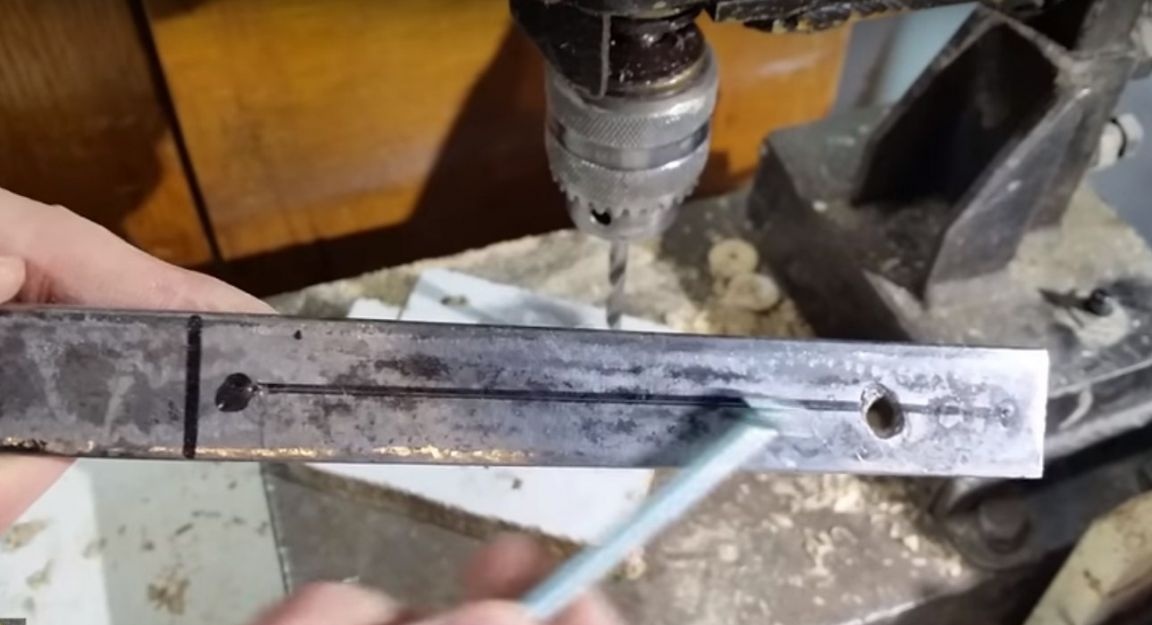
I made holes in the bracket with a diameter of 4 mm.
And in the corner 3.5 mm.
And I cut the thread in the corner under the M 4 bolts.
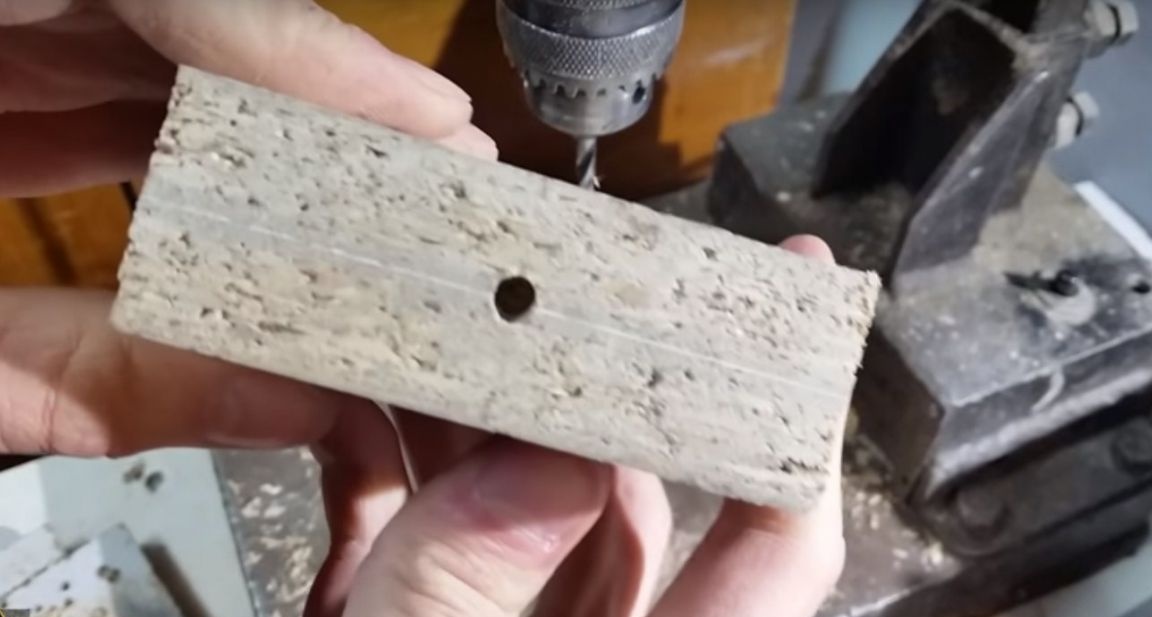
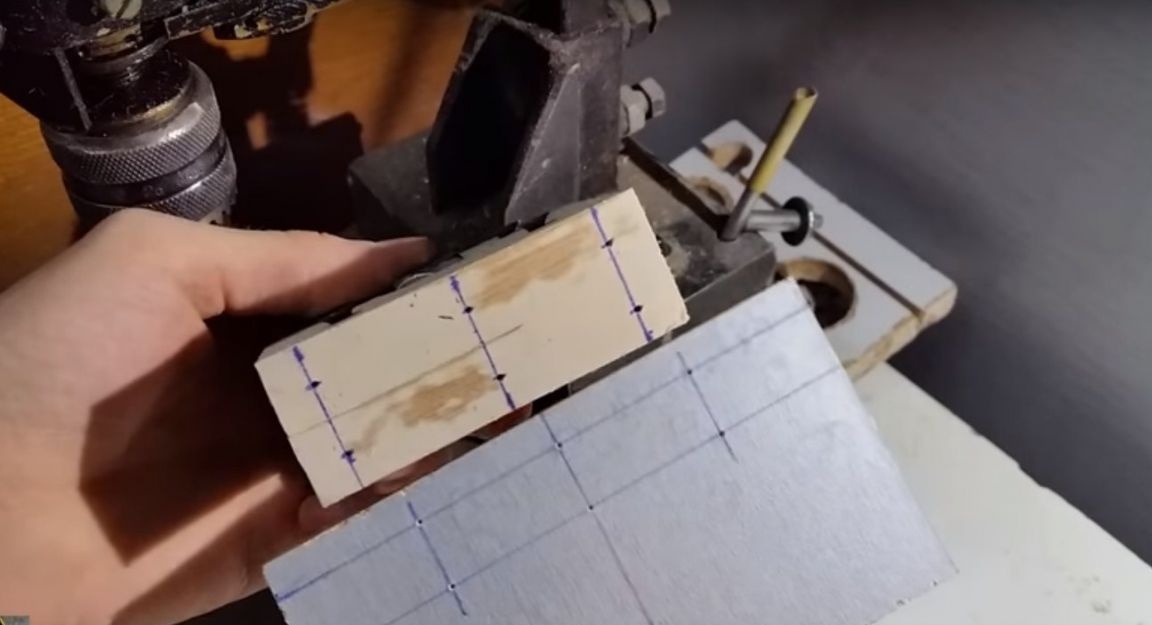
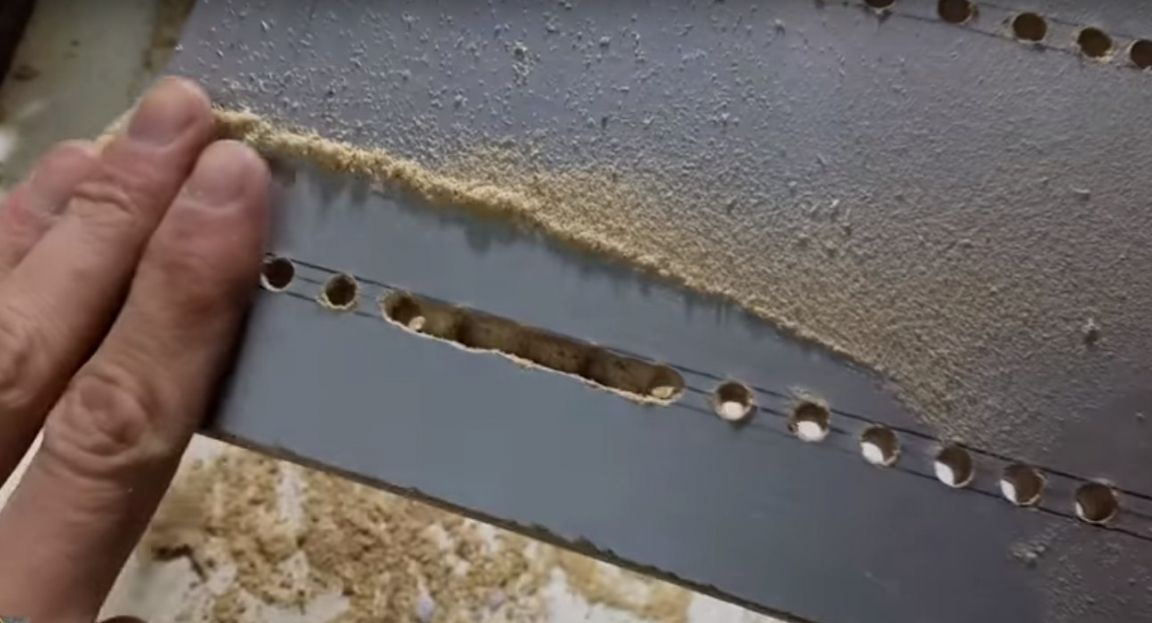
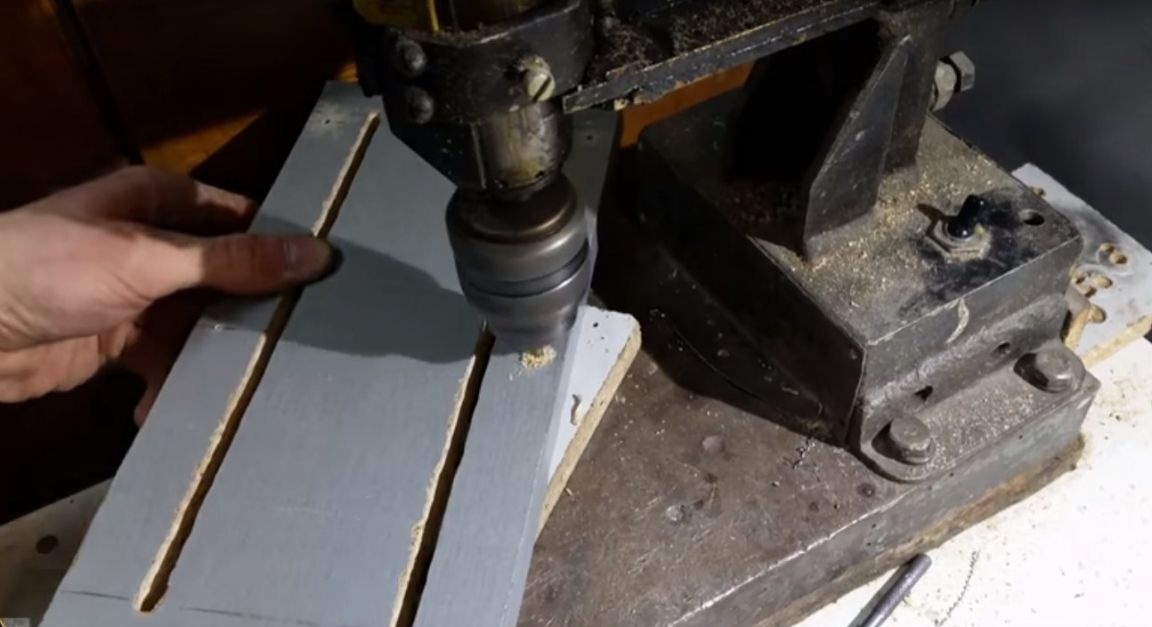
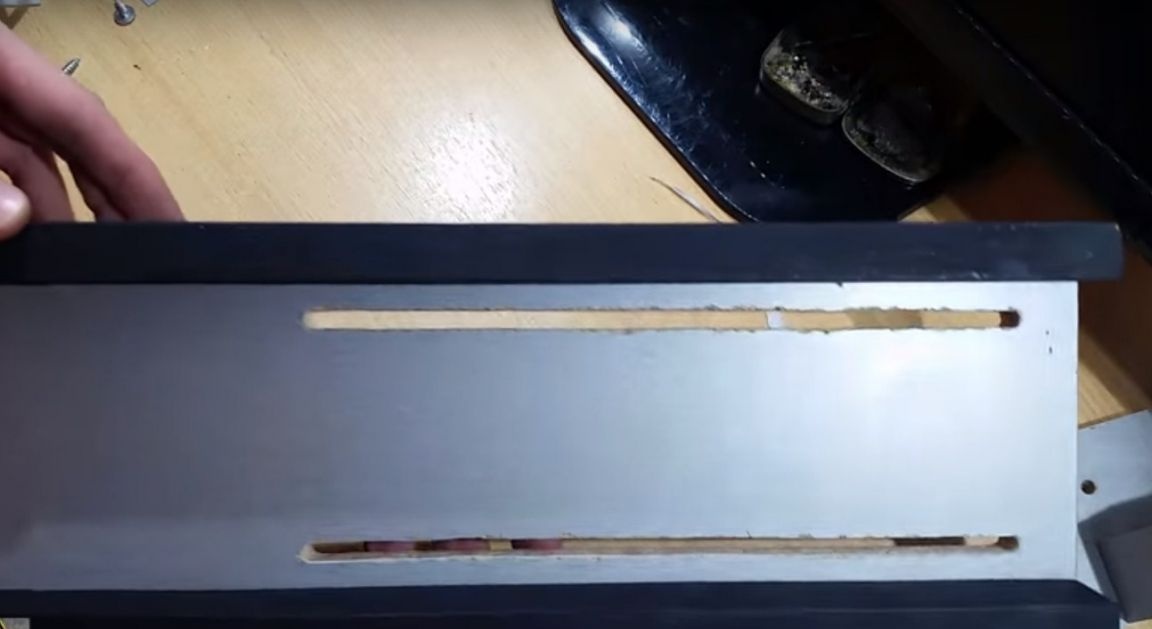
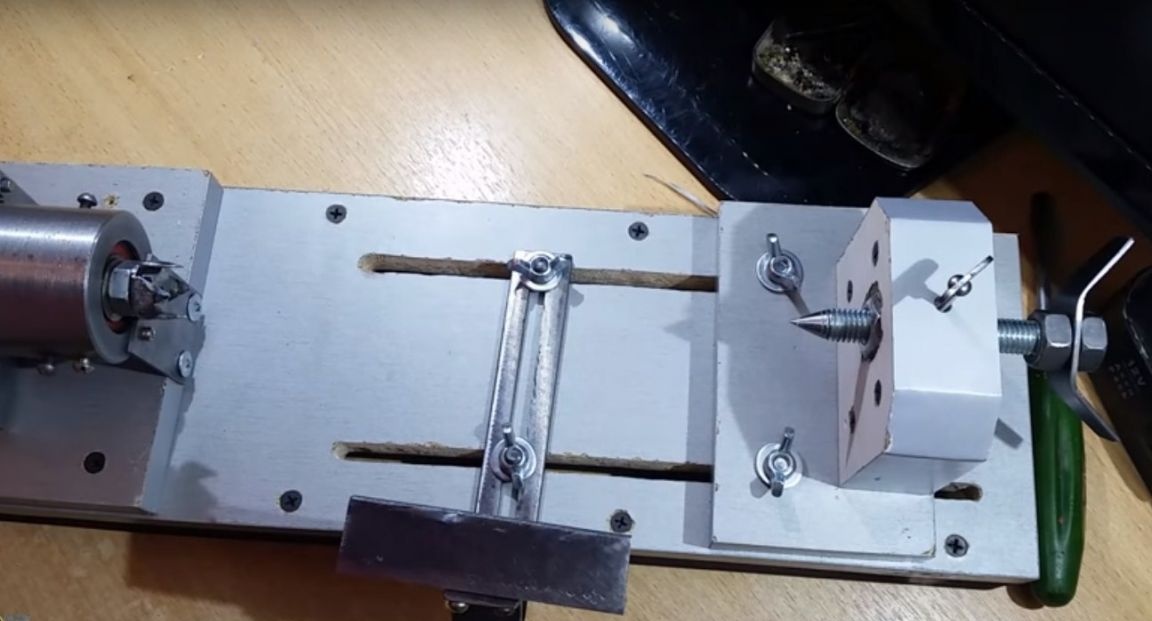
The author’s base of the machine will be from a chipboard sheet.
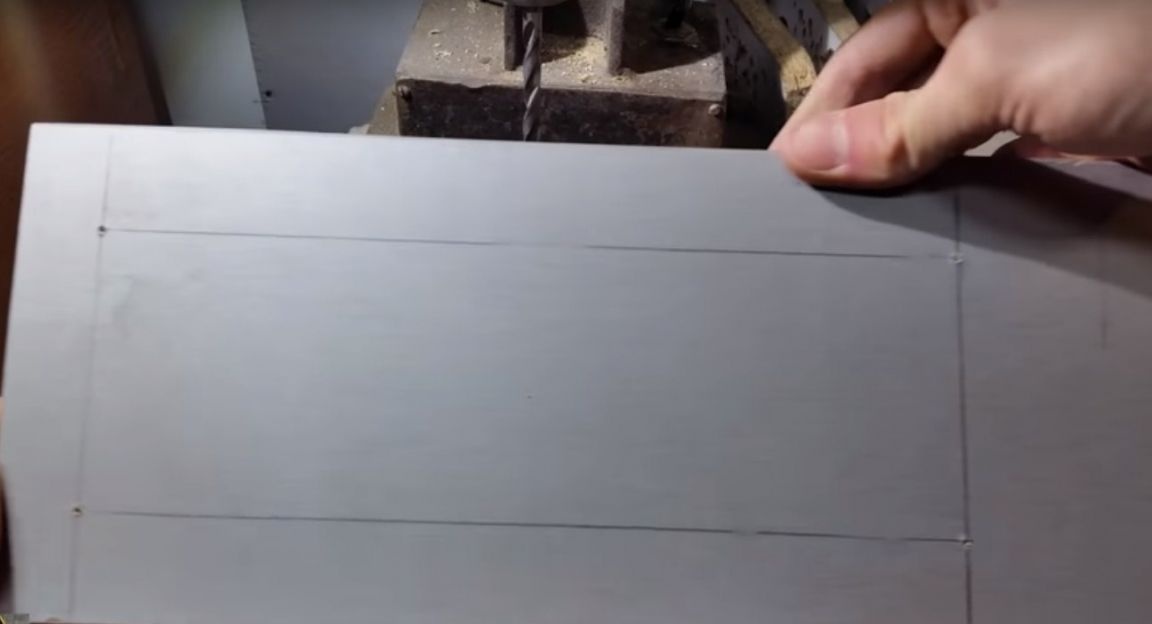
In which he will make two guide slots with a width of 6 mm.
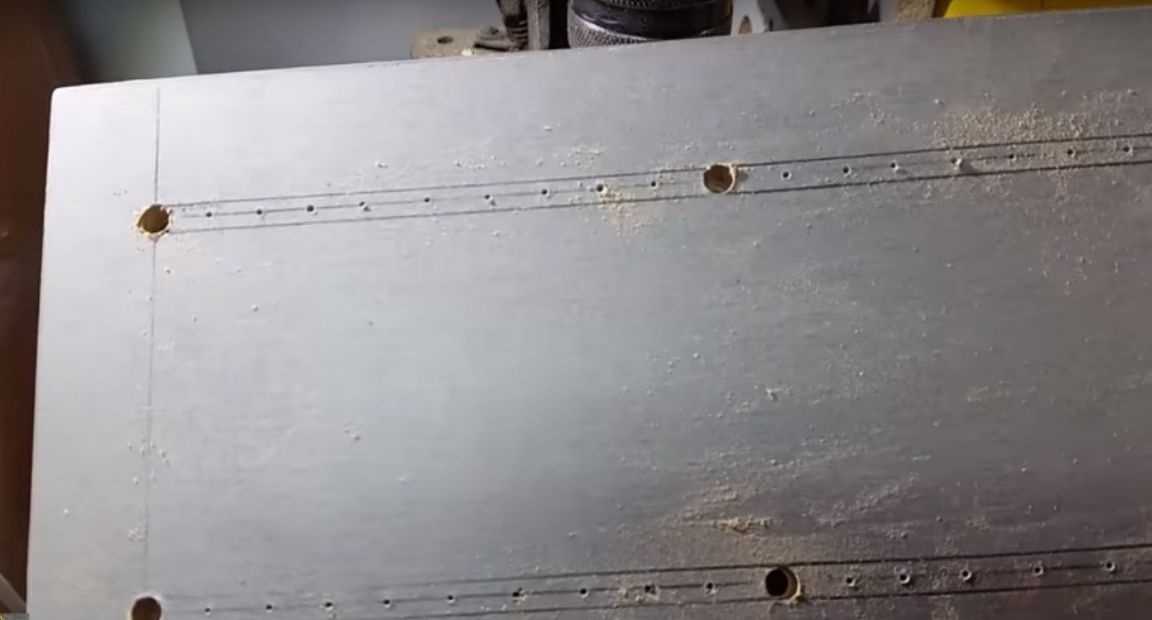
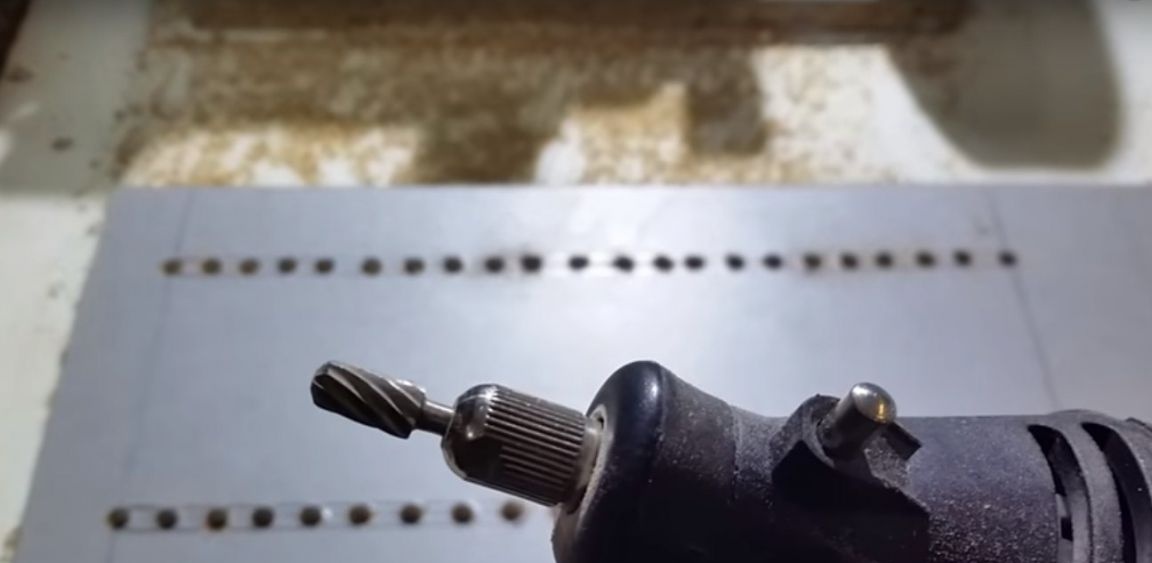
First by making a series of holes.
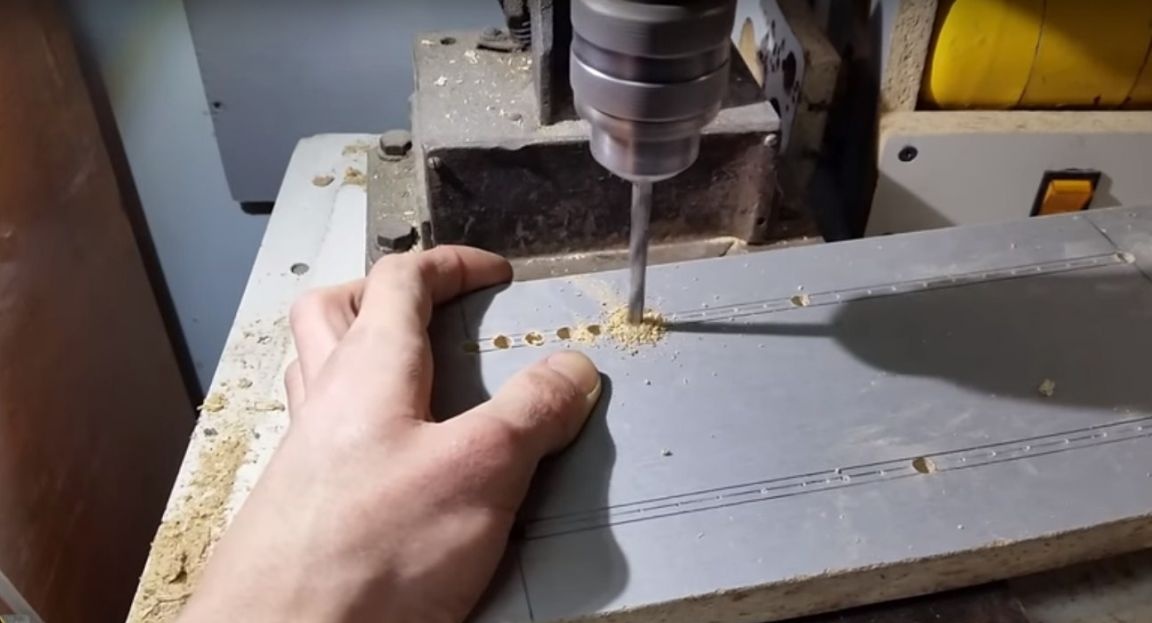
And then with the help of a drill with a milling cutter on wood, I finalized the guides.
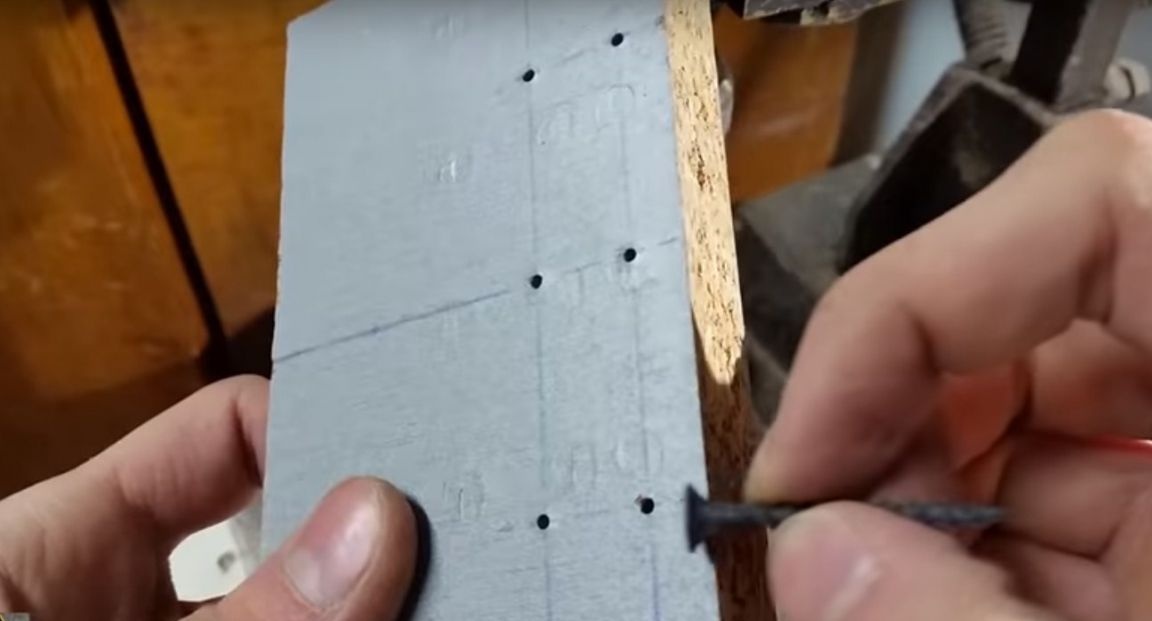
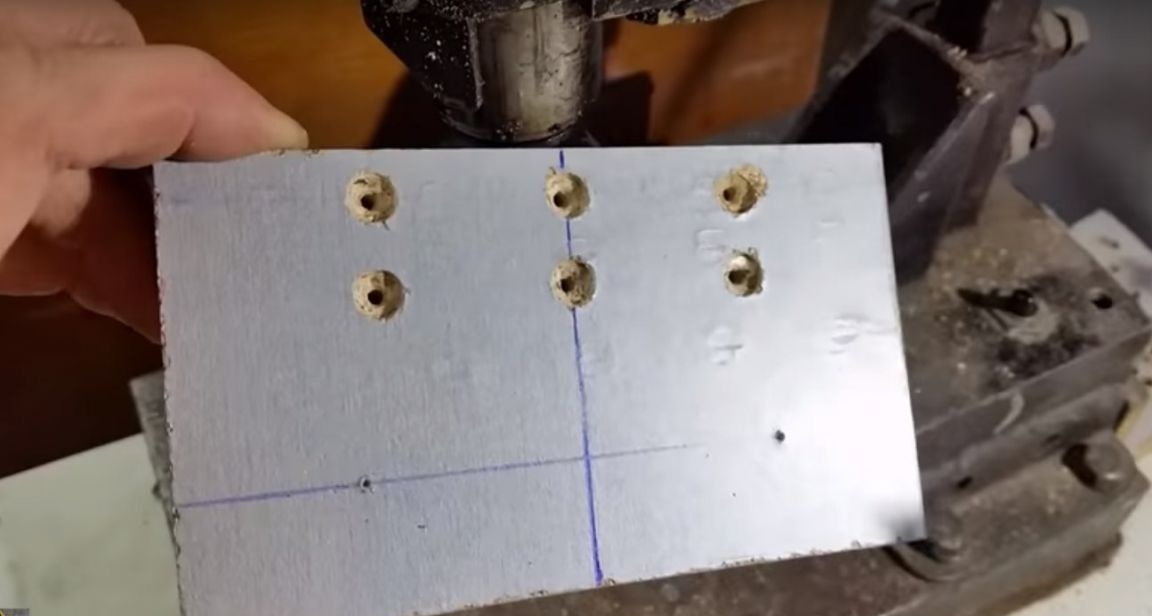
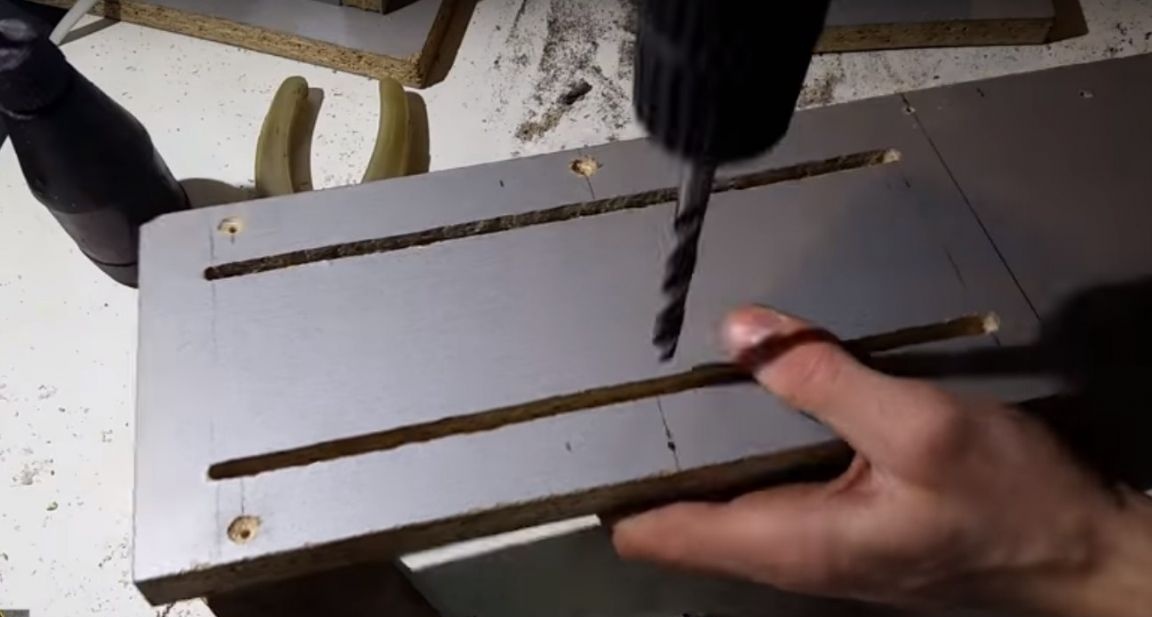
Then he made holes for fastening the beam, he will be as the legs of the machine.
I drilled a little hole.
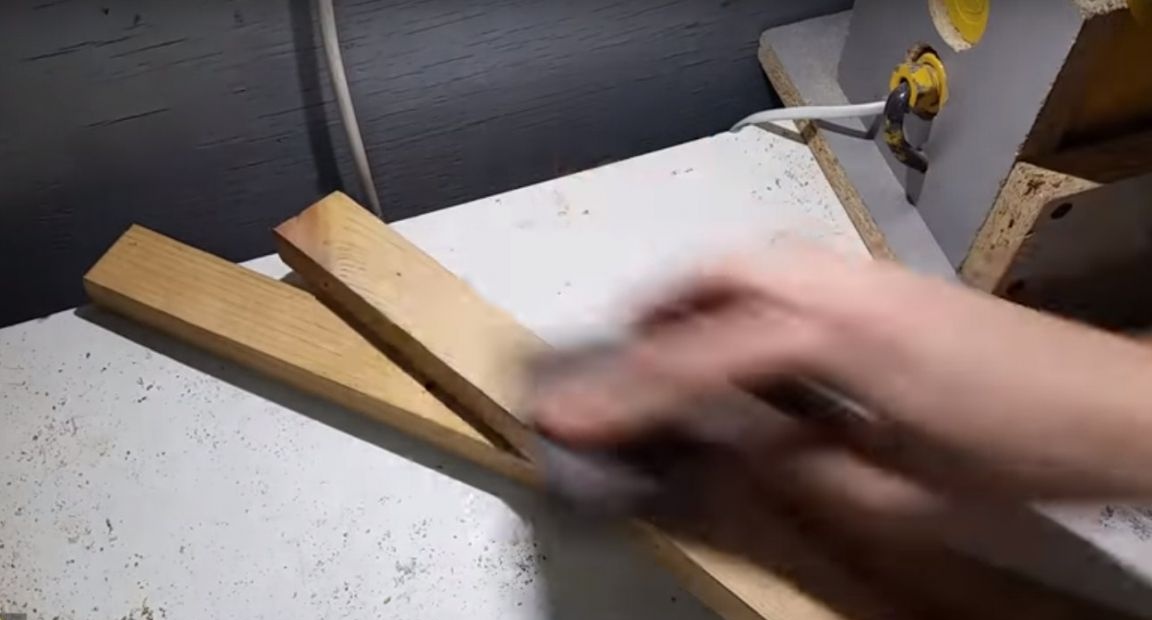
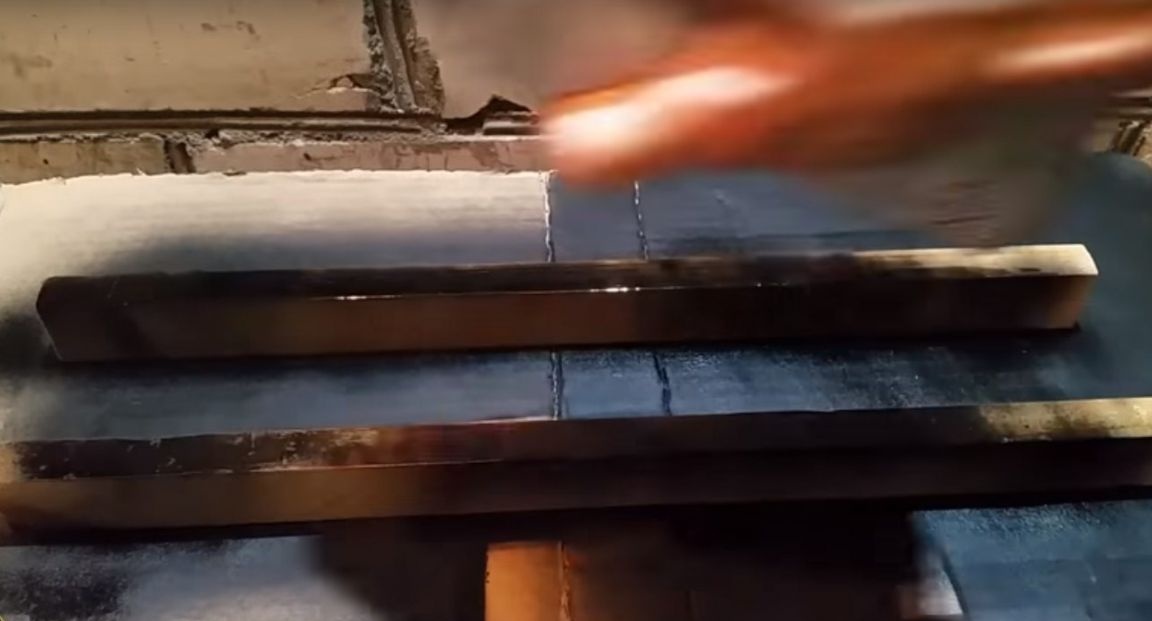
The timber was sanded and painted.
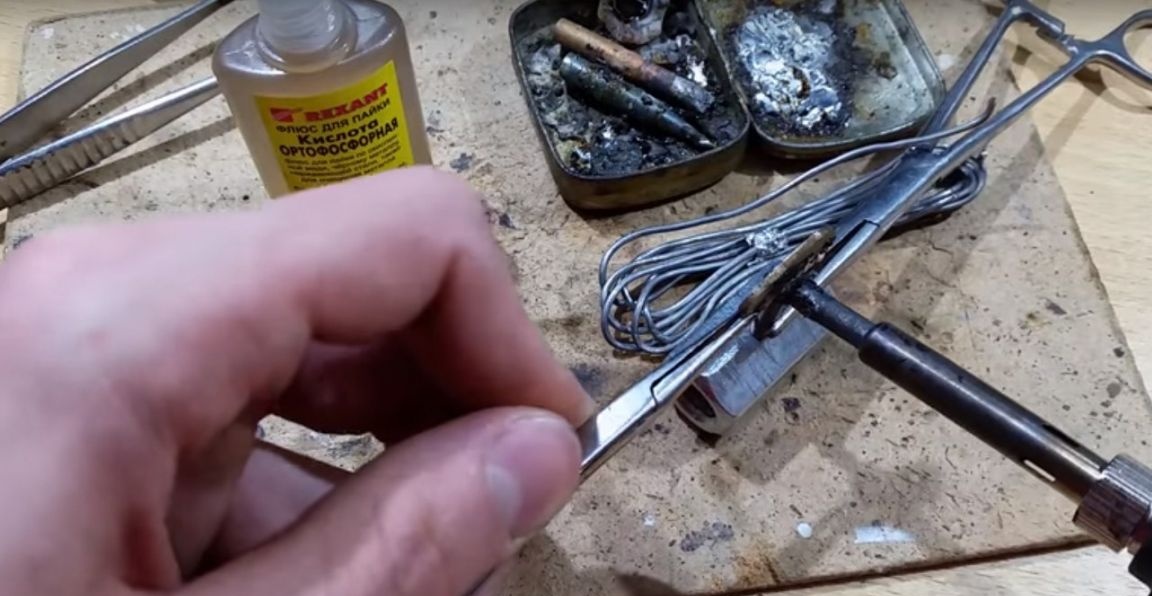
While the paint dried did. Lamb on a fixing bolt. To do this, he does not solder a large metal plate to the cap of the bolt.

Having processed the soldering places.

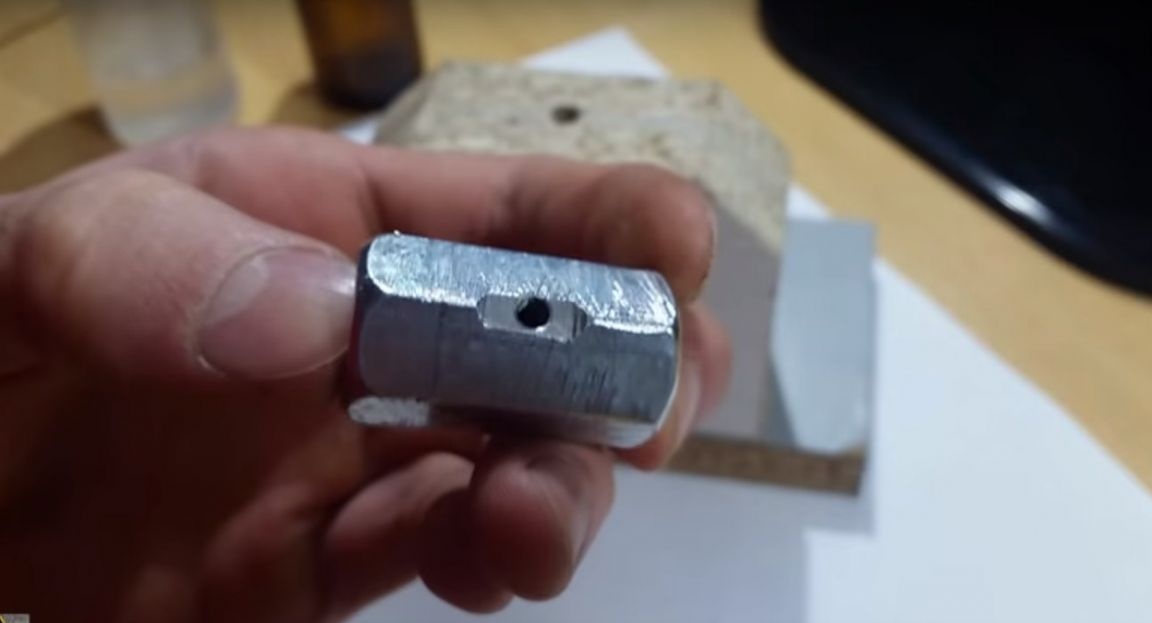
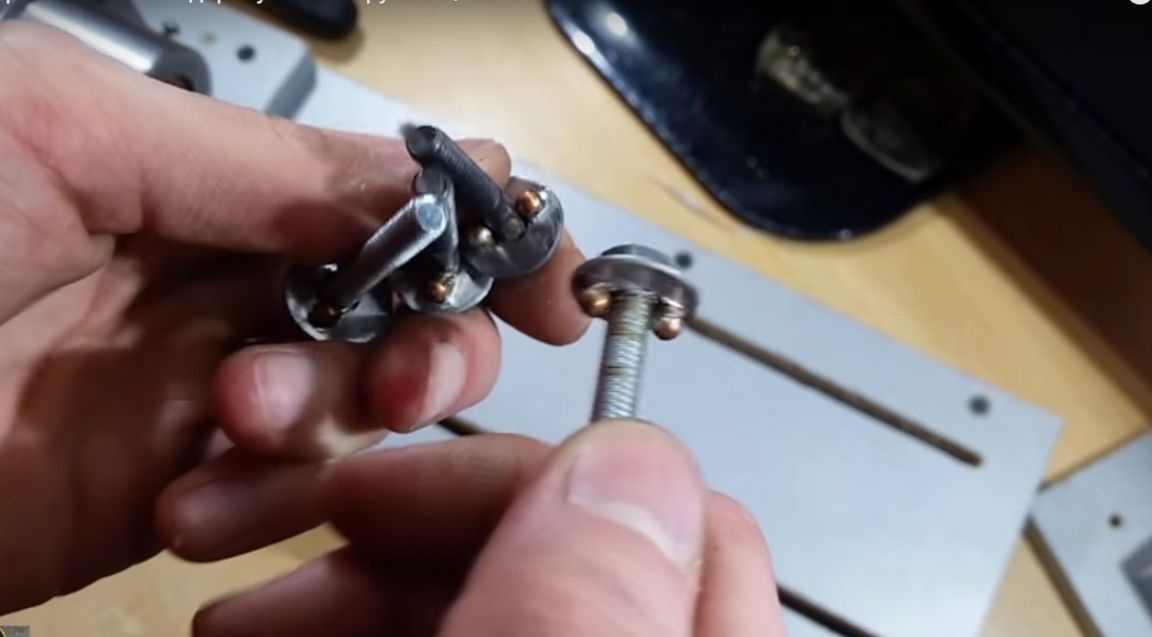
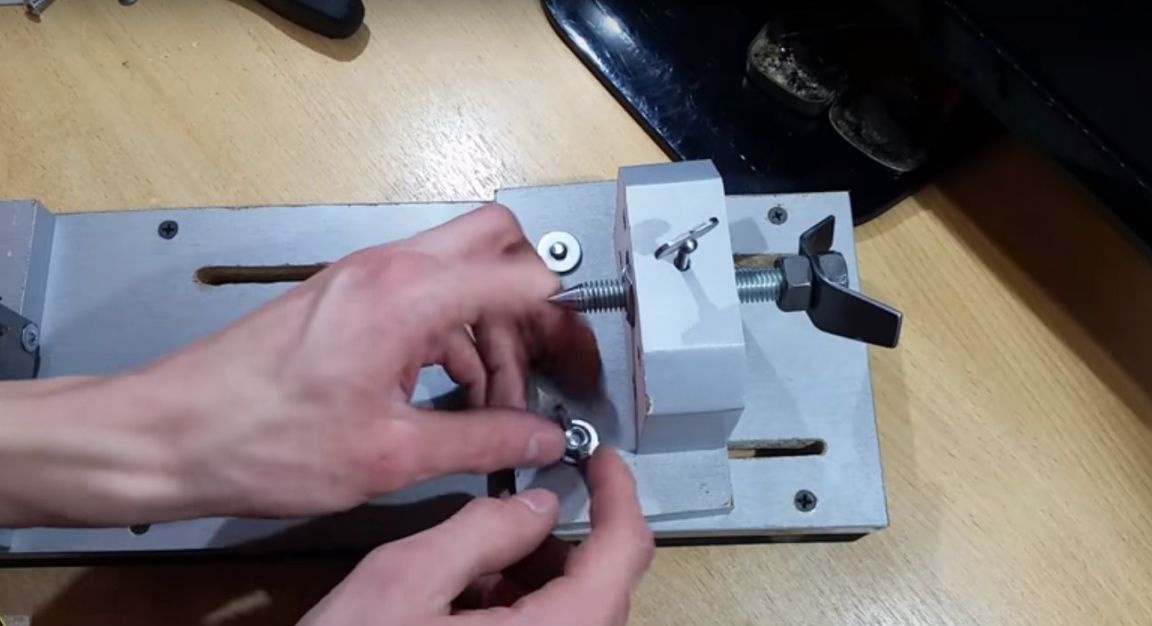
So that the bolts that will fix the handcuff and the tailstock do not rotate in the slot guide, I soldered a washer and small metal balls on them.

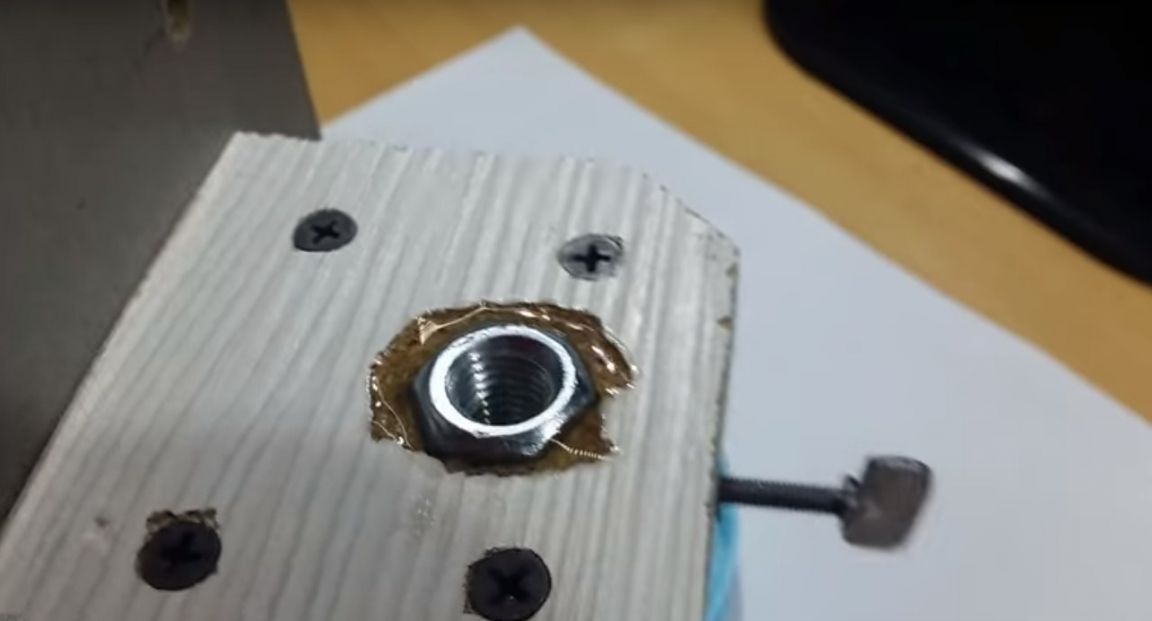
Then he made the surface of the nut rough.
Lubricated the hole with solid oil.
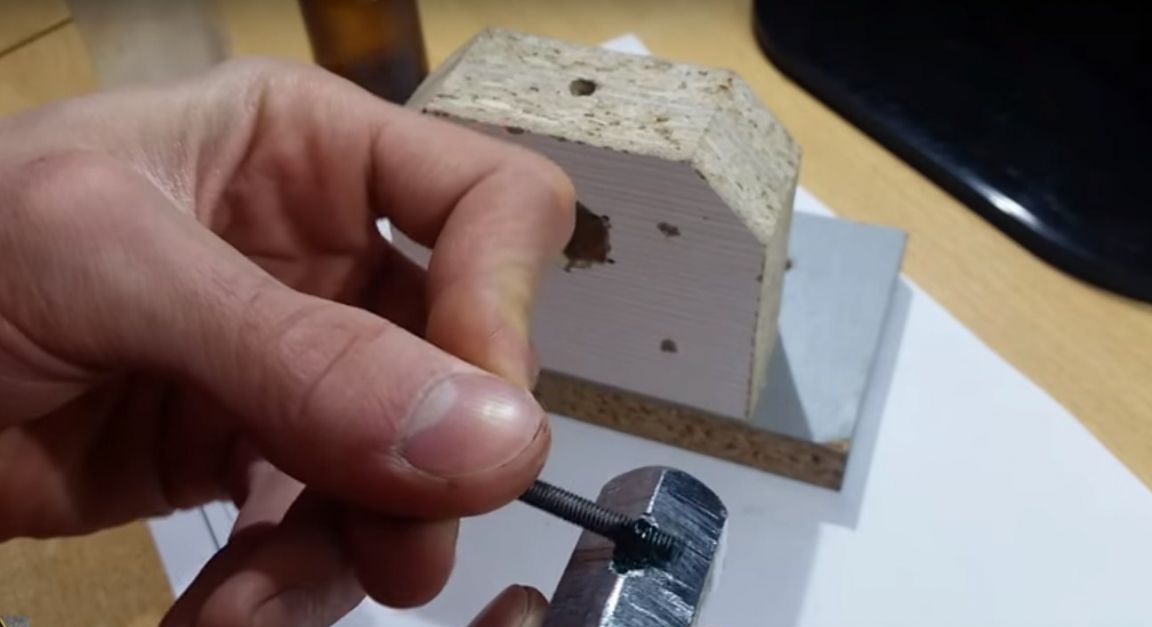
Epoxy treated hole for the nut.
And installed it.
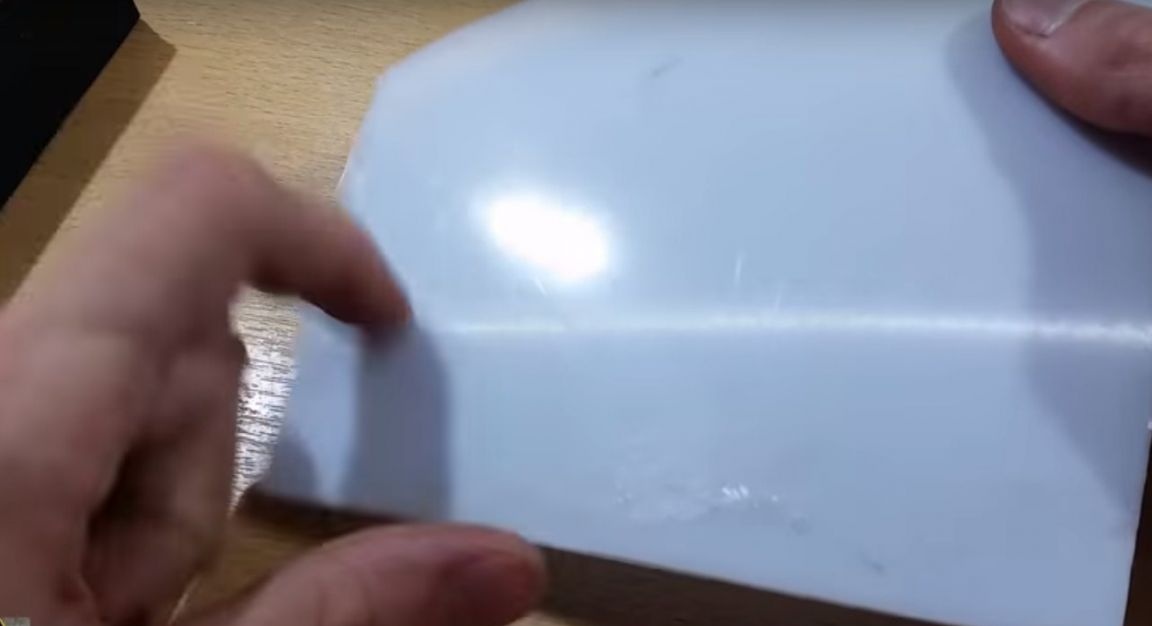
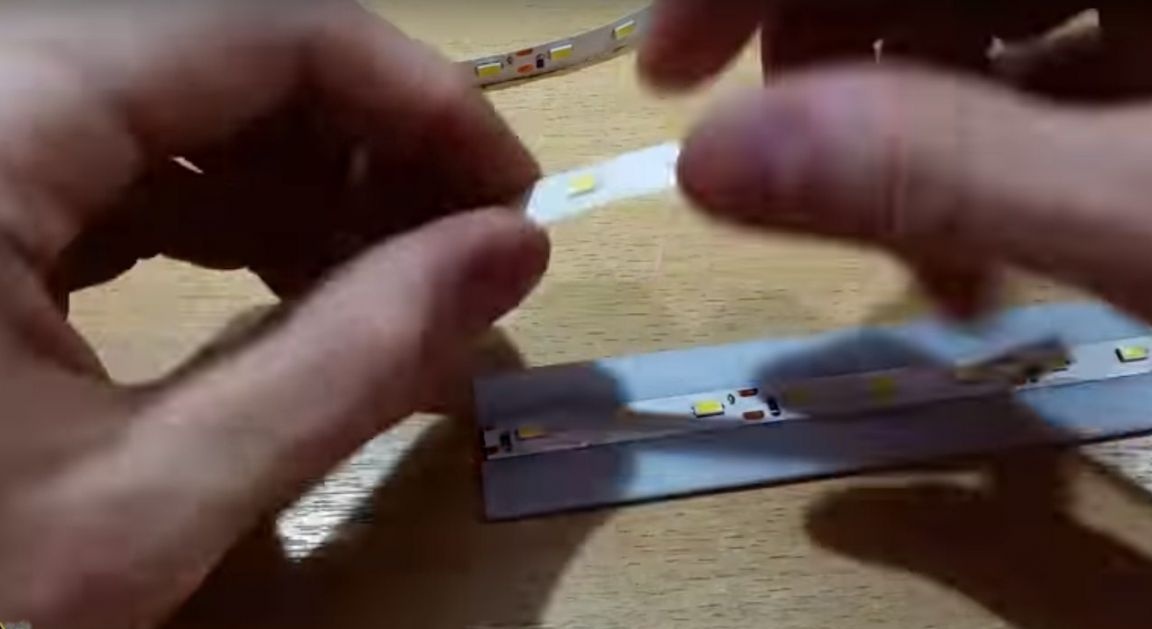
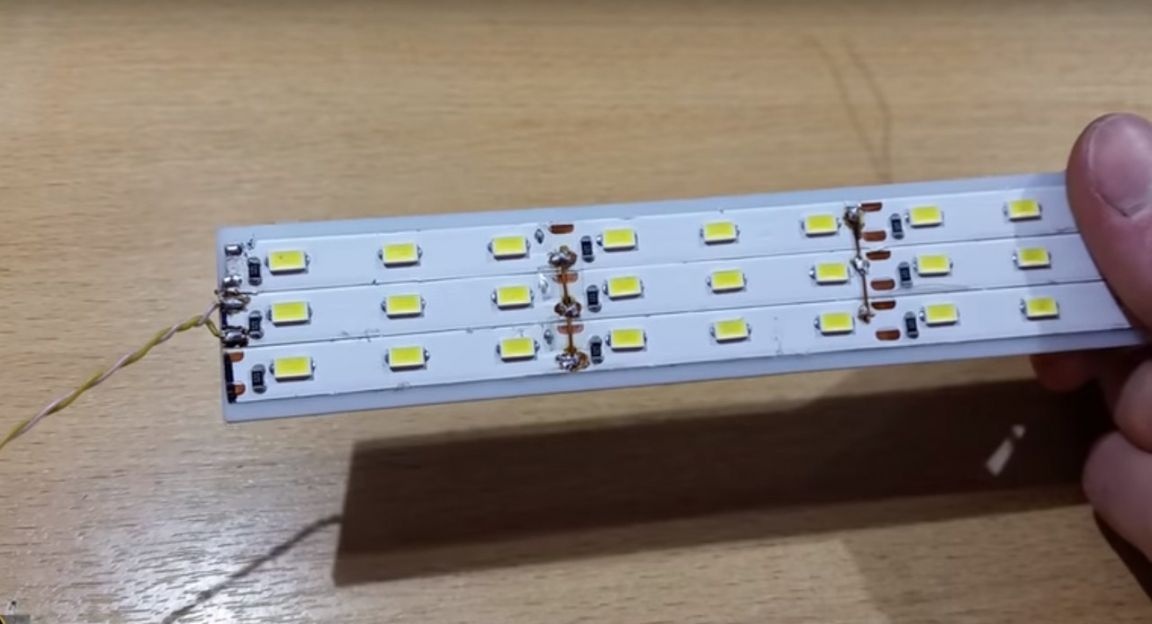
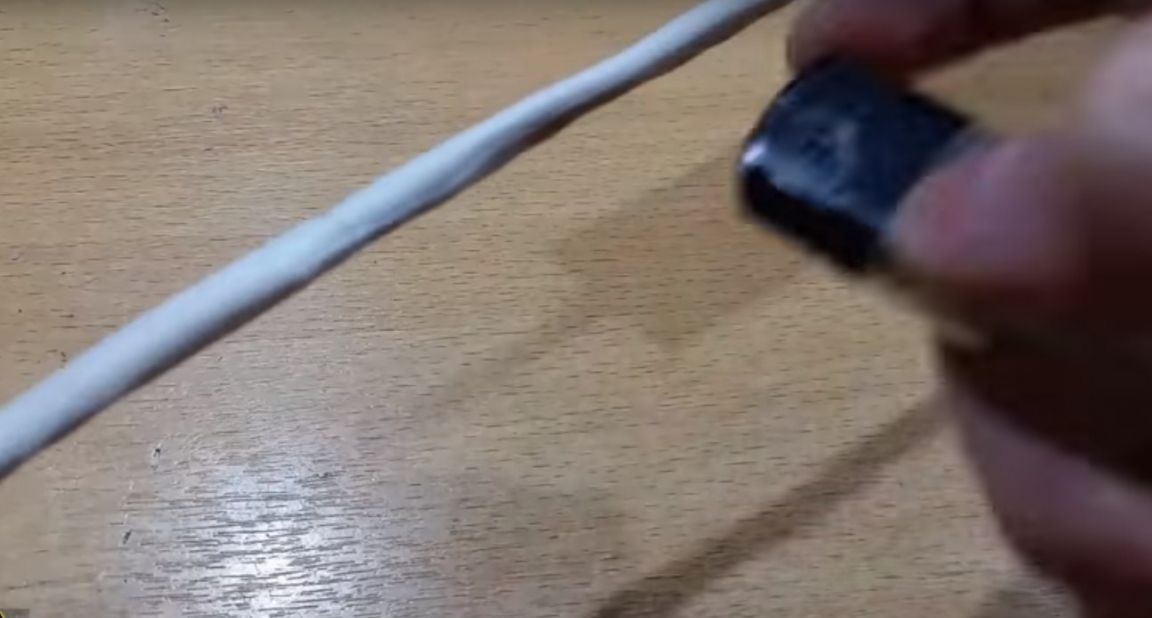
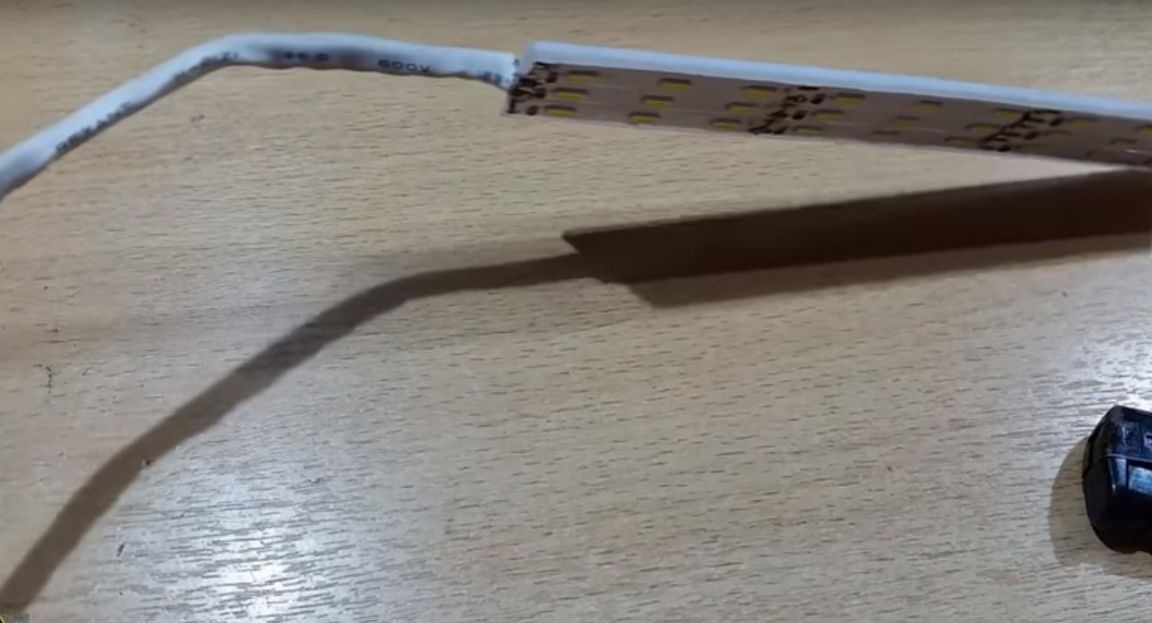
To highlight the working area, the author will make a lamp from an LED strip. Which will stick to a piece of plexiglass.
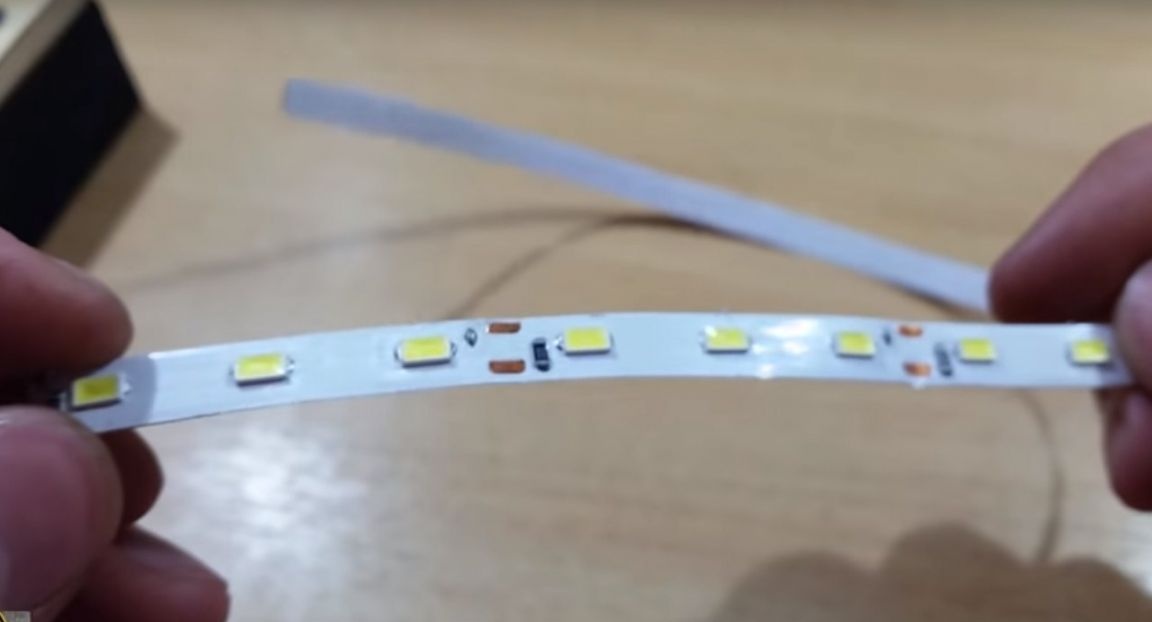
Gluing pieces of tape connected them in parallel.
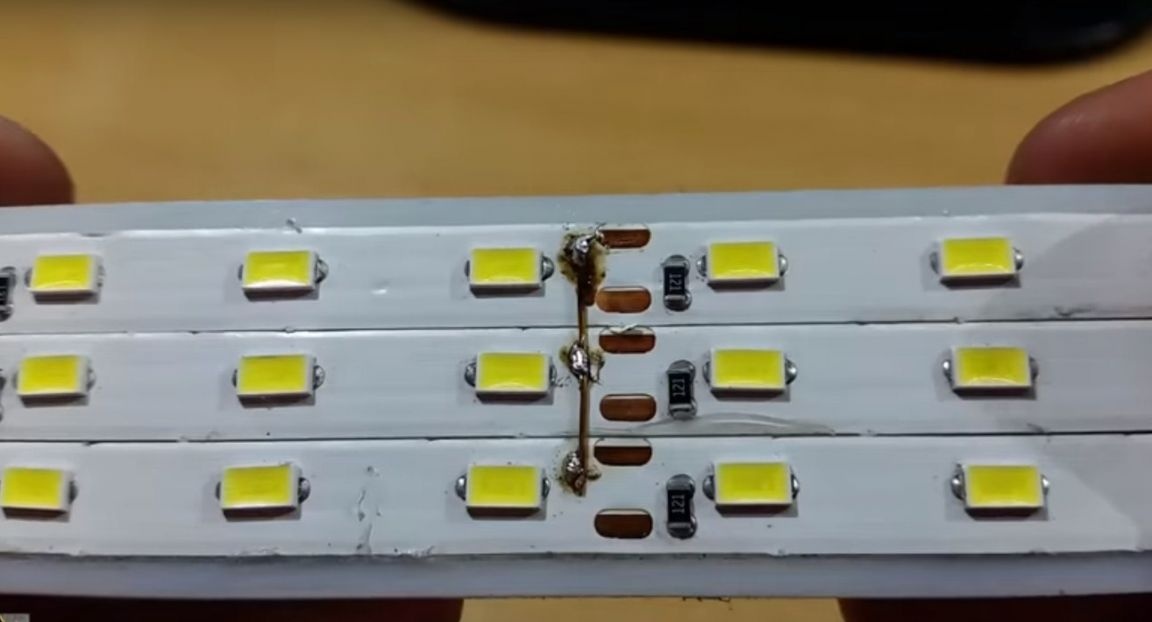
Verification
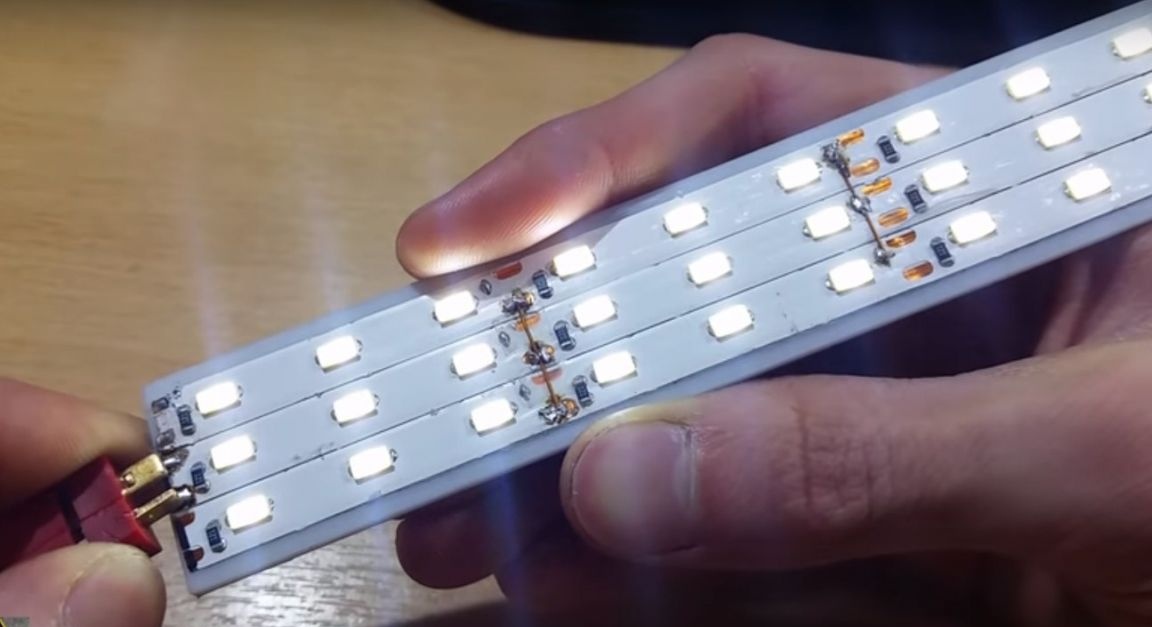
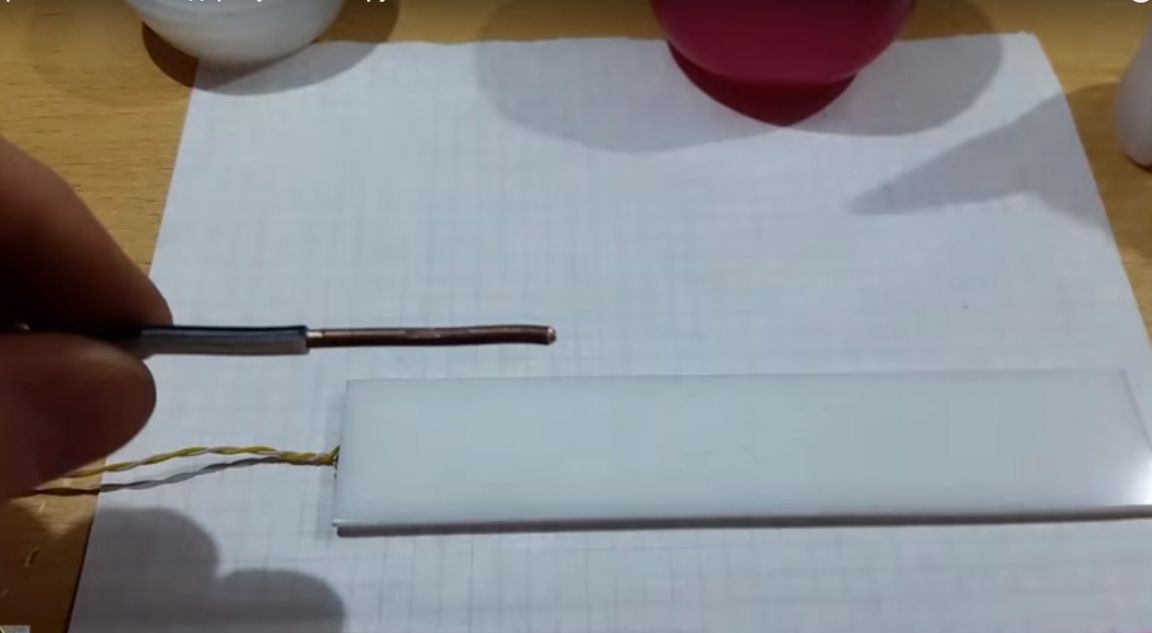
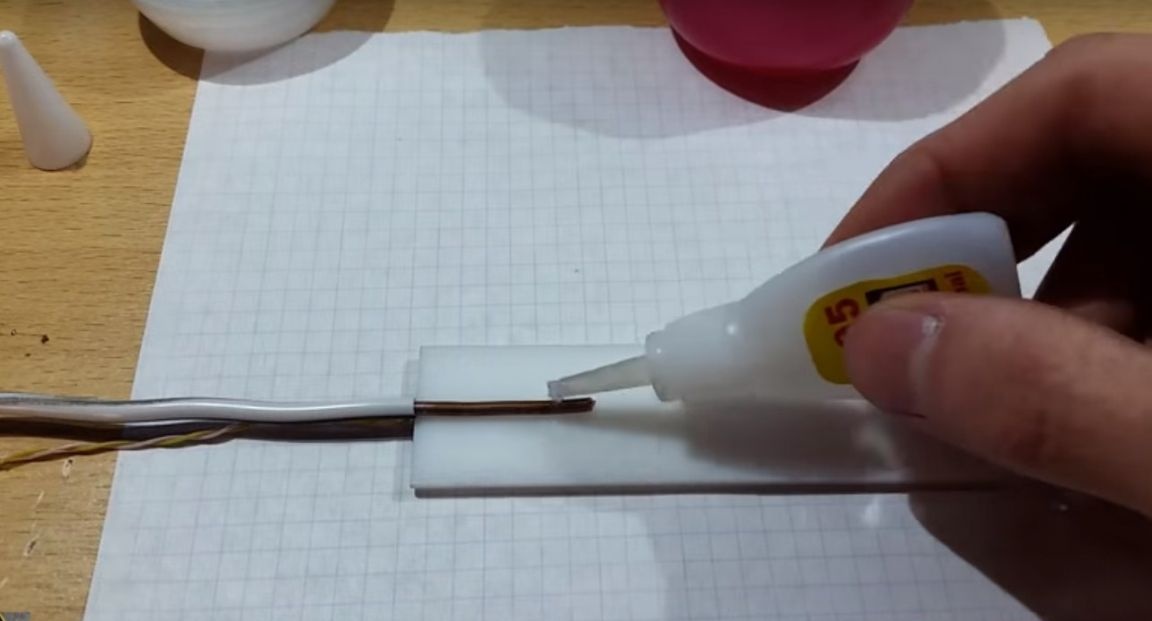
Soldered the wires.
He made the lamp post from a thick copper wire by gluing it with super glue and soda.
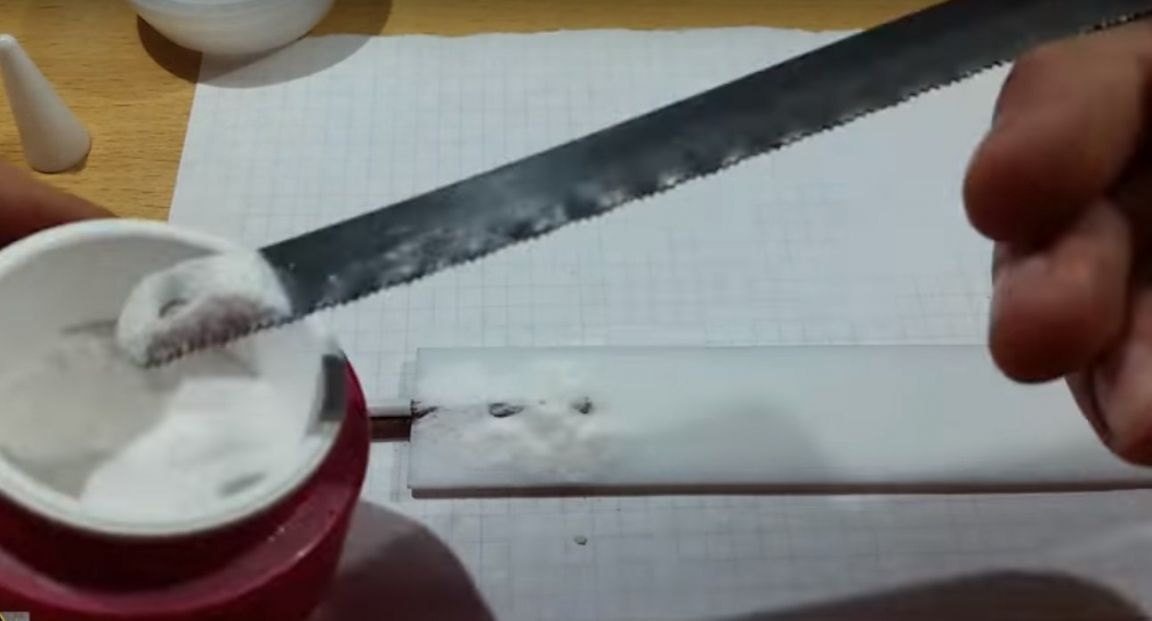
Passed wires and a rack into a thermoshrinkable tube.
Now the lamp can be turned in any direction.
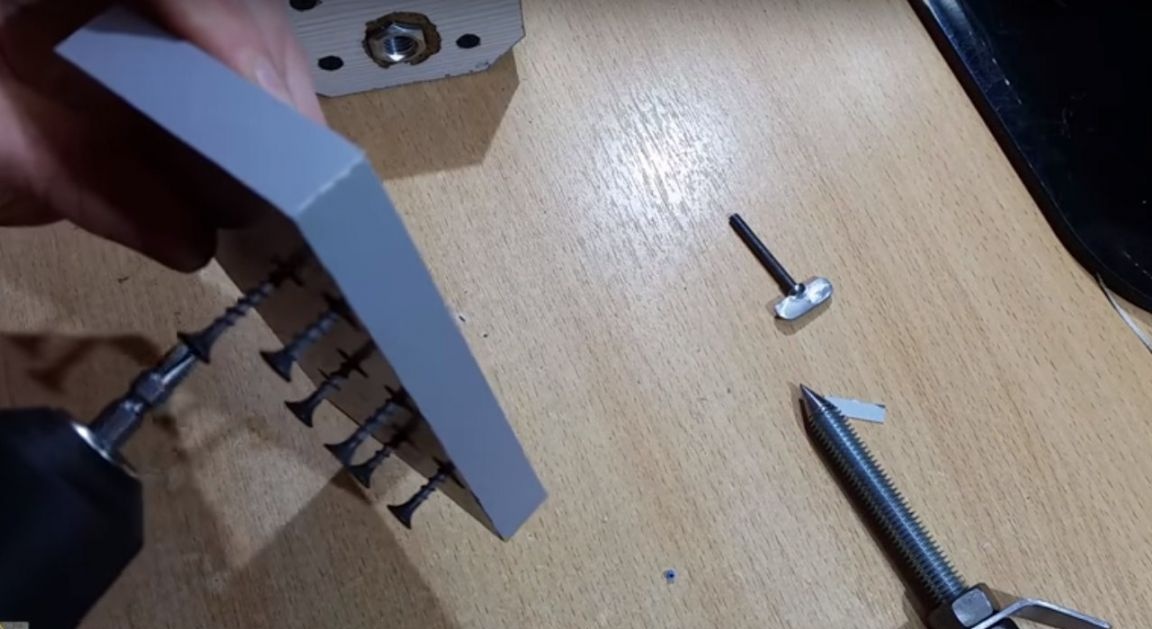
Glue all the edges of the chipboard parts with furniture trimming tape.
Excess cut off with a knife.
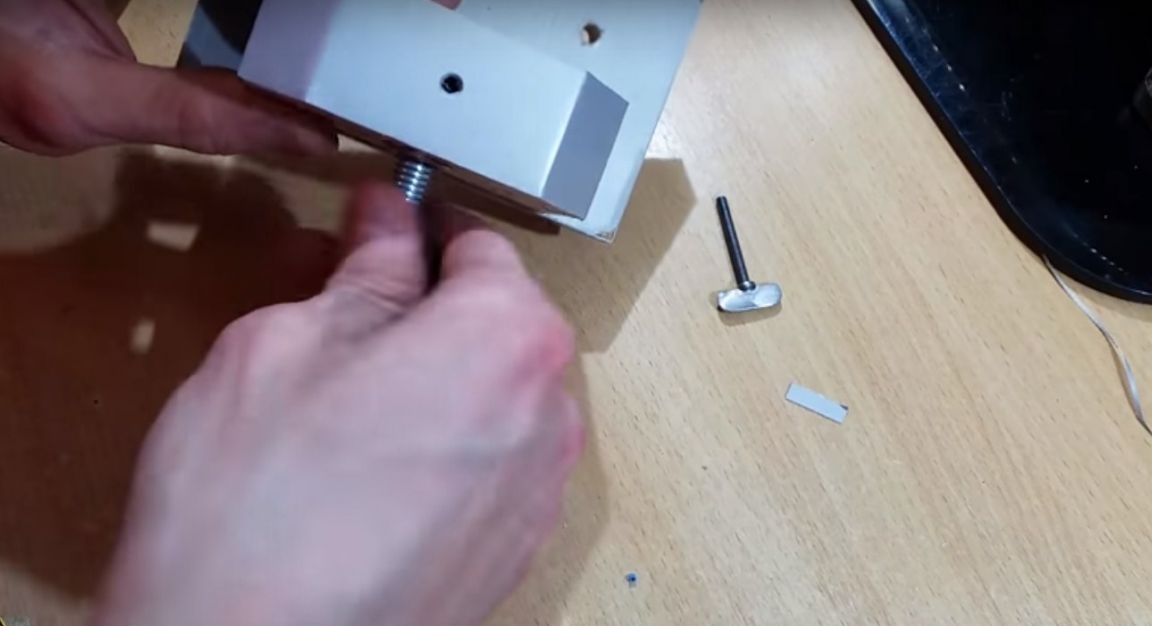
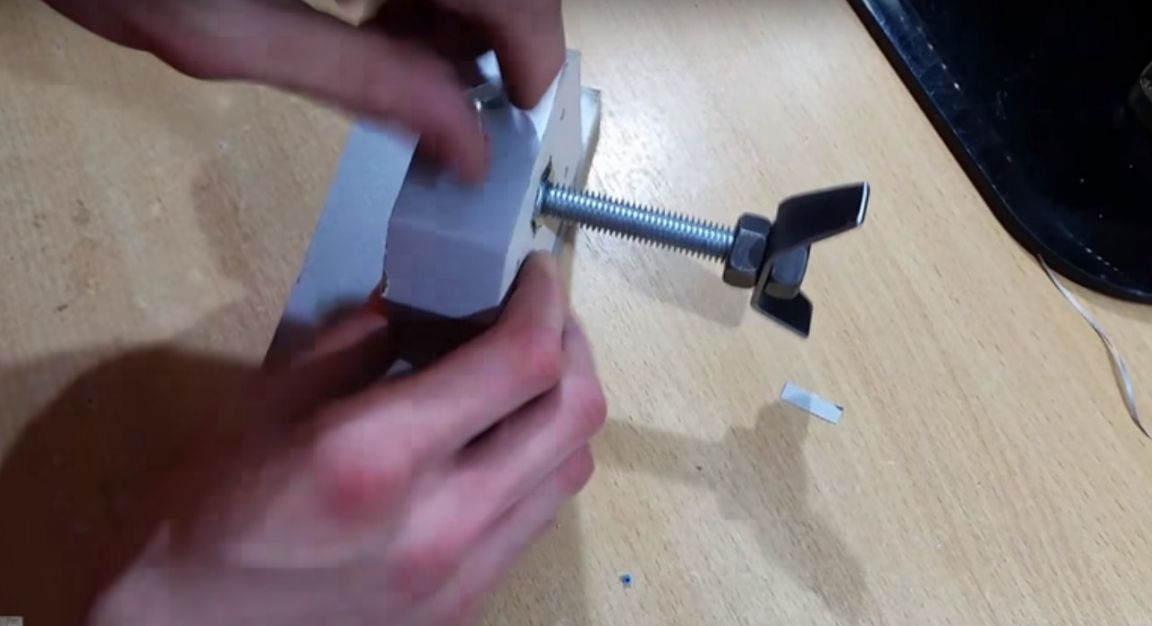
Next, the assembly of the tailstock.
Assembly of the headstock.
Abundantly greased the gearbox with solid oil.

And set the engine.
Then I screwed the legs.

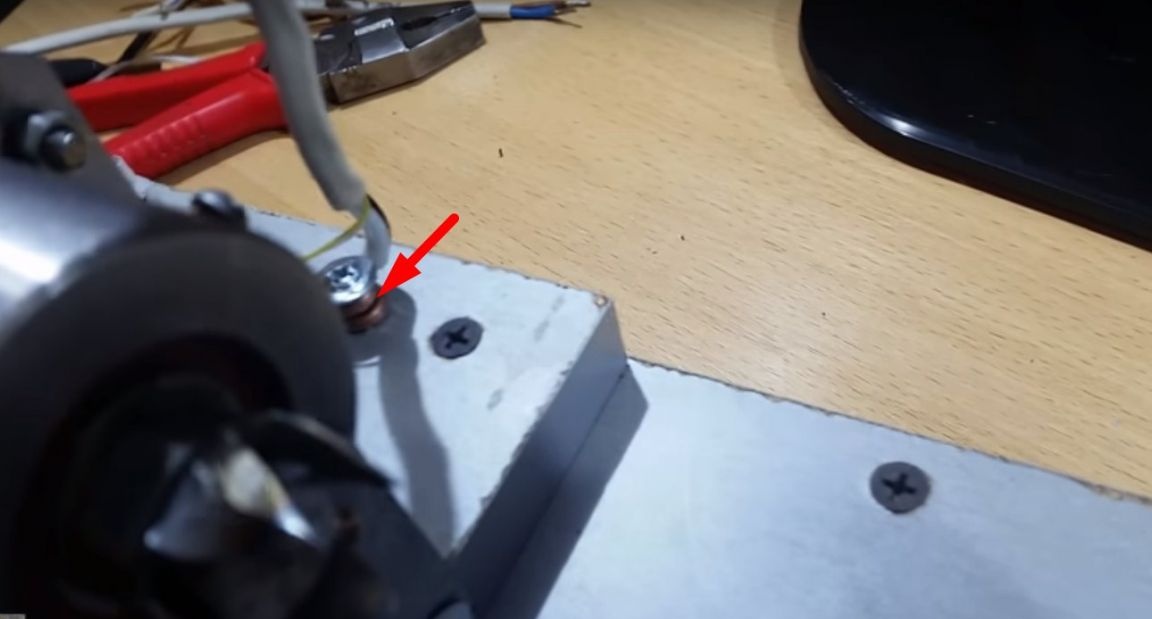
Installing the headstock with the motor on the base.

Prepared previously bolts fastens the tailstock.
And a handyman.
Fastens a lamp on a self-tapping screw.
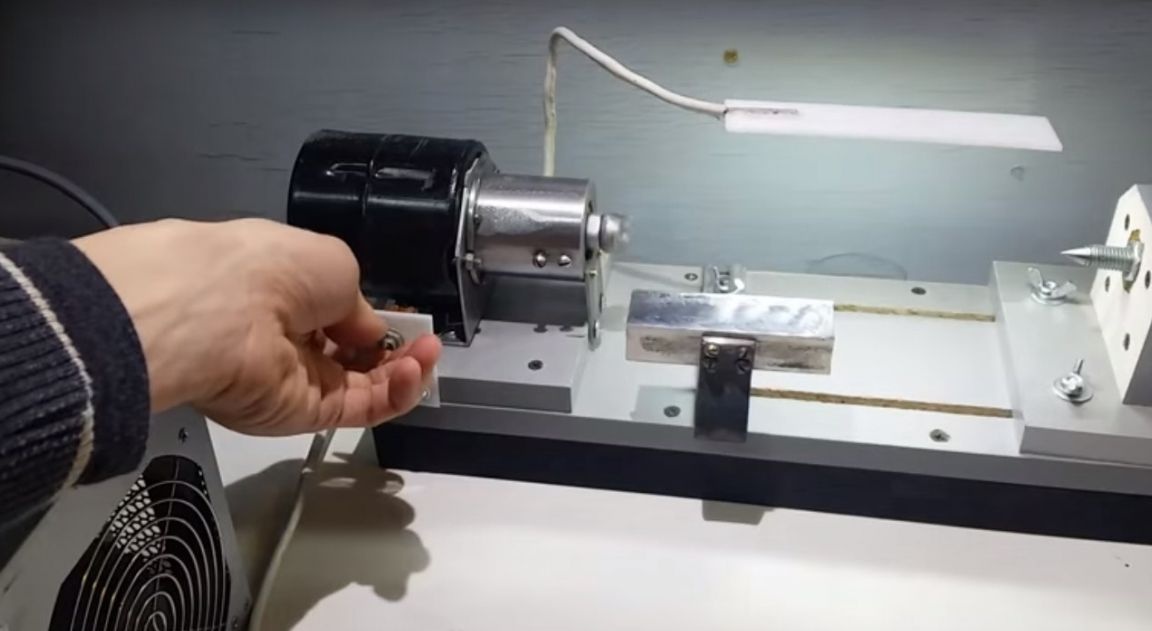
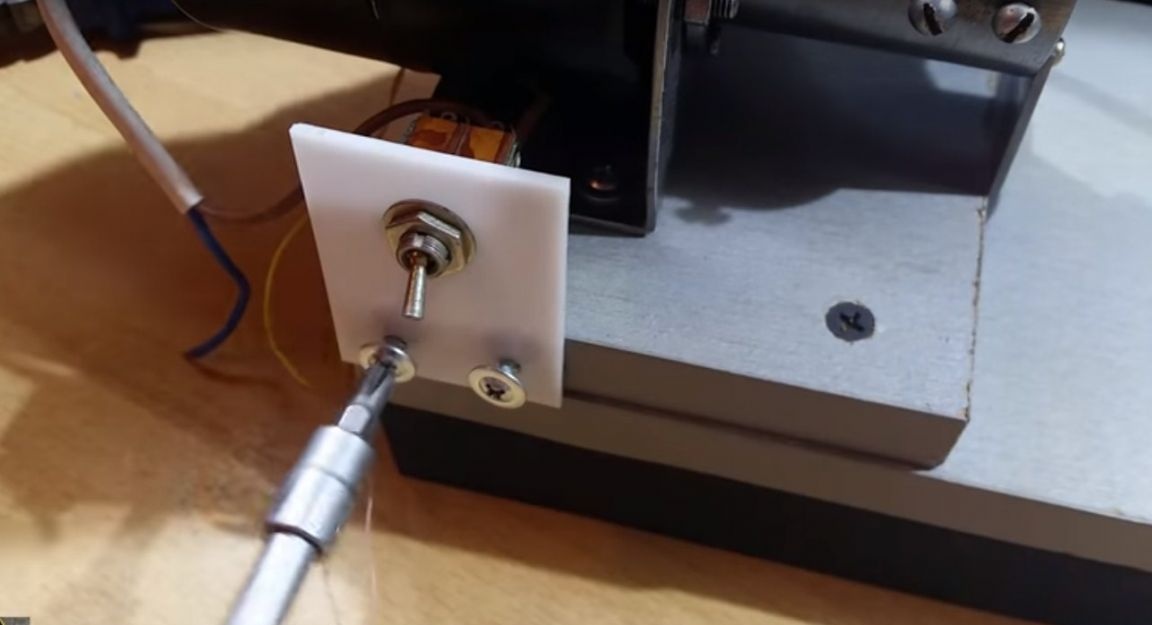
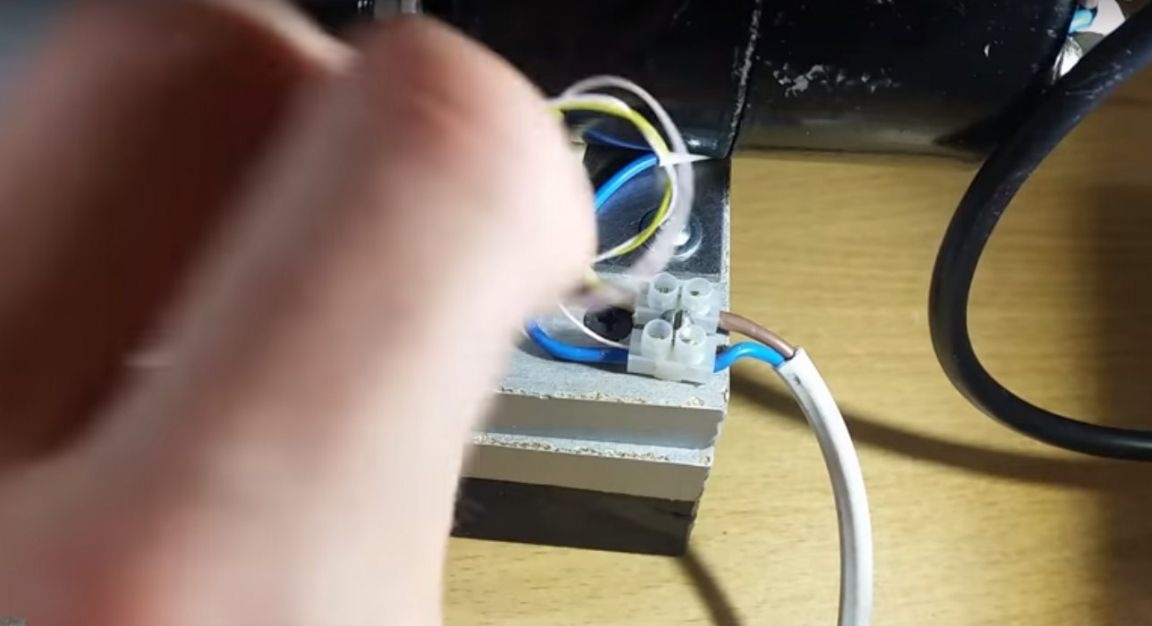
The author puts one wire of the lamp and one wire of the engine through the switch.
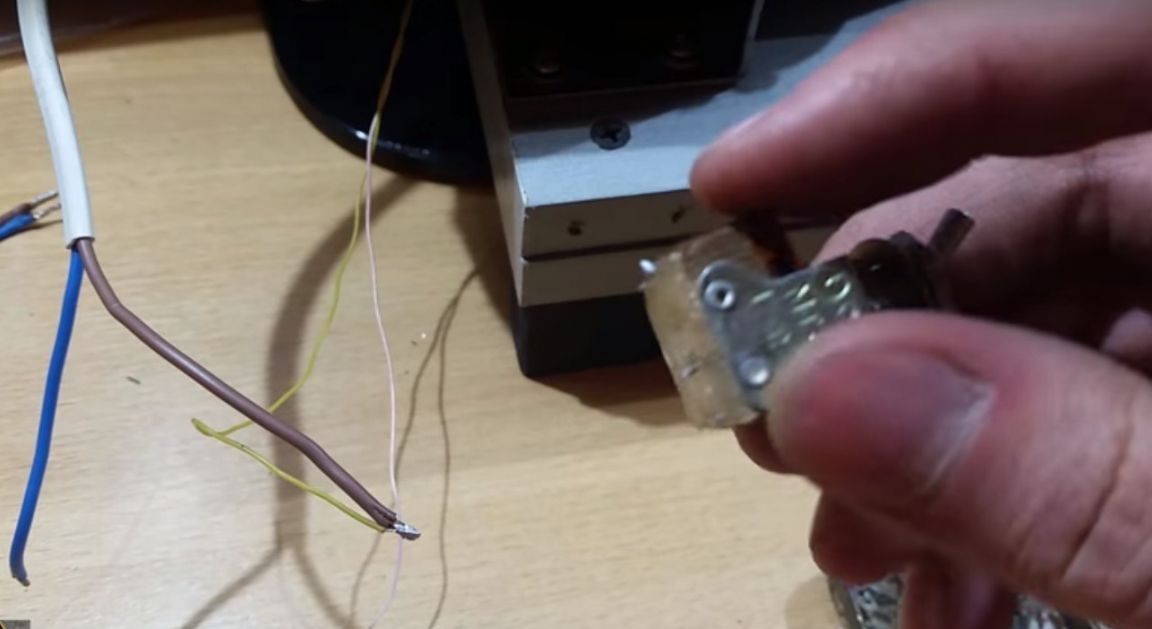
Fastens the switch with self-tapping screws.
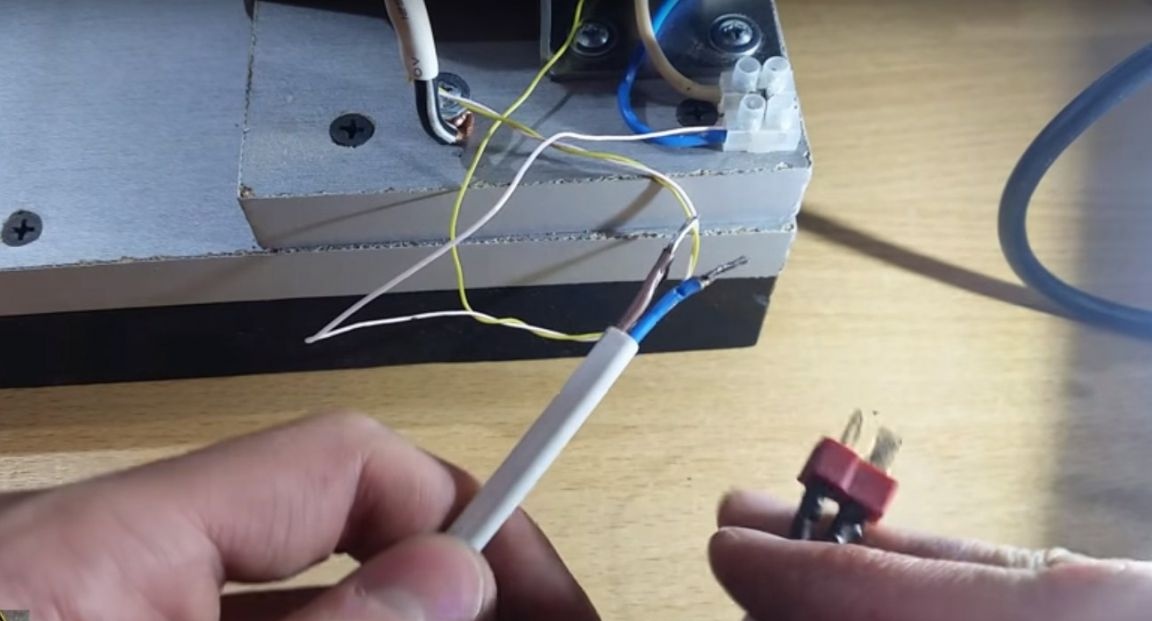
Observing polarity connects the power wire.
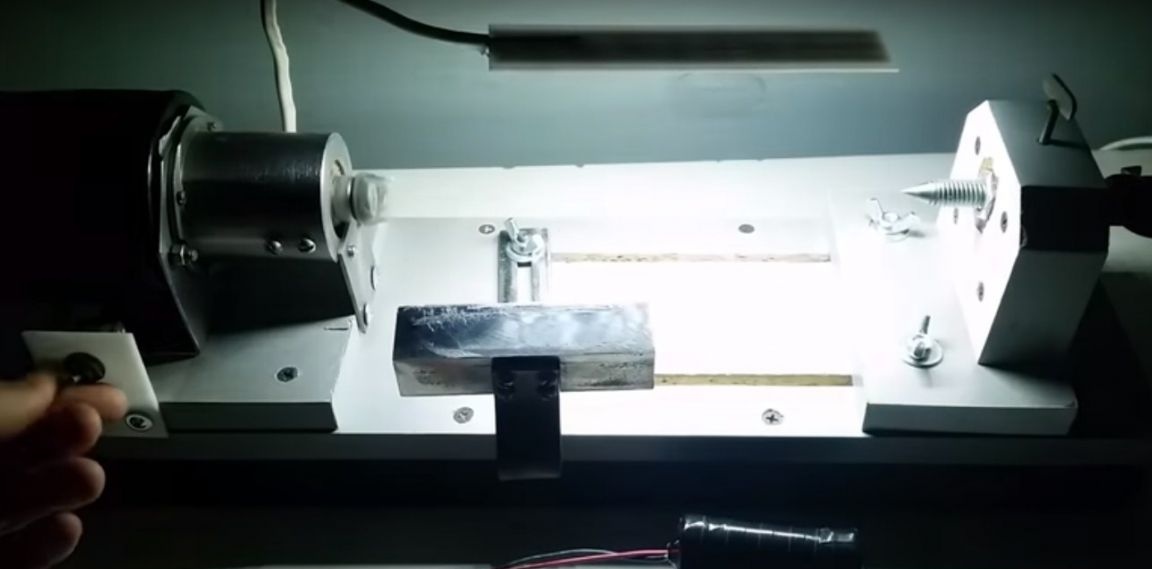
The characteristics of the machine.

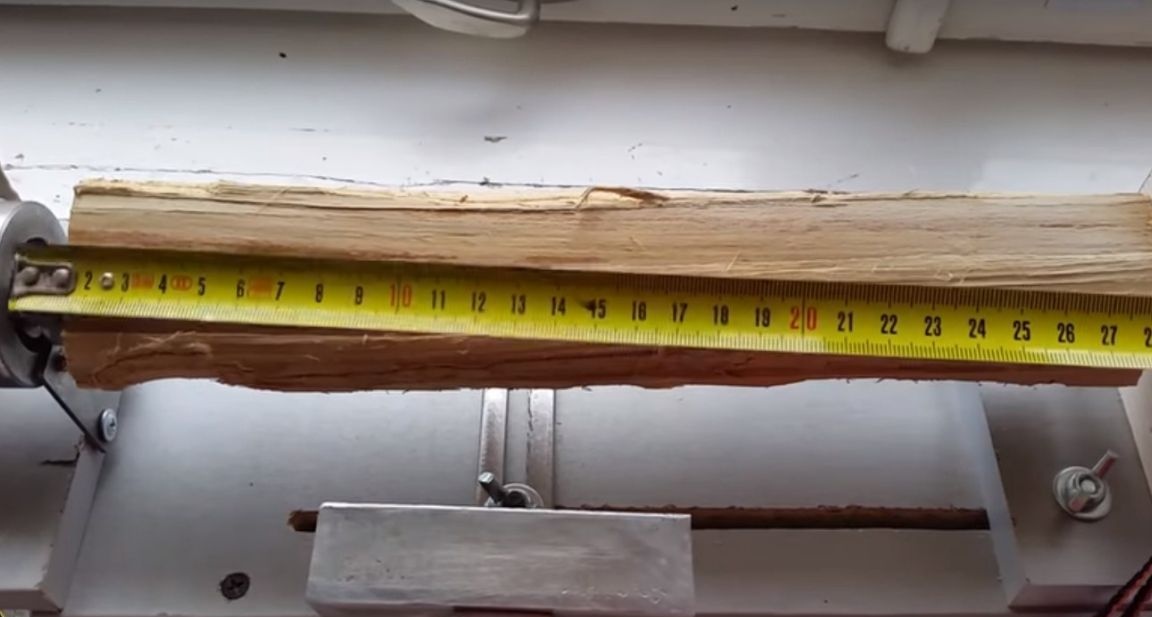
The maximum size of the workpiece.
Work of the machine from the battery.
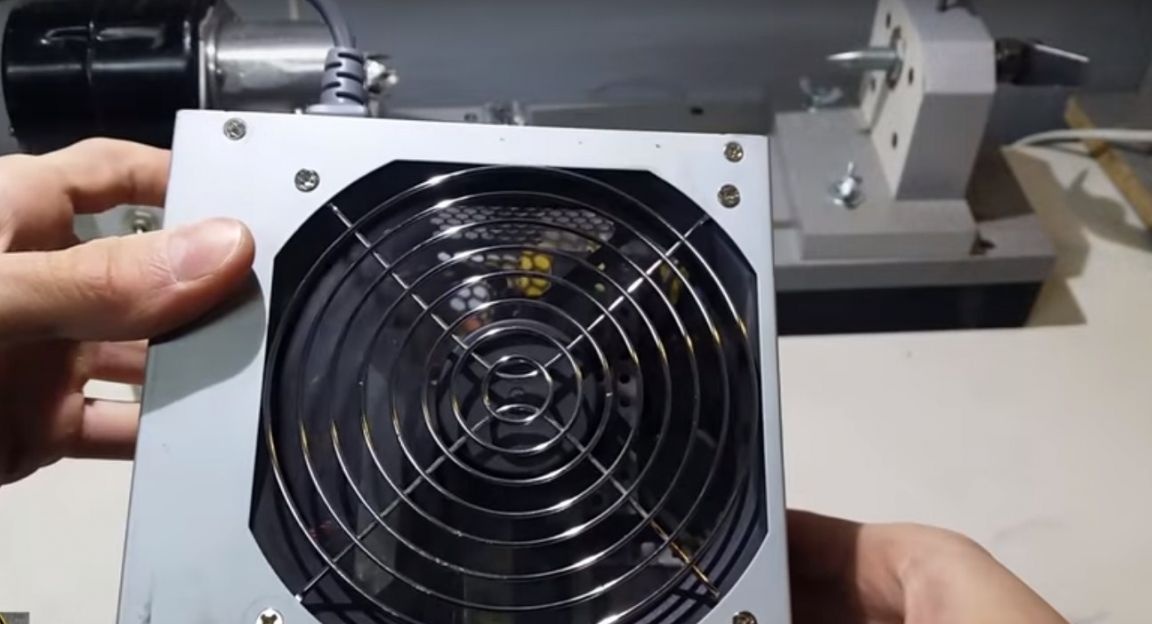
And from a computer power supply.
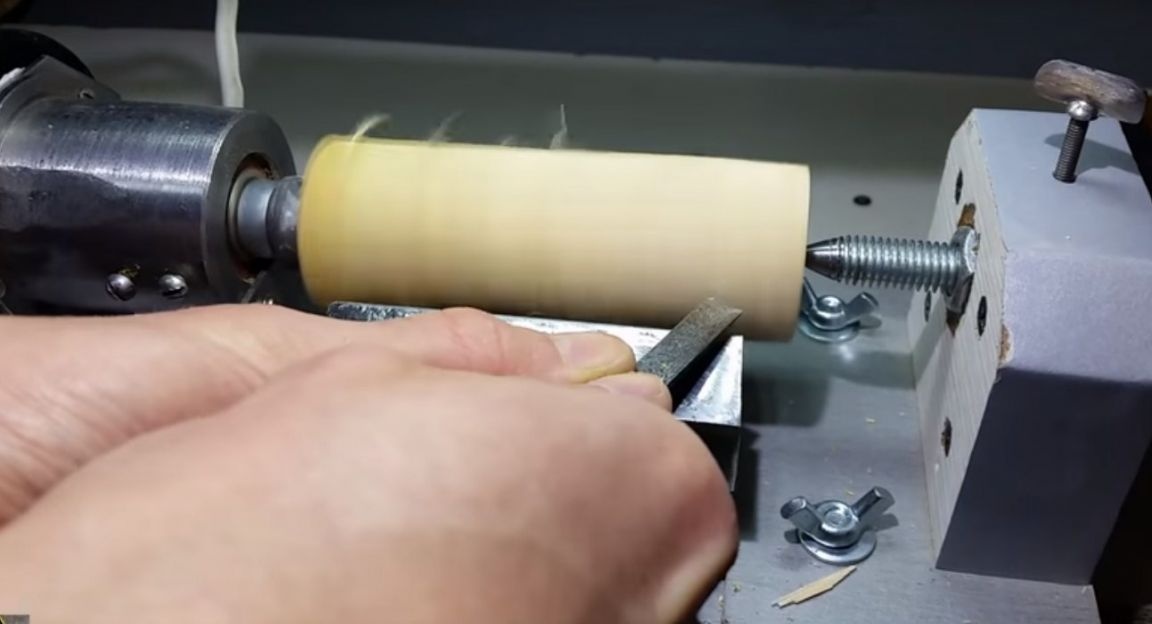
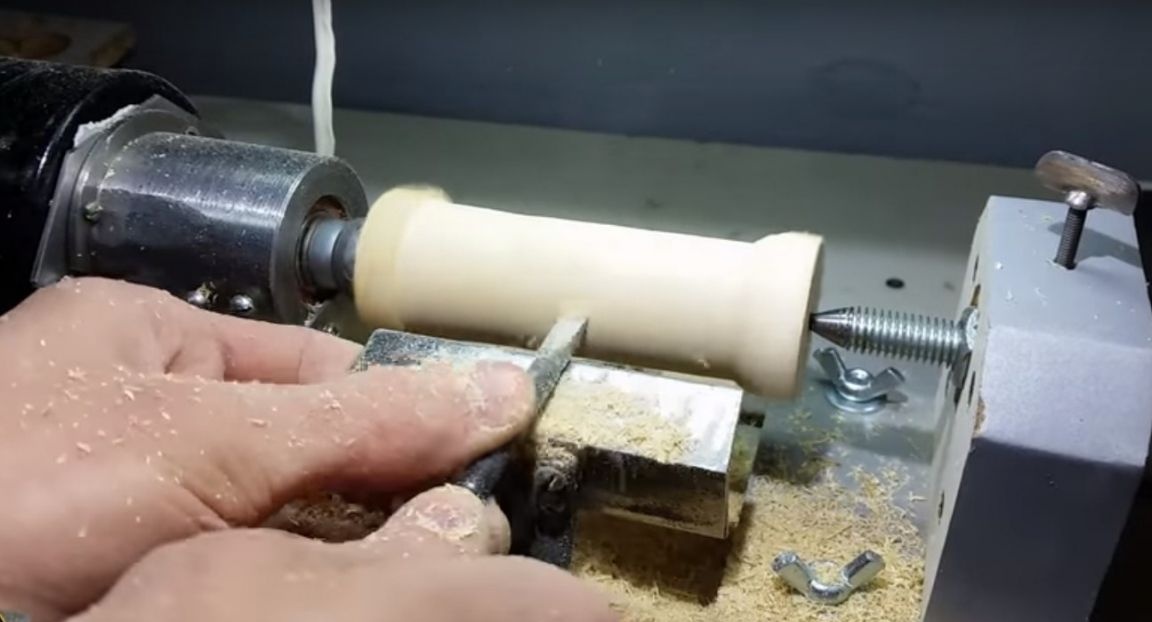
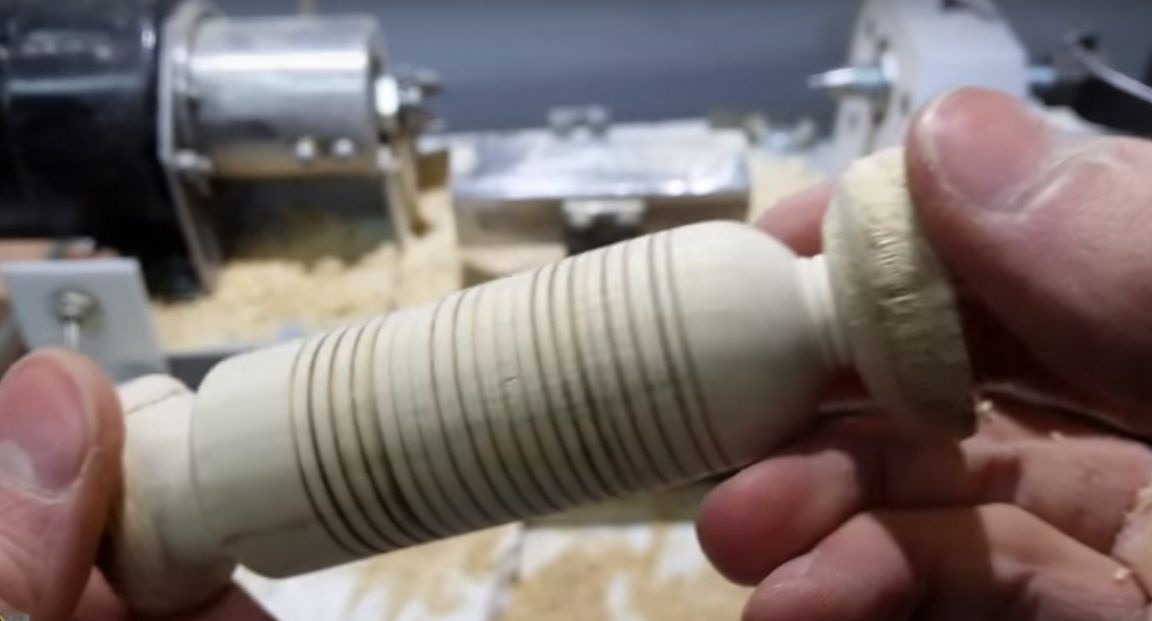
Test.
Thank you all and see you soon.
Video: