

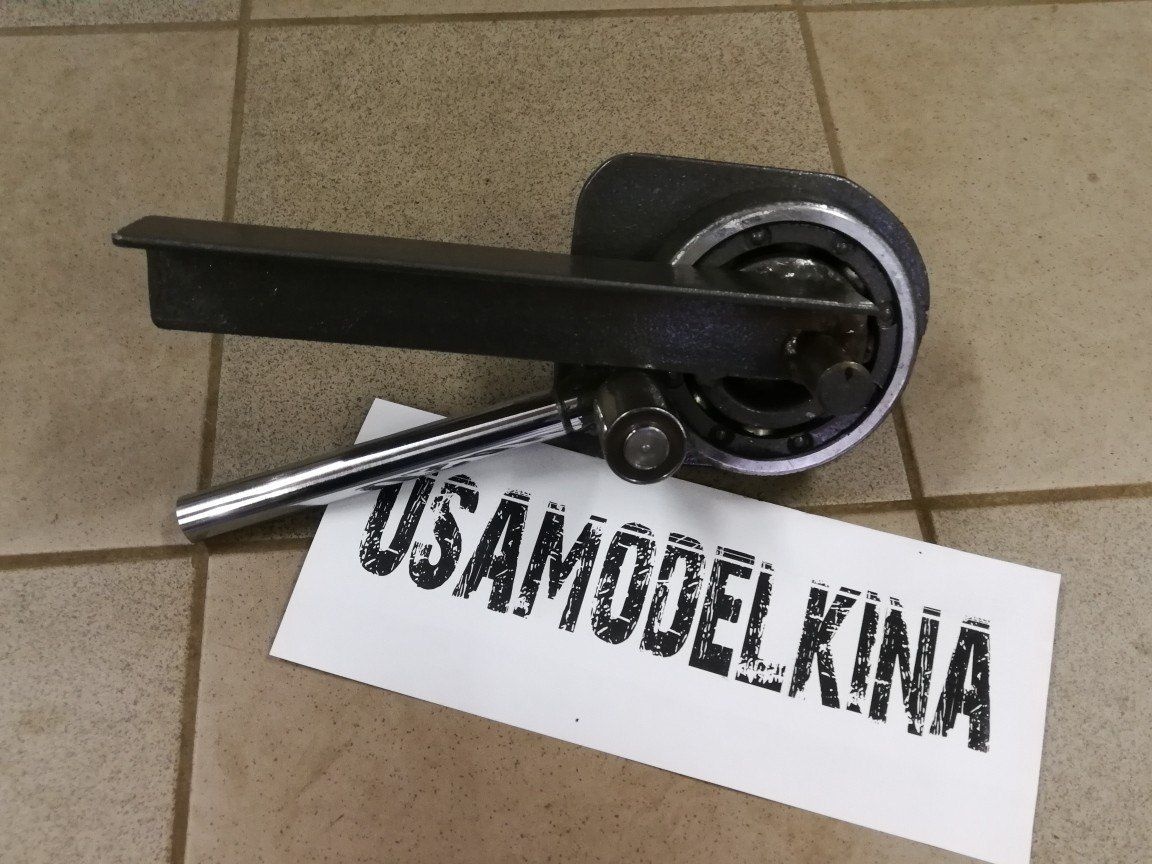
Hello to all lovers homemade. In this article I will tell you how to make a cold forging machine with which you can make various decorative elements from metal rods or bars, they can decorate your personal plot.
Before reading the article, I suggest watching a video showing the entire assembly process of this home-made product, as well as its verification on a bar and a bus.
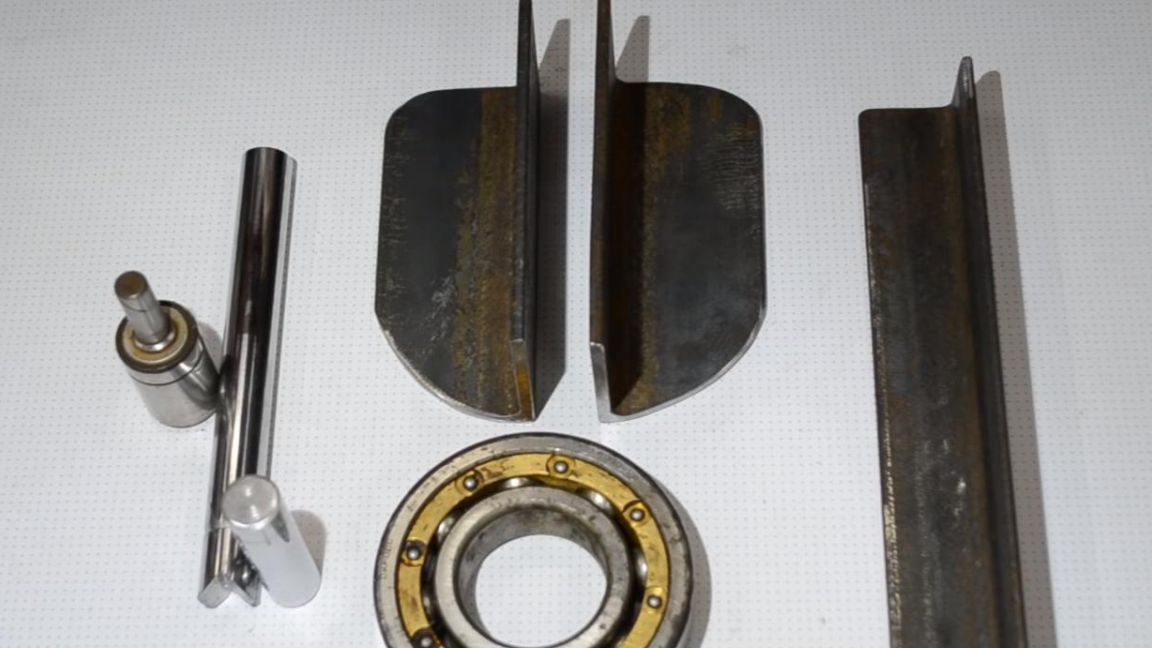
In order to make a cold forging machine, you will need:
* Metal angles 63 mm and 40 mm
* Ball bearing number 6310
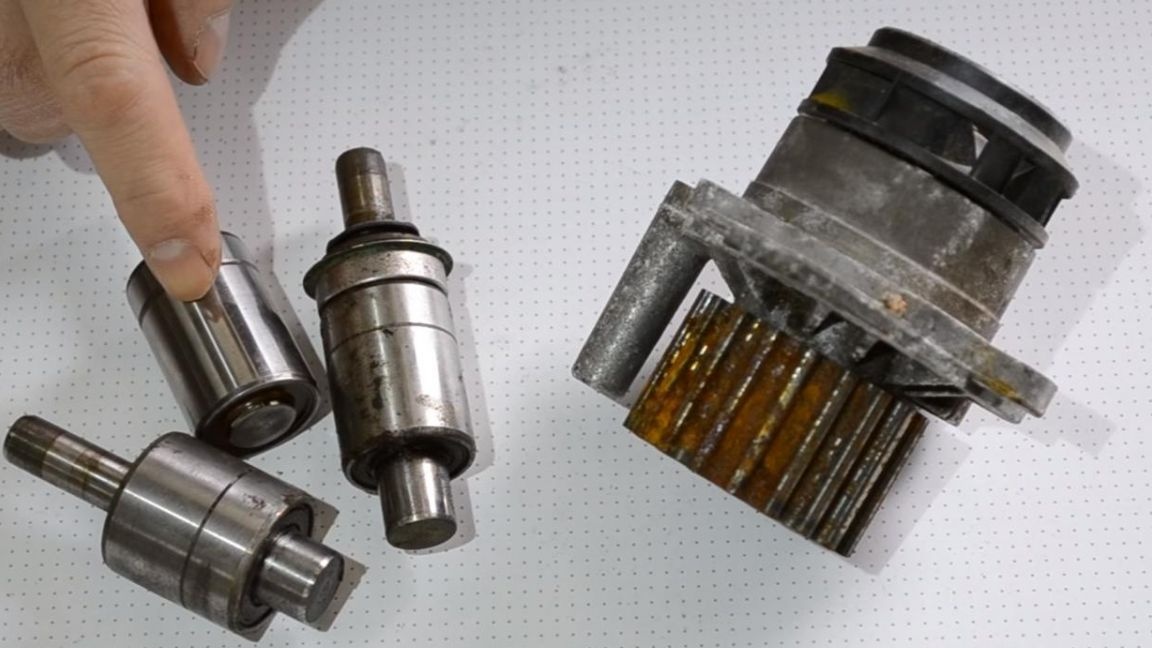
* Stock from front shock absorber from a passenger car
* Car pump bearing
* Welding machine, electrodes
* Keyless clamps
* Protective welding mask, gaiters
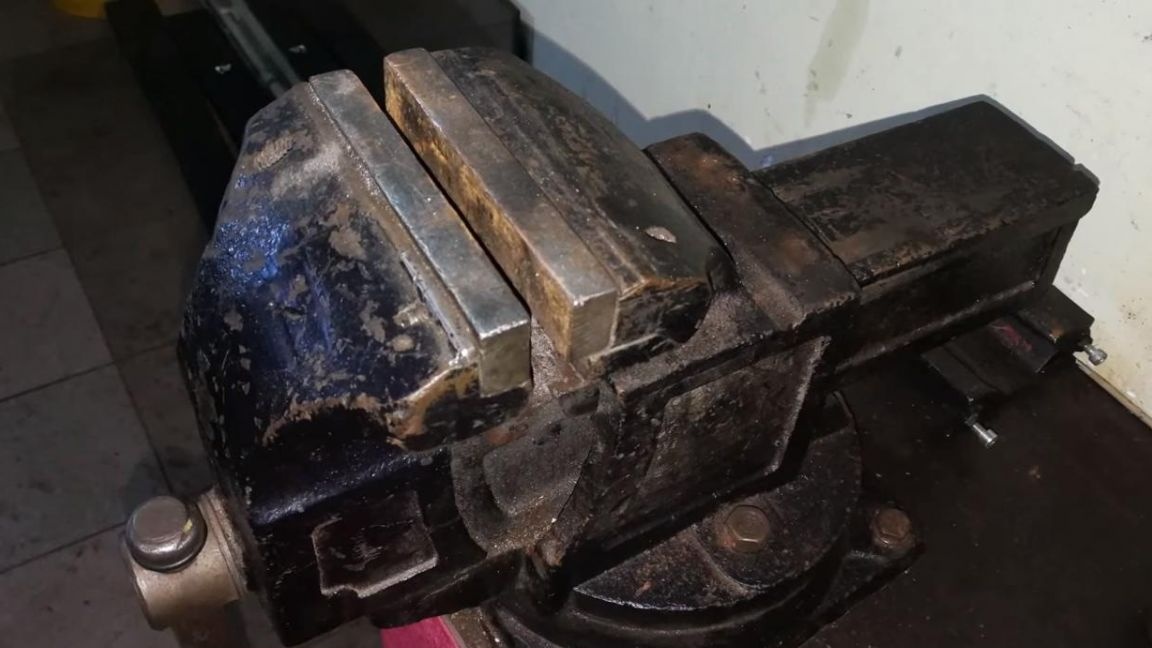
* Bench vise
* Ruler, marker
* Spray paint can
* Angle grinder and cutting disc
* Safety glasses, earphones and gloves
* Masking tape
Step one.
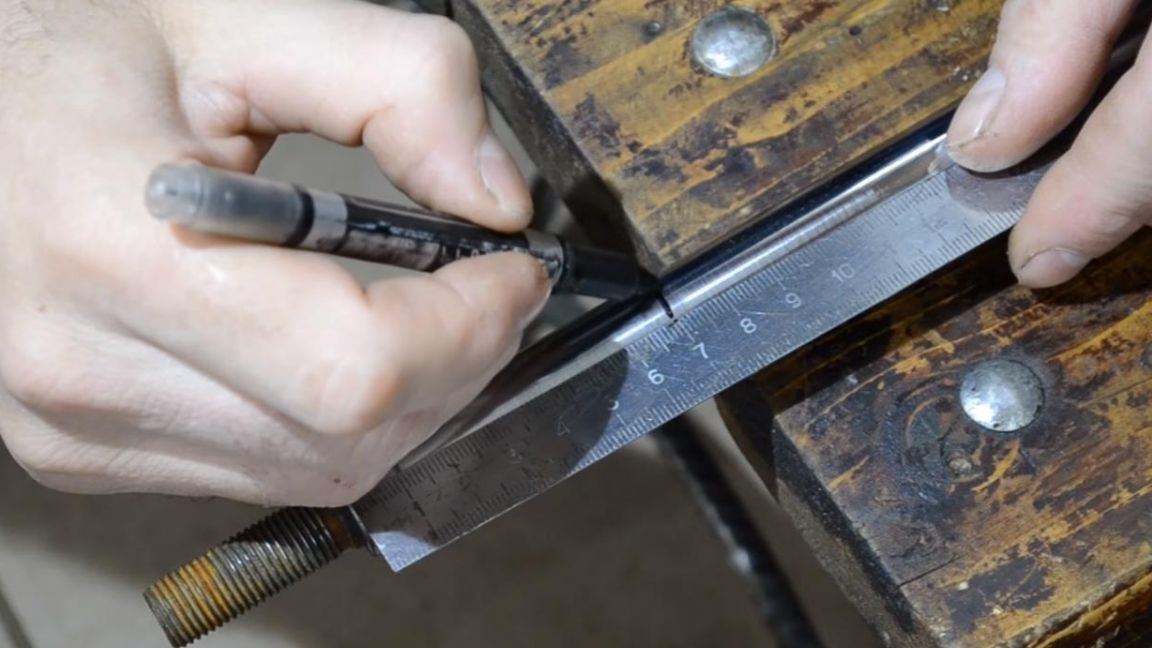
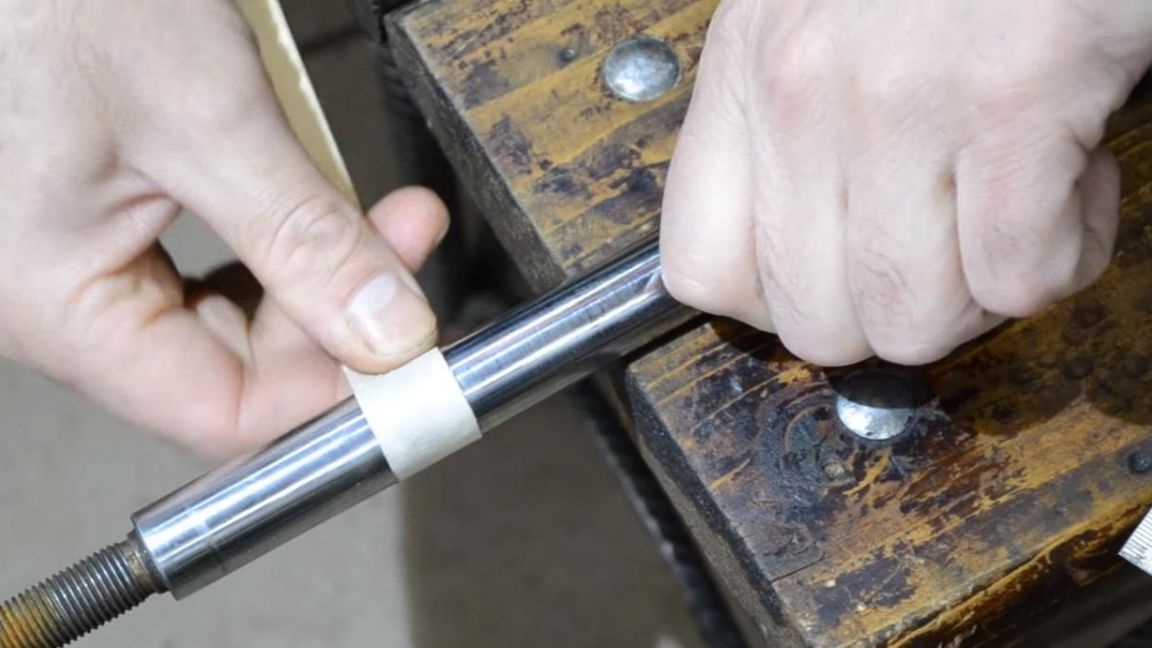
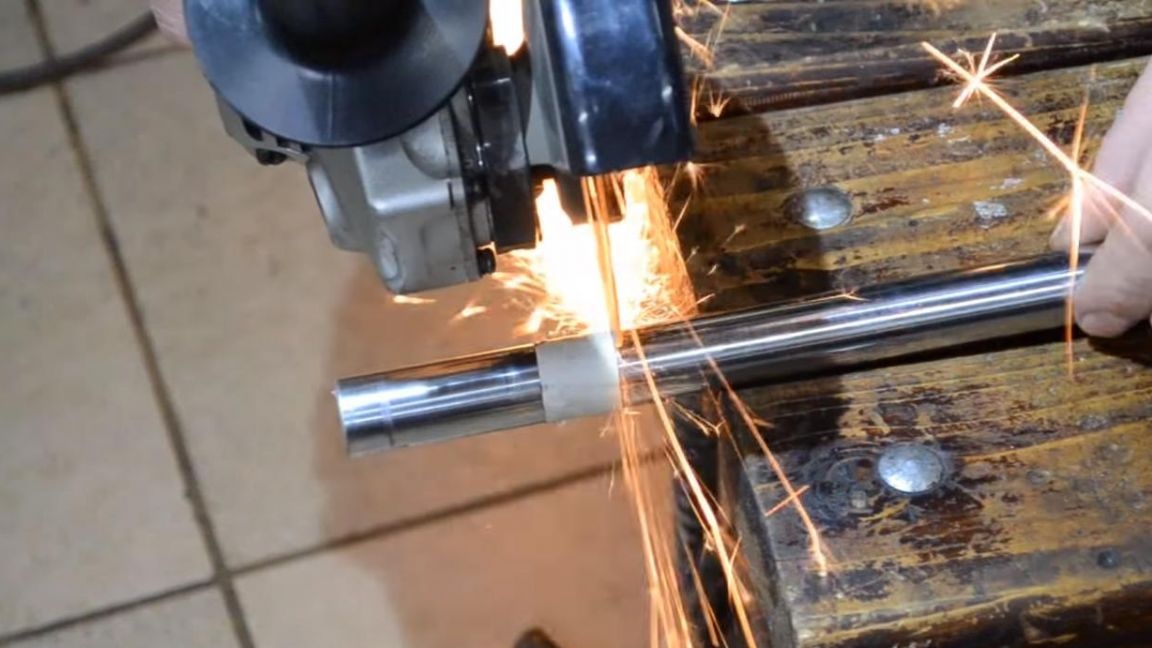
First of all, we measure 70 mm from the base of the shock absorber rod, for greater accuracy we make marking with masking tape.
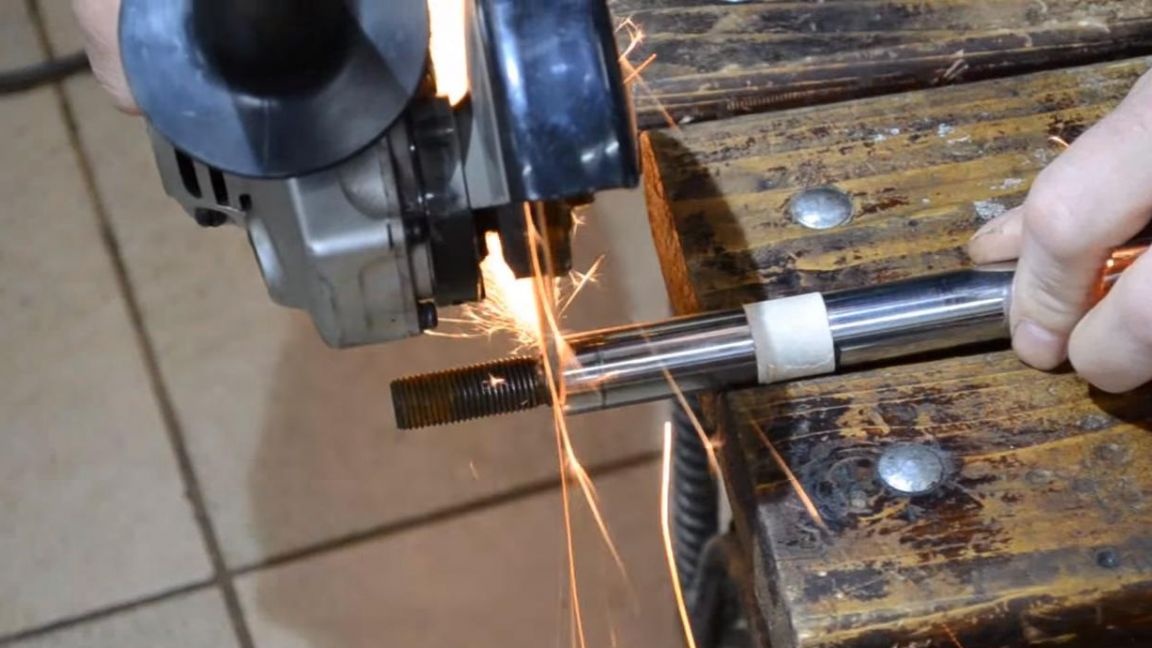
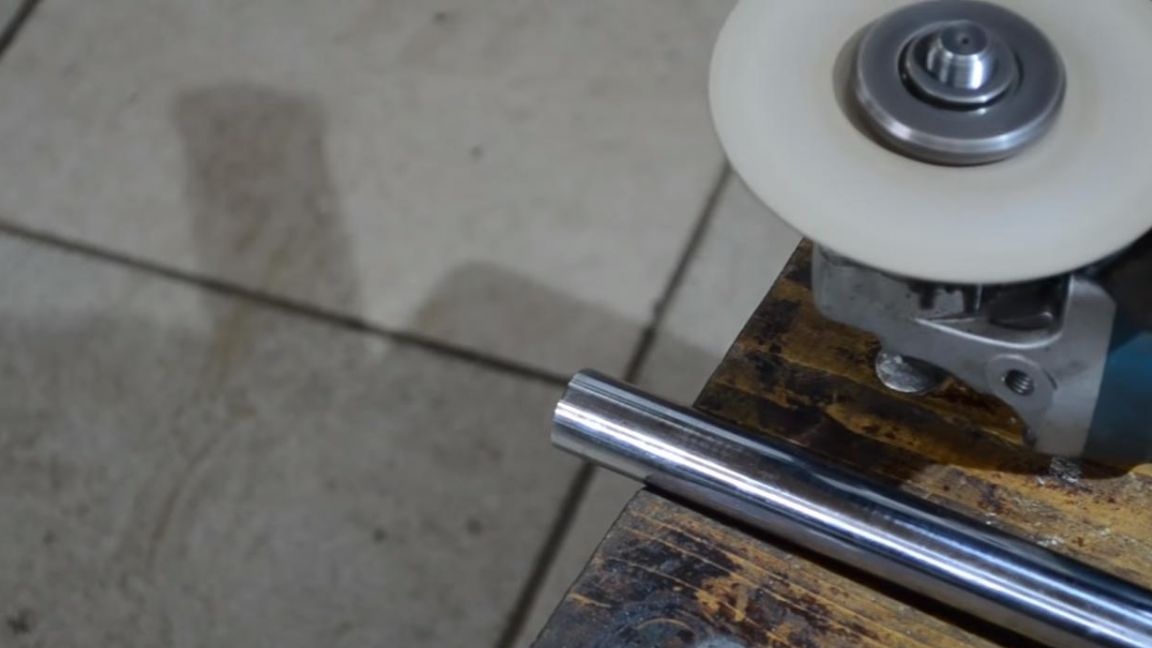
Now we take the angle grinder with the cutting wheel installed in it and cut the threaded part from the rod, and then the necessary part according to the marking made earlier. When working with the angle grinder, be careful when holding the tool you need to hold it tight, and do not forget to use personal protective equipment, such as headphones, gloves and safety glasses.
Step Two
After sawing off the rod, you need to remove the bearing from the automobile pump.
You can do this in two ways, saw the pump casing with an angle grinder, and then gain full access or remove it in the press. We choose any method you like, if the case is not a pity, then the first option will do.
Step Three
We fix a metal corner of 63 mm in a bench vise, then from it, using an angle grinder, we saw off two identical workpieces 150 mm long each, these details will be the base of the tool.
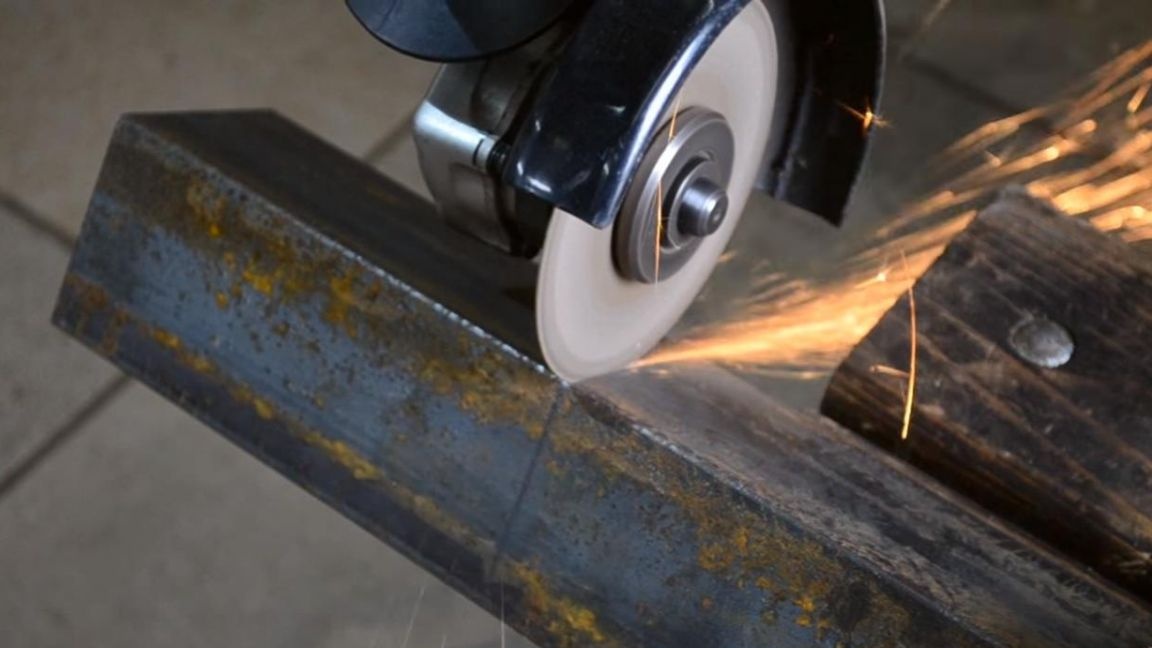
I’ll clarify that the length is taken solely because of the size of the available vice, if you use this device on a workbench, then instead of a corner you can use a sheet of metal.
Now you need to slightly modify the sawn off parts of the corners using an angle grinder, at the end of processing the part should look like this.

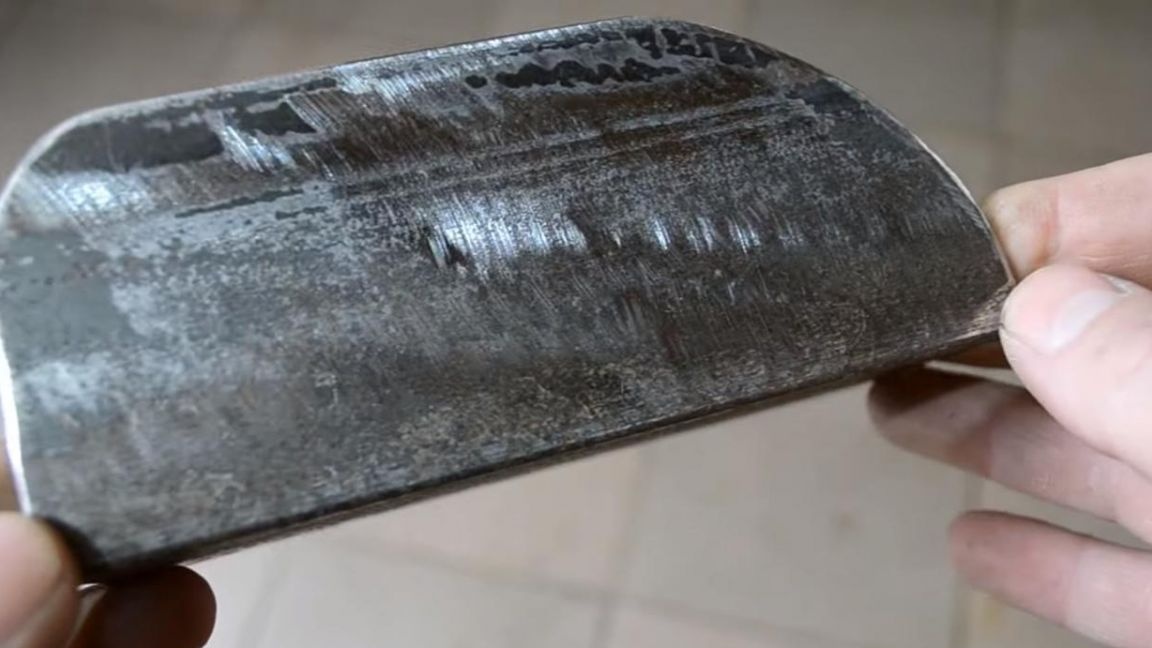
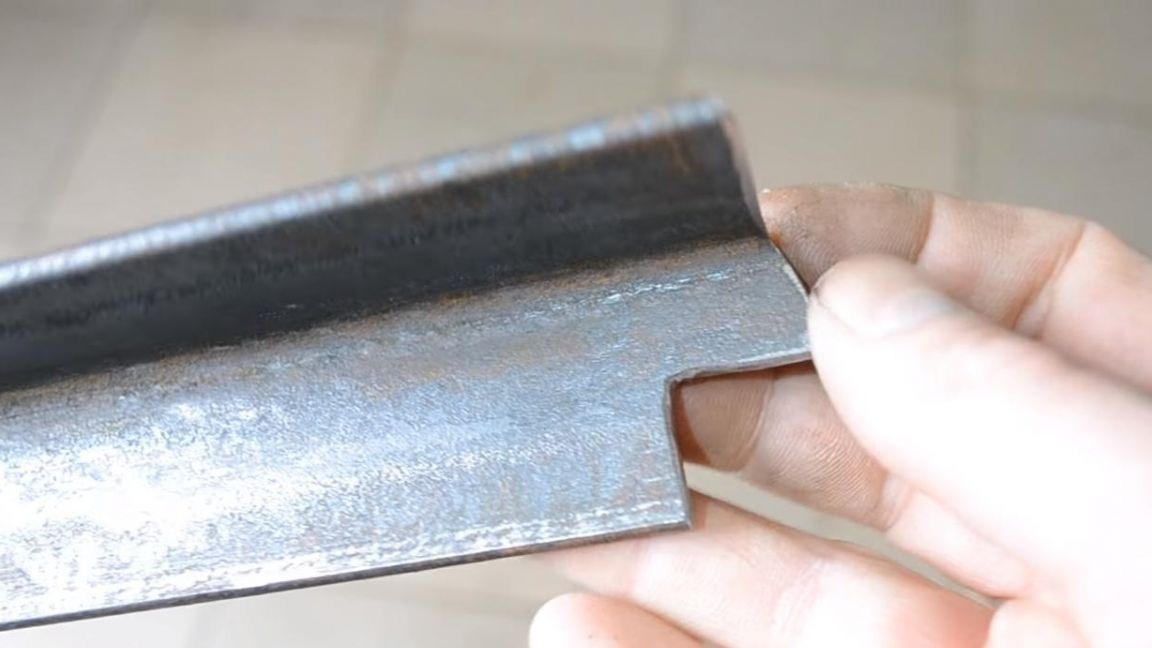
Rounded edges are made to give the instrument a beautiful appearance, as well as to reduce the risk of injury when working on it.We saw off the 40th corner with the help of angle grinder, its length should be 250 mm, on the edges we make the same rounding as with the previous corner, and in the design itself we cut a small square at the end.
Step Five
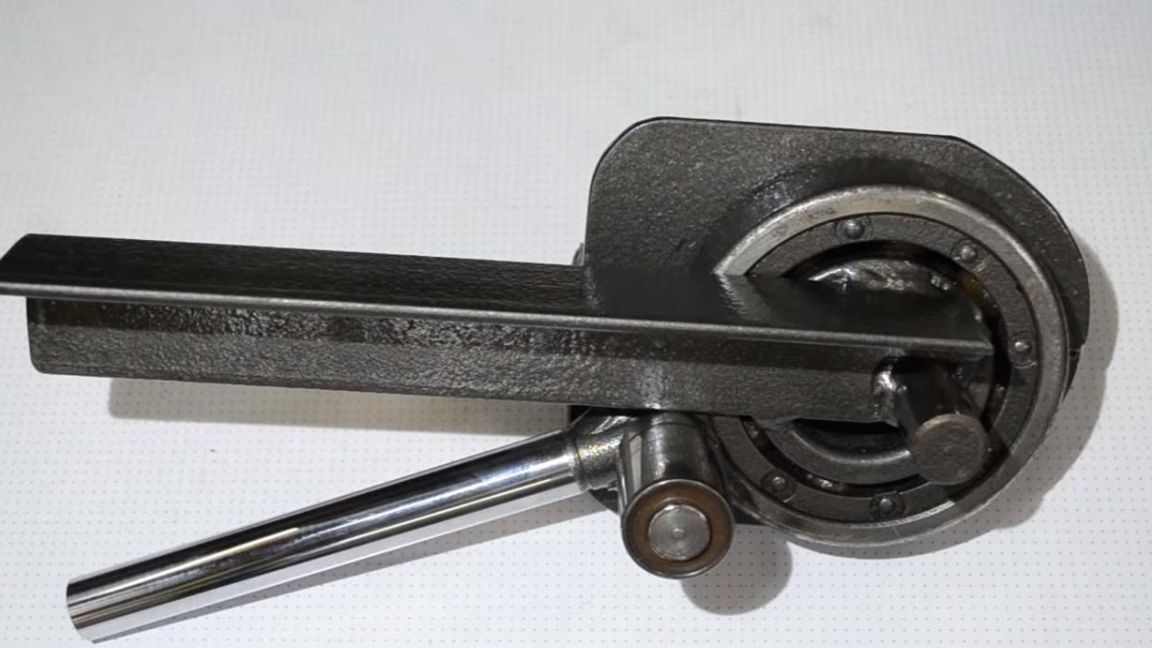
Parts for this homemade product are completely ready, they need to be fixed with each other in a certain order using a welding machine.
It should also be noted that the presence of a bearing from the pump is not a mandatory item; in the absence, it is possible to freely install in its place a piece of shock absorber rod.
We proceed directly to the welding of parts. When working with the welding machine, be careful, do not forget to wear a welding mask and gaiters, so as not to catch the "bunnies" and not get burns.
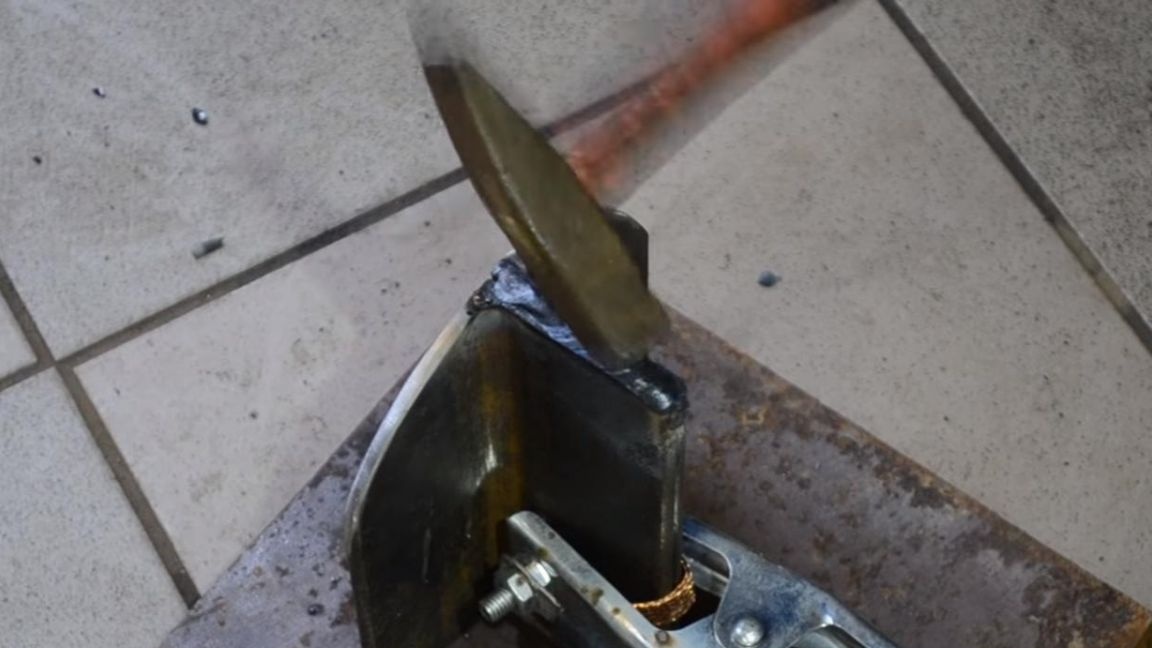
First we fasten large corners together and weld them together.
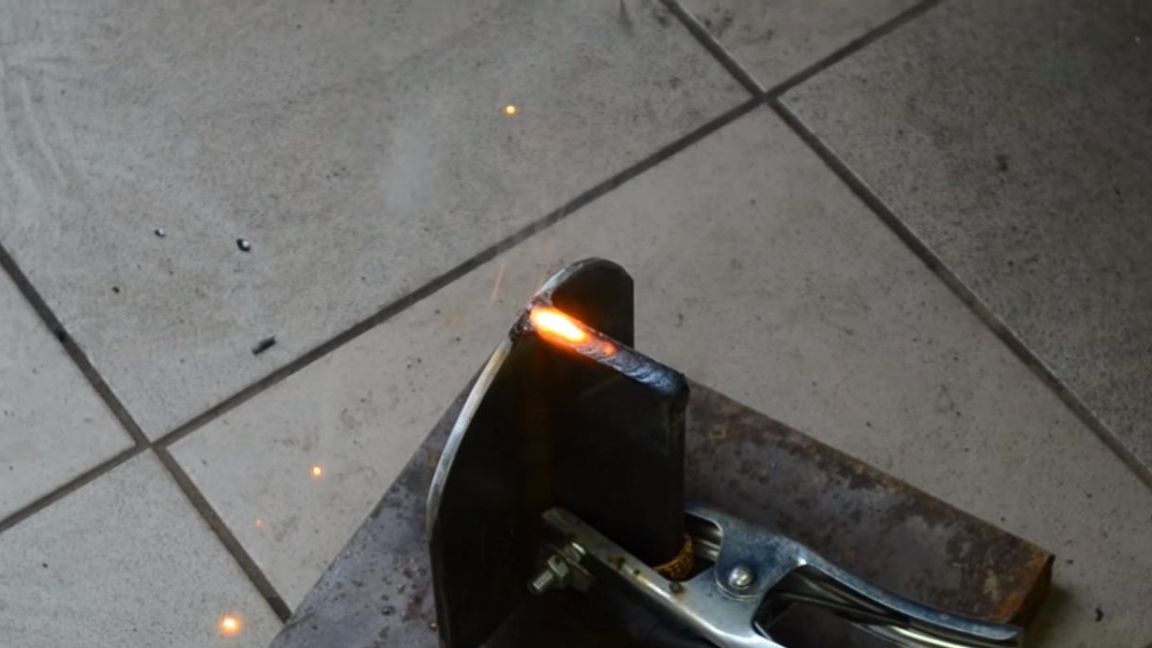
Using a hammer, we remove the formed slag in the place of the weld.
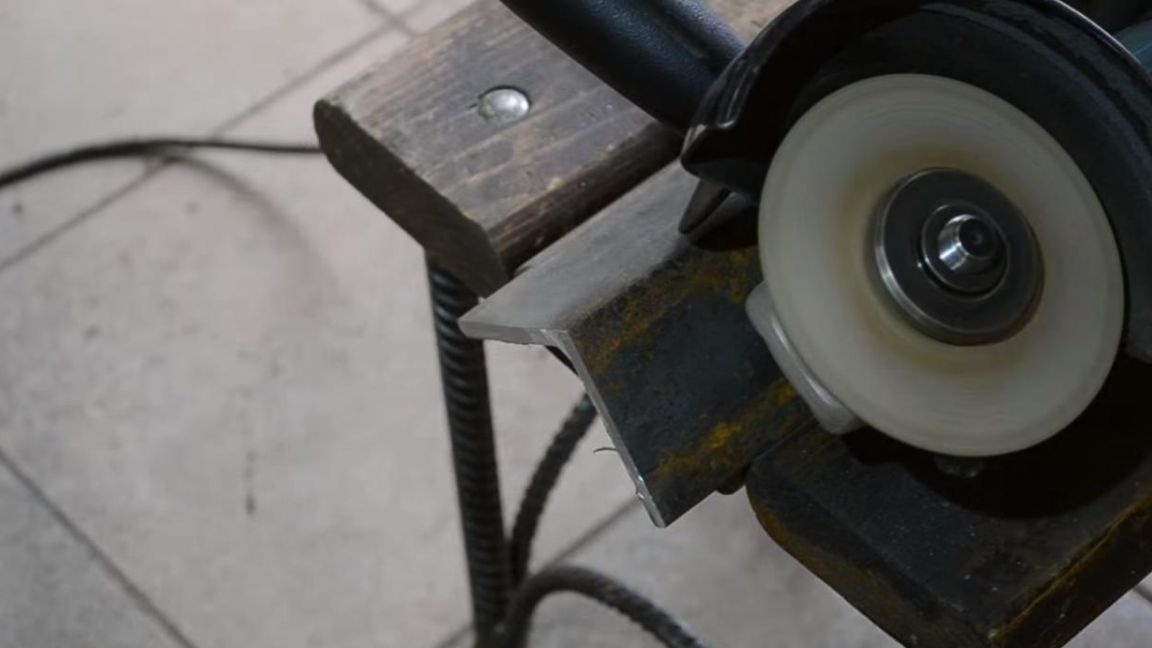
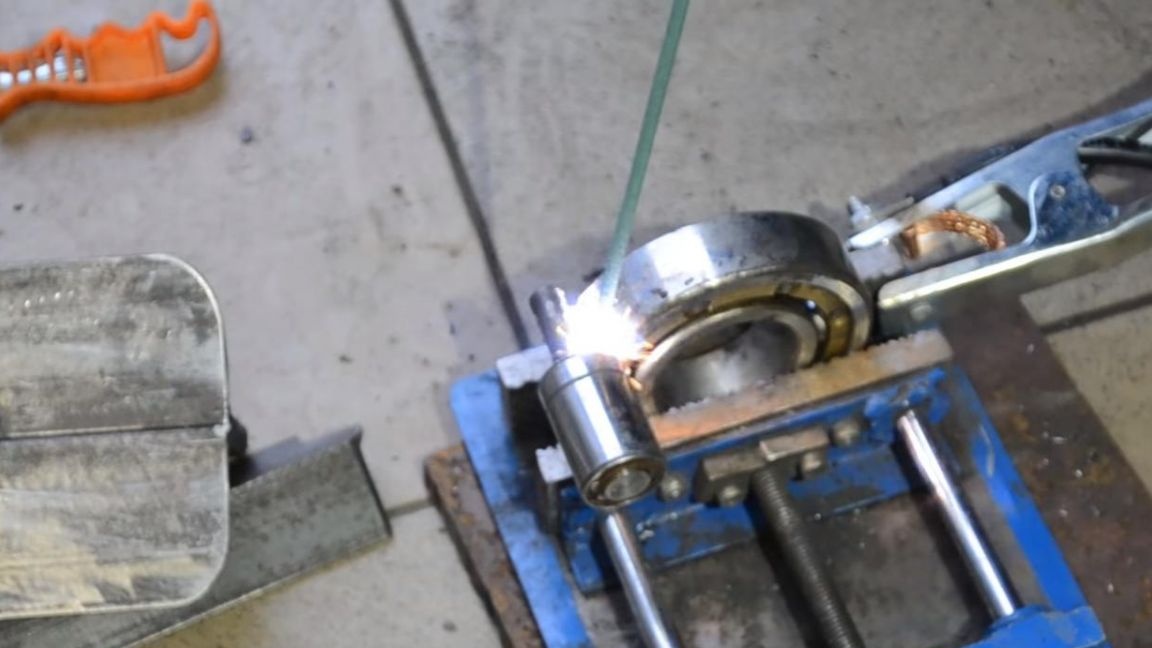
Next, we weld the bearing to the outer race of bearing number 6310, fixed in a vice.
Step Six
Now we weld the rod from the shock absorber to the base from two corners.
We weld a handle to the large bearing from the remaining length of the rod, and for greater strength we weld small metal plates of a triangular shape.
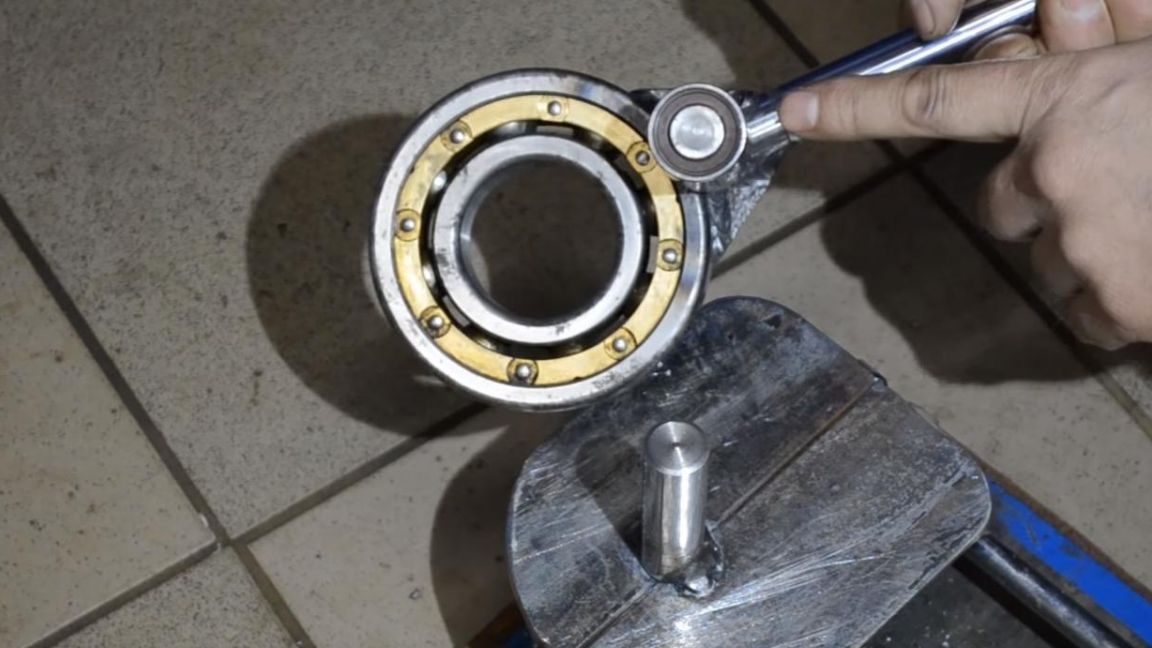
The part with the handle needs to be welded to the rod, which is attached to the base, for this we put plates with a thickness of 1 mm for the gap, this will ensure free movement without jamming even after painting.
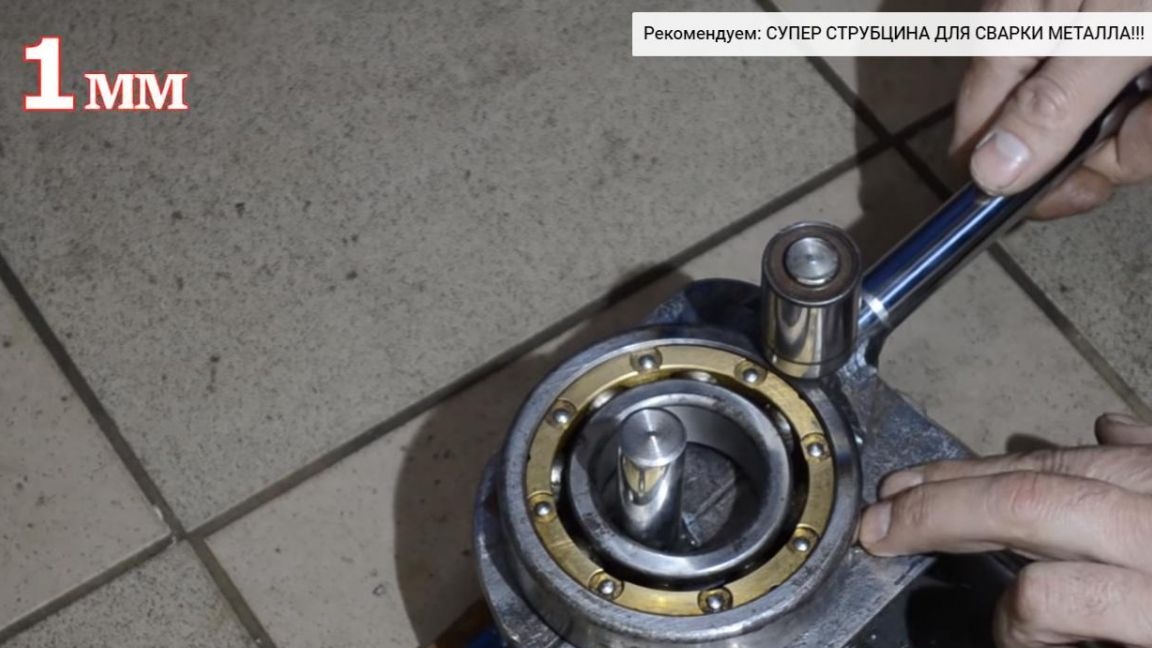
Using a welding machine, we weld the inner race of the bearing to the rod and use fast-clamping clamps to fix it.
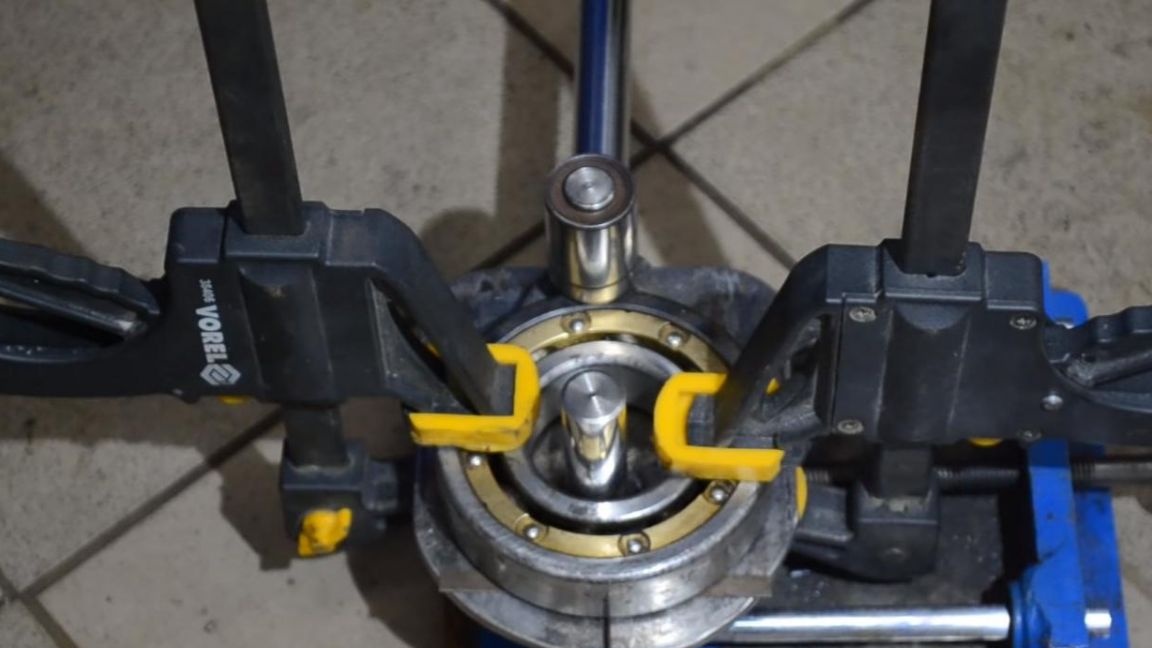
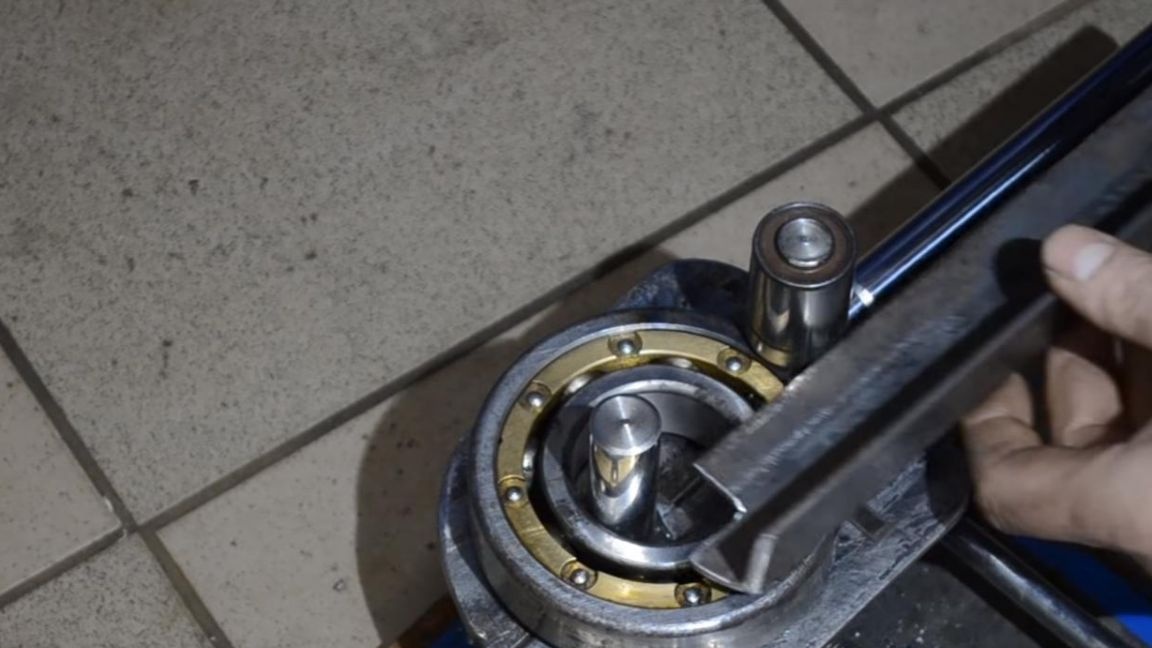
After the part is seized in several places by welding points, we weld the parts well, and then we take out the plates and check how the movable mechanism rotates. We weld an angle of 40 mm to the rod and the inner race of the bearing, in which a cutout for the rod is just made.
In the end, it remains to clean the homemade metal brush and paint with a spray can with a hammer paint.
Seventh step.
After the paint has dried, the tool can be checked in action.
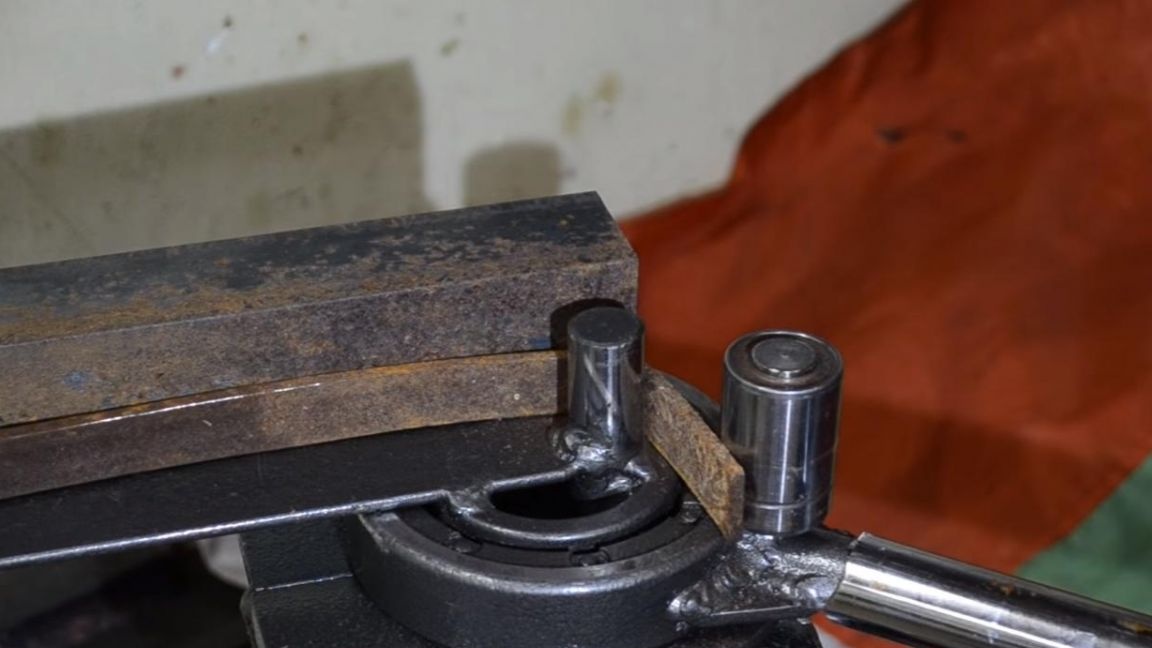
Clamp the tool in a vice.
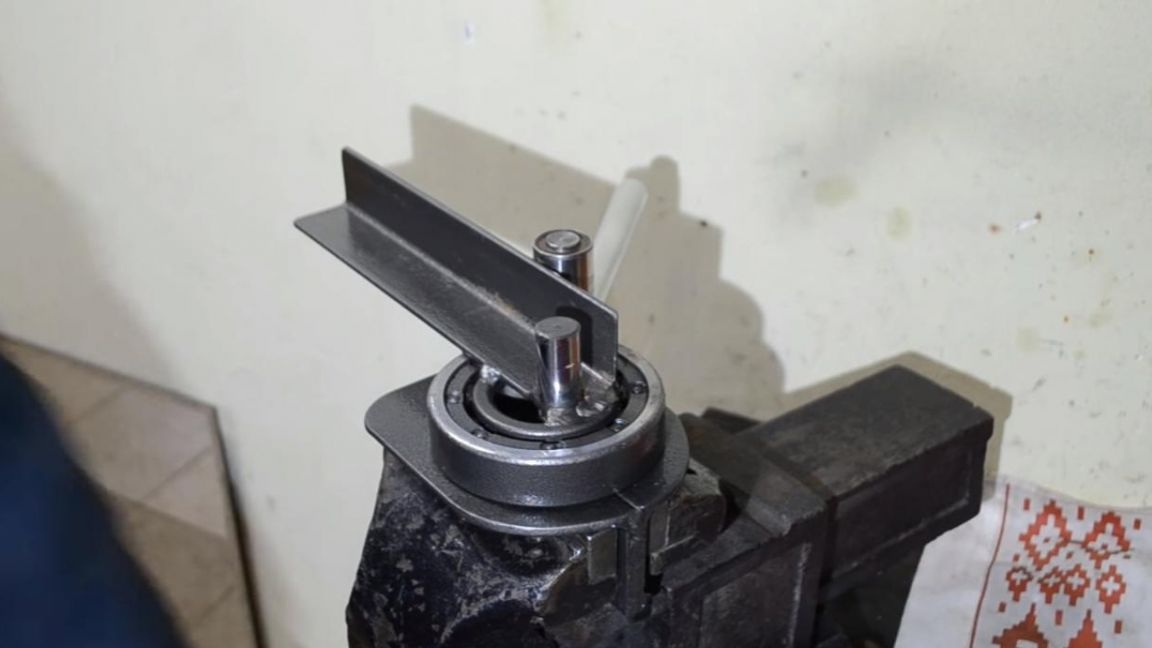
Next, we install a metal bar with a diameter of 12 mm in the guide, and then turn the handle of the moving part, during which the bar begins to bend.
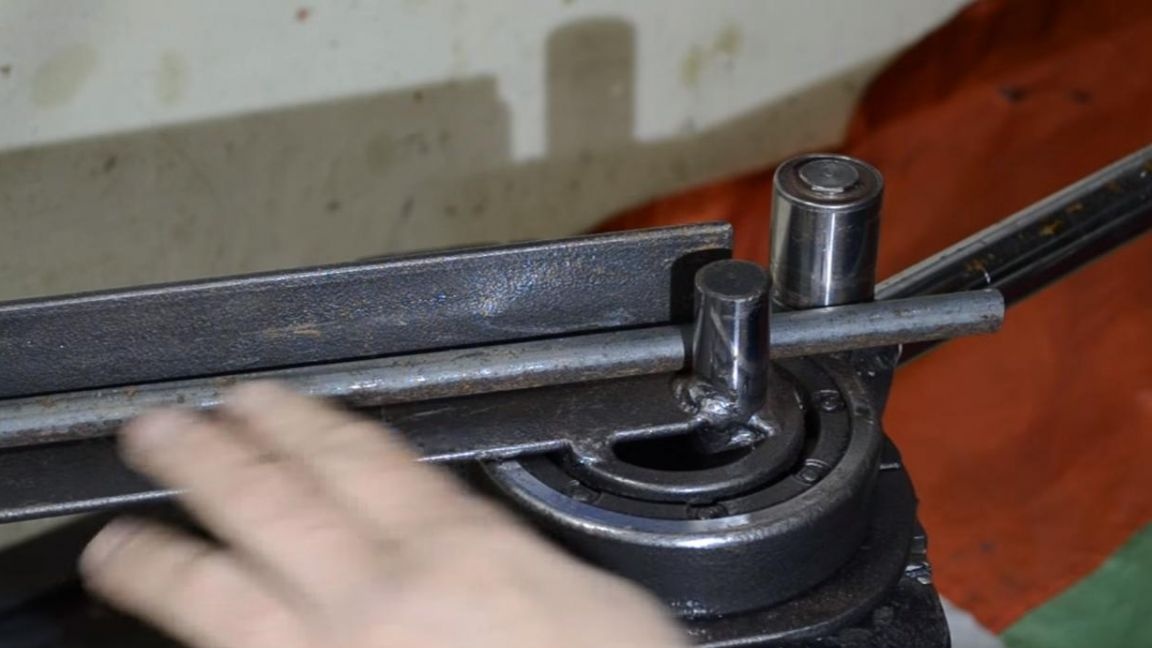
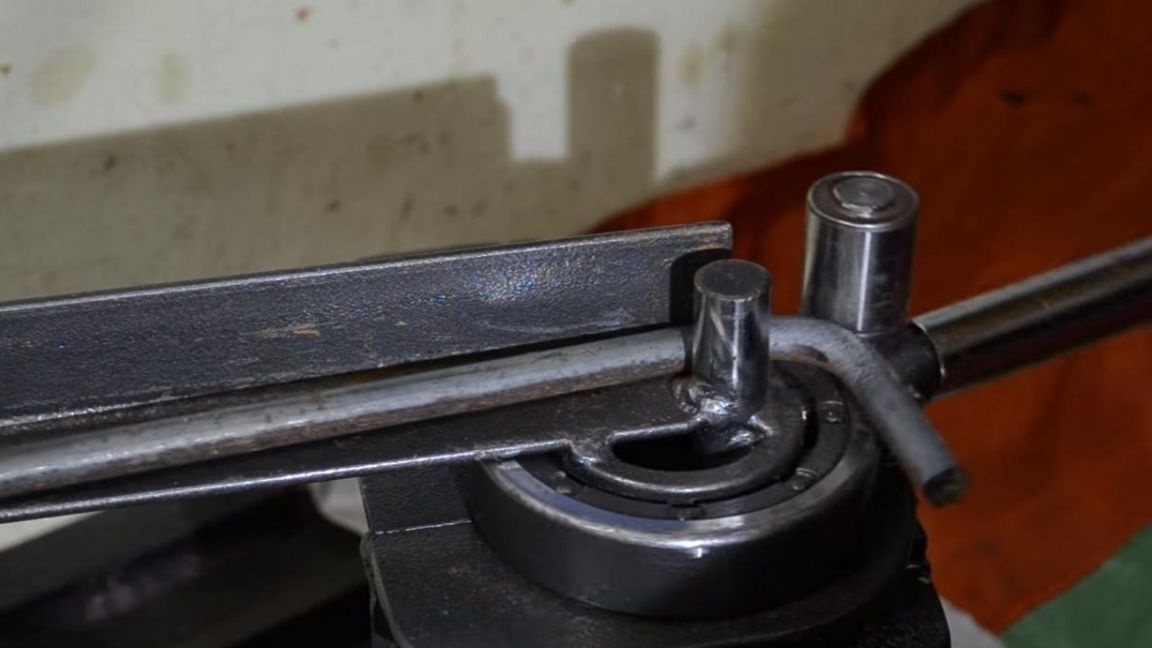
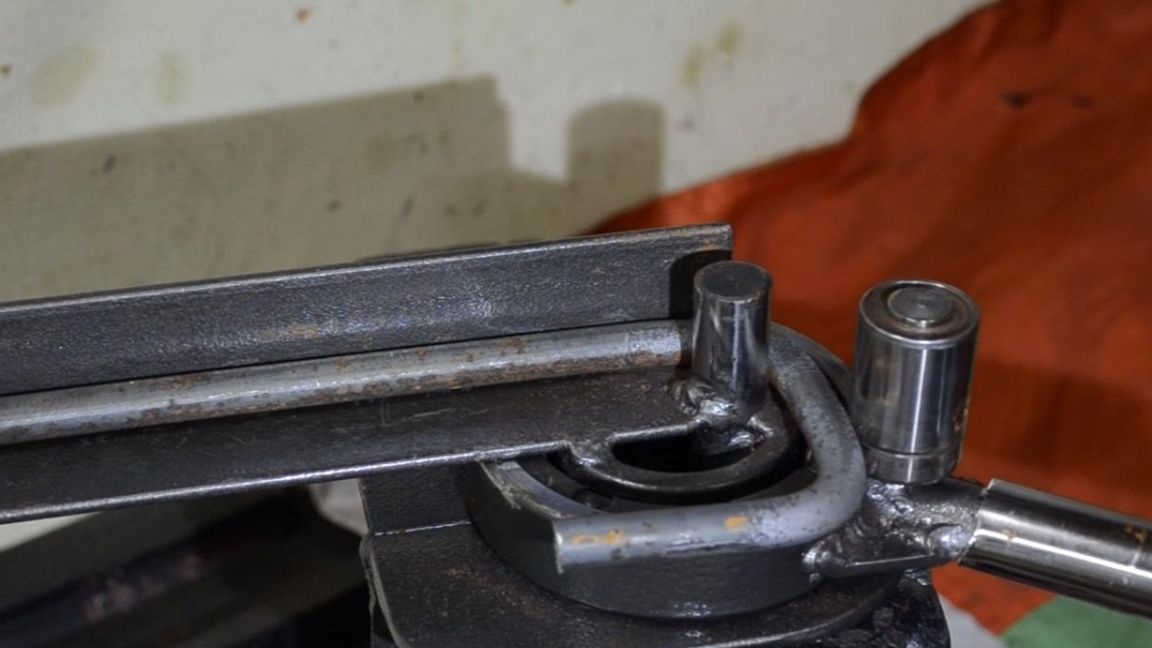
A homemade cold forging machine can easily cope with such a task, a 5 mm thick shank also lends itself easily to homemade work.
With the help of such a cold forging machine you can make various decorative elements, for this it is enough to turn on imagination and find the right amount of metal bars or bars.
That's all for me, thank you all for your attention and good luck in homemade products.