

Hello to all lovers homemade. In this article I will tell you how to make a bending machine do it yourself. It will help in working with sheet metal, namely in its bending at a certain angle for various purposes.
Before proceeding to read the article, I suggest watching a video that shows the whole process of creating a bending machine, as well as its testing.
In order to make a bending machine with your own hands, you will need:
* Angle grinder, cutting wheel and grinding wheel
* Drilling machine, drill bit for metal 6 and 10 mm
* Safety glasses, gloves, earphones
* Welding machine, electrodes
* Welding mask, gaiters
* Roulette, pencil
* 12 mm thick metal plate
* Four springs of automobile valves
* Strut
* Metal cleaning brush on angle grinder
* Metal lathe, boring and boring tool
* M12 tap
* Vernier caliper
* Masking tape
* Spray paint can
* Kerner
* Two metal corners with shelves 25 mm
* Keyless clamps
* Die M12
* Metal corner with shelf size 100 mm
* Waste camshaft
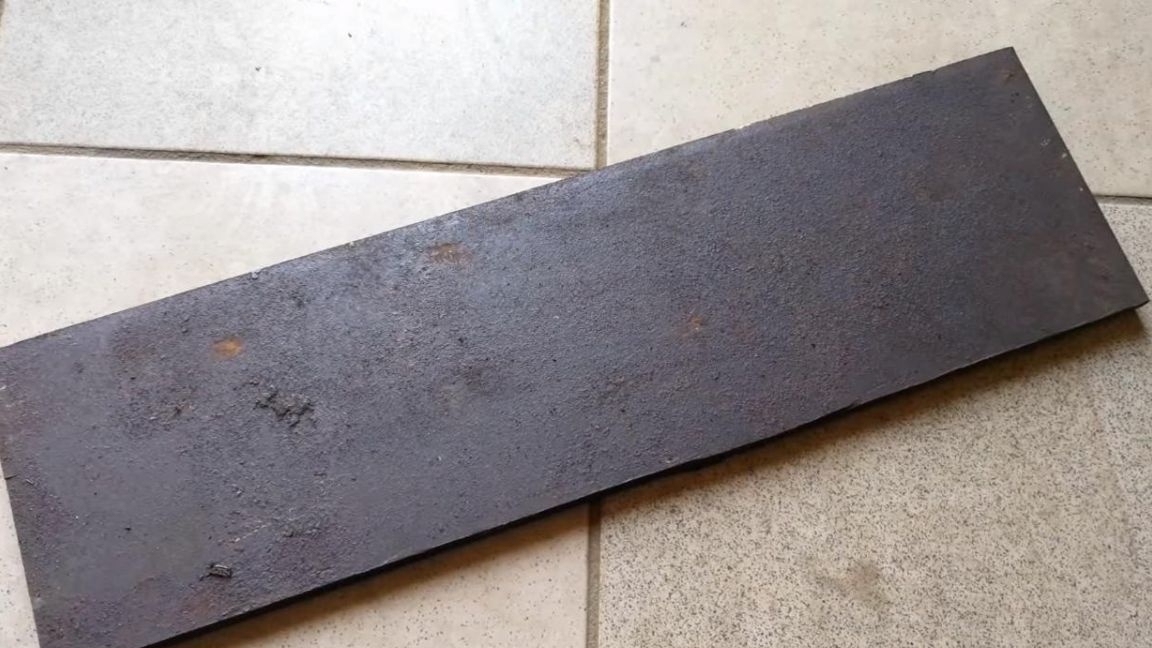
Step one.
First you need to clean the rust from a metal plate with a thickness of 12 mm, it is most convenient and quicker to do this using an angle grinder and a cleaning brush. When working with the angle grinder, use safety glasses, gloves and earphones.
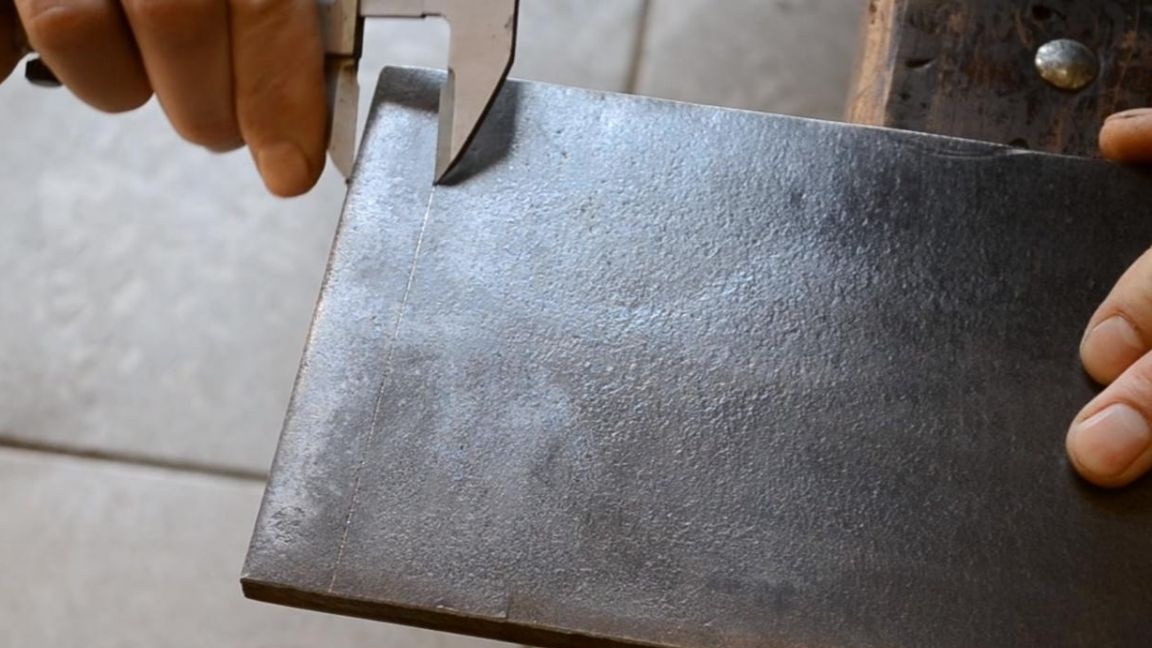
Step Two
Using a caliper, mark the markings on the plate under the hole, stepping a couple of centimeters from the edge.
Then, exactly in the middle, we make a core, which will allow us to accurately position the drill.
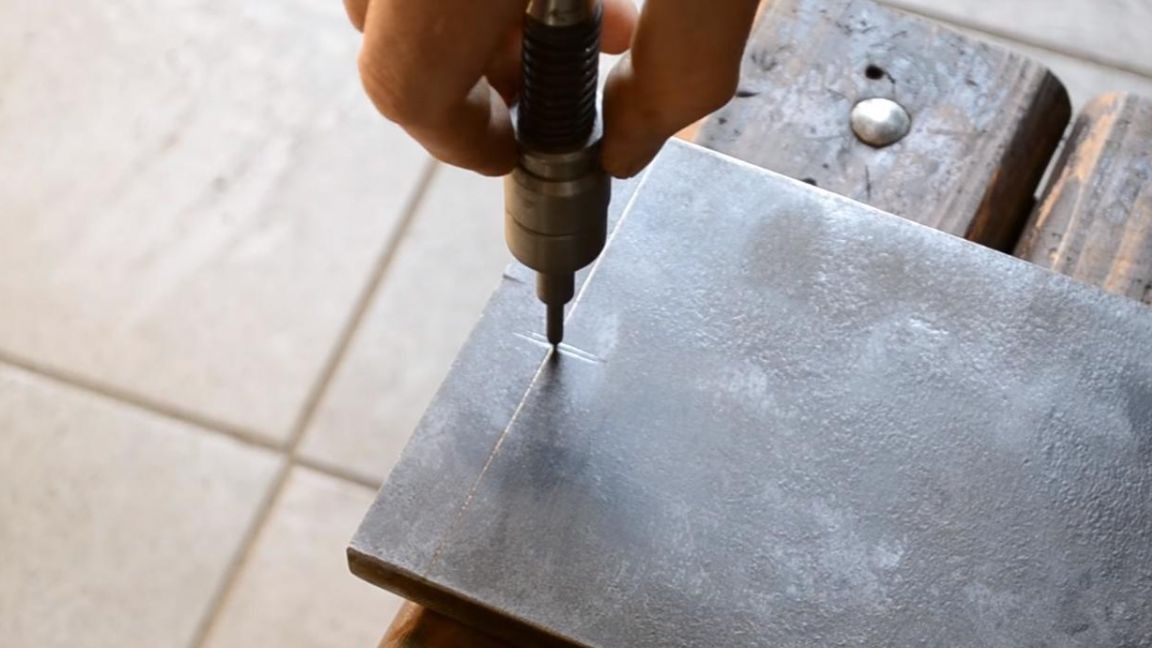
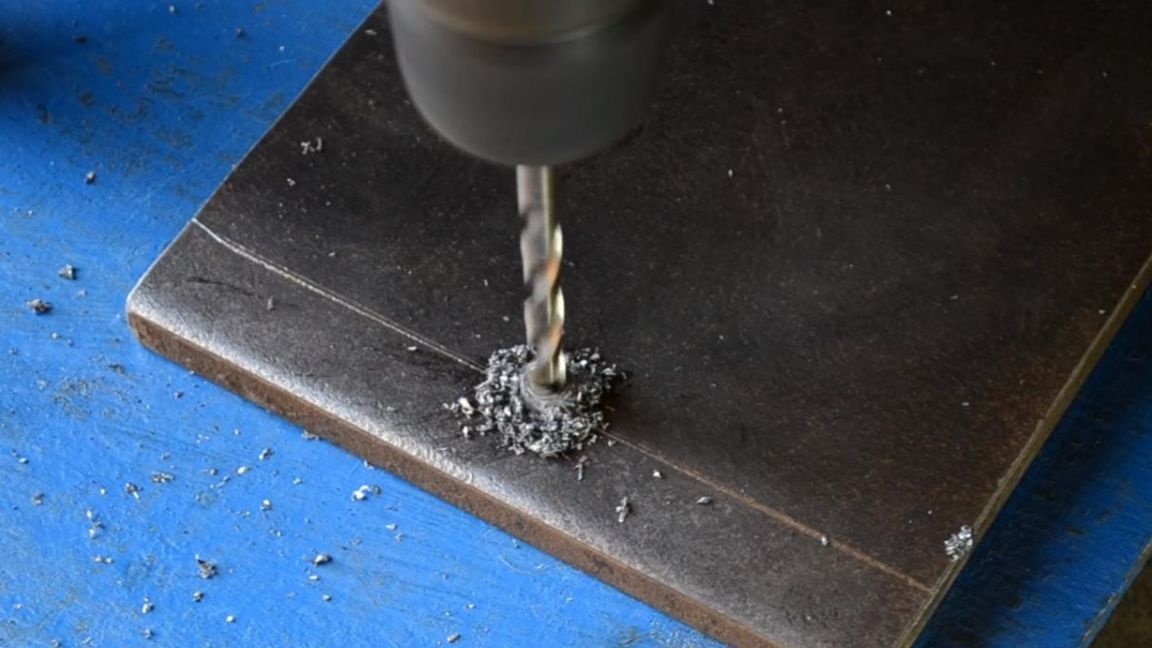
Then, in the chuck of the drilling machine, we clamp a drill for metal with a diameter of 6 mm and make a hole, and then we do the same, but with a drill of 10 mm. In the process of drilling, add technical oil to the cutting edge of the drill, so it will last longer and will not jam in the part to be drilled. We make a similar hole from the other edge.
Step Three
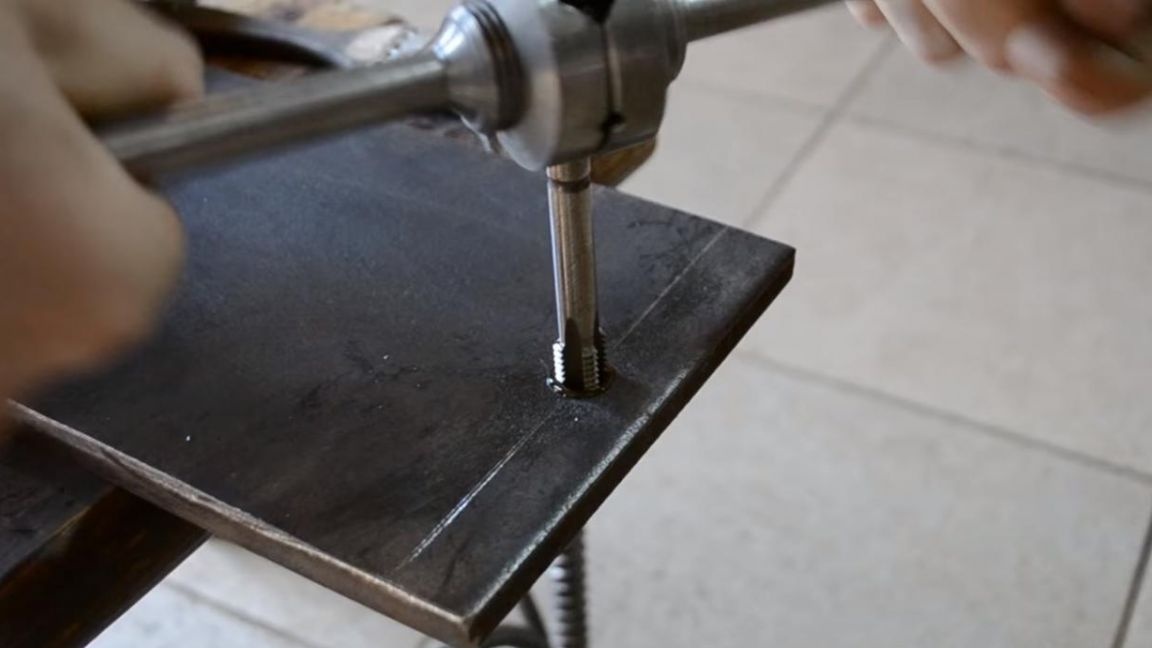
Having lubricated the cutting edge of the tap with technical oil, we begin to cut the M12 thread in the holes made.
Next, using an angle grinder and a cutting disc, we disassemble the shock absorber strut in order to remove the rod from it. When disassembling the rack, be careful, as there is a large amount of oil inside, which can be under pressure. We take out the rod from the rack and mark it exactly in the middle, for more precise marking we use masking tape.
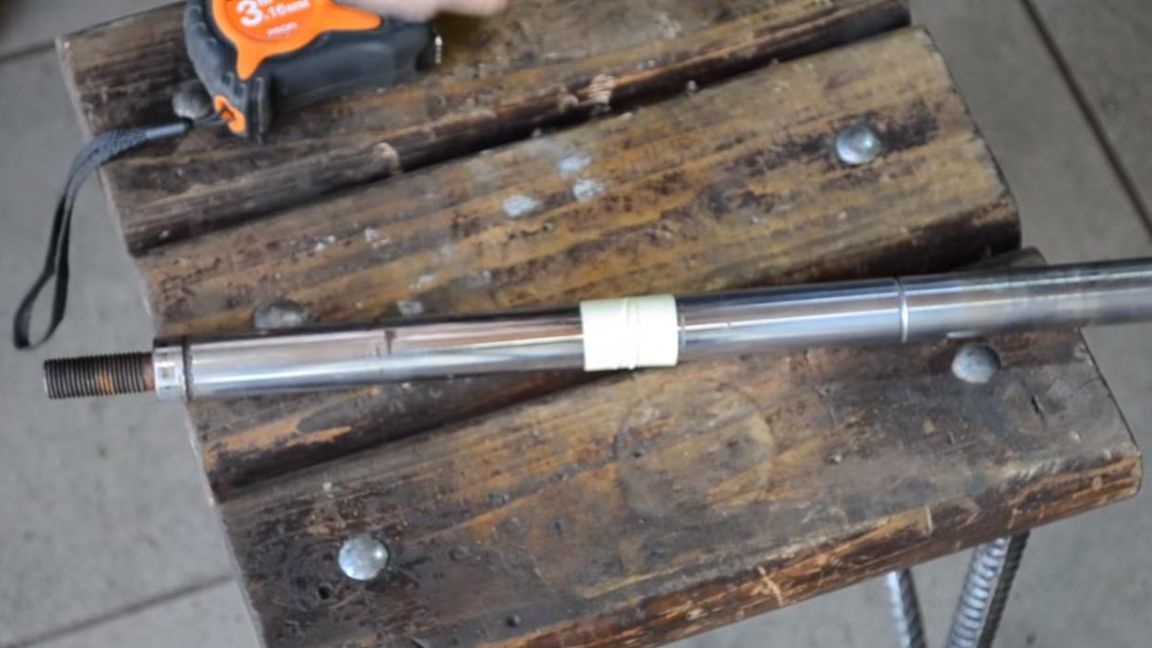
Then, using the angle grinder, we cut the rod at the mark into two identical parts, while cutting we smoothly rotate the rod.
Step Four
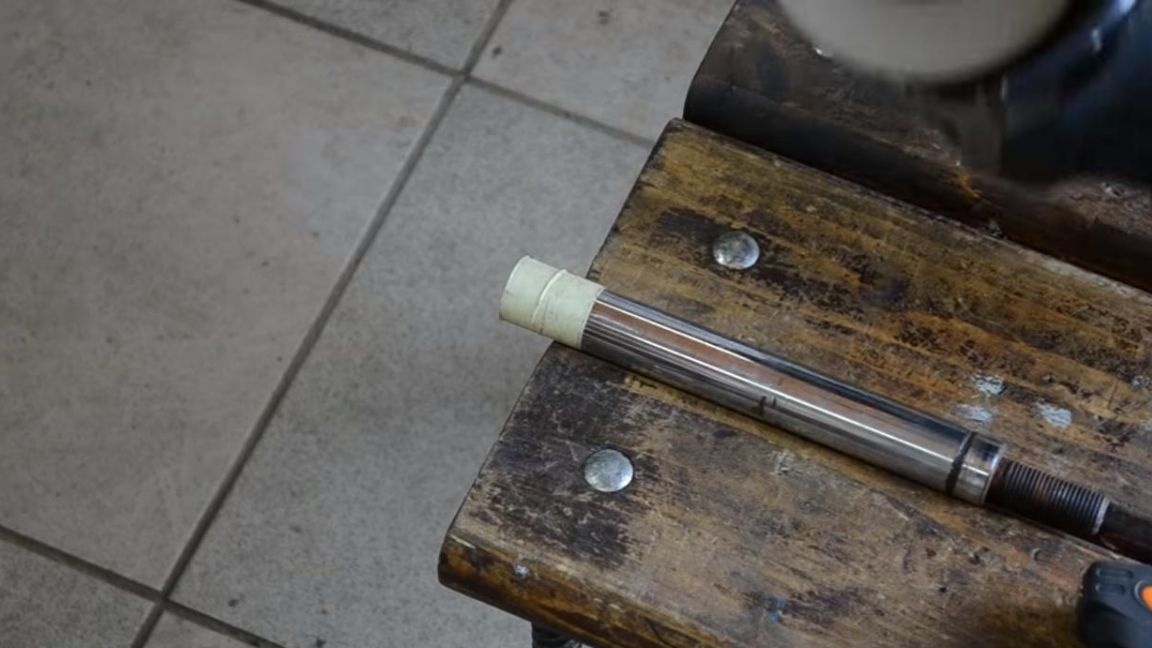
Now we install one of the workpieces made from the rod into a three-jaw chuck of a lathe for metal and we cut a small cut to a diameter of 12 mm with a straight cutter.
After that, using the M12 die, we cut the thread on the workpiece by manually turning the machine chuck.
With the second workpiece from the rod, we do the same.
Step Five
We saw off a small segment from the automobile camshaft with an angle grinder.
Then we grind the sawn bushings on a lathe with a boring cutter to the desired diameter.
At the end of the groove, the bushings should be worn on the rod and at the same time have a minimum clearance for free movement. Here it was possible to do without a machine, if a pipe of suitable diameter was available.
Step Six
From the 100th corner, which we fasten to the workbench with quick-clamping clamps, we cut off the workpiece with a length of 445 mm and a width of 80 mm using angle grinders.
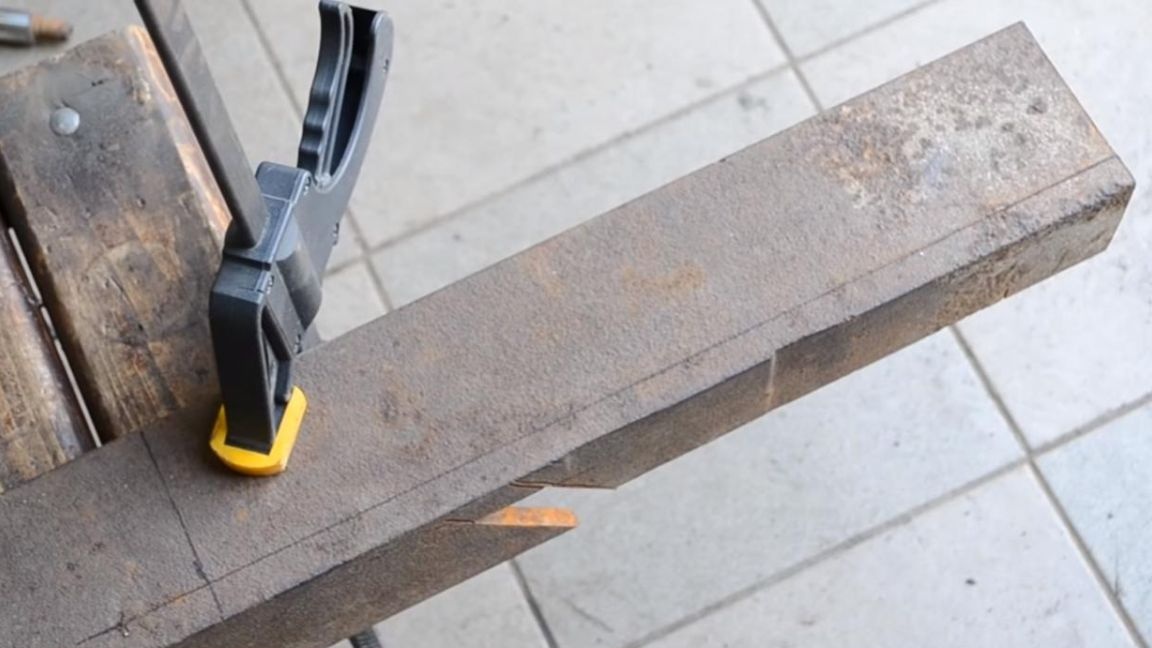
Next, we grind one of the edges at an angle of 45 degrees by installing a grinding wheel in the angle grinder.
Seventh step.
All components for assembling a homemade tool are ready.
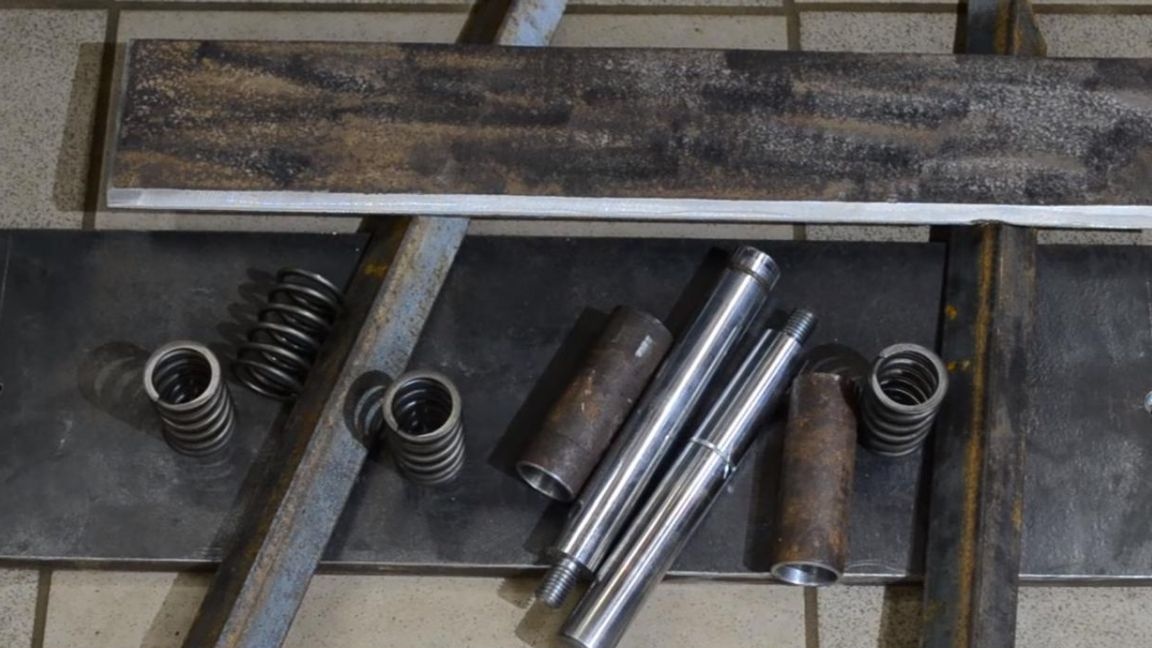
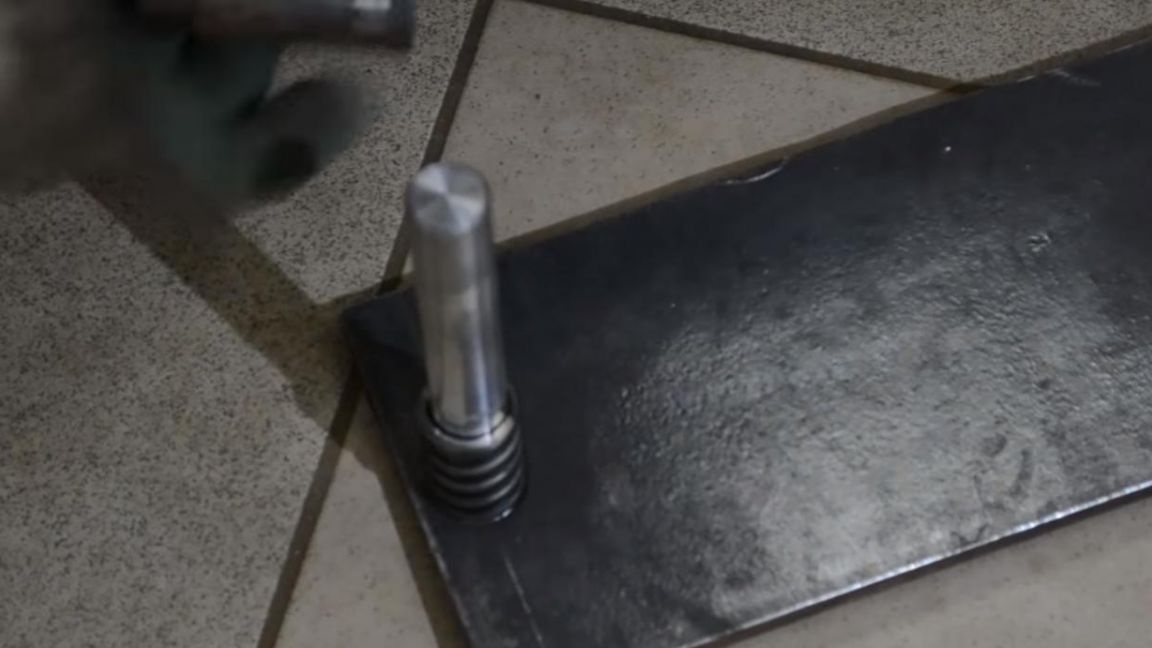
We fasten the threaded rods to a metal plate and throw two valve springs on each.
To strengthen the entire structure, 25th corners are welded together using a welding machine. When working with the welding machine, be careful to wear a welding mask and gaiters.
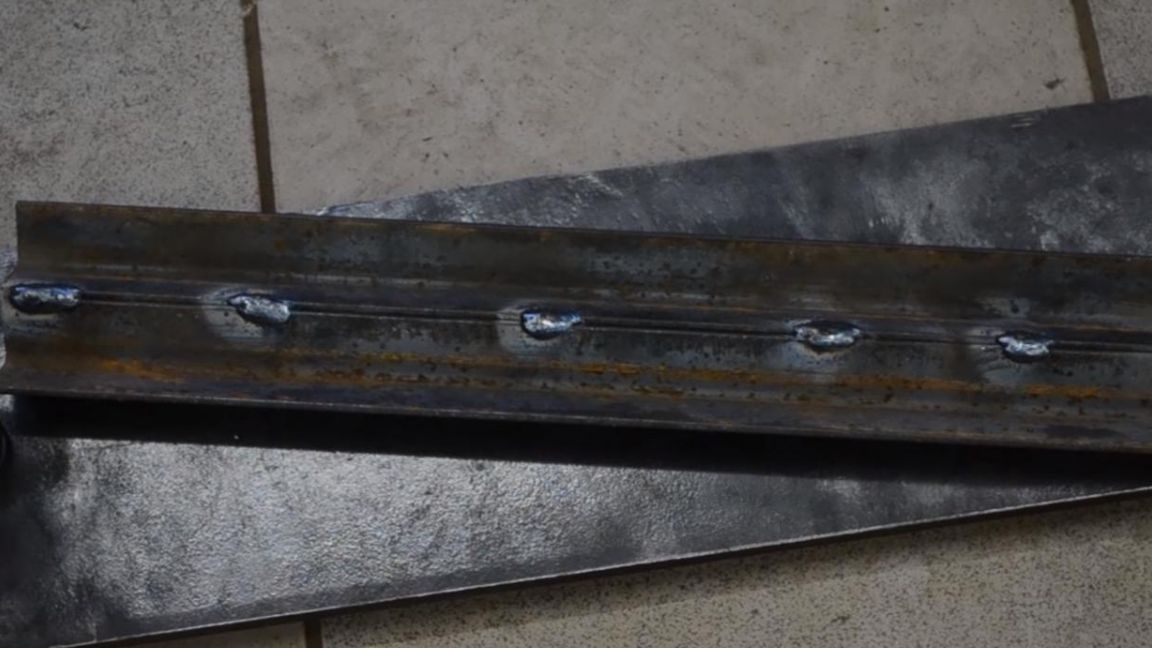
Next, the corners are welded to the base. We grab the workpiece with the sharpened edge at 45 degrees to the bushings, then finally weld the joints, also weld a metal ring under the press on top of this workpiece.
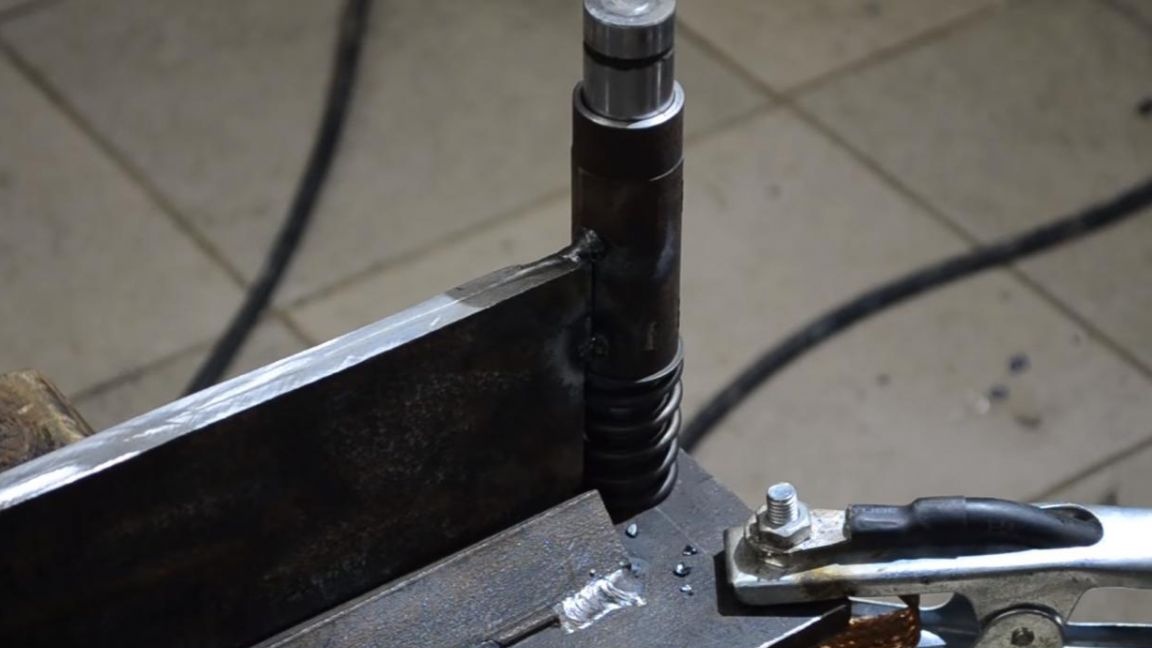
After welding, remove the slag from the seams and paint device with a spray can with hammer paint, protecting the stocks with paper, since they do not need to be painted.
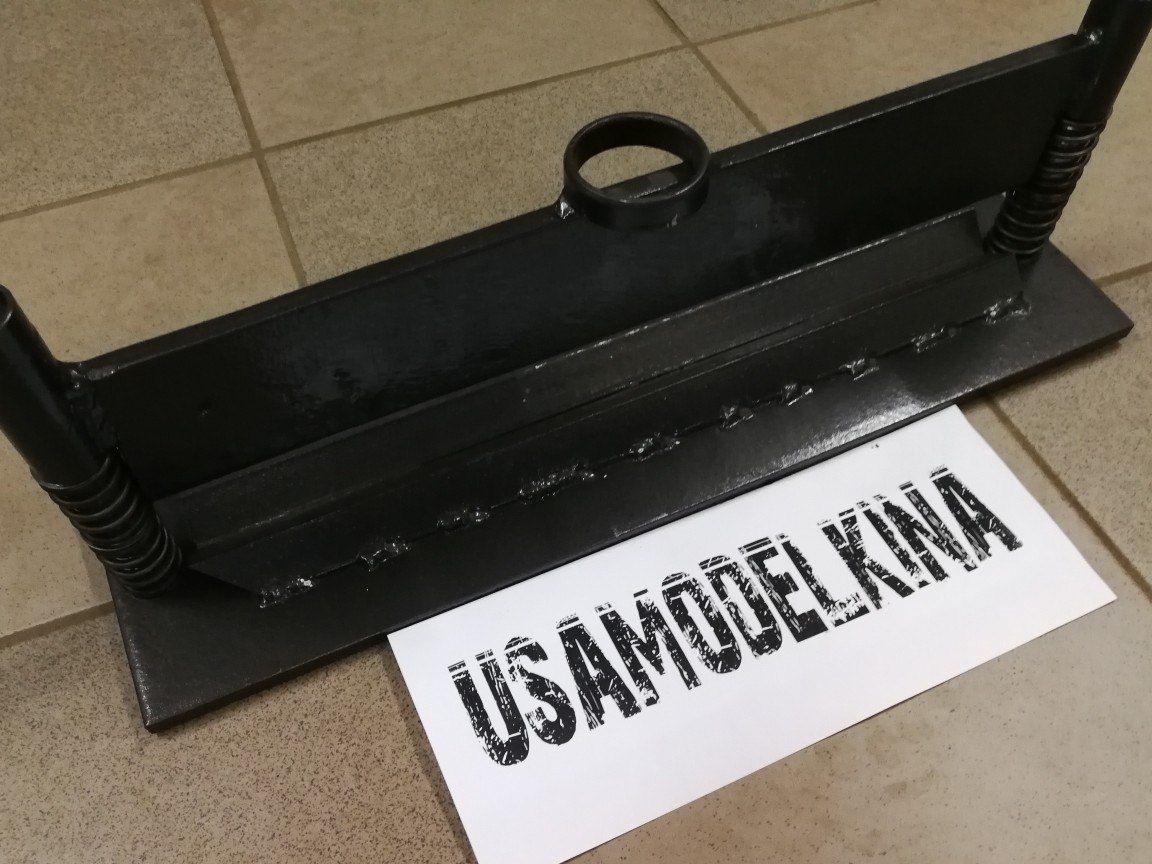
Step Eight.
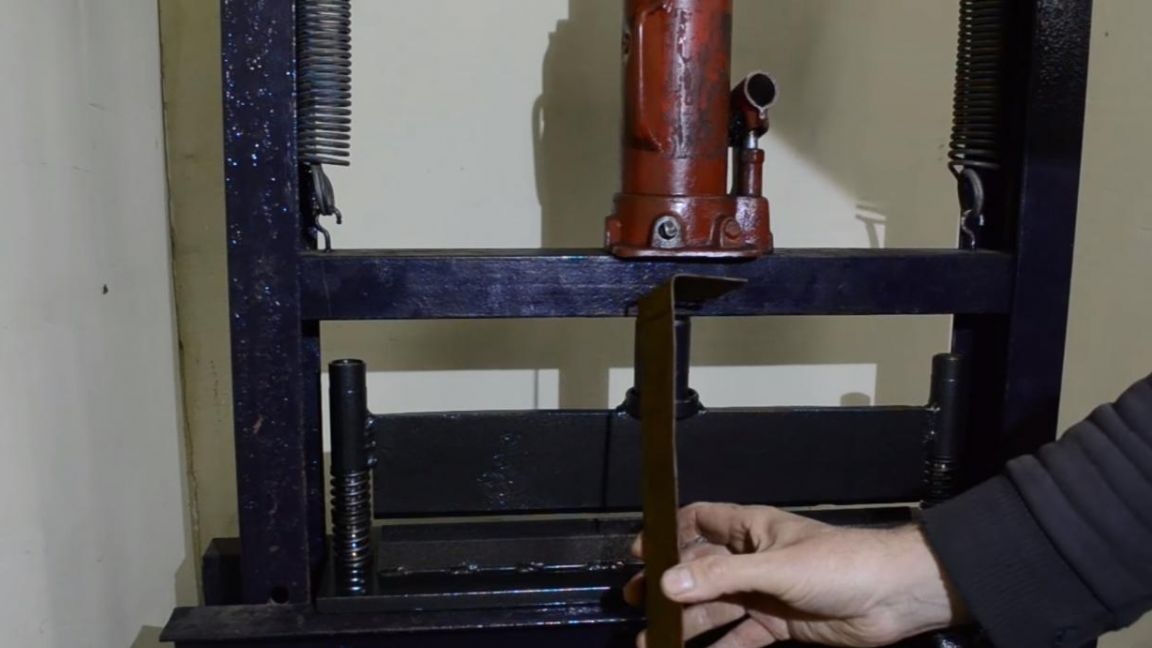
The bending machine is completely ready, it's time to start testing.
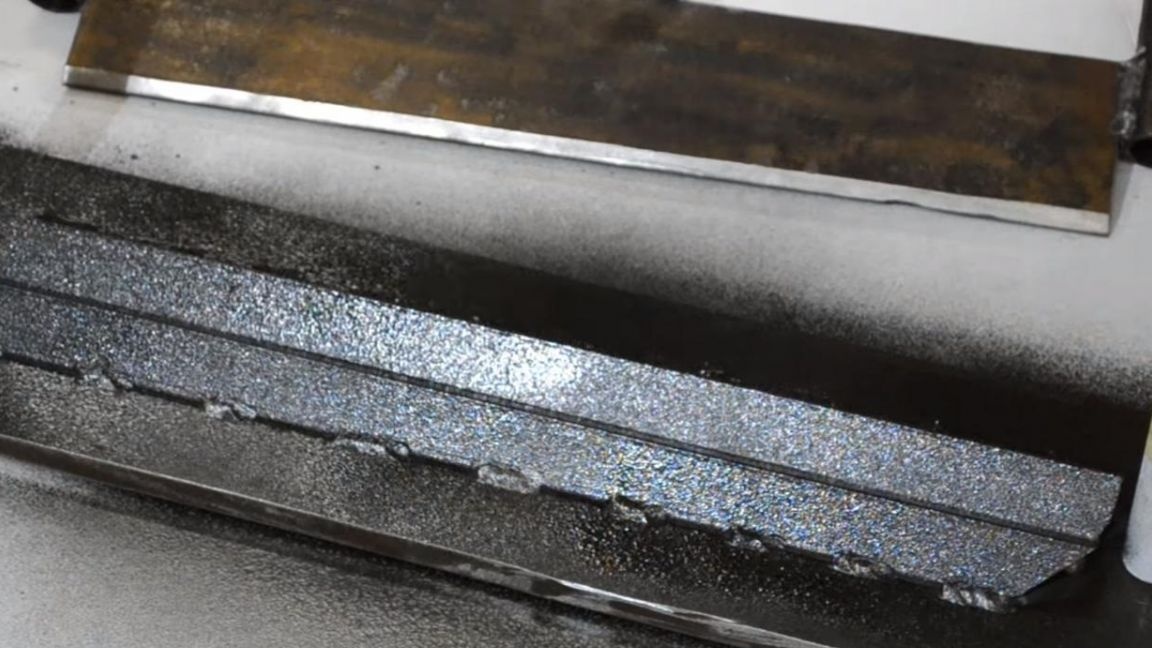
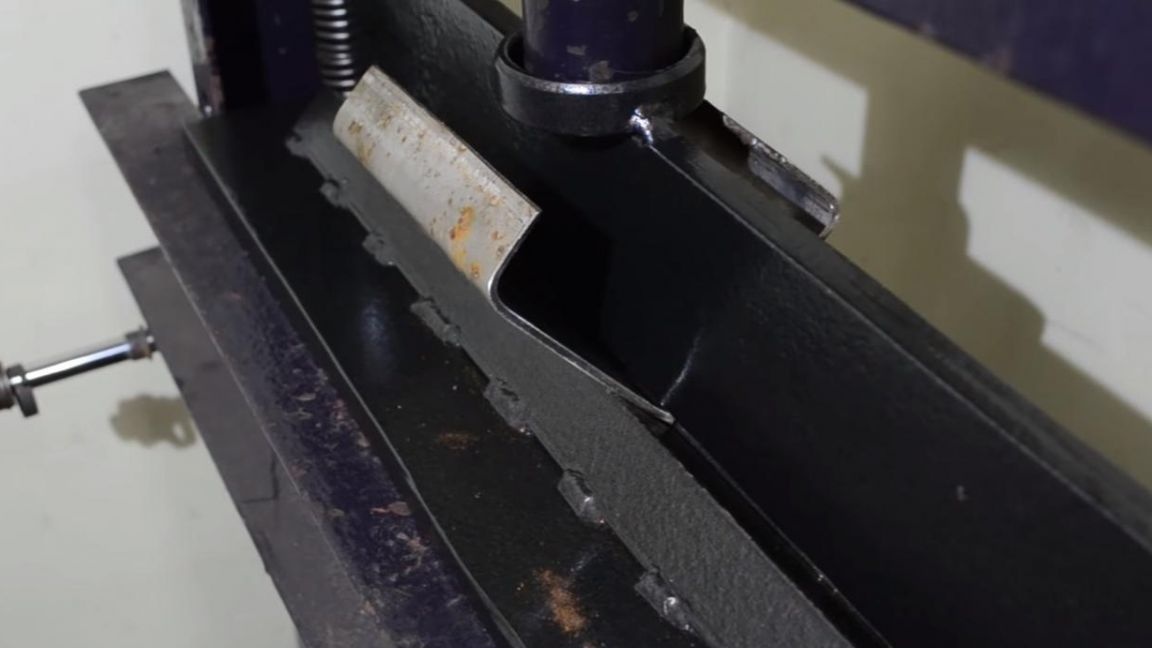
We install this device on a hydraulic press. We take a strip of steel 2 mm thick and with a press we begin to lower the movable part of the bending machine, during which the metal sheet is bent at the required angle, the maximum angle in this case is 90 degrees.

We check with 3 mm thick stainless steel, the device also coped with this task without any problems.
That's all for me, this bending machine, together with good imagination, will allow you to make many interesting and useful homemade products.
Thank you all for your attention and creative success.