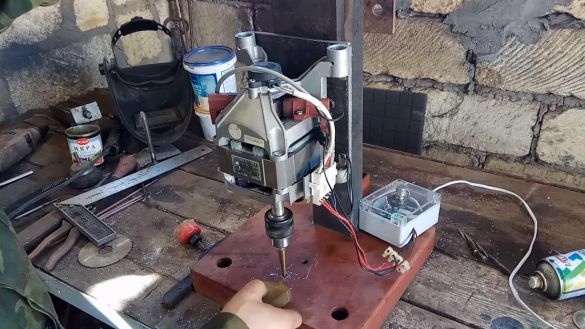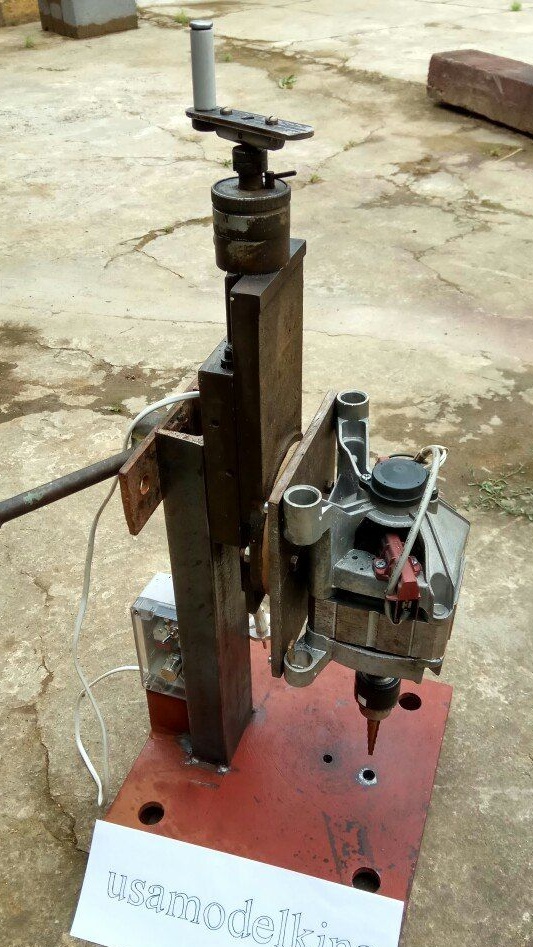
Hello to all lovers homemade. I think many who create something do it yourself you have to make holes in the details when making the next homemade product, but it is not always convenient to do it with a conventional electric drill, especially when the goal is to get a hole at a right angle. In this article I will tell you how to make a drilling machine with the engine from a washing machine with your own hands, which will allow you to make holes at right angles in parts made of metal, wood and other materials. Such home-made help save money, since the factory version of the drilling machine is quite expensive and can not always provide what a home-made machine will have, for example, sufficient structural rigidity.
Before reading the article, I propose to watch a video, which shows in detail the assembly process and testing of the finished drilling machine with various drills.
In order to make a drilling machine with an engine from a washing machine, you will need:
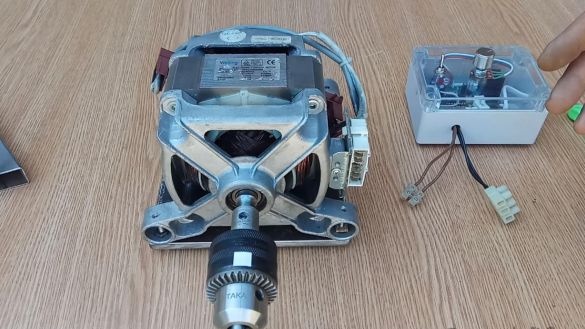
* The engine from the washing machine
* Engine speed adjustment board
* Welding machine
* Welding mask, gaiters
* Drill chuck
* Spacer on the motor shaft under the cartridge
* Channel 80 mm wide
* Small longitudinal feed from the lathe for metal
* Electric drill
* Plywood sheet
* Protective glasses
* Stepped drill
* Lathe
* Sheet metal 12 mm thick
* M10 bolts and nuts under them
Step one.
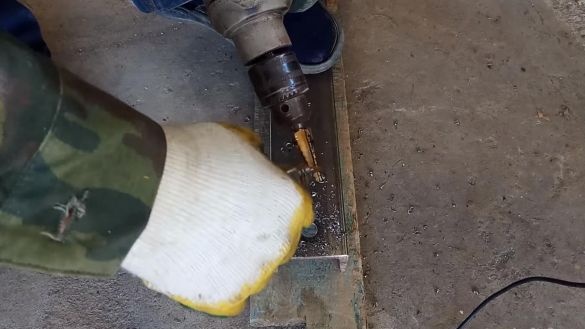
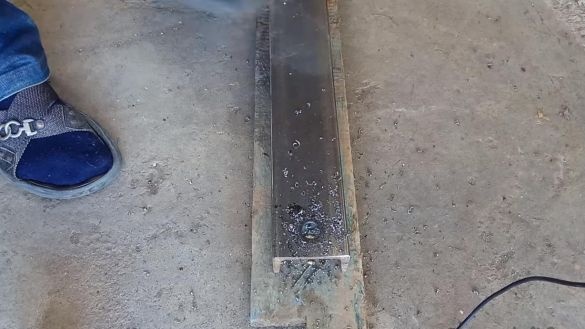
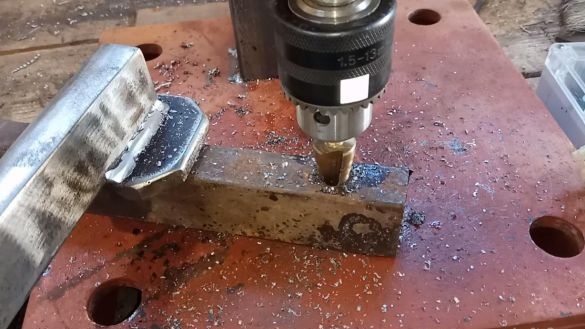
First of all, you need to drill a hole in the channel for installing the studs with a small longitudinal feed. We drill a hole using an electric drill, using a step drill for metal.
In the process of drilling, add technical oil to the cutting edge, so the drill will last longer and does not jam, you also need to make sure that the drill is perpendicular to the part.
The result should be a hole with a diameter of 19 mm.When working with an electric drill, use personal protective equipment, wear safety glasses.
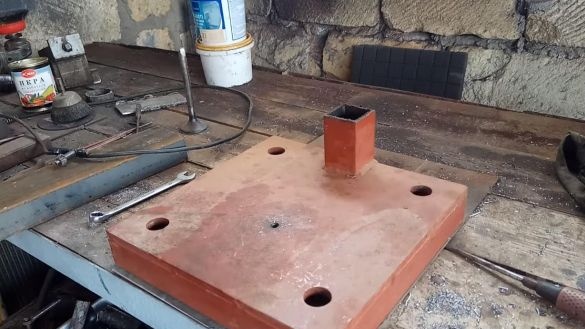
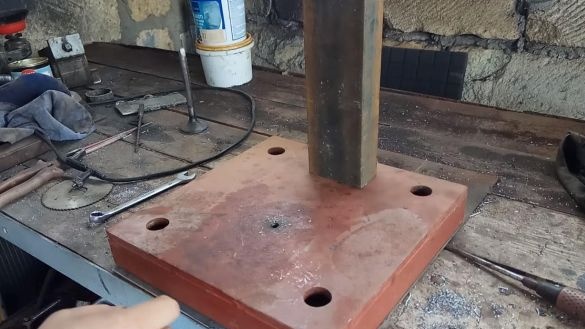
For a drilling machine, you need to make a base on which the drilled parts will be located, and also an engine with a channel will be mounted. It is best to make the base from a sheet of metal, which will need to be scalded with metal corners on four sides using a welding machine. When working with the welding machine, be careful and use a face shield and gaiters. The thickness of the metal in this case, the greater the better, 12 mm is enough for a strong and stable structure. By the way, this base was taken from a previously made drilling machine.
Step Two
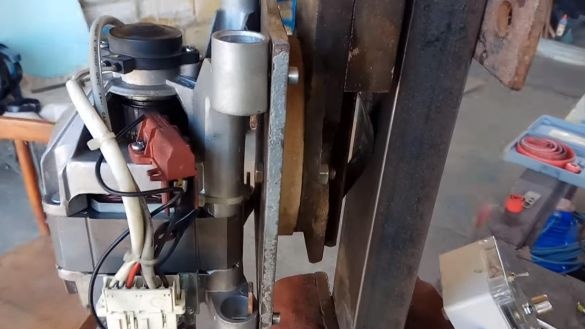
Now you need to take care of mounting the engine from the washing machine to the channel. Since its four factory-mounted ears do not allow the engine to be attached to the channel, we drill holes in them on one side, after which we fix a metal sheet 12 mm thick on the engine with bolts and nuts.
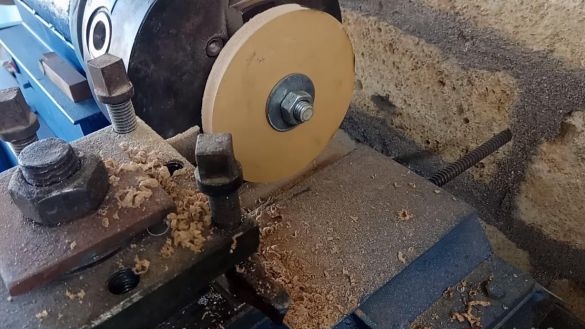
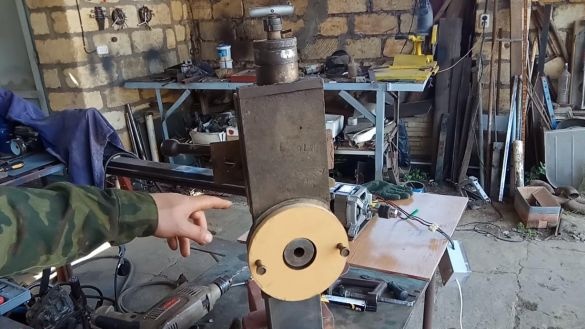
On the longitudinal feed on the reverse side, the plane for pressing is made in the form of a circle, therefore, to ensure a snug fit to the engine mount, you need to make a spacer. We make a round spacer from plywood using a lathe, turning it to the desired diameter.
Then we drill a hole in the plywood, the diameter of which should be equal to the diameter of the circle in the longitudinal feed for a tight and accurate installation. In the engine mount, we drill two holes at the same distance as the mounting holes of the longitudinal feed.
Step Three
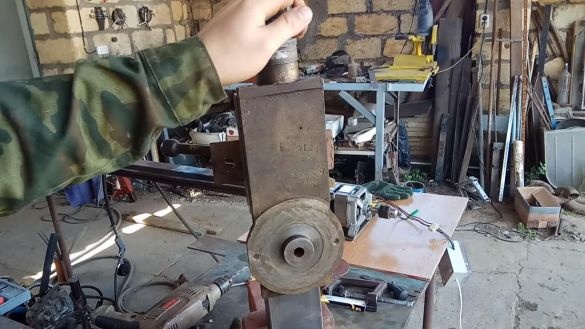
We weld the channel to the base of the machine using a welding machine, in order to achieve perpendicularity we use magnetic corners.
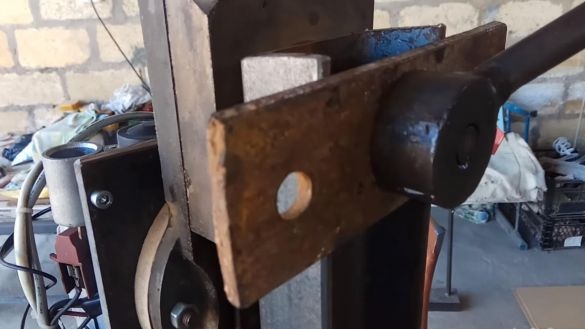
Next, we install a small longitudinal feed in the hole, its fixation will be carried out by pressing the threaded handle on the back of the channel.
We fasten the engine through a spacer made of plywood and fasten it with two bolts, the holes for them in the metal sheet must be drilled in advance.
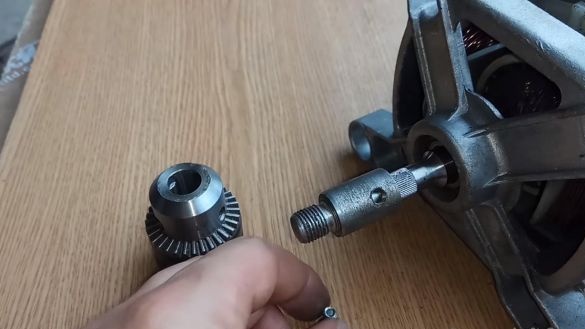
The only thing that can not be done in the absence of a metal lathe is a spacer under the chuck for installing it on the washing machine motor. Therefore, it must be ordered from a turner, who will turn out the exact part for a penny, using it you can fix the chuck from the drill onto the motor shaft.
Step Four
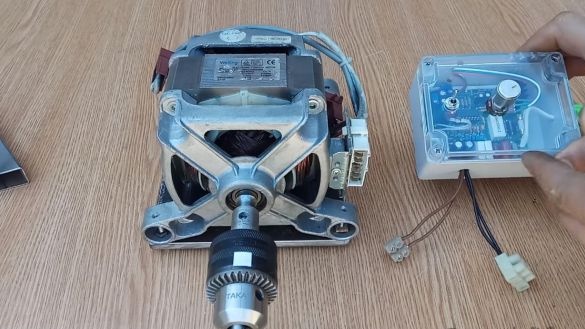
There is very little left, namely, to connect the speed control. This speed regulator was ordered from the person who makes them, it differs in that when regulating the speed, up to the very minimum, its torque remains unchanged, since this is monitored by the board through the tachometer.
That is, when drilling at low speeds there will be no "subsidence" of speed, which is very good for a drilling machine. The regulator is best placed at the rear of the channel so as not to damage it when drilling.
The final step is to install a metal drill in the chuck and drill a hole for the drill outlet at the base.
Step Five
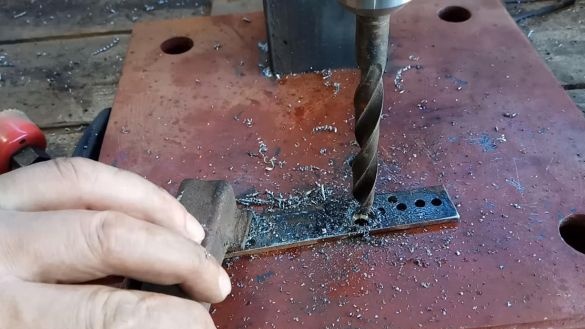
The do-it-yourself drilling machine is completely ready, now it can be checked under operating conditions. Set the desired speed using the regulator and clamp the drill into the chuck. We turn on the engine power, gradually feed the drill to the part to be drilled by rotating the handle of the longitudinal feed. When drilling, add a little technical oil to extend the life of the drill and turning the handle more and more deepen the drill into the part. After the hole is ready, turn off the engine and raise it with the handle of the longitudinal feed, this completes the testing of the homemade product.
During the tests it was found that this engine from a washing machine with a power of 420 W is able to drill a metal part with a drill up to 12 mm, but with some difficulty, perhaps this is due to the quality of the drill itself, at least to make even holes 10 mm in diameter on this machine easy and also fast.
That's all for me, thank you all for your attention and creative success.


