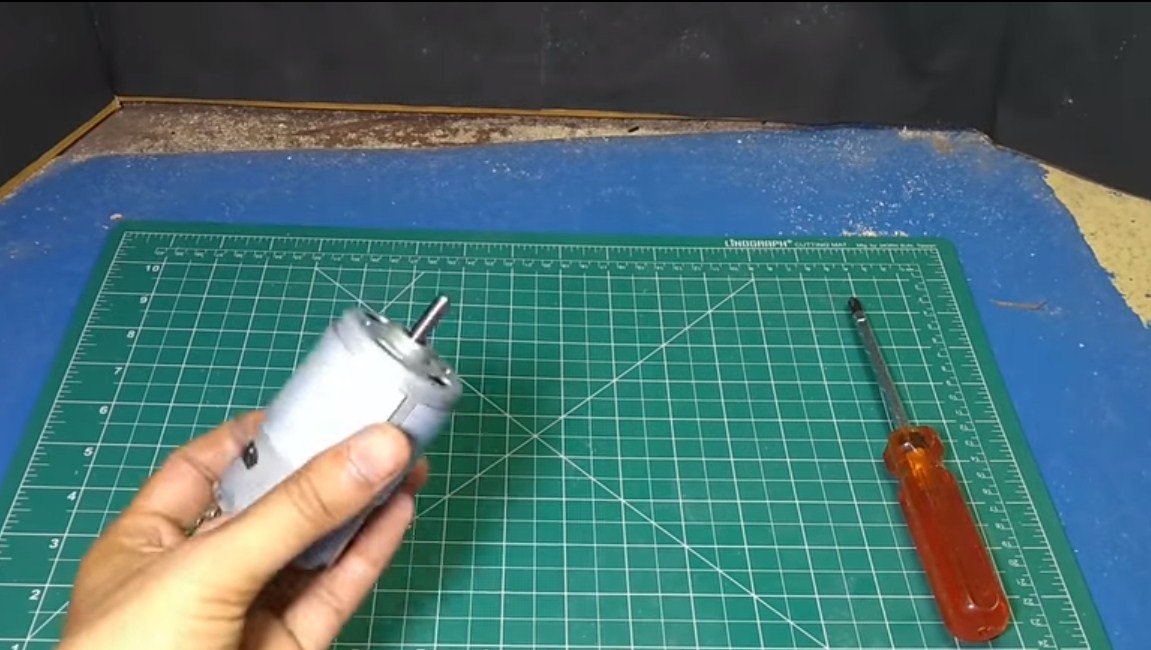
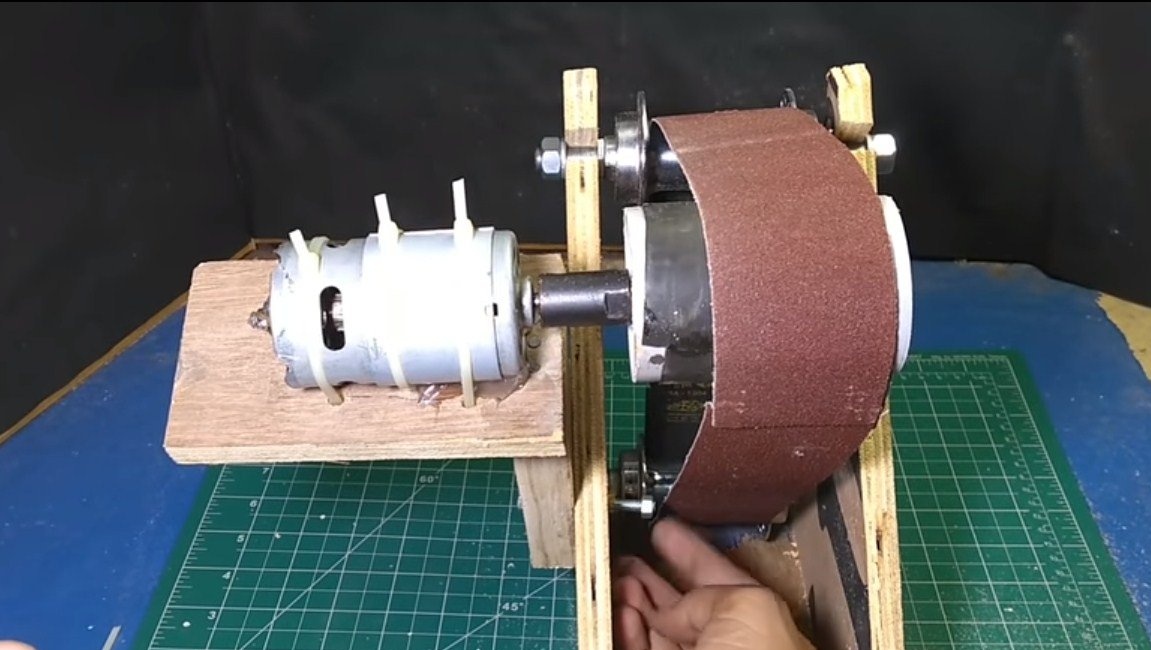
Hello everyone, in this article we will discuss how do it yourself make a three axis belt sander. We have a small machine, suitable for needlework and the processing of small parts. As the power unit, the well-known 775 motor is used, it has excellent torque and is very hardy, which makes it popular in the manufacture of various machines.
Thanks to the three axes, the sanding belt is quite long, which significantly increases its service life. Tapes are made by hand from sandpaper. The main material for the manufacture of the frame is plywood, and as the rollers, the author adapted the bushing from the bicycle. If the project interests you, I propose to familiarize yourself with it in more detail.
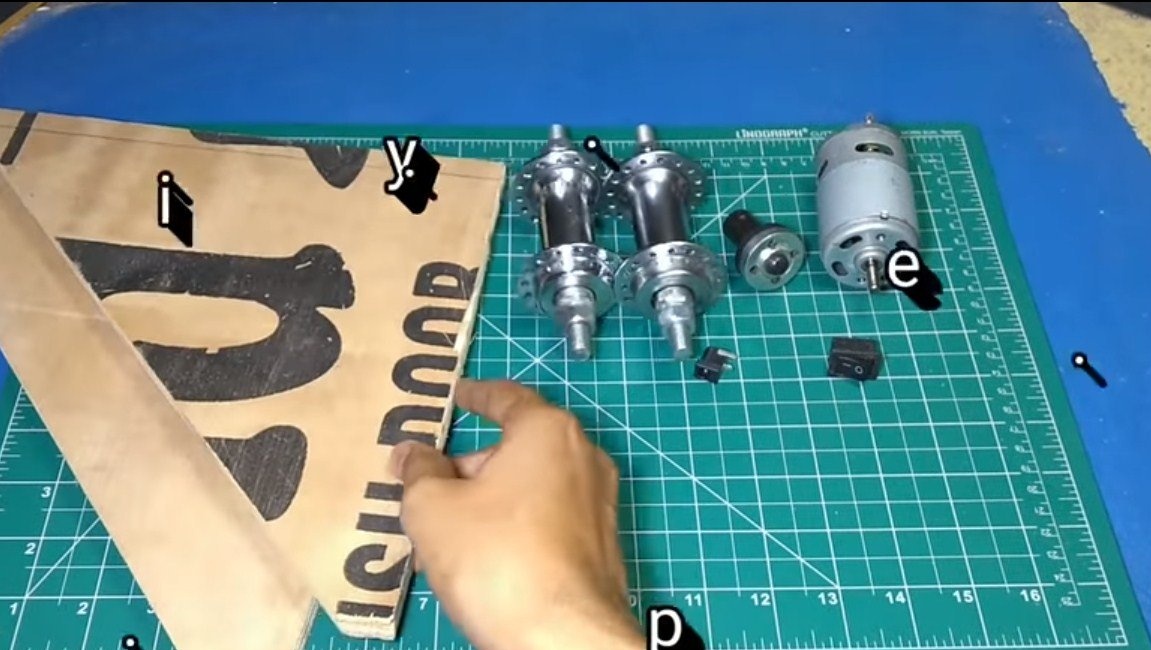
Materials and tools used by the author:
Material List:
- plywood;
- two bushings from bicycle wheels;
- ;
- a piece of plumbing pipe;
- self-tapping screws;
- Super glue;
- bolt with nut;
- plastic ties;
- socket for connecting the power supply;
- switch;
- (for grinders);
- rubber from a car or bicycle camera;
- household rubber bands or a spring (for the tensioning mechanism).
Tool List:
- a jigsaw, a hacksaw (or other tool for cutting plywood);
- drill;
- files;
- sandpaper;
- soldering iron;
- clamps;
- screwdrivers;
- marker, measuring tool.
Machine manufacturing process:
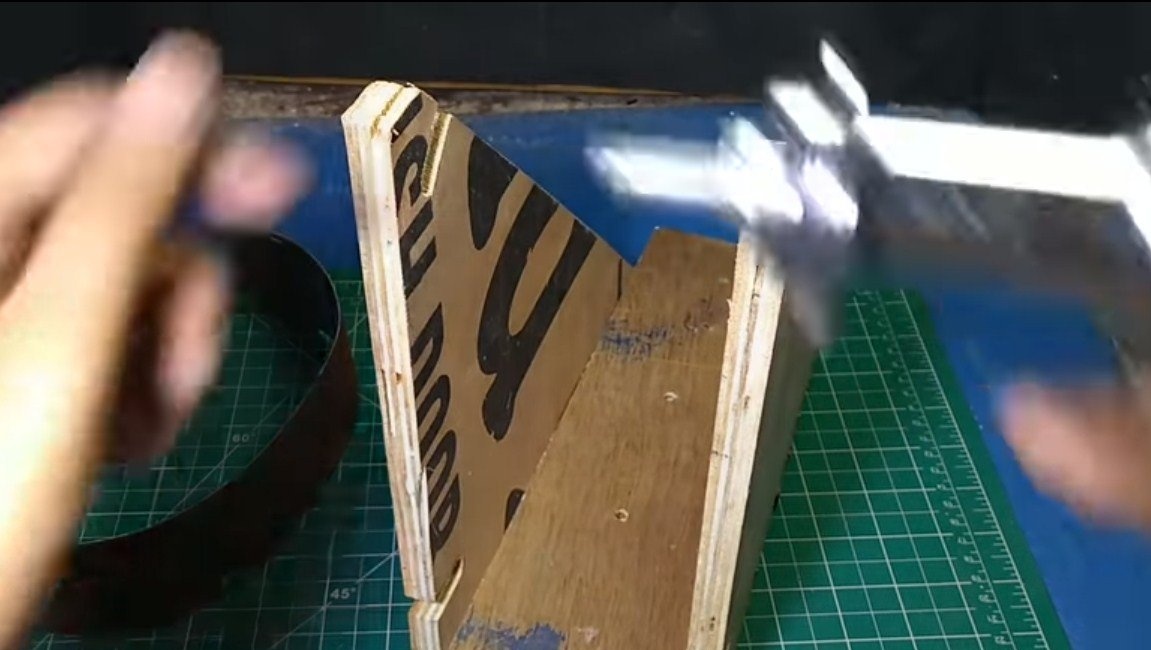
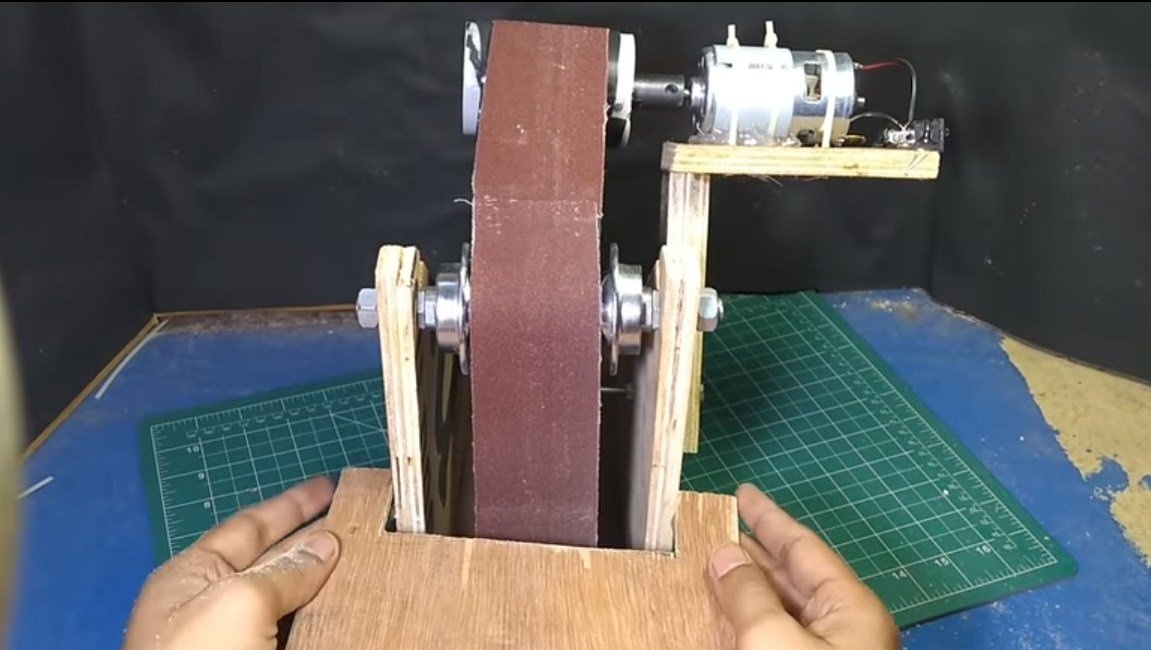
Step one. We collect the bed
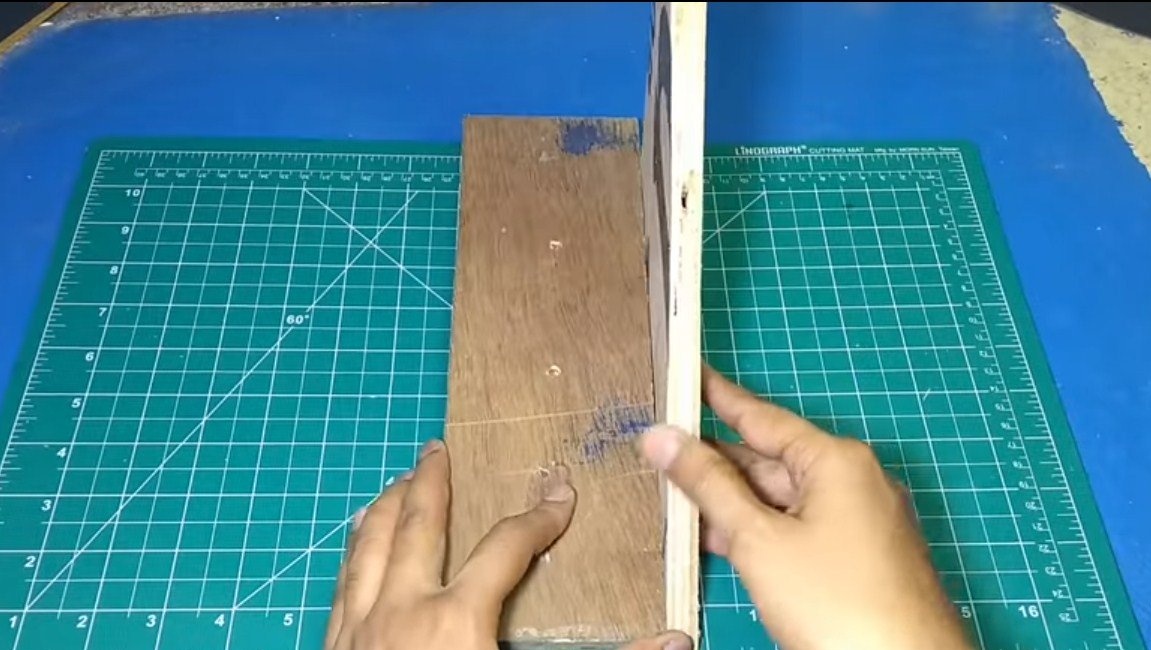
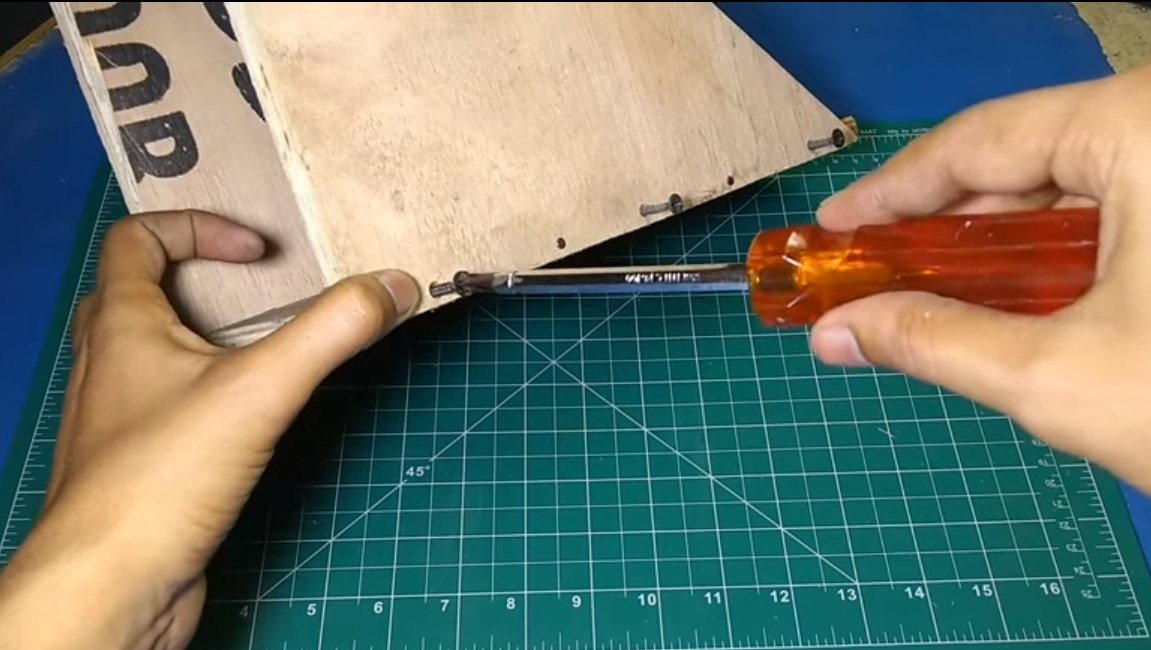
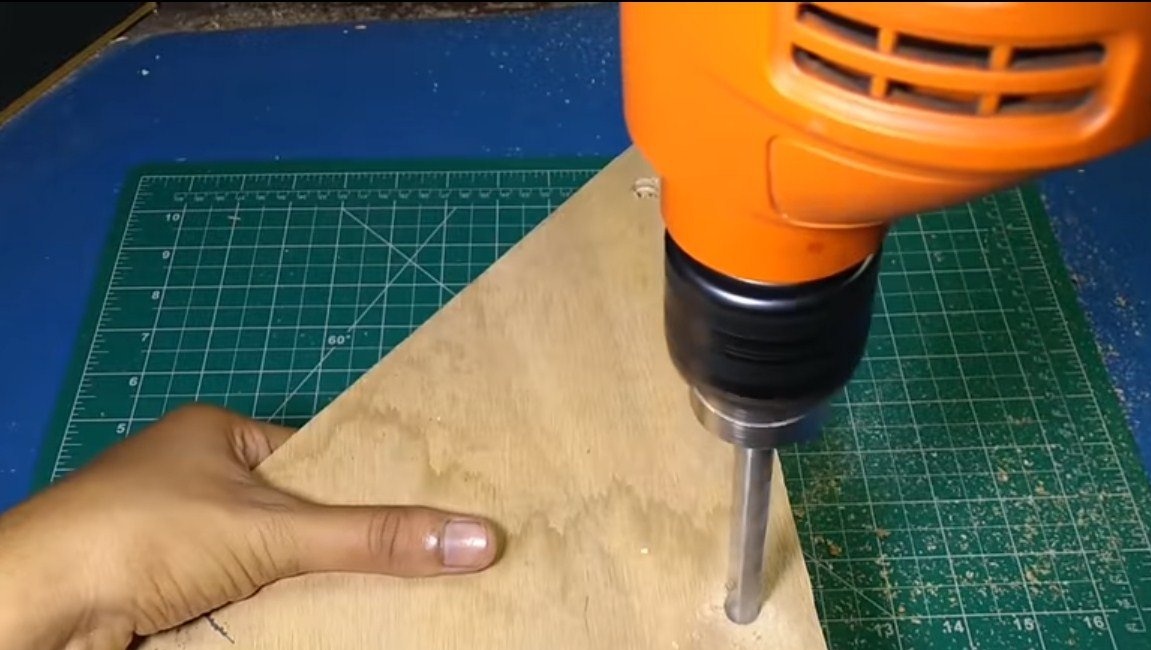
Let's make a bed, here we need plywood. From it we cut two identical parts, which will be racks. We also need a rectangular piece for the base. First we glue all the parts with superglue, and then we drill holes and tighten everything with self-tapping screws.
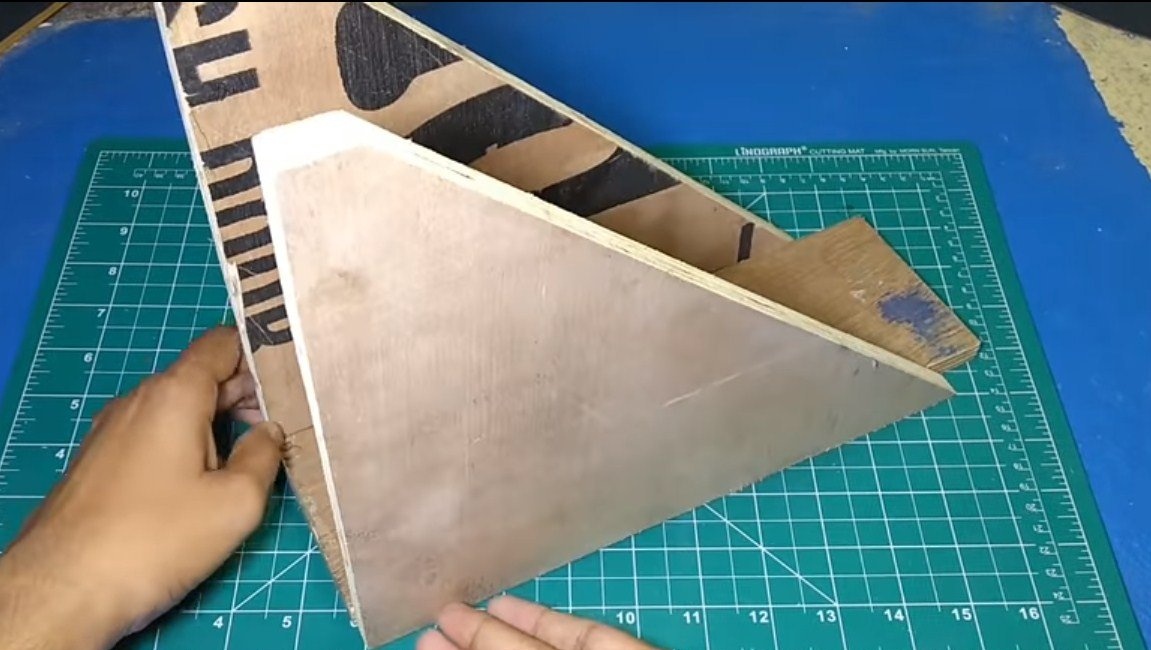

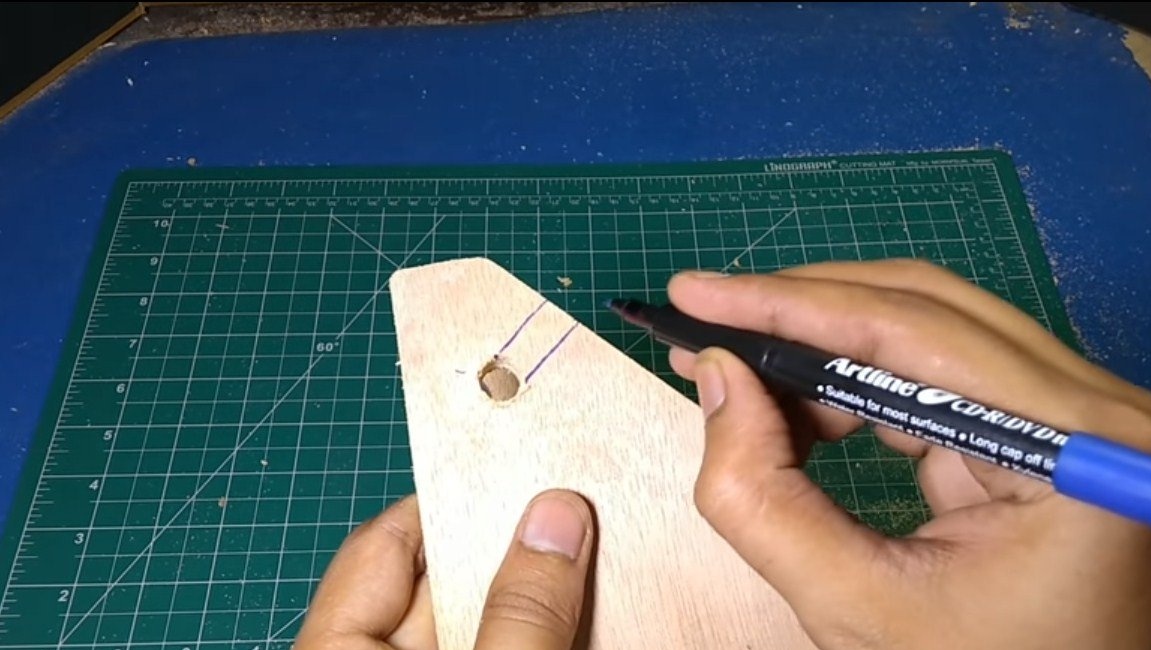
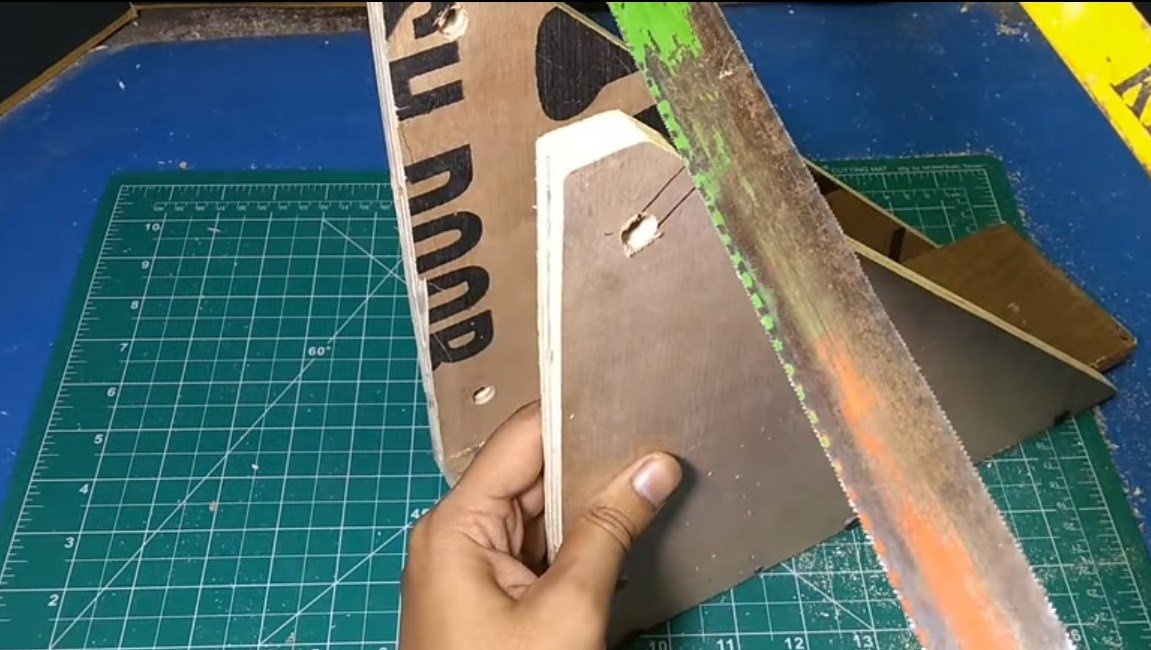
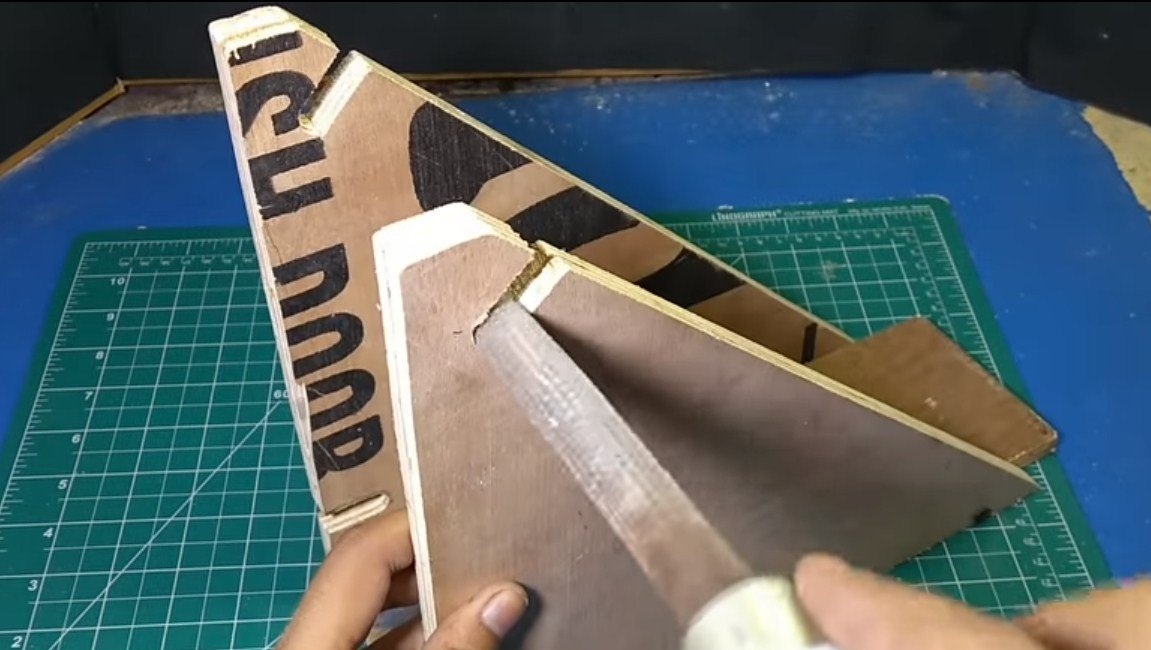
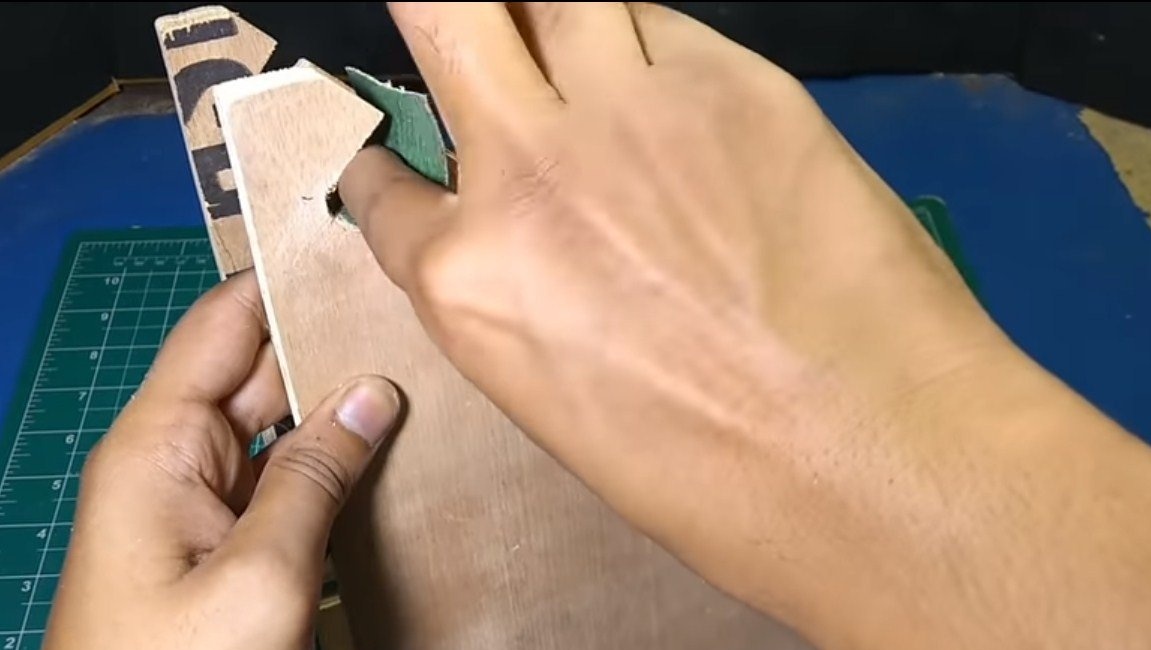
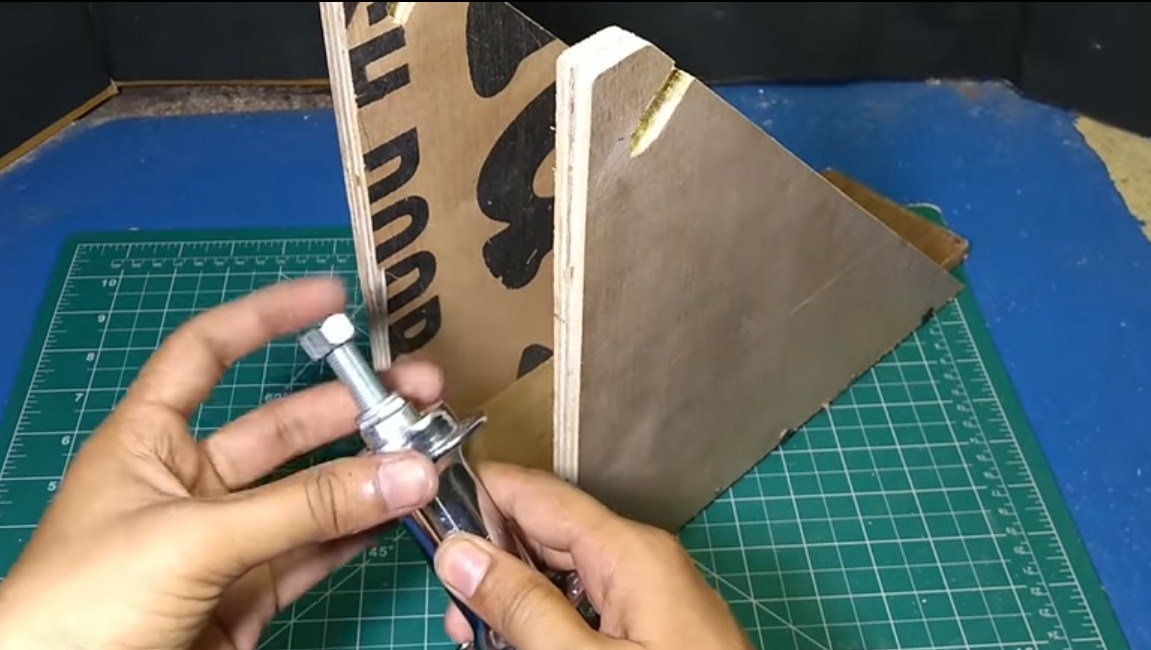
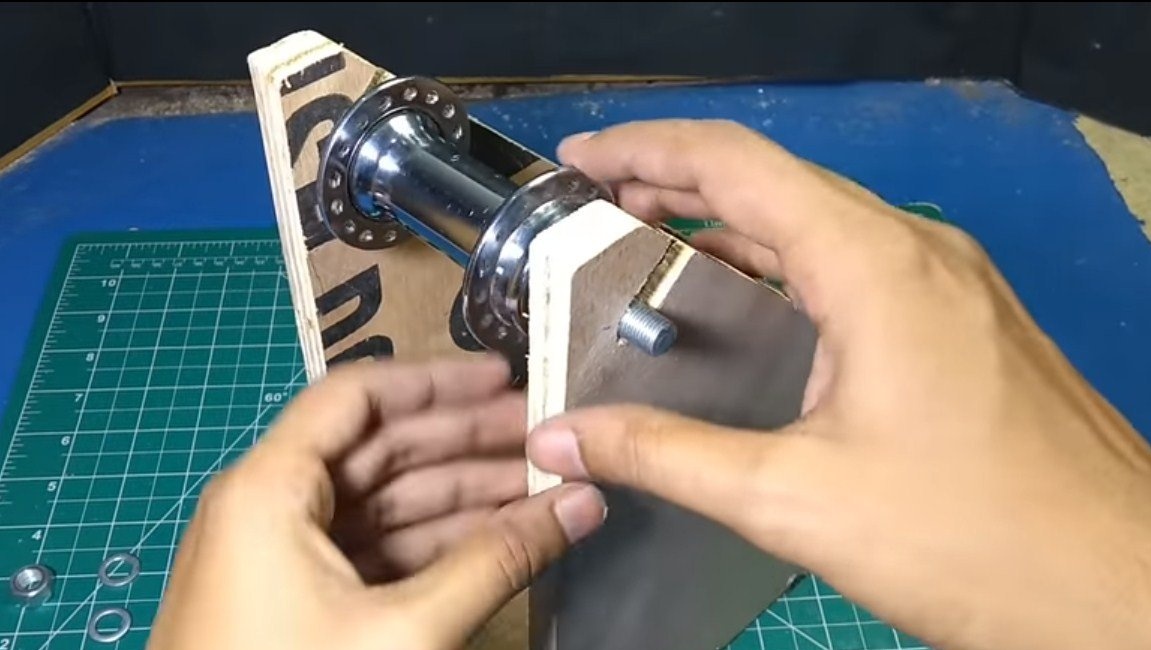
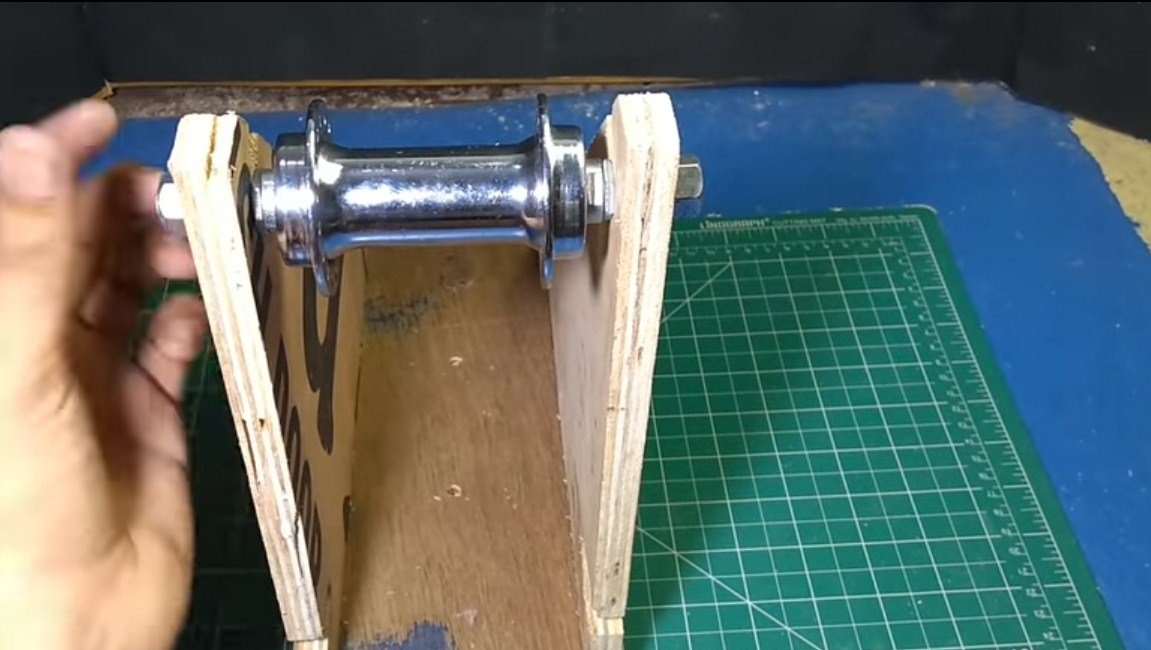
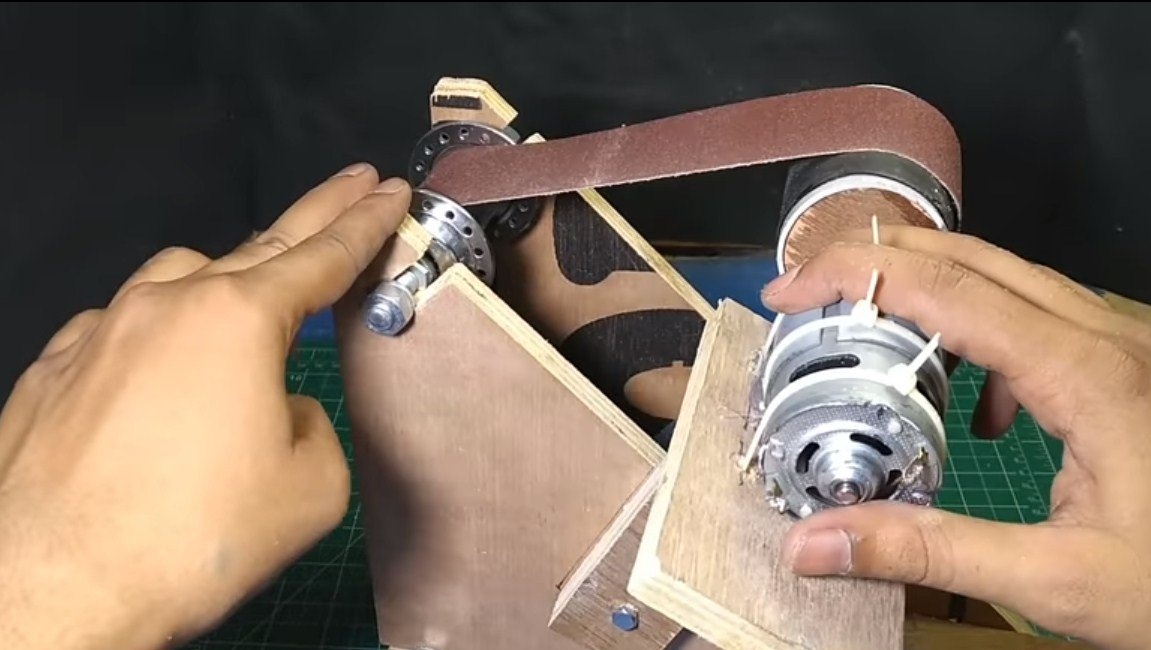
We drill holes in the racks, and then we cut out the excess so that we get “ears” for mounting the driven rollers, in our case these are bicycle sleeves. Thanks to these holes, you can easily remove the rollers and install the tape. And you can just glue the tape already on the machine. But it will be problematic if you often change sanding belts. The formed "ears" from the inside are well cleaned with files, and then with sandpaper.
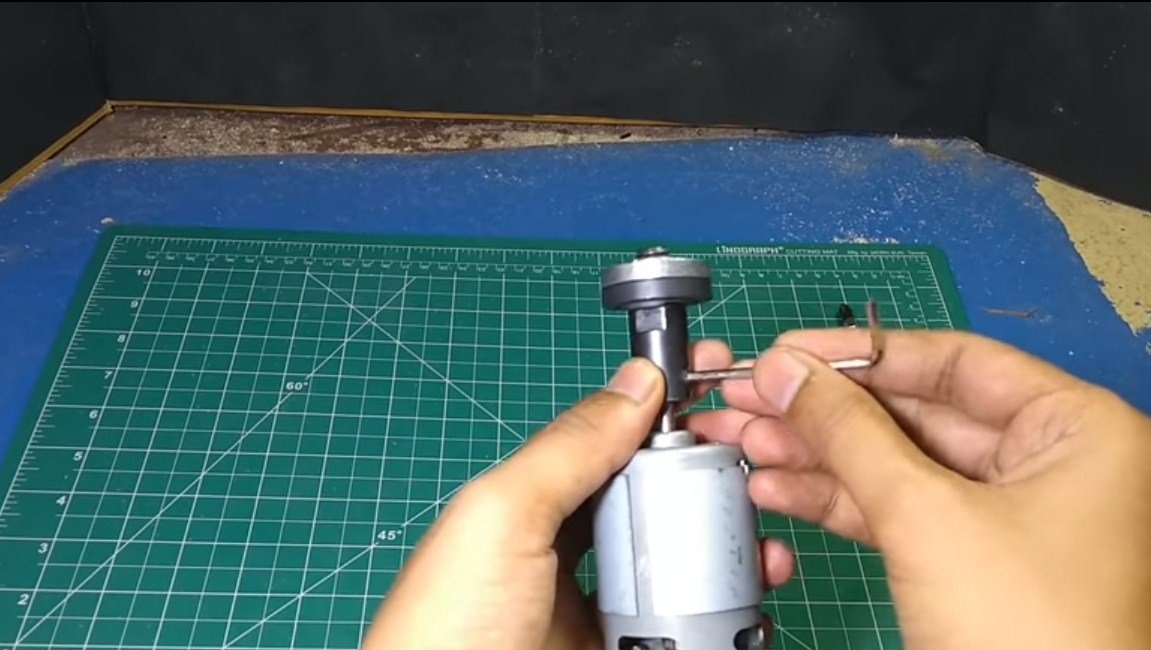
Step Two Lead roller
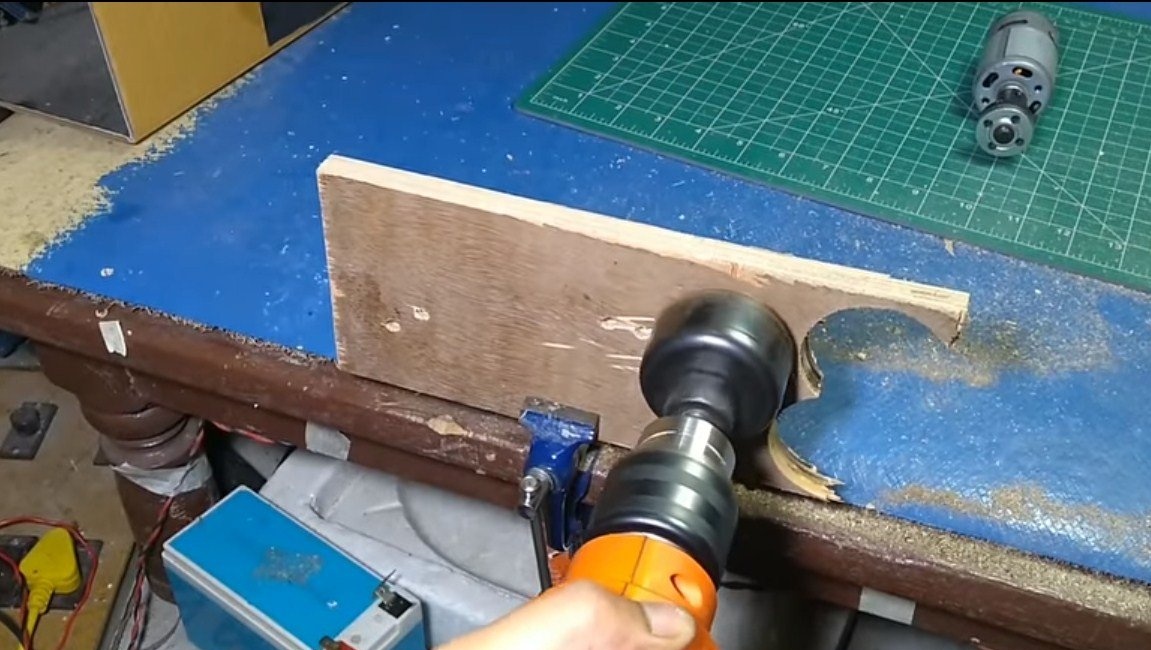
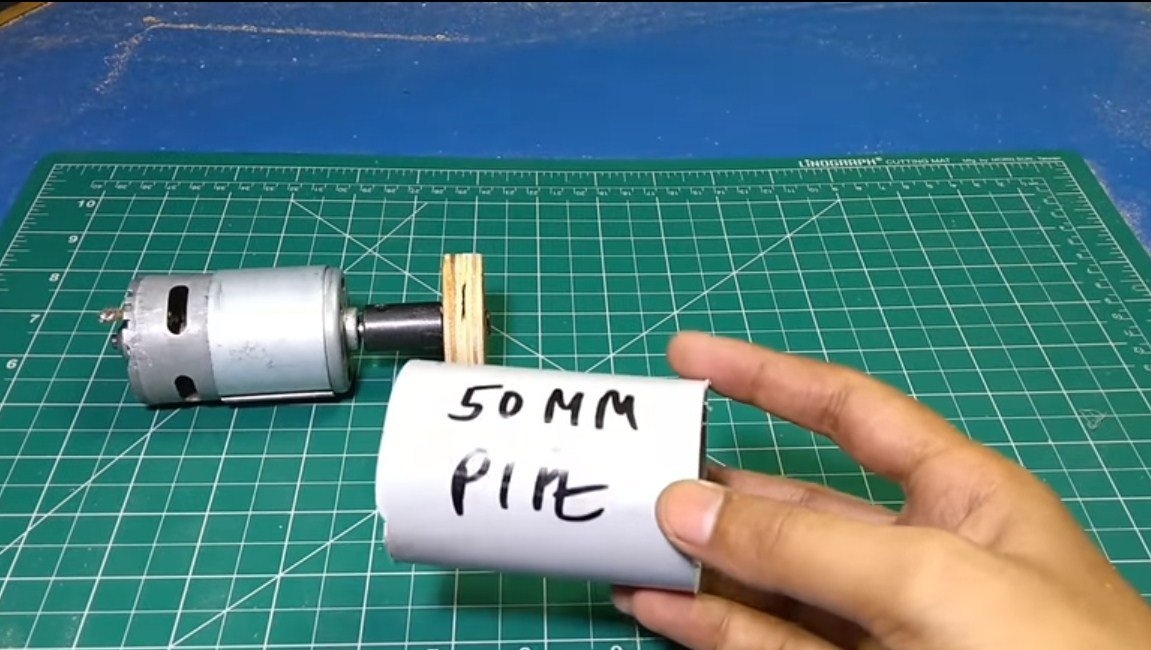
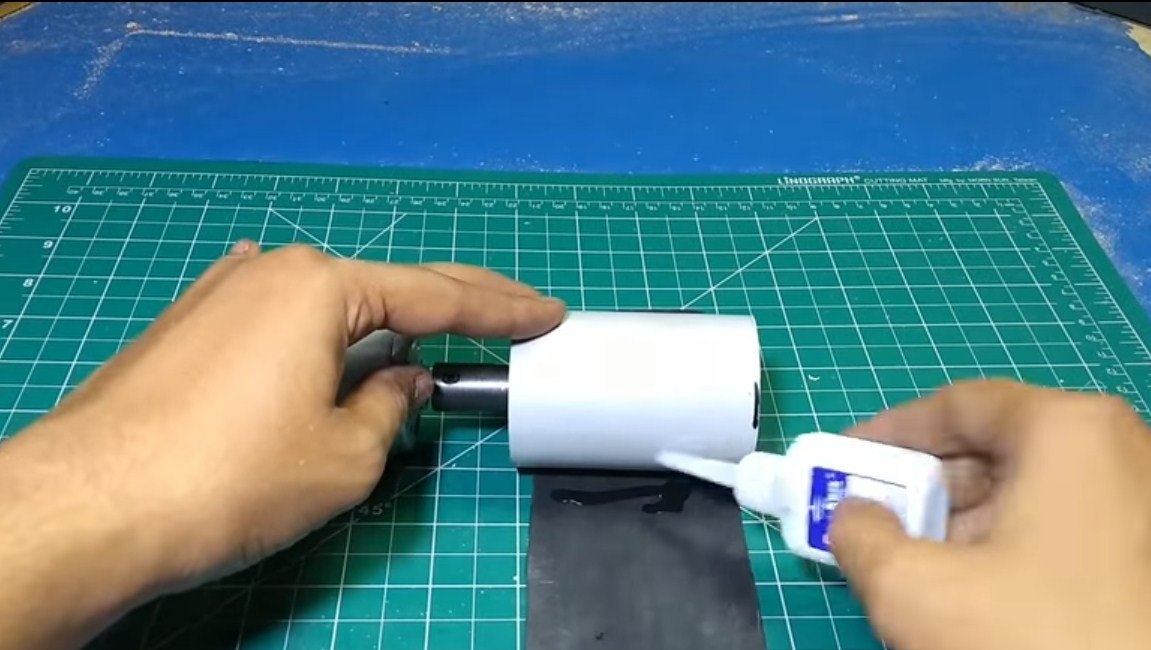
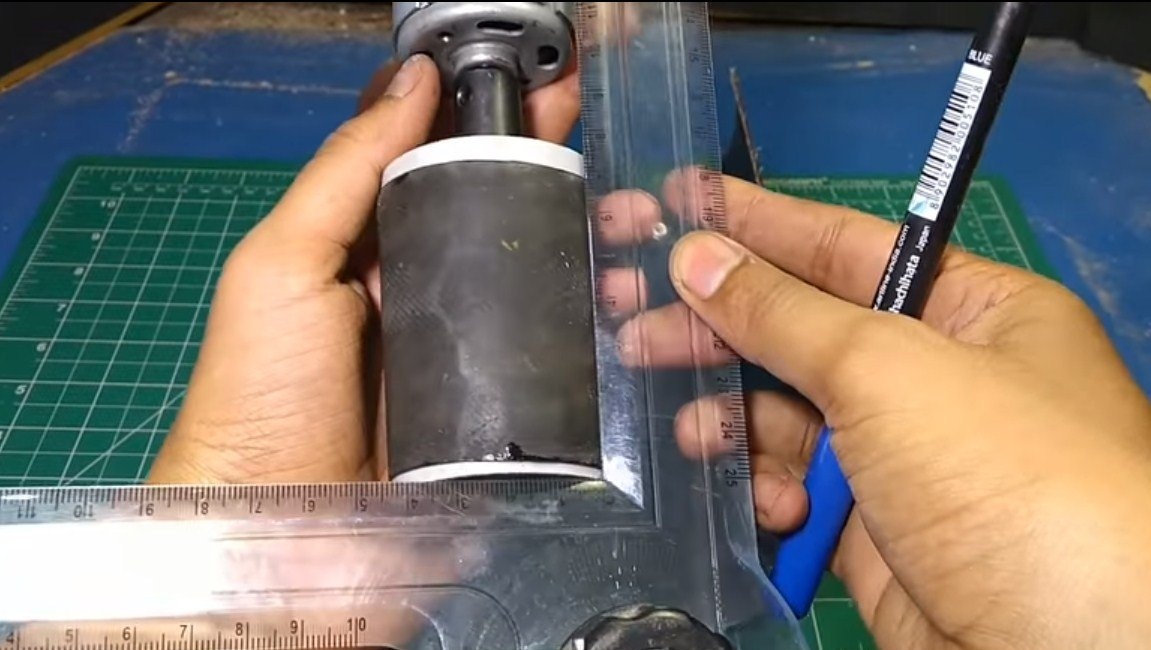
Now we will make a driving roller, for this we need. As a roller, you will need a piece of plastic plumbing pipe, an insert of plywood will need to be made into it.
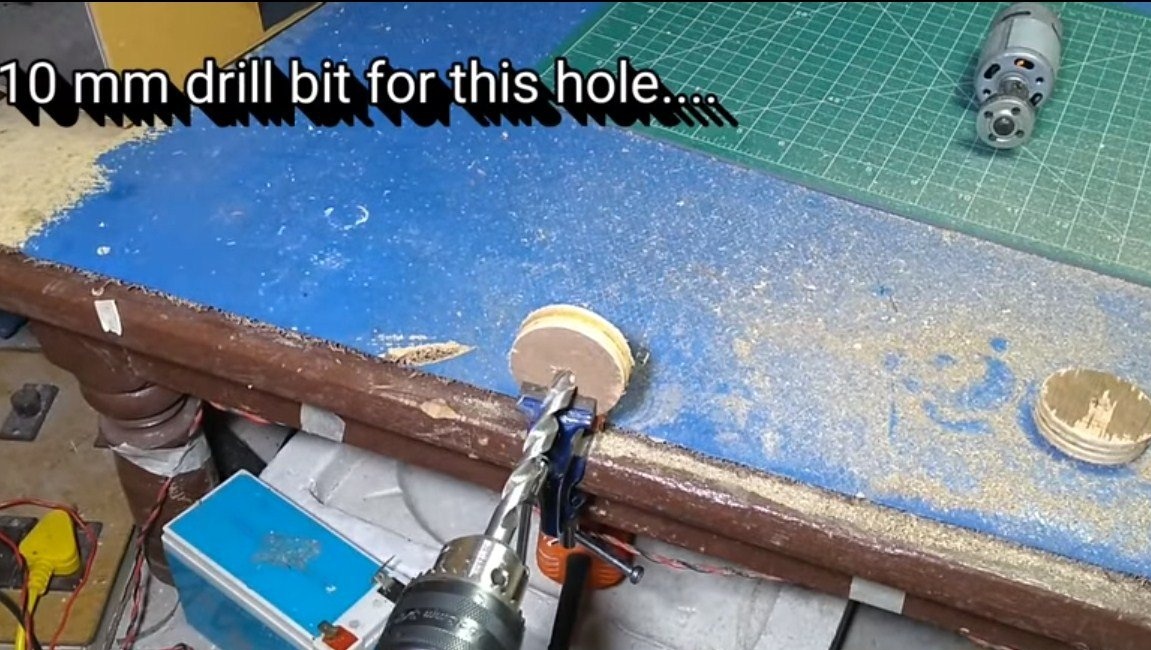
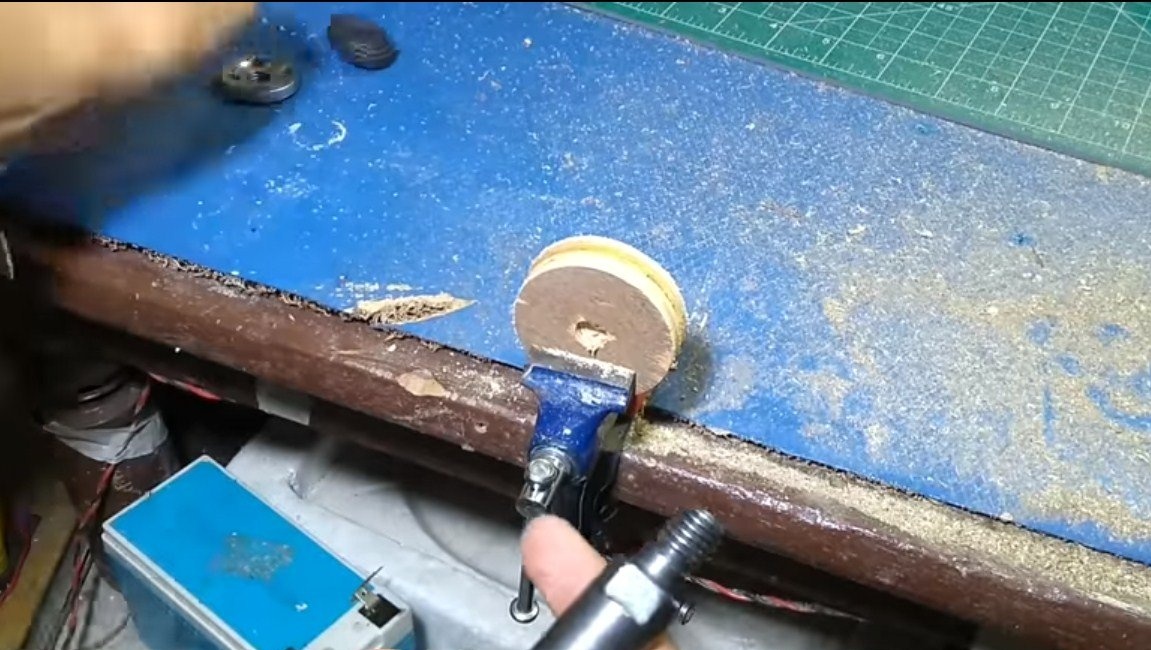
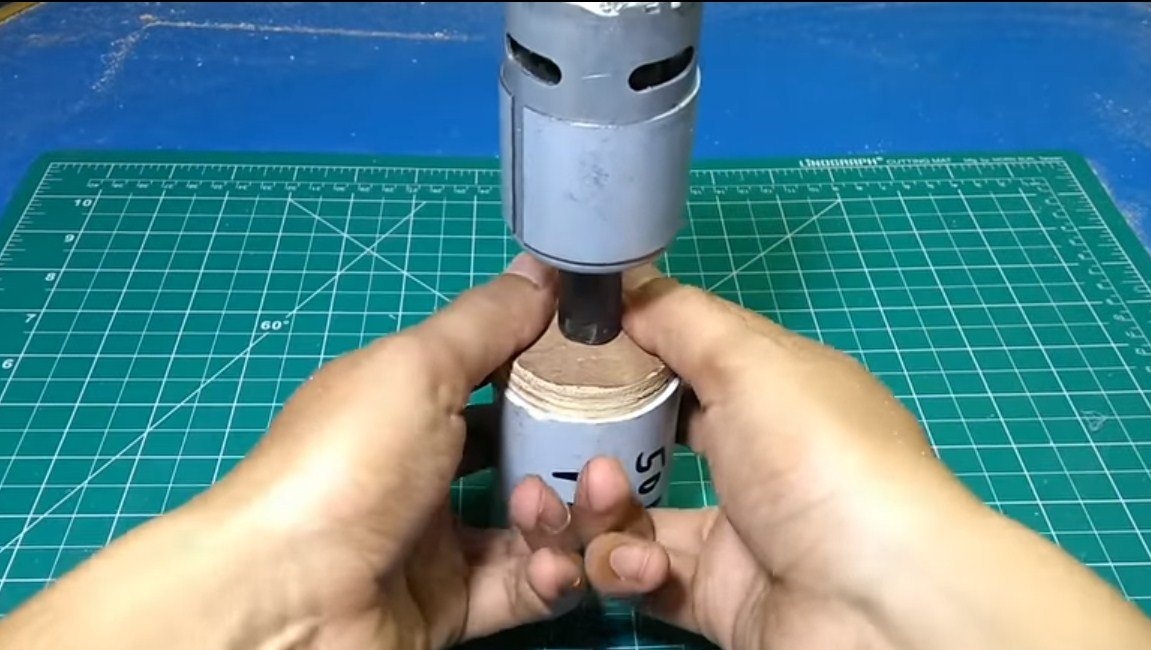
Inside the insert, drill a hole of 10 mm and wrap our adapter M10.The author cut out the insert with a crown, and then turned it with sandpaper on the motor shaft.
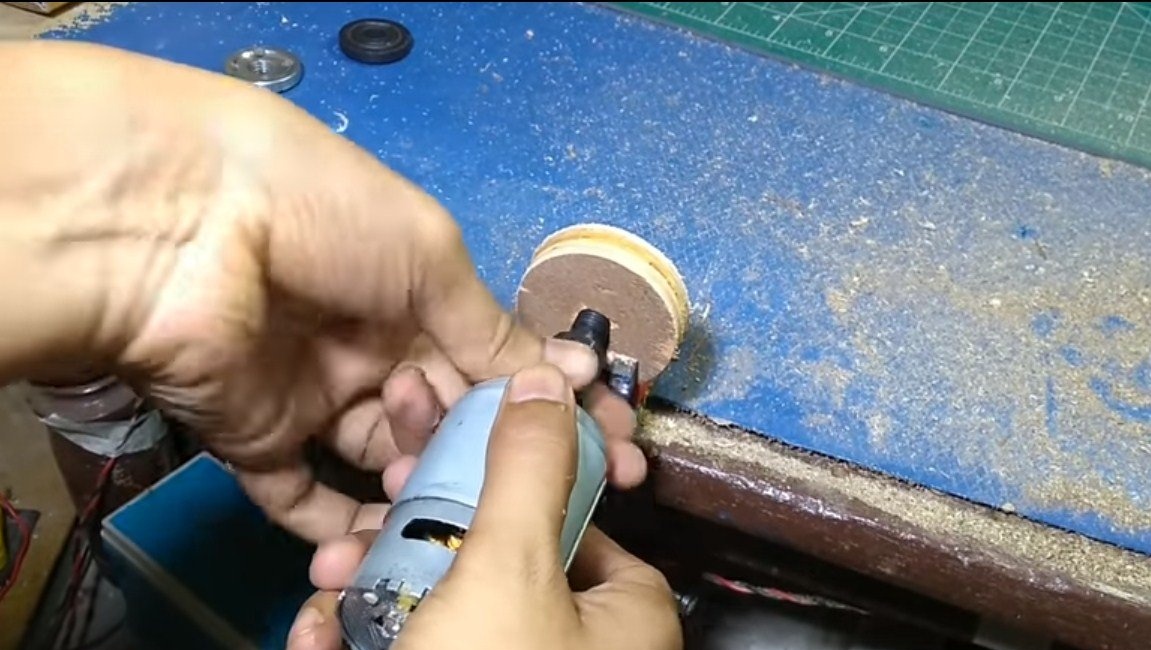
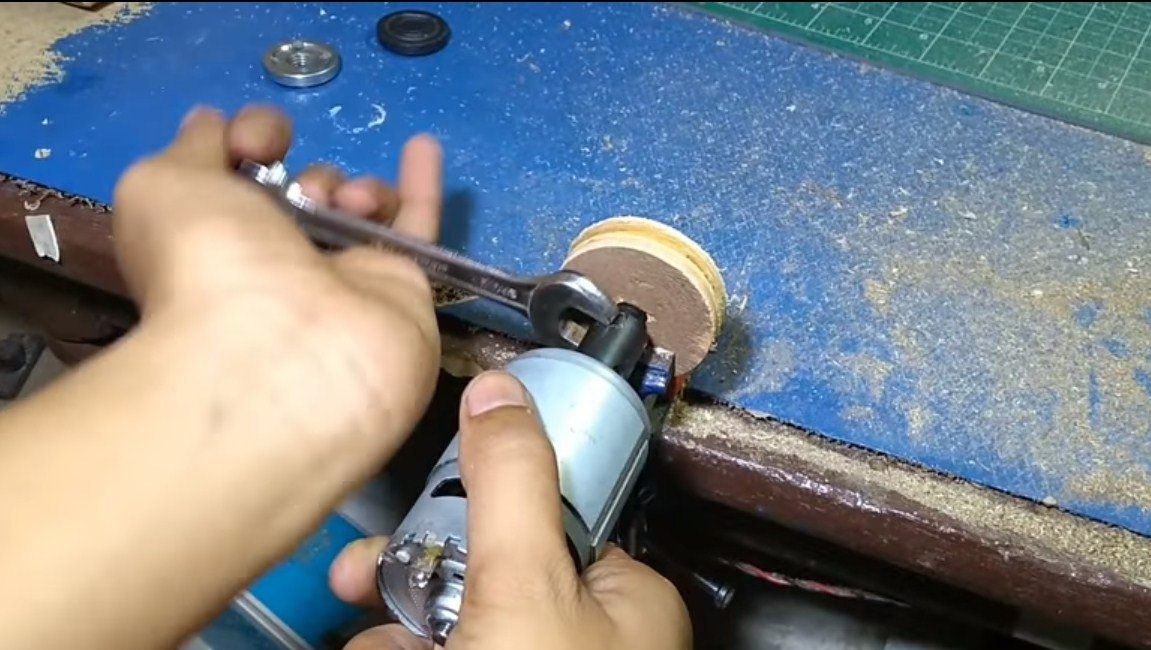
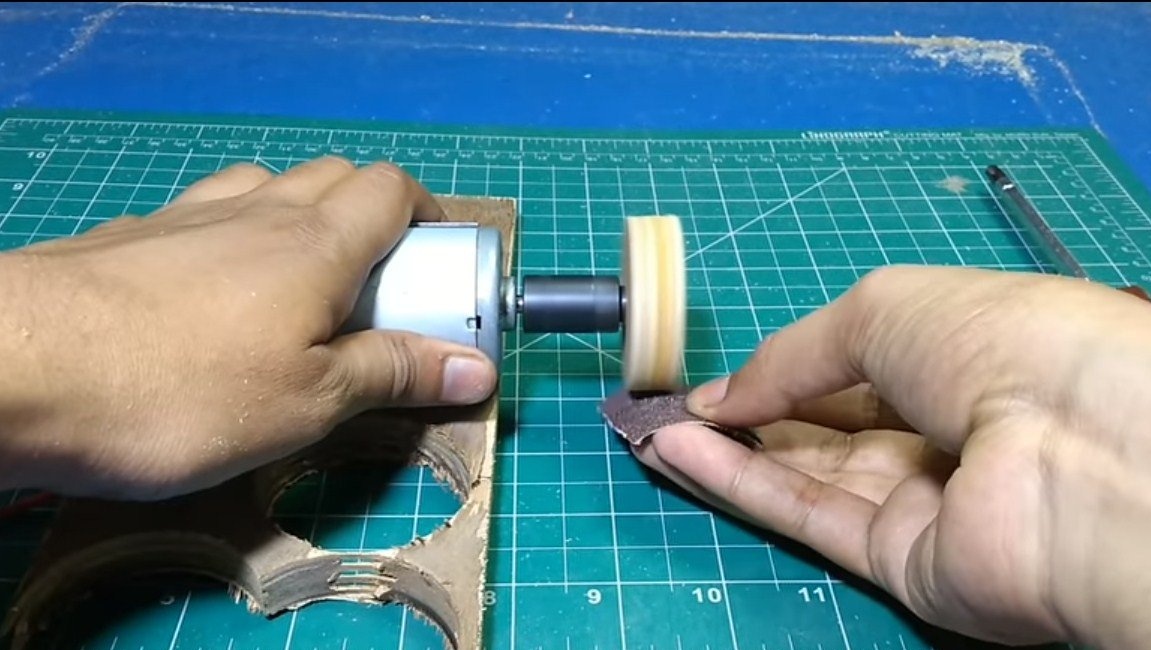
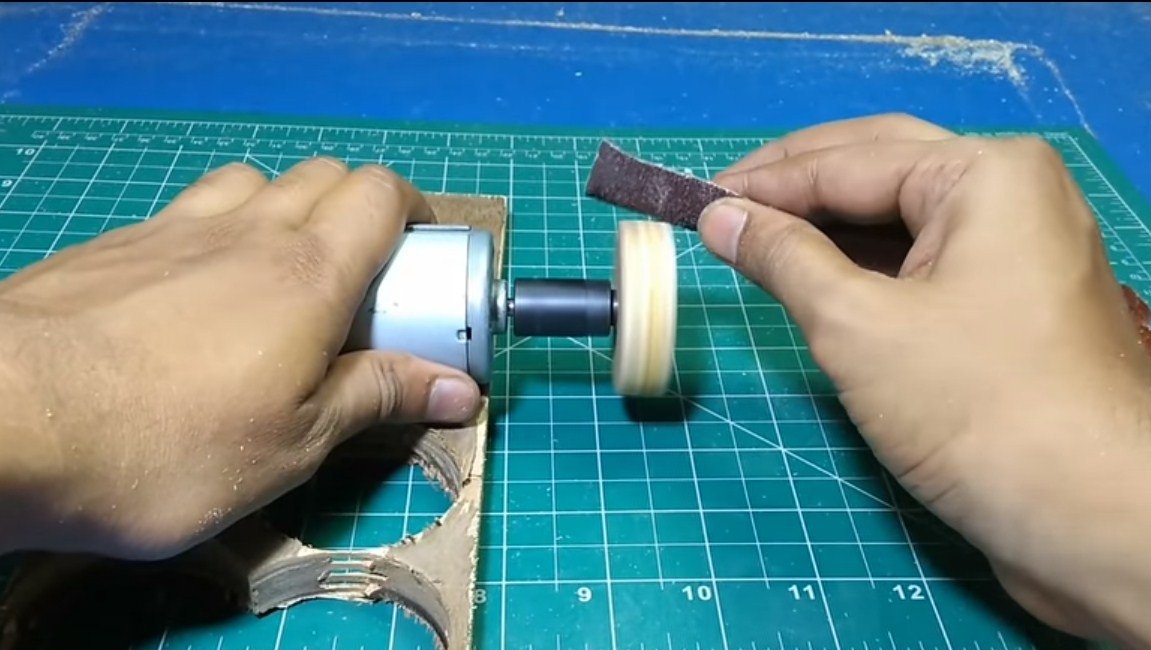
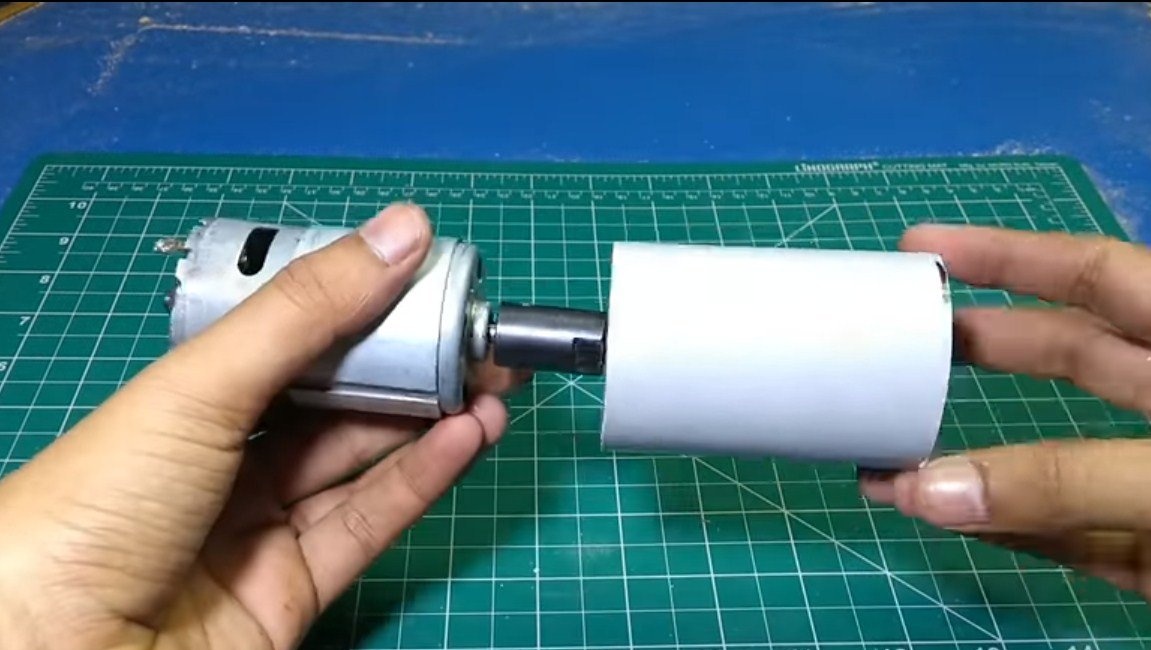
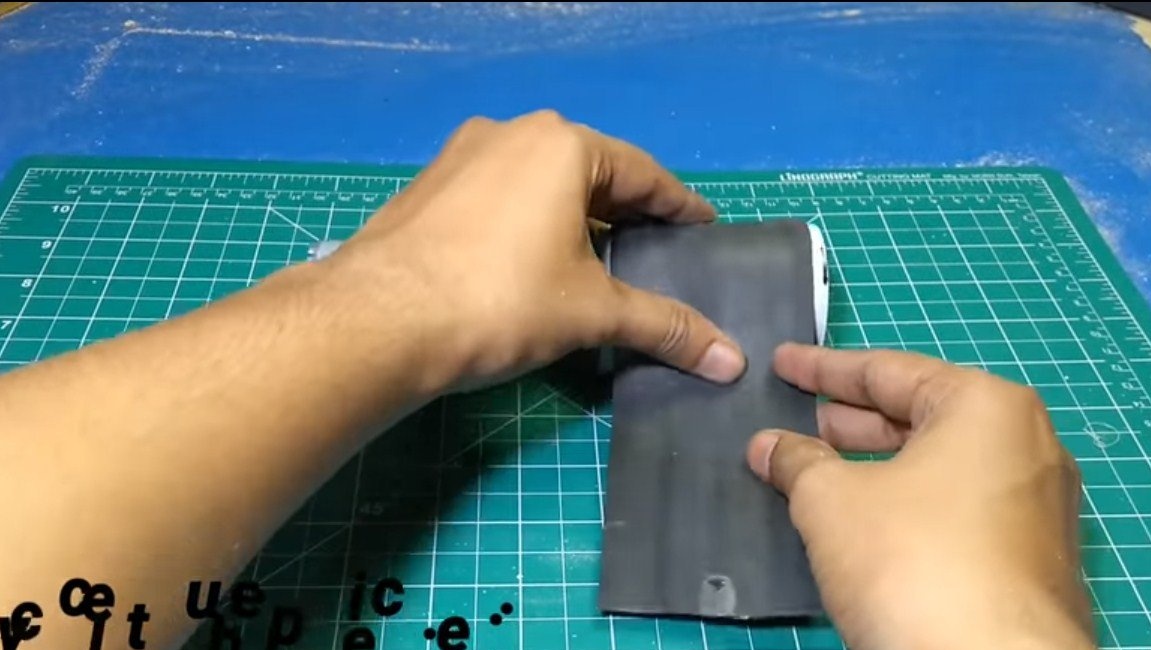
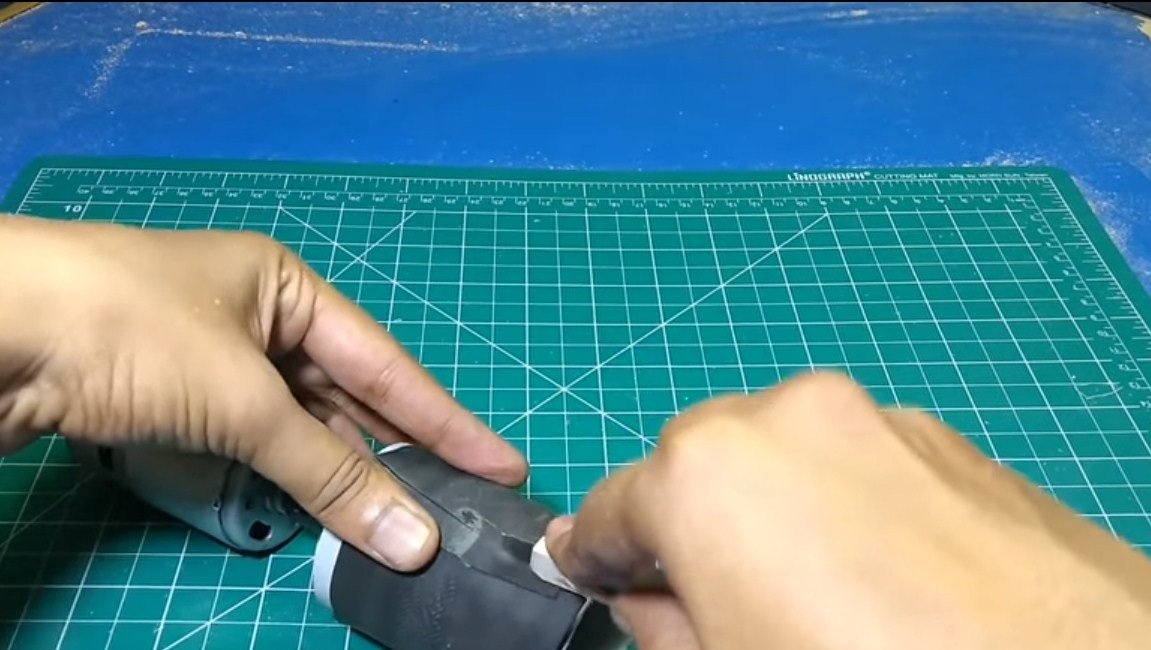
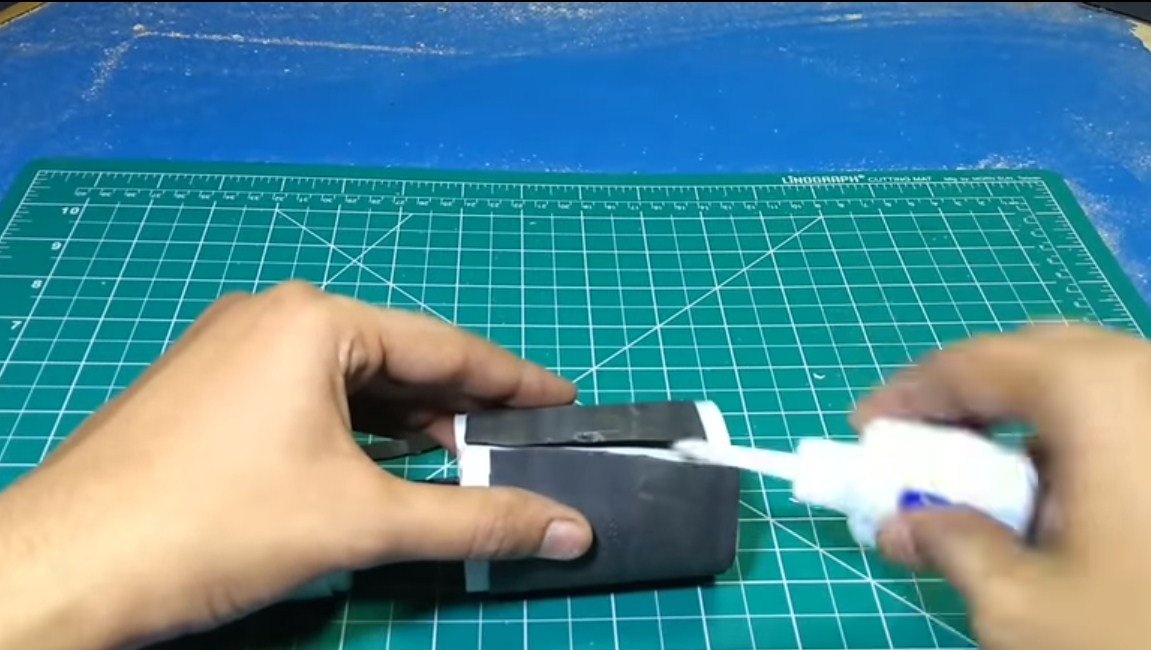
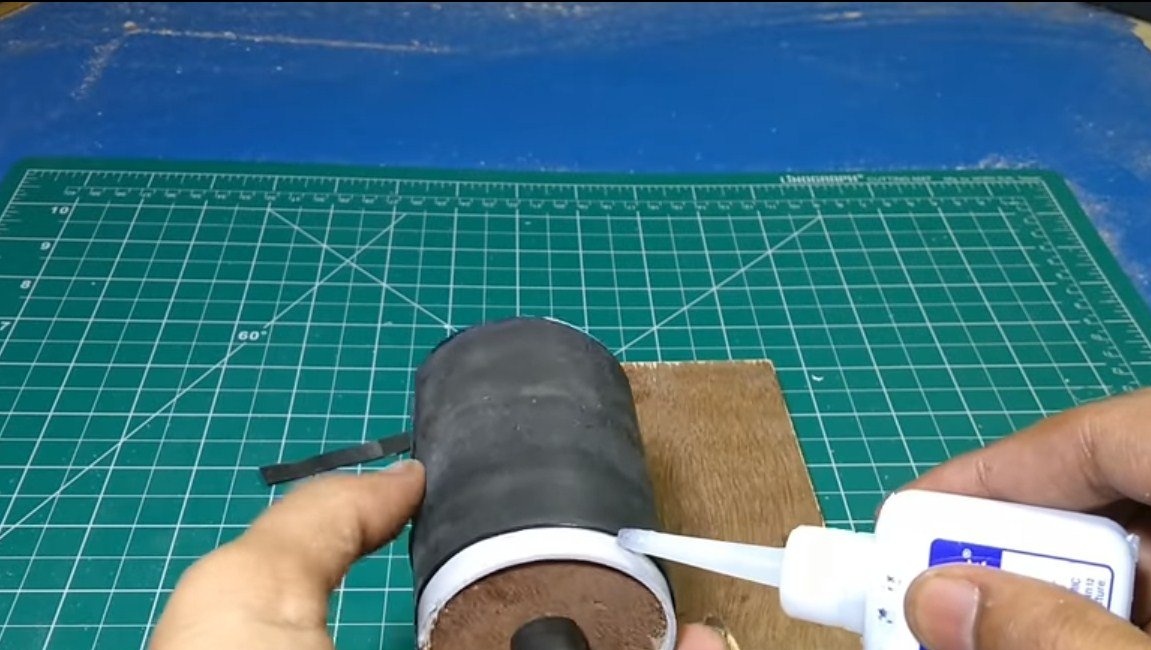
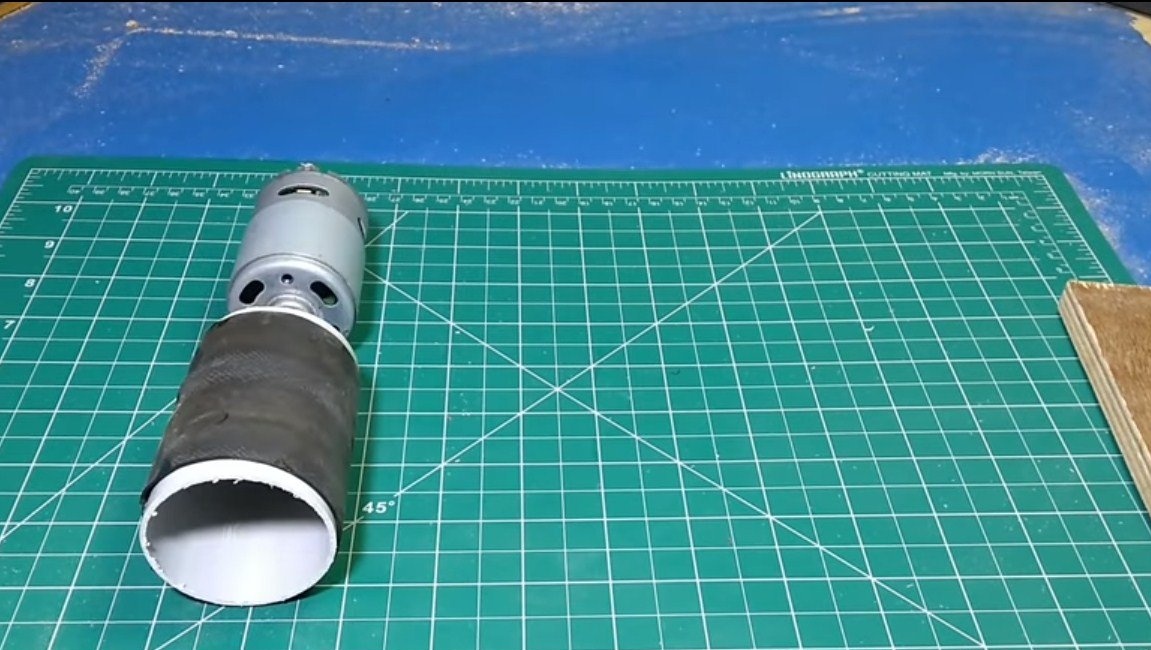
So that the roller does not slip, we glue it with rubber from a bicycle or car camera. Of course, the roller is not made very reliably, and it has quite strong beats, but all this is compensated by the tensioning mechanism and the machine works fine.
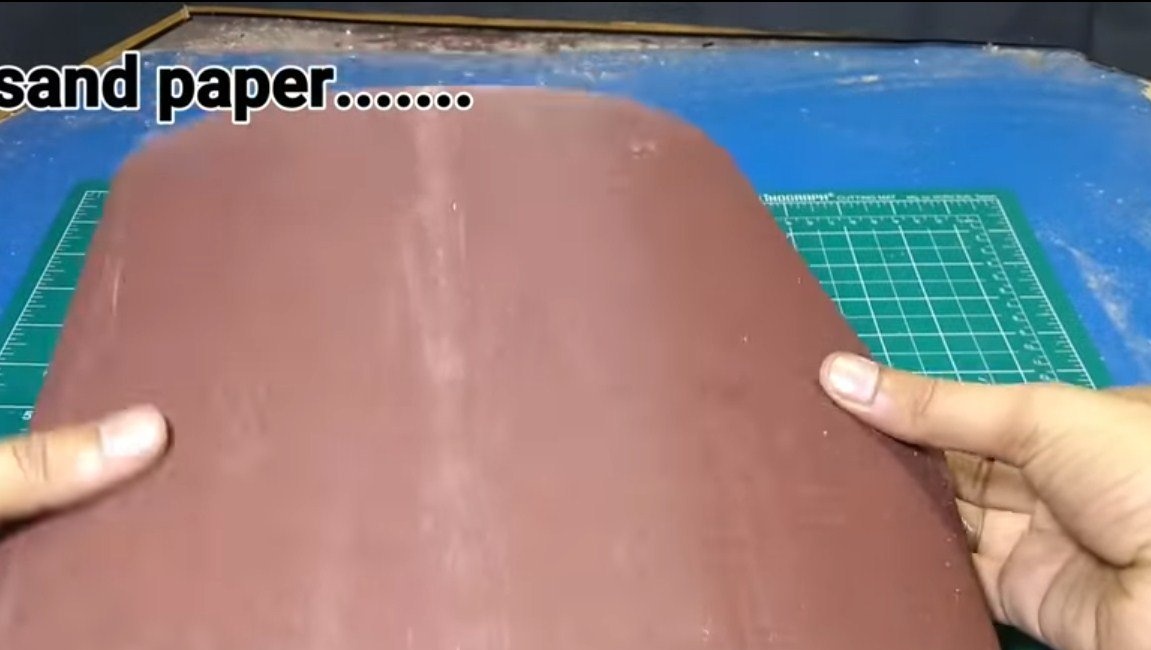
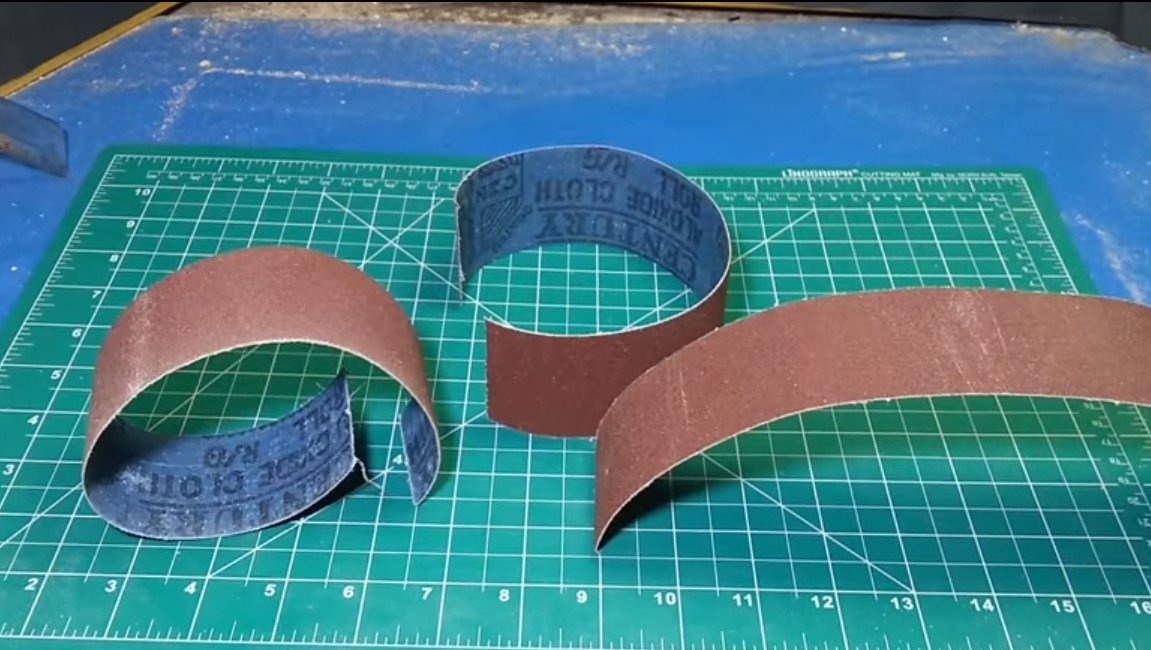
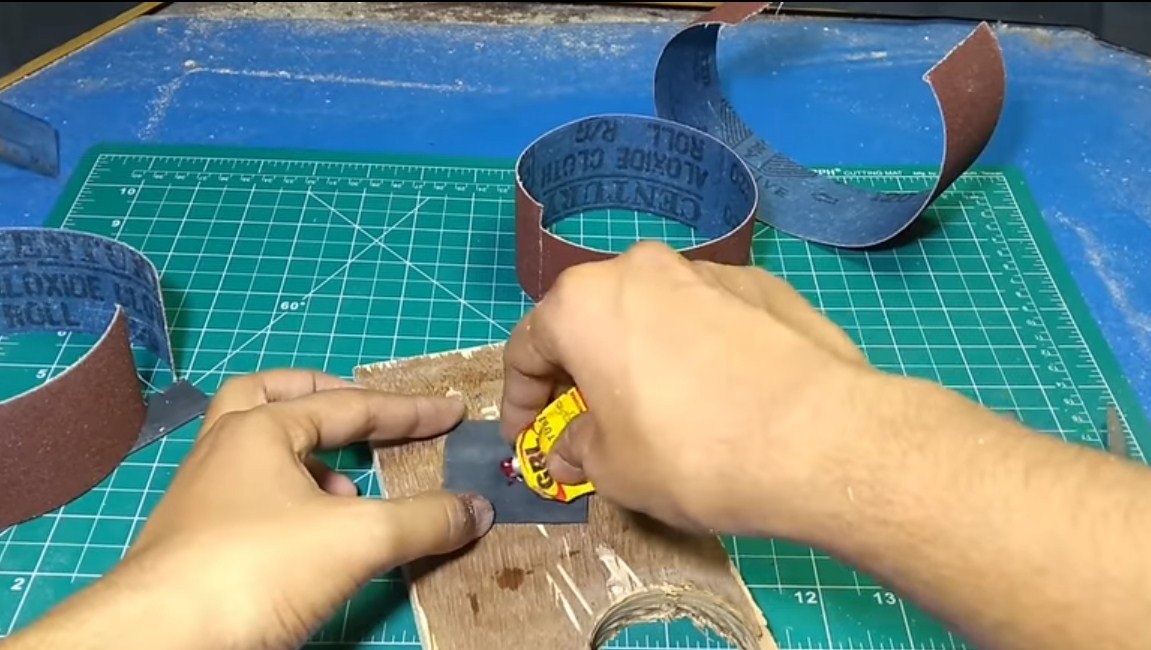
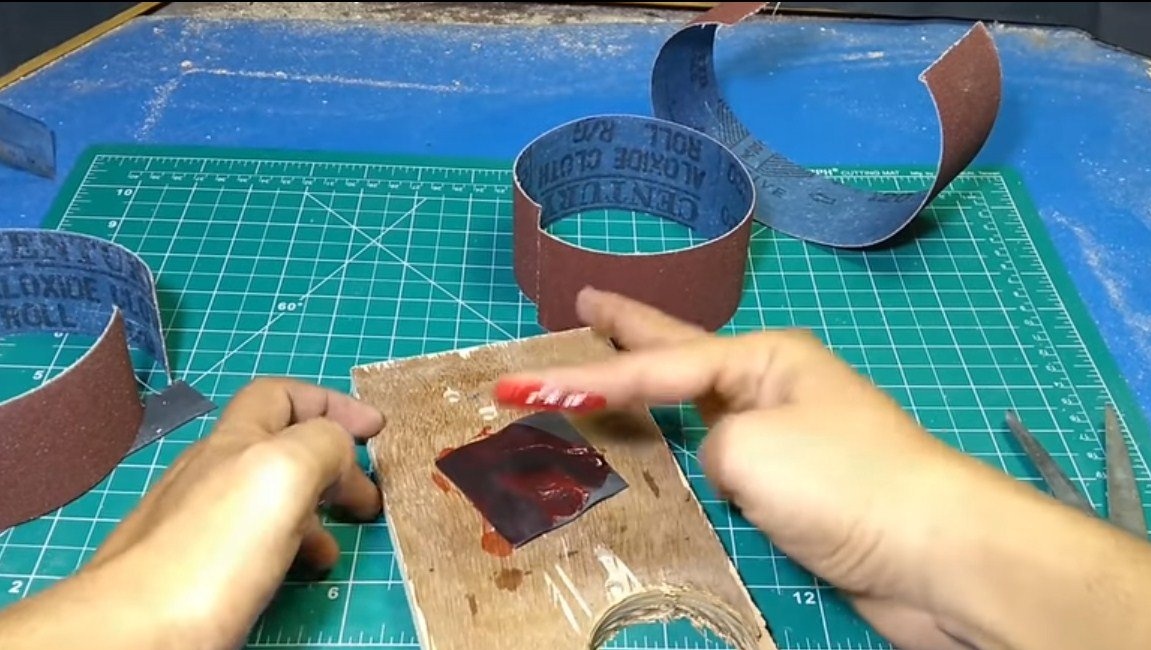
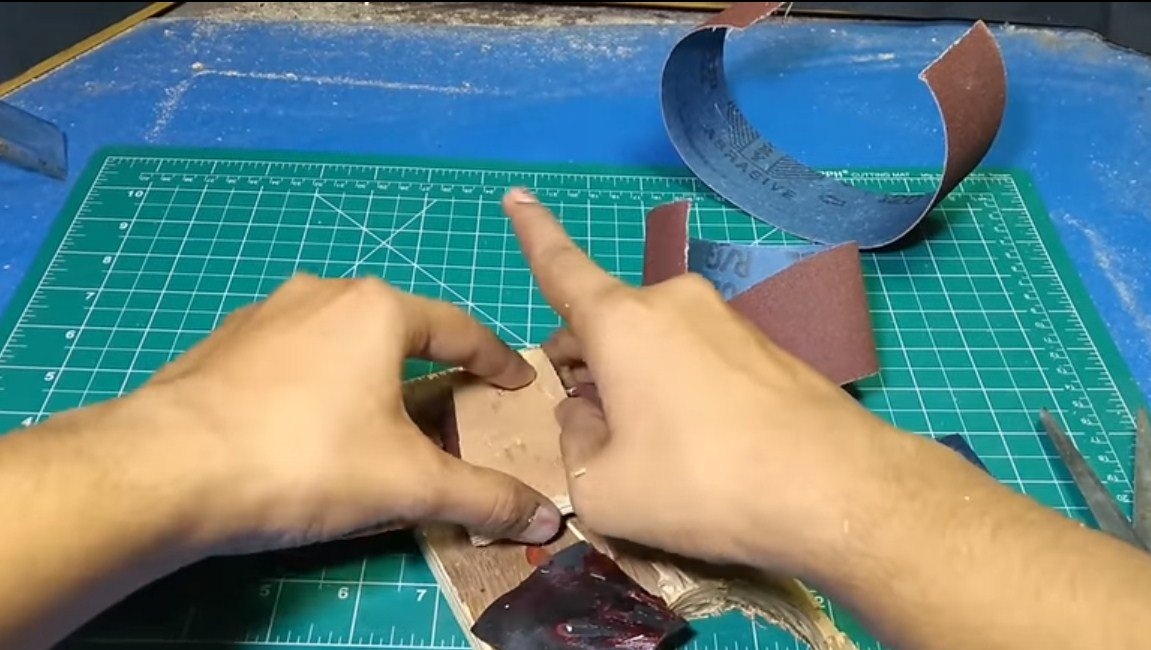
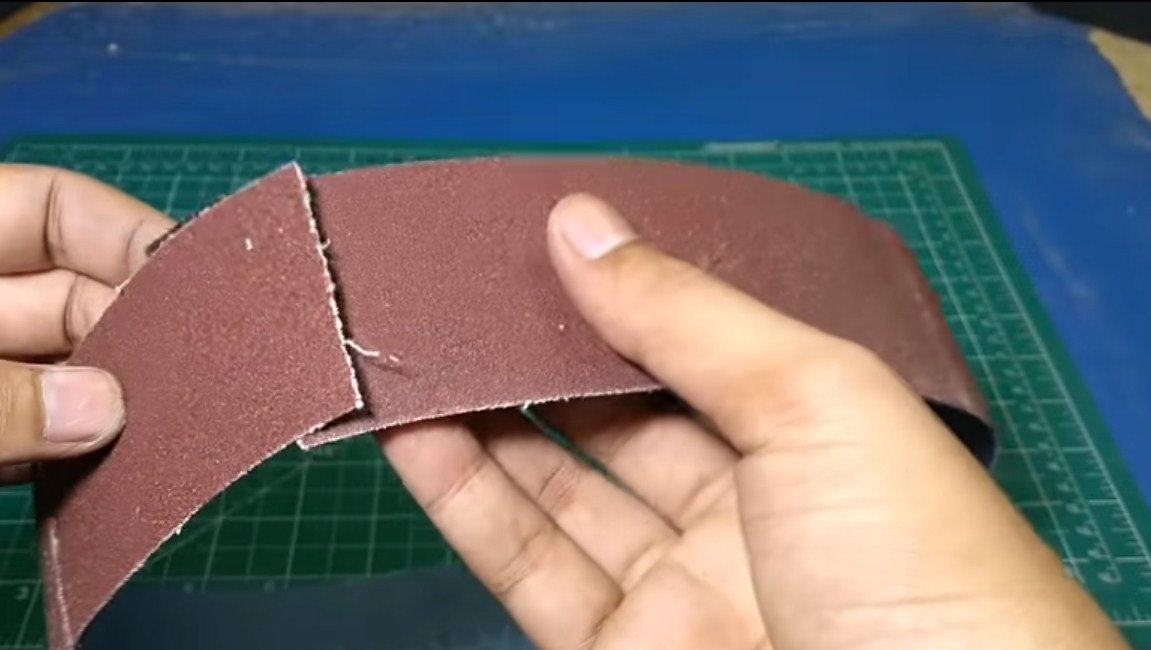
Step Three Sanding belt
We make a sanding belt, it is quite long with us, so the author had to glue several pieces. Cut the sandpaper and glue the lap. To connect, we use pieces of rubber from the camera, as well as rubber glue. The connection is very strong, and it cushions, which prevents the tape from breaking ahead of time.

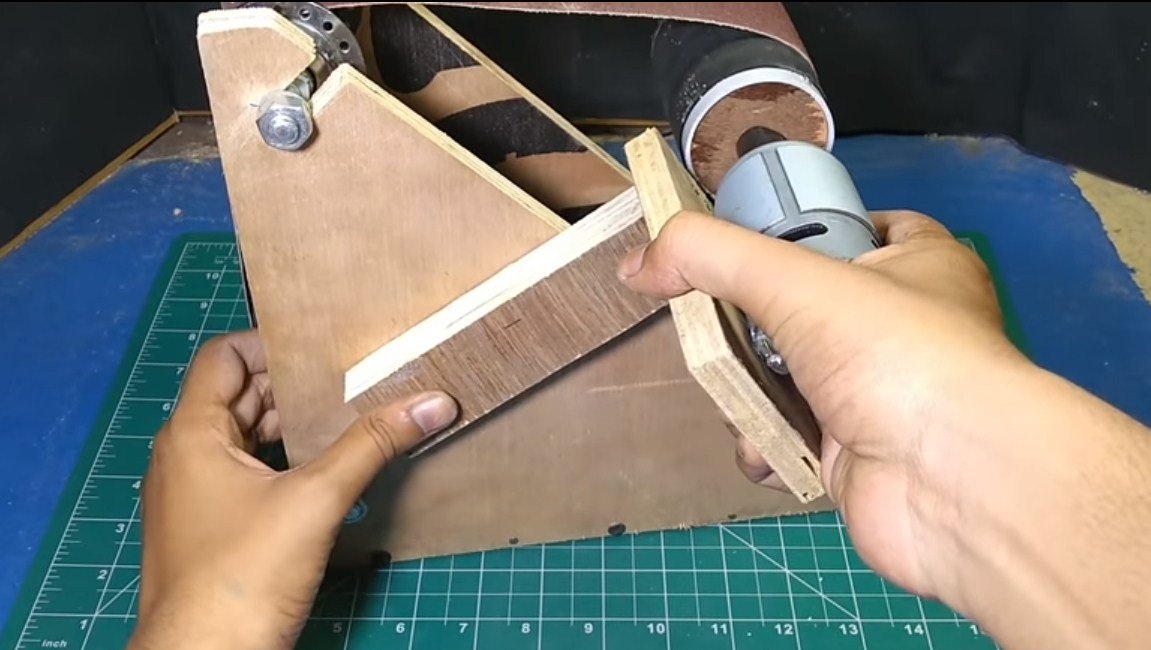
Step Three Engine holder
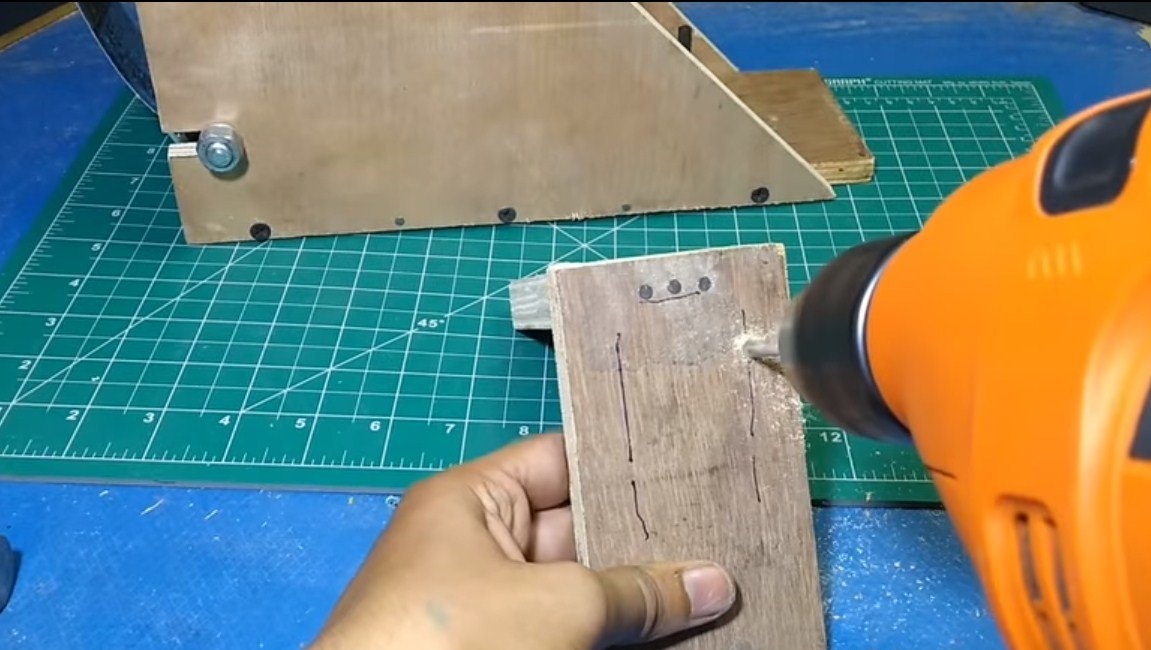
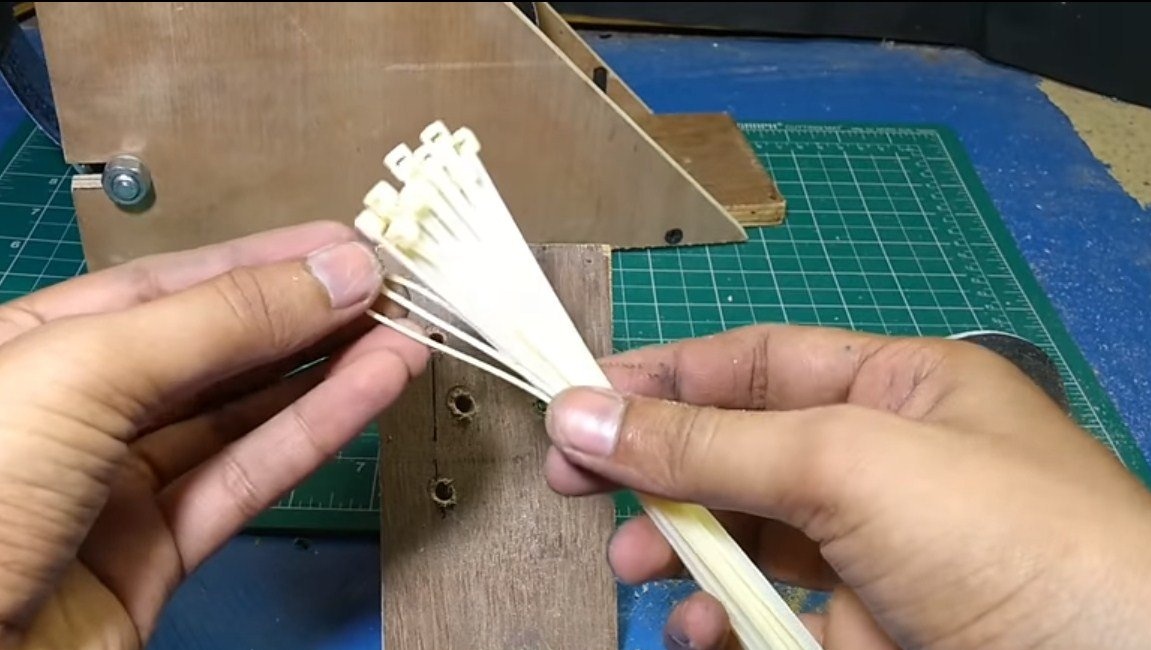
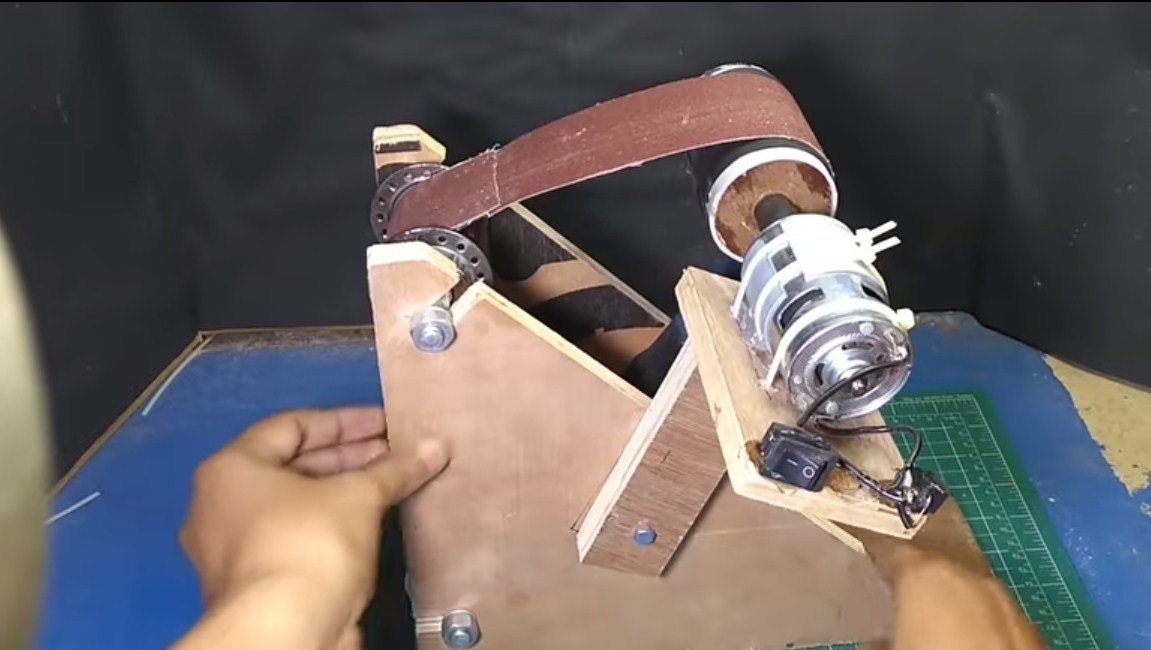
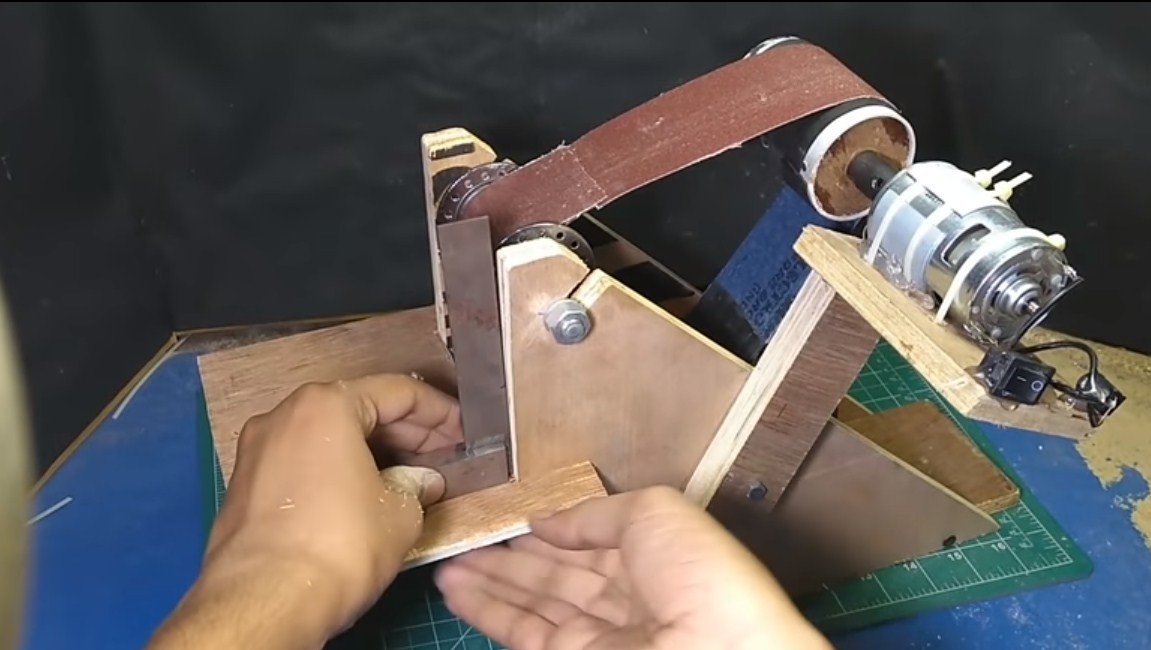
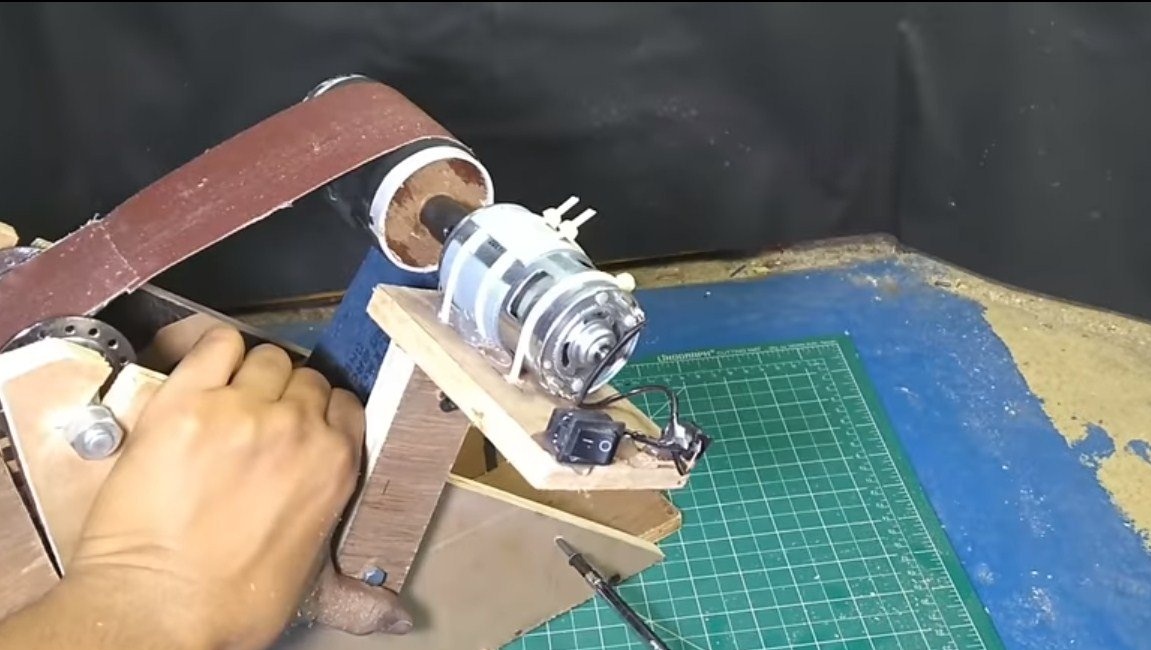
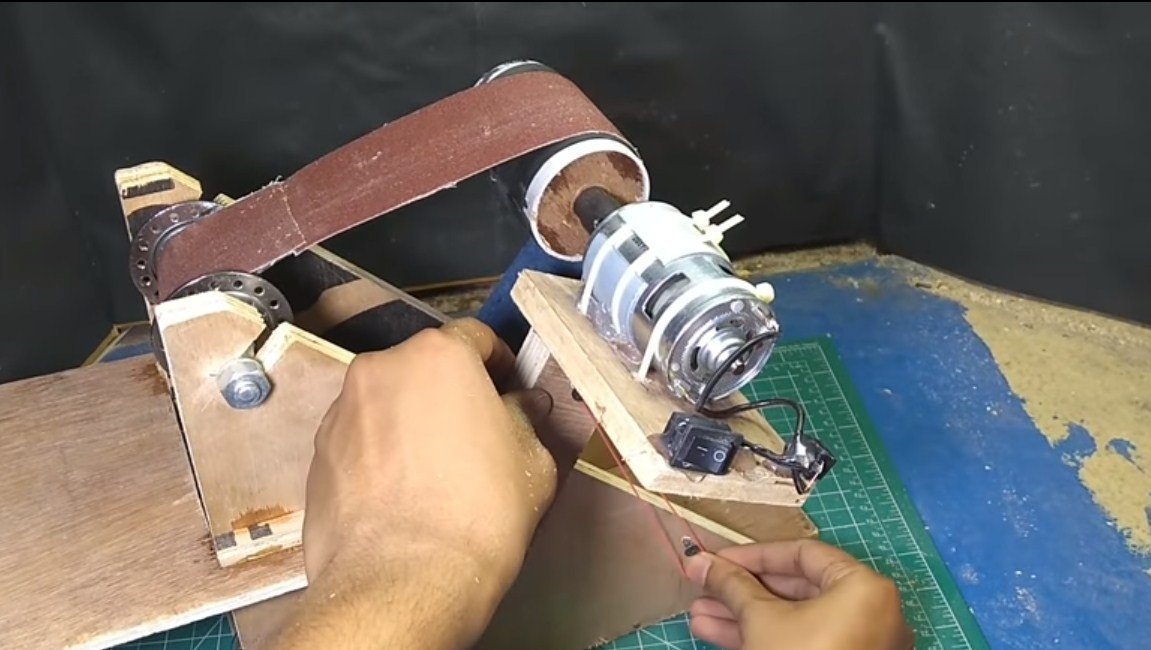
We make a holder for the engine, we also assemble it from plywood. As a result, we get the platform on which we need to install the engine. For fastening we drill holes and use plastic ties, everything turns out quite firmly and reliably, and most importantly, quickly. We attach this entire structure to the rack with a bolt and nut, this will also work as a tensioning mechanism.
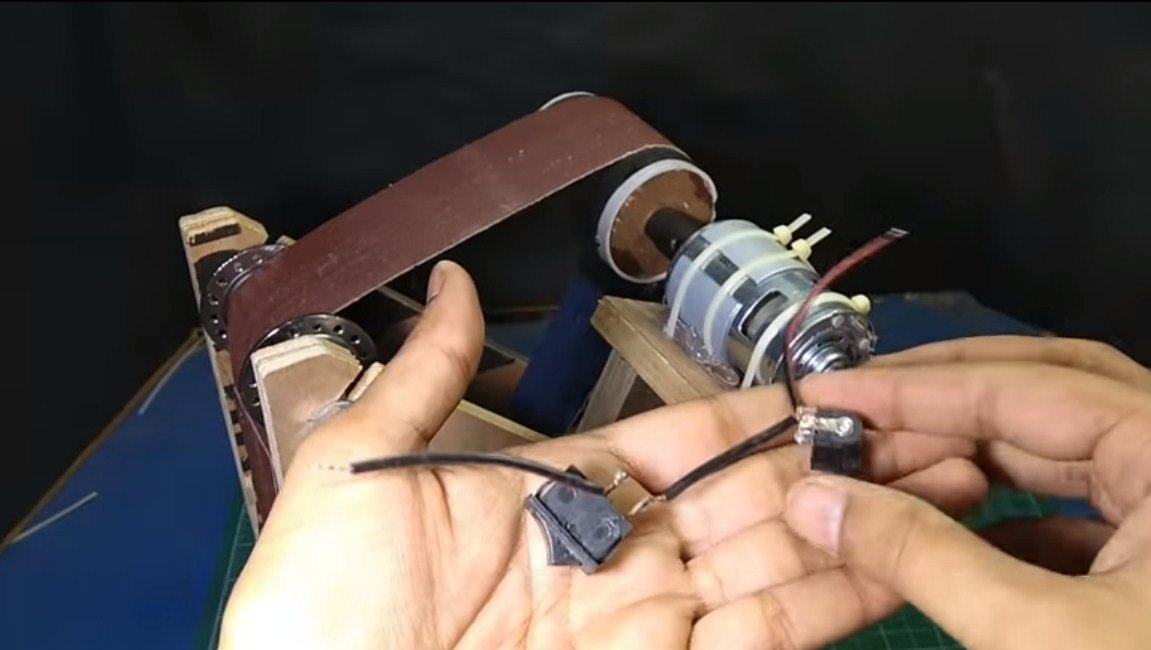
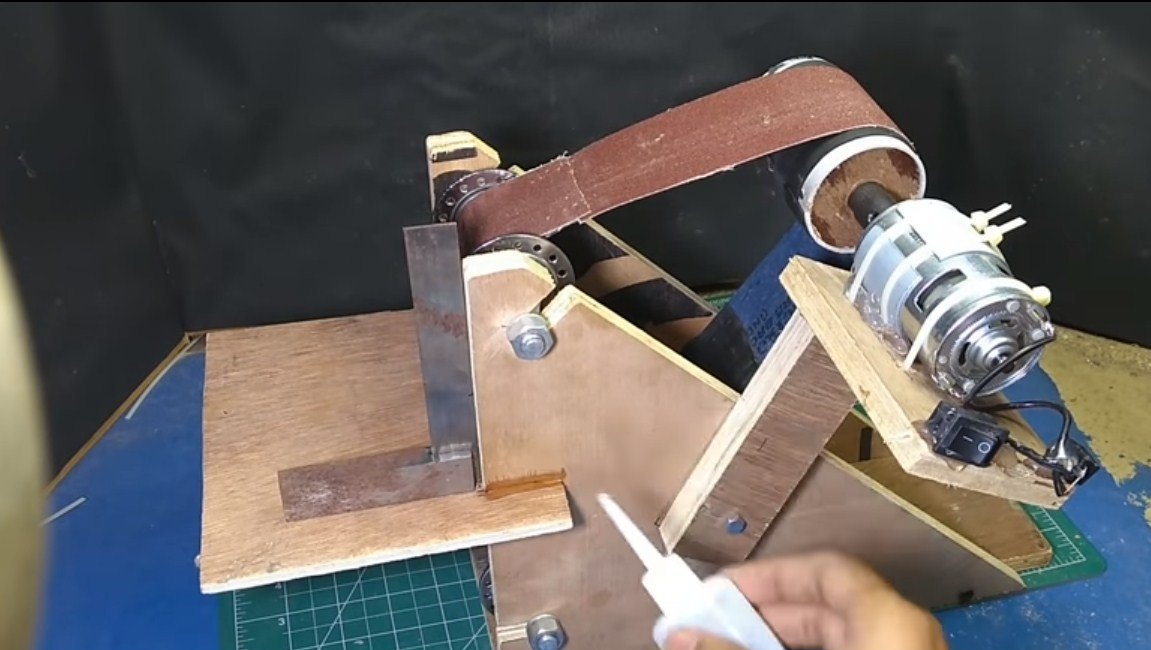
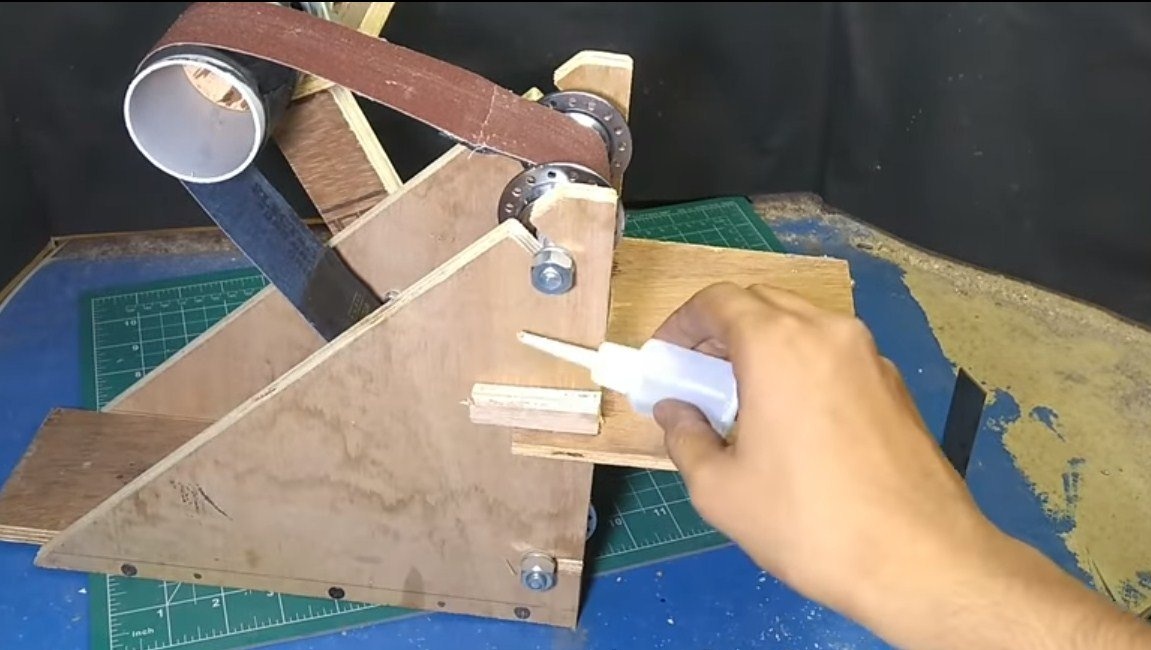
Near the engine with hot glue, we install a connector for connecting the power supply and a switch.
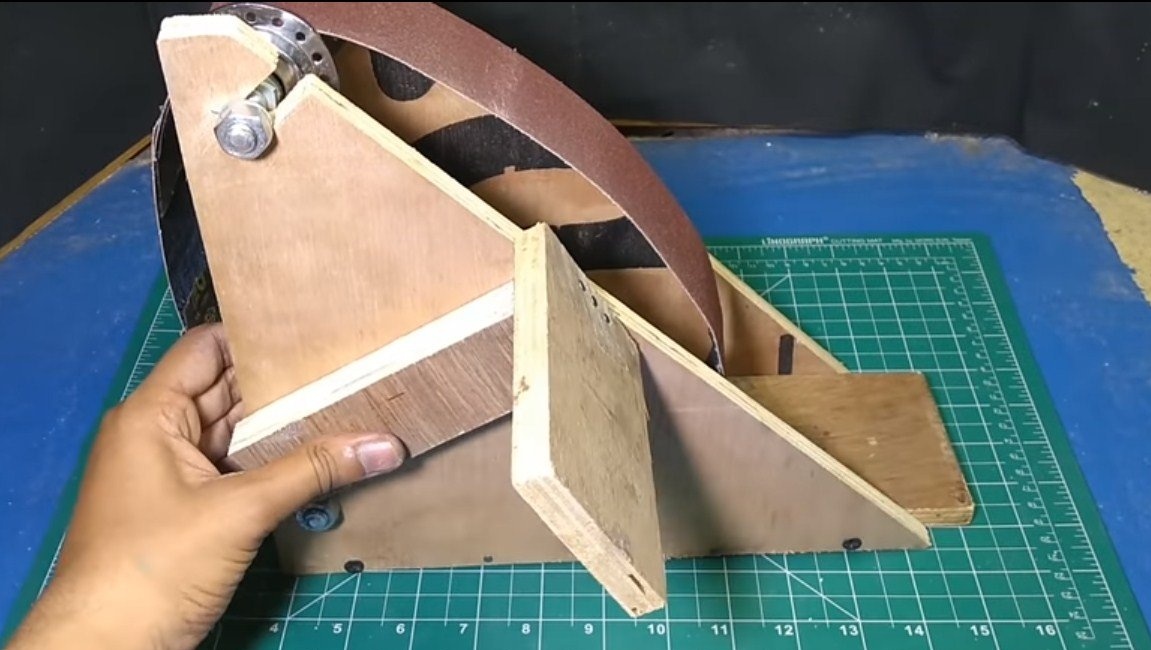


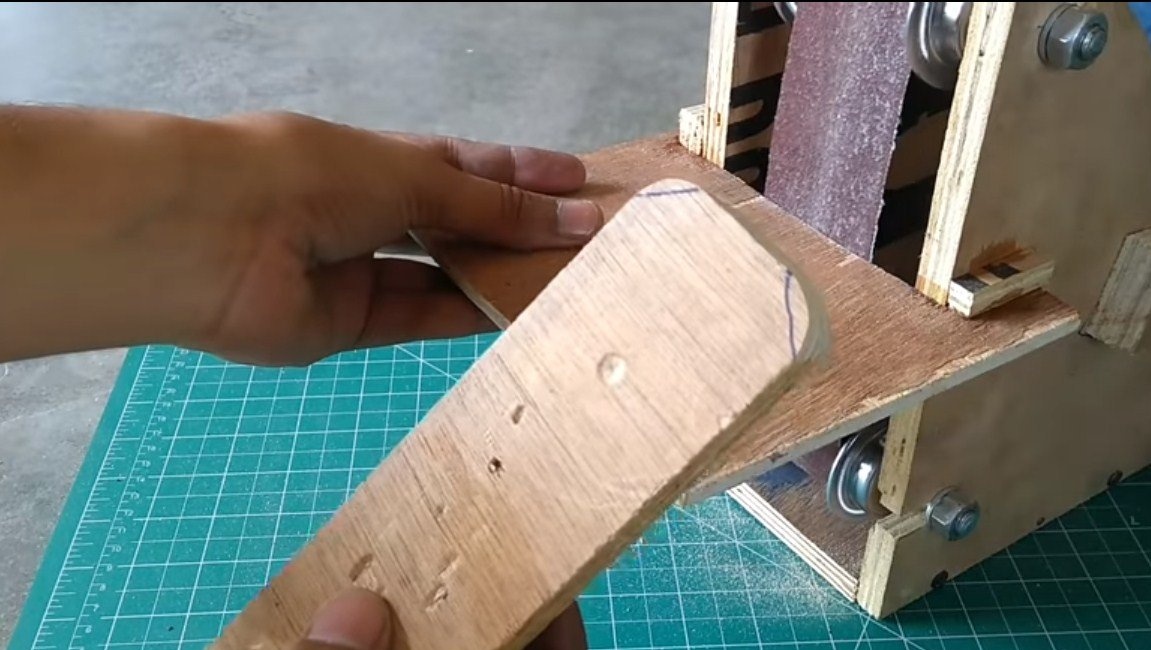
Step Four Work site
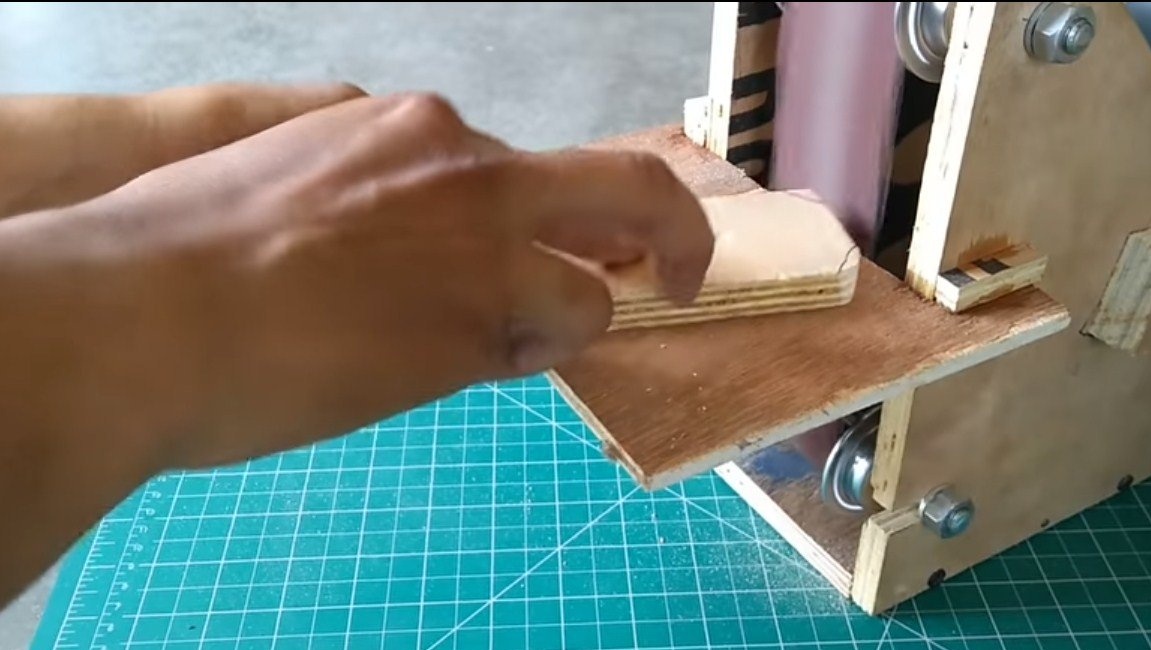
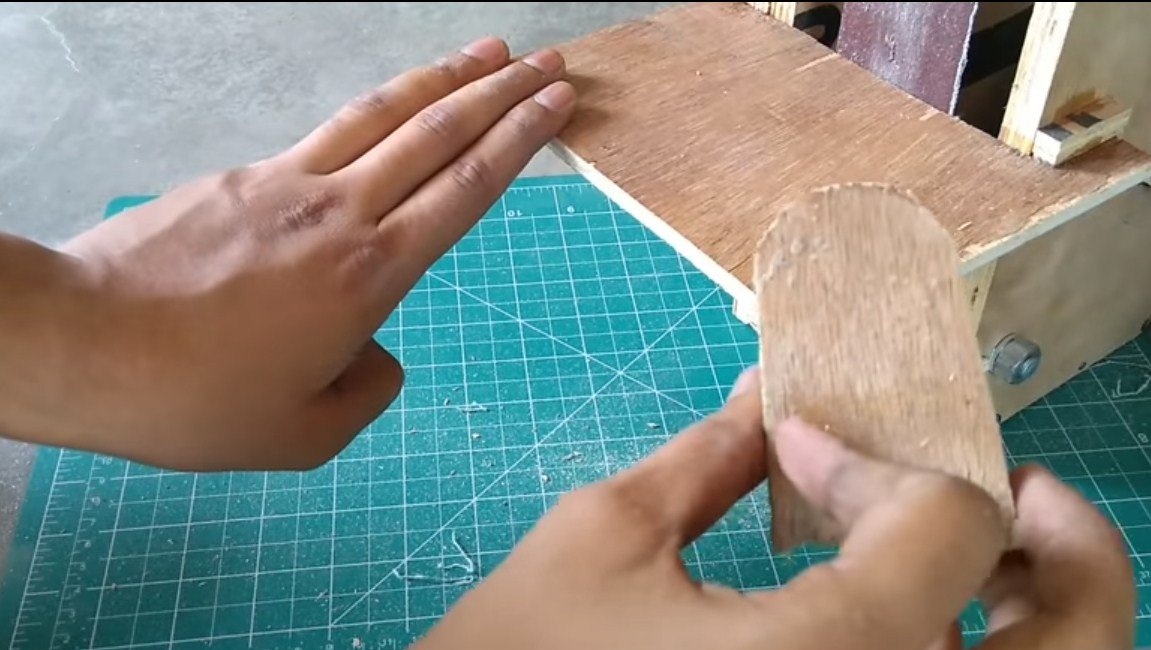
We cut out plywood and glue the work platform on which we will hold the workpiece. As for the thrust plane, it is not provided for in this machine.
Step Five Rubber bands
We install 5 rubber bands, wrapping two self-tapping screws. It is they who will pull the sanding belt. The number of elastic bands can set the desired degree of tension.
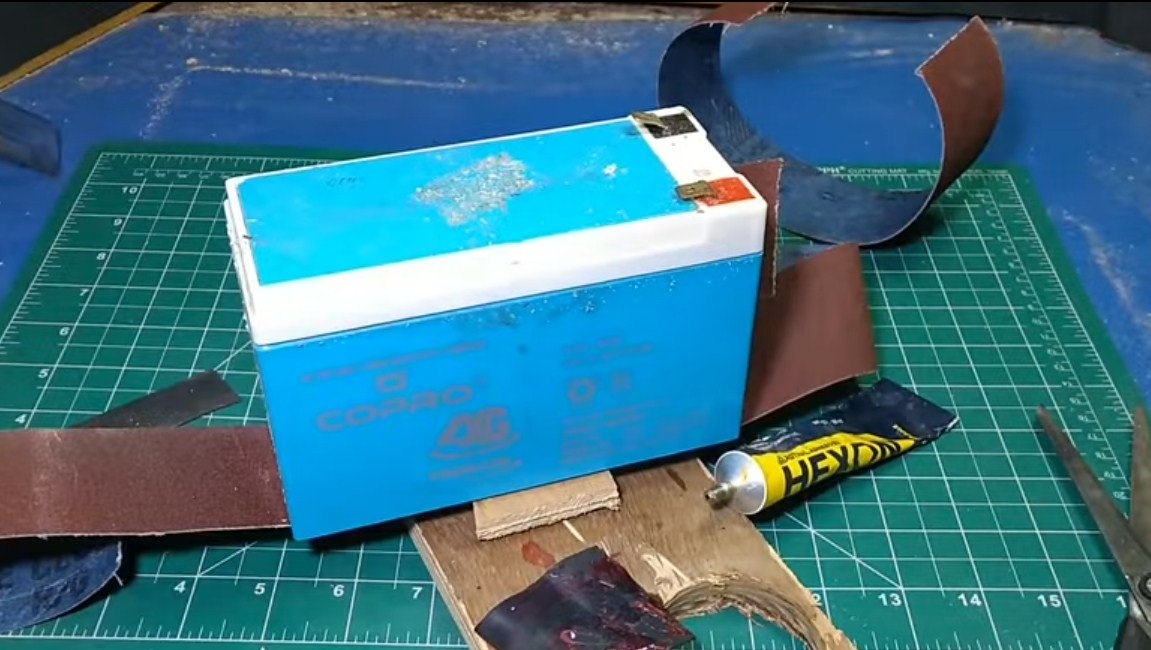
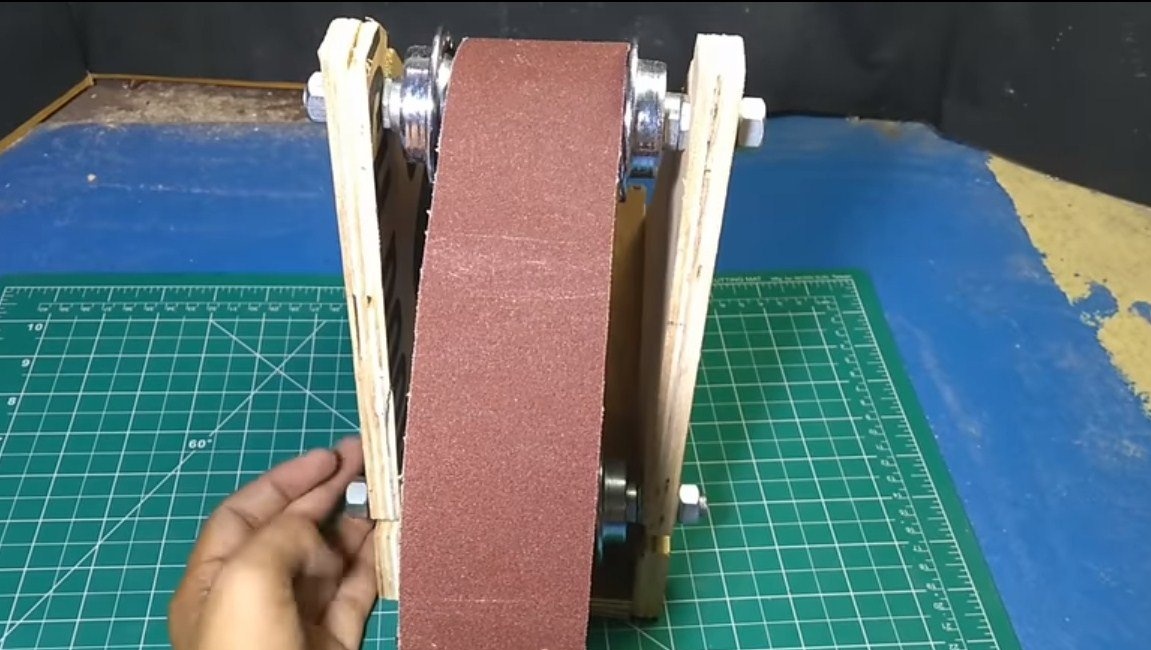
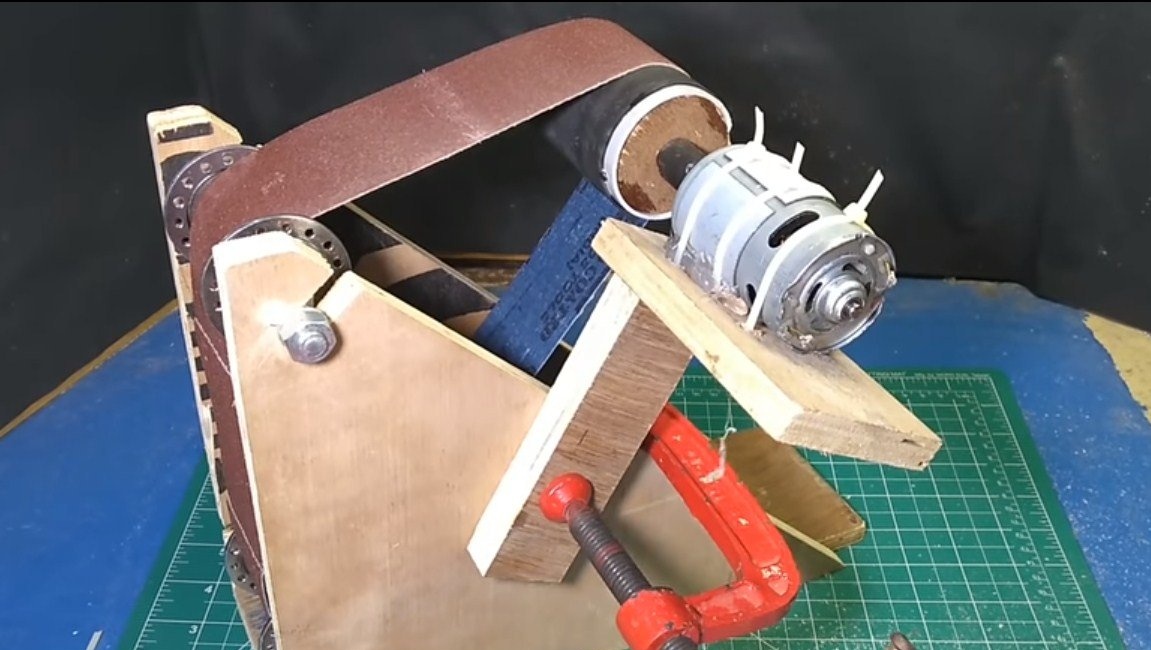
Step Six Test
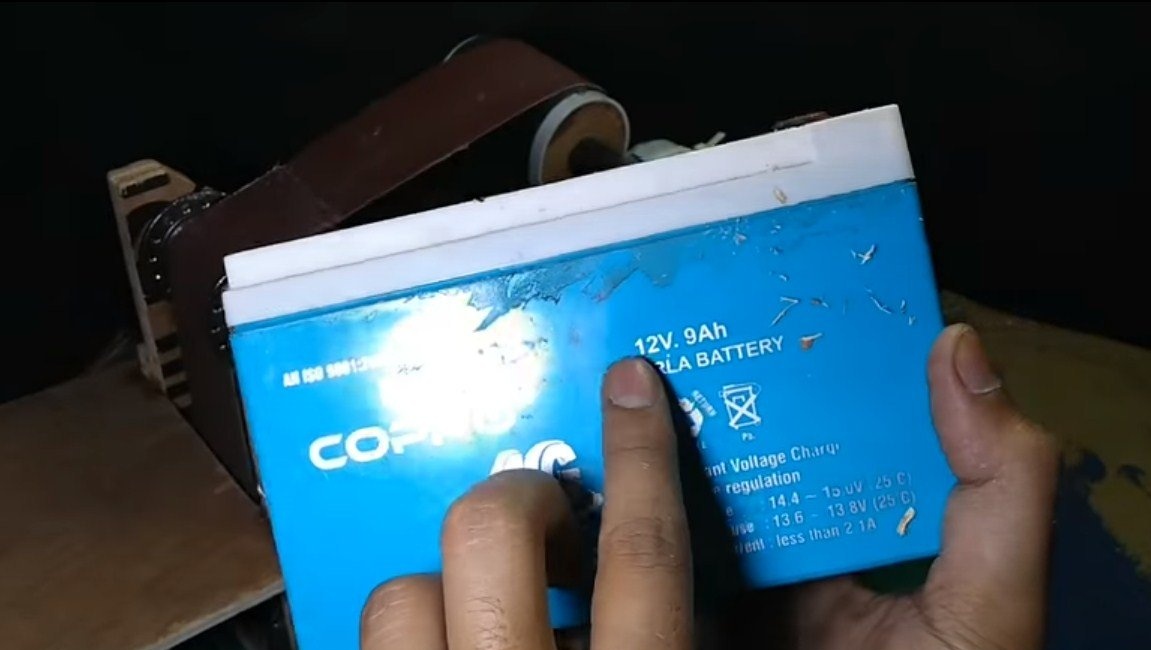
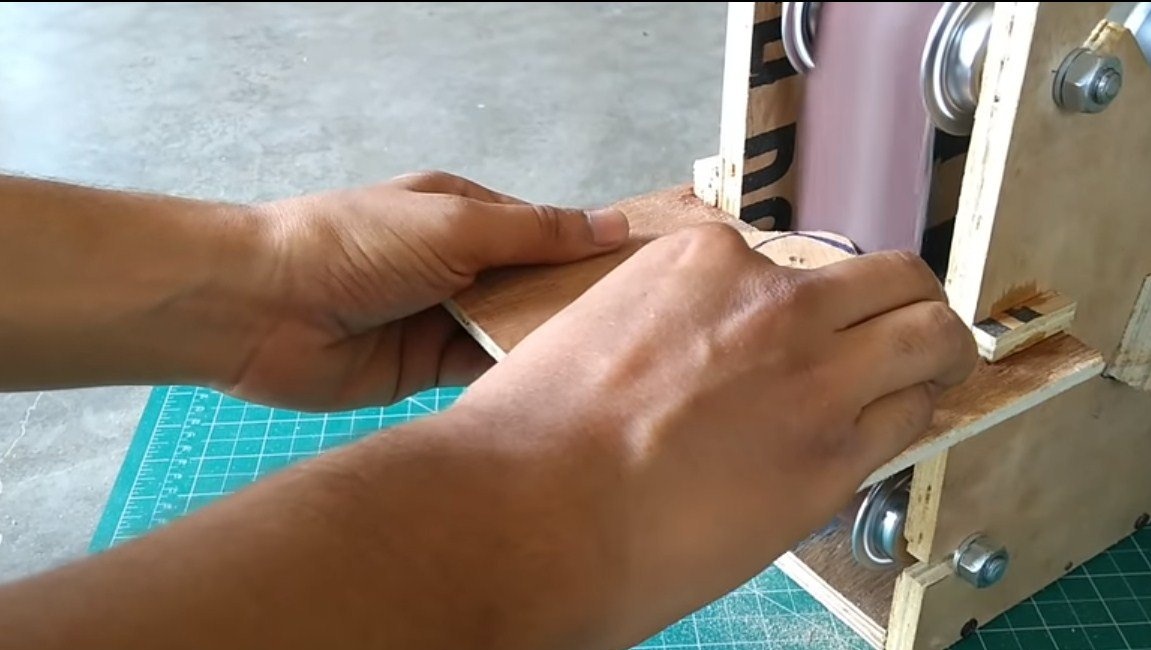
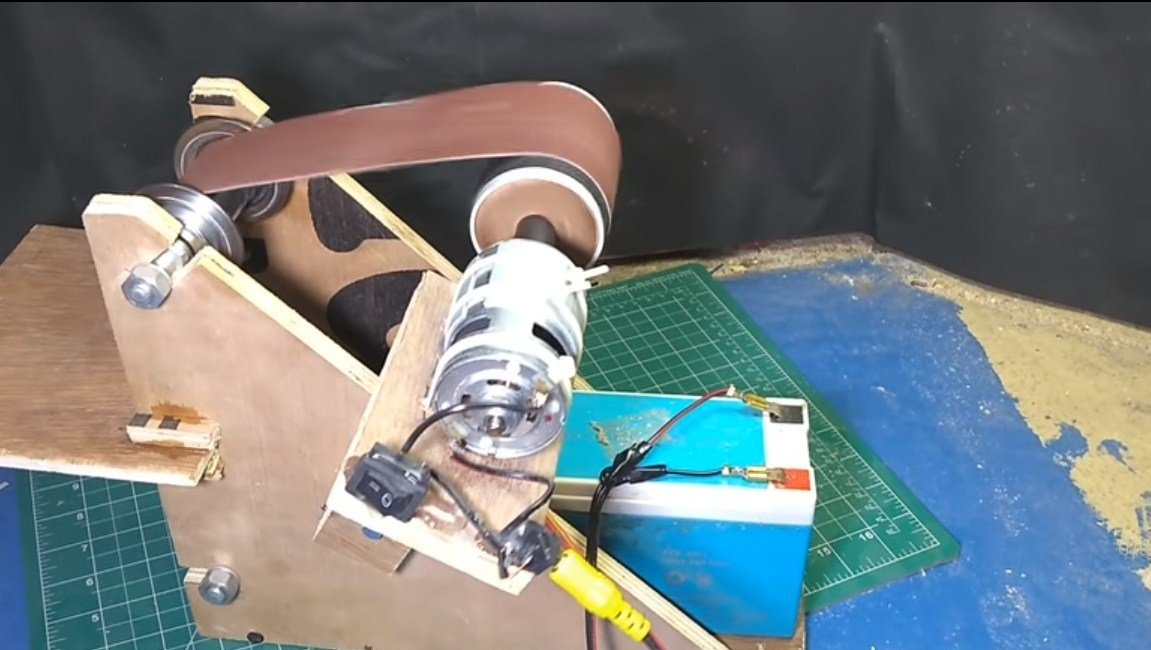
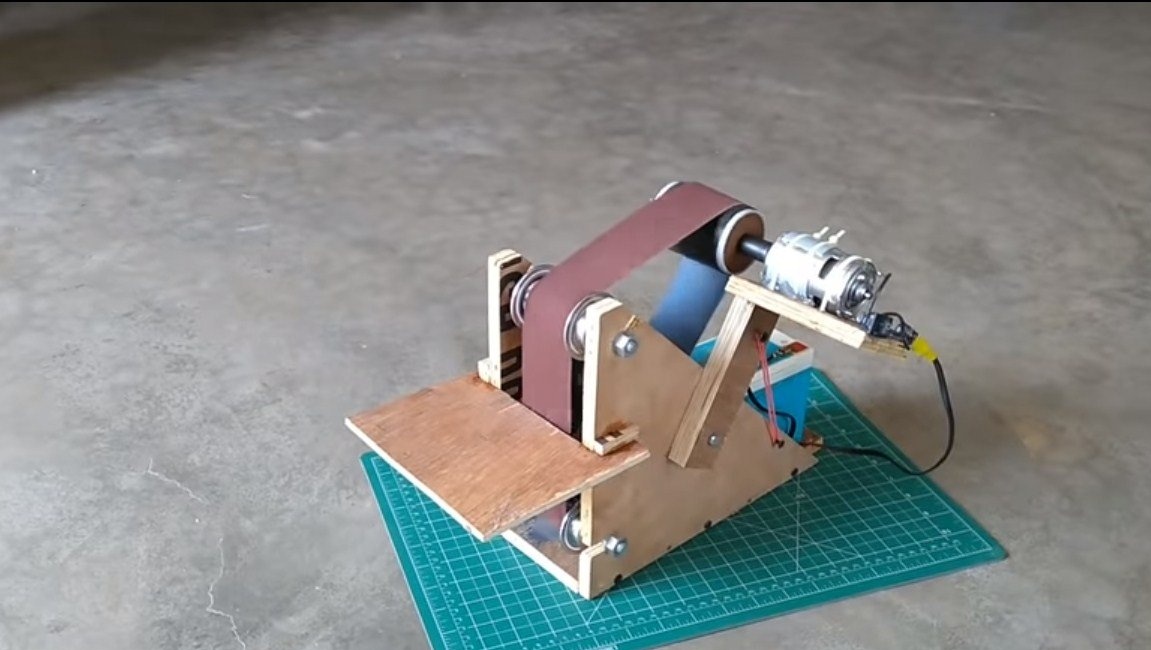
The machine is ready, you can try it! We connect the battery, making sure that the tape rotates in the right direction. The author uses a 12V battery, although the motor can work from voltage up to 24V. The tape moves rather quickly, the author easily polishes plywood with the help of a machine.
The machine is ready, it copes with its tasks perfectly, I hope you liked the project. Good luck and creative inspiration, if you decide to repeat this! Do not forget to share your ideas with us and homemade!